Its me Arpita, sharing with you all today a easy, fun wall decor.
@craftyscrappersrecently launched some really beautiful and one of a kind 2-IN-1 DESIGNS 3D stencils ,when i saw this stencil this was the first idea that popped in my head,these are fun stencils to play around with cause you can get very creative with them,create numerous patterns just with 1set .
I also have a video tutorial where i will demonstrate a step by step process on how you can create one for yourself.
if you have missed the previous post check it out here:
CHALLENGE#24:”RAKSHABANDHAN”
You can create Cards, layouts, a journal page, Canvases, interactive/3D cards,
mixed media, altered art,money envelopes …anything crafty,
With the RAKSHA BANDHAN theme in it!
But keep in mind, Craftyscrappers products as focus.
Last date of submission is 31ST AUGUST,2018

To win the amazing goodie bags !

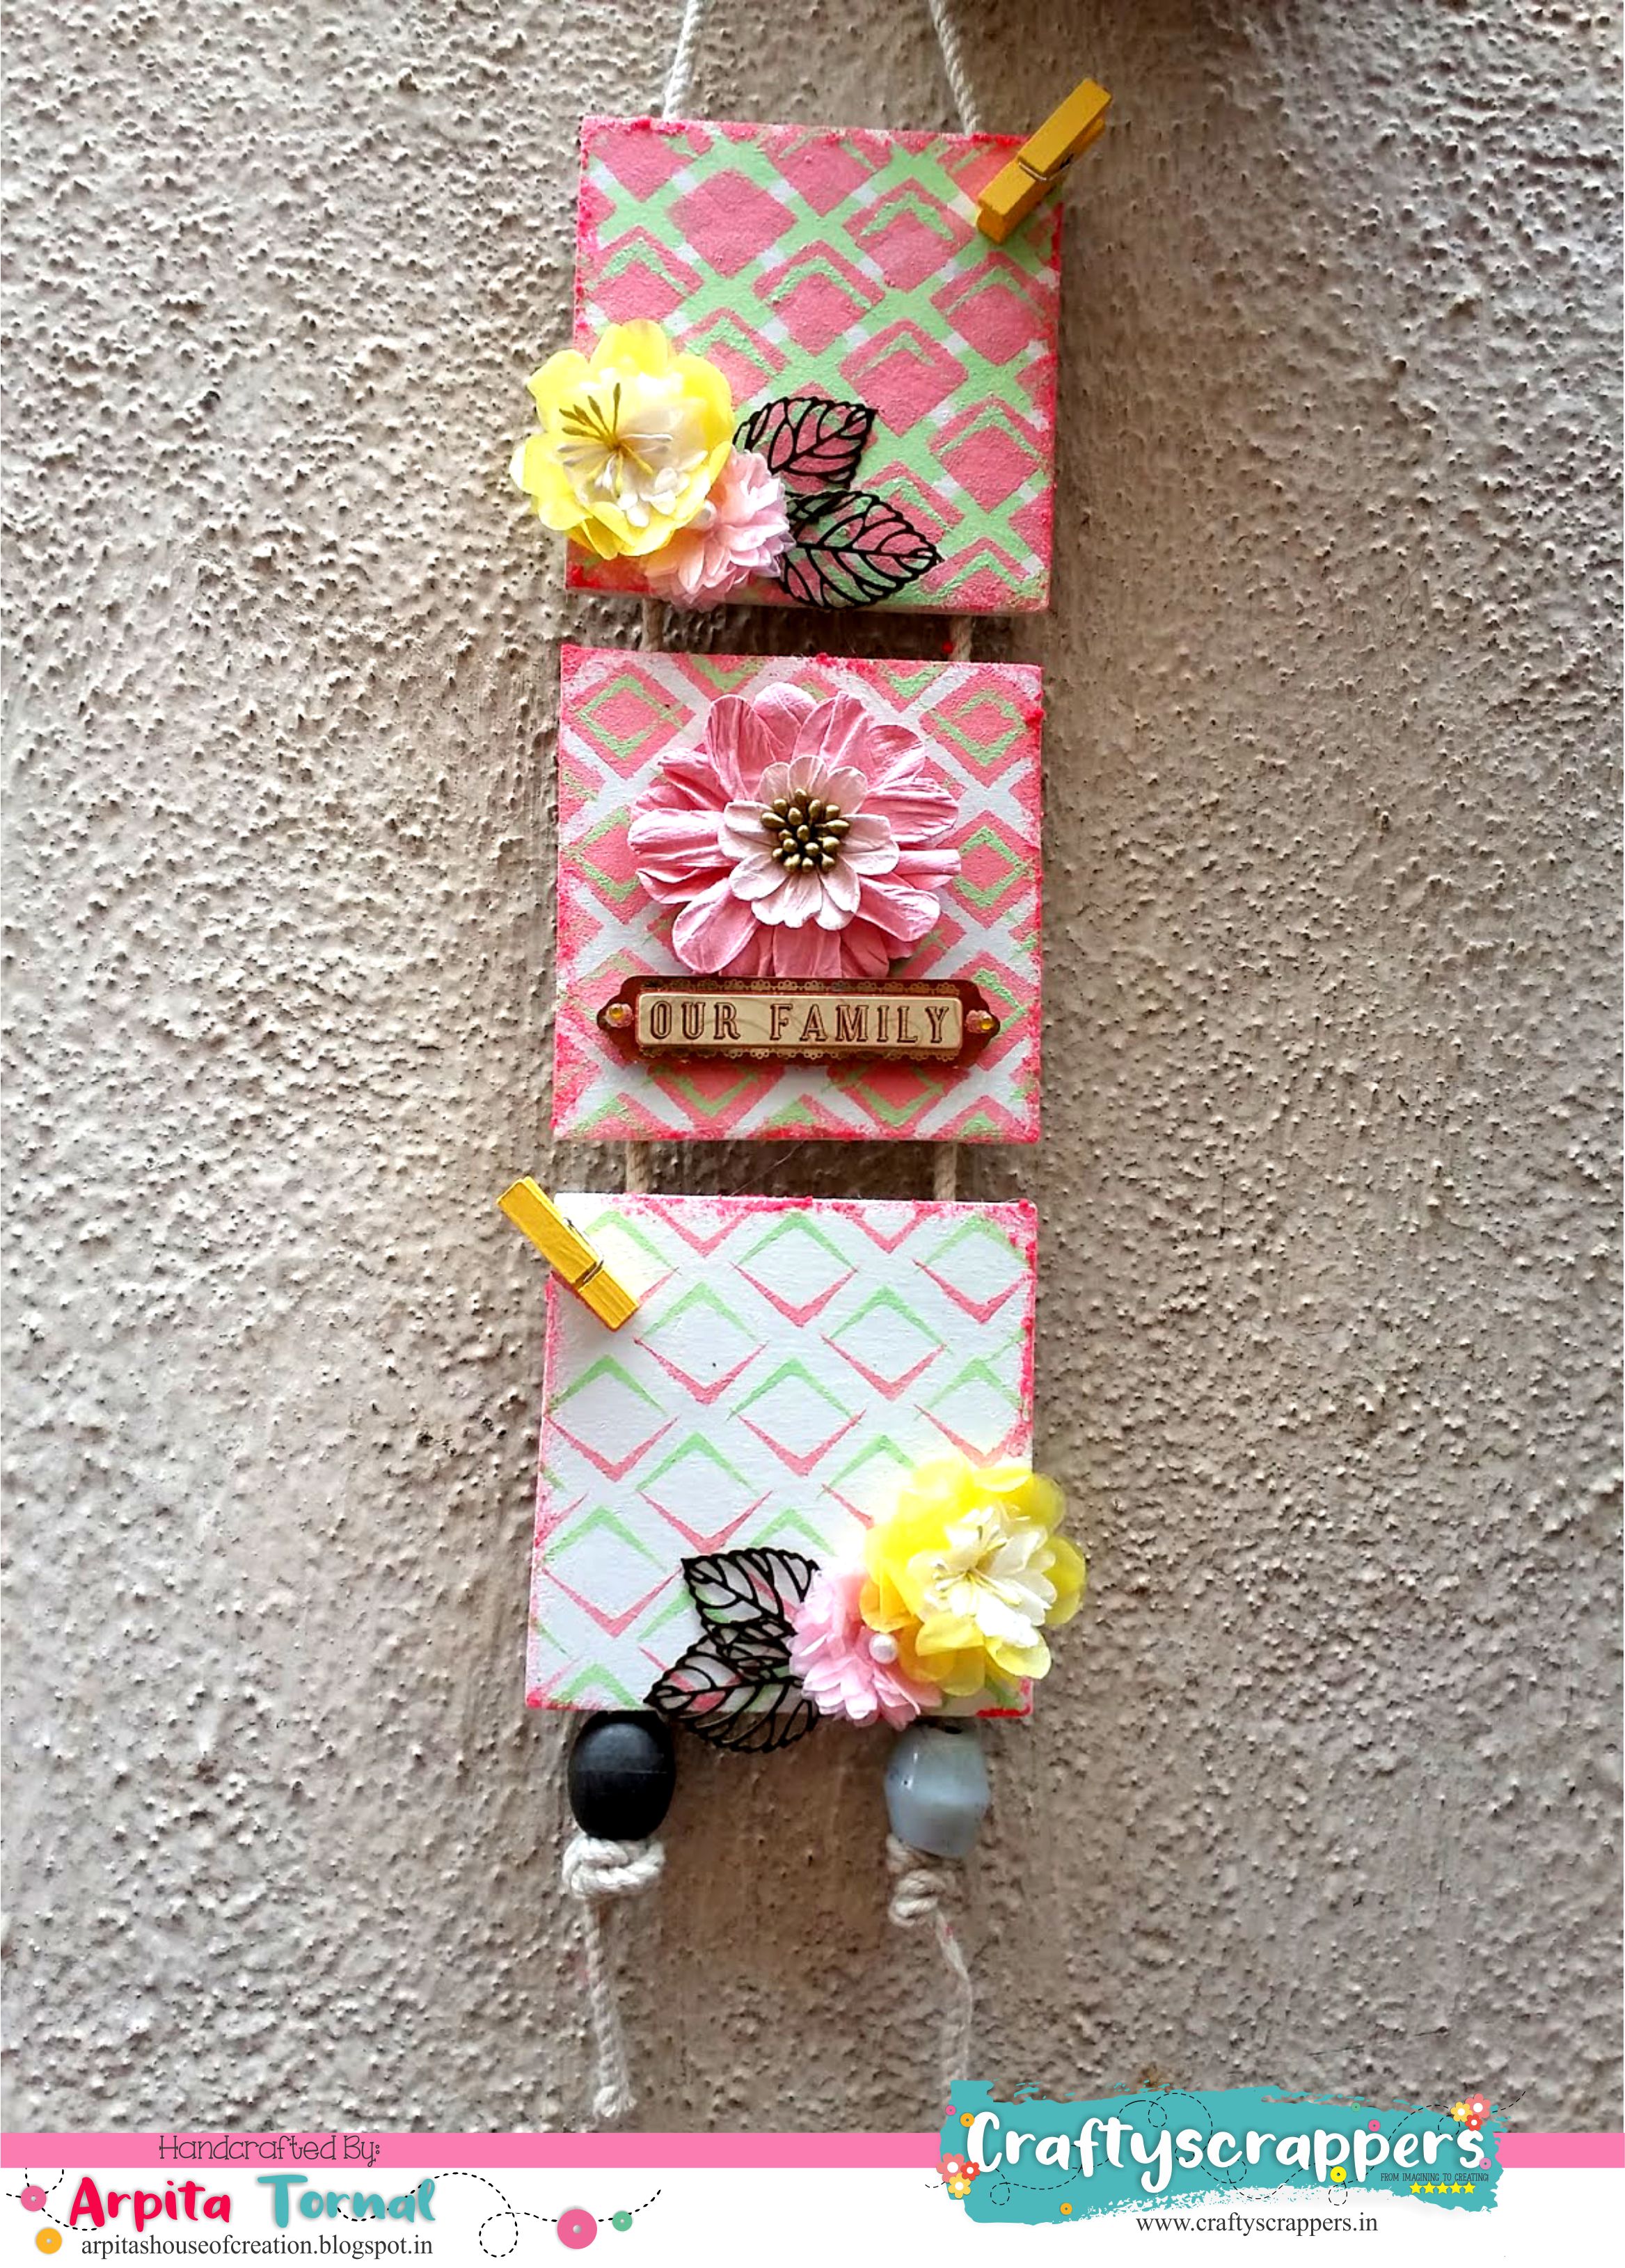
Here is the 3d wall decor that i created:
To create my make, i have used craftyscrappers chalk paints:
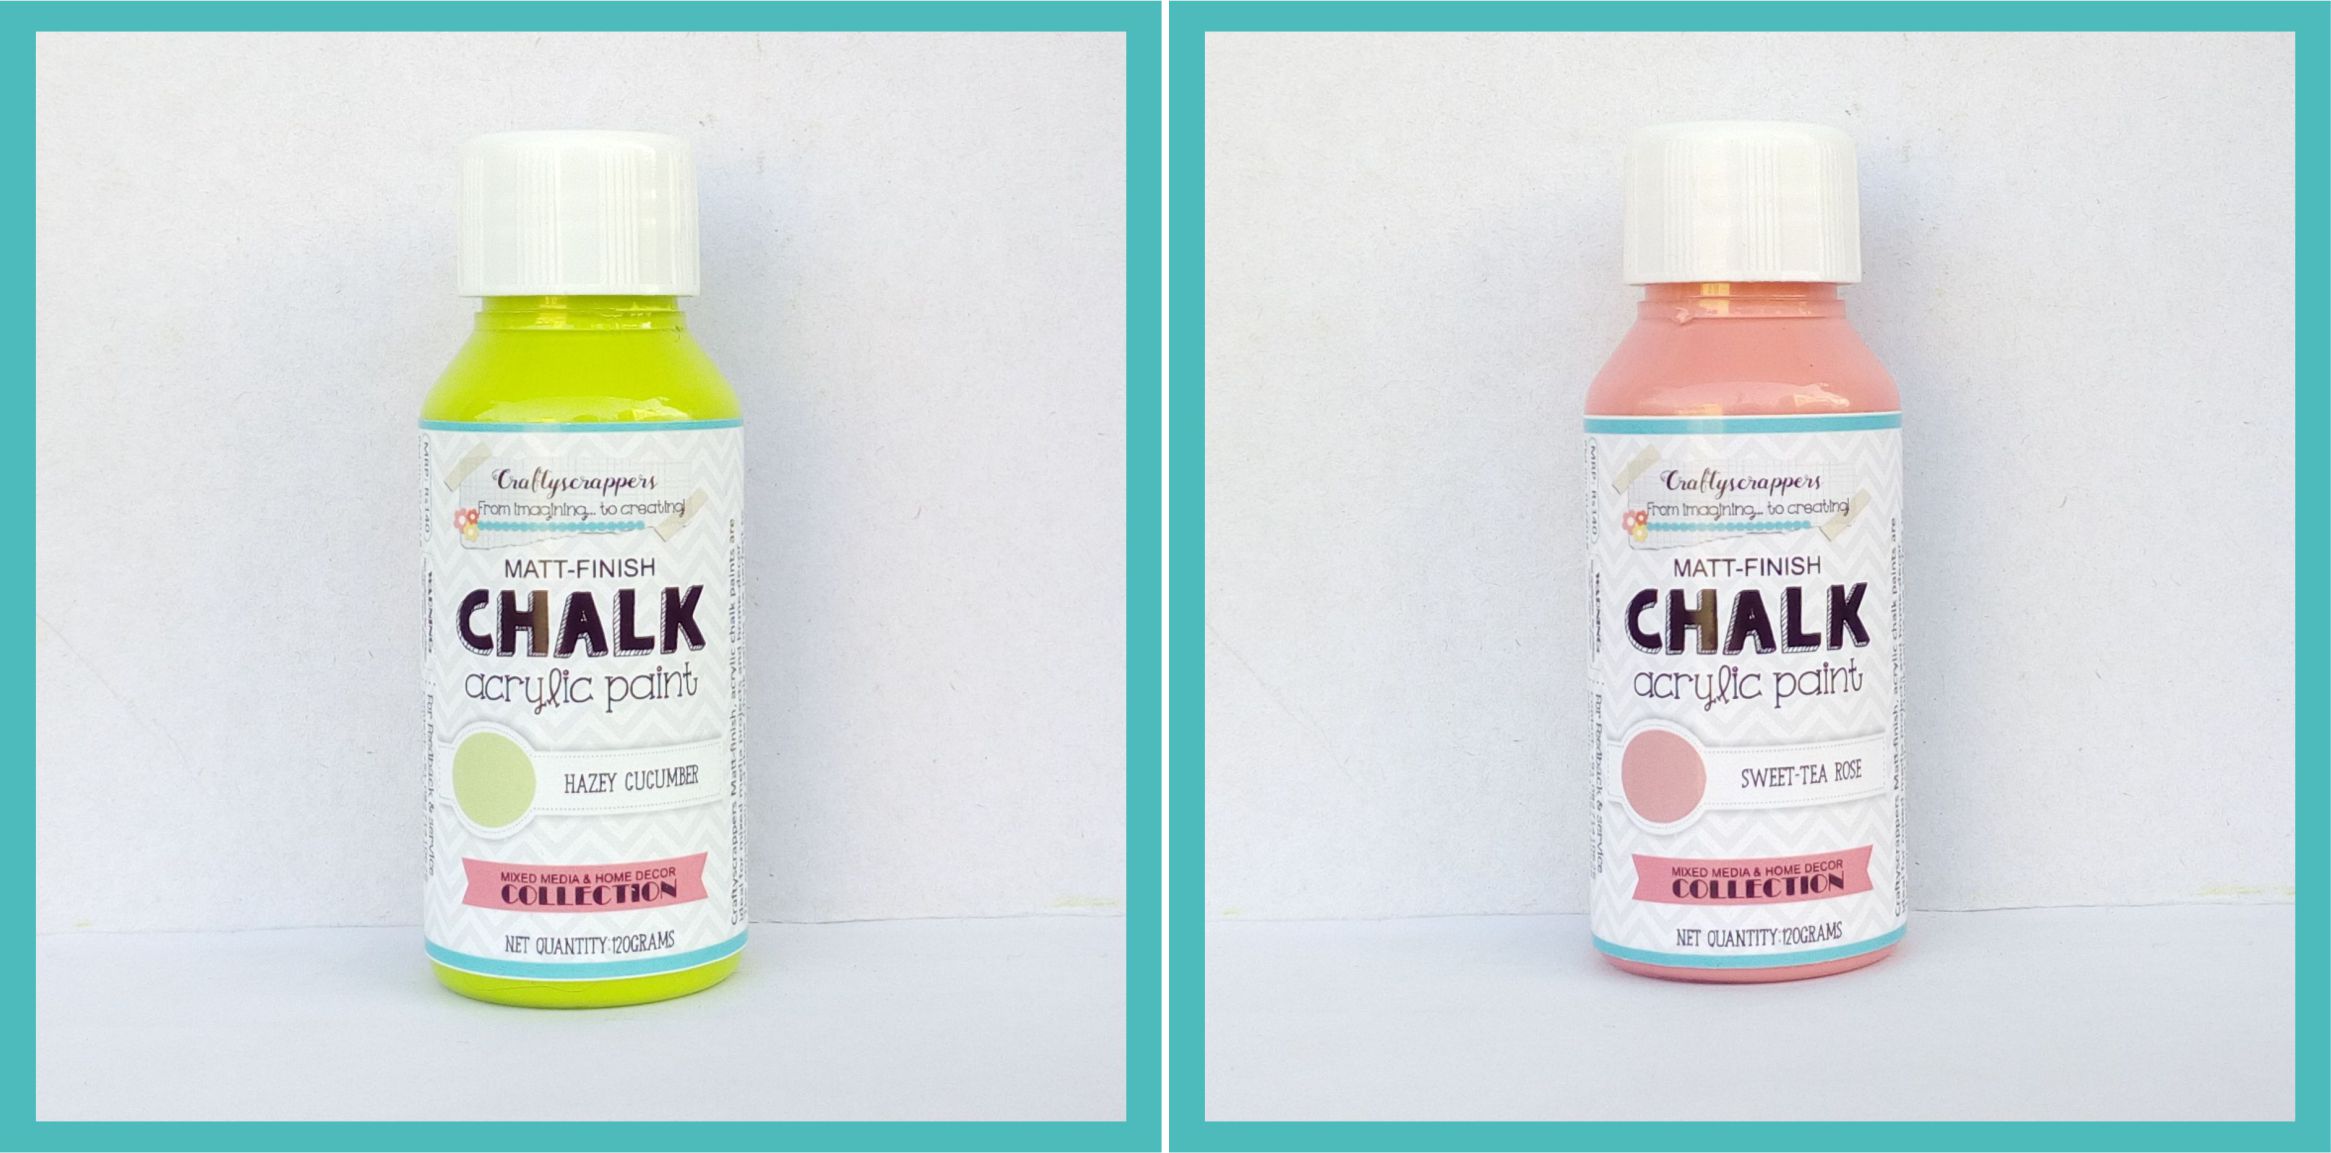
Craftyscrappers Matt-finish, acrylic chalk paints are ideal for mixed media projects and home-decor.
The consistency of these Chalk paints are perfect to use with brushes, rollers and sponges to create textures.
- Comes in a 120ml bottles
- an be used on wood, glass, paper, metal and many other materials.
- Comes in 16 gorgeous colors to chose from and you can mix these together to create ombre looks.
HOW TO USE:
- Surface should be clean,and dry and free from dust,wax,moisture and grease.
The surface Can also be sanded and wiped clean before application.
For the base coat, apply one layer of the chalk paint, Let it dry and re-apply again to achieve desired results. - These paints can be diluted /thinned down to a volume with clean with soft water.
You can dilute 10% to 20% of paint using water to reduce brush marks. - Apply multiple layers and spot sand it to give a distressed vintage look to your art project, wall surface or furniture.
- Can be used on wood, glass, paper, metal and many other materials.
Along with Craftyscrappers
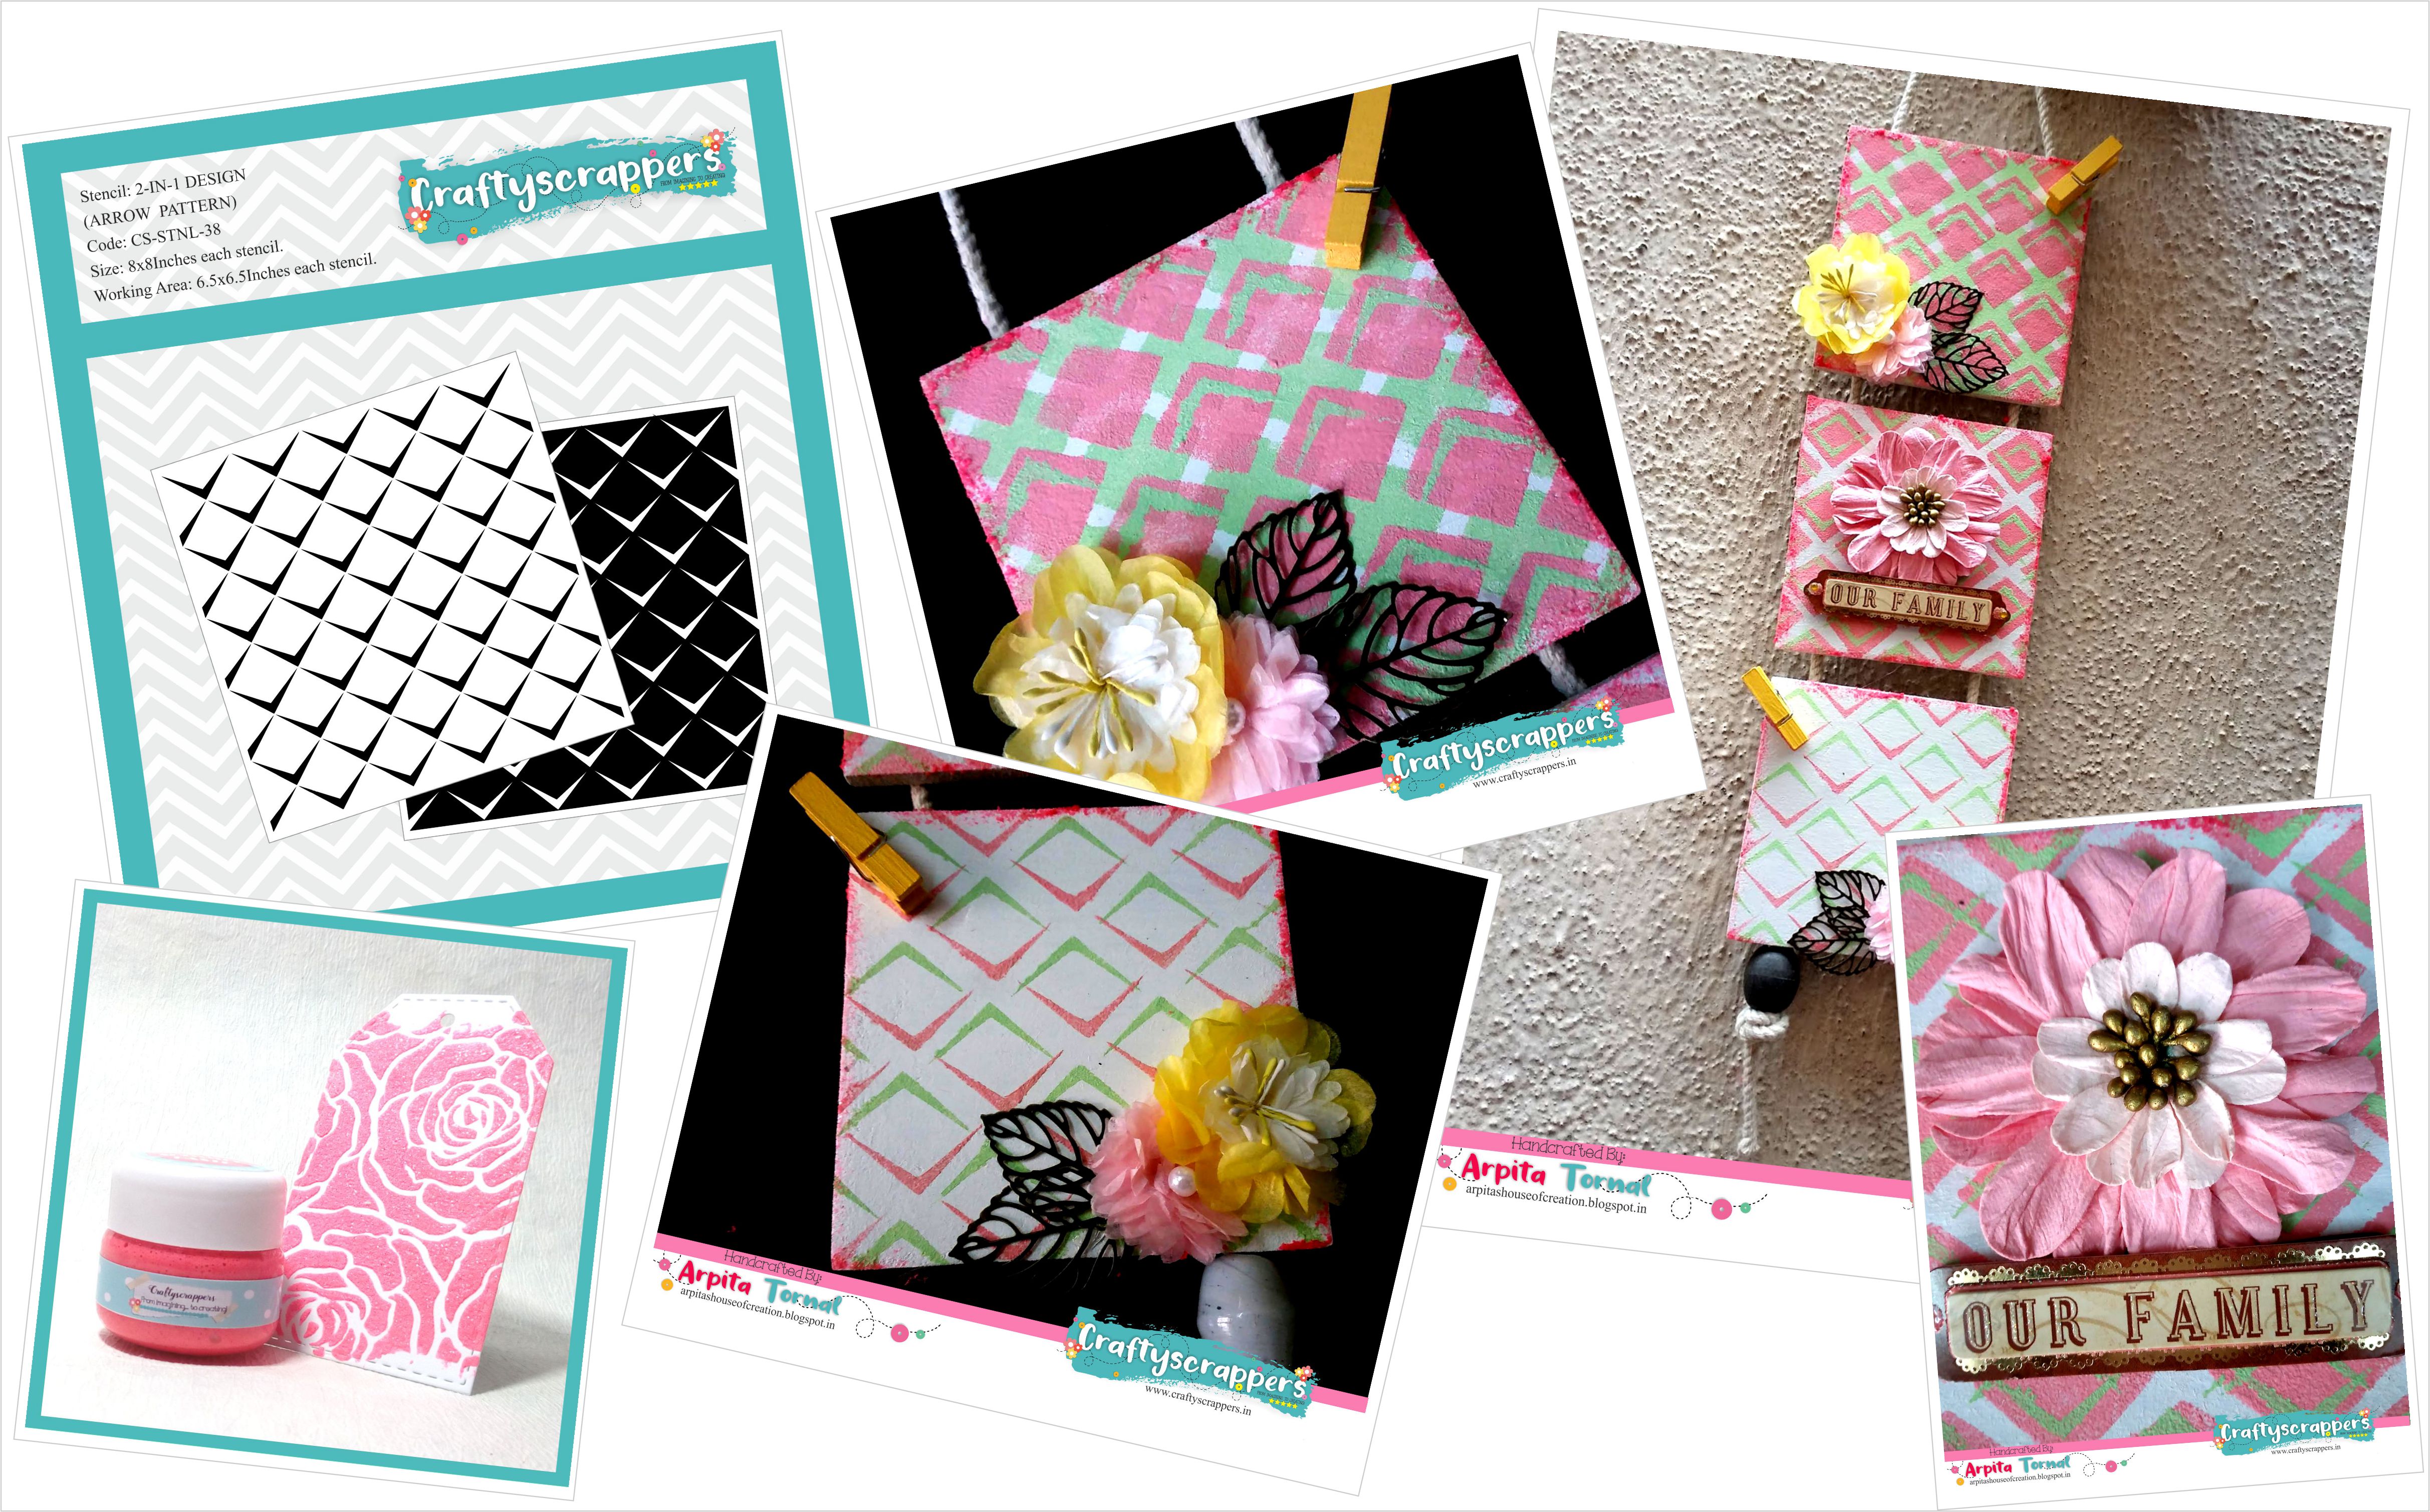
2-IN-1DESIGN 3D STENCIL- ARROW PATTERN
![cs-stnl-38-2IN1-ARROWS PATTERNS].jpg](https://craftyscrappers.files.wordpress.com/2018/08/cs-stnl-38-2in1-arrows-patterns2.jpg)
These beautiful and high quality stencils,will help you to create amazing backgrounds
or highlights on your projects.These stencils comes in a trendy package of 8x8inches and have a 6.5×6.5INCH in size,
working area which makes it easier for you to twist and turn the stensils according to your work surface.
And the most incredible thing about them is, they are pocket friendly.
- 2 pc per pack
- Package Size: 6.5X6.5 Inches
And with these, the amazing SHIMMER PASTE-SALMON
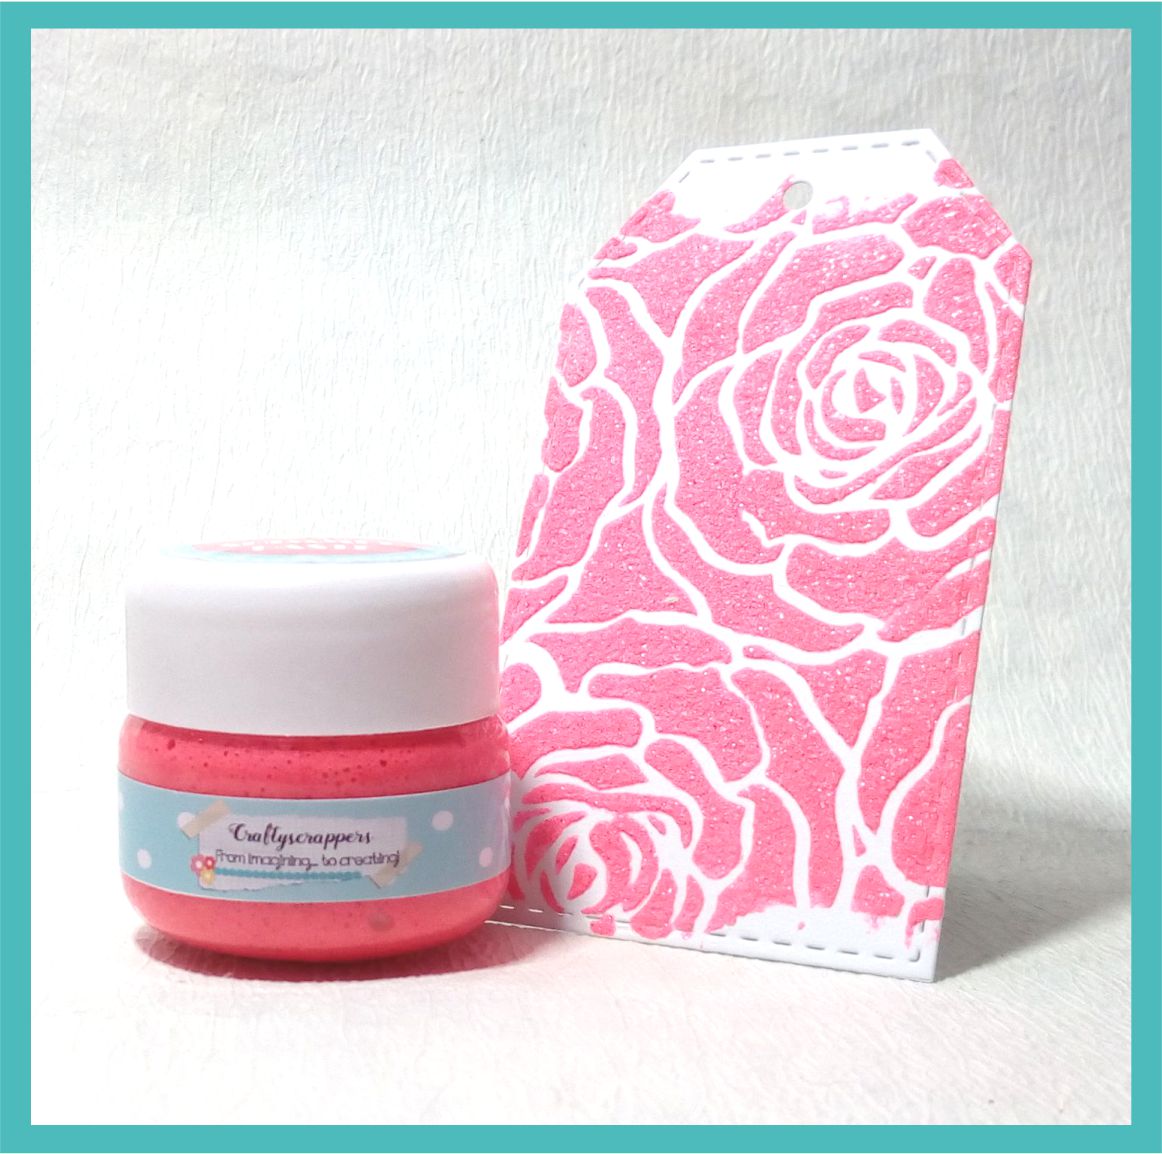
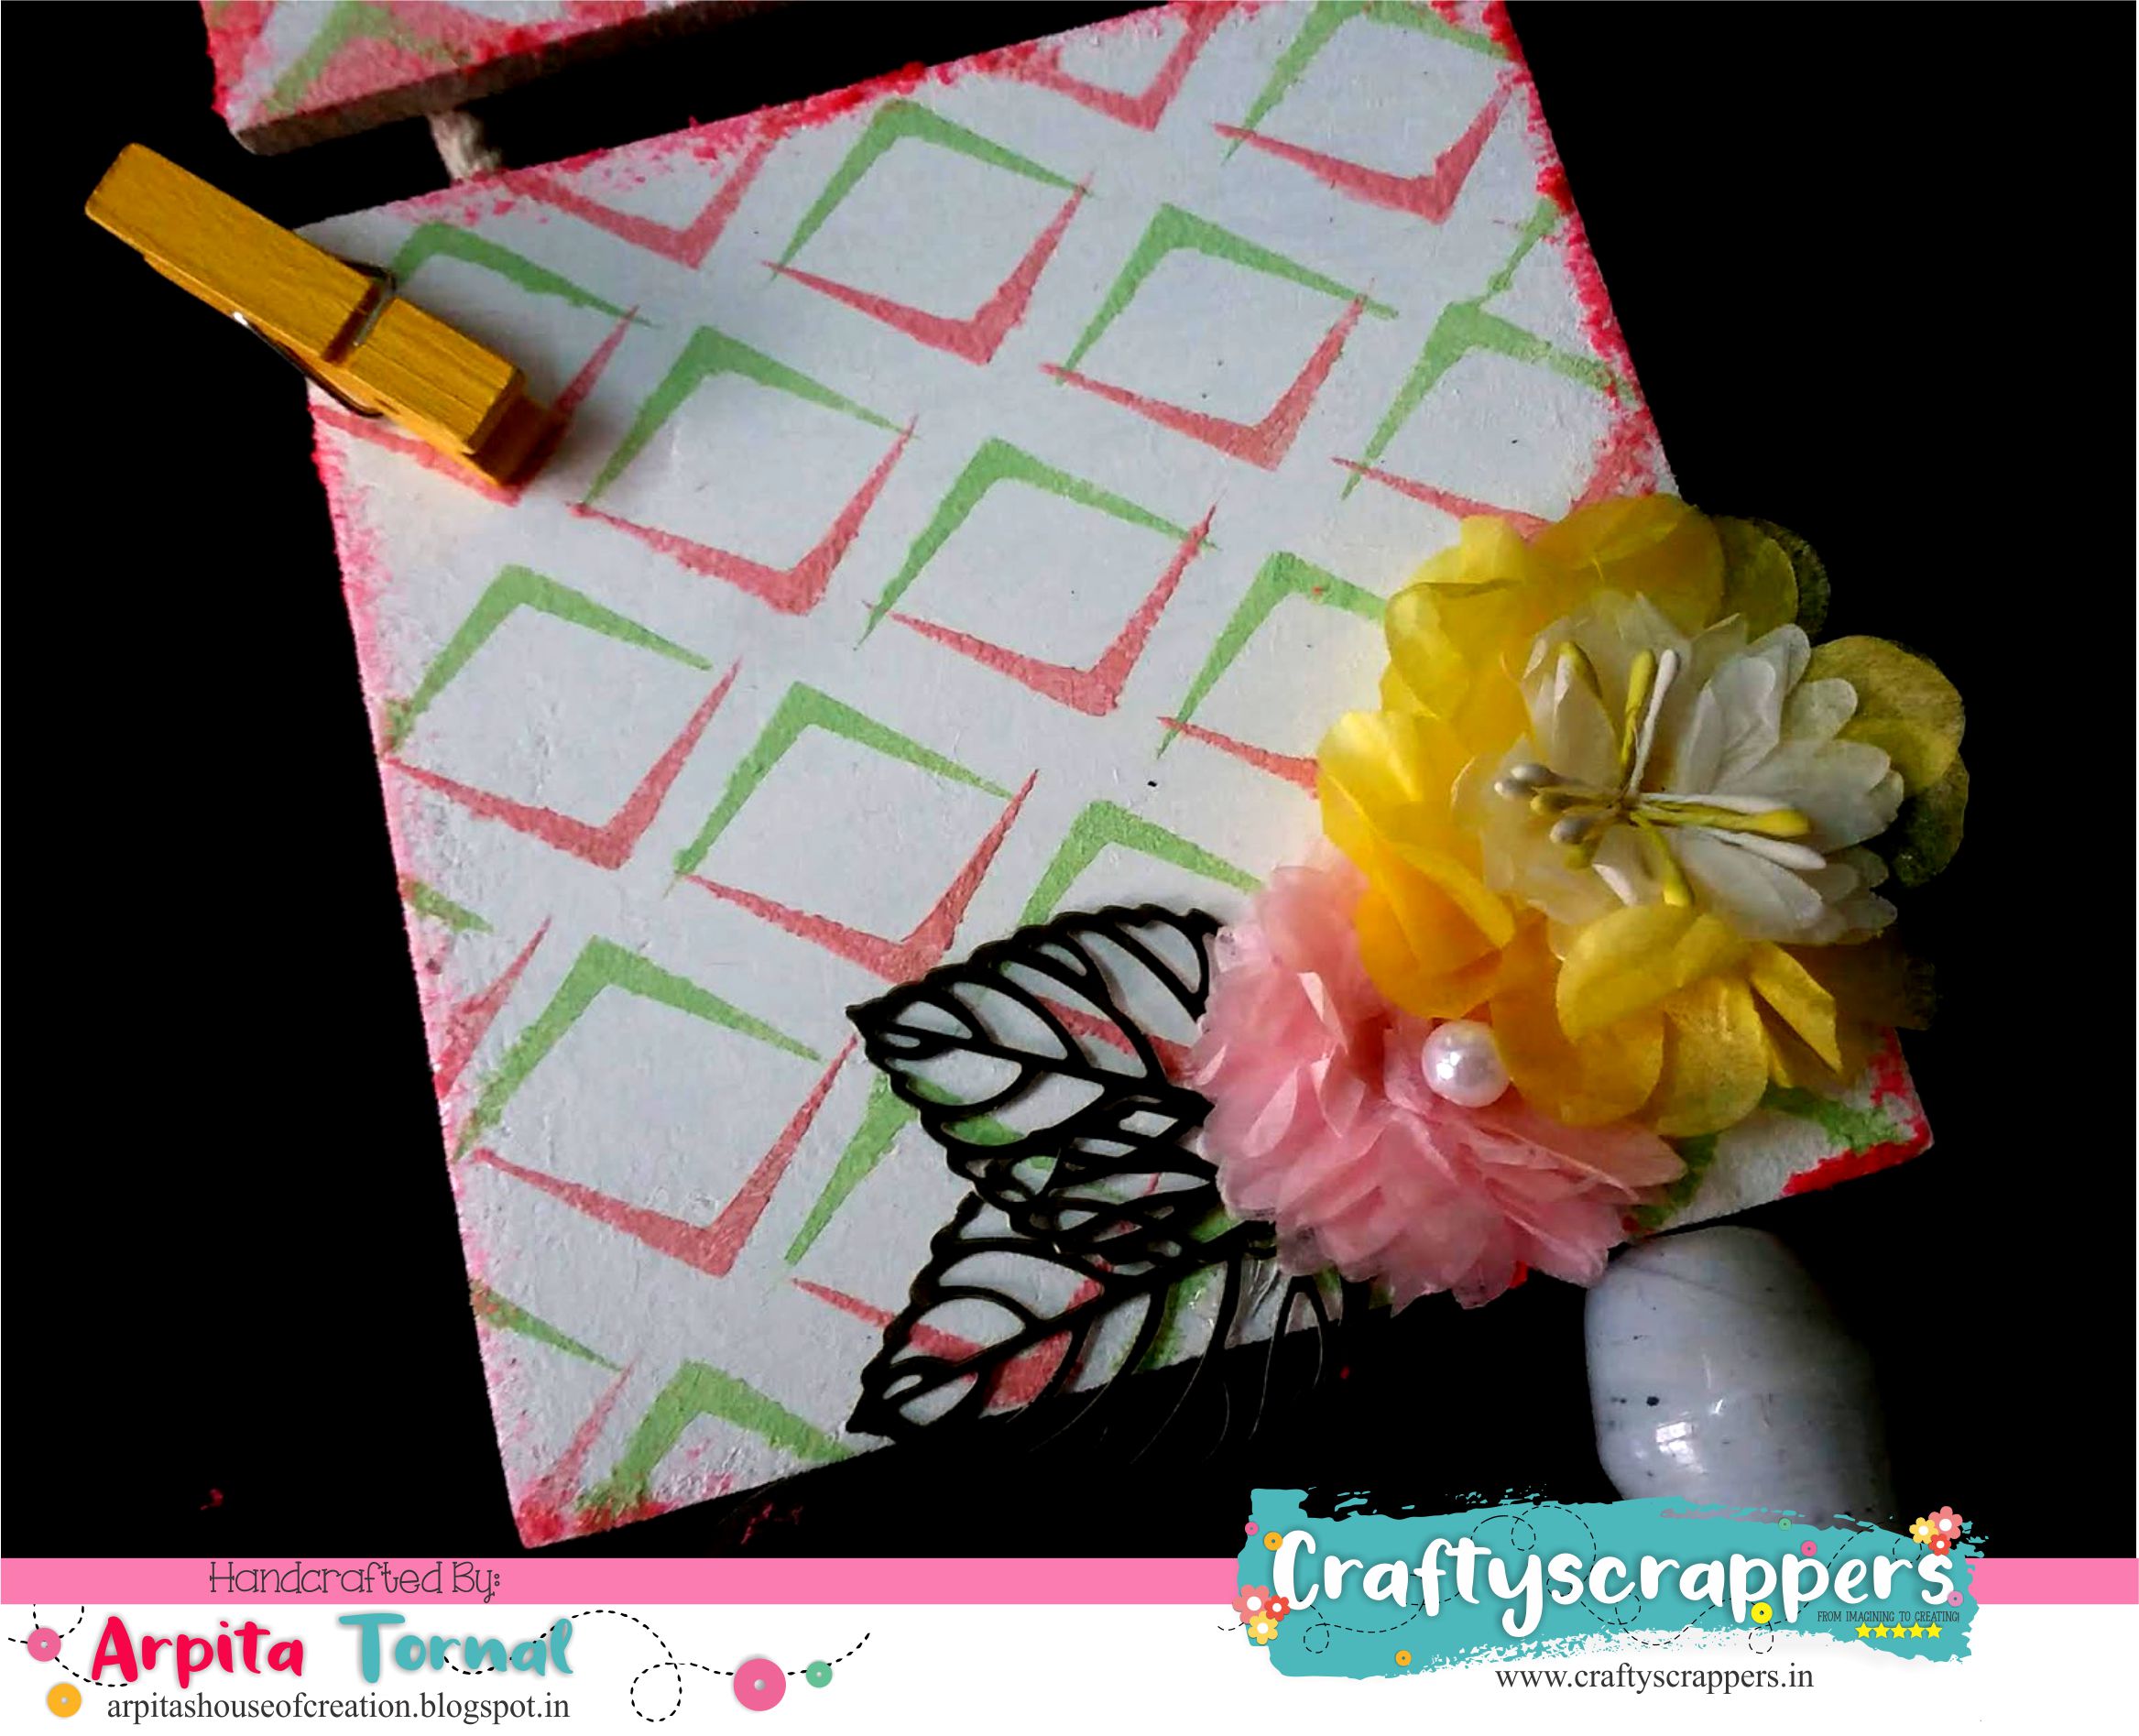
Here are some close-ups:
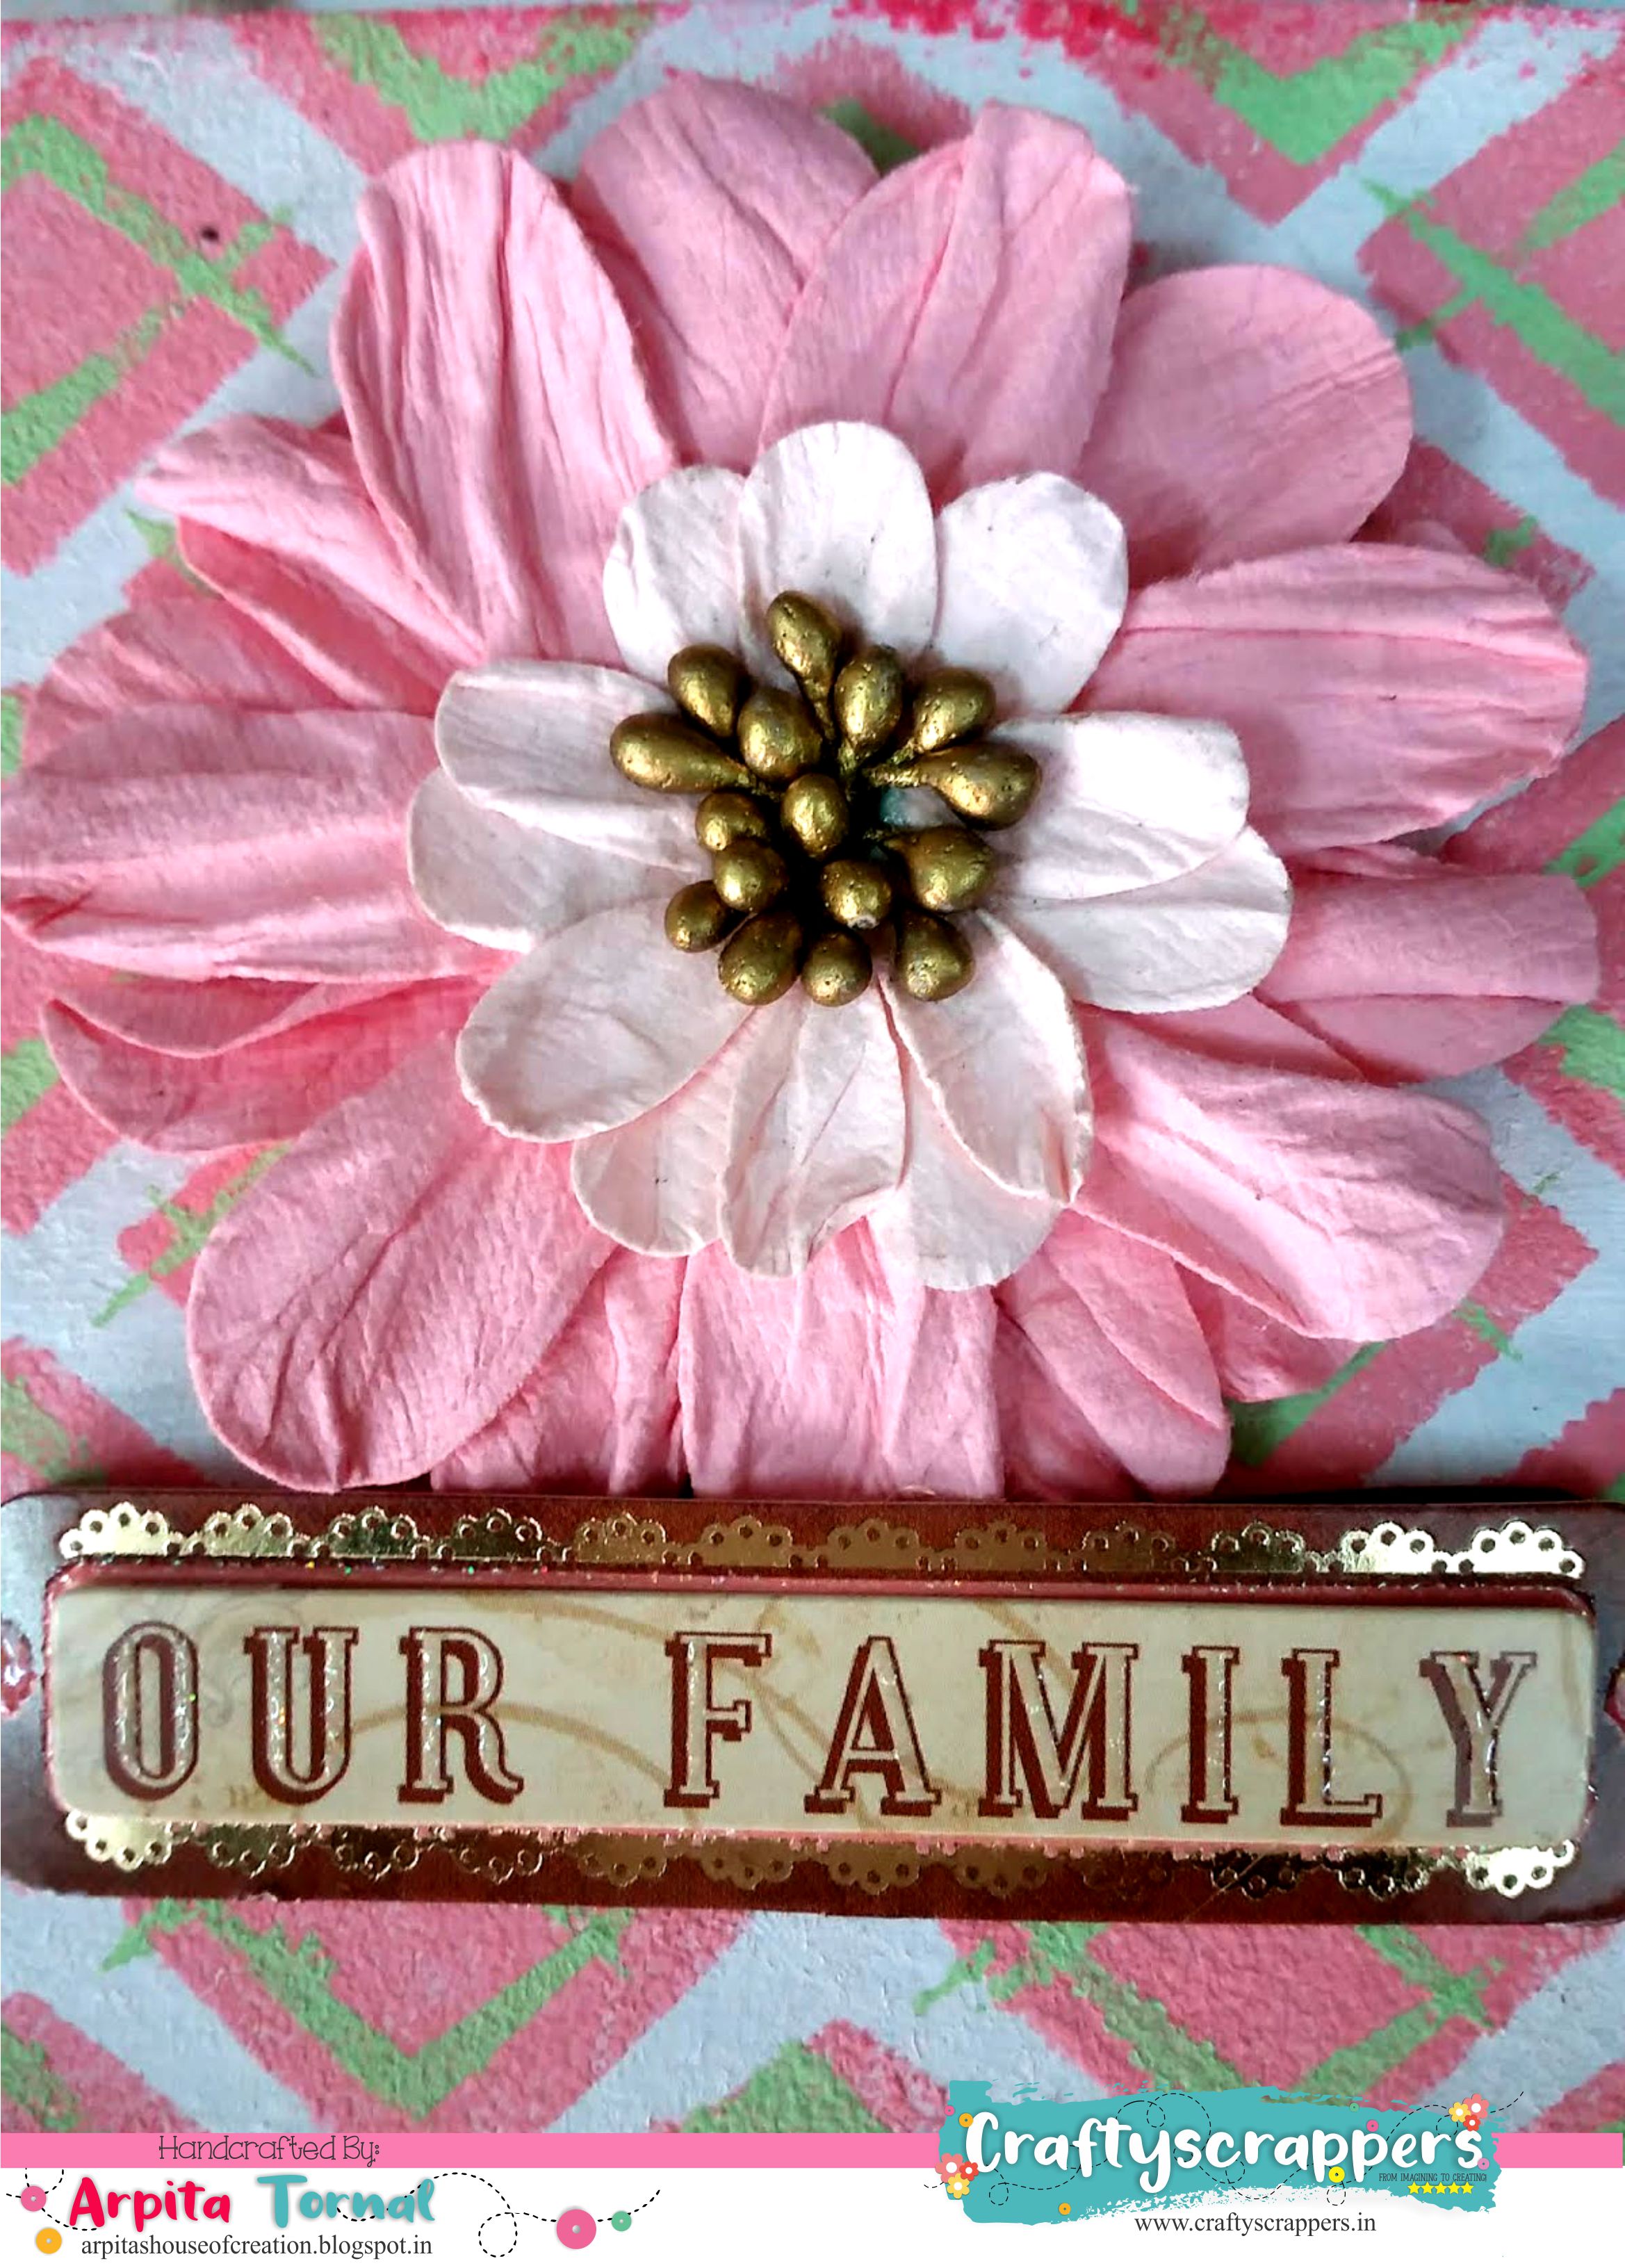
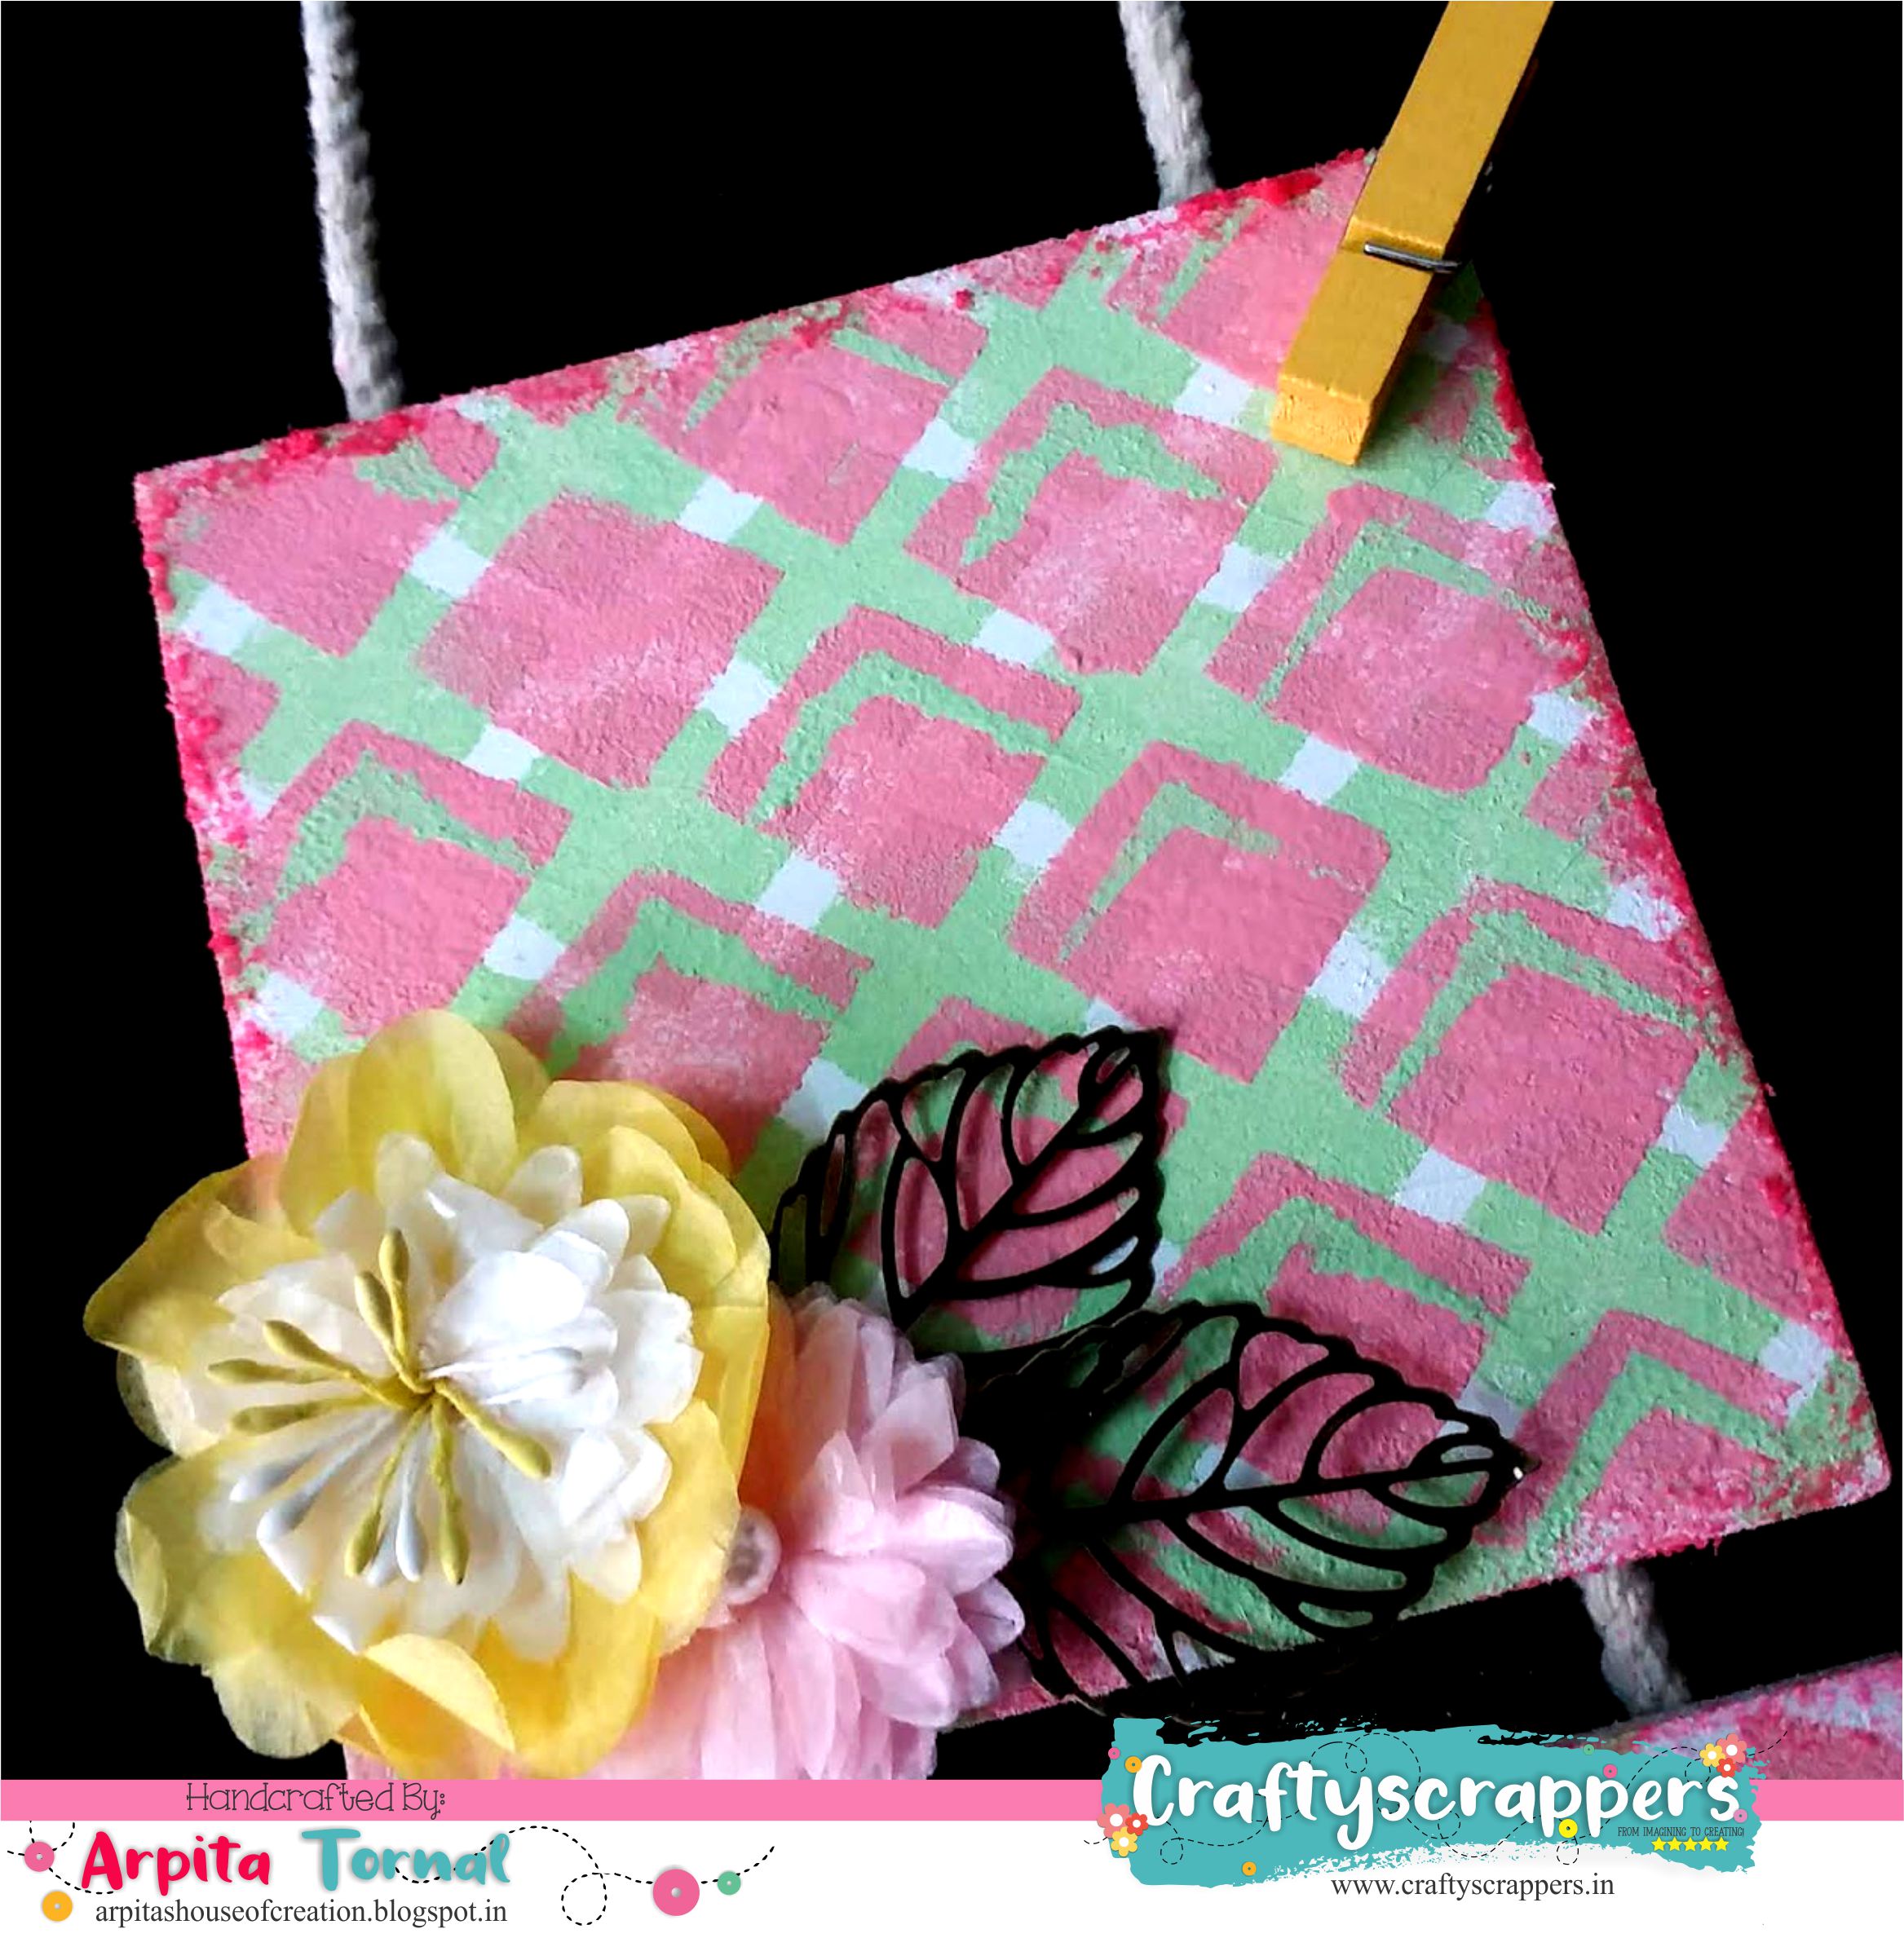
- I have taken 4*4” sized wooden pieces,sanded them.
- Gave it to 2 coats of white acrylic paint.
- Using the Arrow Pattern stencil ,for each pannel created different patterns.
- Finally added a few embelishments and I was done.

So That’s all from my end today.I hope you like this easy to make home decor piece.
Do leave some love and feedback below and I will be back soon for more inspirations!
Don’t forget to join in our craft challenges,(details at the beginning of the post!)
You can participate via mr.linky (at the end of the challenge post)or via facebook,Instagram and even via email.
(While sharing your creation post over the social media, ie
Facebook/twitter/instagram
please use #Craftyscrappers challenge24 to qualify for submission,
failing to do so, the entry would be disqualified.)
Thanks for stopping by.
Happy Crafting!