
Hello Crafty Friends!
Konica here today at the blog and Welcome to our mid-month Creative design team Inspirations following this months challenge#24 on RAKSHABANDHAN theme.
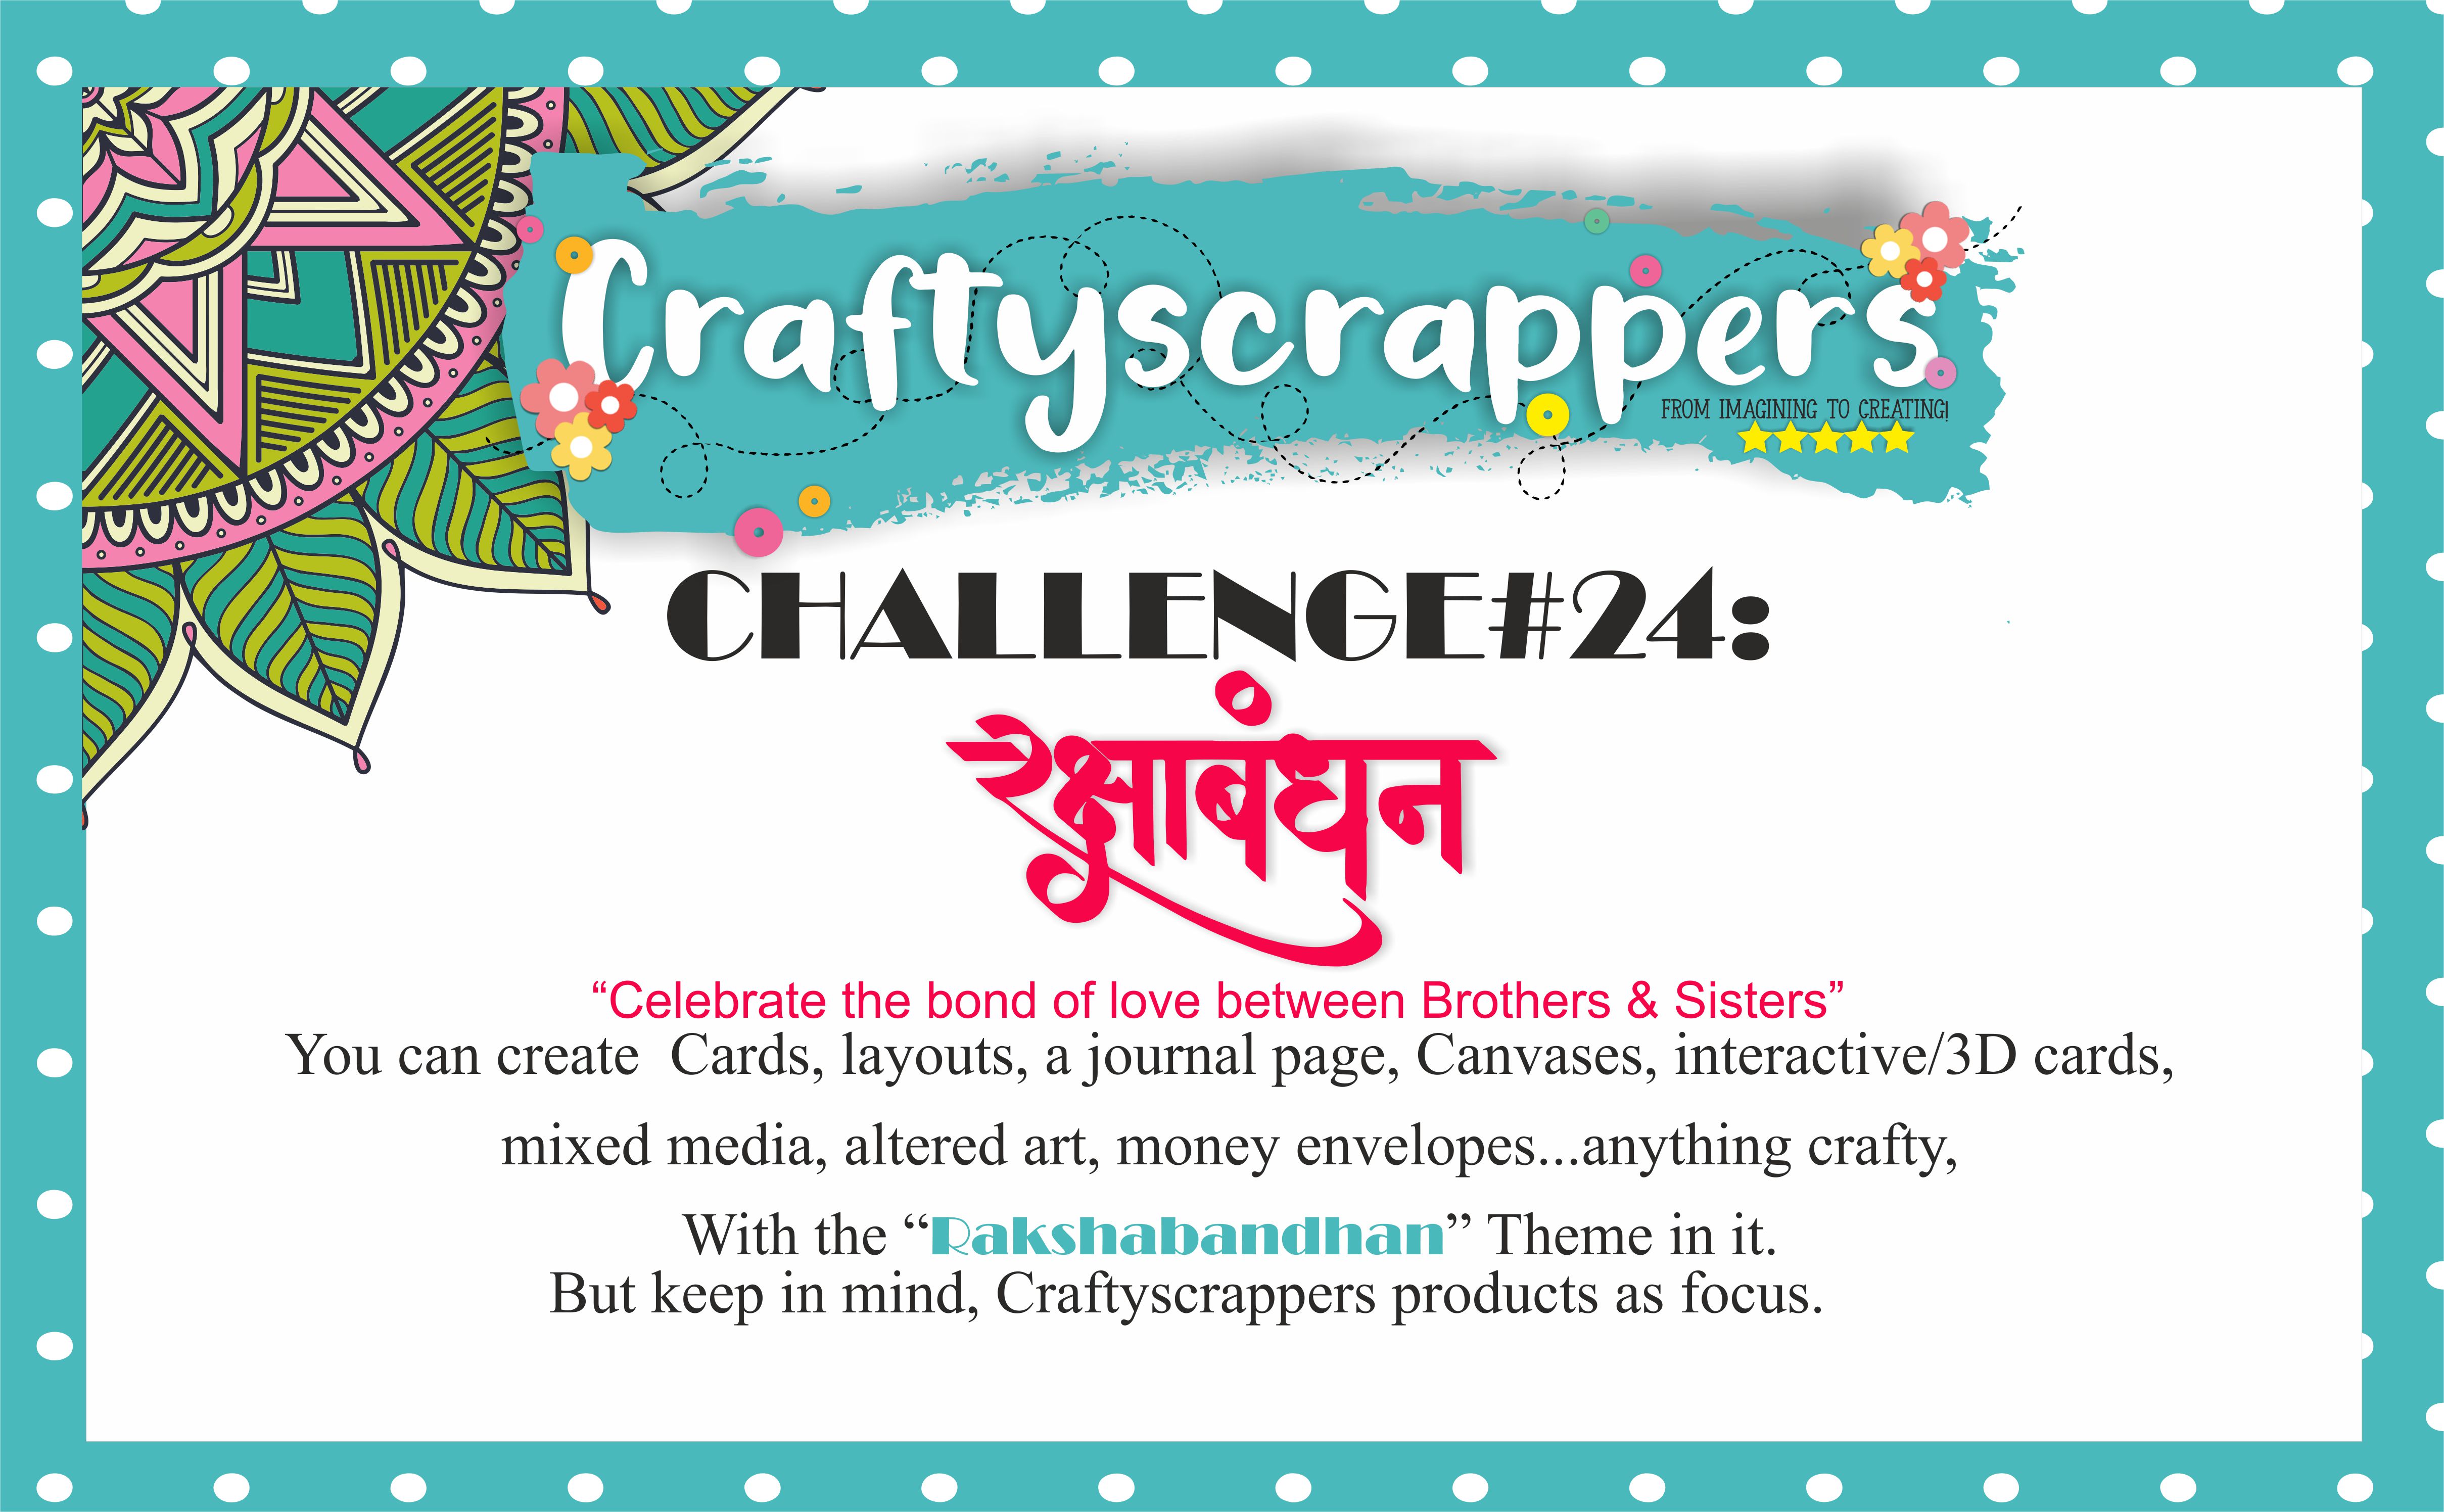
You can create Cards, layouts, a journal page, Canvases, interactive/3D cards,
mixed media, altered art,money envelopes …anything crafty,
With the RAKSHA BANDHAN theme in it!
But keep in mind, Craftyscrappers products as focus.
The challenge runs until 31st August so there is still plenty of time if you have not already joined in or would like to enter a second or even third time to be in with a chance of winning…
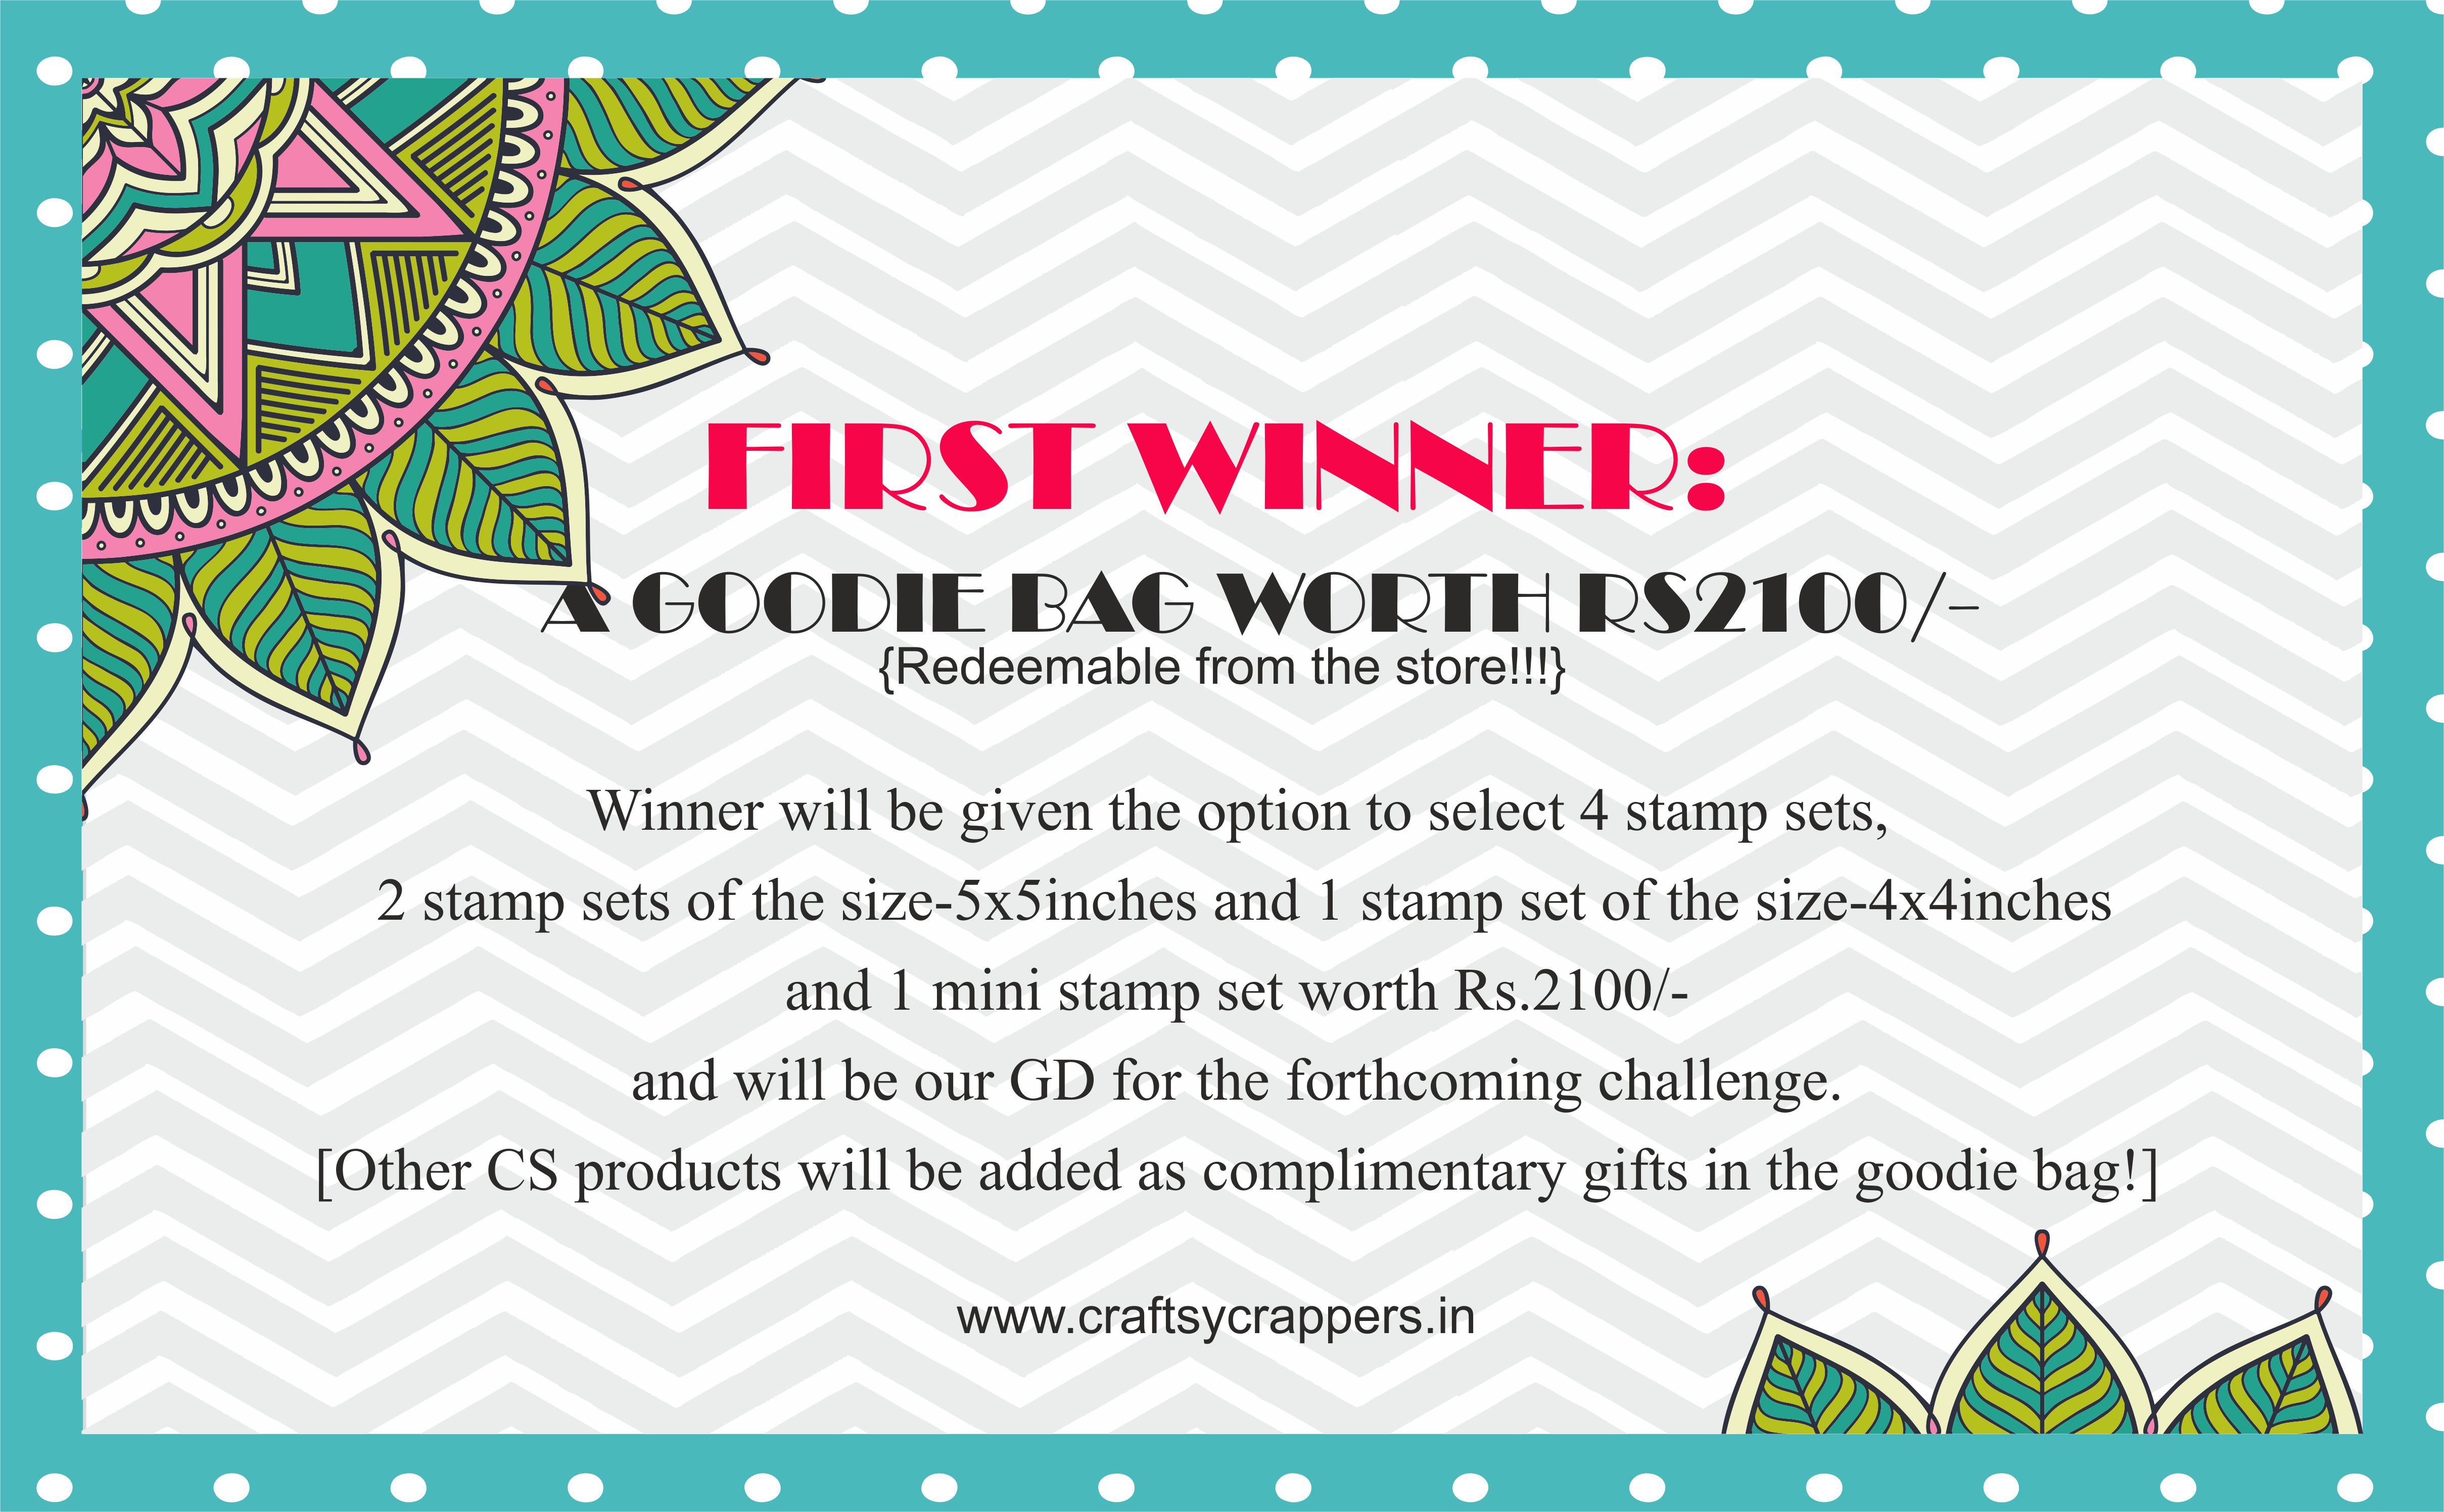
Top 2 picks will be offered each with a 5x5inch stamp set worth Rs.475each.
All 3 winners will be awarded with the win badge to flaunt on their blogs/facebook pages.

We hope you will get inspired and participate in our CURRENT CHALLENGE.
So here are the Inspirations By our CDTs:
CreativeDesignTeam Member
Hi folks,
This is Anjali ,creative designer at @craftyscrappers
We are having a very festive and colorful challenge going on for Rakshabandhan.
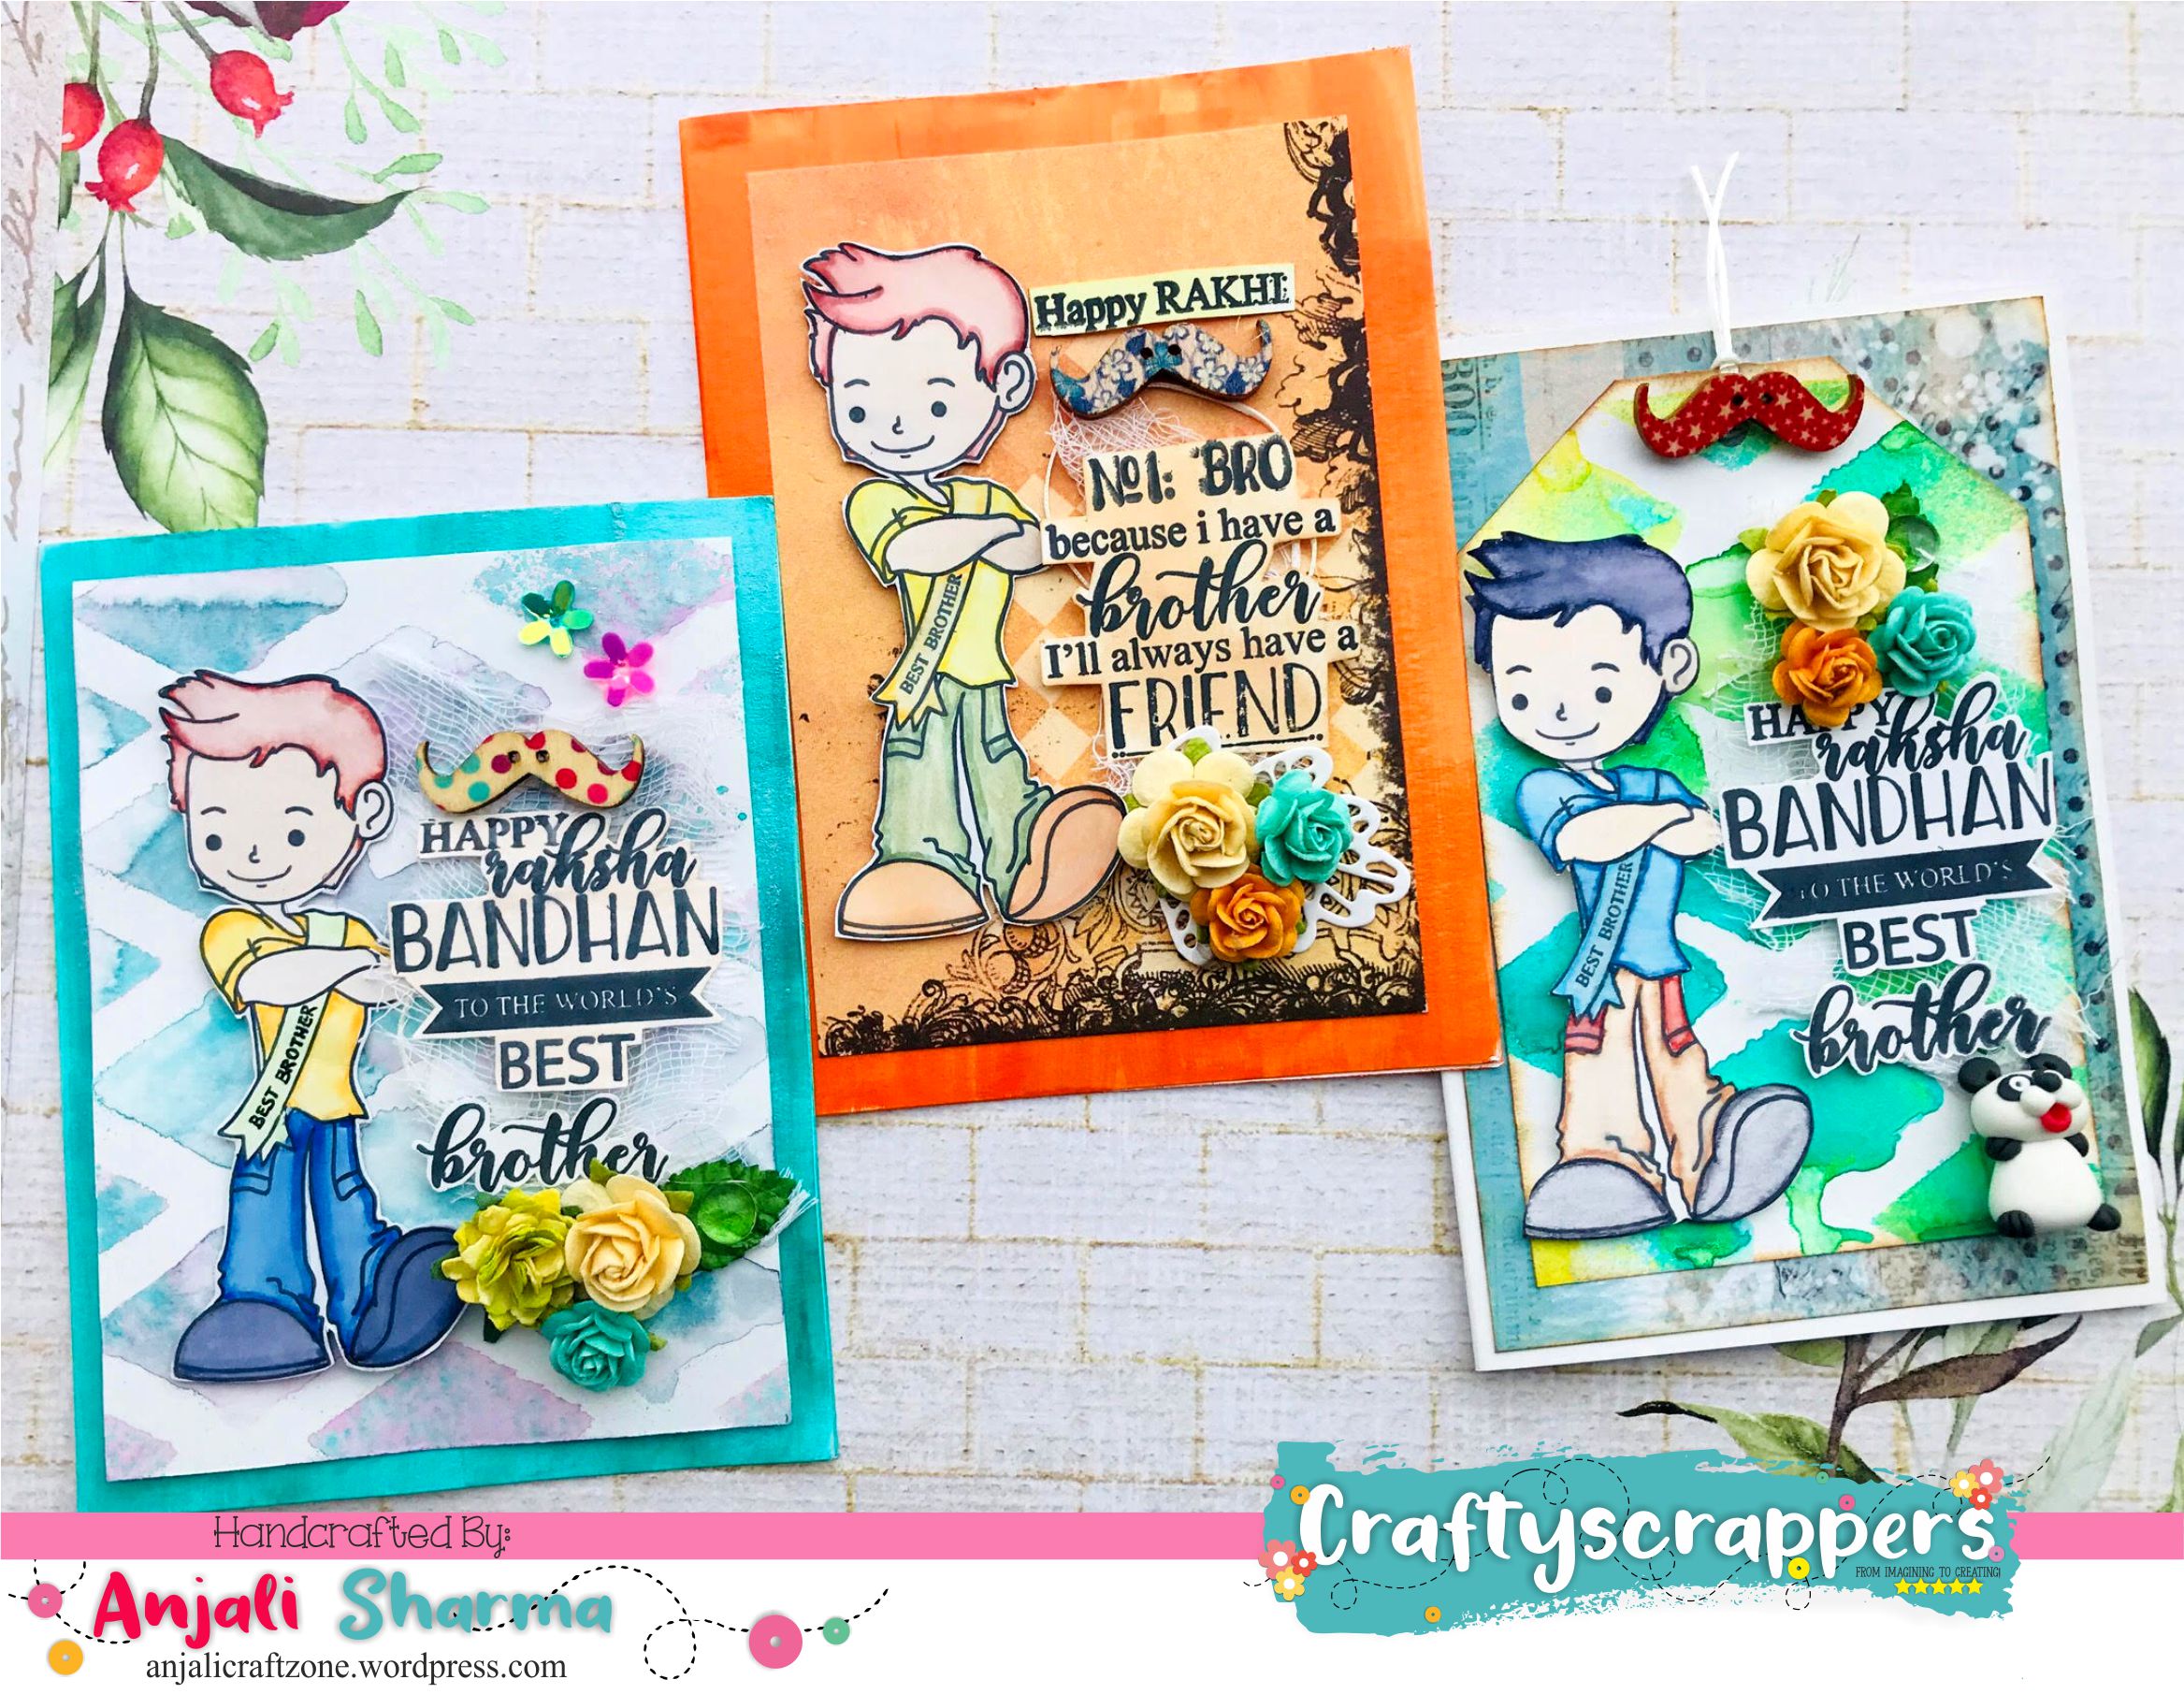
As my inspiration for our this month challenge and releases i have created mixedmedia tag cards and shagun envelopes using the versatile supplies from Craftyscrappers.
My inspirations focuses on the spotlight products:
![st-fest-51no-1bro&sis].jpg](https://craftyscrappers.files.wordpress.com/2018/08/st-fest-51no-1brosis5.jpg)
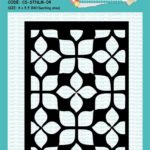
and 2-IN-1DESIGN 3D STENCIL-BOX PATTERN
![cs-stnl-362IN1-BOX PATTERNS].jpg](https://craftyscrappers.files.wordpress.com/2018/08/cs-stnl-362in1-box-patterns2.jpg?w=882)
PROJECT#1 :GORGEOUS MIXED MEDIA TAG CARDS
A BRIEF TUTORIAL:
- I took craftyscrappers Premium white cardstock both for my stamping and card bases.
- Then stenciled using craftyscrappers 2-IN-1 3D DESIGN-BOX PATTERN stencil using shimmer sprays-dancing peacock, sweet sunshine,ocean waves and sweet pumkin.
- Stamped the beautiful brother image from the stamp set-NO#1:BRO & SIS.
- Colored them using zig markers.
- Stamped the sentiment from the same stamp set in black archival ink.
- Added some flowers as decorations and finished the tag cards.
I think it’s a very good idea to gift it as shagun envelope apart from giving Rakshabandhan cards.
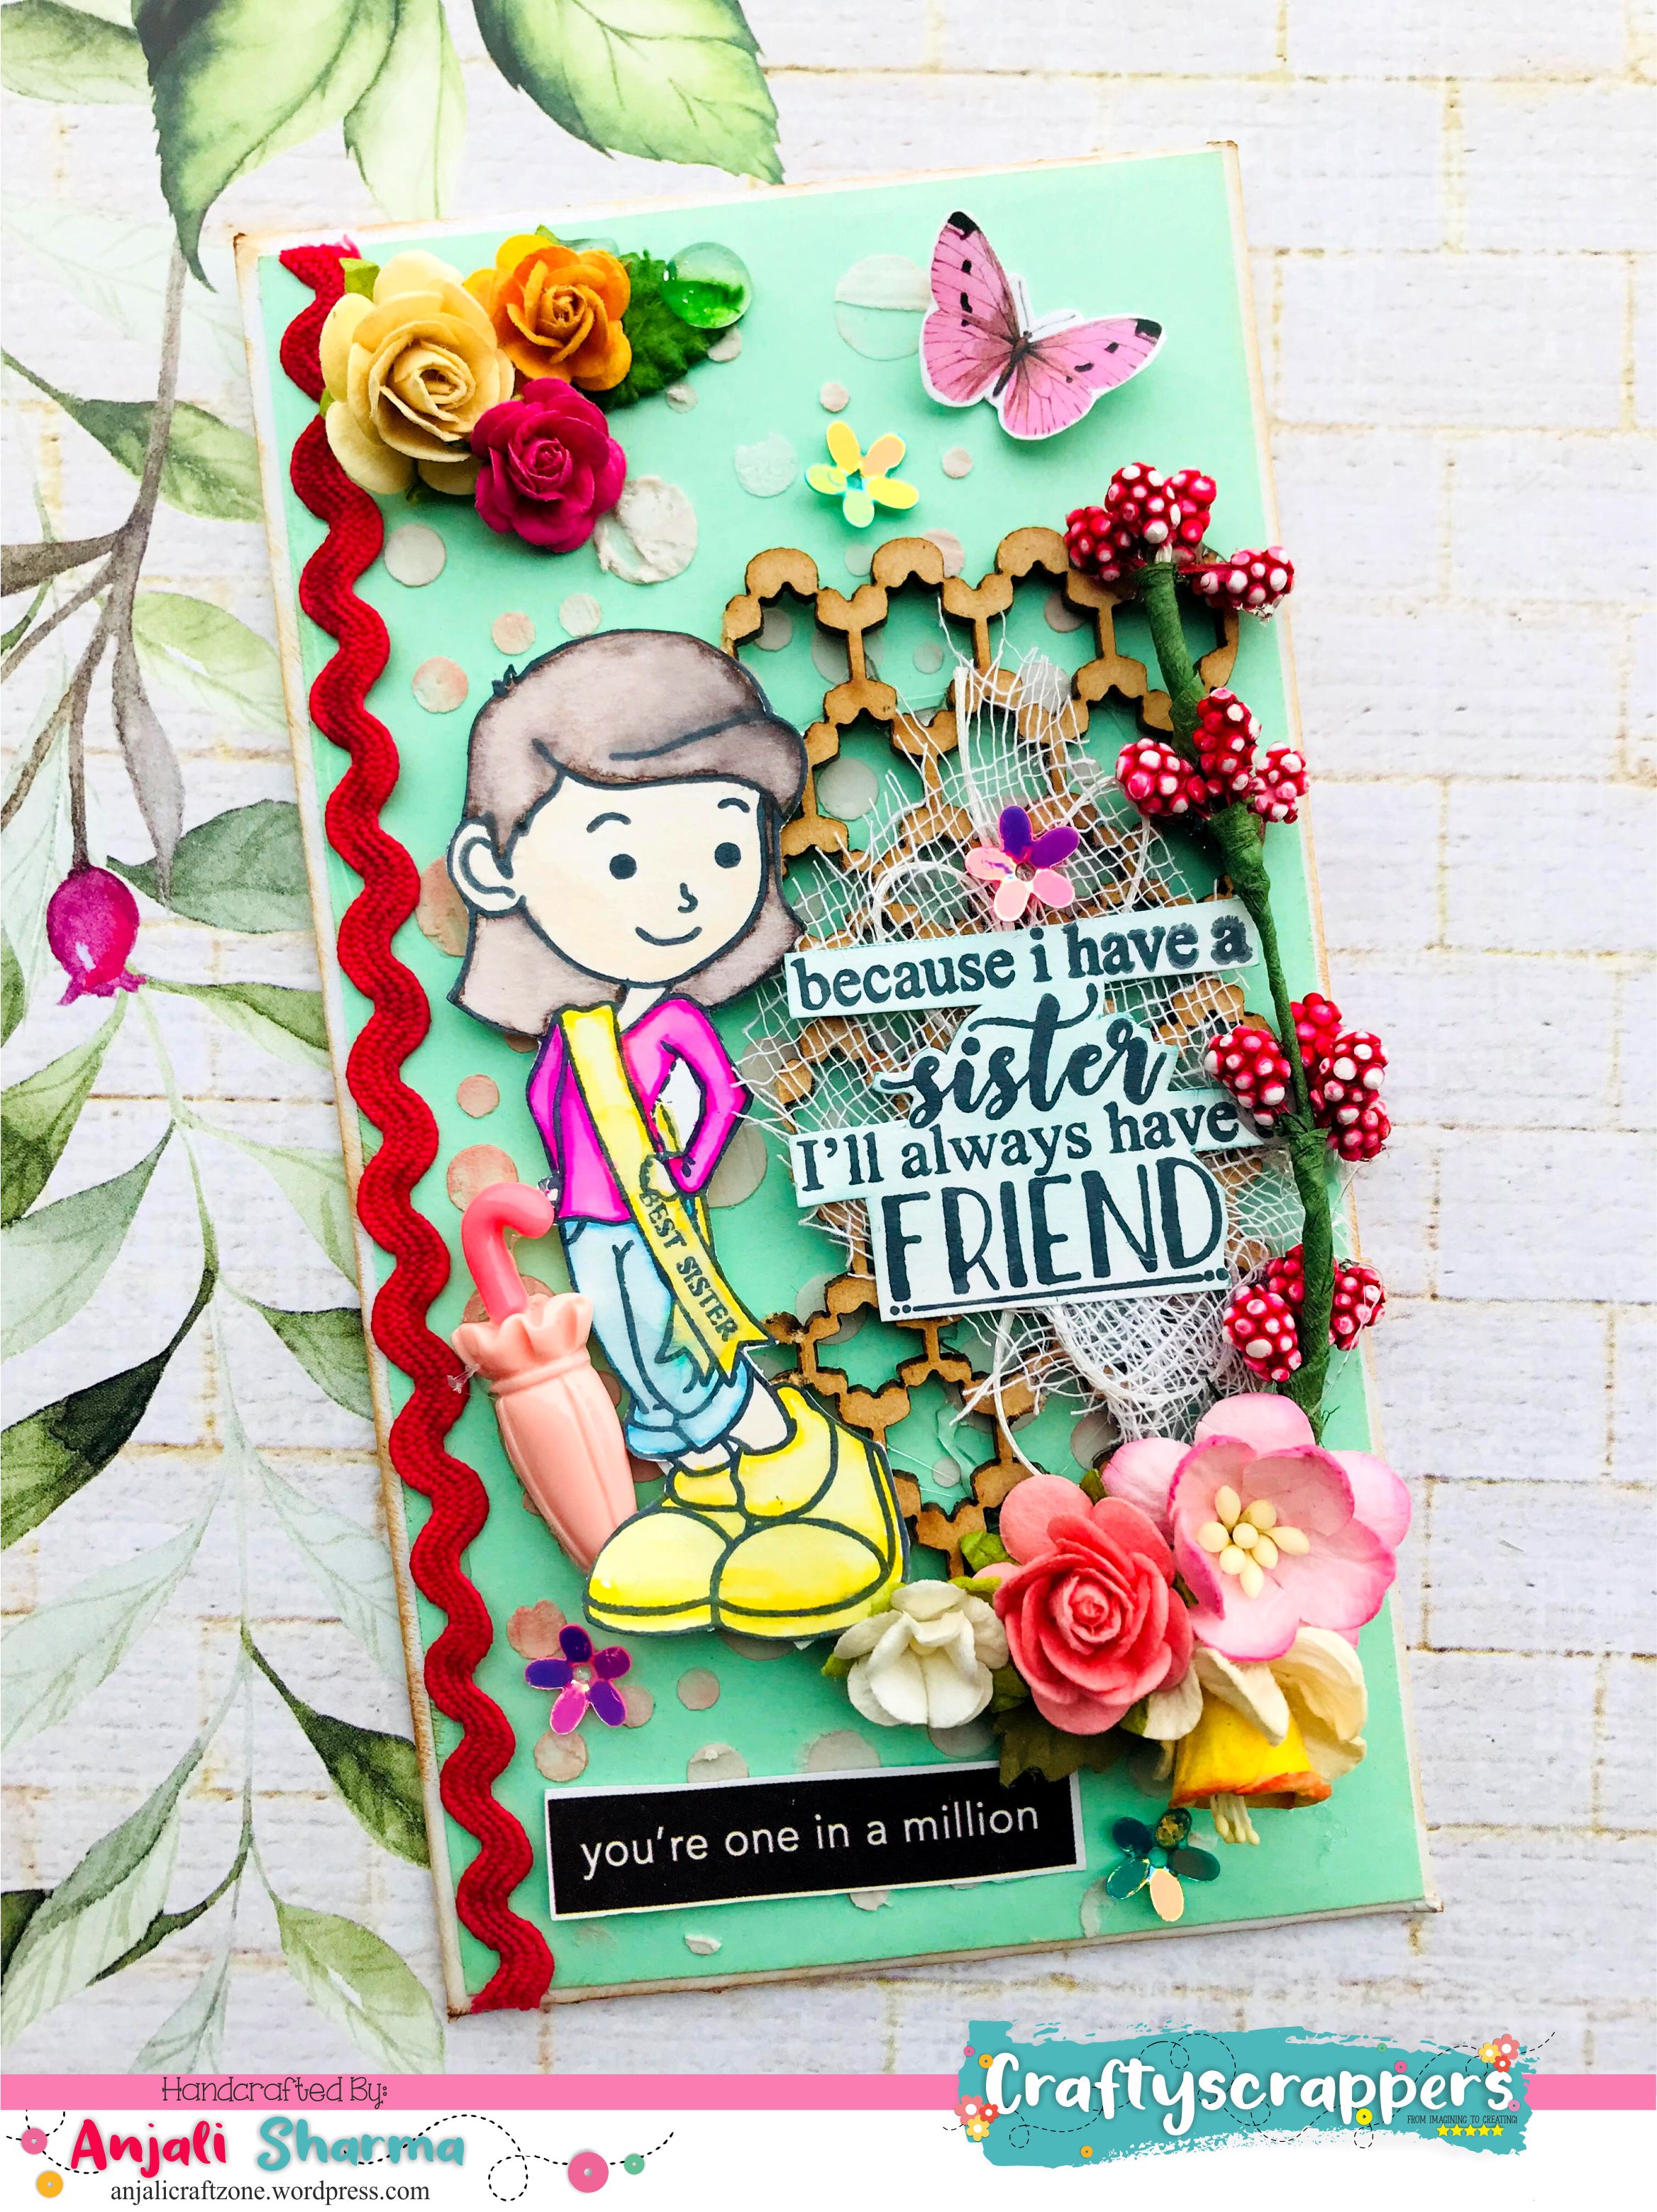
PROJECT#2 :BEAUTIFUL MONEY (shagun) ENVELOPE
A BRIEF TUTORIAL:
- I have mixed spicy walnut shimmer spray with my texture paste for stenciling to give a hint of colour.
- I have done simple layering of chipboard, cheesecloth, twine and then the stamped sentiment and image.
- I coloured the beautiful stamped image from the stamp set- NO#1:BRO & SIS using Zig markers.
- Lastly I decorated my envelope with craftyscrappers shaker elements and flowers to make the envelope more pretty.
Facebook Page : https://www.facebook.com/Anjalicraftzone/
Instagram : https://www.instagram.com/anjalis_handmadecards
YouTube : Anjali’s handmade cards
Blogspot : anjalicraftzone.wordpress.com
CreativeDesignTeam Member

Hi my artsy and crafty friends,
This is Archana ,creative designer at @craftyscrappers.
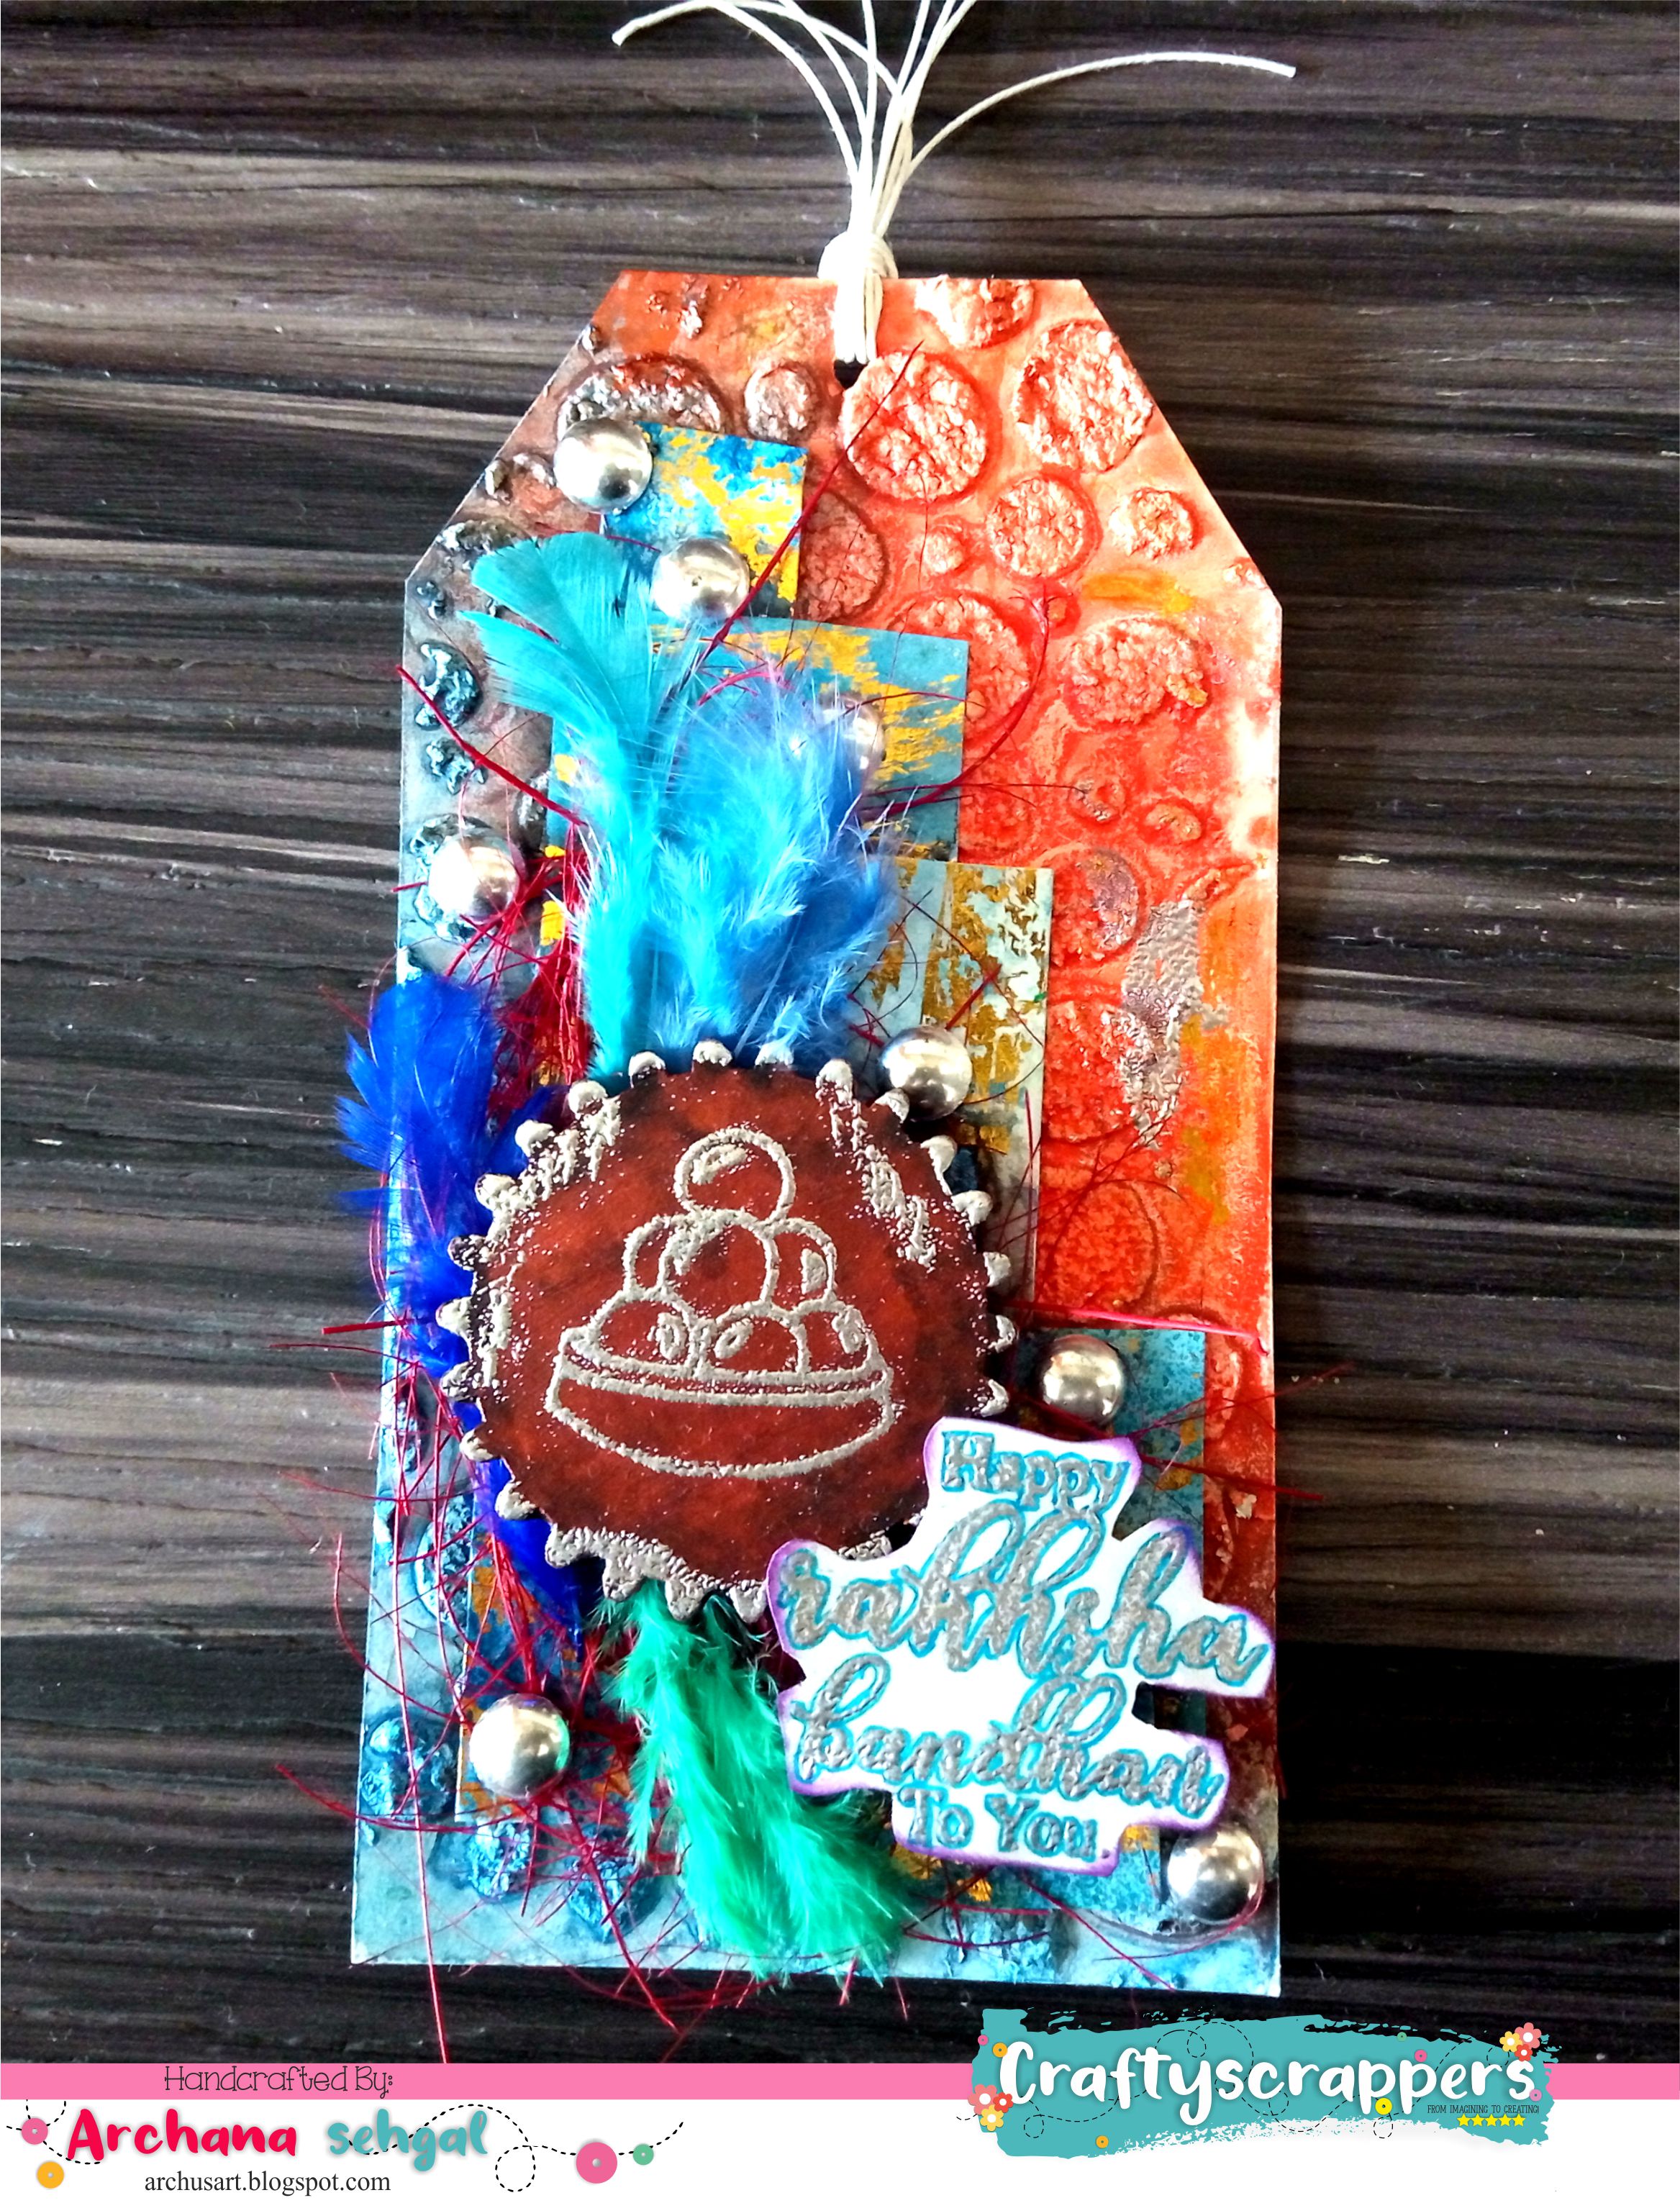
Today im here with a mixed media Rakhi tag as an inspiration for our ongoing challenge on Rakshabandhan and i thought a mixed media tag will be just the right thing to add in to the sweets and goodies package while gifting it to your brother or sister on rakshabandhan.
My inspirations focuses on the spotlight products:
STAMP SET- HAPPY RAKHI
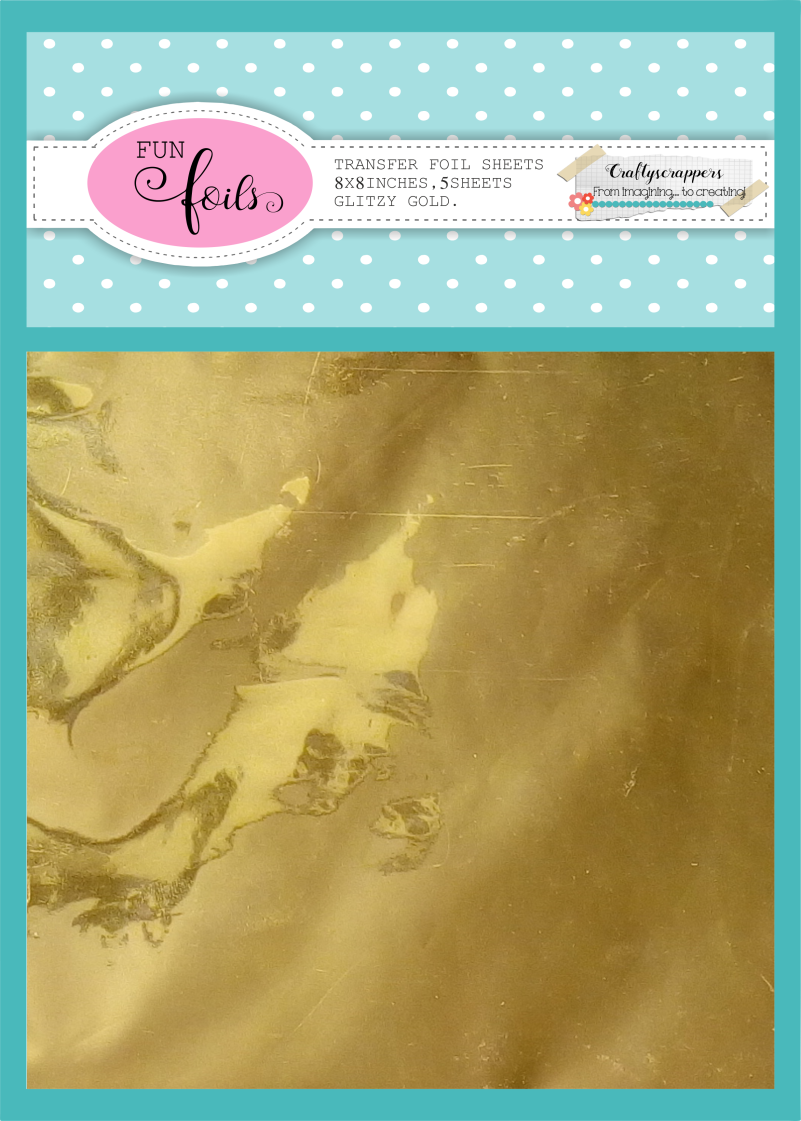
and FUN-FOILS- GLITZY GOLD
PROJECT#1 :BEAUTIFUL MIXED MEDIA RAKHI TAG
A BRIEF TUTORIAL:
- I took premium white cardstock from Craftyscrappers and cutout a tag shape around 6 inches x 3 inches and Created texture using texture paste and stencil.
- Colored the tag using Craftyscrappers Shimmer spray, The shades I used are called “Sweet Pumpkin” and “Ocean waves”.
- On another white cardstock I sprayed some Shimmer sprays called “Rusty Denim” and lift up excess paint from the cardstock using tissue, once it dries completely I transferred some fun foils-Glitzy Gold by @craftyscrappers on it randomly.
- Next I took wooden gear and stamp image directly on the gear and apply silver embossing powder on it. For this I used stamp set called “Happy Rakhi”.
- Made pieces of cardstock which I colored earlier and place them on tag forming a random composition.
- I pasted colored coconut fiber and feathers behind the wooden gear and place it on tag.
- To finish the tag added beautiful sentiment from the same stamp set.
Facebook Page : https://www.facebook.com/ArchusArtworld/
Instagram : https://www.instagram.com/archana.sehgal/
Pinterest : https://in.pinterest.com/ArchusArtWorld/
Blogspot : https://archusart.blogspot.in/
CreativeDesignTeam Member
Hello crafty people!
Devika here, ,creative designer at @craftyscrappers
Rakhi is just around the corner…
so how about making magical, superhero cards for your siblings??!!
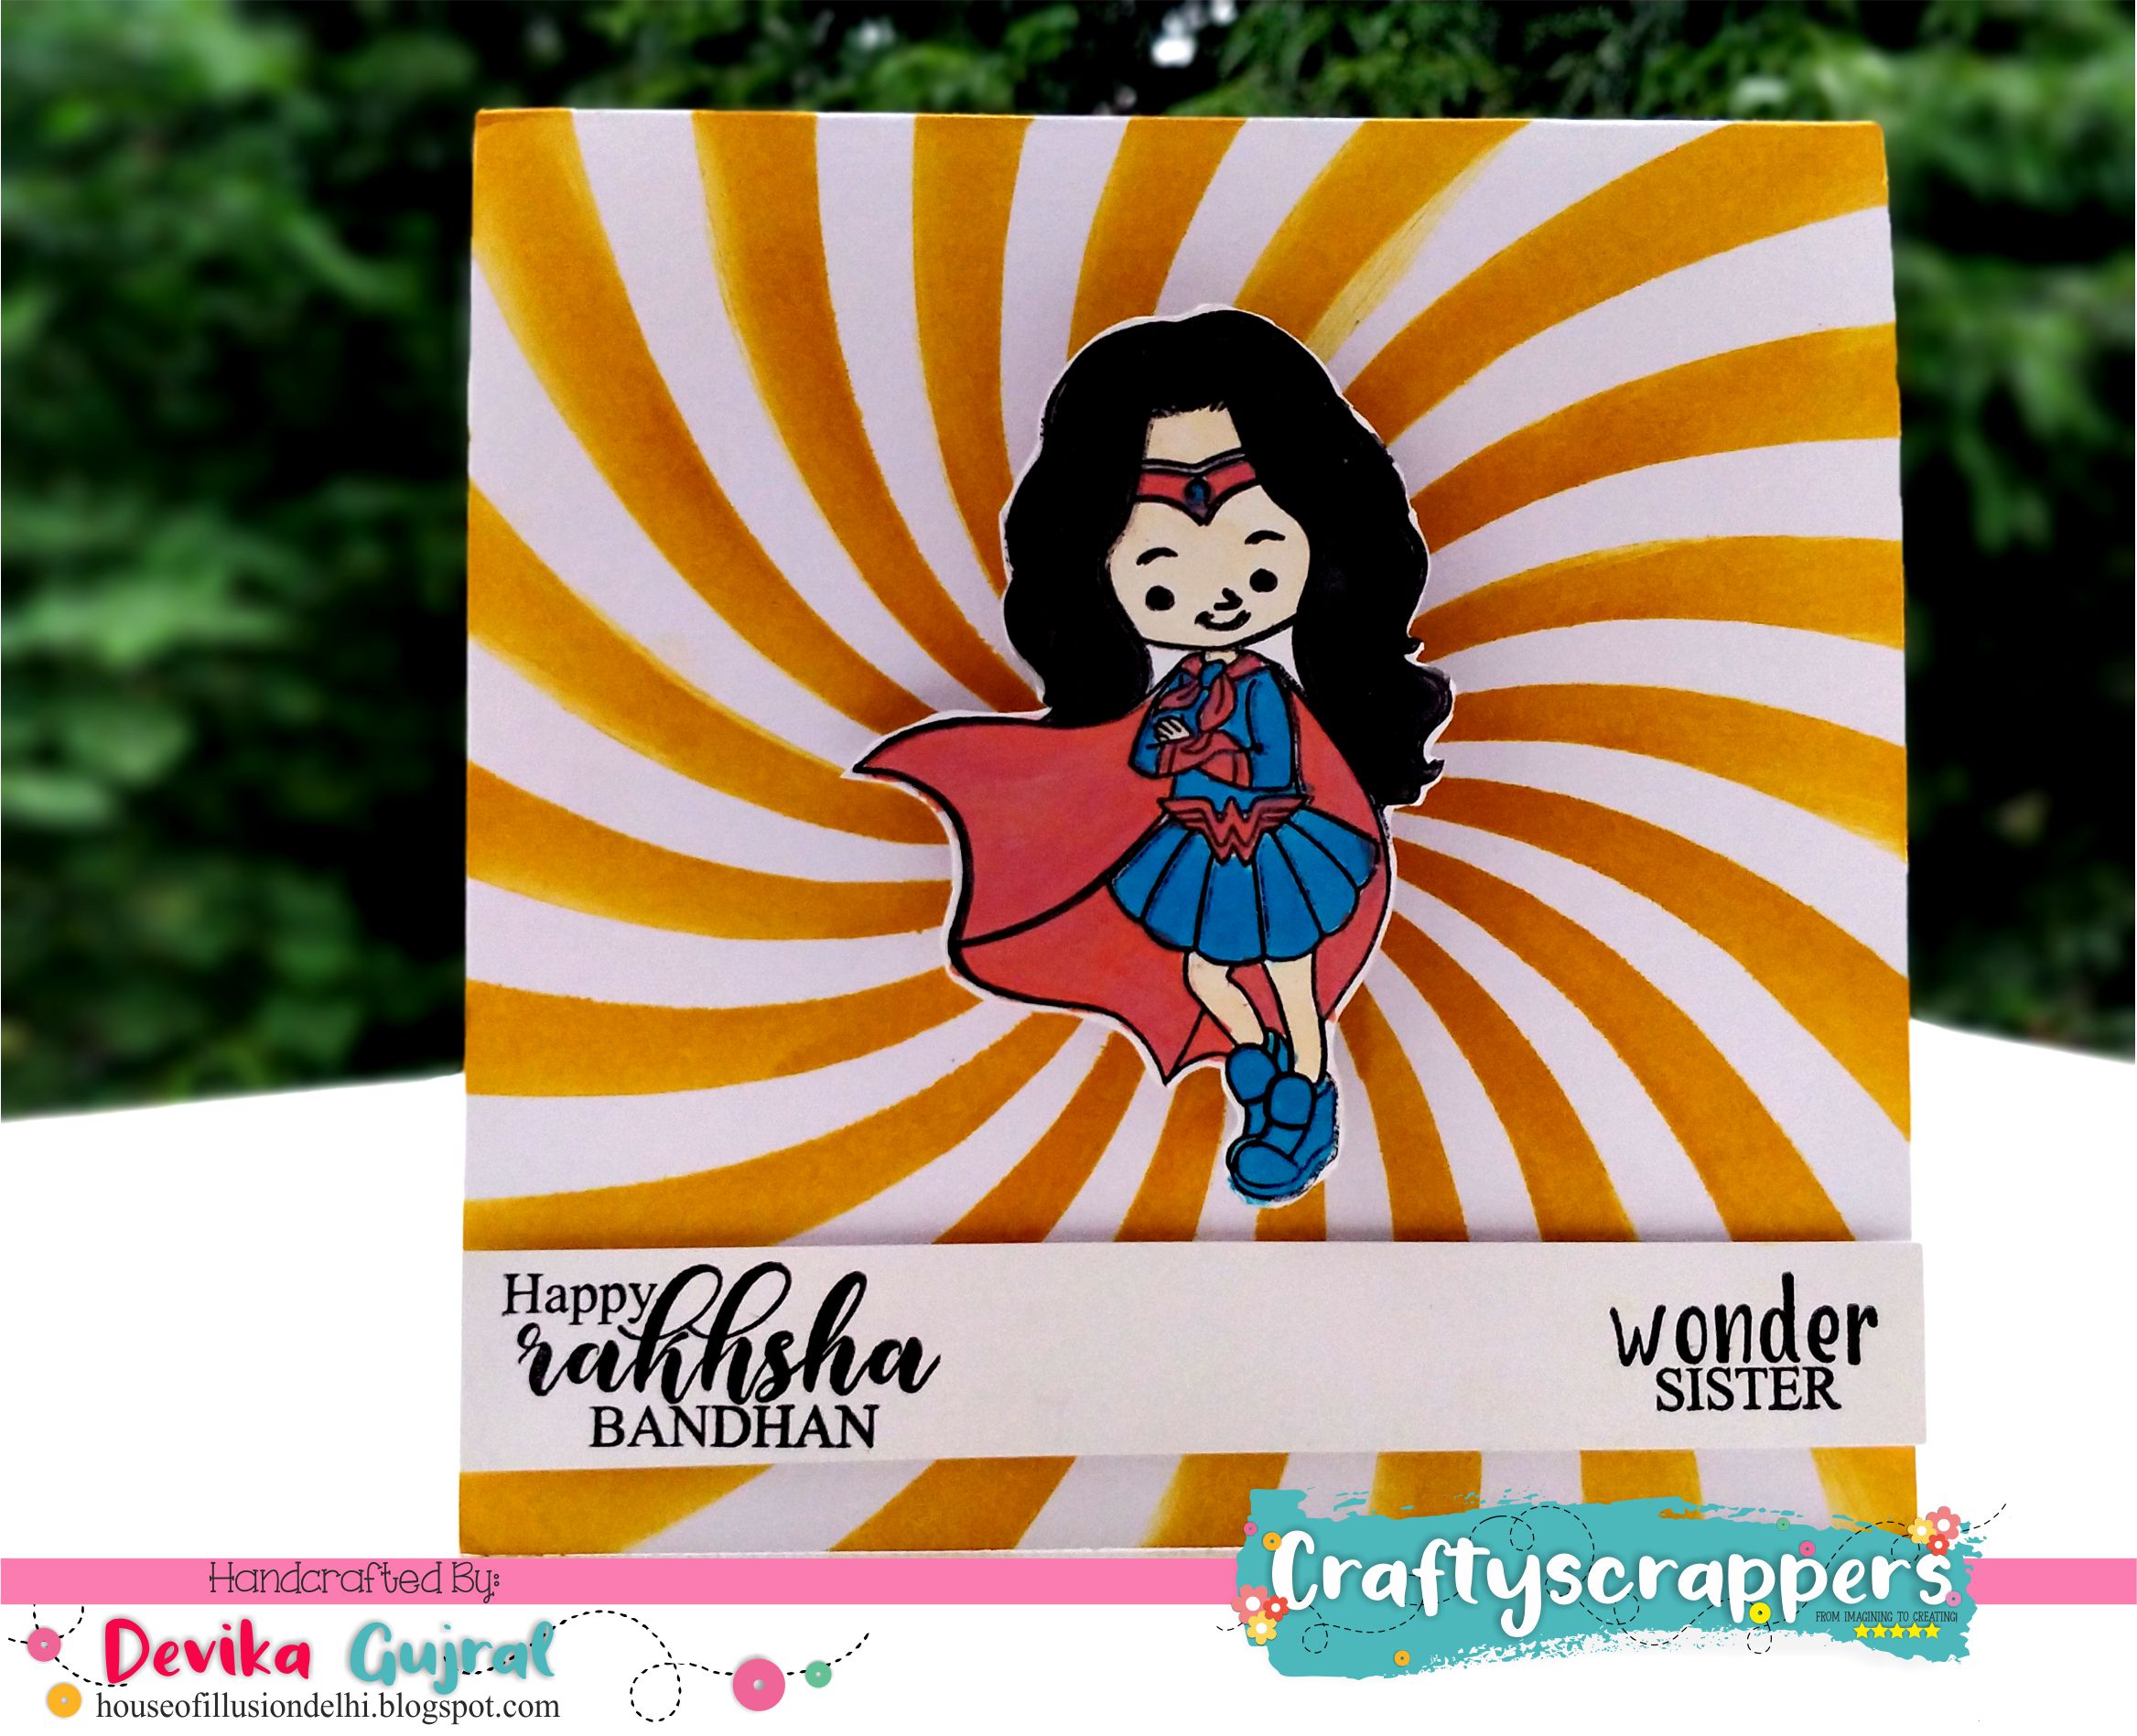
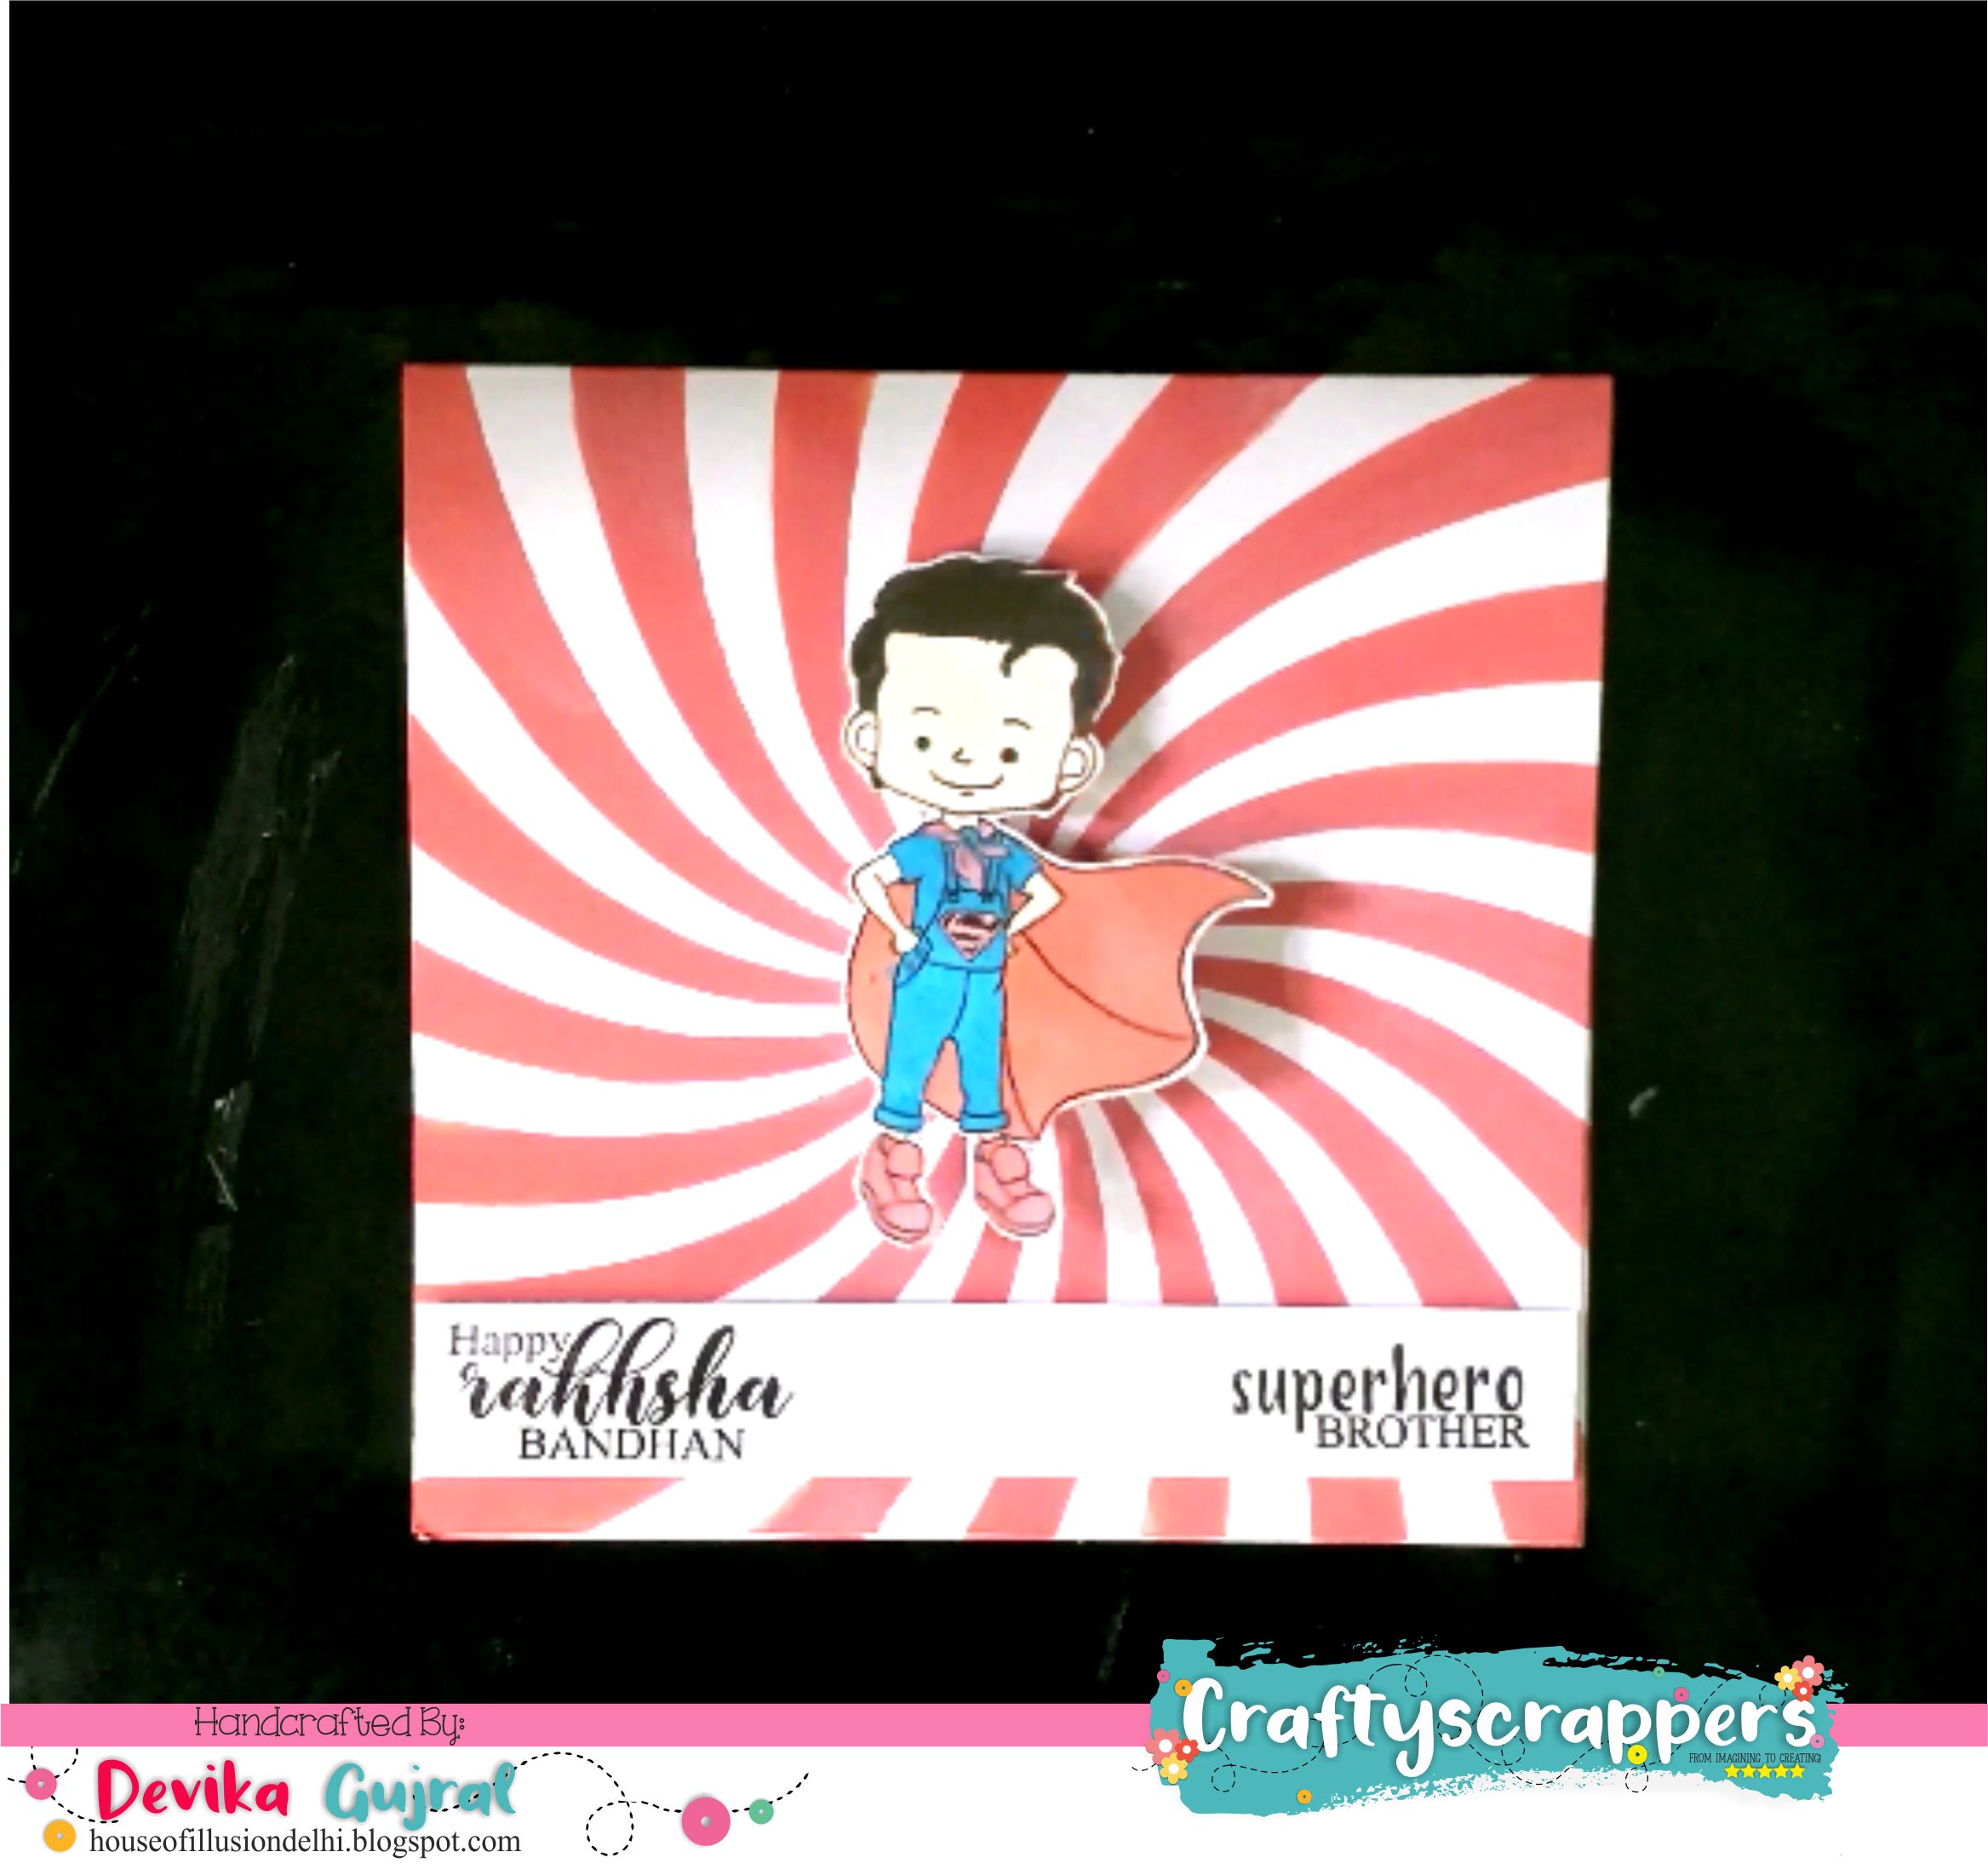
So for our mid month challenge inspiration i have created a superhero rakhi card using the stamp set, super siblings by craftyscrappers.I am absolutely in love with this stamp set…the images and sentiments are just perfect to express your love to your super siblings 😀
My inspirations focuses on the spotlight products:
STAMP SET- SUPER SIBLINGS
![st-fest-50[super-siblings].jpg](https://craftyscrappers.files.wordpress.com/2018/08/st-fest-50super-siblings2.jpg?w=892)
and STENCIL- Create-a-scene SPIRAL SUNBURST
![cs-stnl-30[spiral-sunburst].jpg](https://craftyscrappers.files.wordpress.com/2018/08/cs-stnl-30spiral-sunburst.jpg)
PROJECT#1 :BEAUTIFUL WOBBLE SUPERHERO RAKHI CARDS
A BRIEF TUTORIAL:
- Take Craftyscrappers Premium white cardstock.
- Use the Create-a-scene”Spiral Burst” stencil from Craftyscrappers and put Fired Brick Distress Oxide through it for the superhero card and Fossiled Amber for the superwoman card.
- Stamp the images from the “Super siblings” stamp set on Craftyscrappers White cardstock using Black archival ink.
- Colour them using inks/ watercolour/ markers.
- Fussy cut the stamped images from the stamp set-super-siblings.
- Stamp the sentiments from the same stamp set onto a strip of Craftyscrappers Premium White cardstock and attach it on the lower portion of the card.
- And now..my most favorite part 😉 Attach a spring below the fussy cut super heros images..and they will come to life 😀
Hope you had springy… wobbly fun in today’s inspirations! 😉
Facebook Page : https://www.facebook.com/houseofillusiondelhi/
Instagram : https://www.instagram.com/thehouseofillusion/
YouTube : https://www.youtube.com/channel/UCNGR6yuGN1tm2HzpwuYQOIA
Blogspot : houseofillusiondelhi.blogspot.com
CreativeDesignTeam Member

Hello everyone,
Its, This is Mugdha ,creative designer at @craftyscrappers.
Rakshabandhan is one of the indian festivals where sister ties rakhi on the brother’s hand and in turn brother promises sister that he will always protect her,it is the symbol of love between brother and sister..I love this festival alot and enjoy making cards and rakhi’s for my brothers. So for today mid month challenge inspirations, i have made two simple rakshabandhan cards using No.1bro and sis stamp set by Craftyscrappers..This is such a gorgeous stampset and beautifully designed to make cards which you can gift it to your brothers and sisters.
My inspirations focuses on the spotlight products:
And Craftyscrappers PREMIUM WHITE CARDSTOCK

PROJECT#1 :ELEGANT RAKSHABANDHAN CARD
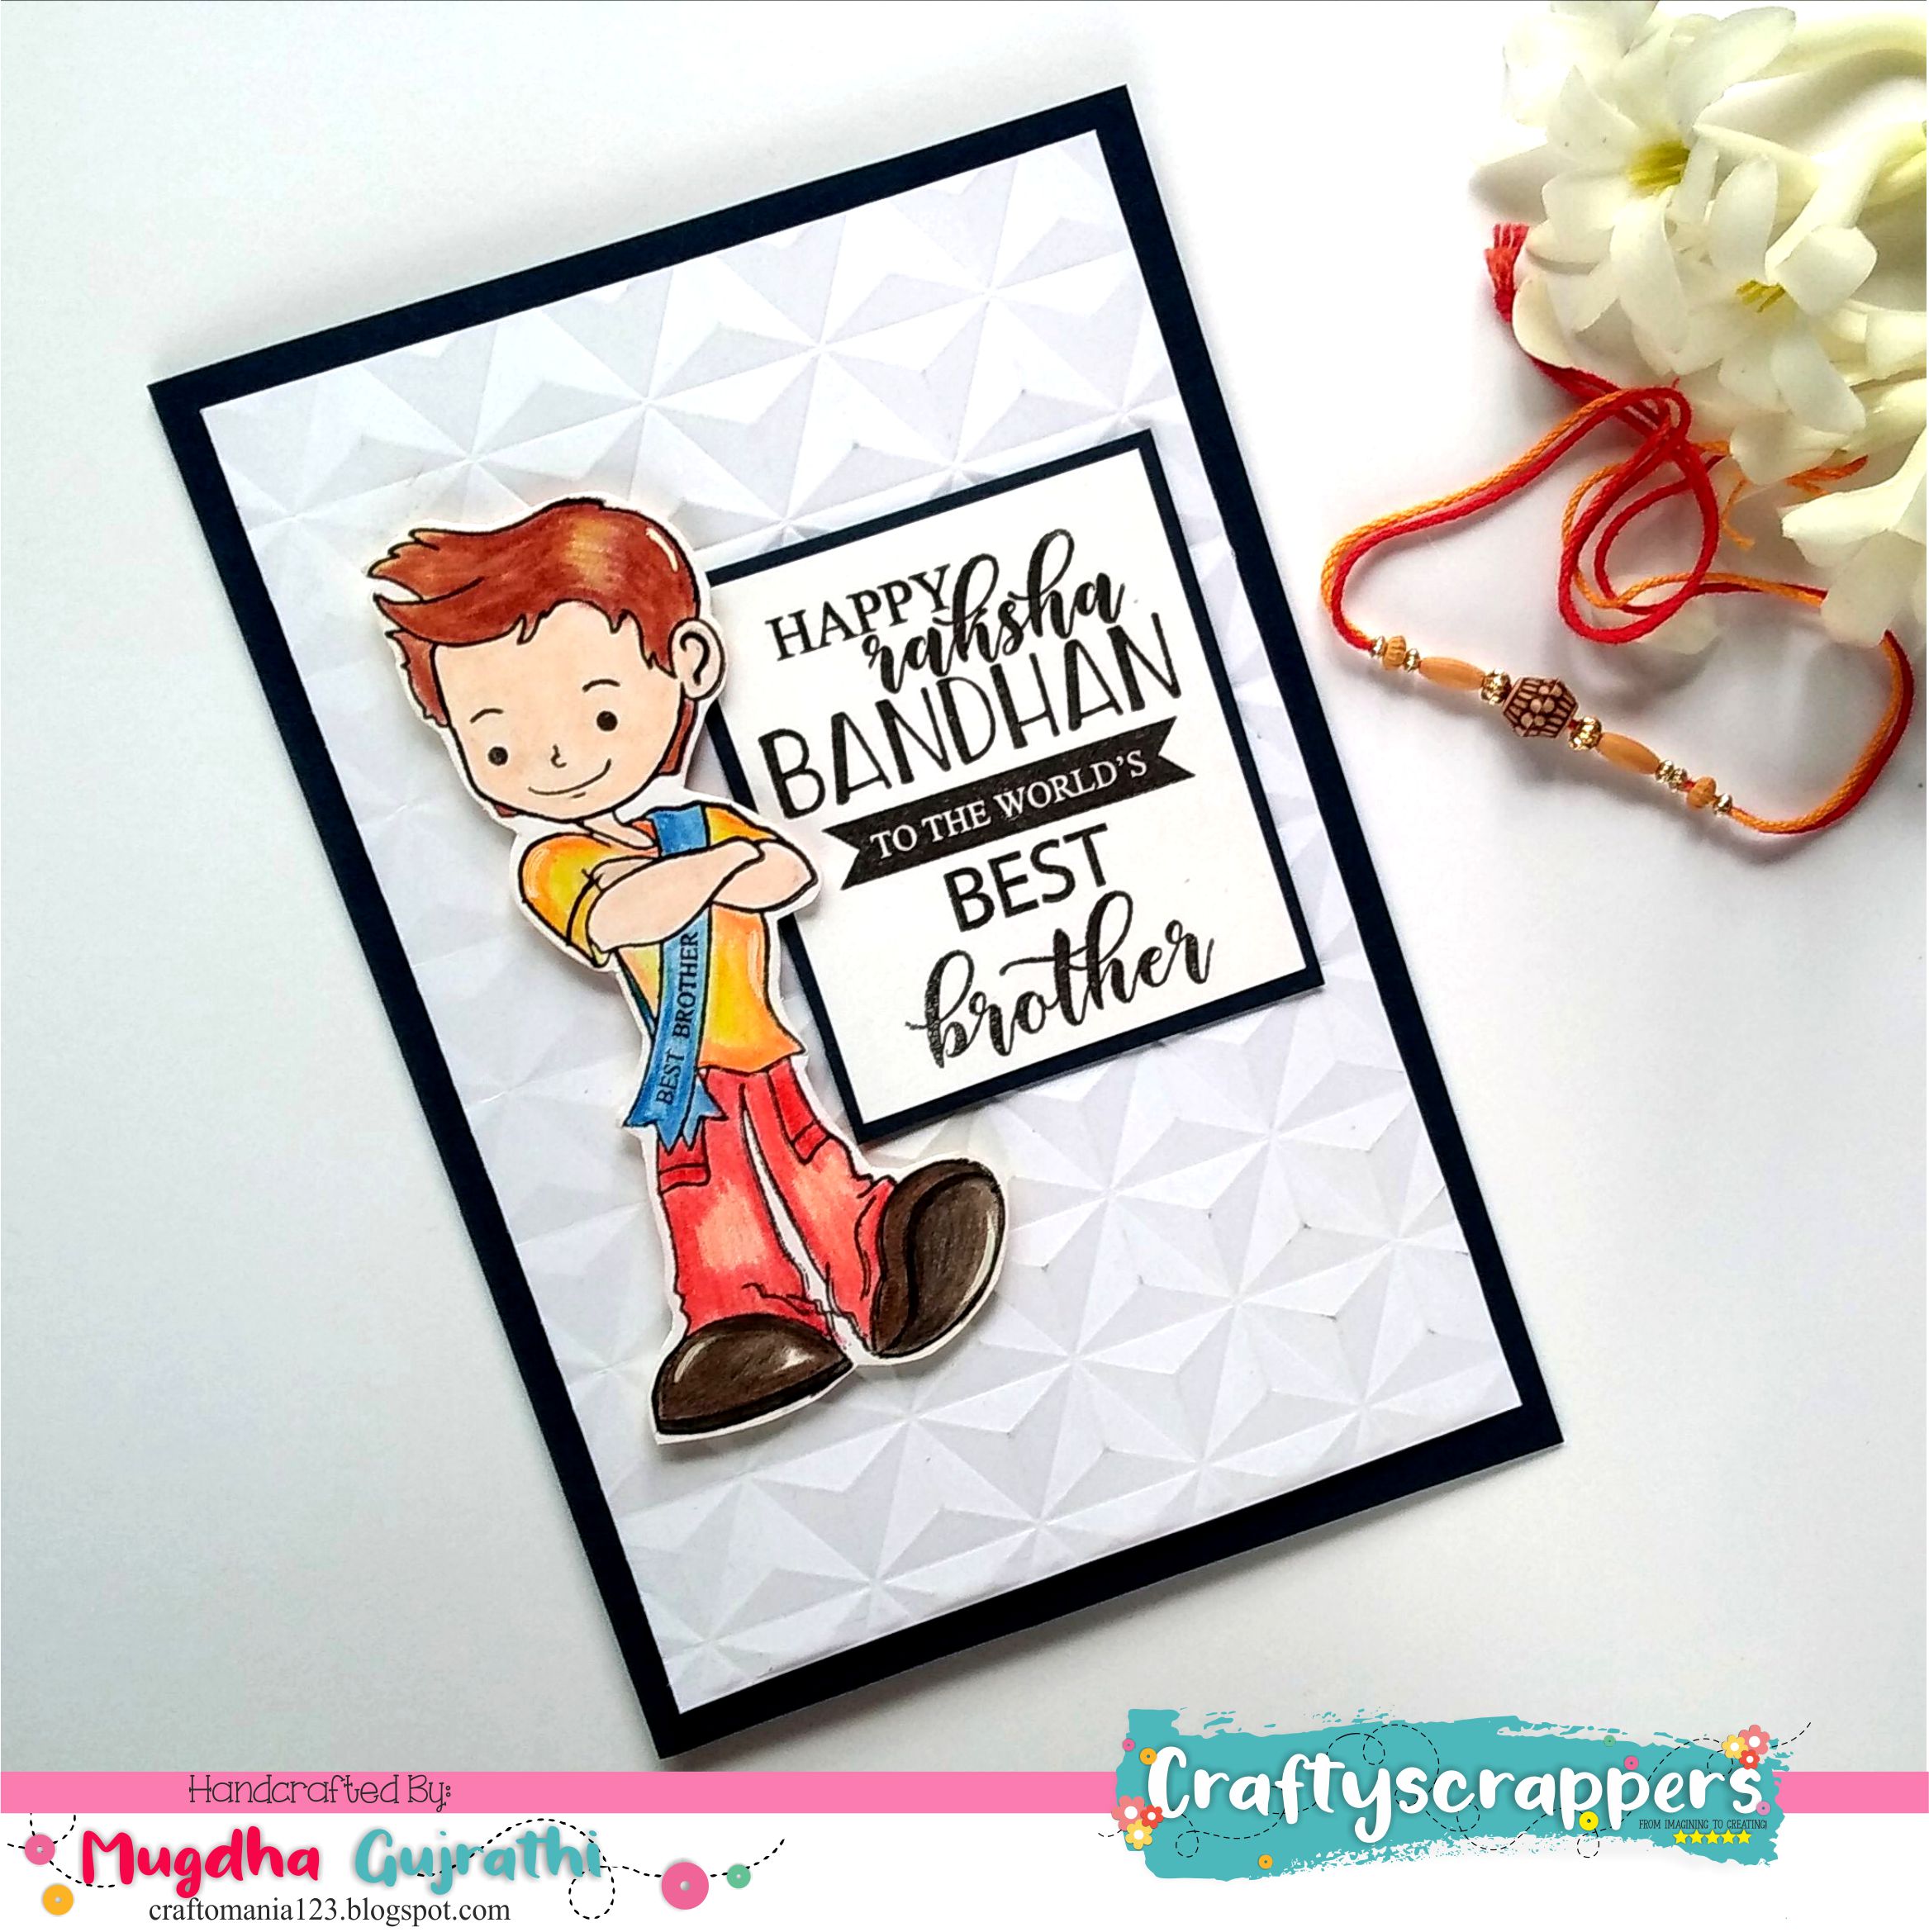
A BRIEF TUTORIAL:
- I took craftyscrappers premium white cardstock and embossed it with geometrical pattern.
- i stamped the No.1 brother image from the stamp set, NO#1:Bro & Sis on the white cardstock and colored it with camlin pencil colors.
- Then i fussy cut the image and adhered it over the embossed background.
- I stamped the beautiful sentiment on white cardstock from the same stamp set and and pasted it over craftyscrappers blue color cardstock and adhered it over embossed background.
- Lastly, I adhered the entire panel on craftyscrappers blue color cardstock.
I am so in love with this stamp set, that i went ahead and created another card,
rakshabandhan is the festival that intrigues all your love and hate relationship with your brothers and sisters and i thought why not make another card to give to my brother.
PROJECT#2 :RAKHI EMBEDDED CARD
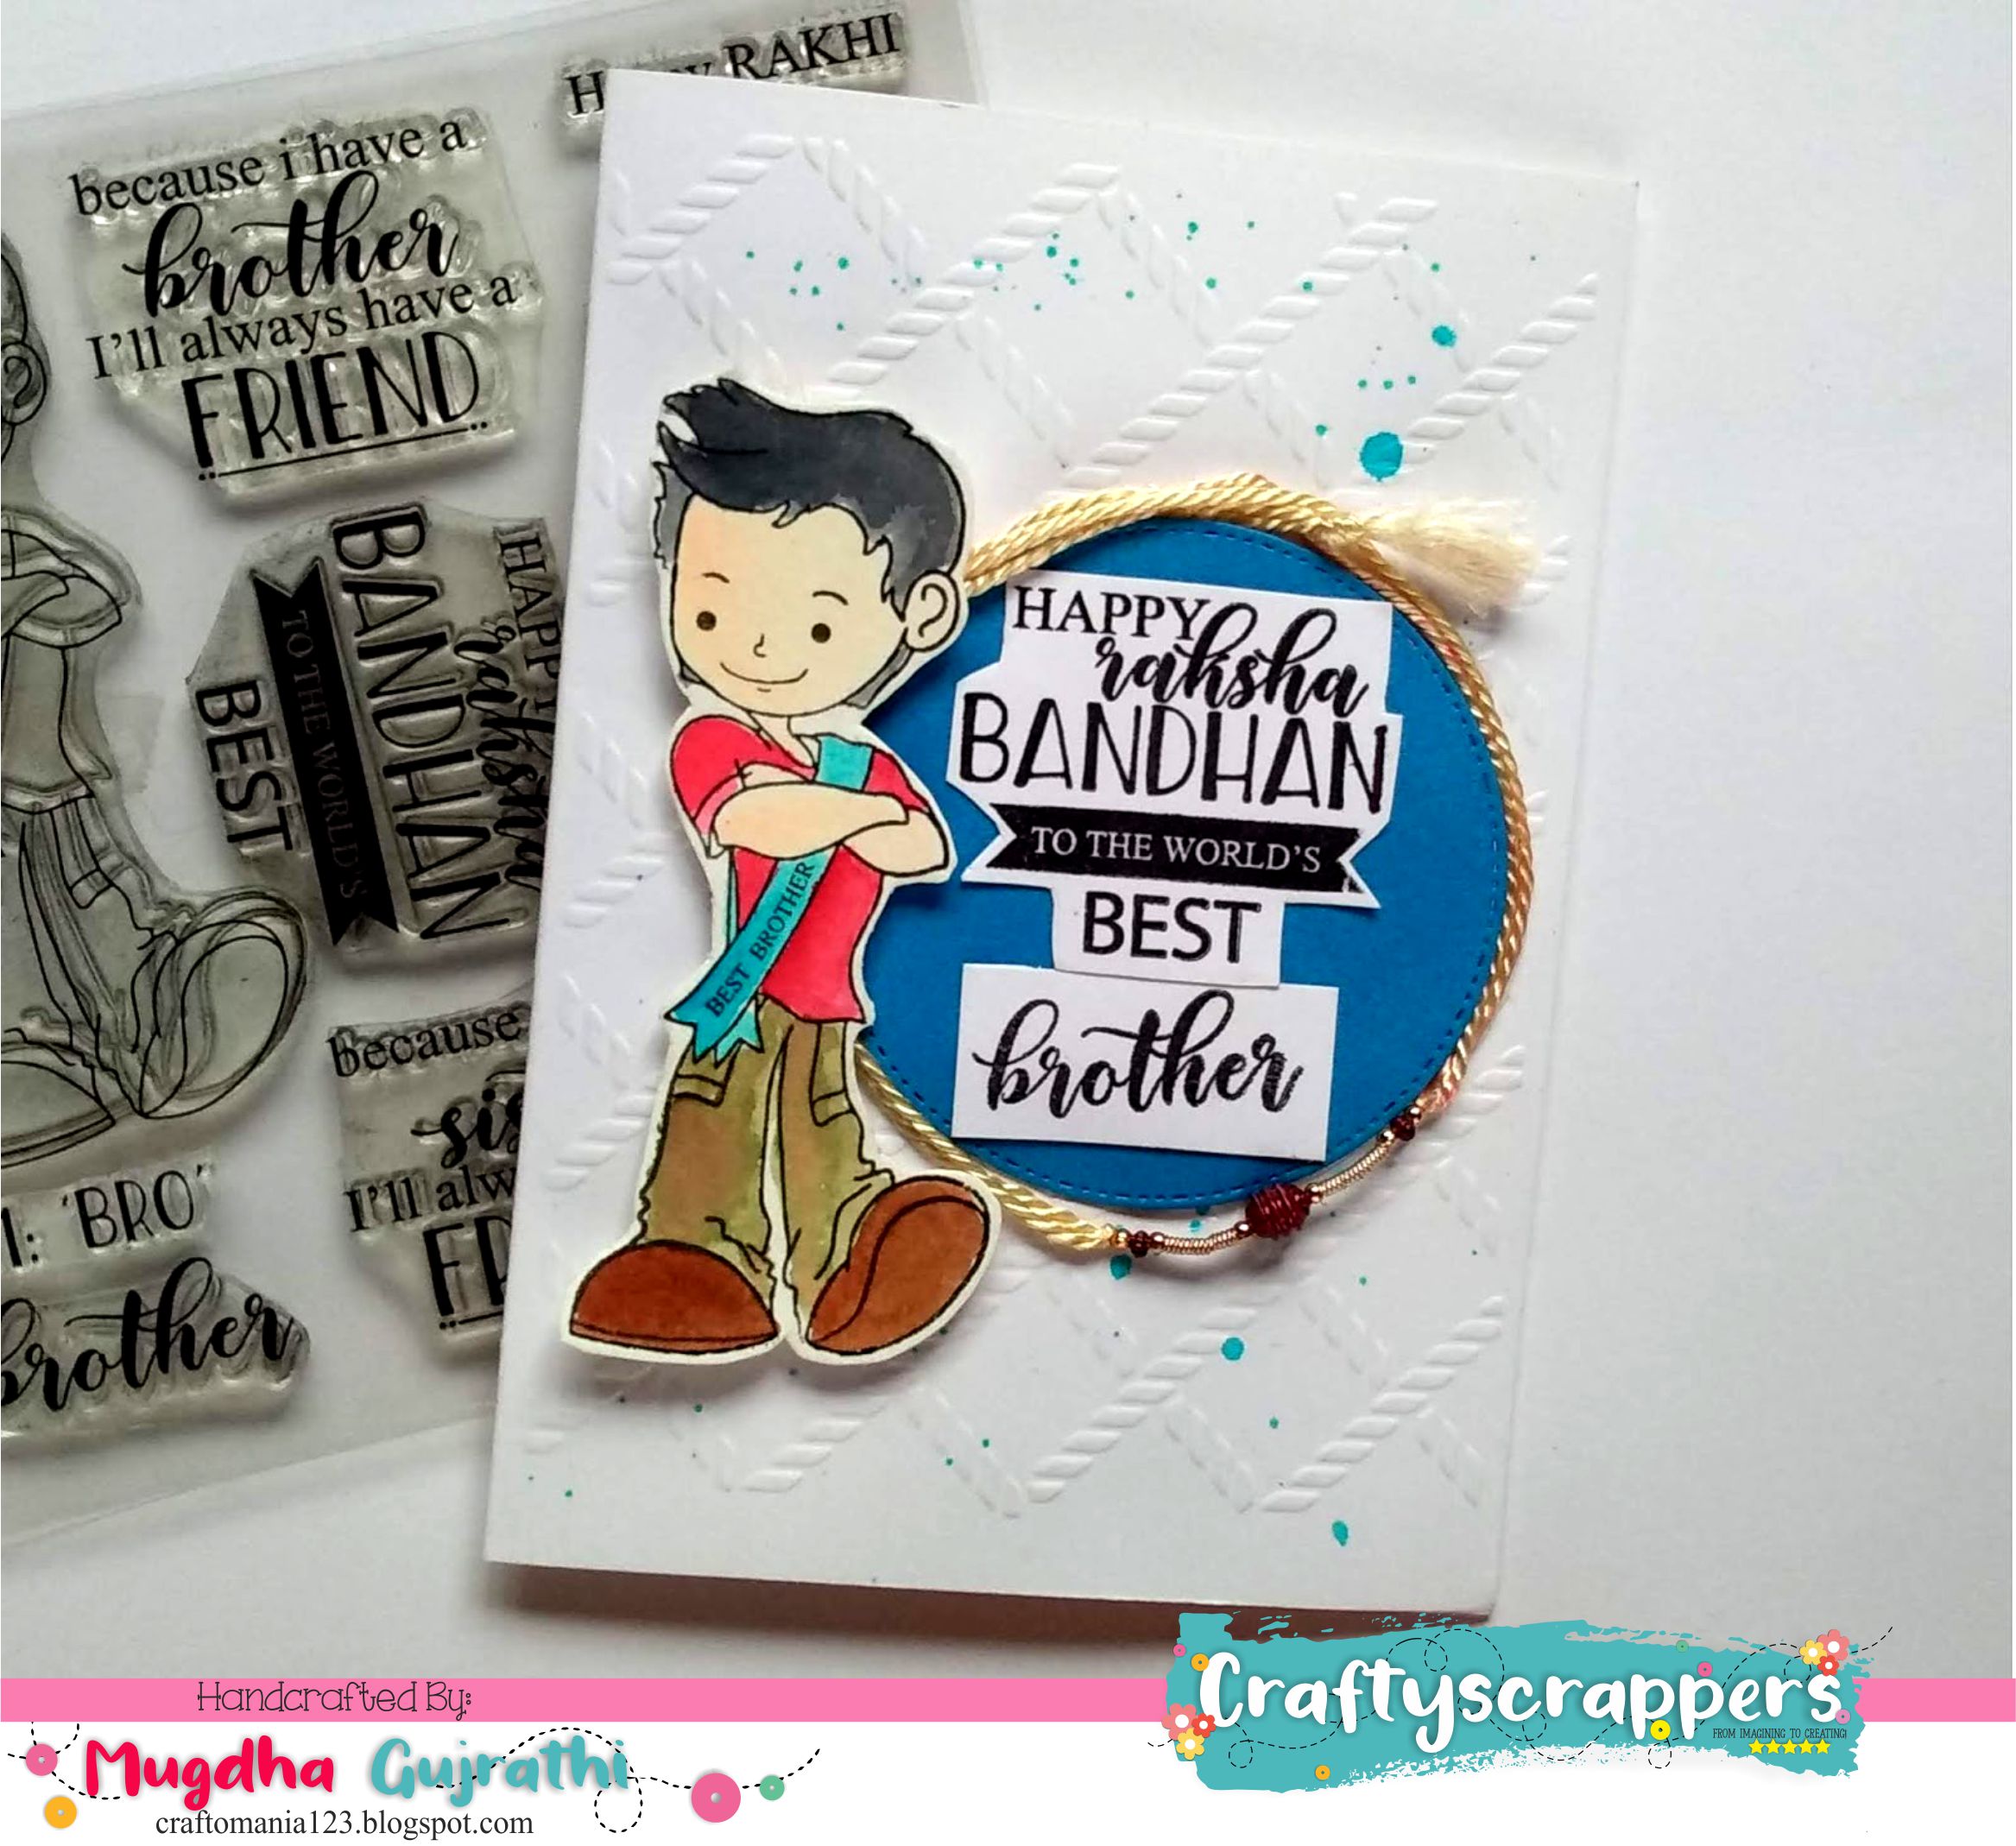
A BRIEF TUTORIAL:
- I took Craftyscrappers Premium white cardstock as the base of my card and dry embossed it using an embossing folder.
- I stamped the image of the boy from the stamp set- no#1:Bro & Sis and colored it using camlin brush pens and fussy cut it.
- I die cut a circle out of Craftyscrappers blue cardstock and adhered it over the embossed background.
- i stamped and fussy cut the sentiment from the same stamp set and pasted it over the die cut circle.
- adhered the fussy cut image of the boy.
- Adhered the rakhi around the die cut circle and finished my card.
Facebook Page : https://www.facebook.com/craftomaniahobbyclasses/
Instagram : https://www.instagram.com/mugdhagujarathi/
YouTube : https://www.youtube.com/channel/UCfGJALQYvllw76w3yhfwtqA
Blogspot : https://craftomania123.blogspot.com/
Pinterest: https://in.pinterest.com/mugdhagujarathi/
CreativeDesignTeam Member
Hello everyone,
Priyadarshini here, ,creative designer at @craftyscrappers.
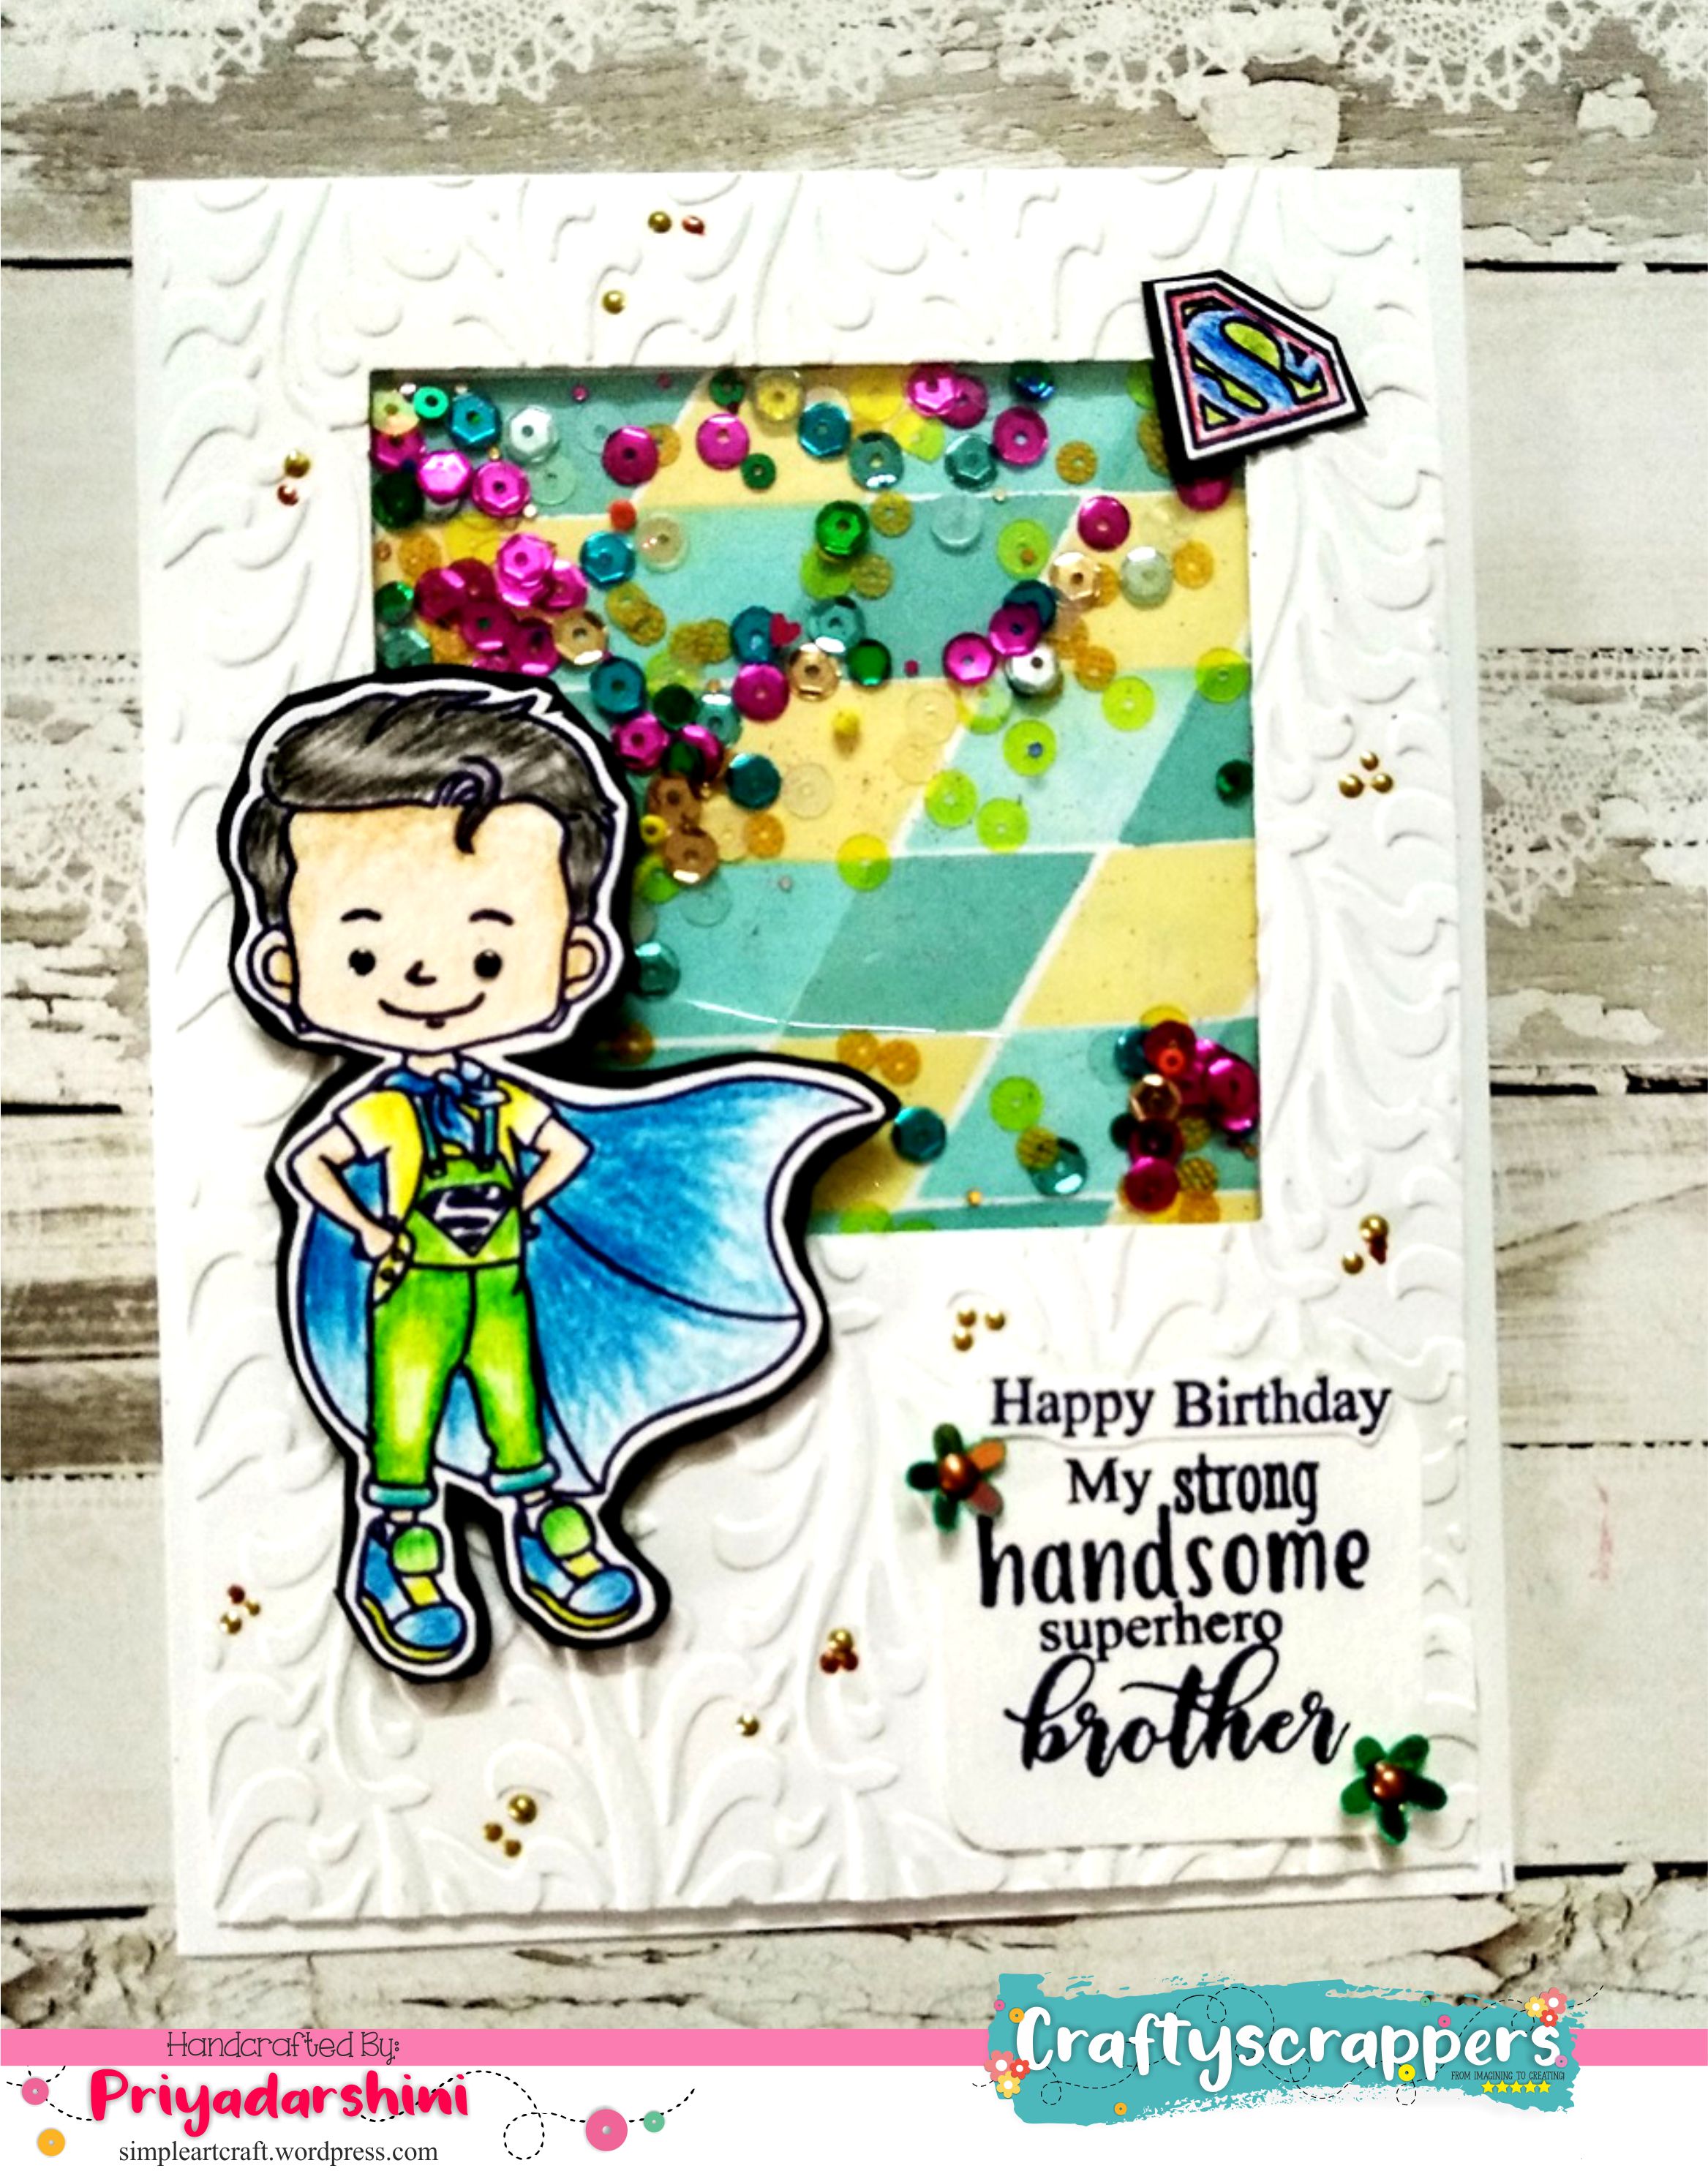
Well there are so many reasons to celebrate rakshabandhan, and the best part is when you have a brother whose birthday falls under the auspicious occasion of rakhi.
So today for the mid month challenge inspirations, i have a Rakshabandhan style birthday card to send to my brother on this rakhi.
My inspirations focuses on the spotlight products:
STAMP SET- SUPER SIBLINGS
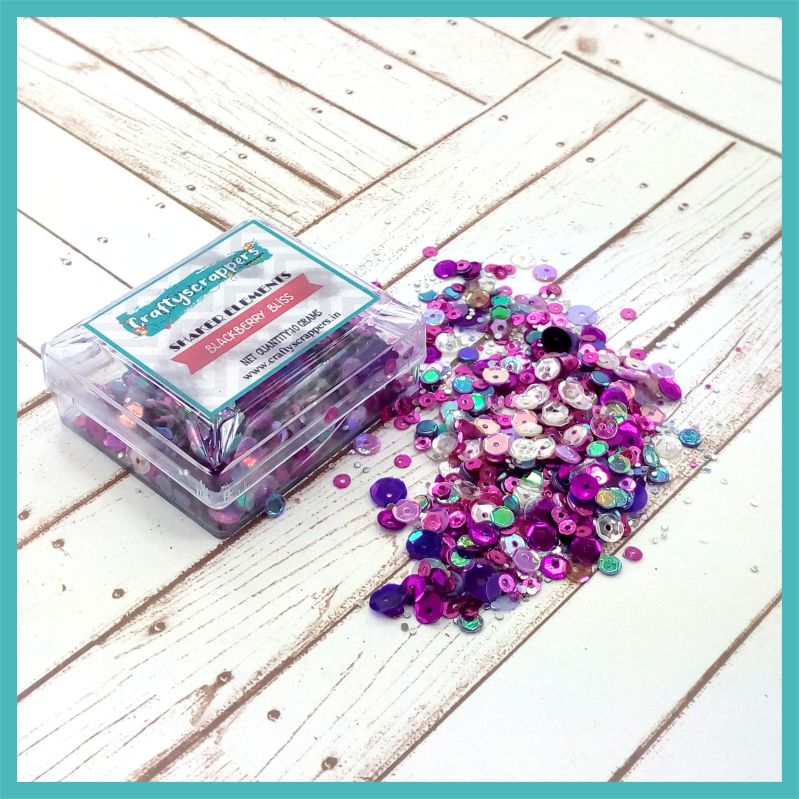
Gorgeous SHAKER ELEMENTS
Blackberry Bliss
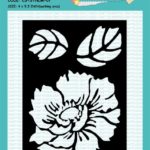
And 2-IN-1 DESIGNS 3D STENCIL- DIAMOND PATTERNS
![cs-stnl-352IN1-DIAMOND PATTERNS].jpg](https://craftyscrappers.files.wordpress.com/2018/08/cs-stnl-352in1-diamond-patterns1.jpg?w=914)
PROJECT#1 :BEAUTIFUL RAKSHABANDHAN STYLE BIRTHDAY SHAKER CARD
A BRIEF TUTORIAL:
- I always start with stamping and coloring my image. I have stamped both the images from the Stamp set-SUPER SIBLINGS to show how they look.
Loved colouring them. - I coloured and fuzzy cut my image. This time, I adhered it to black card stock to give a black outline to the image.
- Now to the stenciling part. I took only one stencil from the set-2-IN1 DESIGNS 3D DIAMOND PATTERNS and placed it on white cardstock. I used distress inks to create an background.
-
Next, I shifted the stencil slightly to create a pattern. For this I used distress inks. I trimmed it out to fit the shaker.
-
I die cut a square from white card stock an then dry embossed it. Then I added a piece of acetate with double sided adhesive and added shaker elements. I added foam adhesive on the sides. I used the pattern paper and added the entire piece to a white card stock.
- I added the image using foam adhesive to the front of the card.
- I added the sentiment and a logo from the set. To finish the card, I added some liquid pearls and glossy accent to his eyes.
Facebook Page : https://www.facebook.com/simpleartcraft/
Instagram : https://www.instagram.com/simpleartandcraft/
YouTube : simple art craft
Blogspot : https://simpleartcraft-tips.blogspot.in/
WordPress: https://simpleartcraft.wordpress.com/
Pinterest: https://in.pinterest.com/simpleartcraft/
CreativeDesignTeam Member

Hello everyone,
Its Sweety here, creative designer at @craftyscrappers.
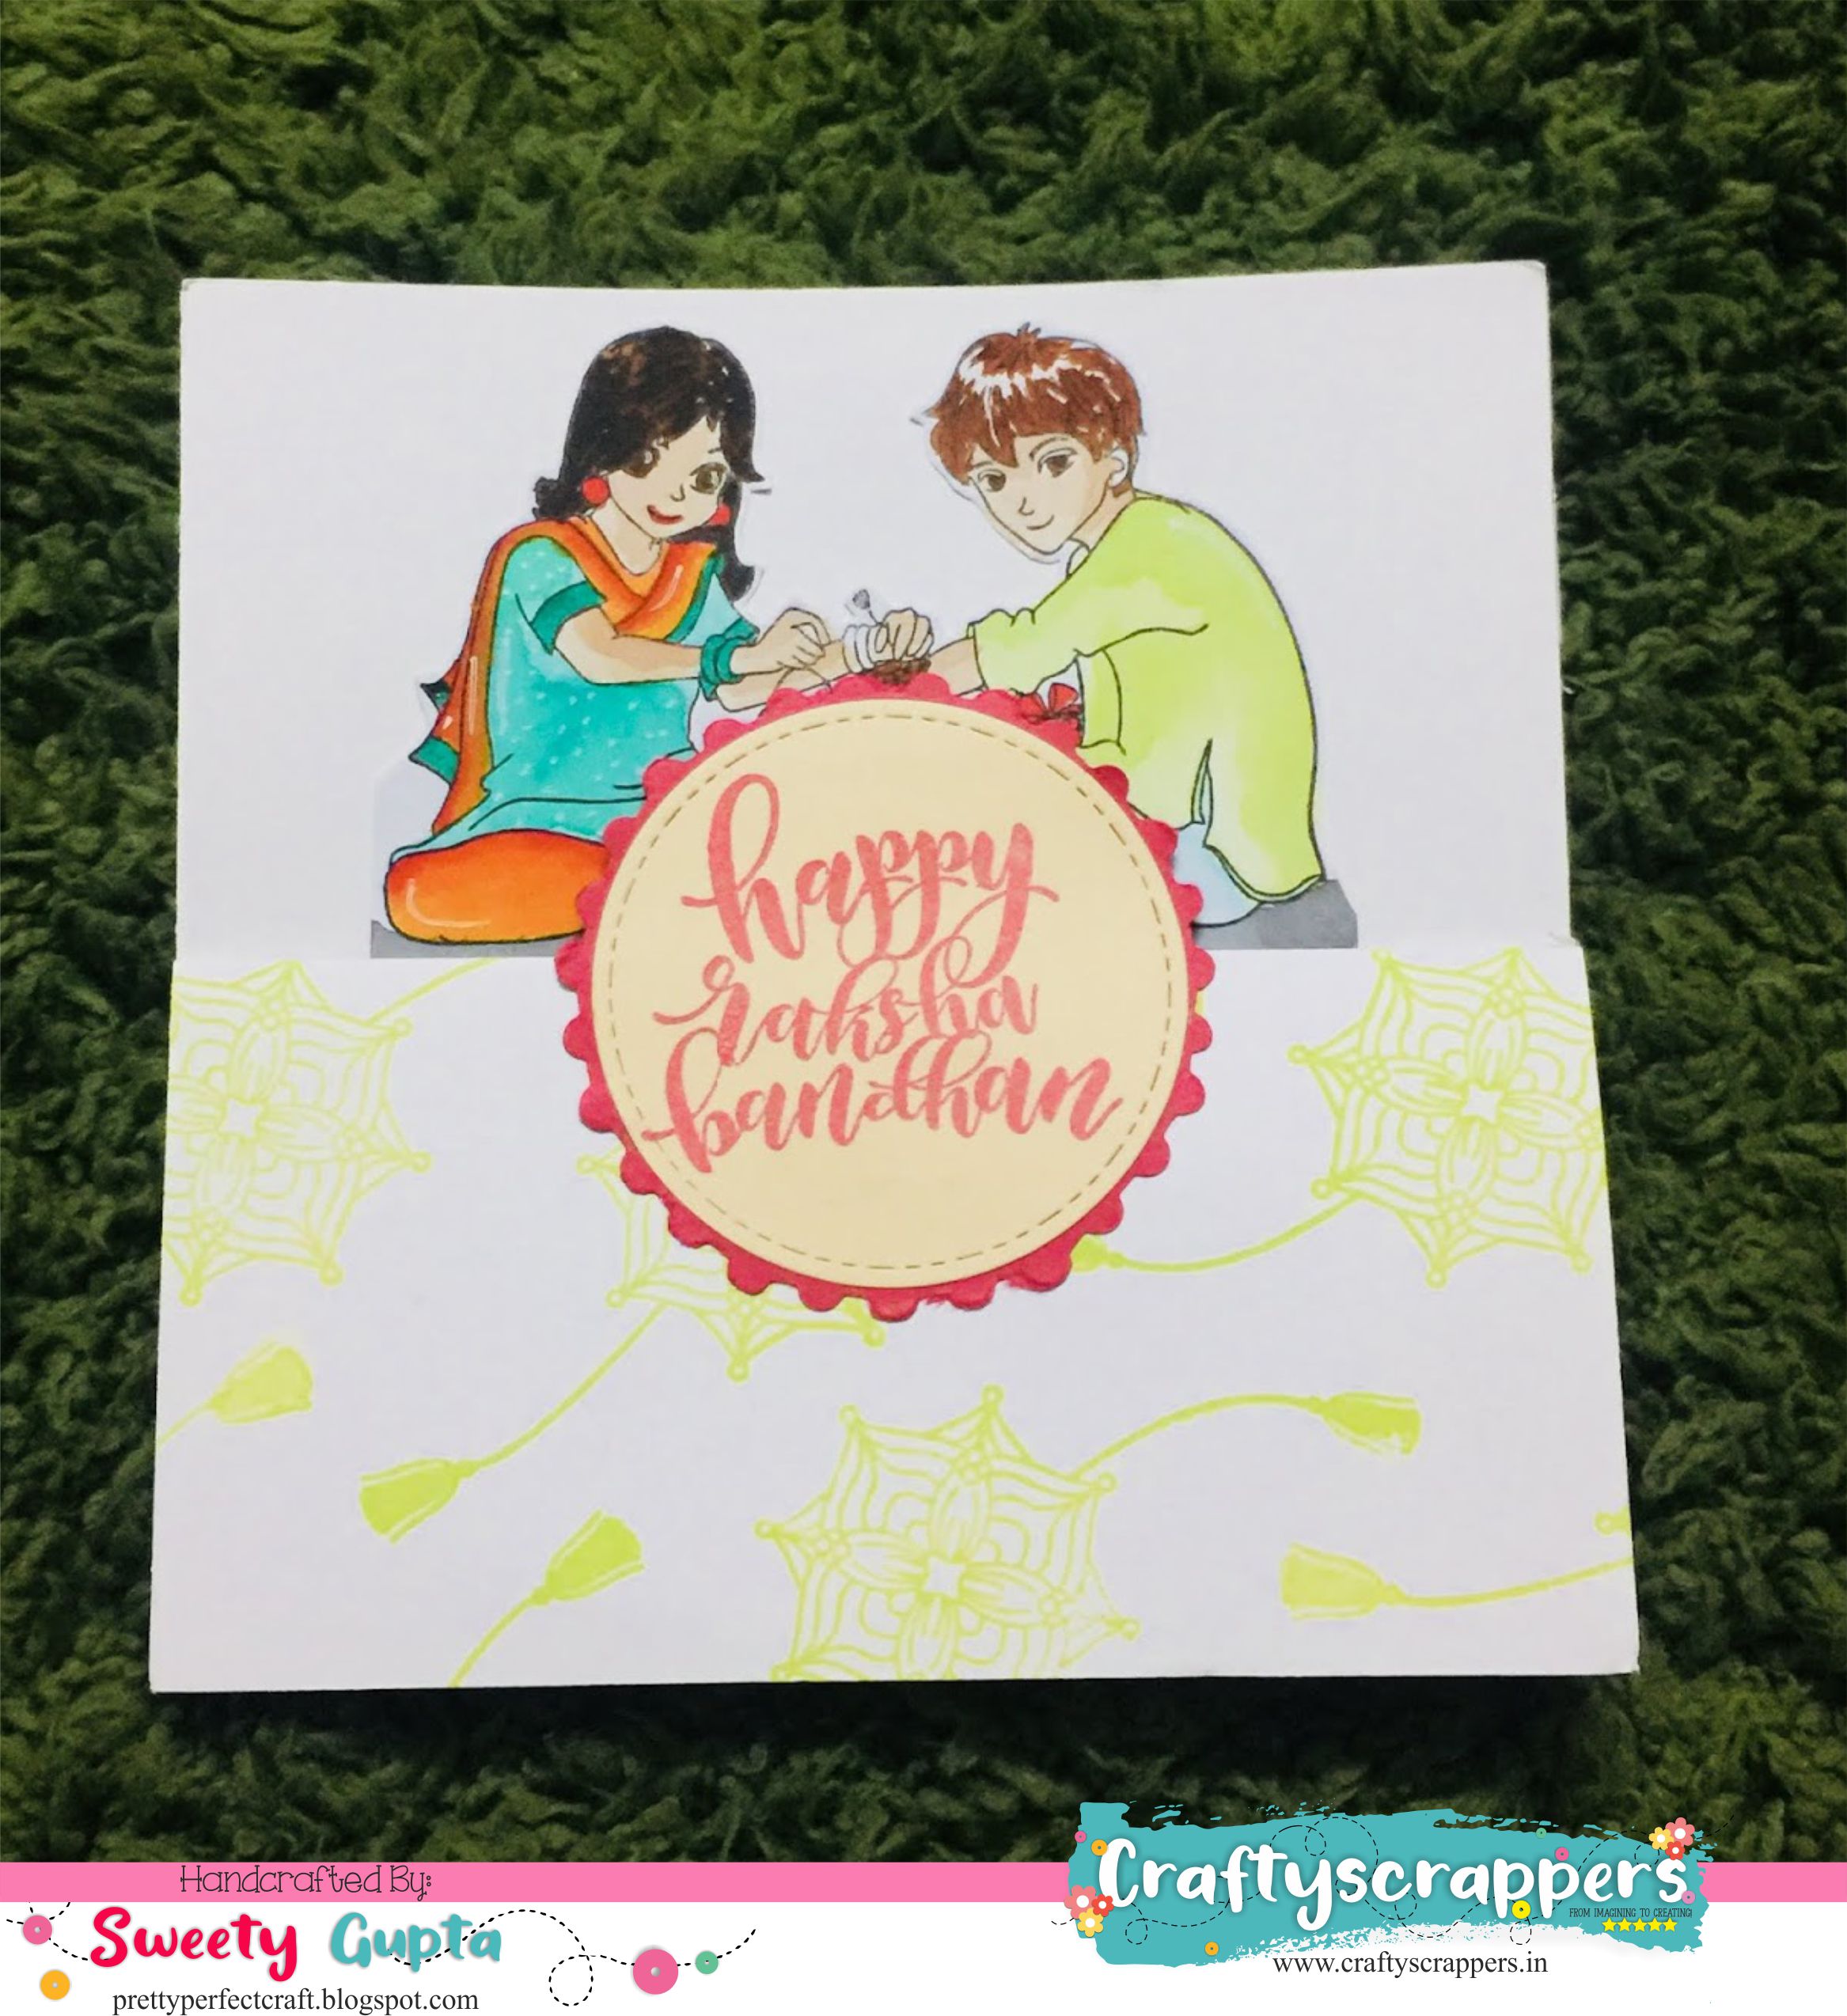
Rakhi is round the corner, and what’s better than a handmade card for your brother or sister. So for todays mid month challenge inspiration, i have created a traditional RAKSHABANDHAN Card using the fabulous illutrated “Rakhi Wishes’ stamp set.
My inspirations focuses on the spotlight products:
STAMP SET-RAKHI WISHES
![st-fest-52[raksi wishes].jpg](https://craftyscrappers.files.wordpress.com/2018/08/st-fest-52raksi-wishes1.jpg?w=1062)
PROJECT#1 :TRADITIONAL RAKHI WISHES CARD
A BRIEF TUTORIAL:
- I first coloured the brother-sister image from the “Rakhi wishes” stamp using Camlin brush markers. This is such a cute image and so much fun to colour.
- I then did the fancy fold as I did in my previous card. I glued the image such that whole of it was visible upon closing the card.
- Then I added a green pattern paper underneath the image to give it some base. Otherwise, my image will look like its floating.
- I finally stamped the sentiment on a cream coloured paper using red versa colour ink, and matted this circle onto a red paper.
- I cut the red paper with scissors to create the postage look.
Facebook Page : https://www.facebook.com/prettyperfectcraft/
Instagram : https://goo.gl/WPy3hL
YouTube : https://www.instagram.com/sweety.1203/
Blogspot : https://prettyperfectcraft.blogspot.com
CreativeDesignTeam Member

Hello My Crafty Friends…
Its me Arpita here, creative designer at @craftyscrappers.
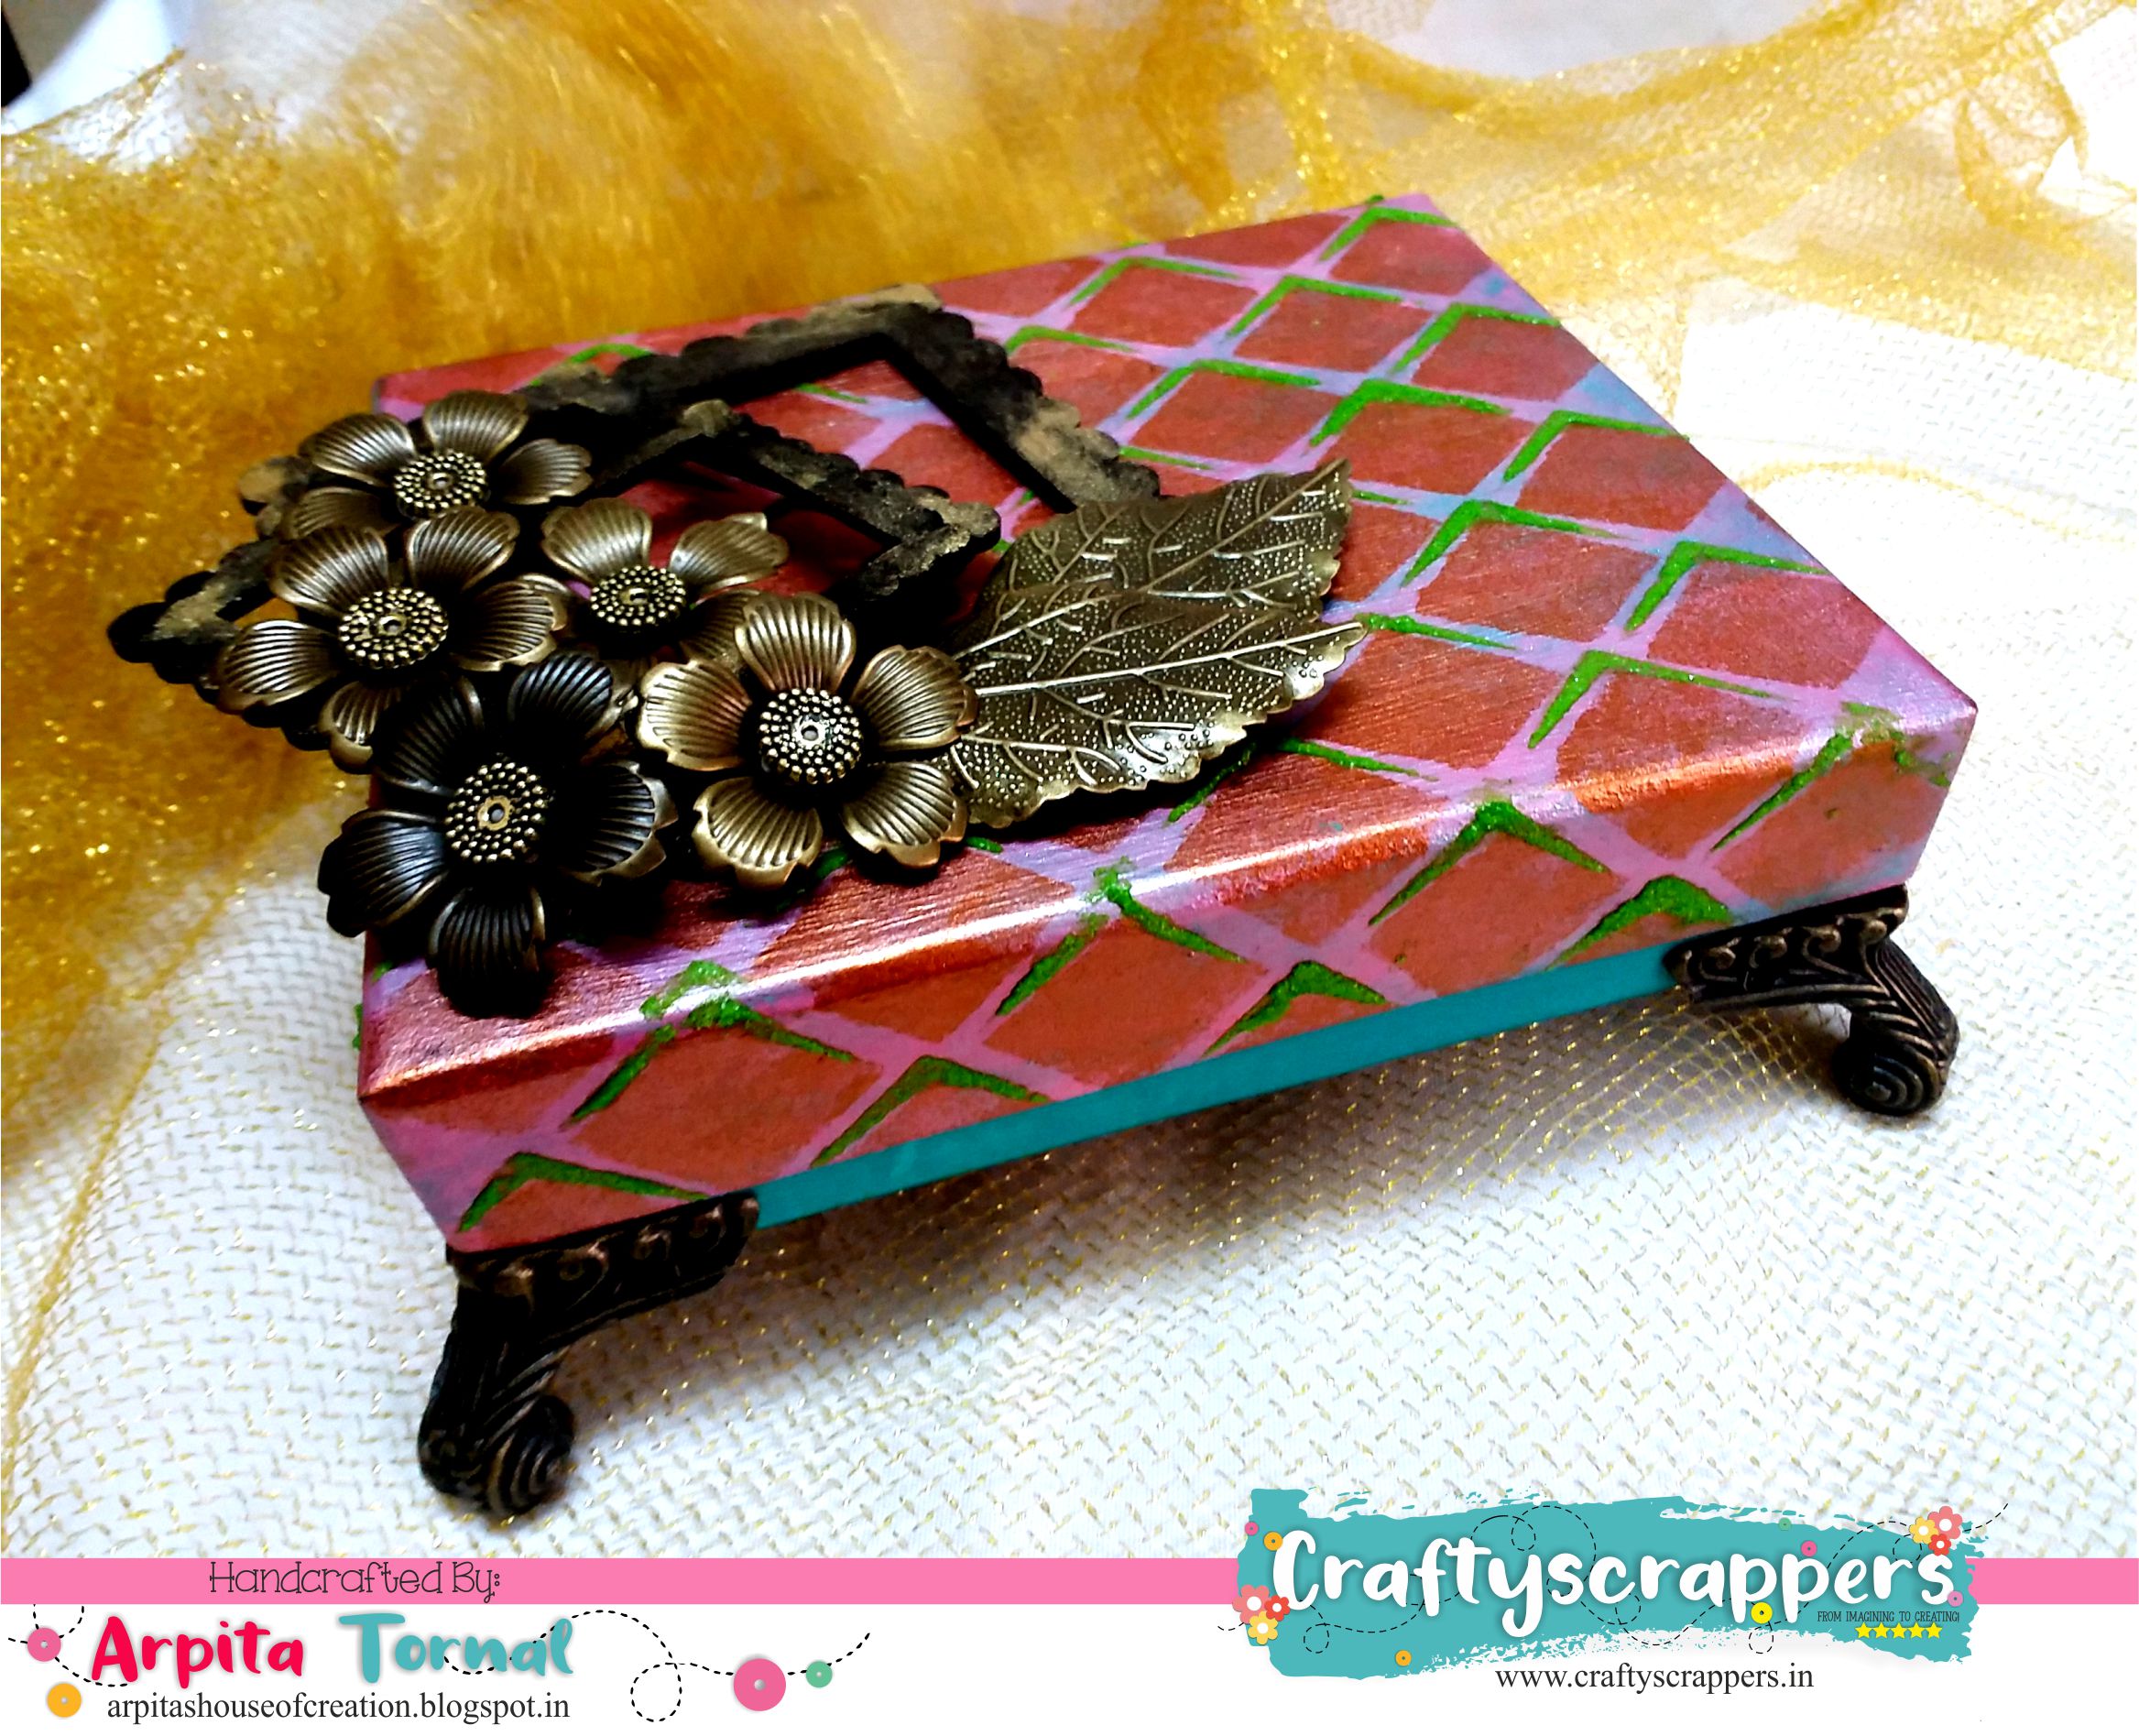
And for todays mid month challenge inspiration i have a fun project to share with you, where i have transformed a scrap into something beautiful…isnt that exciting and fun,so yes today i am with an upcycle project.I Had this carton box lying around so I decided it was time to give it a makeover and it would be a perfect way to fill in some goodies to gift your loved ones this festive season of RAKSHABANDHAN.
My inspirations focuses on the spotlight products:
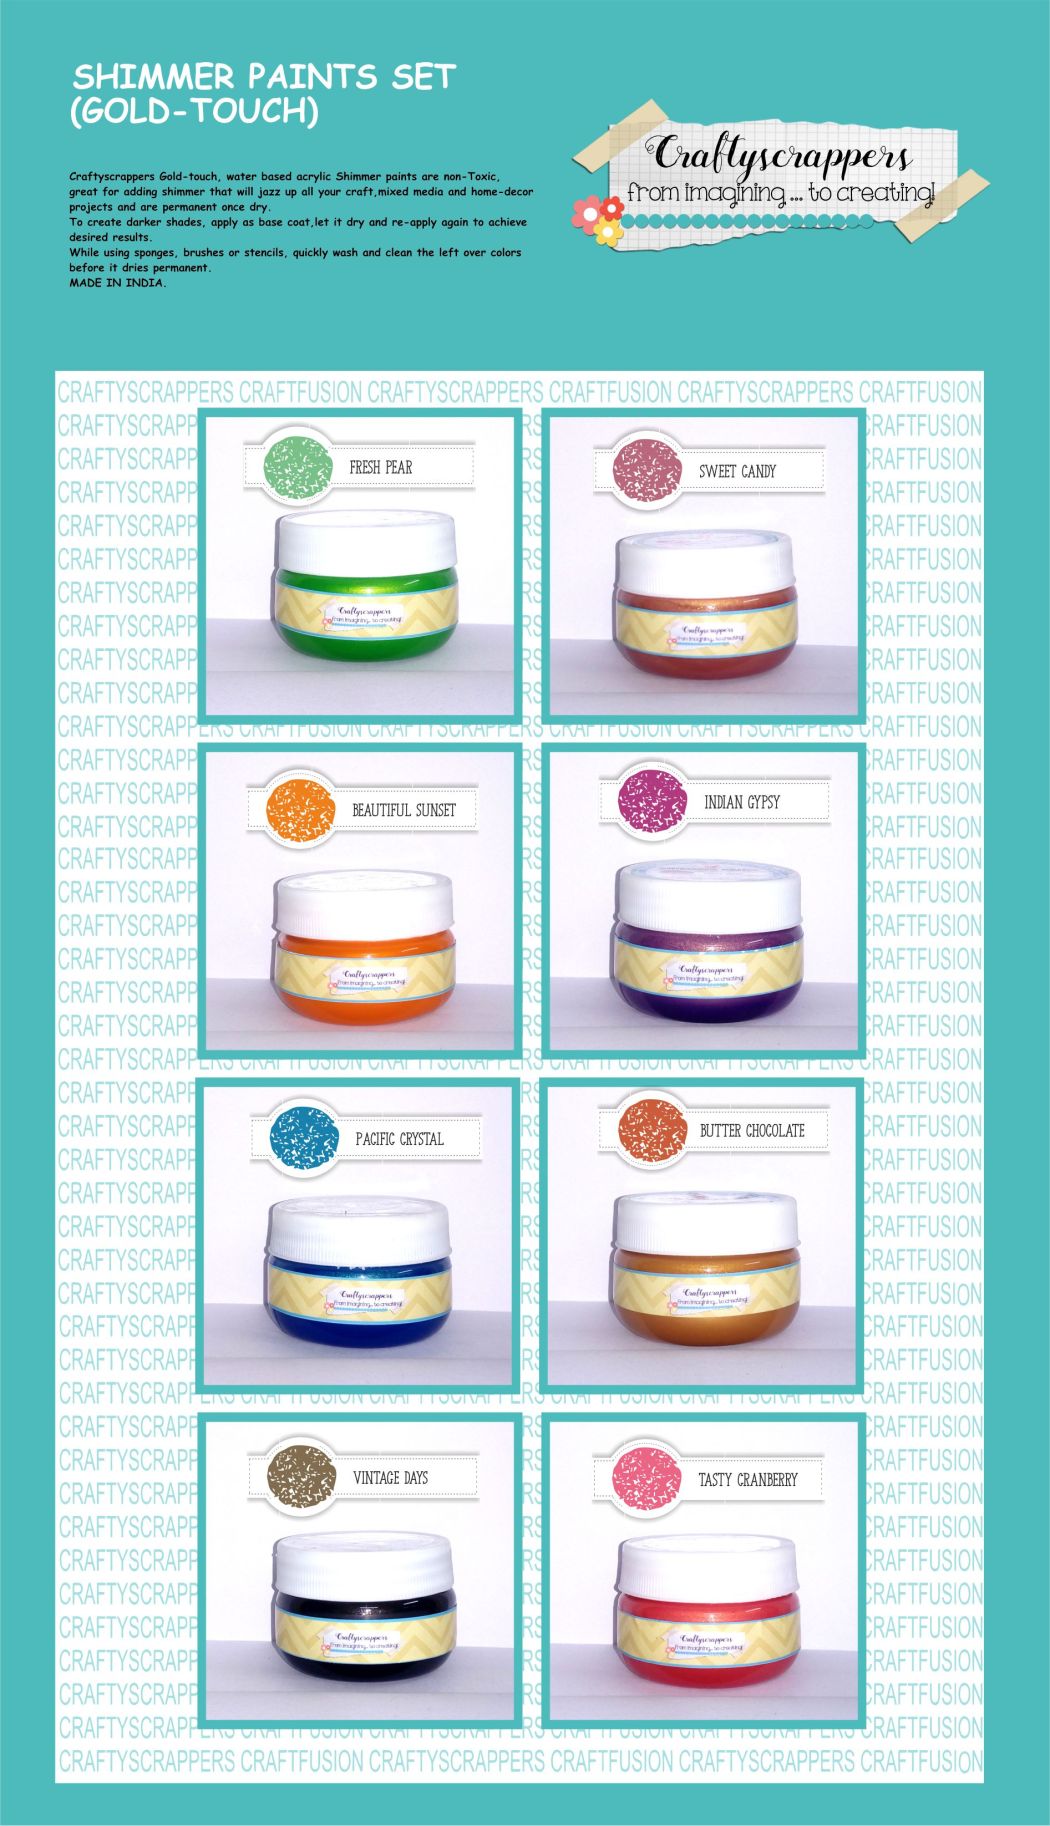
@craftyscrappers SHIMMER PAINTS
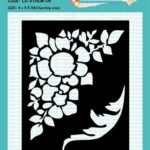
2-IN-1 3D DESIGN Arrow Pattern stencil
![cs-stnl-38-2IN1-ARROWS PATTERNS].jpg](https://craftyscrappers.files.wordpress.com/2018/08/cs-stnl-38-2in1-arrows-patterns1.jpg?w=1006)
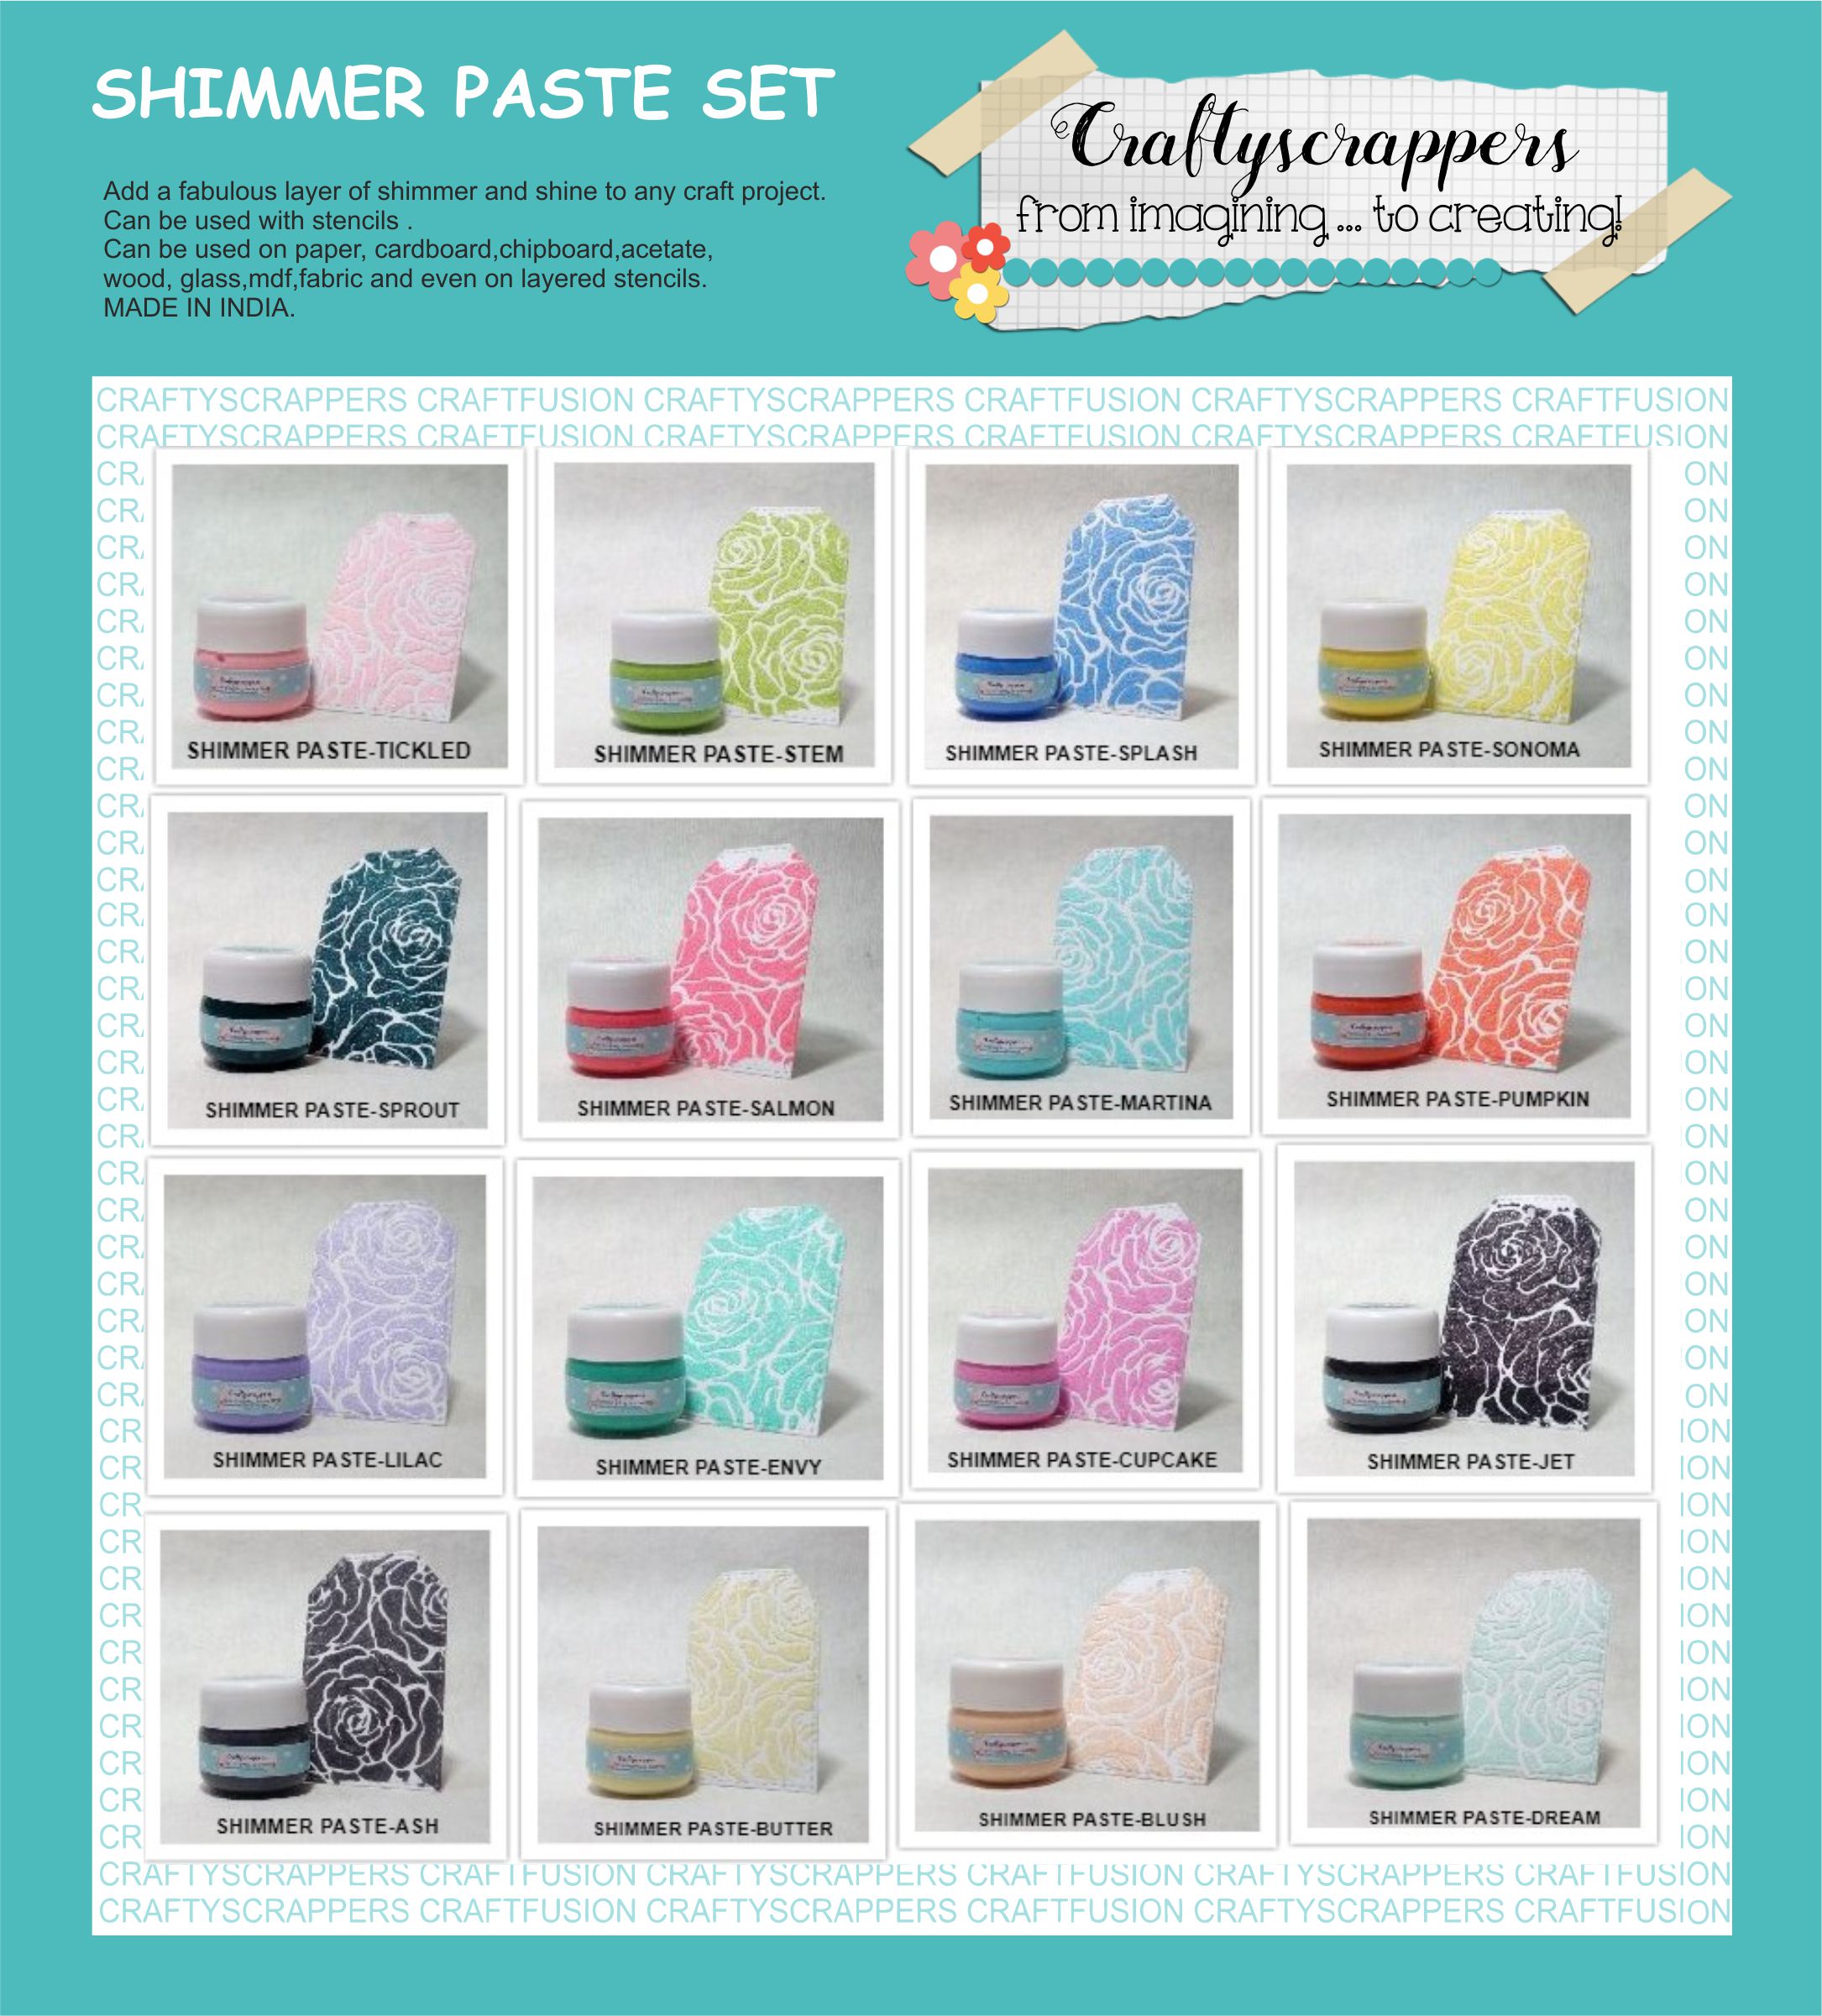
and @craftyscrappers SHIMMER PASTES
PROJECT#1 : UP-CYCLE GOODIE BAG FOR RAKHI
A BRIEF TUTORIAL:
- Primed the box with 2 coats of white gesso.For the top part of the box i choose Posy Flamingo shimmer paint as my base color.
- To add some interest used the newly released 2-IN-1 3D DESIGN Arrow Pattern stencil,want to mention these stencils are so versatile with endless possibility.
- Choose Bronze Shimmer paint and Stem Shimmer paste to do the stenciling.
- Painted the lower part of the box with Peacock feather Shimmer paint.
- Lastly add some chipboard and metal embellishments.
Facebook Page : https://www.facebook.com/arpita.ts
Instagram : https://www.instagram.com/arpitatornal/?hl=en
YouTube : https://www.youtube.com/channel/UClglg7jta75p1W5ghyB6dyg
Blogspot : https://arpitashouseofcreation.blogspot.in/
CreativeDesignTeam Member
Hi friends,
Soniya here, Creative Designer of Craftyscrappers
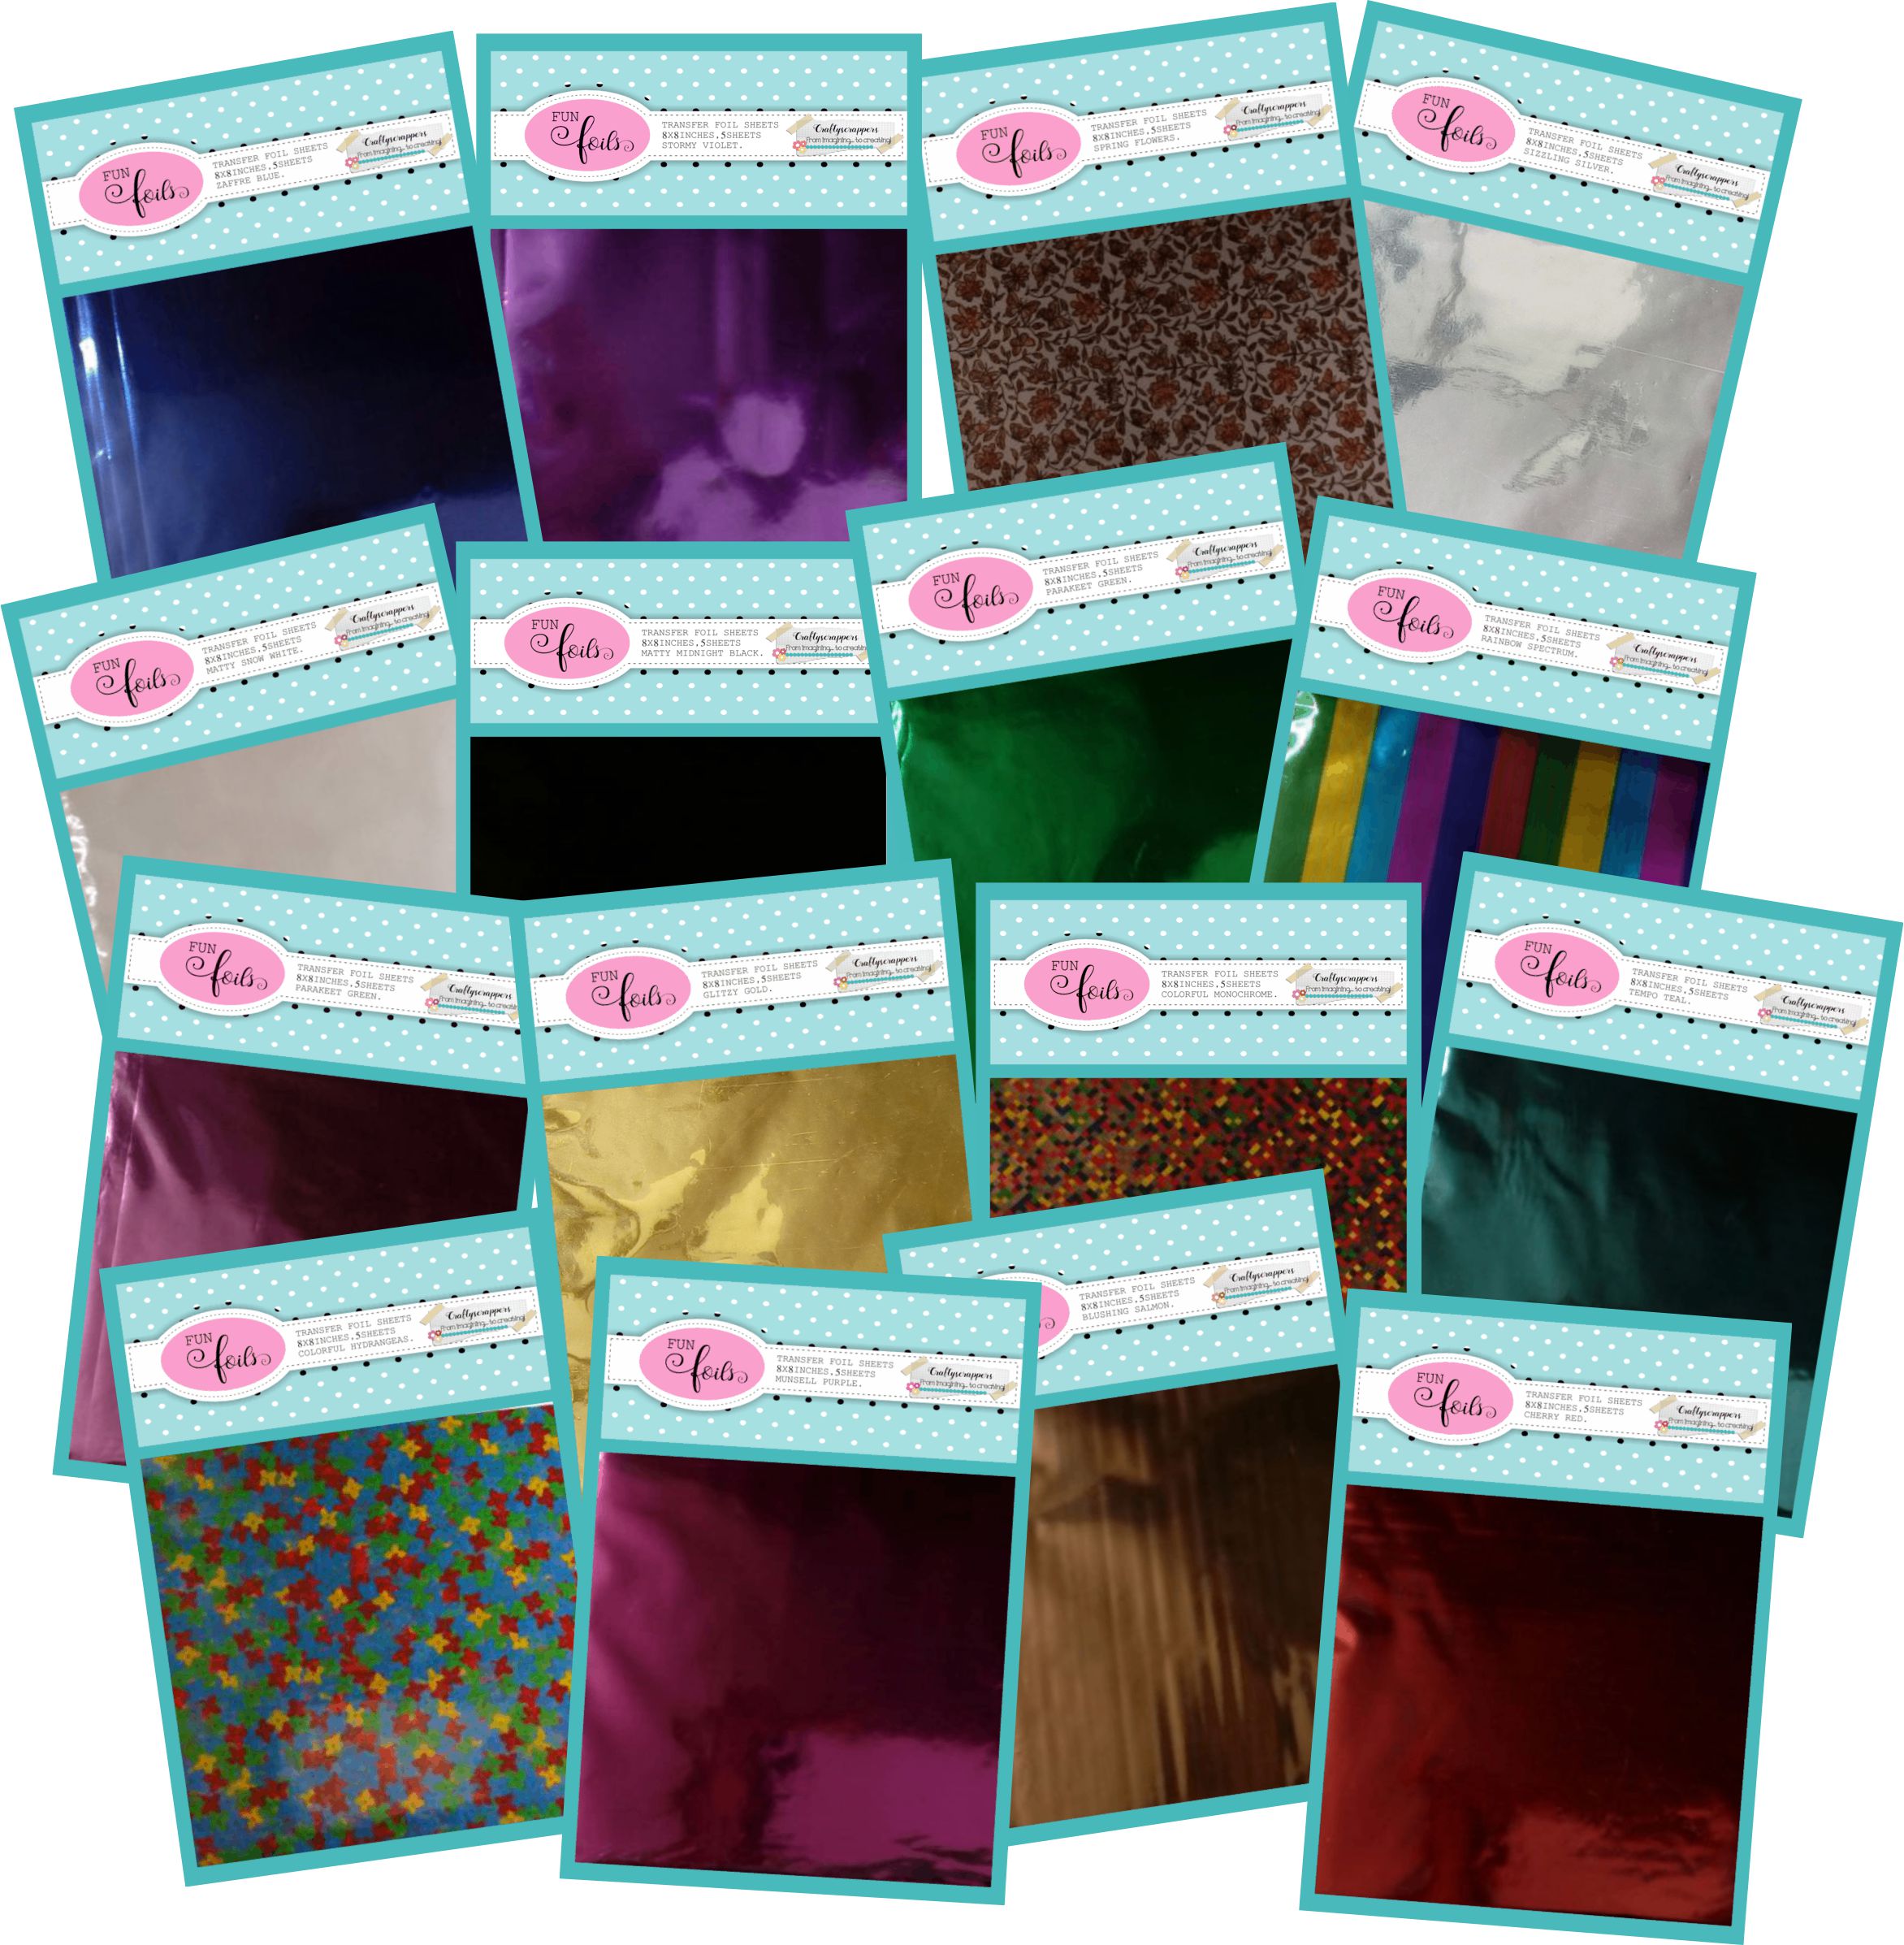
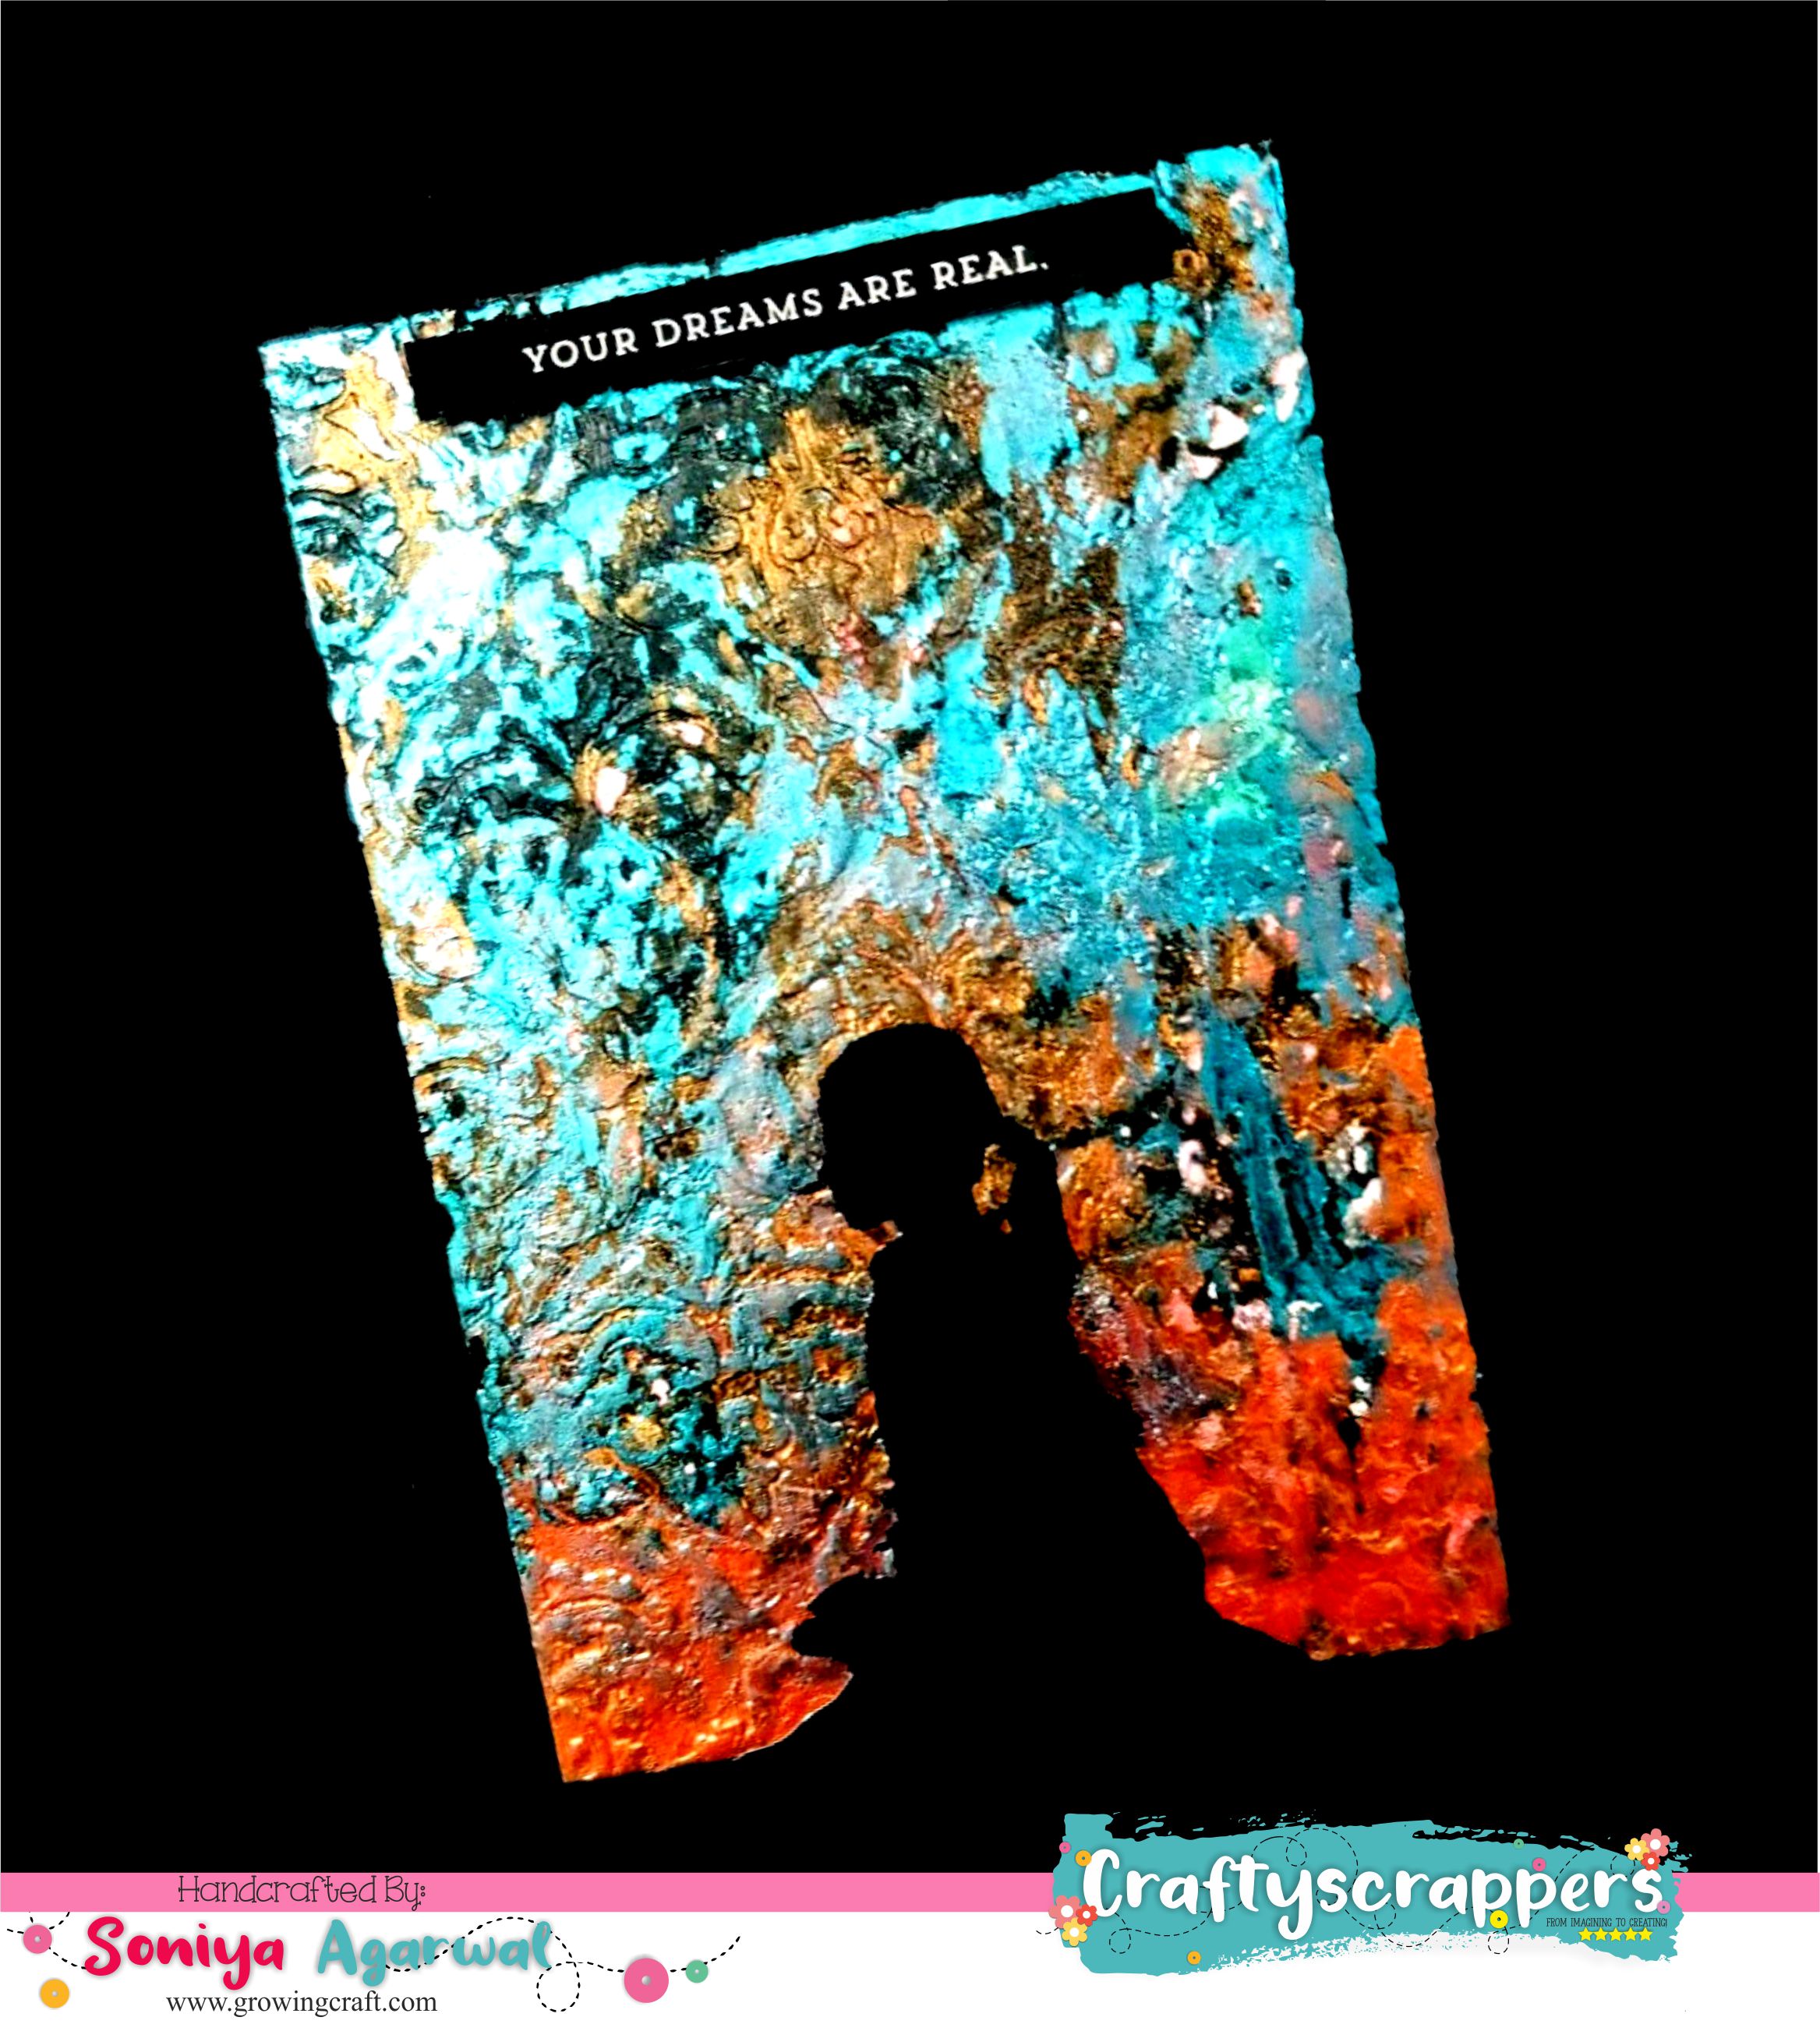
For today’s mid month challenge inspirations I have this extremely beautiful layout with @craftyscrappers fun-foils to share with you all!
My inspirations focuses on the spotlight products:
PROJECT#1 : FOILED MIXED MEDIA LAYOUT
A BRIEF TUTORIAL:
- On an MDF piece, apply a modelling paste with your favorite stencil.
- Ones the modelling paste has dried out completely, apply a thin coat of black gesso.
- Its time to play with @craftyscrappers FUN-foil sheet. Apply a thin coat of adhesive on the base and apply foil paper.
- Press is properly and ones you can see color sticking on base remove the foil sheet. You can already see beautiful foil color on the base.
- If required again stick the foil and press it for complete coverage.
- Now fussy cut you photo/image. Here I have used one of my photo collection of my daughter.
- Stick that with the help of adhesive and add your favorite sentiment too.
- And your beautiful layout is ready!
Facebook Page : www.facebook.com/growingcraft1
Instagram : https://www.instagram.com/growingcraft1/
YouTube : Growing Craft
Blogspot : www.growingcraft.com
Pinterest: https://in.pinterest.com/soniyaagarwala/
So thats finishes off with today’s mid month challenge Inspirations by our Creative design team members. Aren’t they absolutely mesmerizing!!! Do check out our Design Team creation samples so you can be inspired by their awesome creativity!!
Please support our Creative Design Team members by clicking on their name links that will take you to their blogs and leave them some love!
Your comments are ALWAYS appreciated!!!
So get your crafty gear on and Do join us in our challenge!
Don’t forget, there is a maximum of 3 entries per person and it needs to be new work
(so created and posted after this challenge has started).
Have fun with our challenge for which the entries close on 31ST AUGUST,2018
and good luck!
(NOTE:If you don’t see Mr.Linky on the challenge post, please refresh your page, your browser may not have fully loaded this page.)
If you still have trouble adding your creations for the challenge,
kindly drop your creation links/blog links/facebook page link/pictures at craftyscrappers@gmail.com and we will manually add them for you.
And if you want to participate via facebook, you may post your creations over our facebook group: CRAFTYSCRAPPERS CRAFT CHALLENGES
Use #Craftyscrappers challenge24″RAKSHABANDHAN” to qualify for submission,failing to do so, the entry would be disqualified.
We will soon come back with our talented Design Team members creations as inspirations, so keep checking our blog.
Looking forward to your participation in the challenge.
Such pretty cards girls. You rock! 🙂