

Sweety here, Creative Designer @craftyscrappers
and I hope you are having a great day.
Rakhi is just round the corner, and what’s better than a handmade card for your brother or sister.
Today, I have 3 different cards to show you.. thats vintage, modern and ultra modern Even though I don’t have a photo tutorial but I will guide you through the steps.
So to create all my three cards, i have used @craftyscrappers beautifully designed and traditional rakhi stamp set, called…
![st-fest-52[raksi wishes].jpg](https://craftyscrappers.files.wordpress.com/2018/08/st-fest-52raksi-wishes3.jpg)
This stamp set is so so pretty and traditional, especially the image is a perfect depiction of the auspicious festival of rakhi, and the sentiments are just beyond perfect.
There are so many possibilities to use this particular stamp sets to create endless cards and rakhi tags.
its just awesome!

if you have missed the previous post check it out here:
CHALLENGE#24:”RAKSHABANDHAN”
You can create Cards, layouts, a journal page, Canvases, interactive/3D cards,
mixed media, altered art,money envelopes …anything crafty,
With the RAKSHA BANDHAN theme in it!
But keep in mind, Craftyscrappers products as focus.
Last date of submission is 31ST AUGUST,2018

To win the amazing goodie bags !
Here’s the final look of ALL THE THREE CARDS:
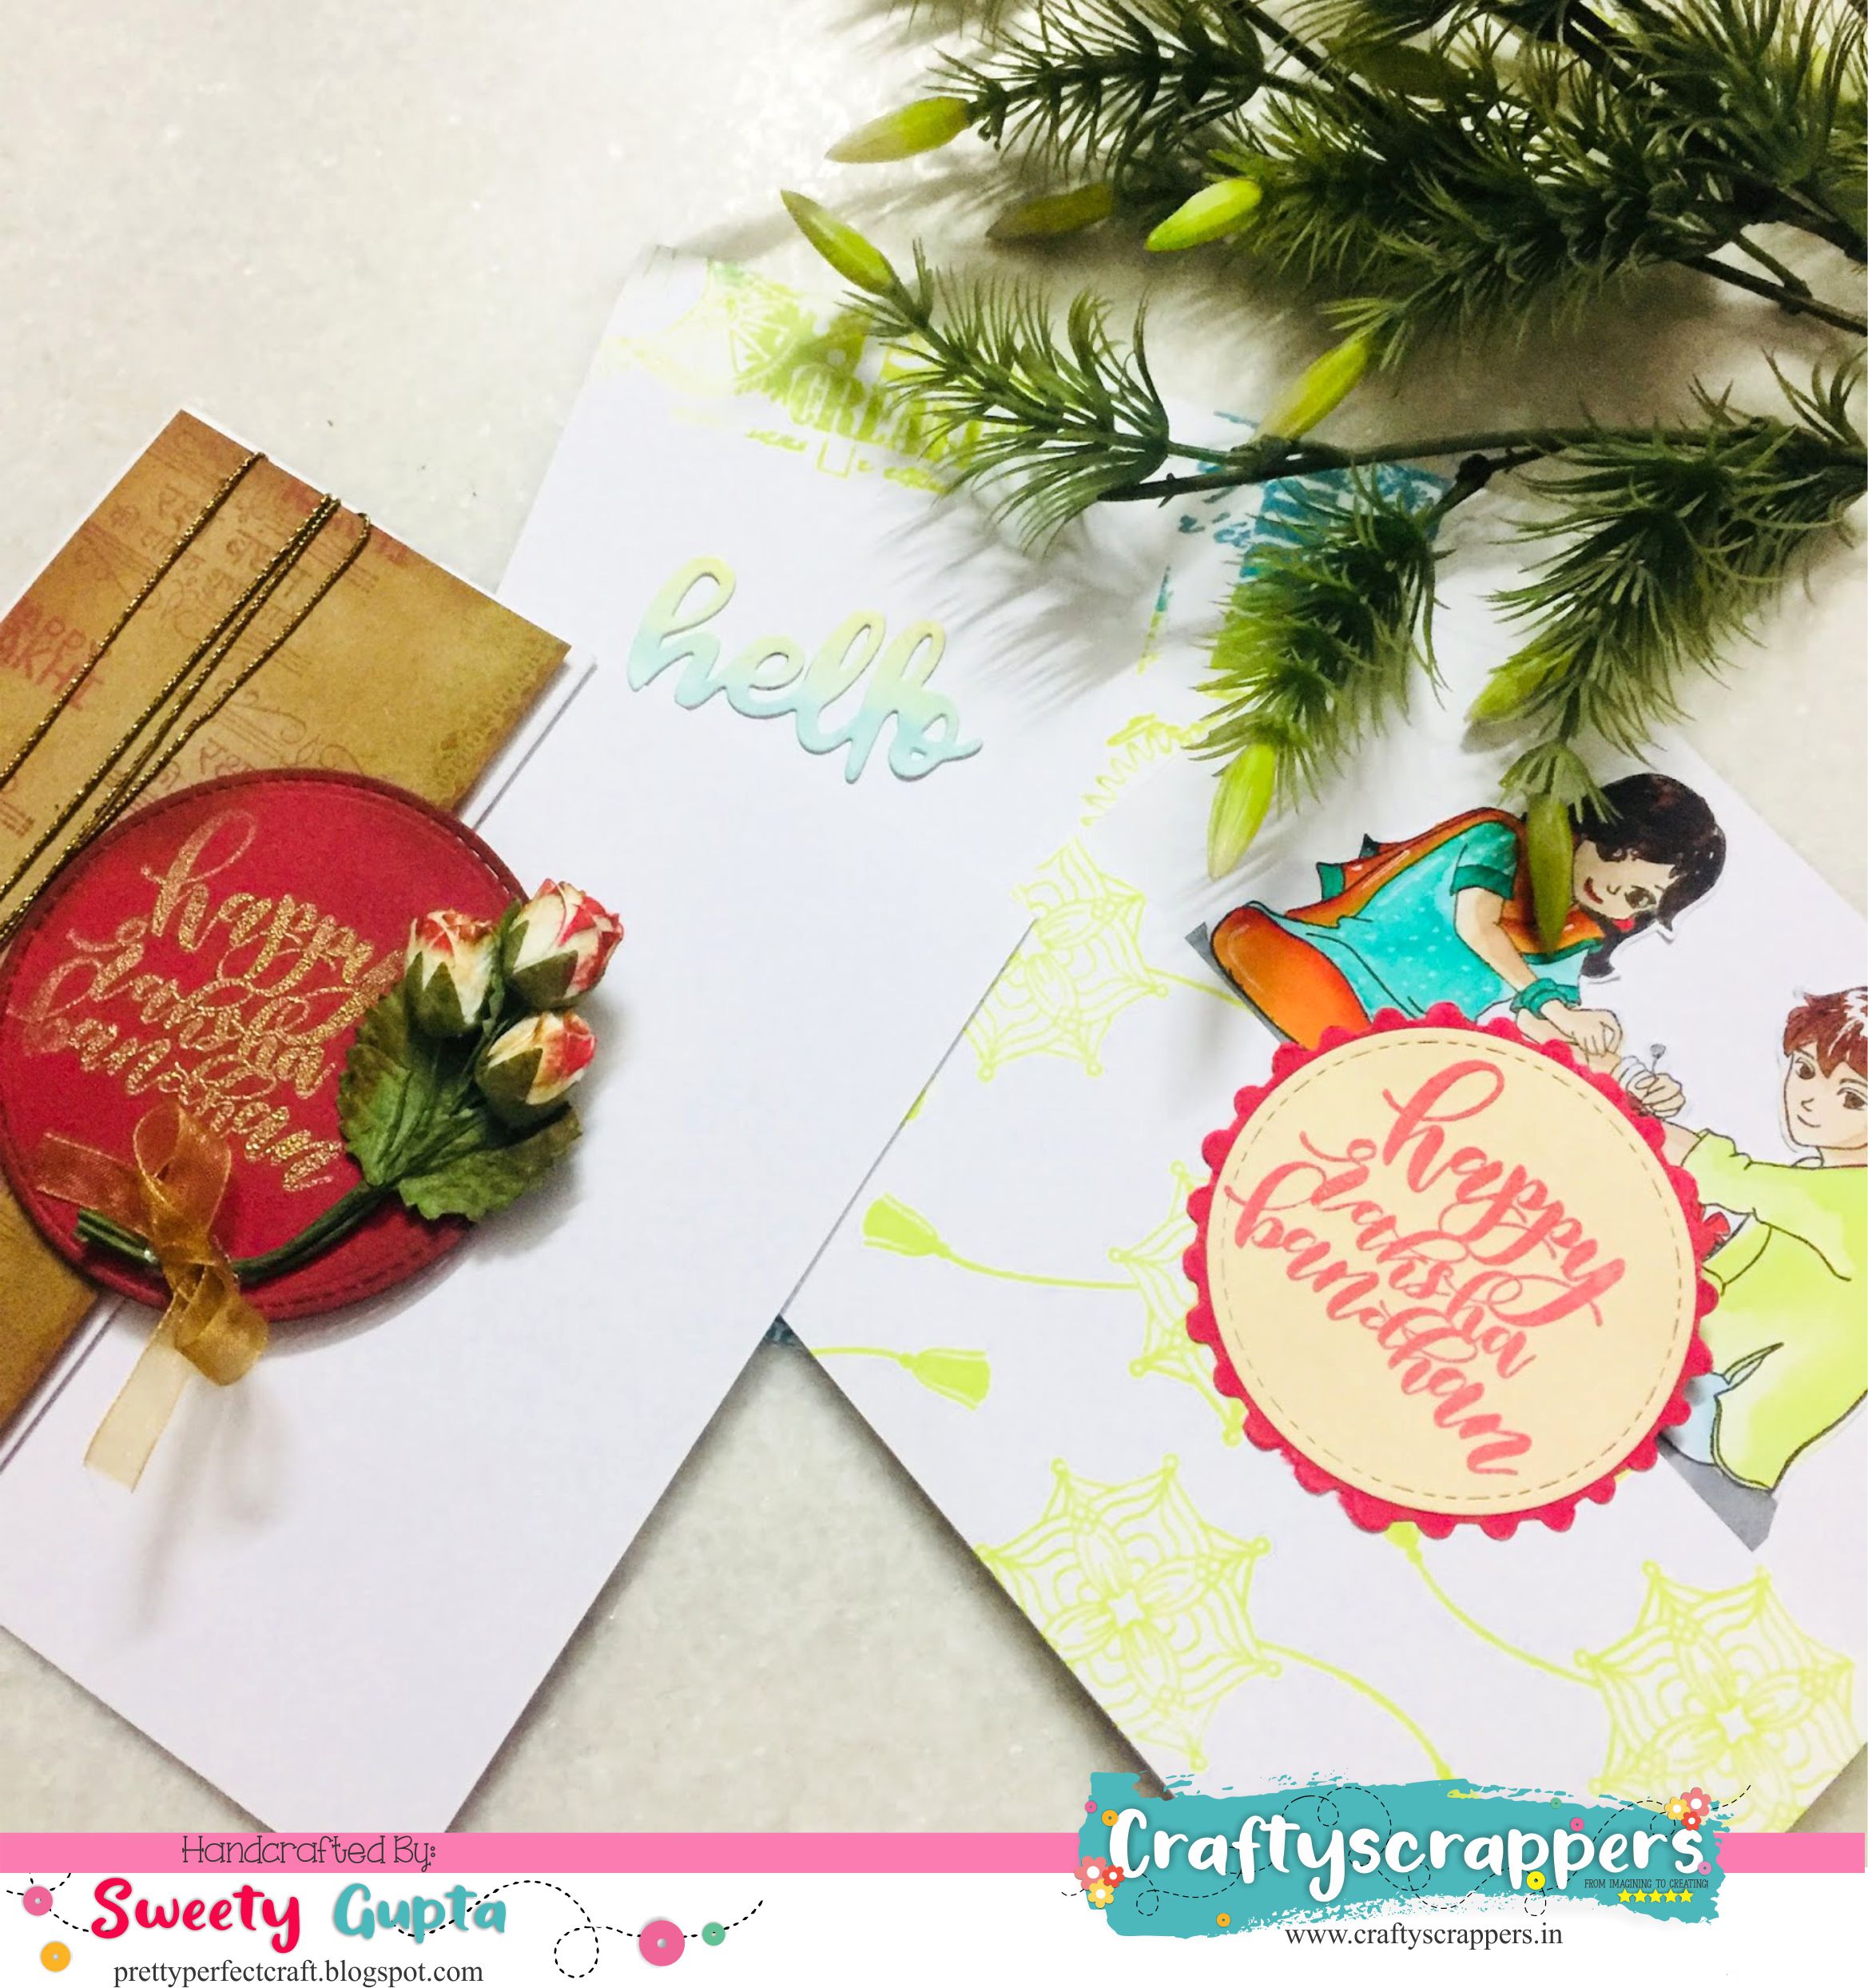
So Lets go through them one by one now…
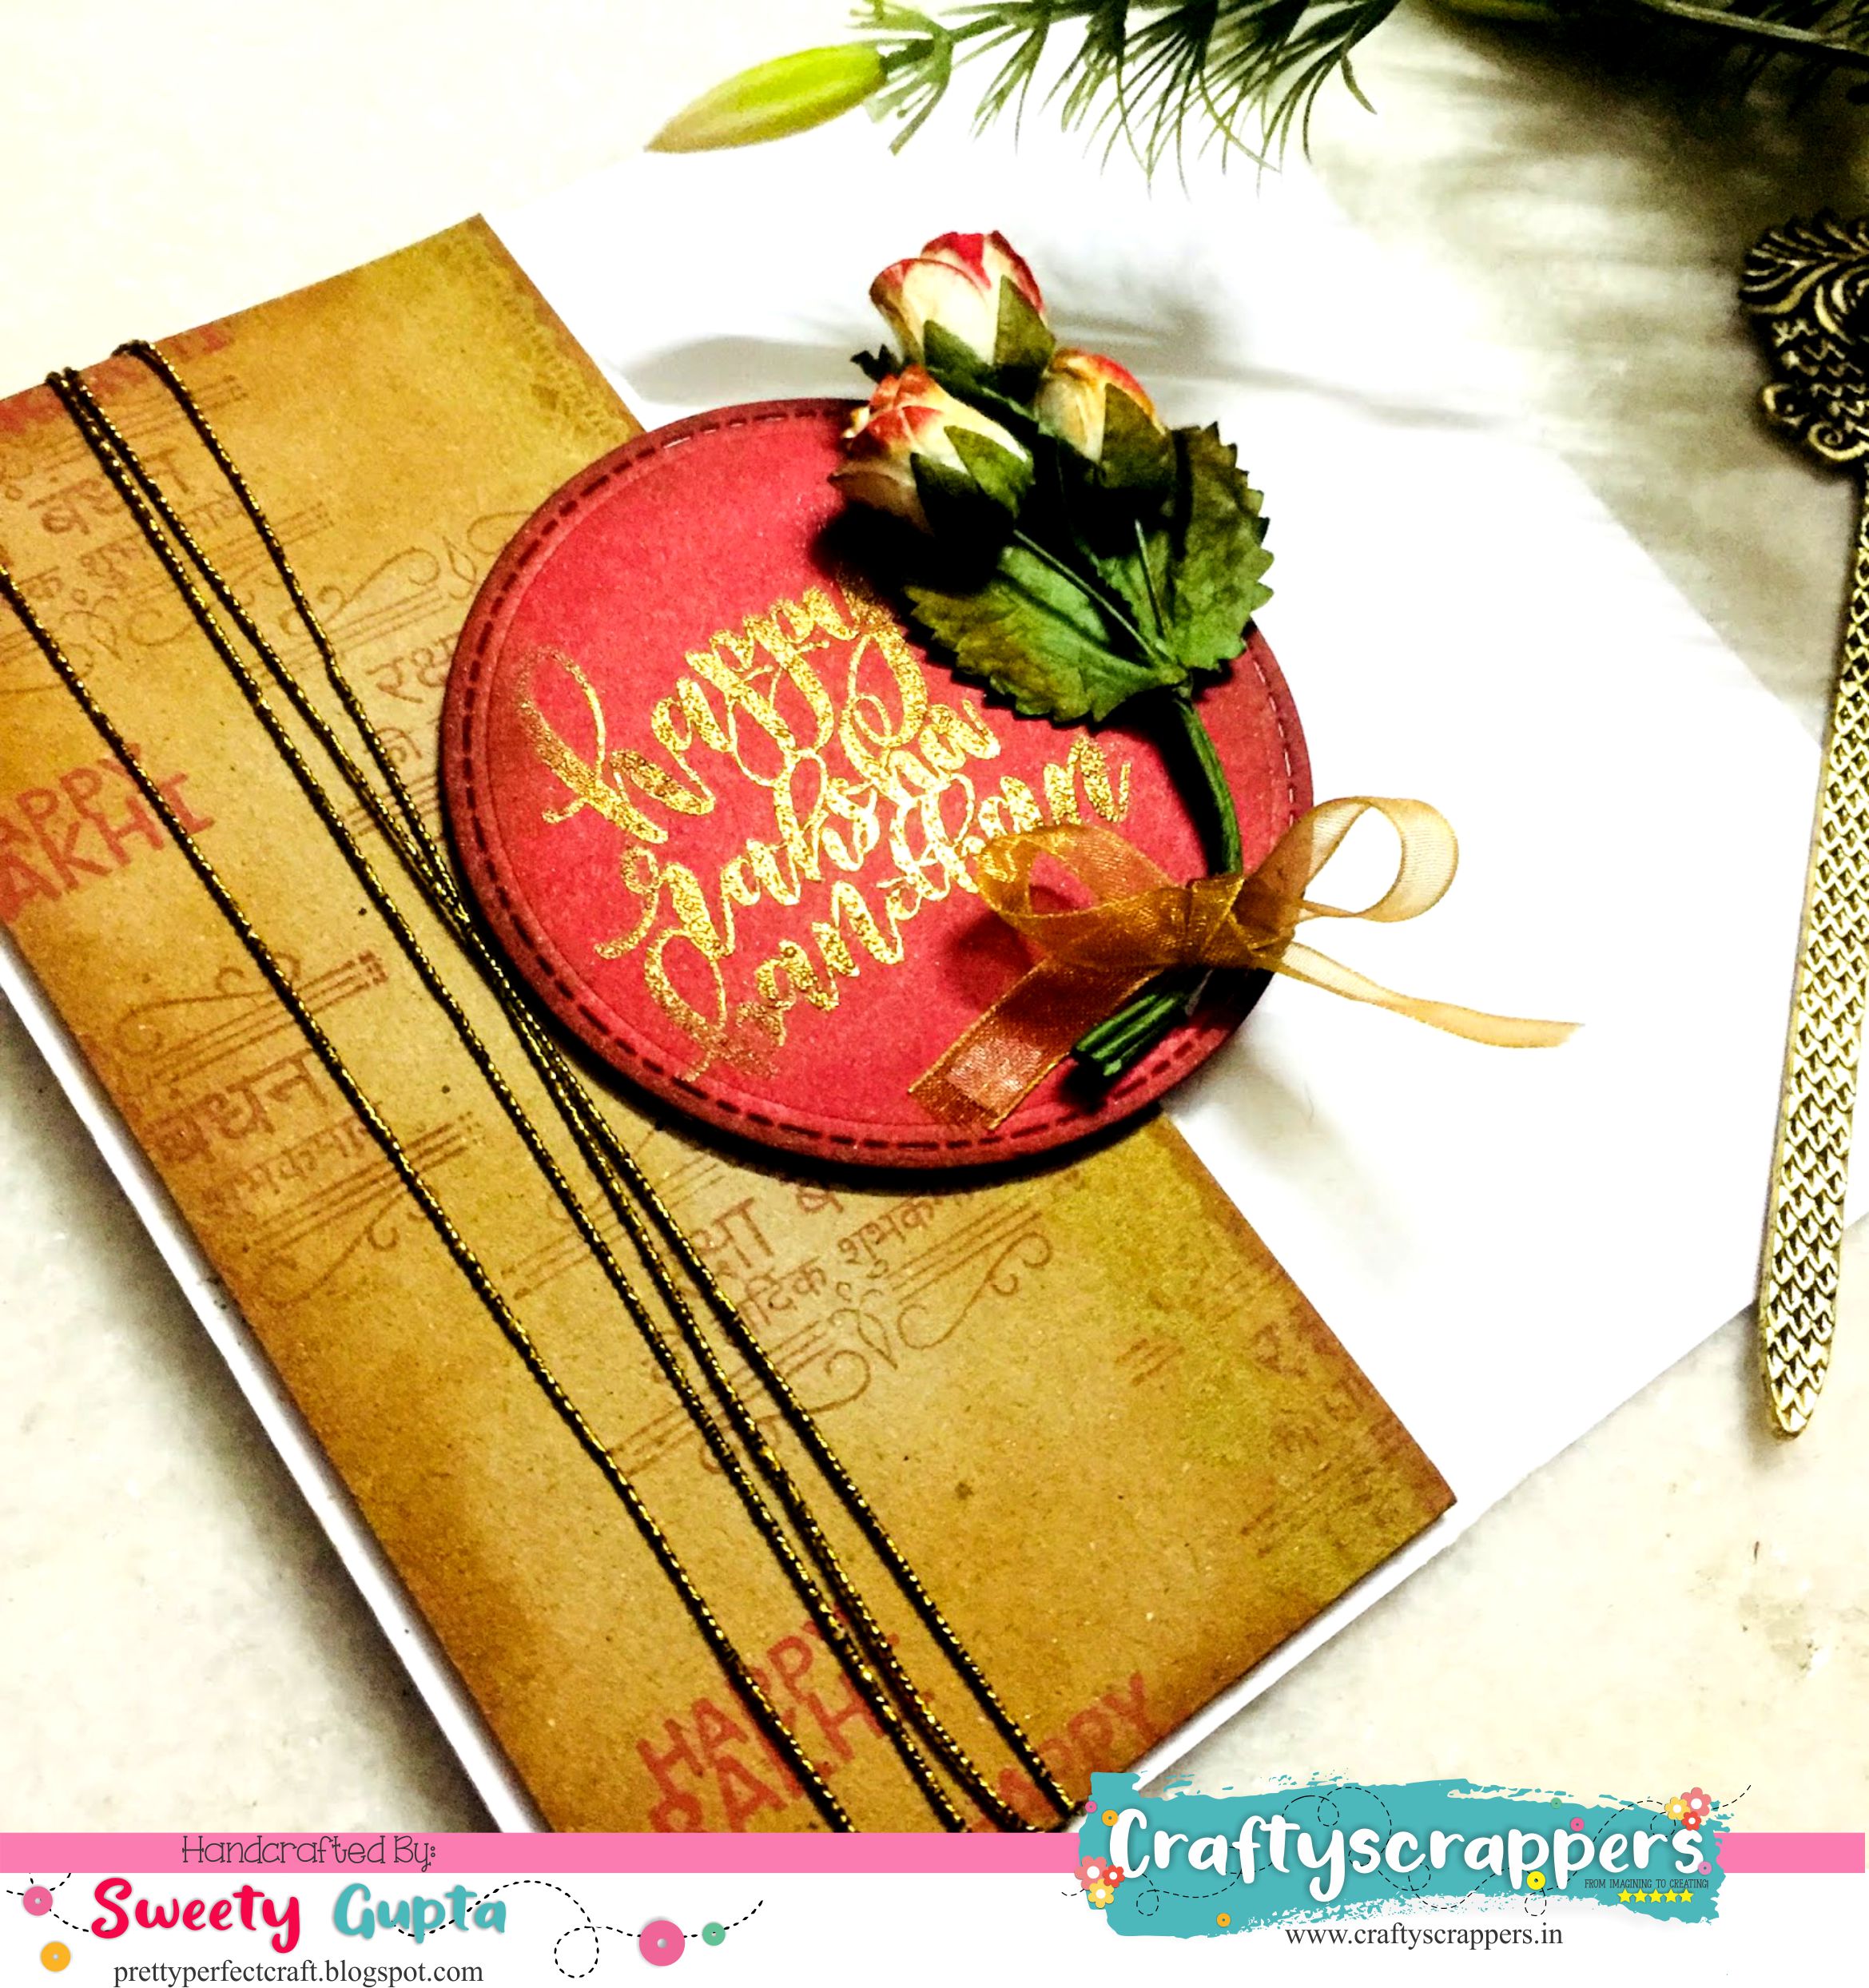
Card 1: VINTAGE RAKHI CARD
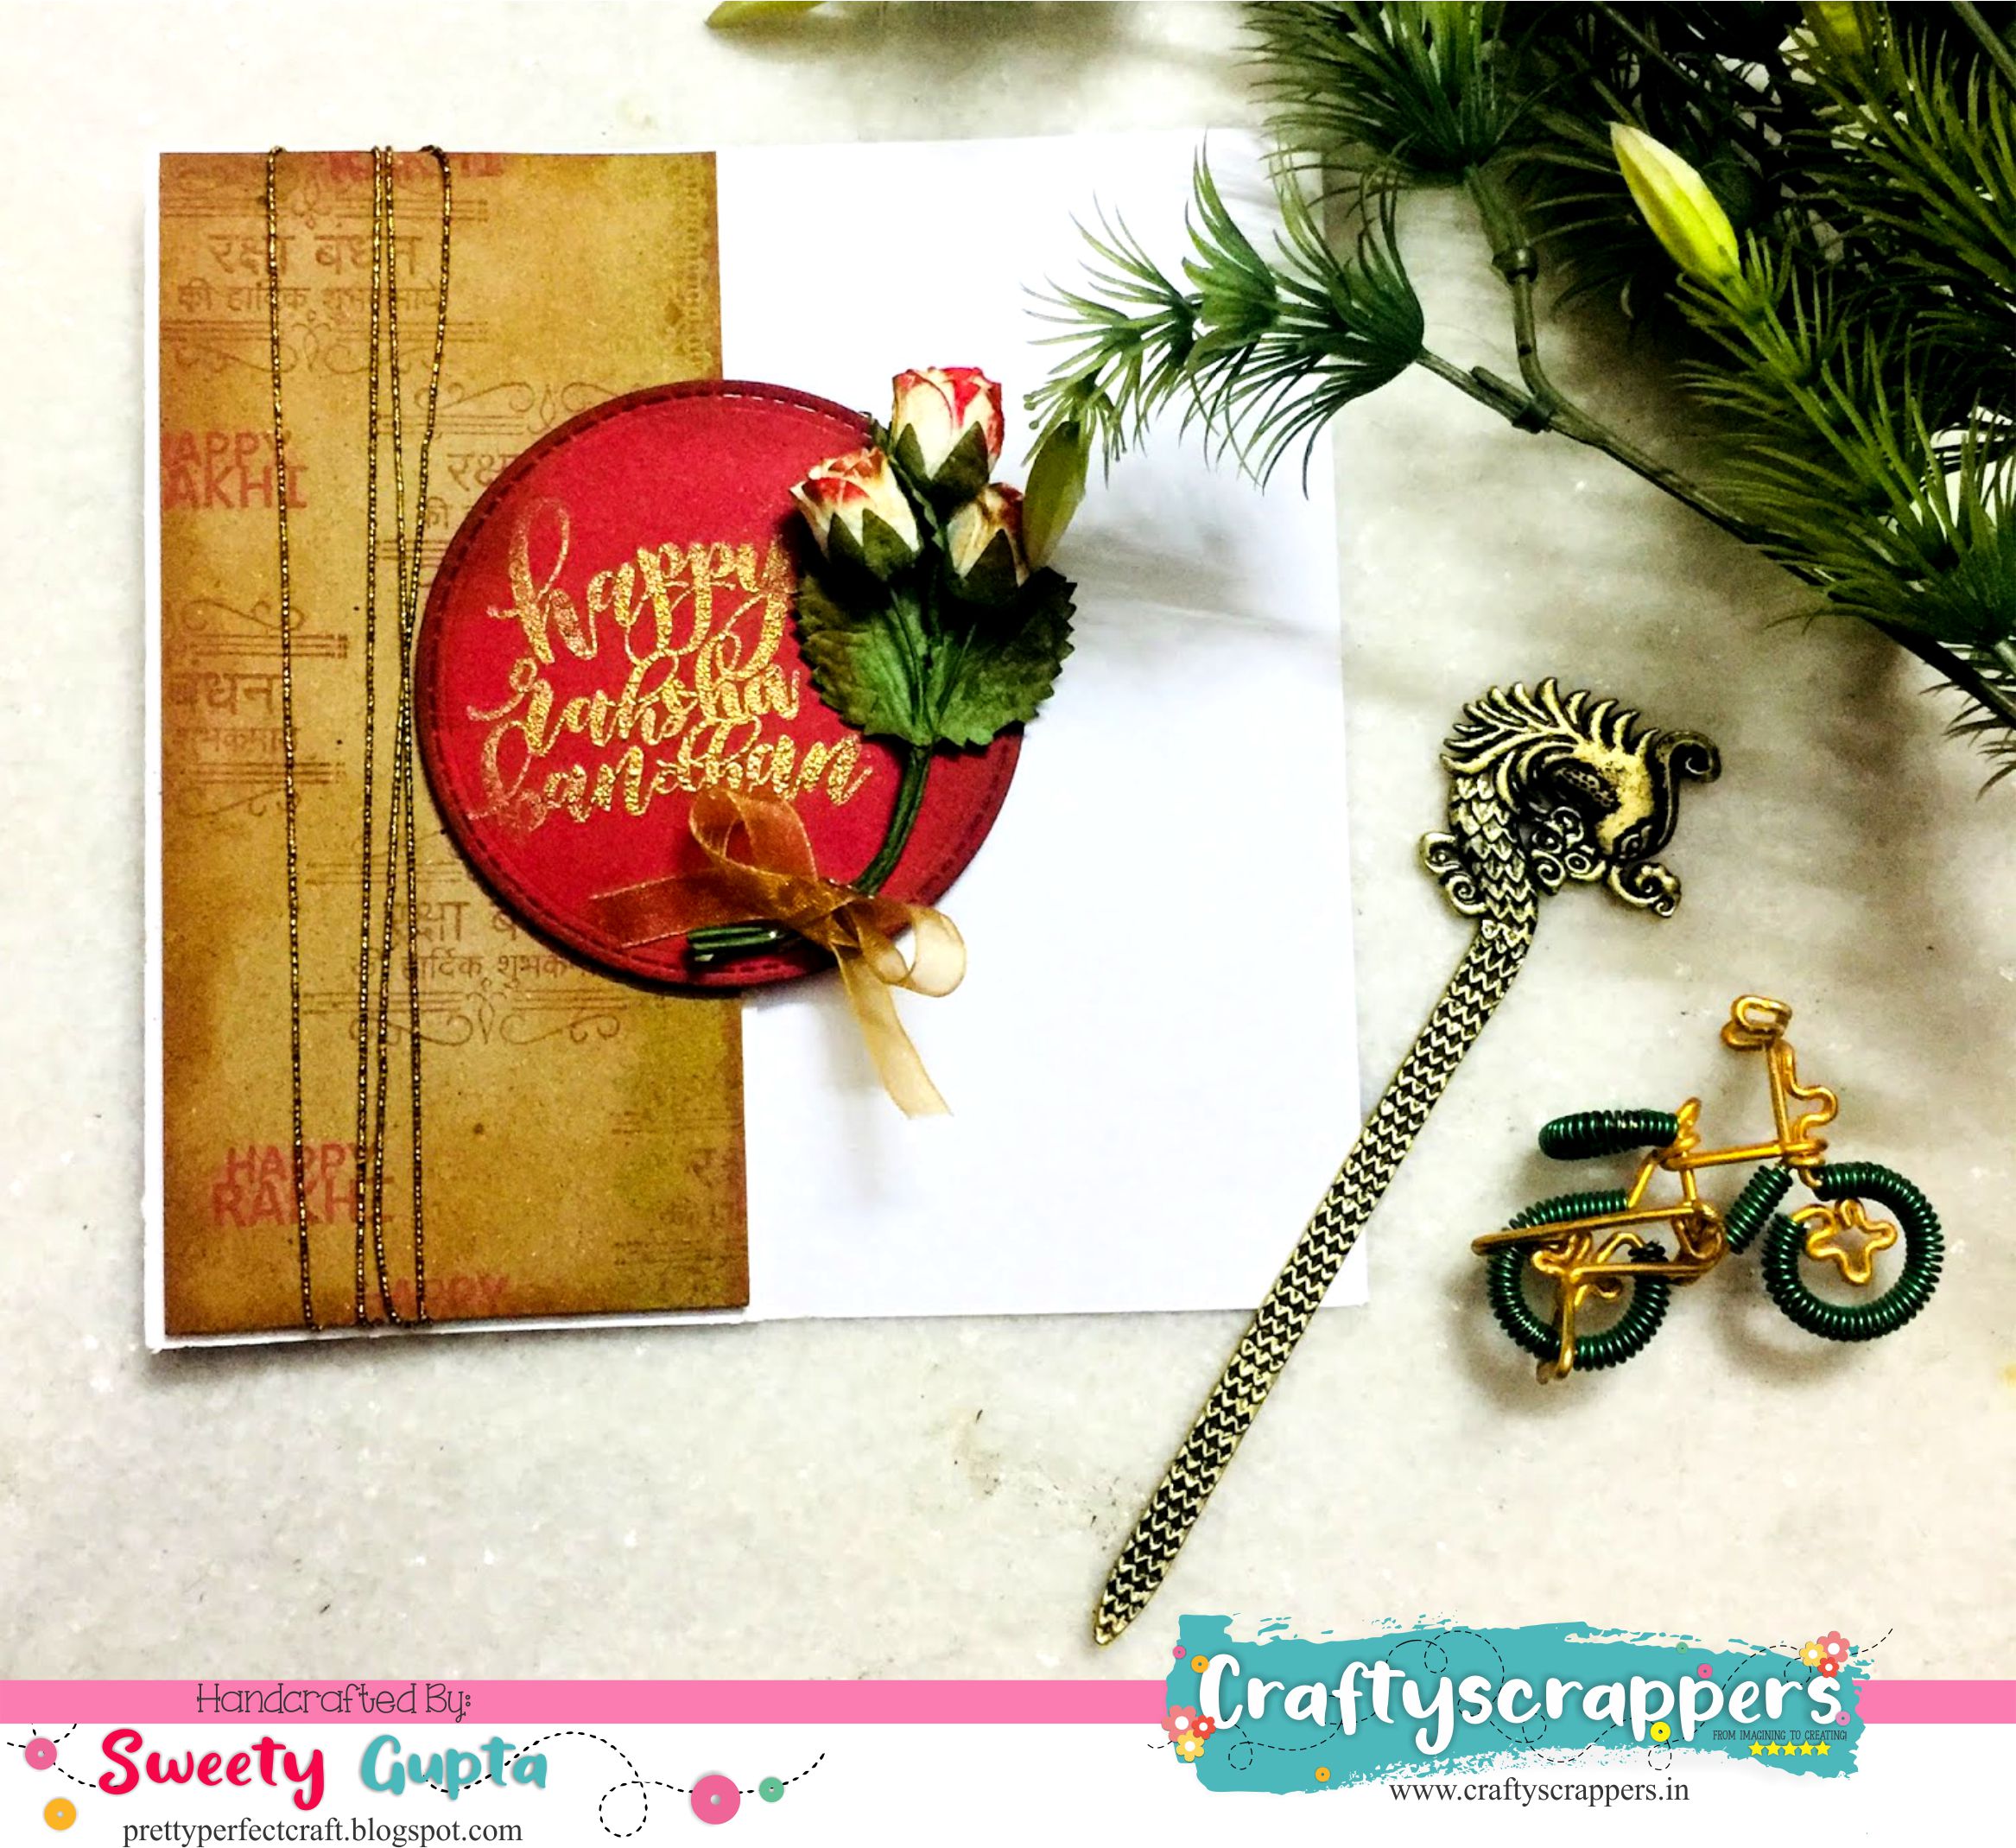
So, this card has a vintage feel to it because of the craft paper and cream flowers.
A BRIEF TUTORIAL:
- I stamped various sentiments from the “Rakhi wishes” stamp set using brown and red Versacolor inks on a craft sheet to make my own pattern paper.
- I then inked the edges using Artistry brown ink. This makes everything look older and prettier.
- I then heat embossed the bold and brush lettered sentiment on a red circle.
- I inked the edges of flowers from the Craftyscrappers embellishments.
- I finally added a bow using glue dots. They are really strong adhesive and hold such elements quite well.
SOME CLOSE-UPS:
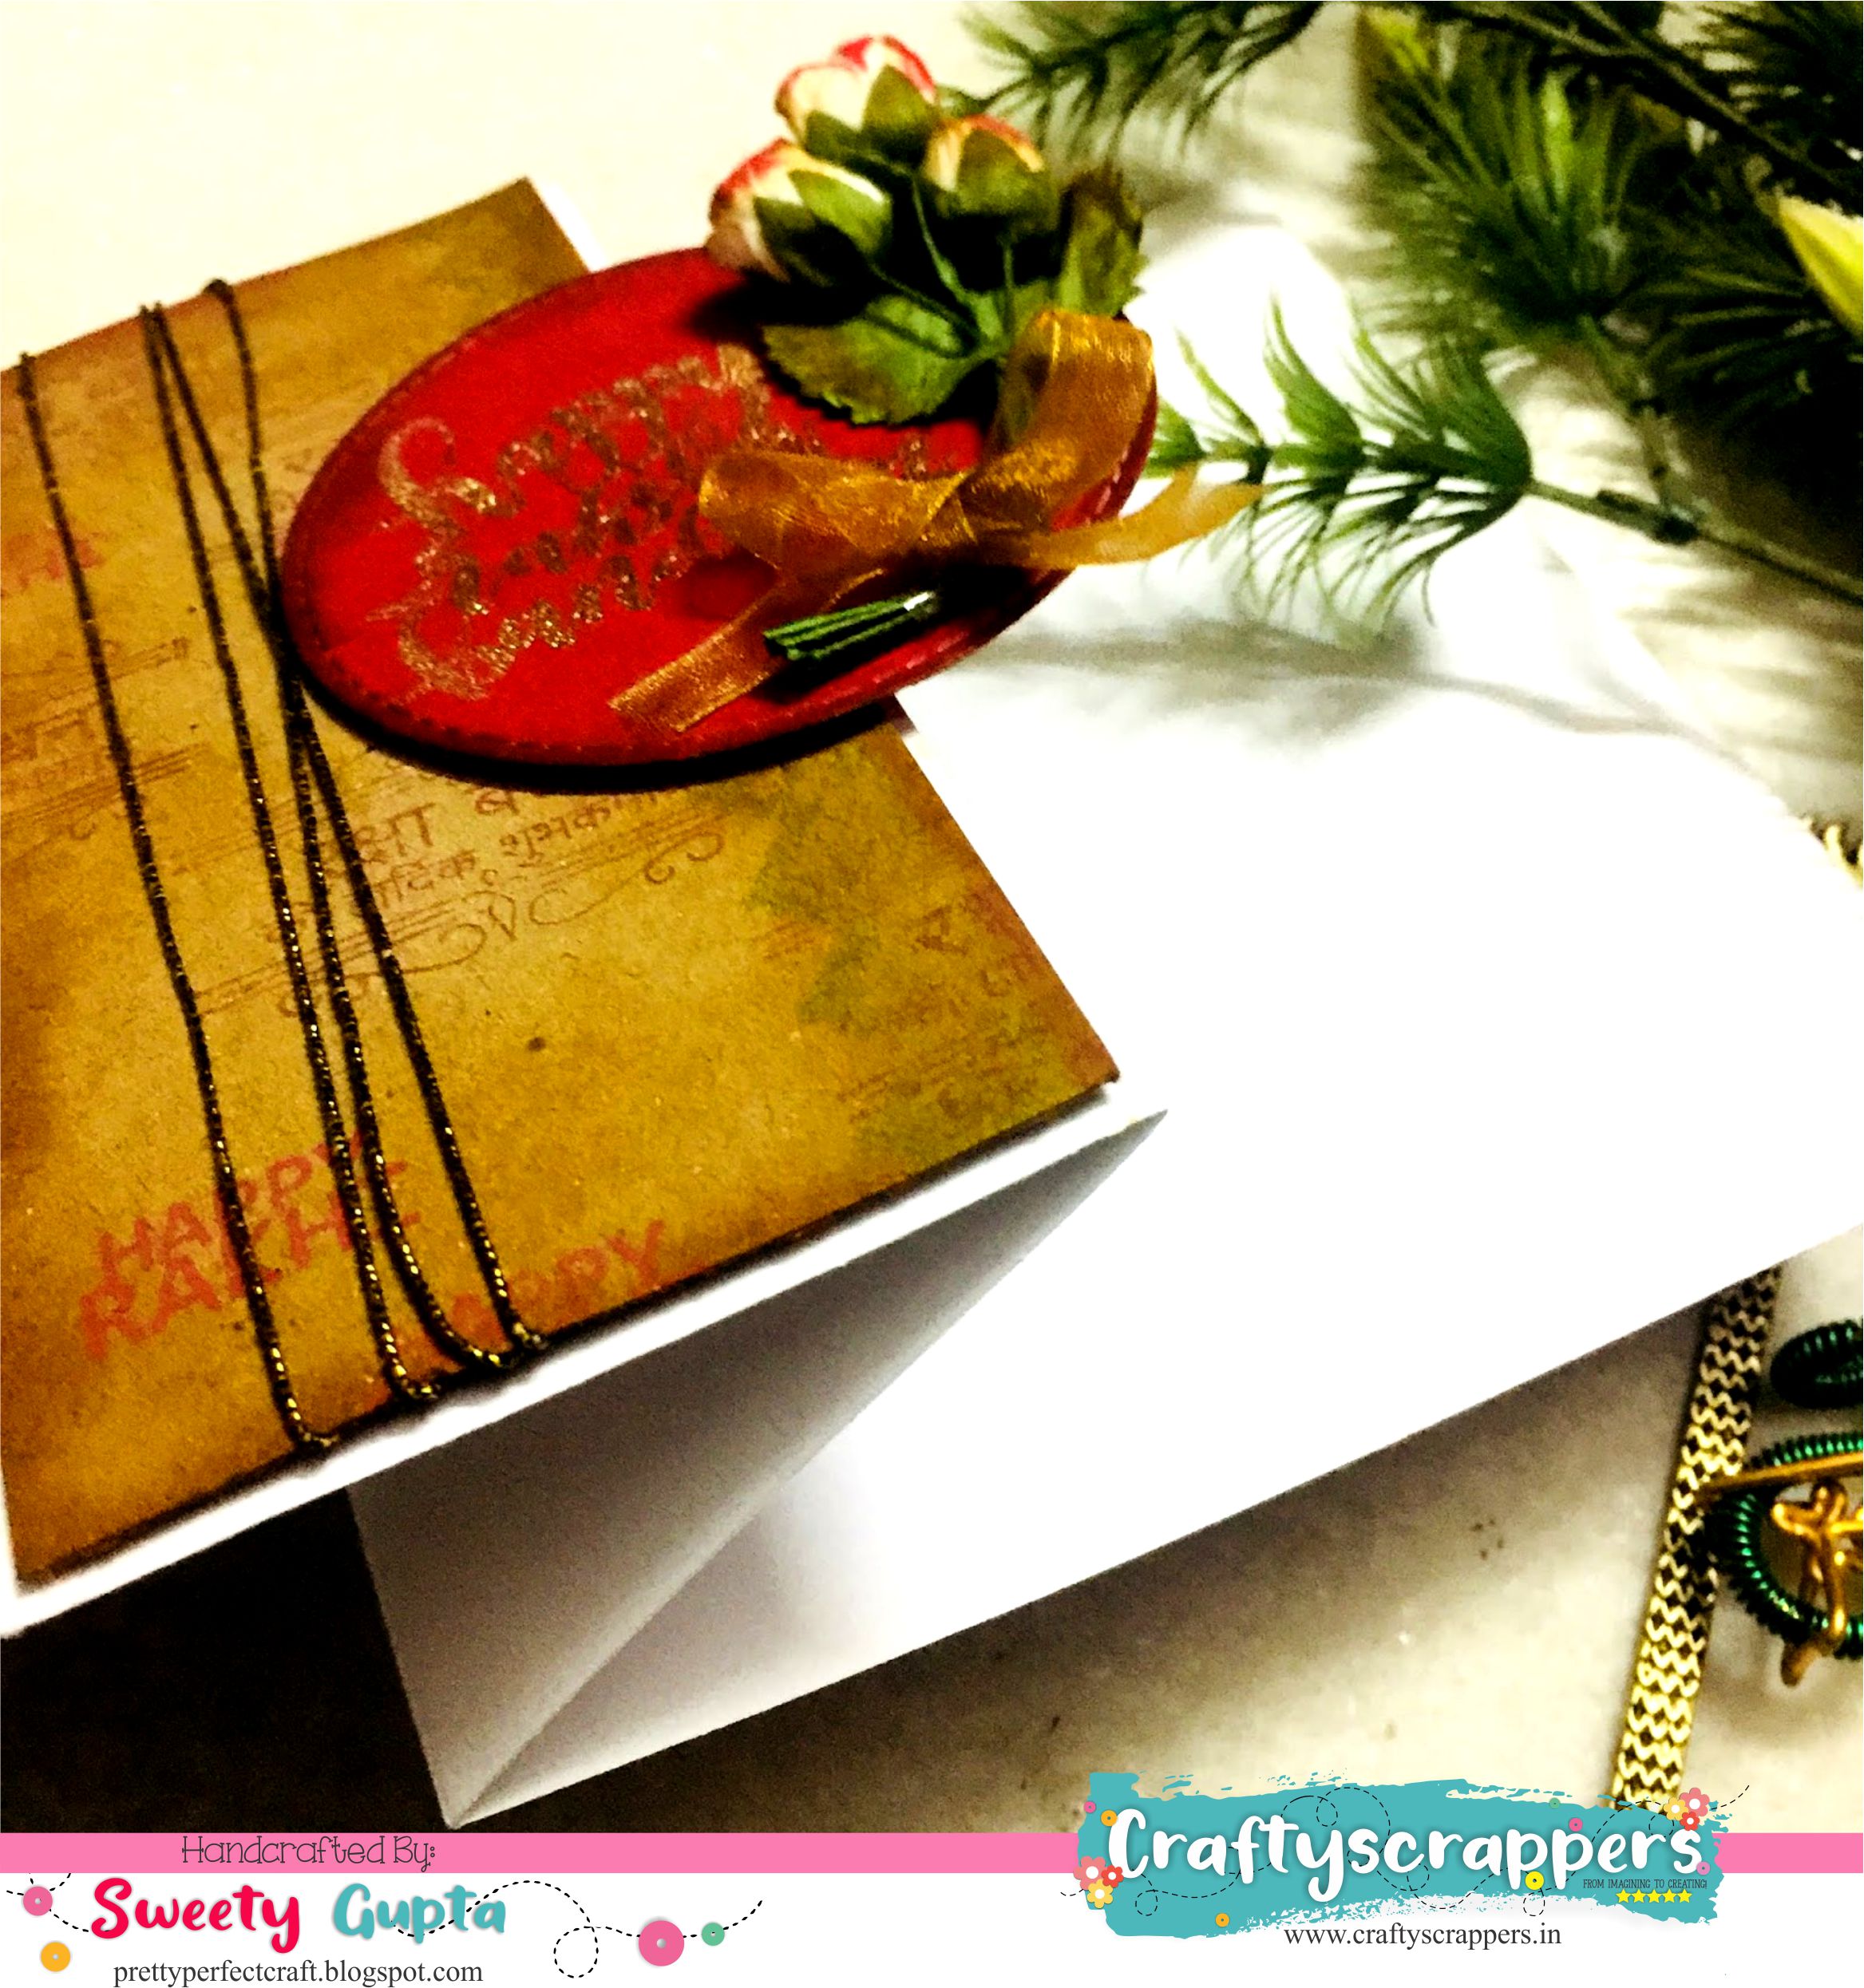
As you can see, it’s a fancy fold card. I simply folded the base to create this z-shape.
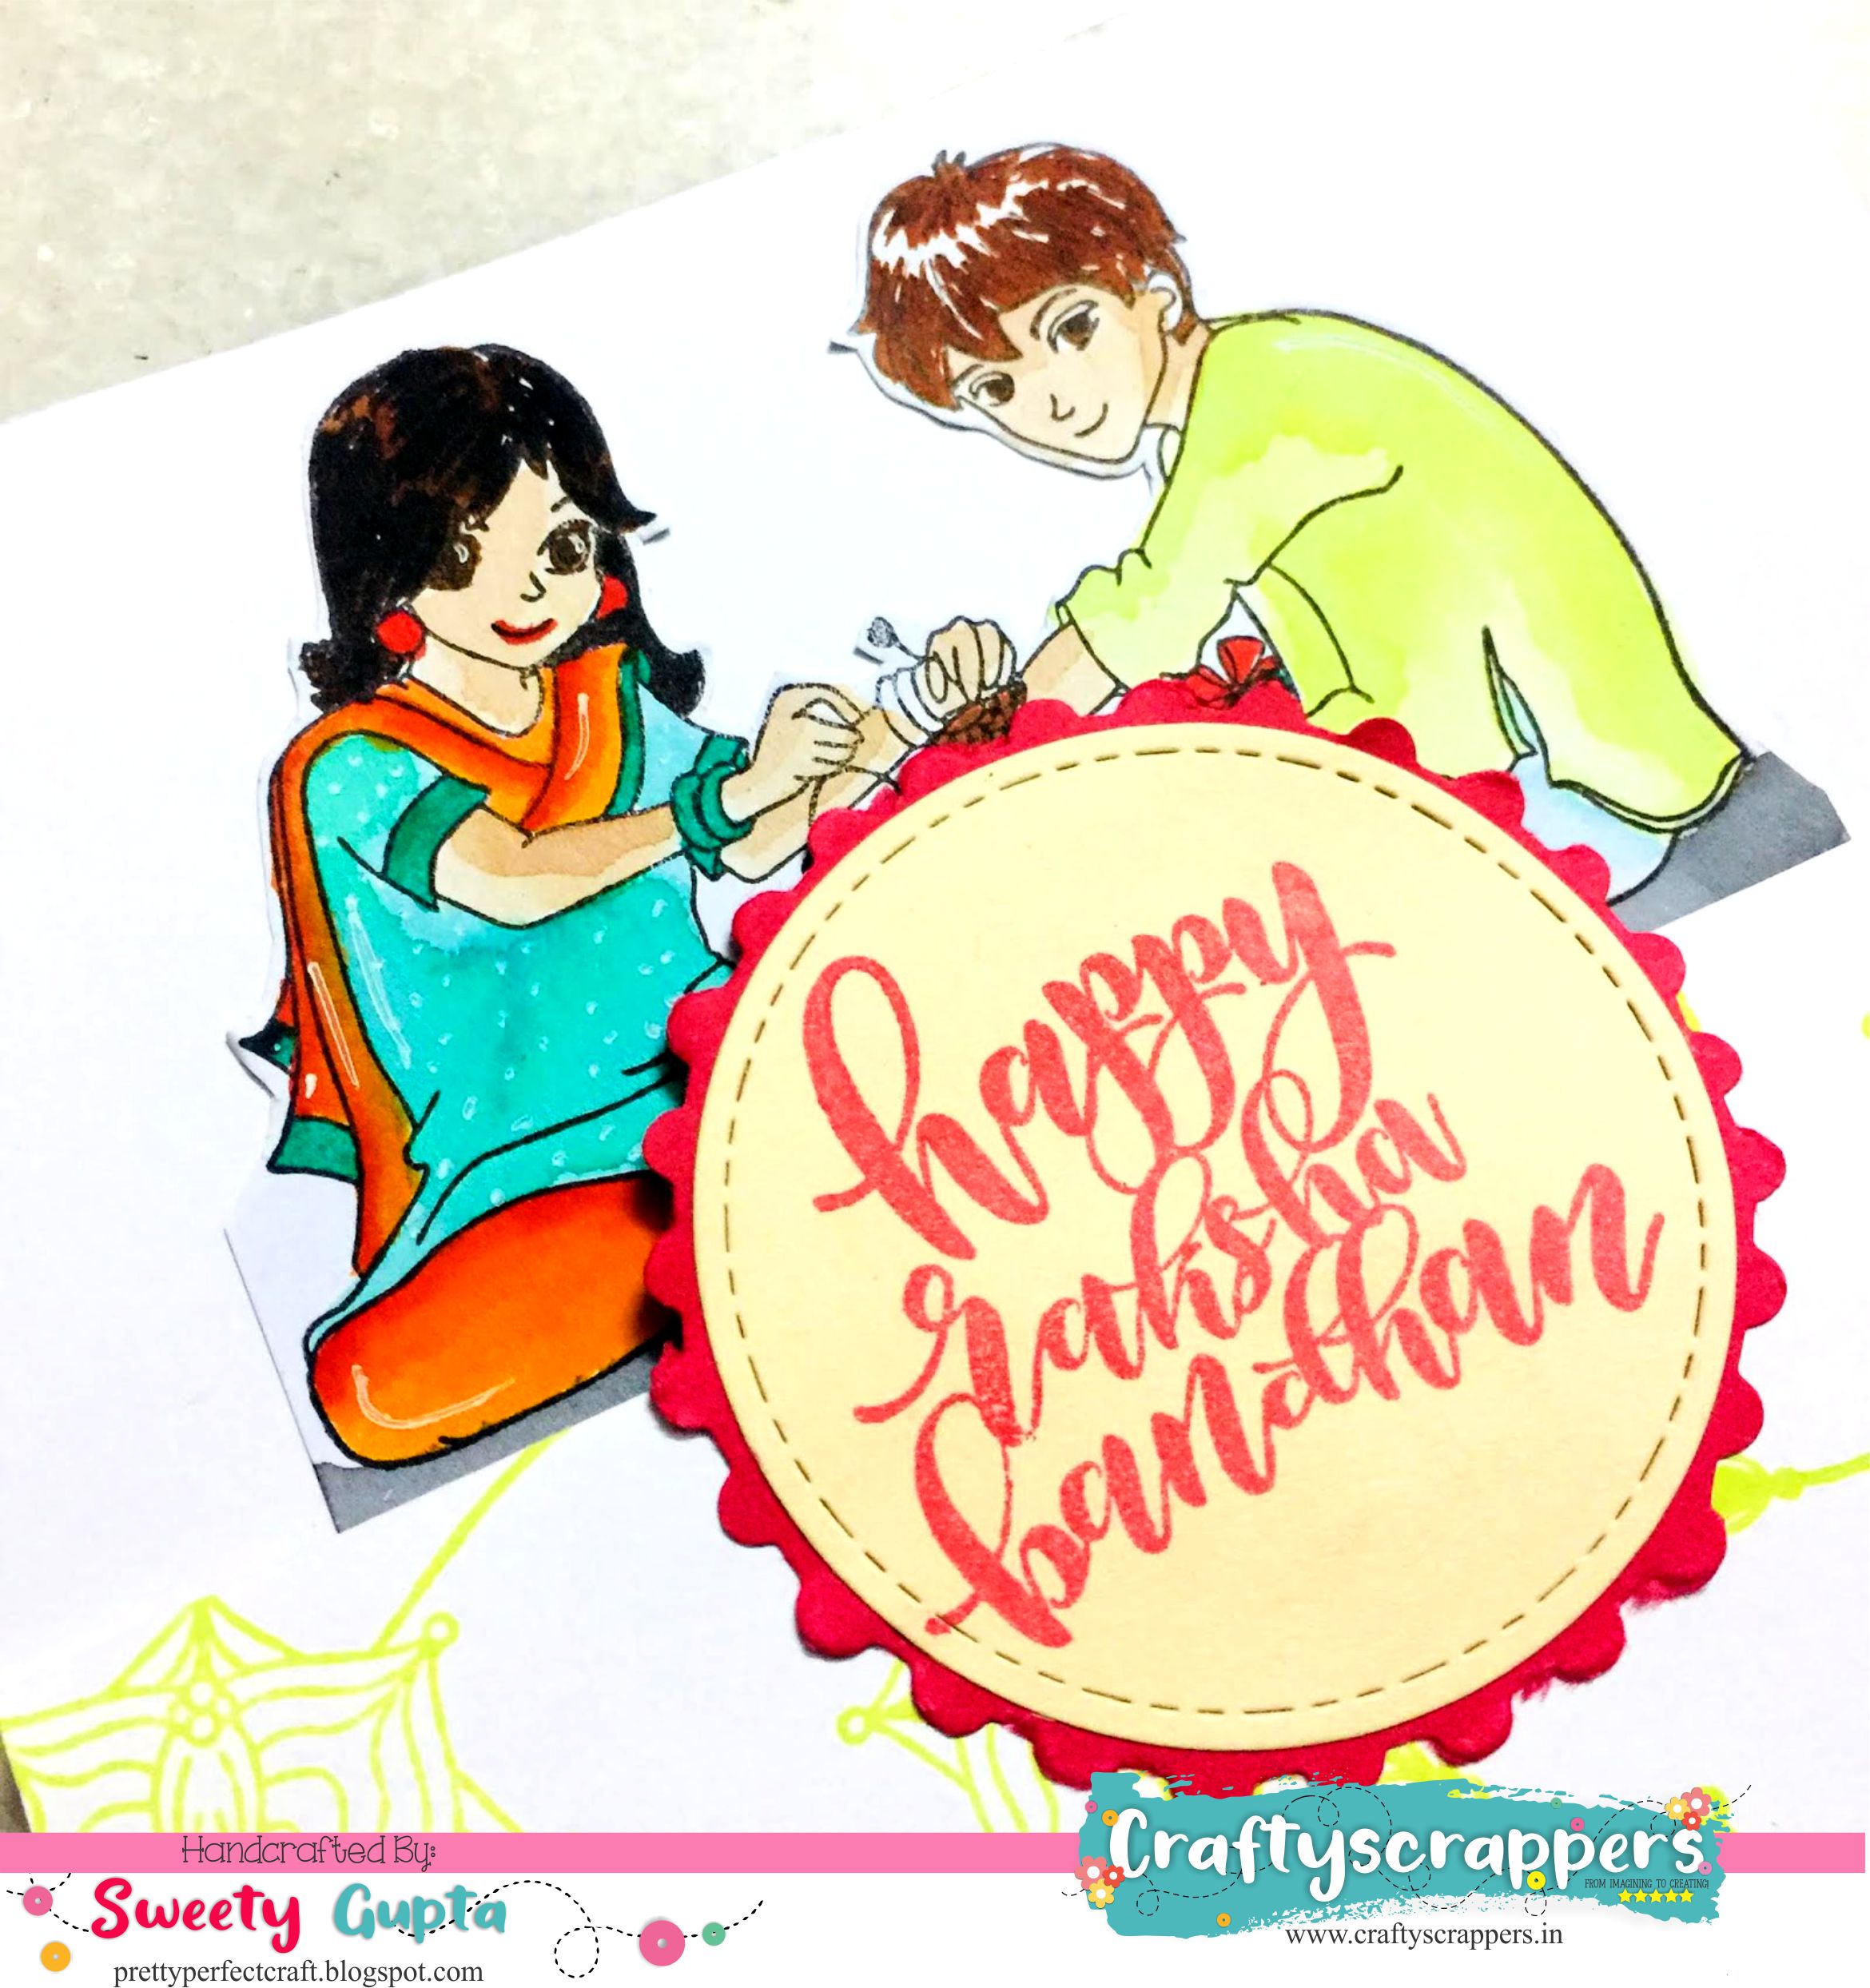
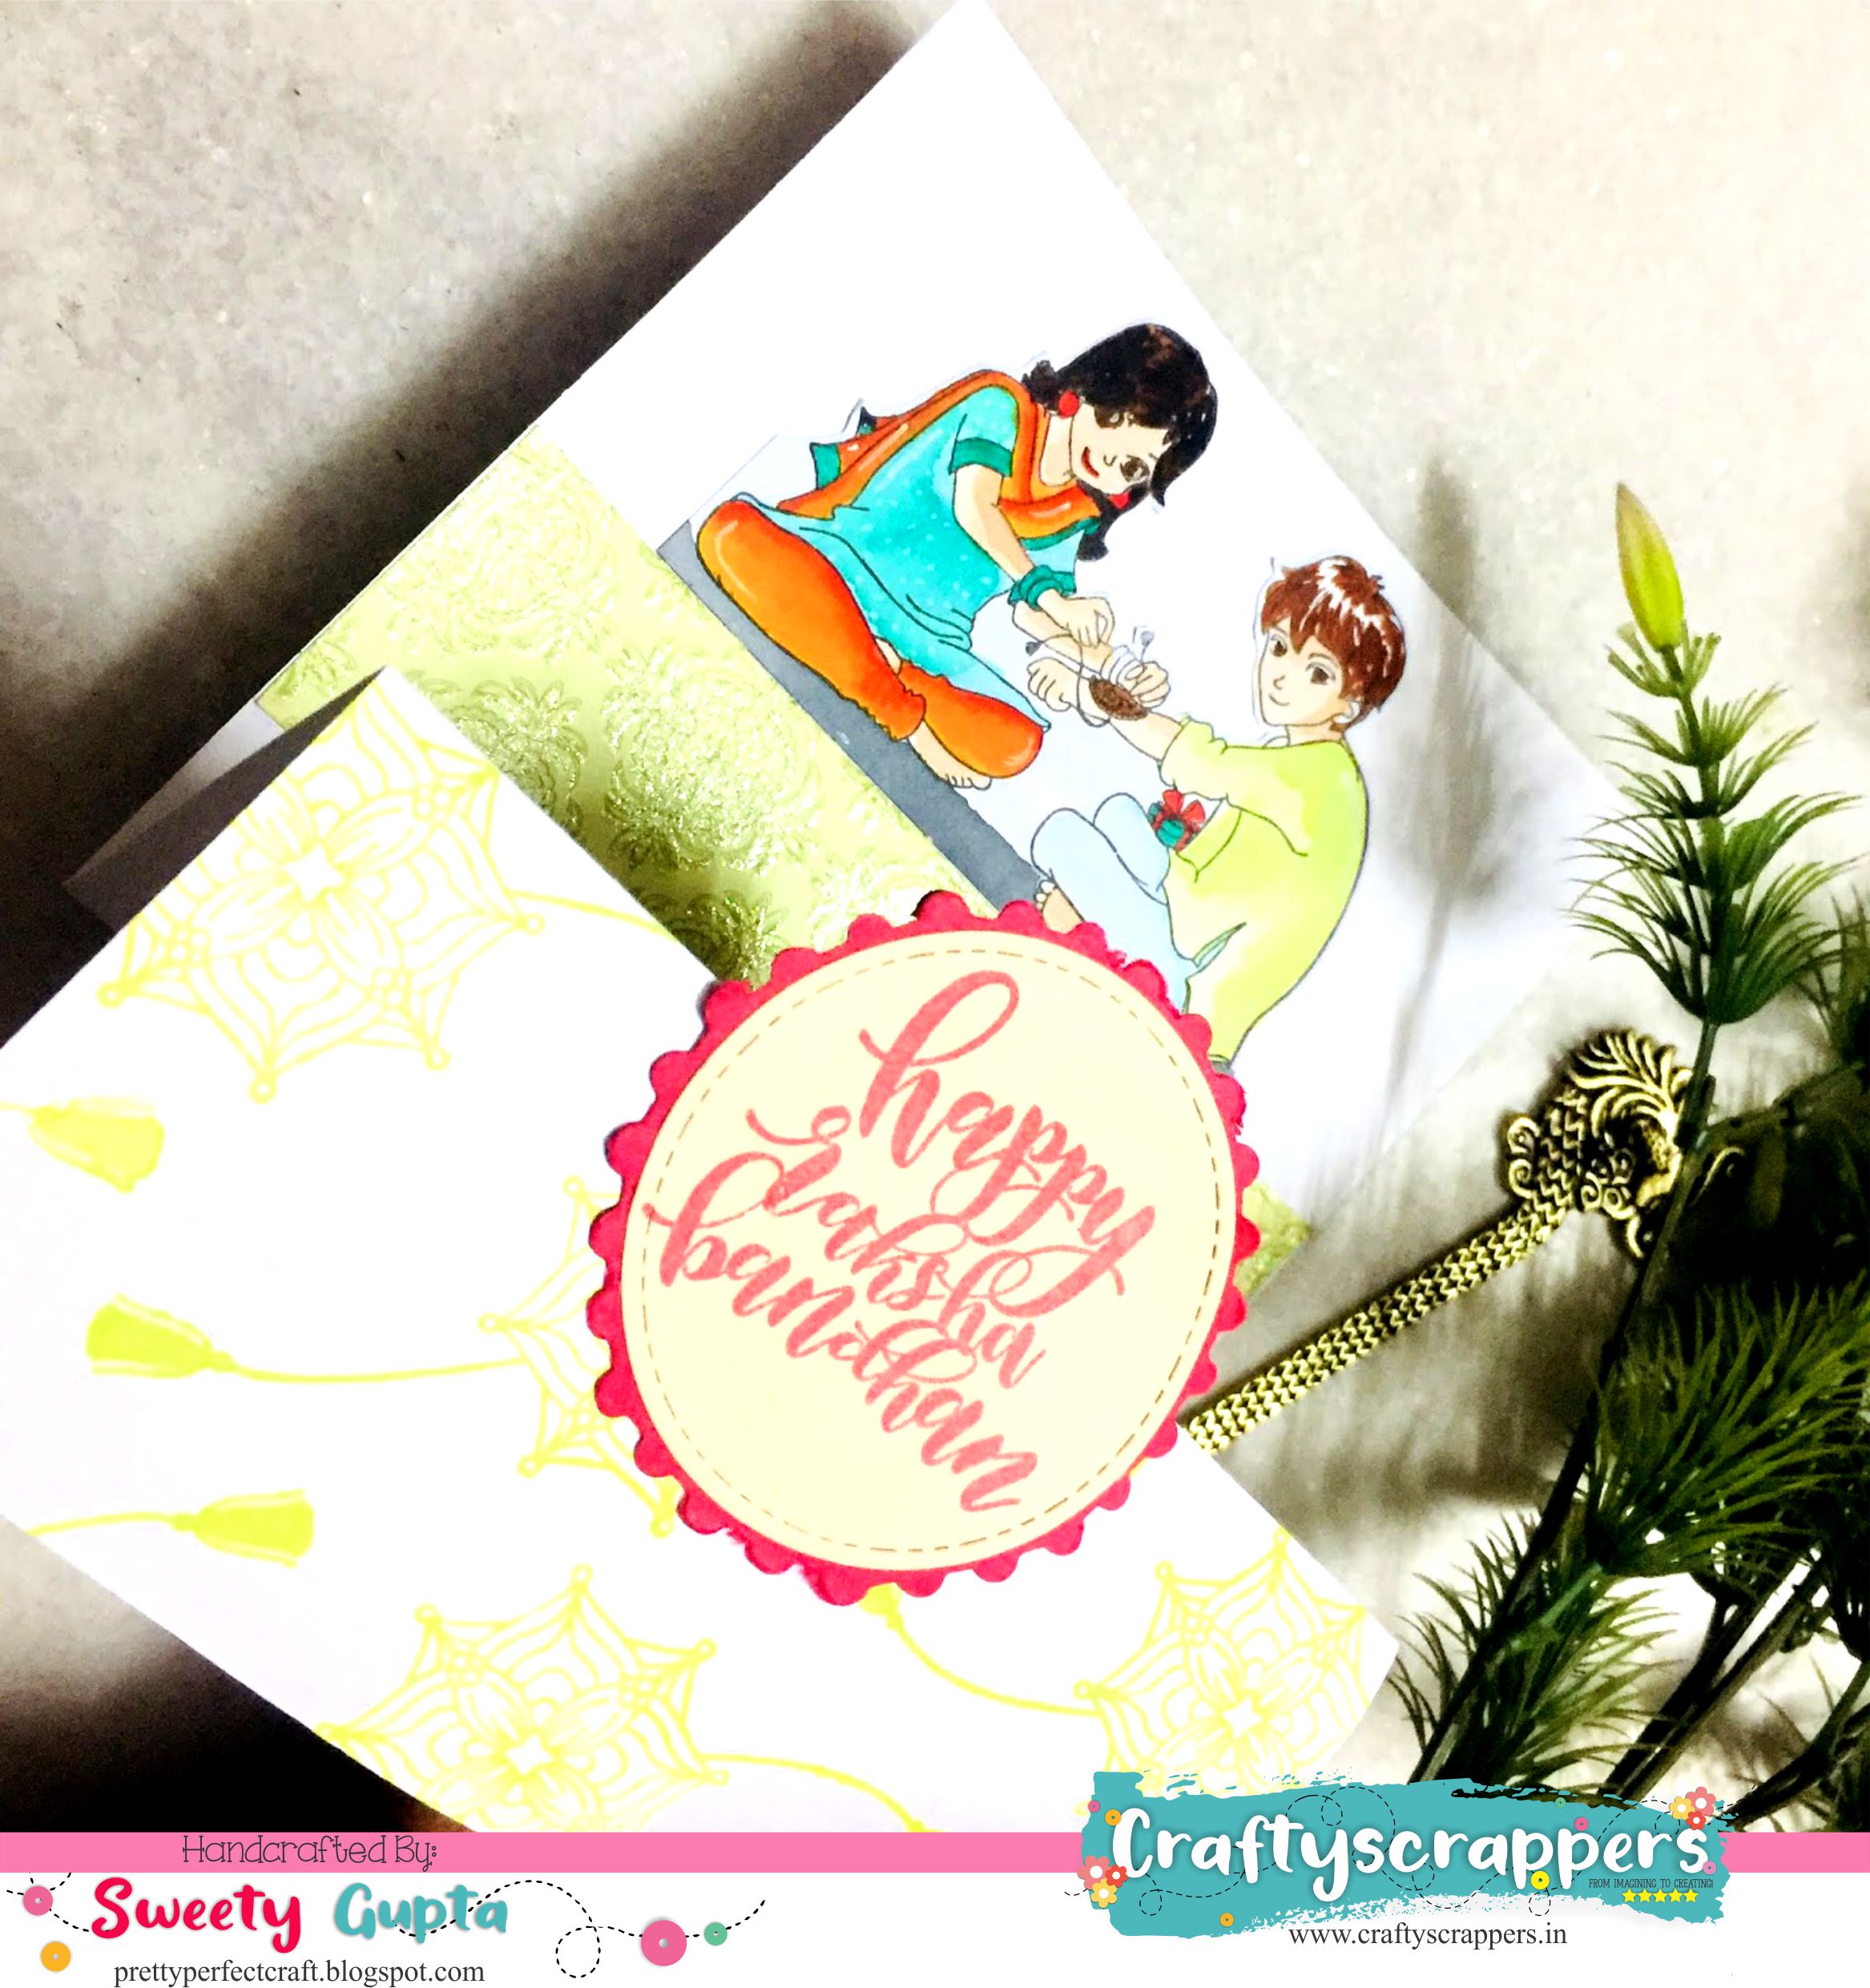
Card 2: MODERN RAKHI CARD
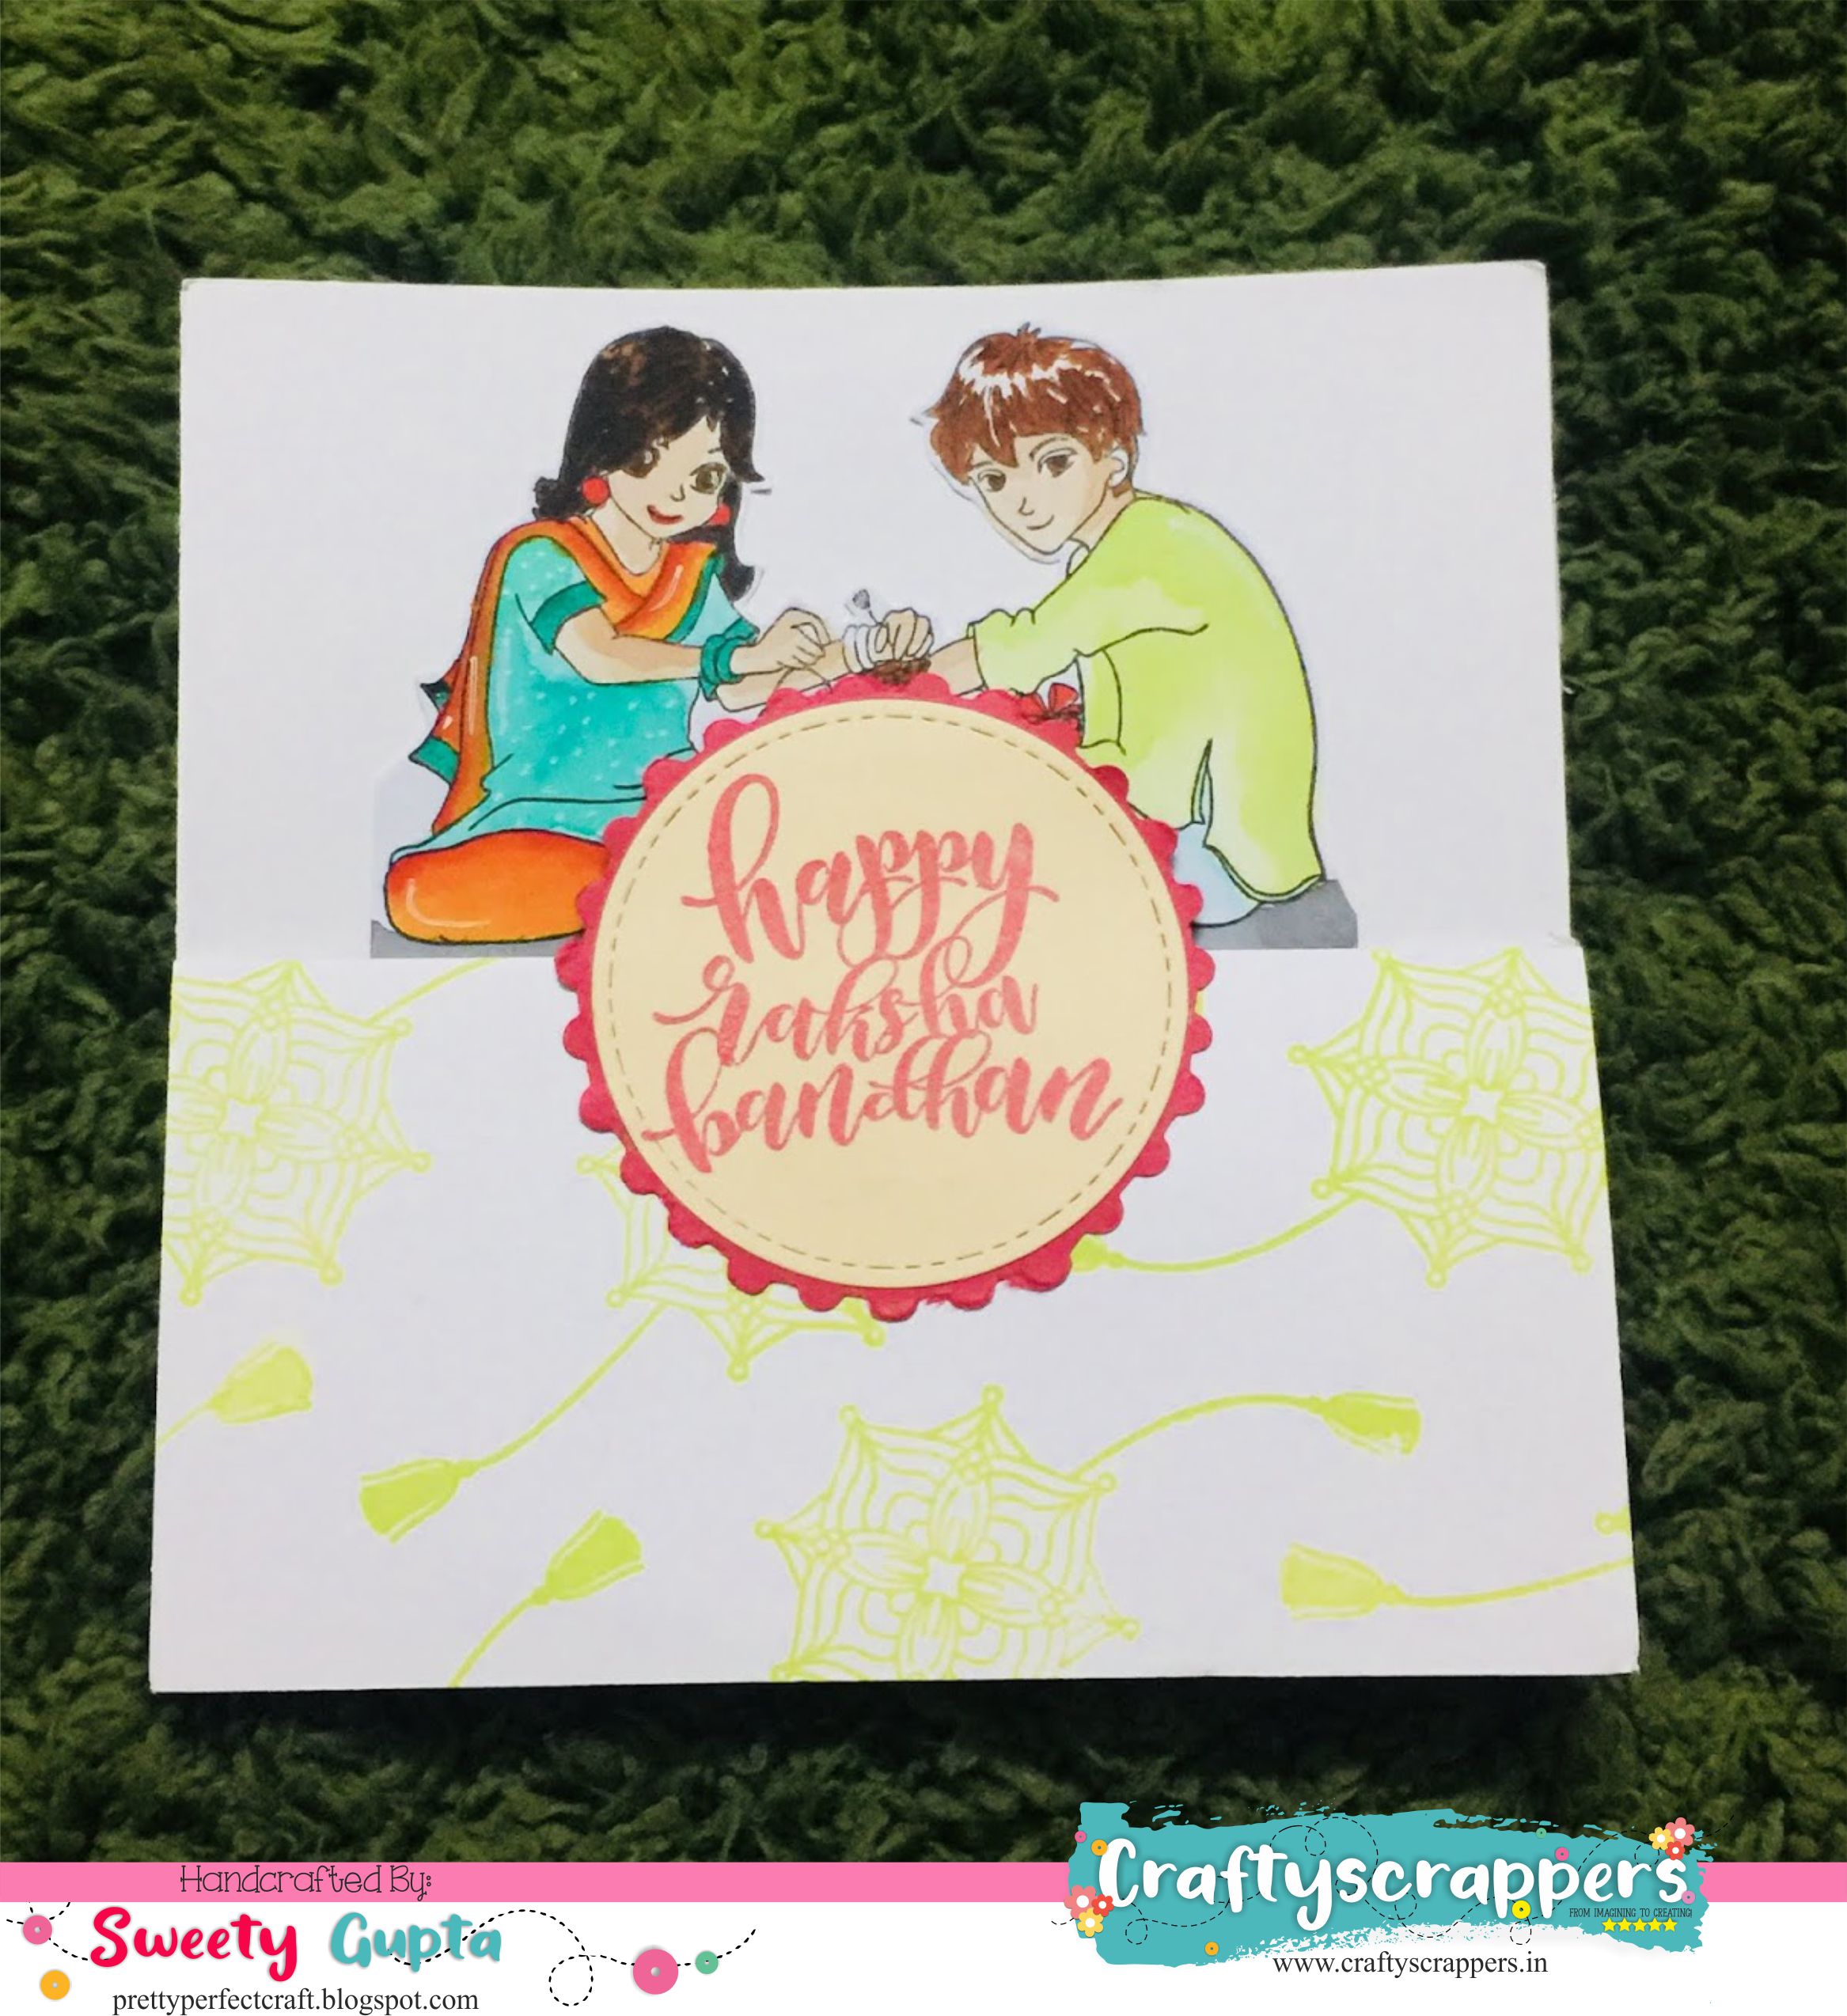
A BRIEF TUTORIAL:
- For this card, I first coloured the brother-sister image from the “Rakhi wishes” stamp using Camlin brush markers. This is such a cute image and so much fun to colour.
- I then did the fancy fold as I did in my previous card.
- I glued the image such that whole of it was visible upon closing the card.
- Then I added a green pattern paper underneath the image to give it some base. Otherwise, my image will look like its floating.
- I finally stamped the sentiment on a cream coloured paper using red versa colour ink, and matted this circle onto a red paper.
- I cut the red paper with scissors to create the postage look.
SOME CLOSE-UPS:
Card 3: ULTRA-MODERN RAKHI CARD
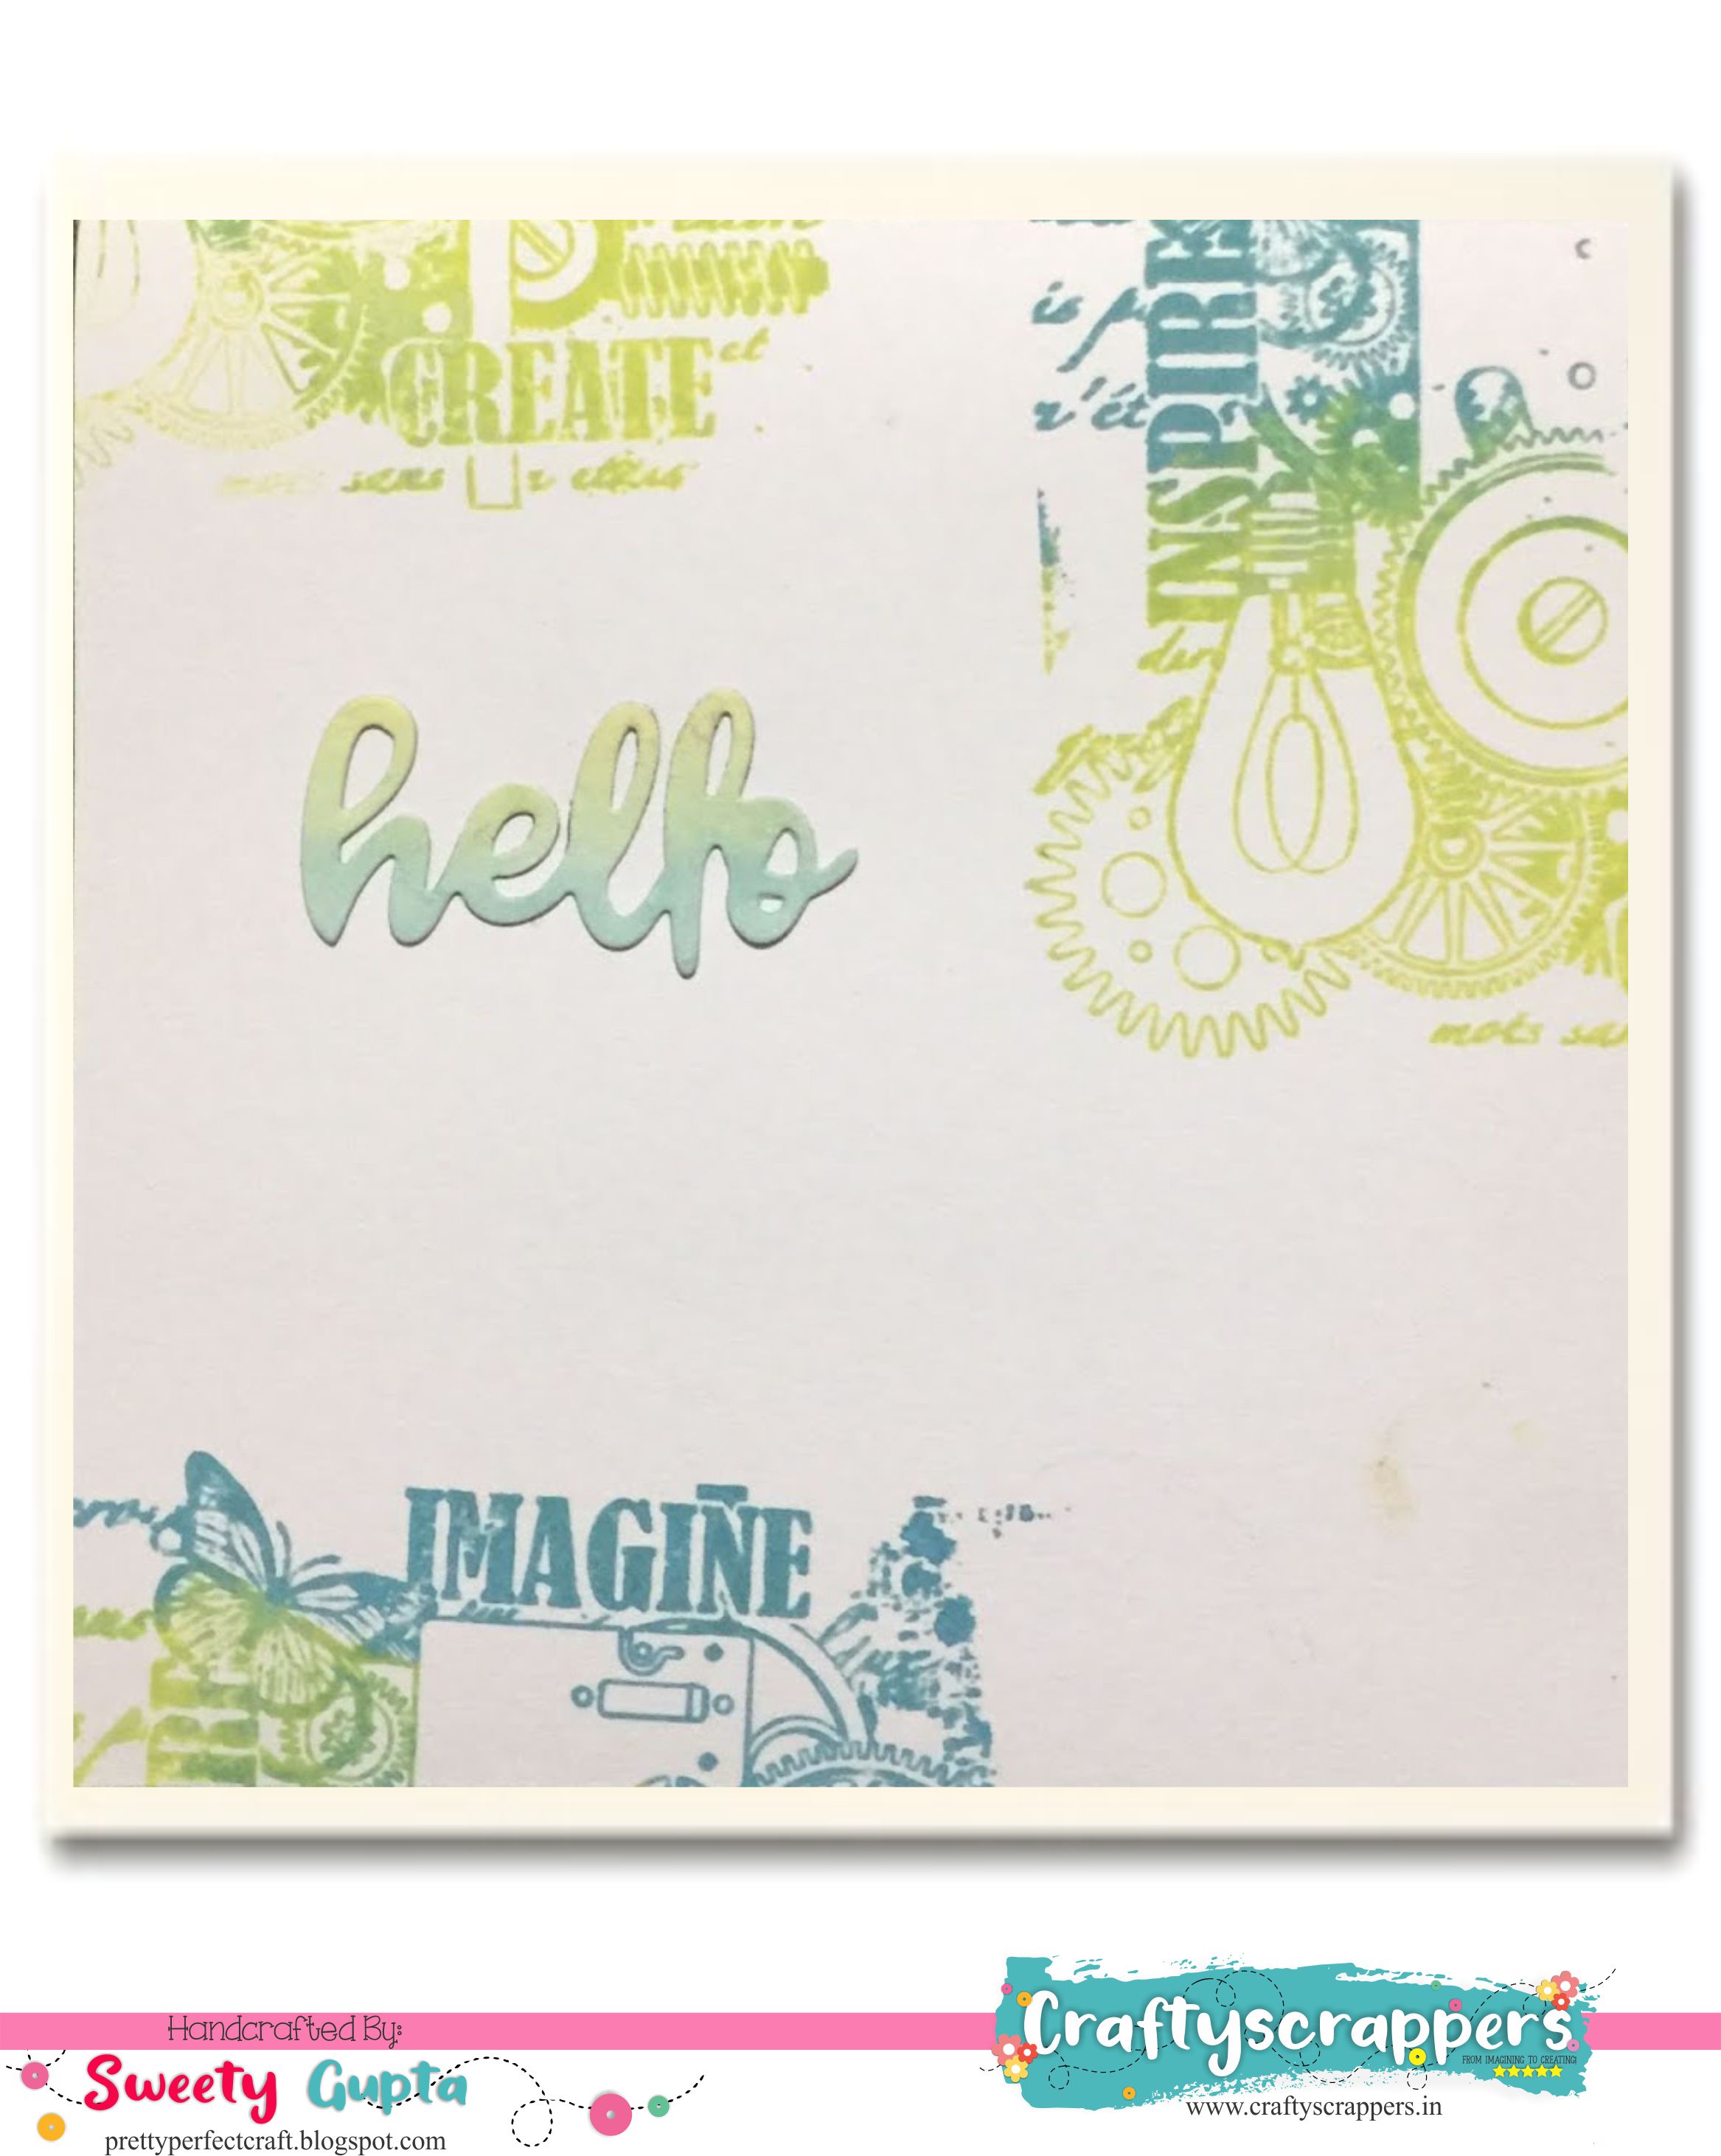
this card uses @craftyscrappers AWEOSME “grunge gears” background stamp set and is fit for all occasions. Just add”loving brother” below the hello and you have a card for your brother.
So That’s all from my end today.
I hope you like my VINTAGE , MODERN & ULTRA MODERN RAKHI CARDS… as much as i enjoyed creating it.
Do leave some love and feedback below and I will be back soon for more inspirations!
Don’t forget to join in our craft challenges,(details at the beginning of the post!)
You can participate via mr.linky (at the end of the challenge post)or via facebook,Instagram and even via email.
(While sharing your creation post over the social media, ie
Facebook/twitter/instagram
please use #Craftyscrappers challenge24 to qualify for submission,
failing to do so, the entry would be disqualified.)
I hope you give this a try.
Thanks for stopping by. Have a fabulous Day!
HUGS,
