Hi crafty folks,
This is Anjali Creative designer @craftyscrappers and today I am here
with a start to dinish video tutorial on how you can create your own
pretty background rakhi card.
Since Rakshabandhan is just around the corner and we all know how the whole ceremony of tying Rakhis can be monotonous. Not to forget the ritual of gorging on sweets (Ok! this is probably the best part). But we’re sure that the extreme love-hate relationship you share with your siblings deserves something extra.
So i decided to do a rakhi card to celebrate the bond of love between the brother’s and sisters.

if you have missed the previous post check it out here:
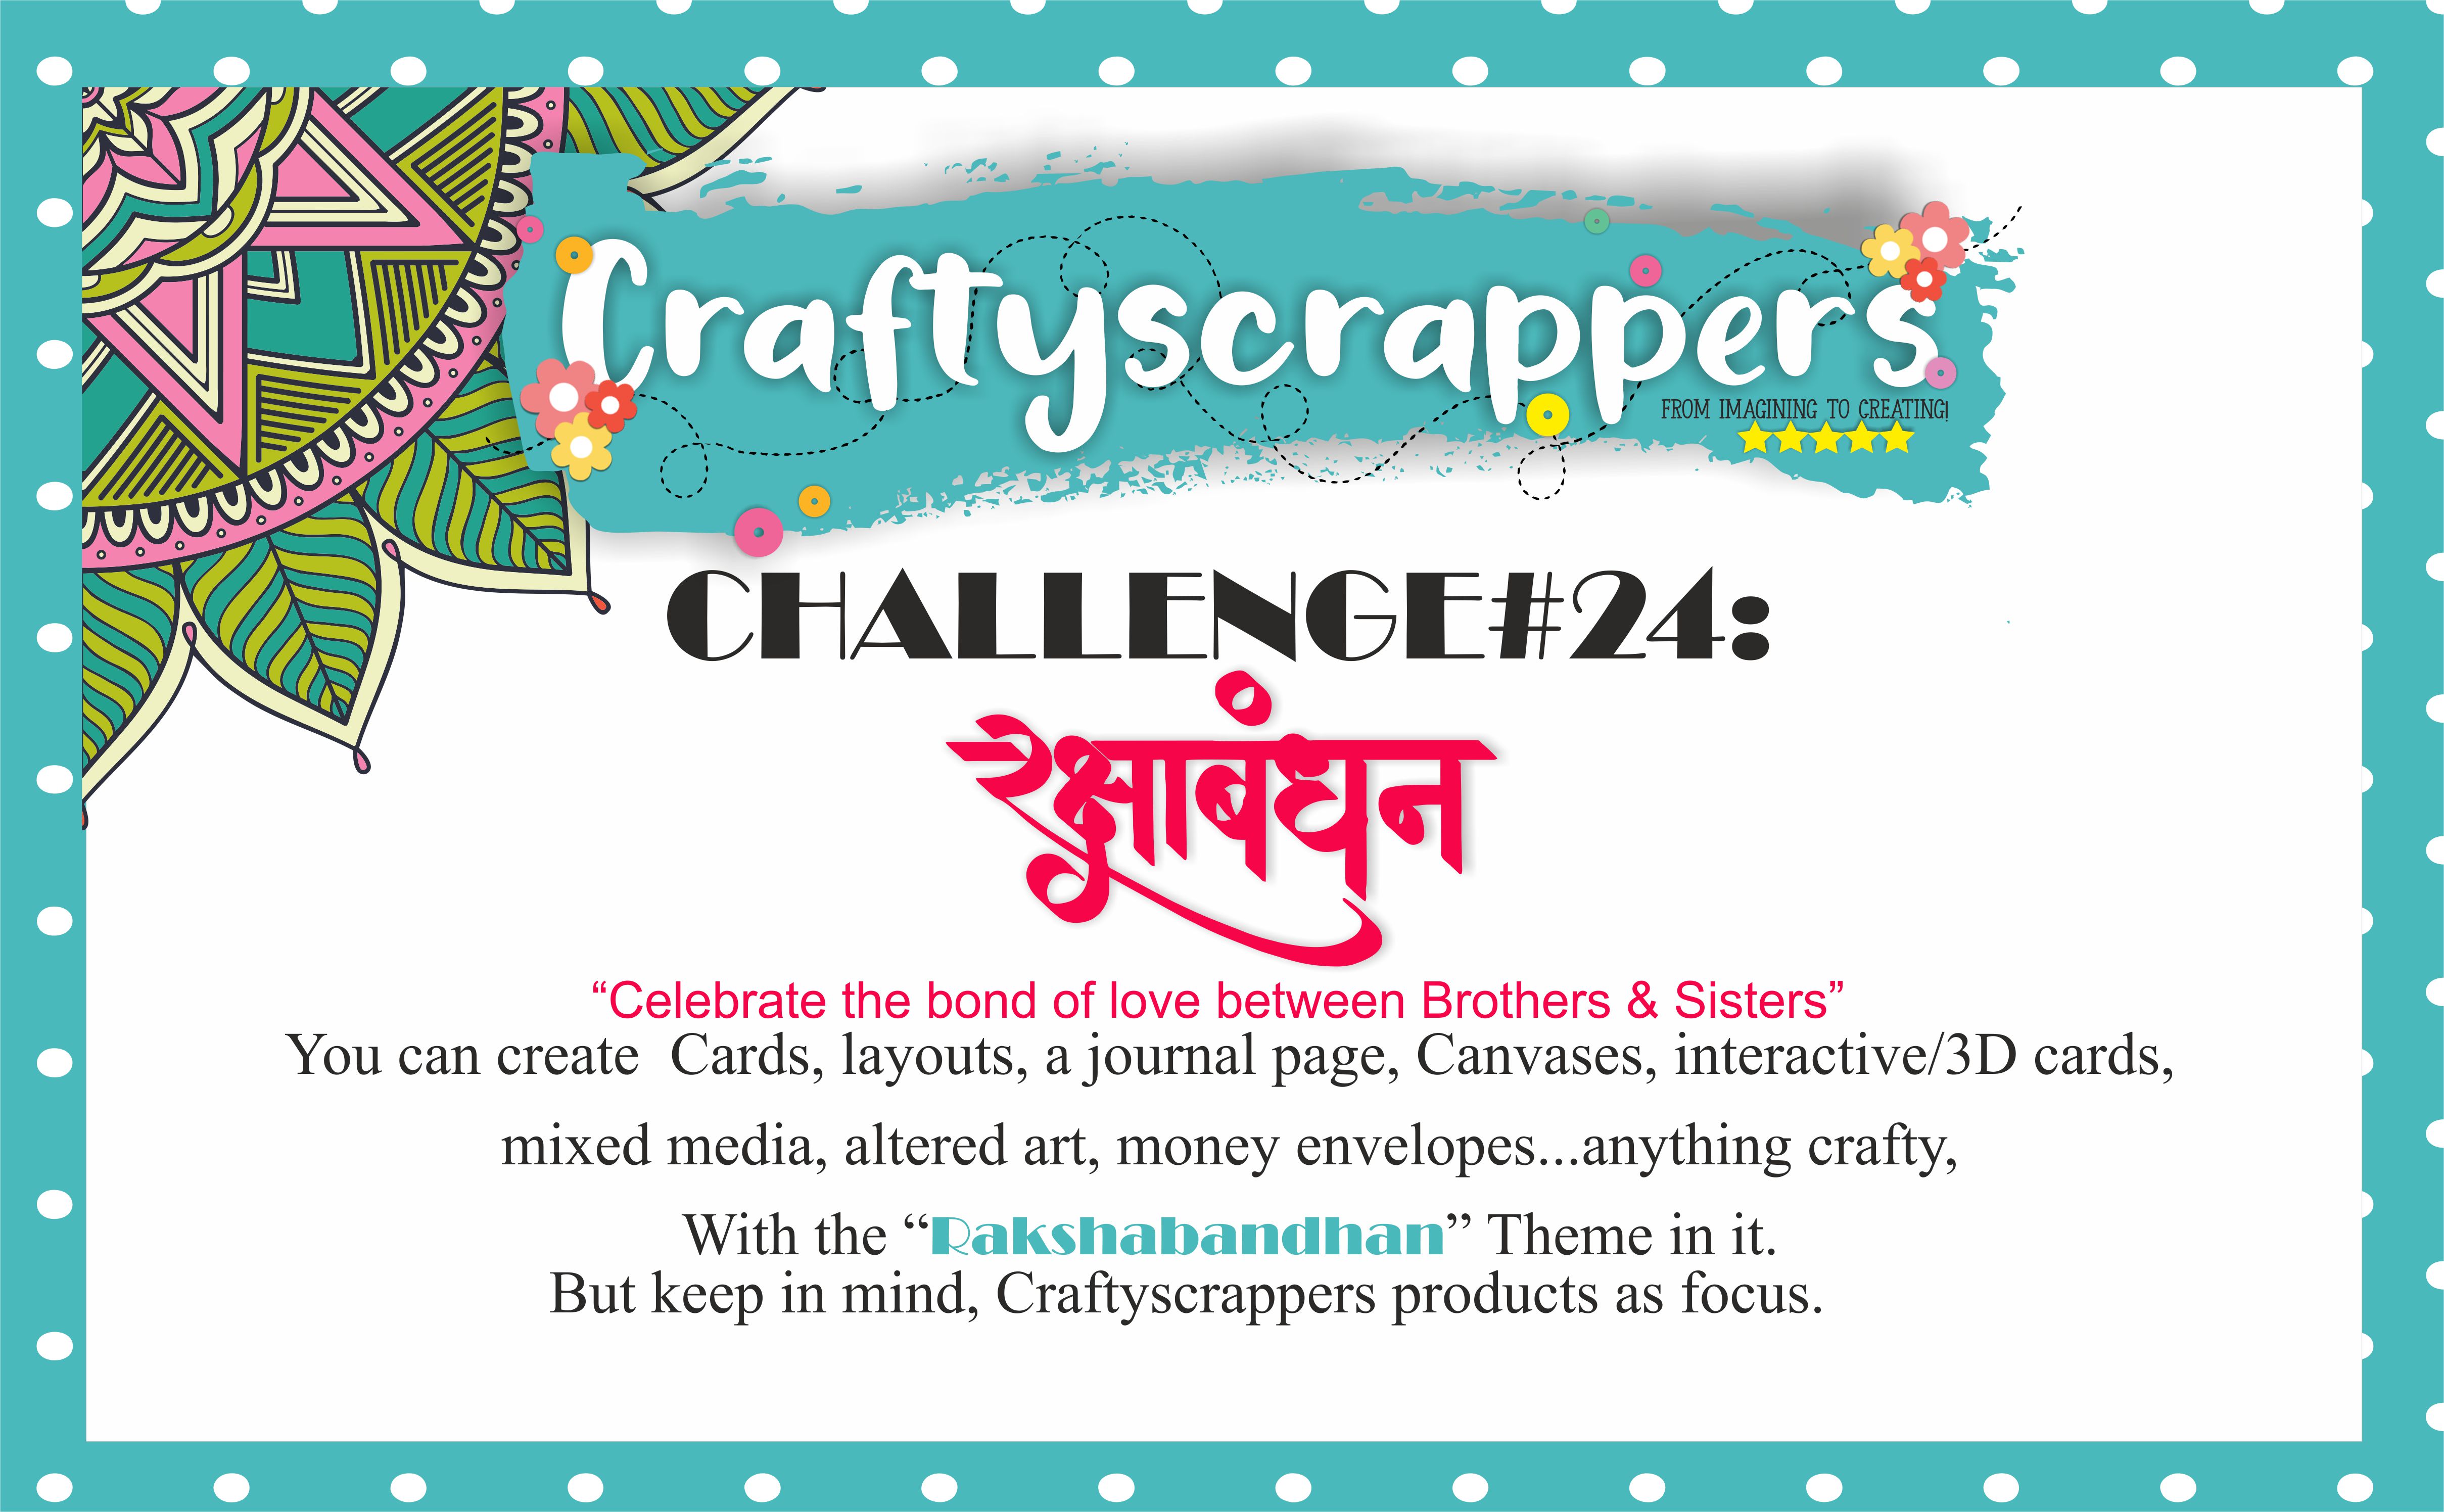
CHALLENGE#24:”RAKSHABANDHAN”

You can create Cards, layouts, a journal page, Canvases, interactive/3D cards,
mixed media, altered art,money envelopes …anything crafty,
With the RAKSHA BANDHAN theme in it!
But keep in mind, Craftyscrappers products as focus.
Last date of submission is 31ST AUGUST,2018

To win the amazing goodie bags !

Today, I will do a tutorial for making a pretty envelope using
2-IN-1 3D DESIGNS”BOX Pattern” stencil
![cs-stnl-362IN1-BOX PATTERNS].jpg](https://craftyscrappers.files.wordpress.com/2018/08/cs-stnl-362in1-box-patterns1.jpg?w=894)
This stencil is so versatile and easy to use!
@craftyscrappers has come up with some really pretty 3d 2-IN-1 design stencils that lets you create your own patterns.You can flip it and create all the more patterns..no set rule..just get your inks/pastes/colours and let your imagination do some amazing stenciling! 😉
I have also used @craftyscrappers beautiful stamp set,
![st-fest-51no-1bro&sis].jpg](https://craftyscrappers.files.wordpress.com/2018/08/st-fest-51no-1brosis3.jpg?w=800)
This stamp set is one of my favorite among so many other beautiful and one of a kind stamp sets that craftyscrappers has launched so far.
It has these cute boy and girl image that are perfect for coloring and the size is super amazing.
the coordinated sentiments in this stamp set, lets you create endless cards whether be rakshabandhan cards or everyday cards, im just so in love with this stamp set.
So here’s my Finished PRETTY BACKGROUND RAKHI CARD


A BRIEF TUTORIAL:
- Take craftyscrappers premium white cardstock
- stamp the girl image onto the paper, color it using the colors in your stash and keep aside.
- on another piece of craftyscrappers premium white cardstock stamp the sentiment from the same stamp set, die cut it using your favourite die and distress the edges using distress inks.
- next take another pice of craftyscrappers premium white cardstock as a base of your card and place your 2-in-1 box pattern stencil.
- Create the first design using the first stencil, then rotate it as per your choice and stencil again
- this will create a new pattern of your choice, then place the other stencil over the previous stencil to create another pattern
- once everything dries assemble the card with the stamped and colored images and add craftyscrappers shaker elements as accents and finish the card.


Here are the close-ups:


i also have a step-by-step video tutorial for you all, do check it out here:

So That’s all from my end today.
I hope you like this simple, easy to make PRETTY BACKGROUND RAKHI CARD as much as i enjoyed creating it.
Do leave some love and feedback below and I will be back soon for more inspirations!
Don’t forget to join in our craft challenges,(details at the beginning of the post!)
You can participate via mr.linky (at the end of the challenge post)or via facebook,Instagram and even via email.
(While sharing your creation post over the social media, ie
Facebook/twitter/instagram
please use #Craftyscrappers challenge24 to qualify for submission,
failing to do so, the entry would be disqualified.)
I hope you give this a try.
Thanks for stopping by. Have a fabulous Day!
HUGS,

