This is Mugdha here, Creative Designer @craftyscrappers and
Today I am going to share with you simple to make
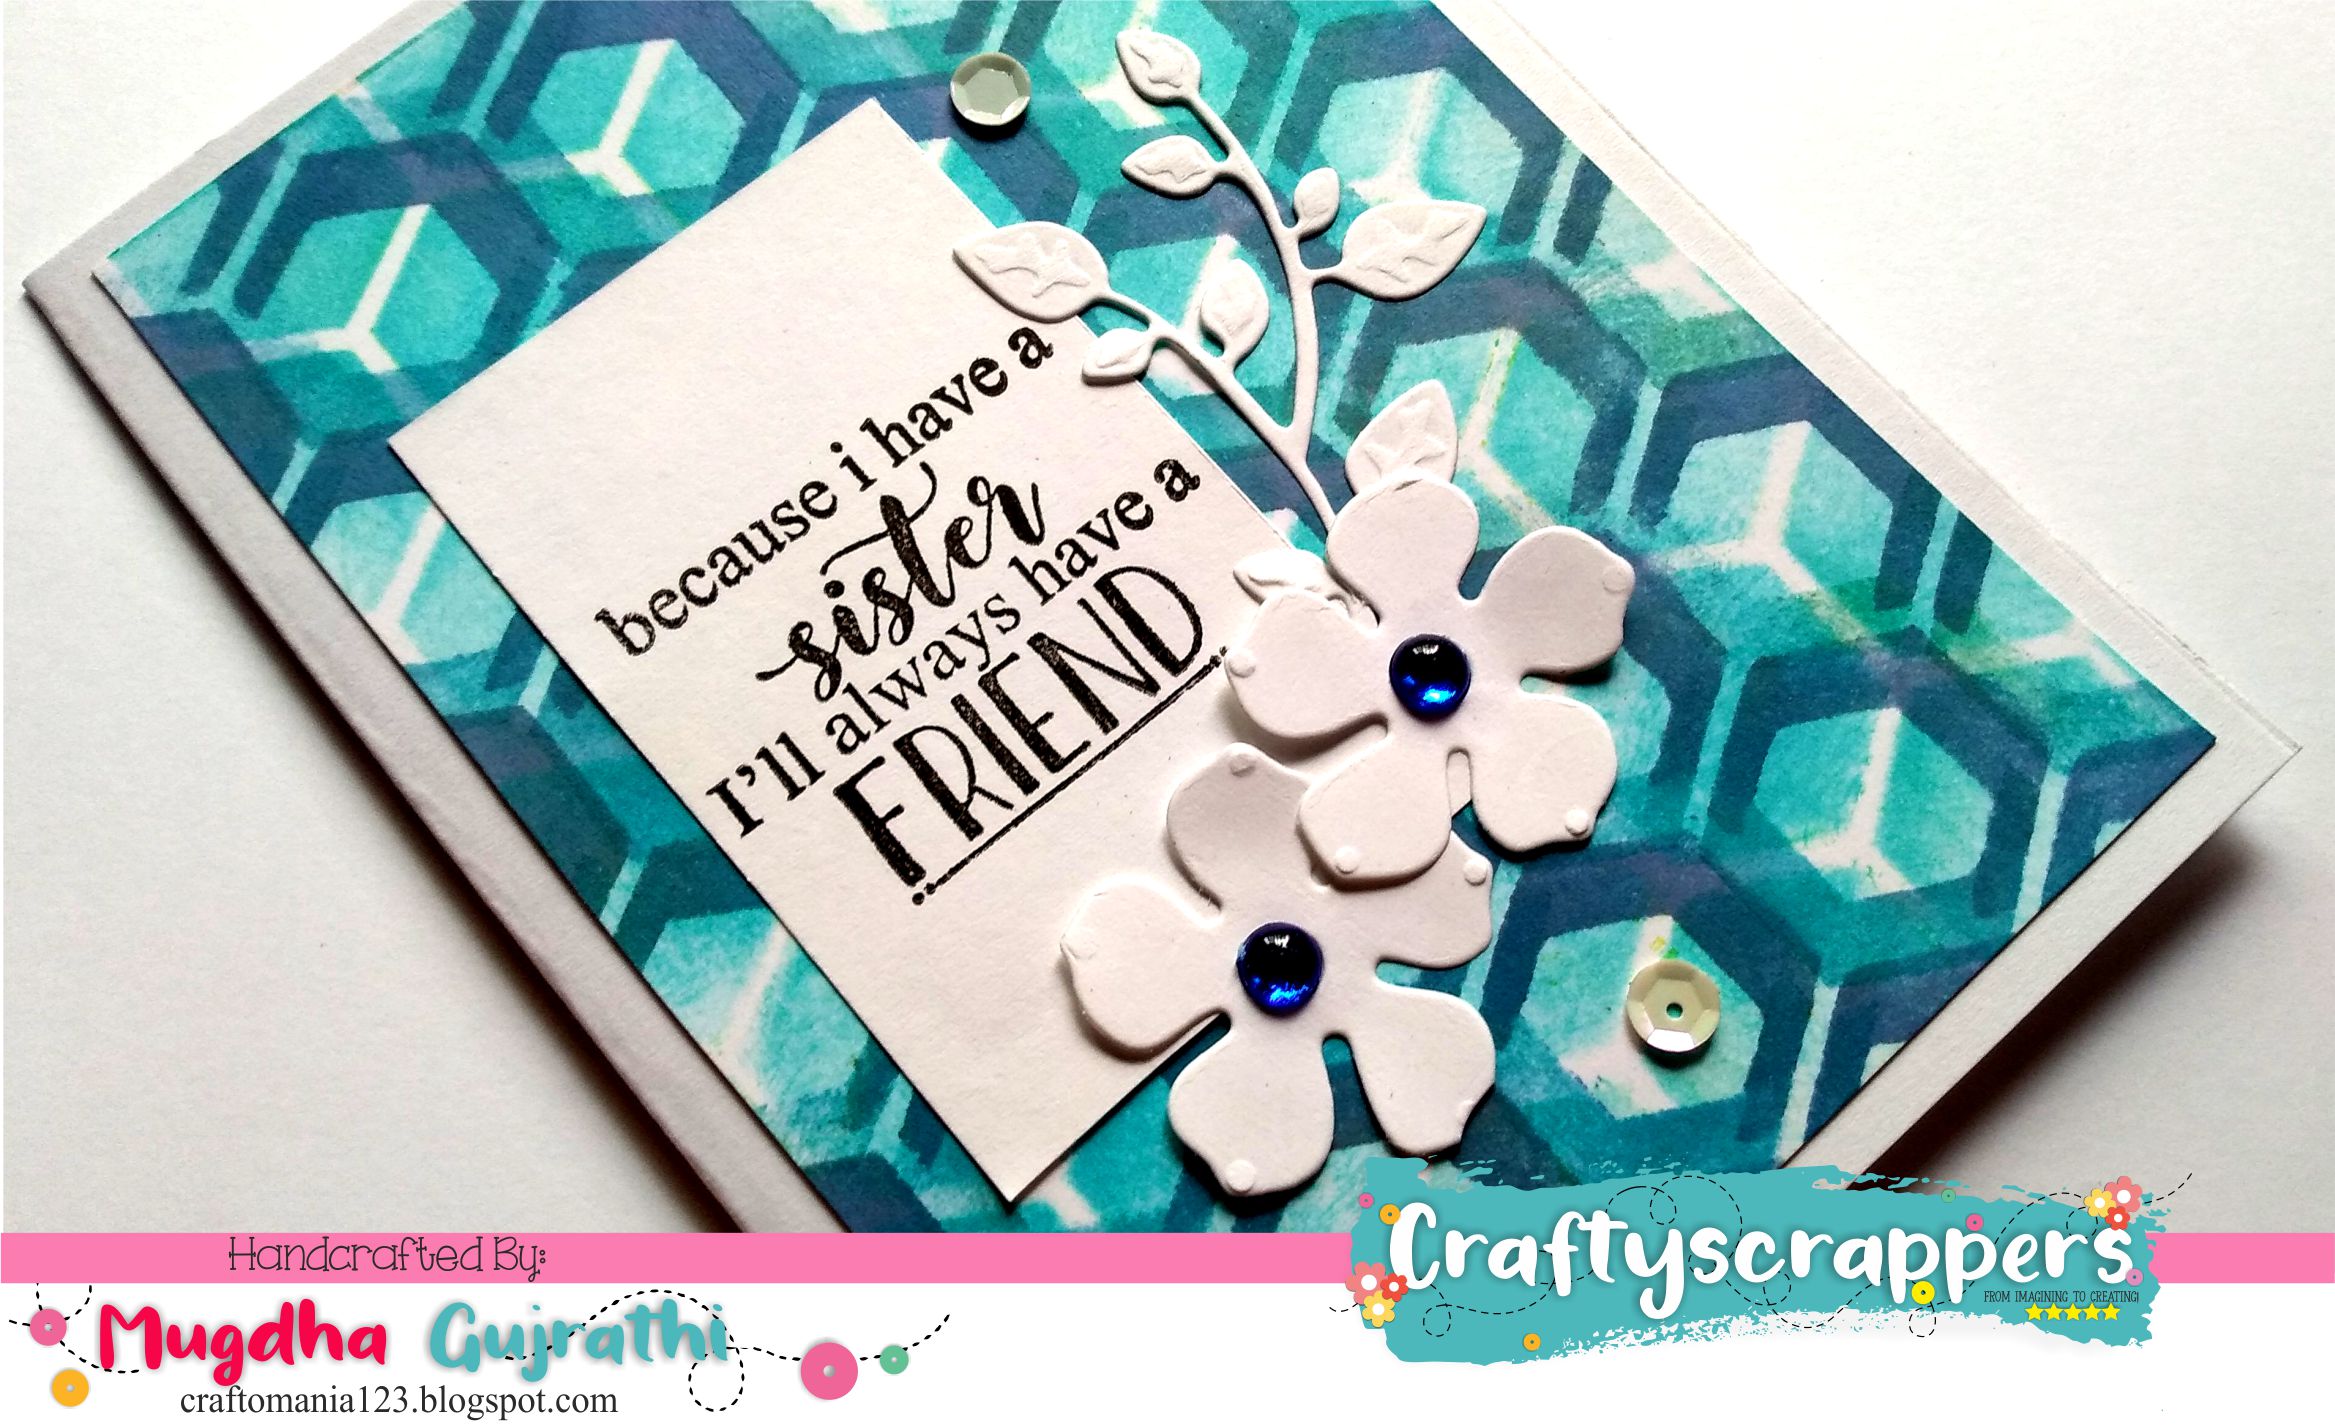
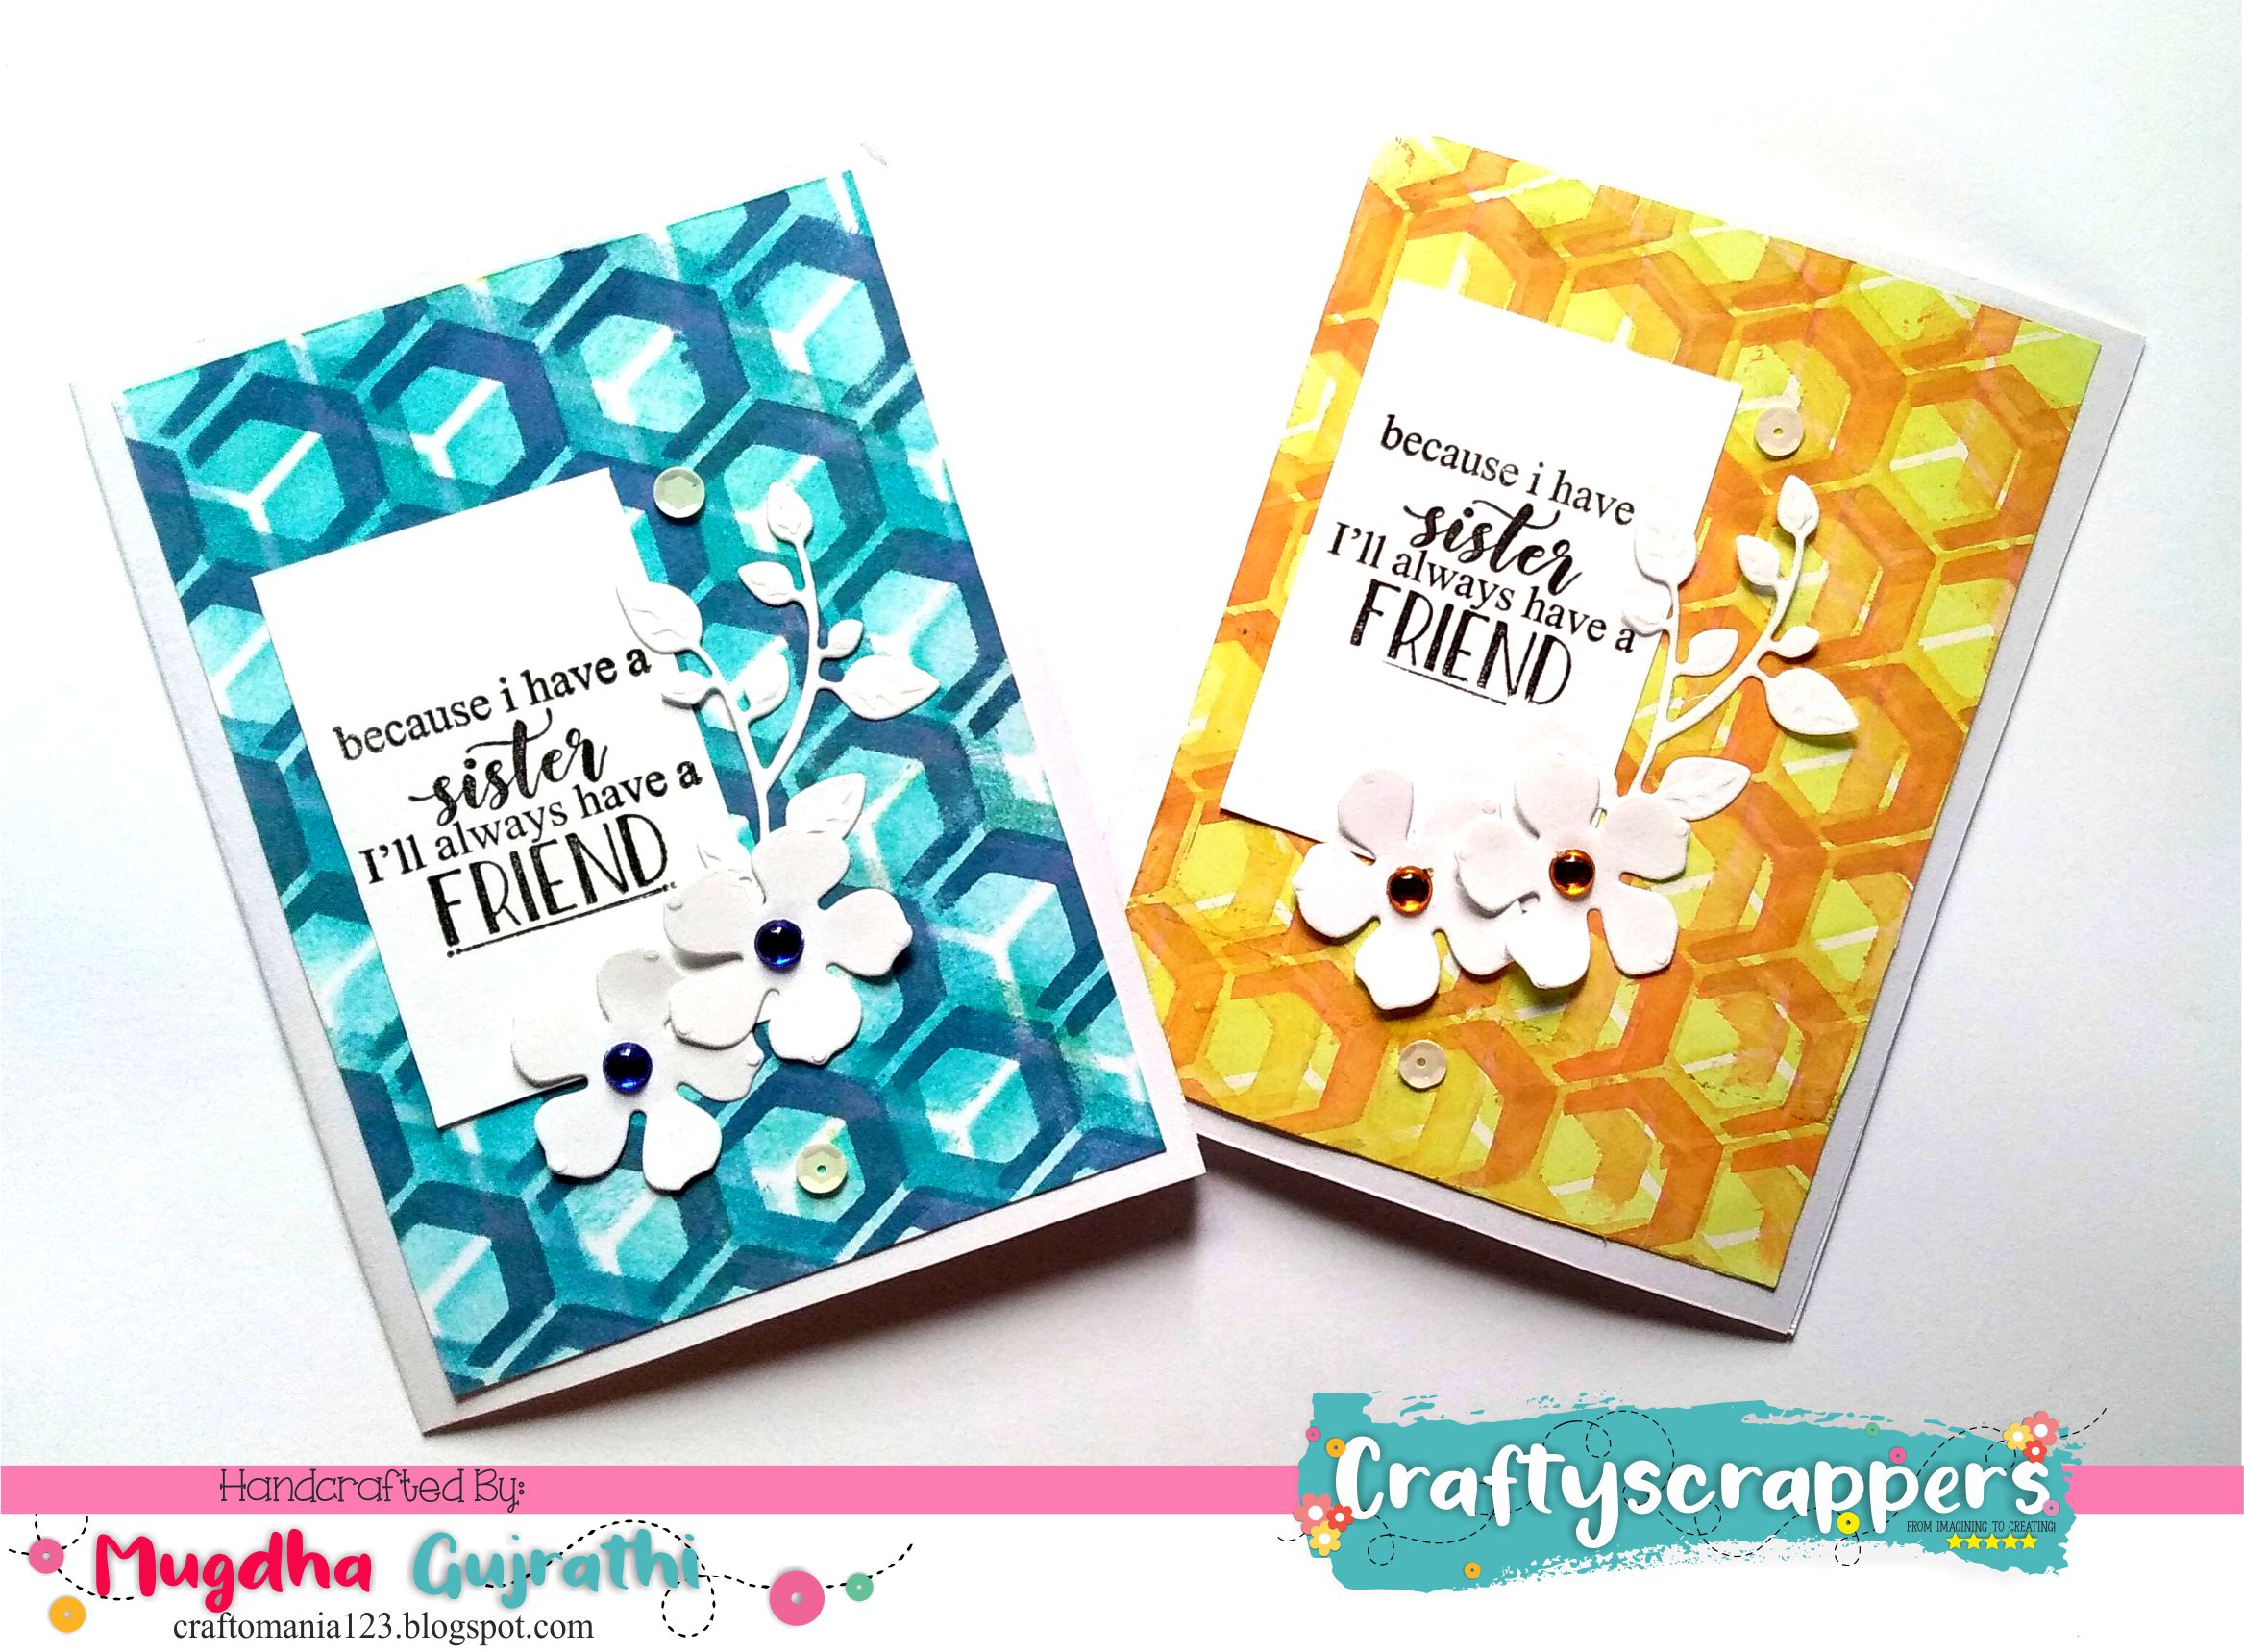
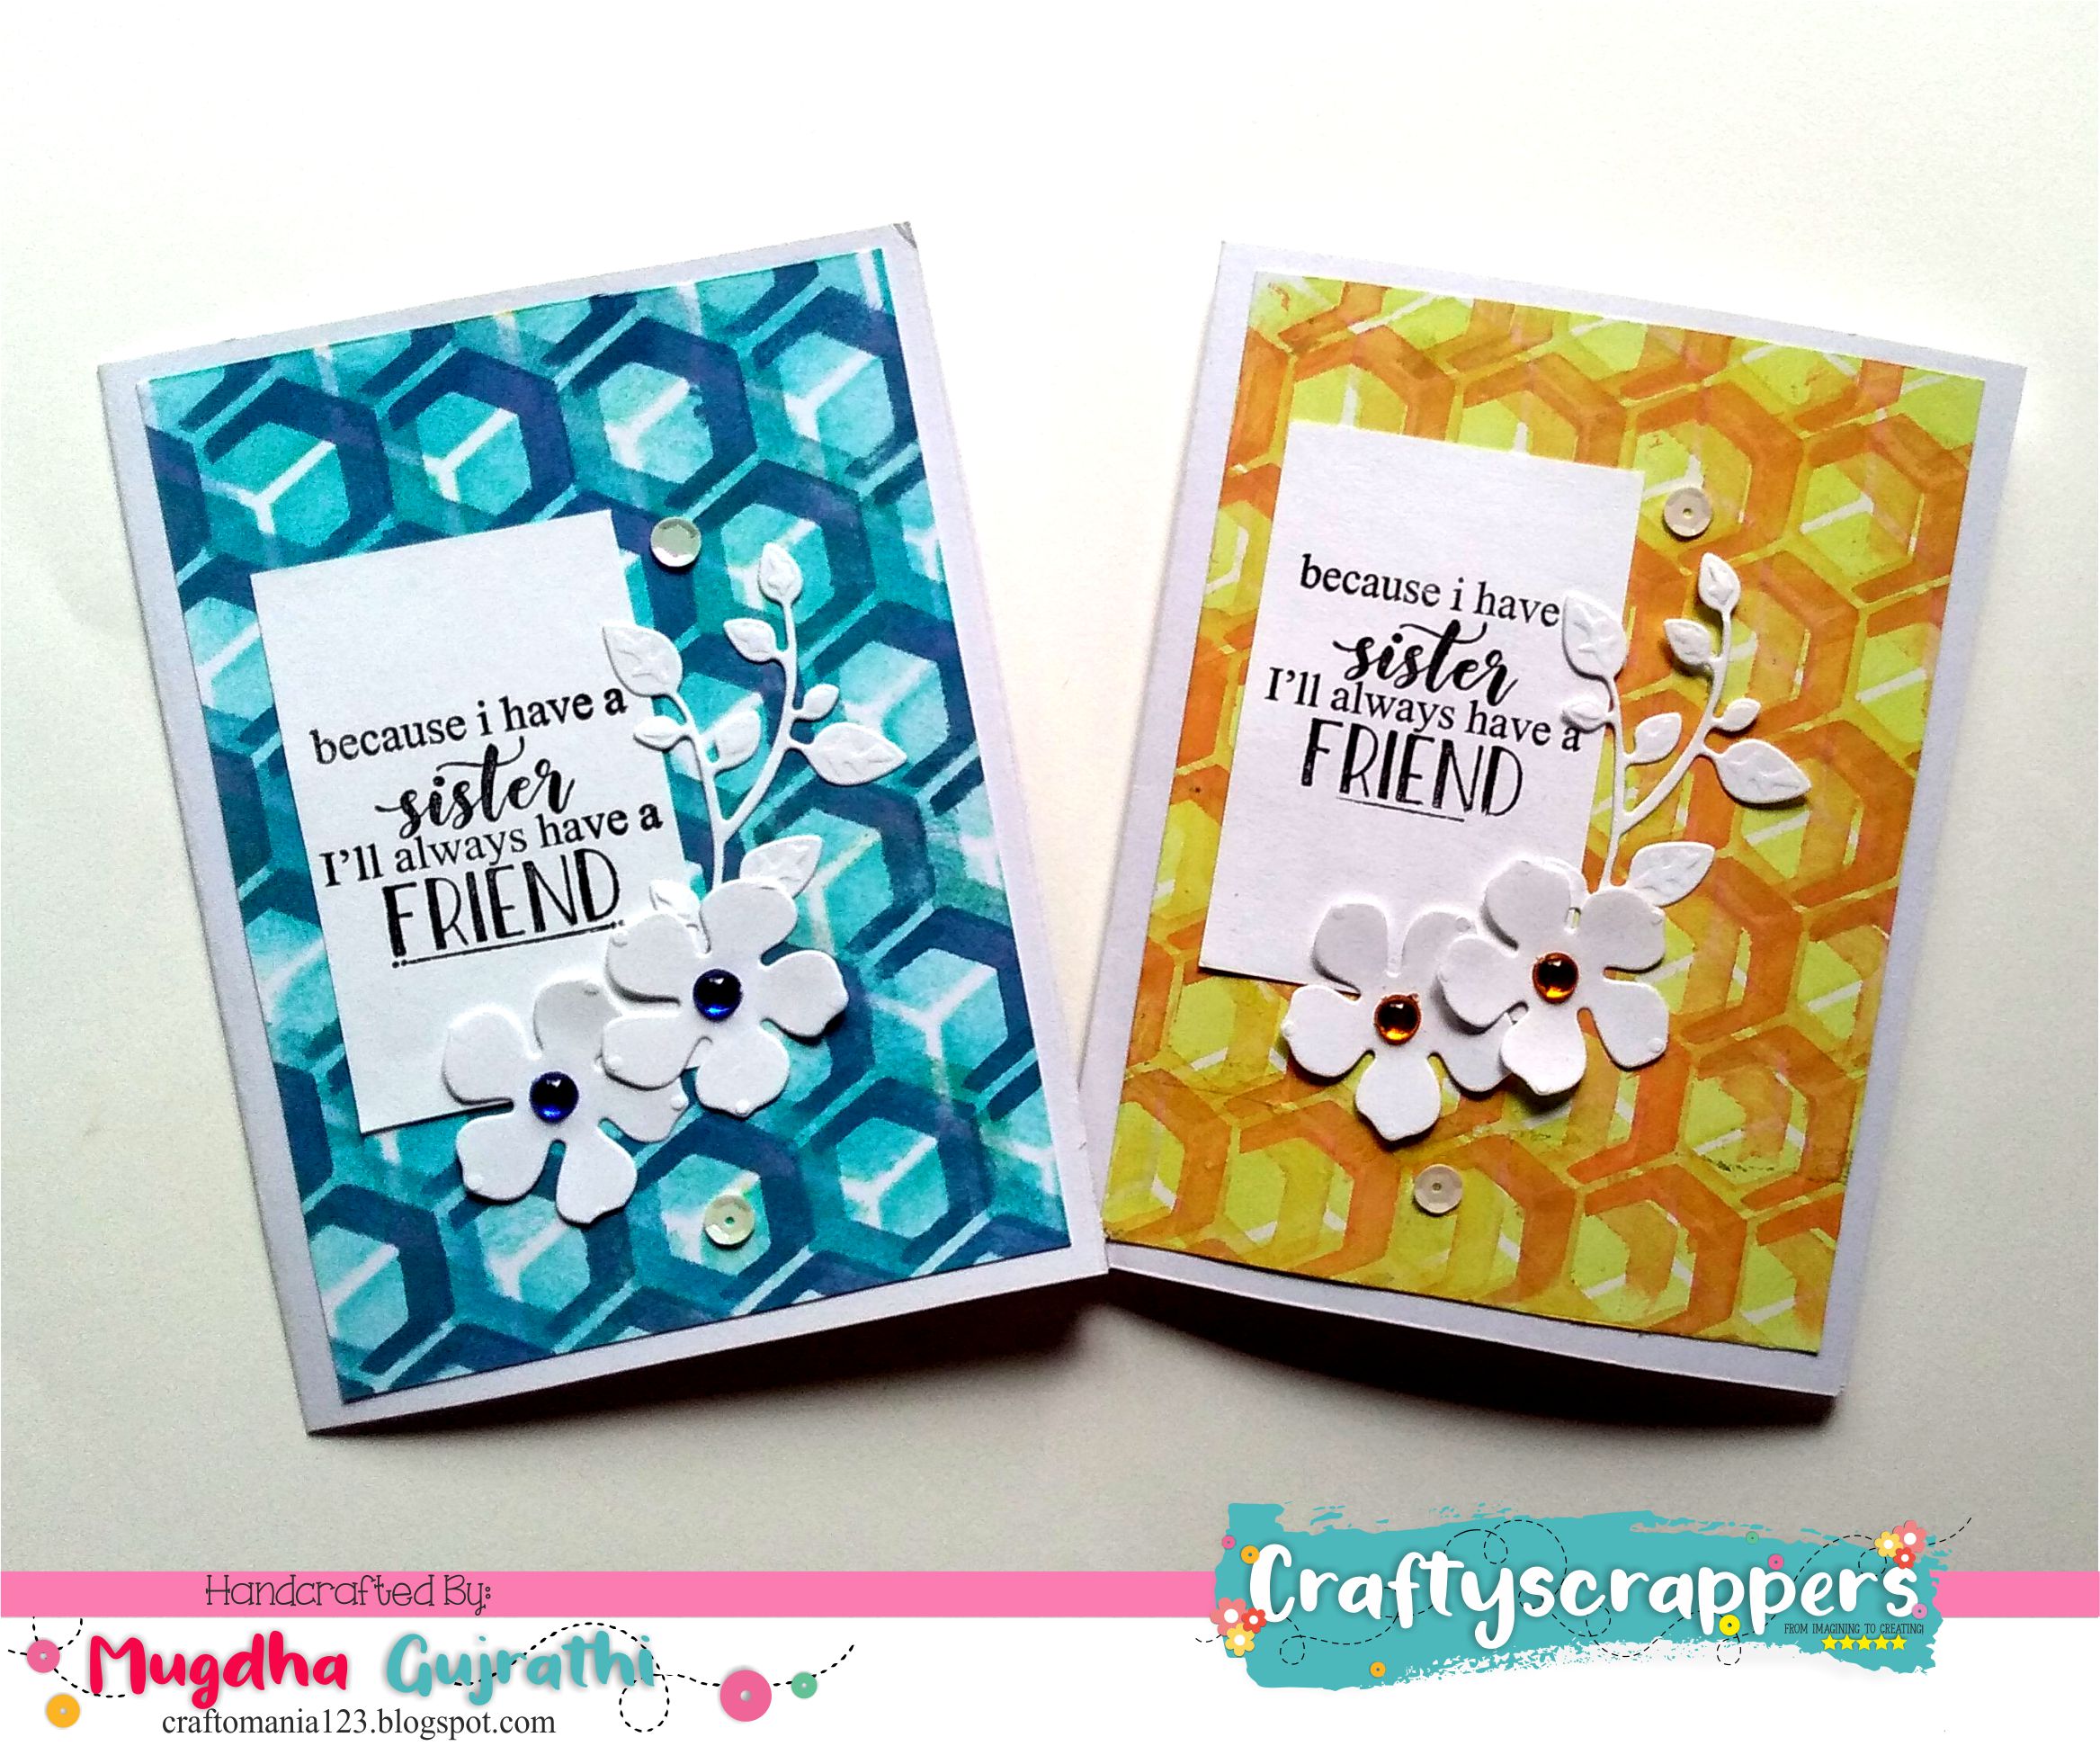
3d background rakshabandhan cards.
@craftyscrappers has launched some really beautiful 3D stencils which helps you in creating 3D backgrounds for your cards and I have made two cards using the stencil for my sisters which i am going to give them on the occasion of rakshabandhan.
if you have missed the previous post check it out here:
CHALLENGE#24:”RAKSHABANDHAN”
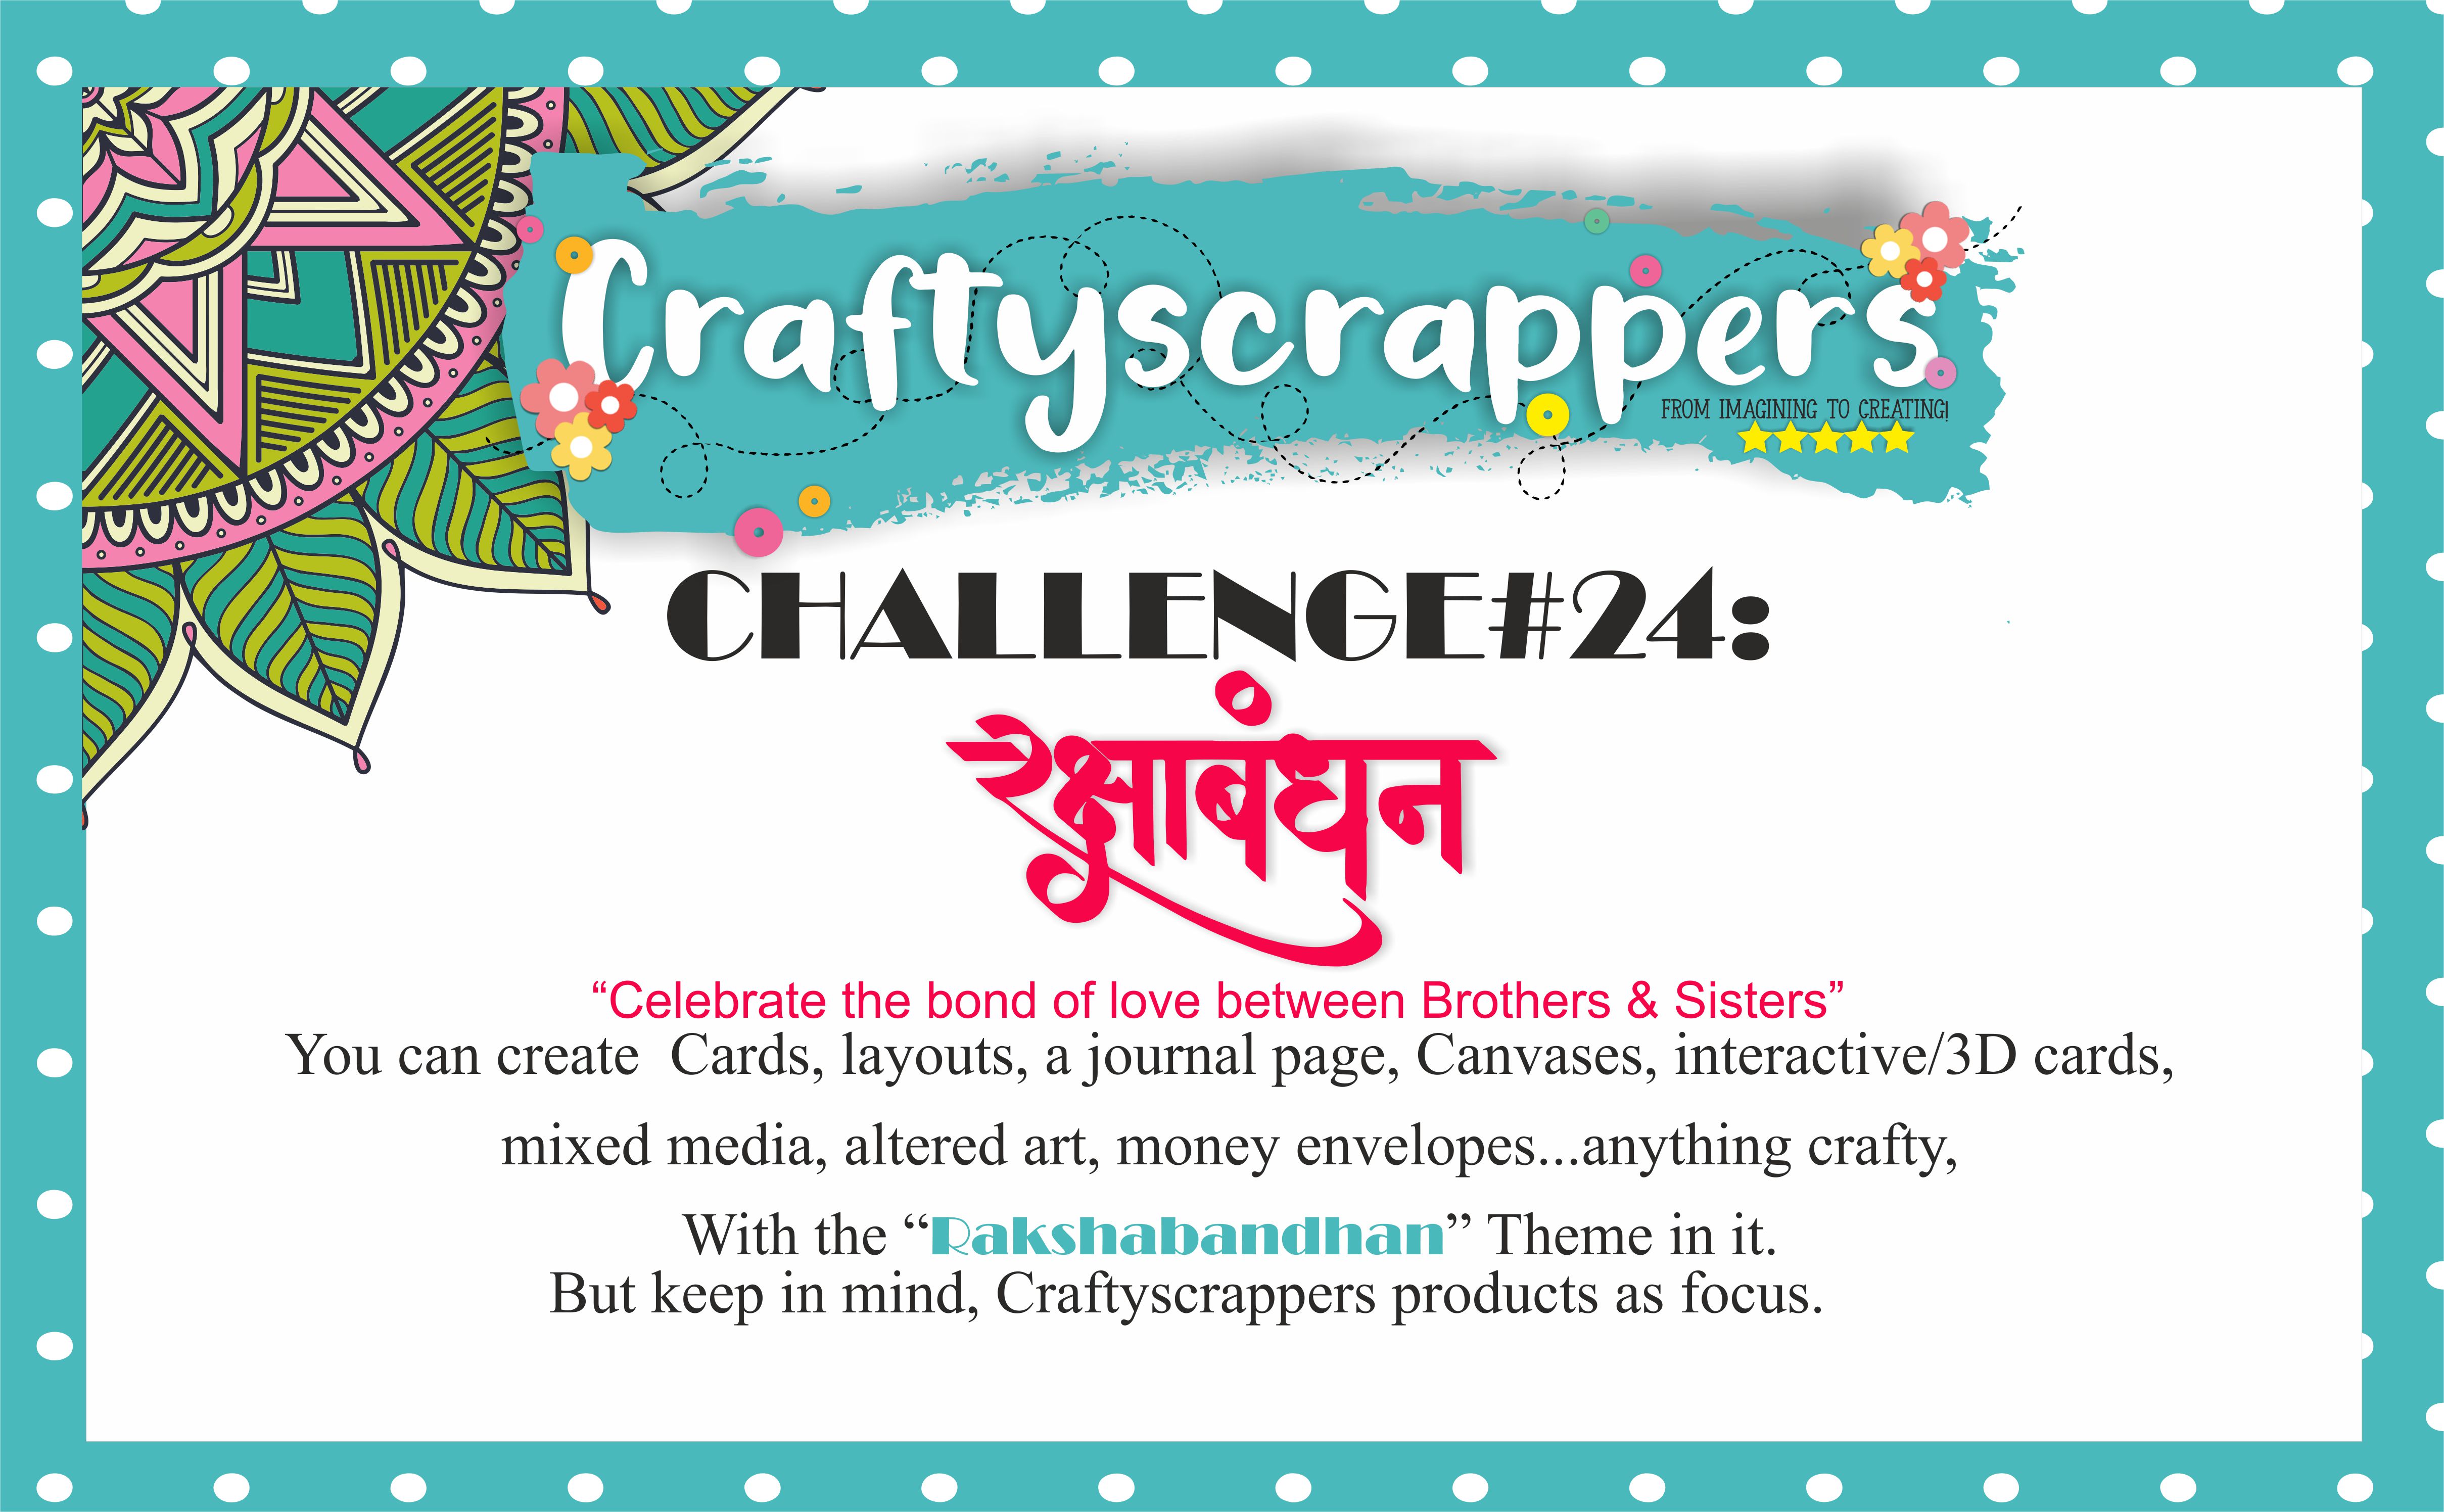
You can create Cards, layouts, a journal page, Canvases, interactive/3D cards,
mixed media, altered art,money envelopes …anything crafty,
With the RAKSHA BANDHAN theme in it!
But keep in mind, Craftyscrappers products as focus.
Last date of submission is 31ST AUGUST,2018

To win the amazing goodie bags !

Today, I will do a tutorial for making two pretty 3d background rakshabandhan cards
using @craftyscrappers
Which is around 200GSM in thickness,Double Coated- Mat Finish. And is ideal for stamping,Embossing, or Distressing. it Blends so well when using markers or watercolor pens for coloring.It has a Smooth surface allowing for blending and water coloring and the best part is this premium card stock an be used for making paper flower and it is so sturdy which helps in making Card bases.
I will also be using @craftyscrappers newly launched stencils,
2-IN-1 3D DESIGNS”HEXAGON PATTERN” stencil
![cs-stnl-37-2IN1-HEXAGON PATTERNS].jpg](https://craftyscrappers.files.wordpress.com/2018/08/cs-stnl-37-2in1-hexagon-patterns1.jpg?w=960)
Which are unique in its own way. They help you create endless patterns, you can twist and turn to create your patterns accordingly or just lay them on top of each other to create some really interesting 3D patterns. i just love it 🙂
And along with the beautiful 3d stencil i have also used the versatile and one of my favorite stamp set among the so many other stamp sets that @craftyscrappers have,
![st-fest-51no-1bro&sis].jpg](https://craftyscrappers.files.wordpress.com/2018/08/st-fest-51no-1brosis4.jpg?w=970)
This is an amazing stamp set, the focal images on this stamp set are just so pretty…
The boy with the best brother stash and the girl with the best sister stash,.. its just so
beautiful. @craftyscrappers has a wide collection of gorgeously hand illustrated stampsets to choose from which are so versatile to use and pocket friendly.
so without further ado, lets start with the step by step tutorial….
Heres the final look of my cards:

I used Craftyscrappers premium white cardstock and 3D 2-IN-1DESIGN- hexagon stencil ( It contains 2 pieces of stencils) for the background of my card.
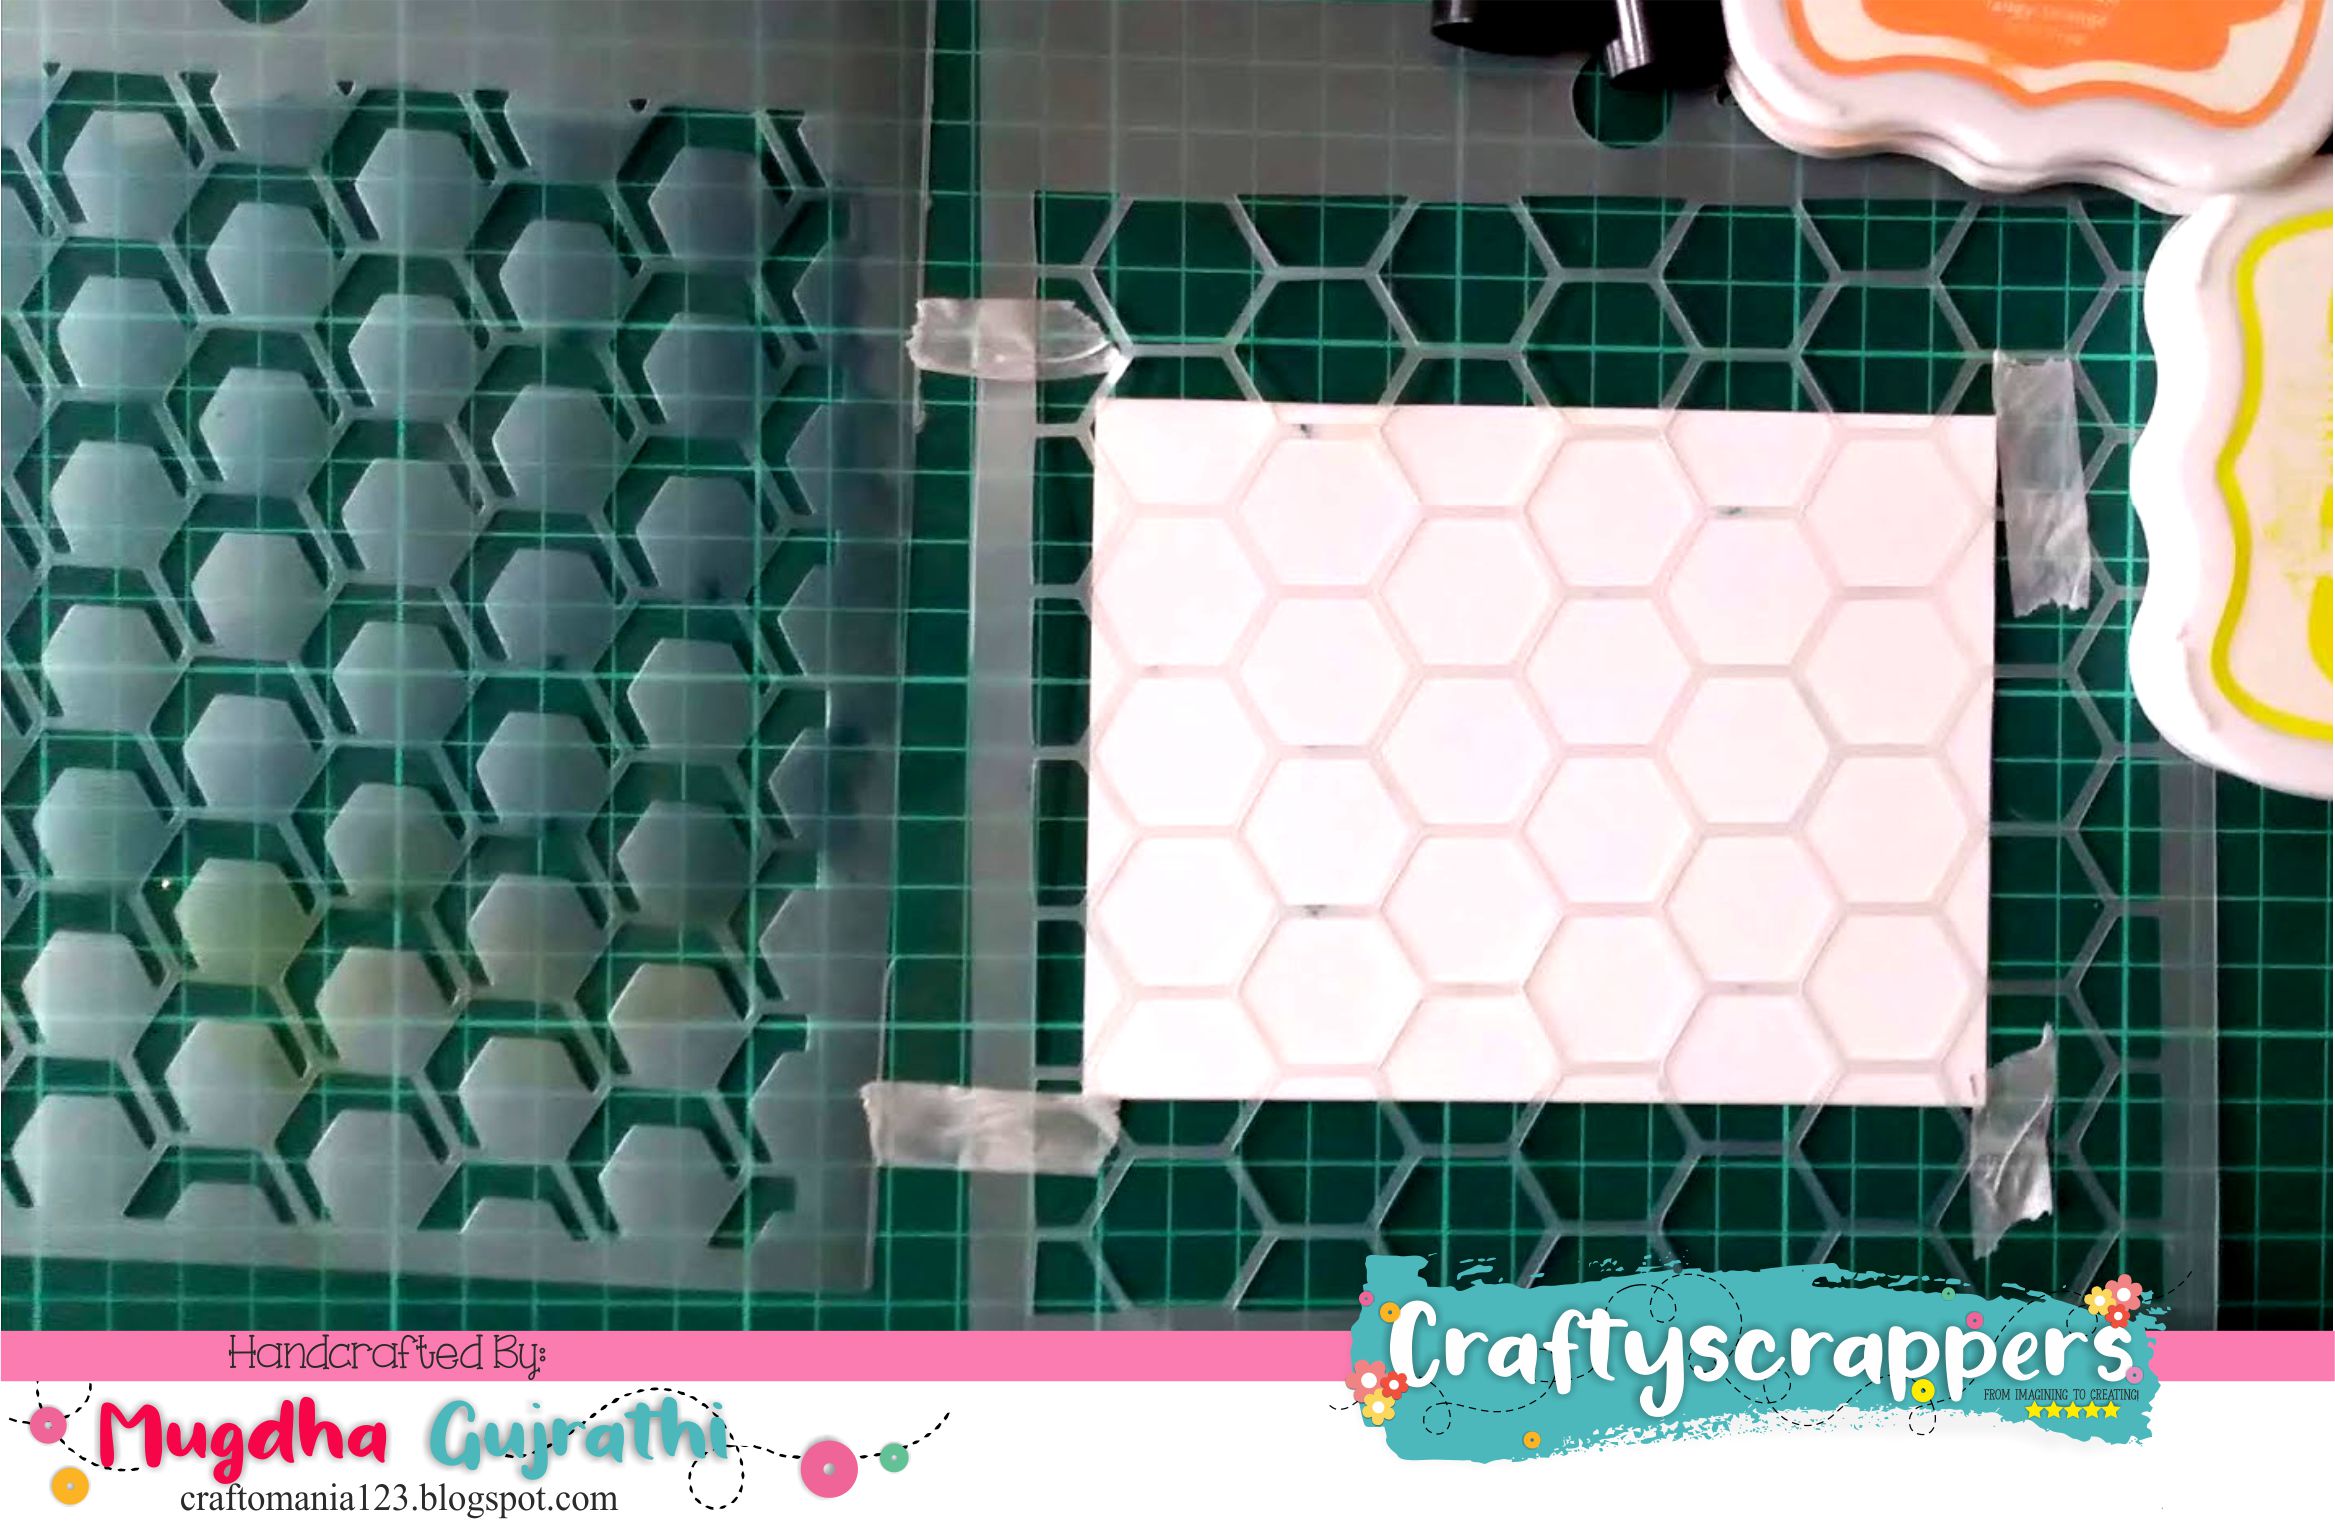
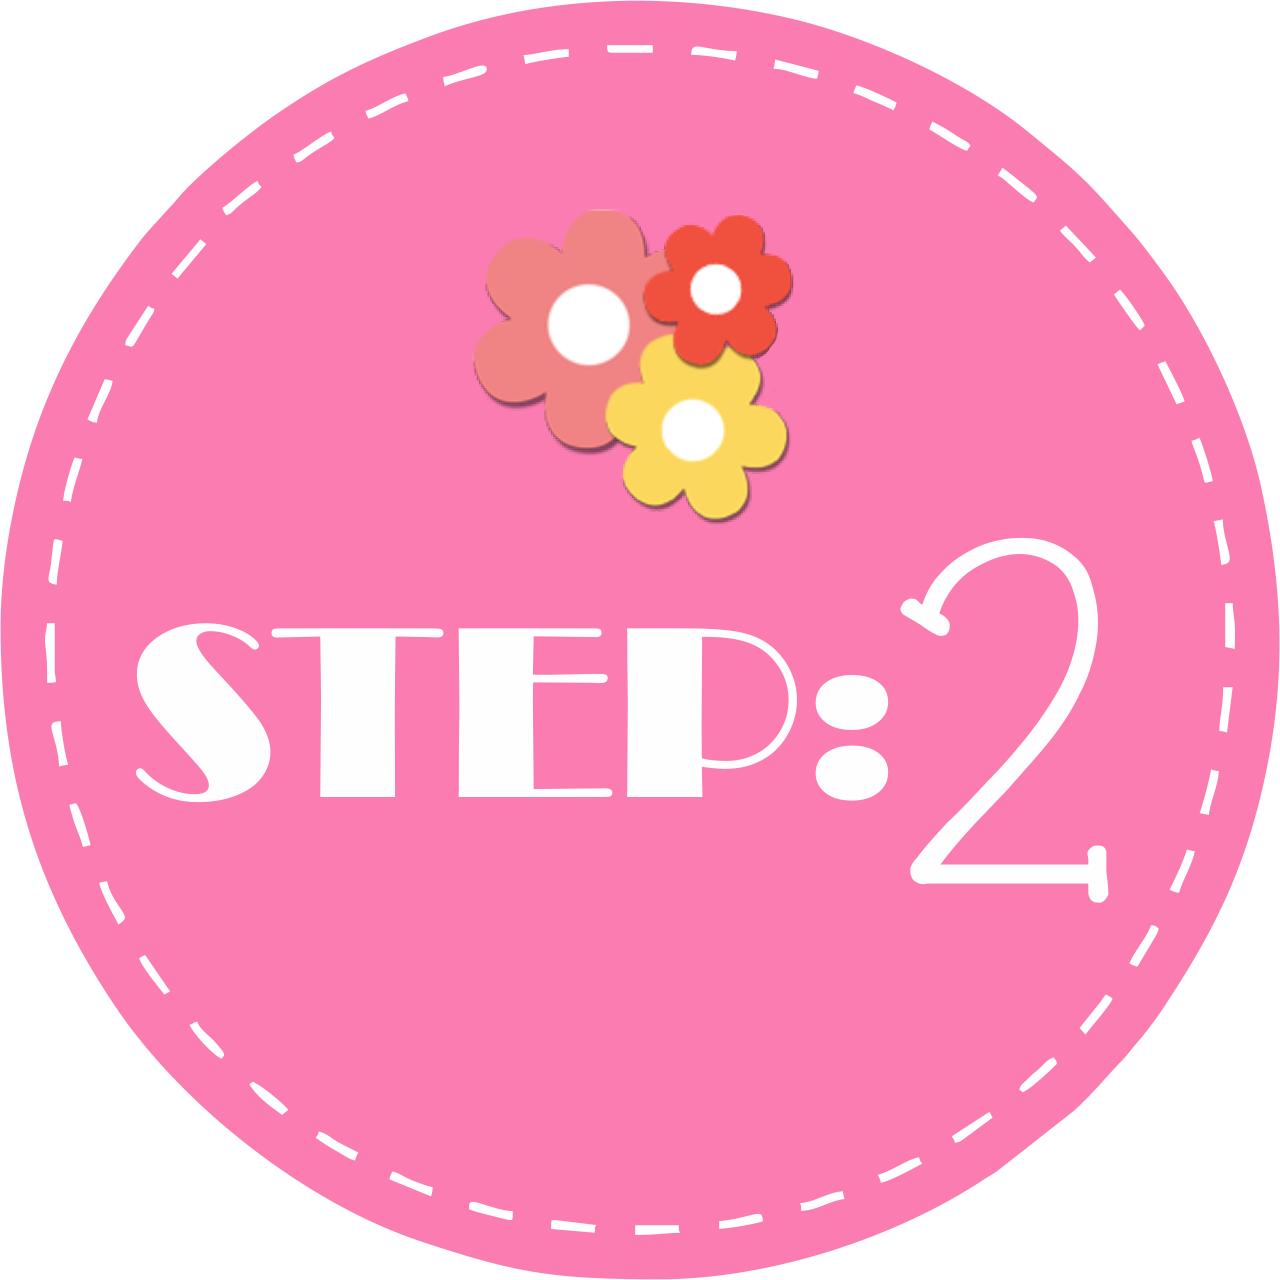
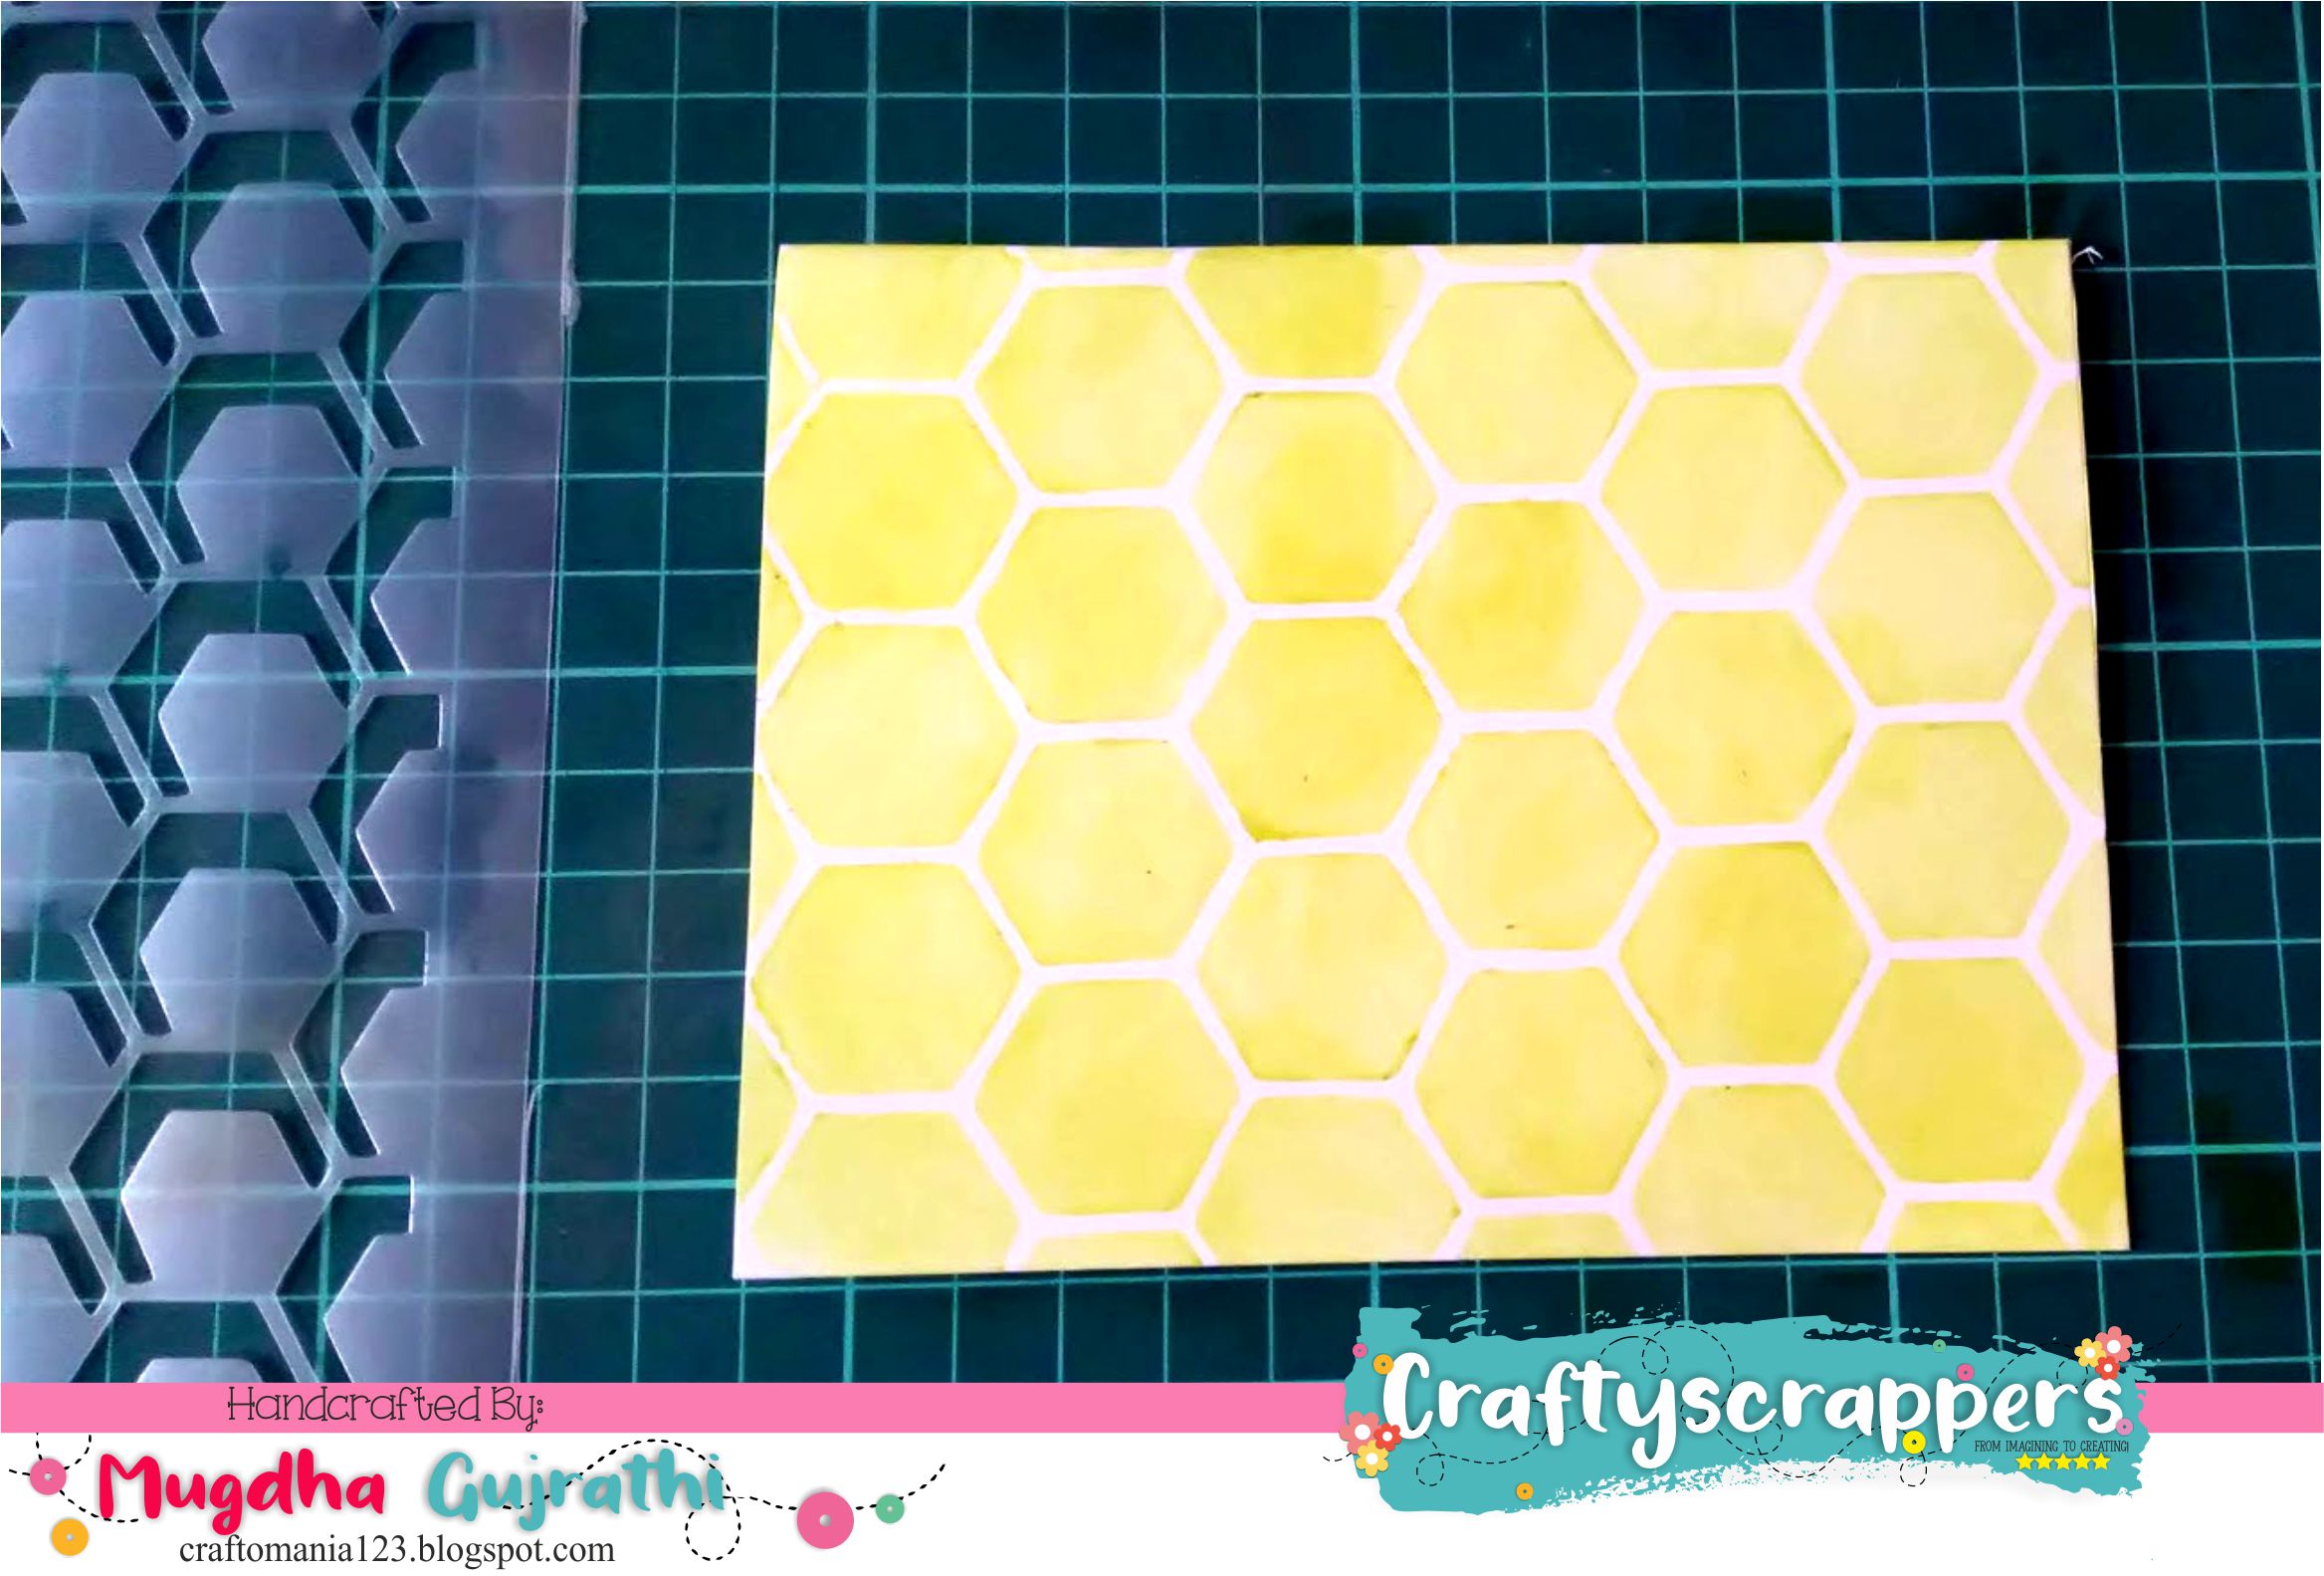

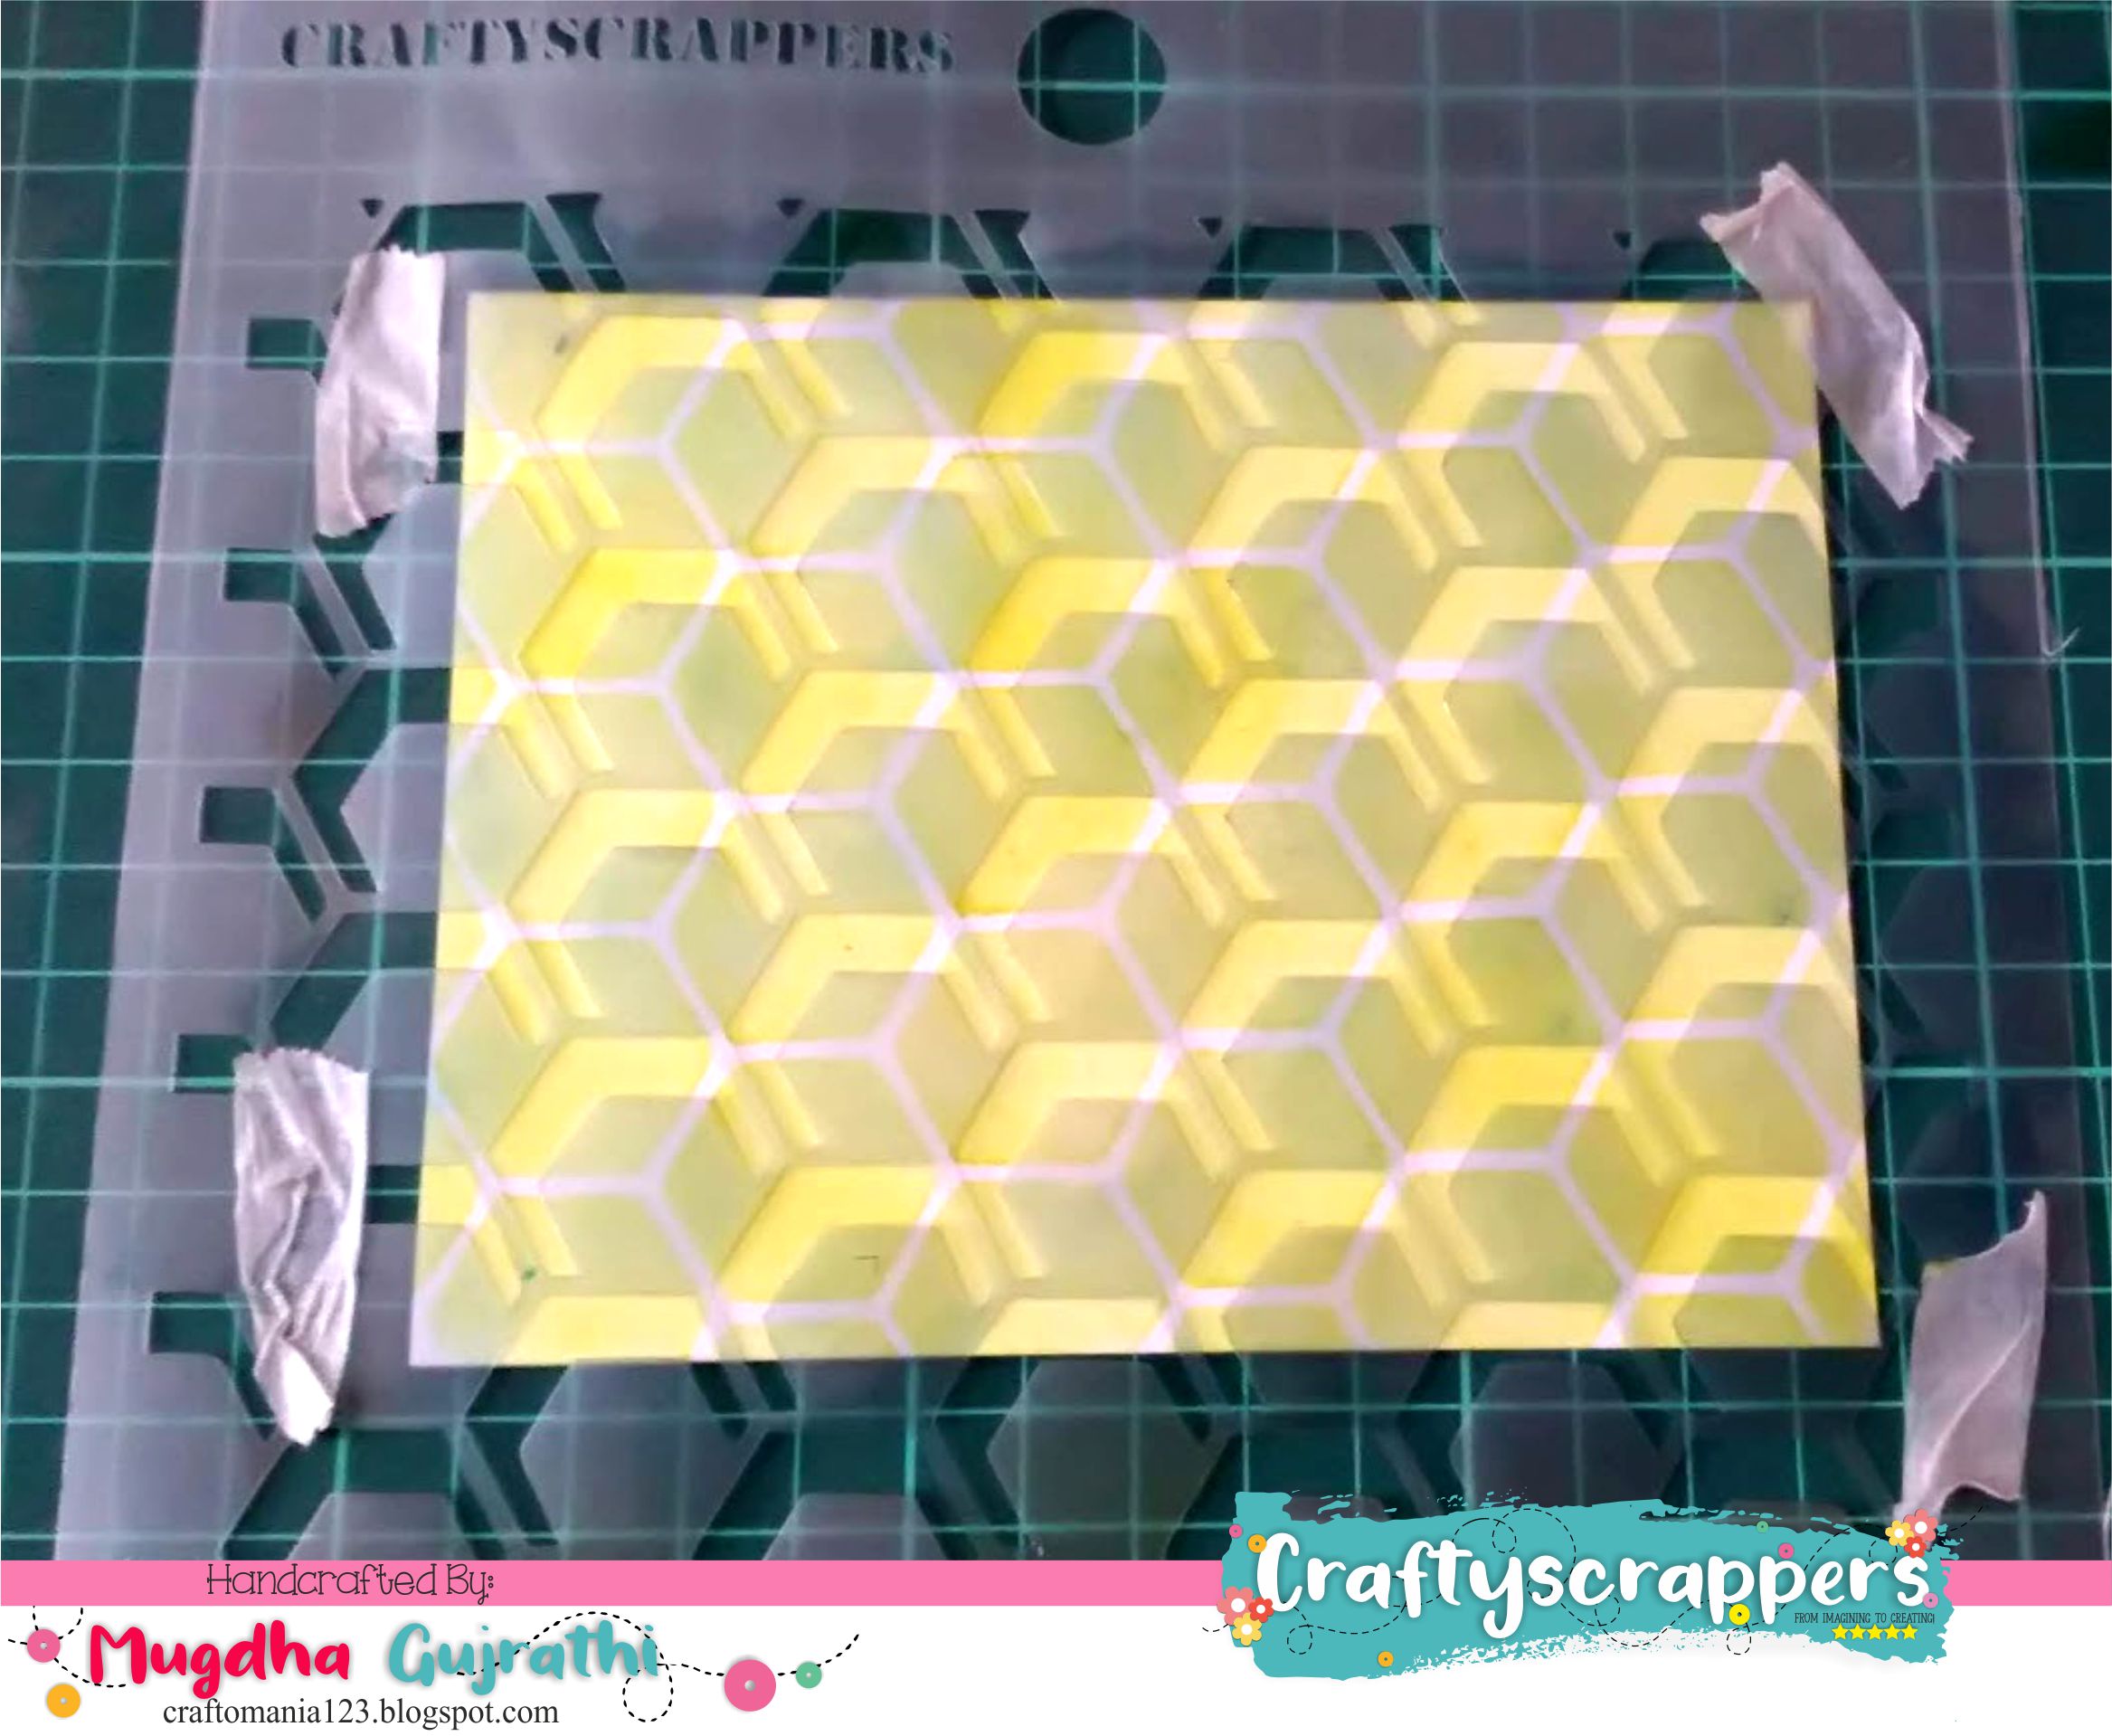
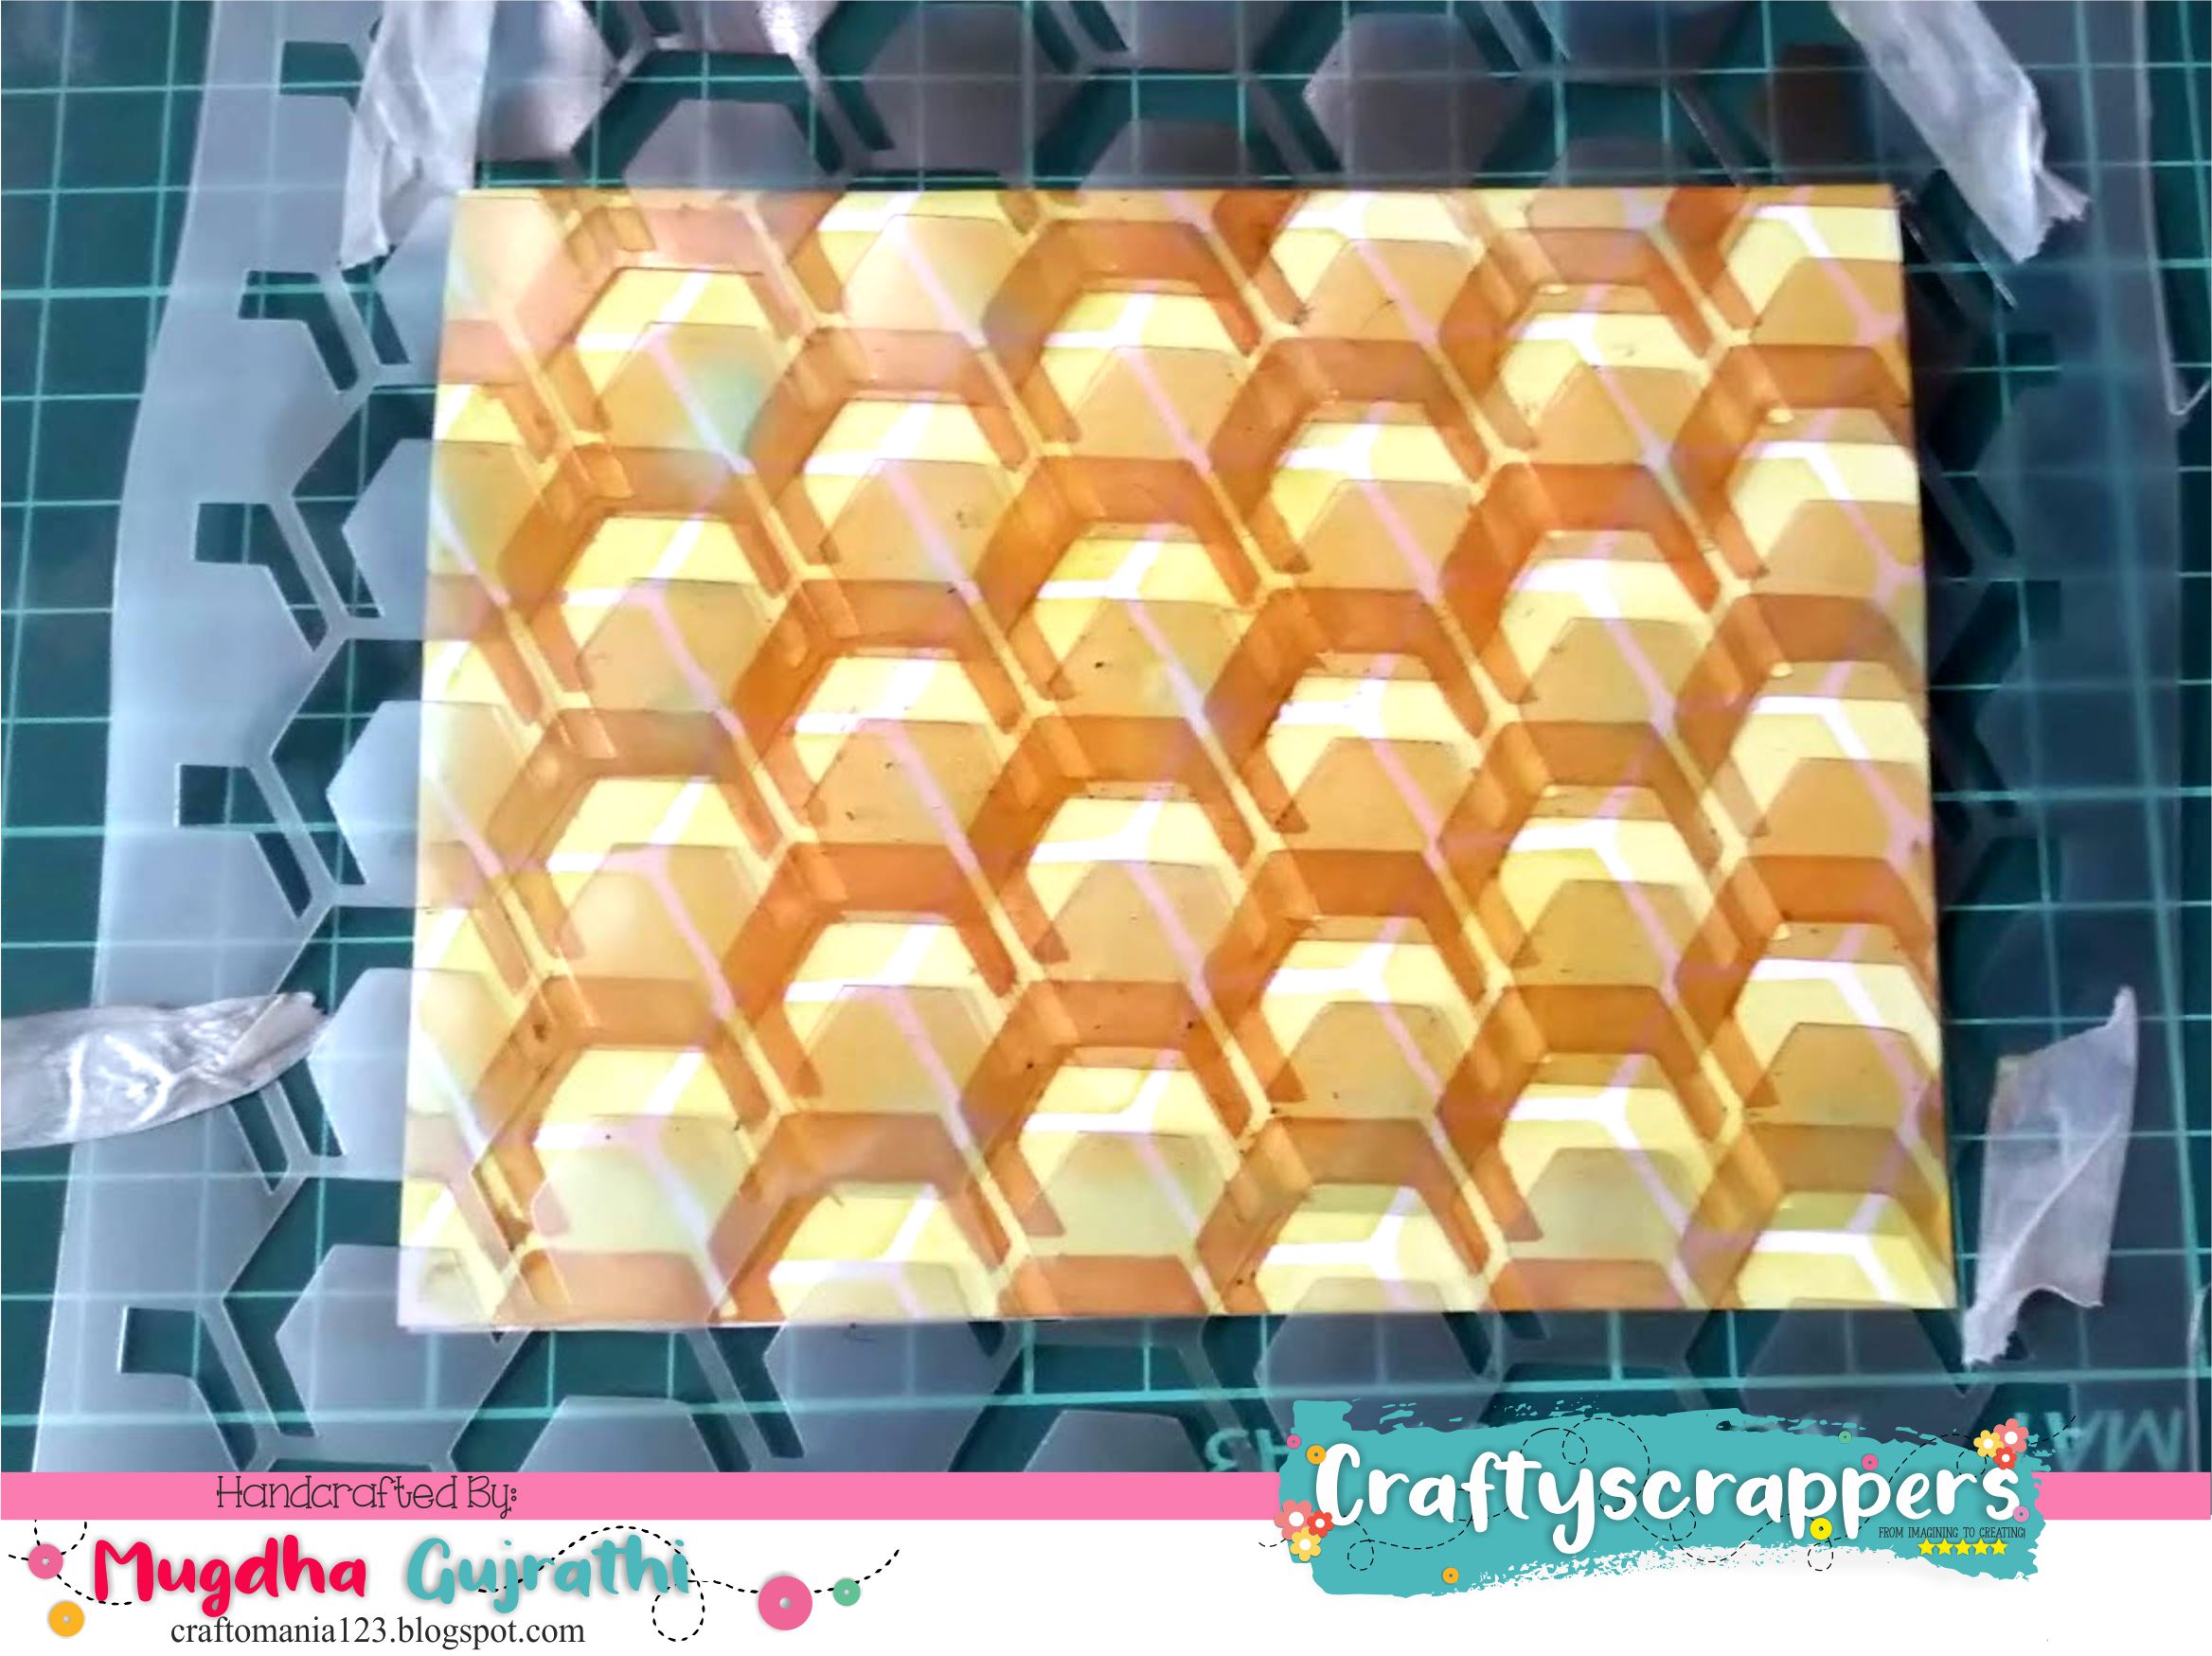
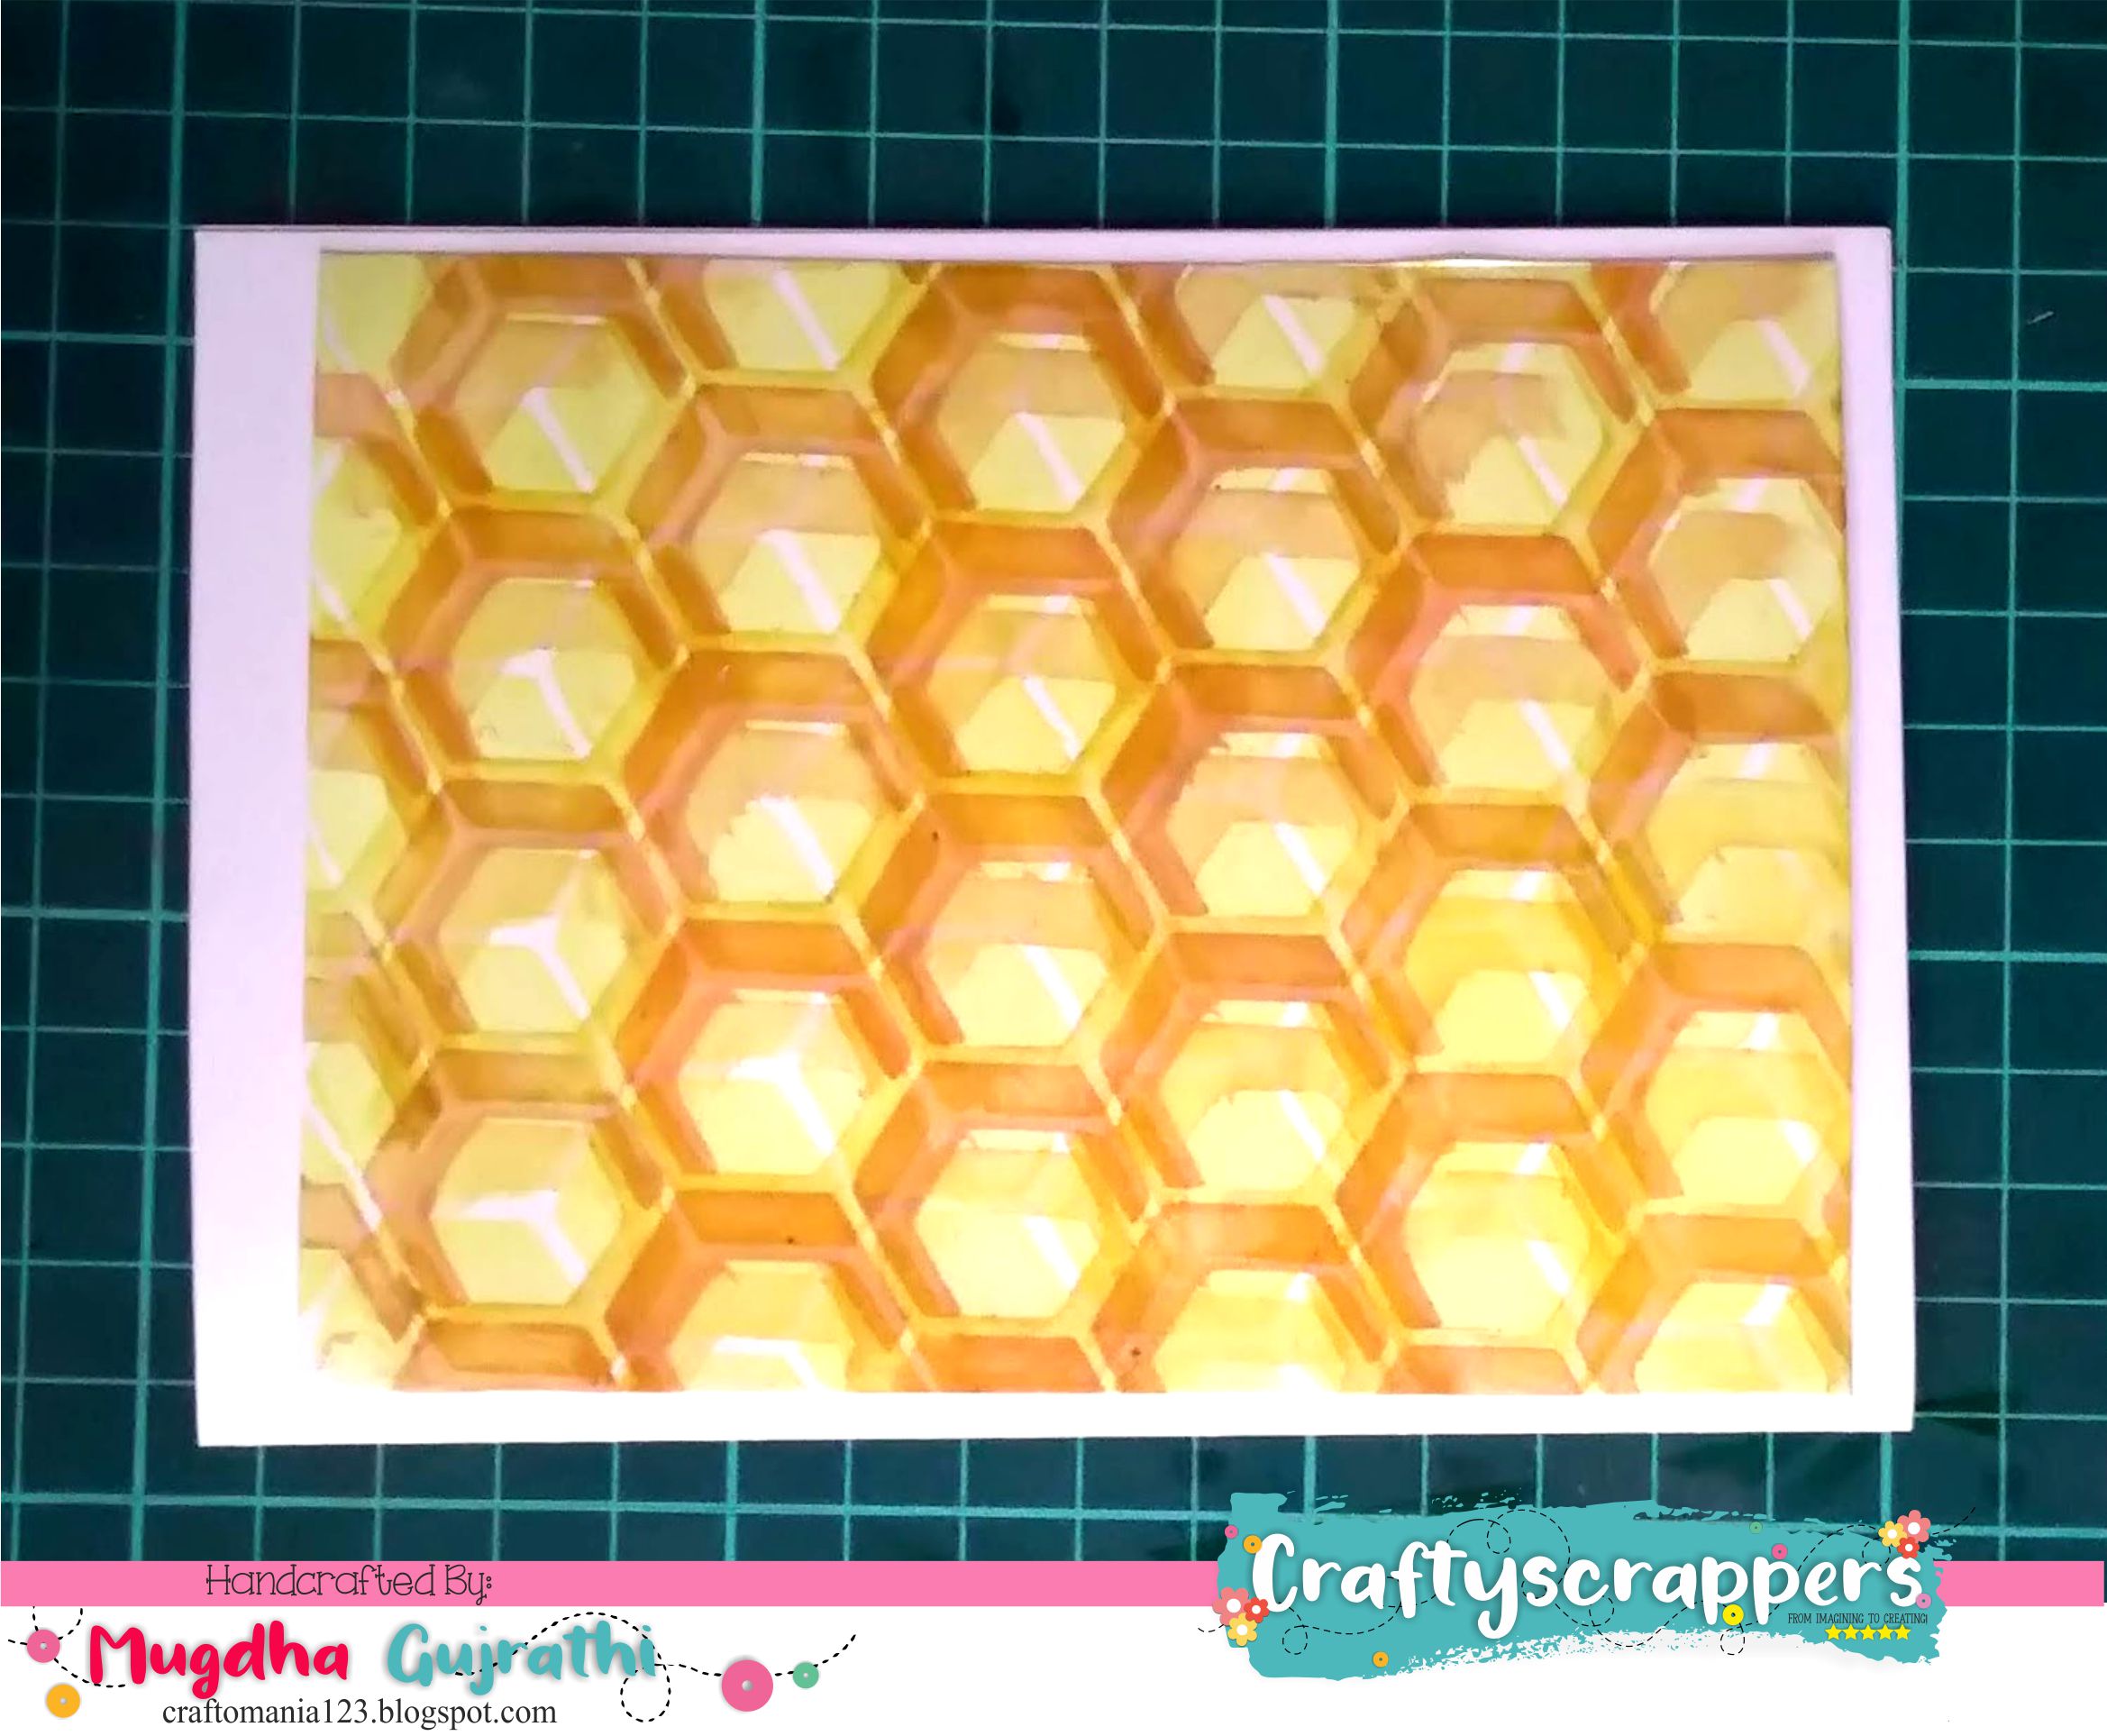
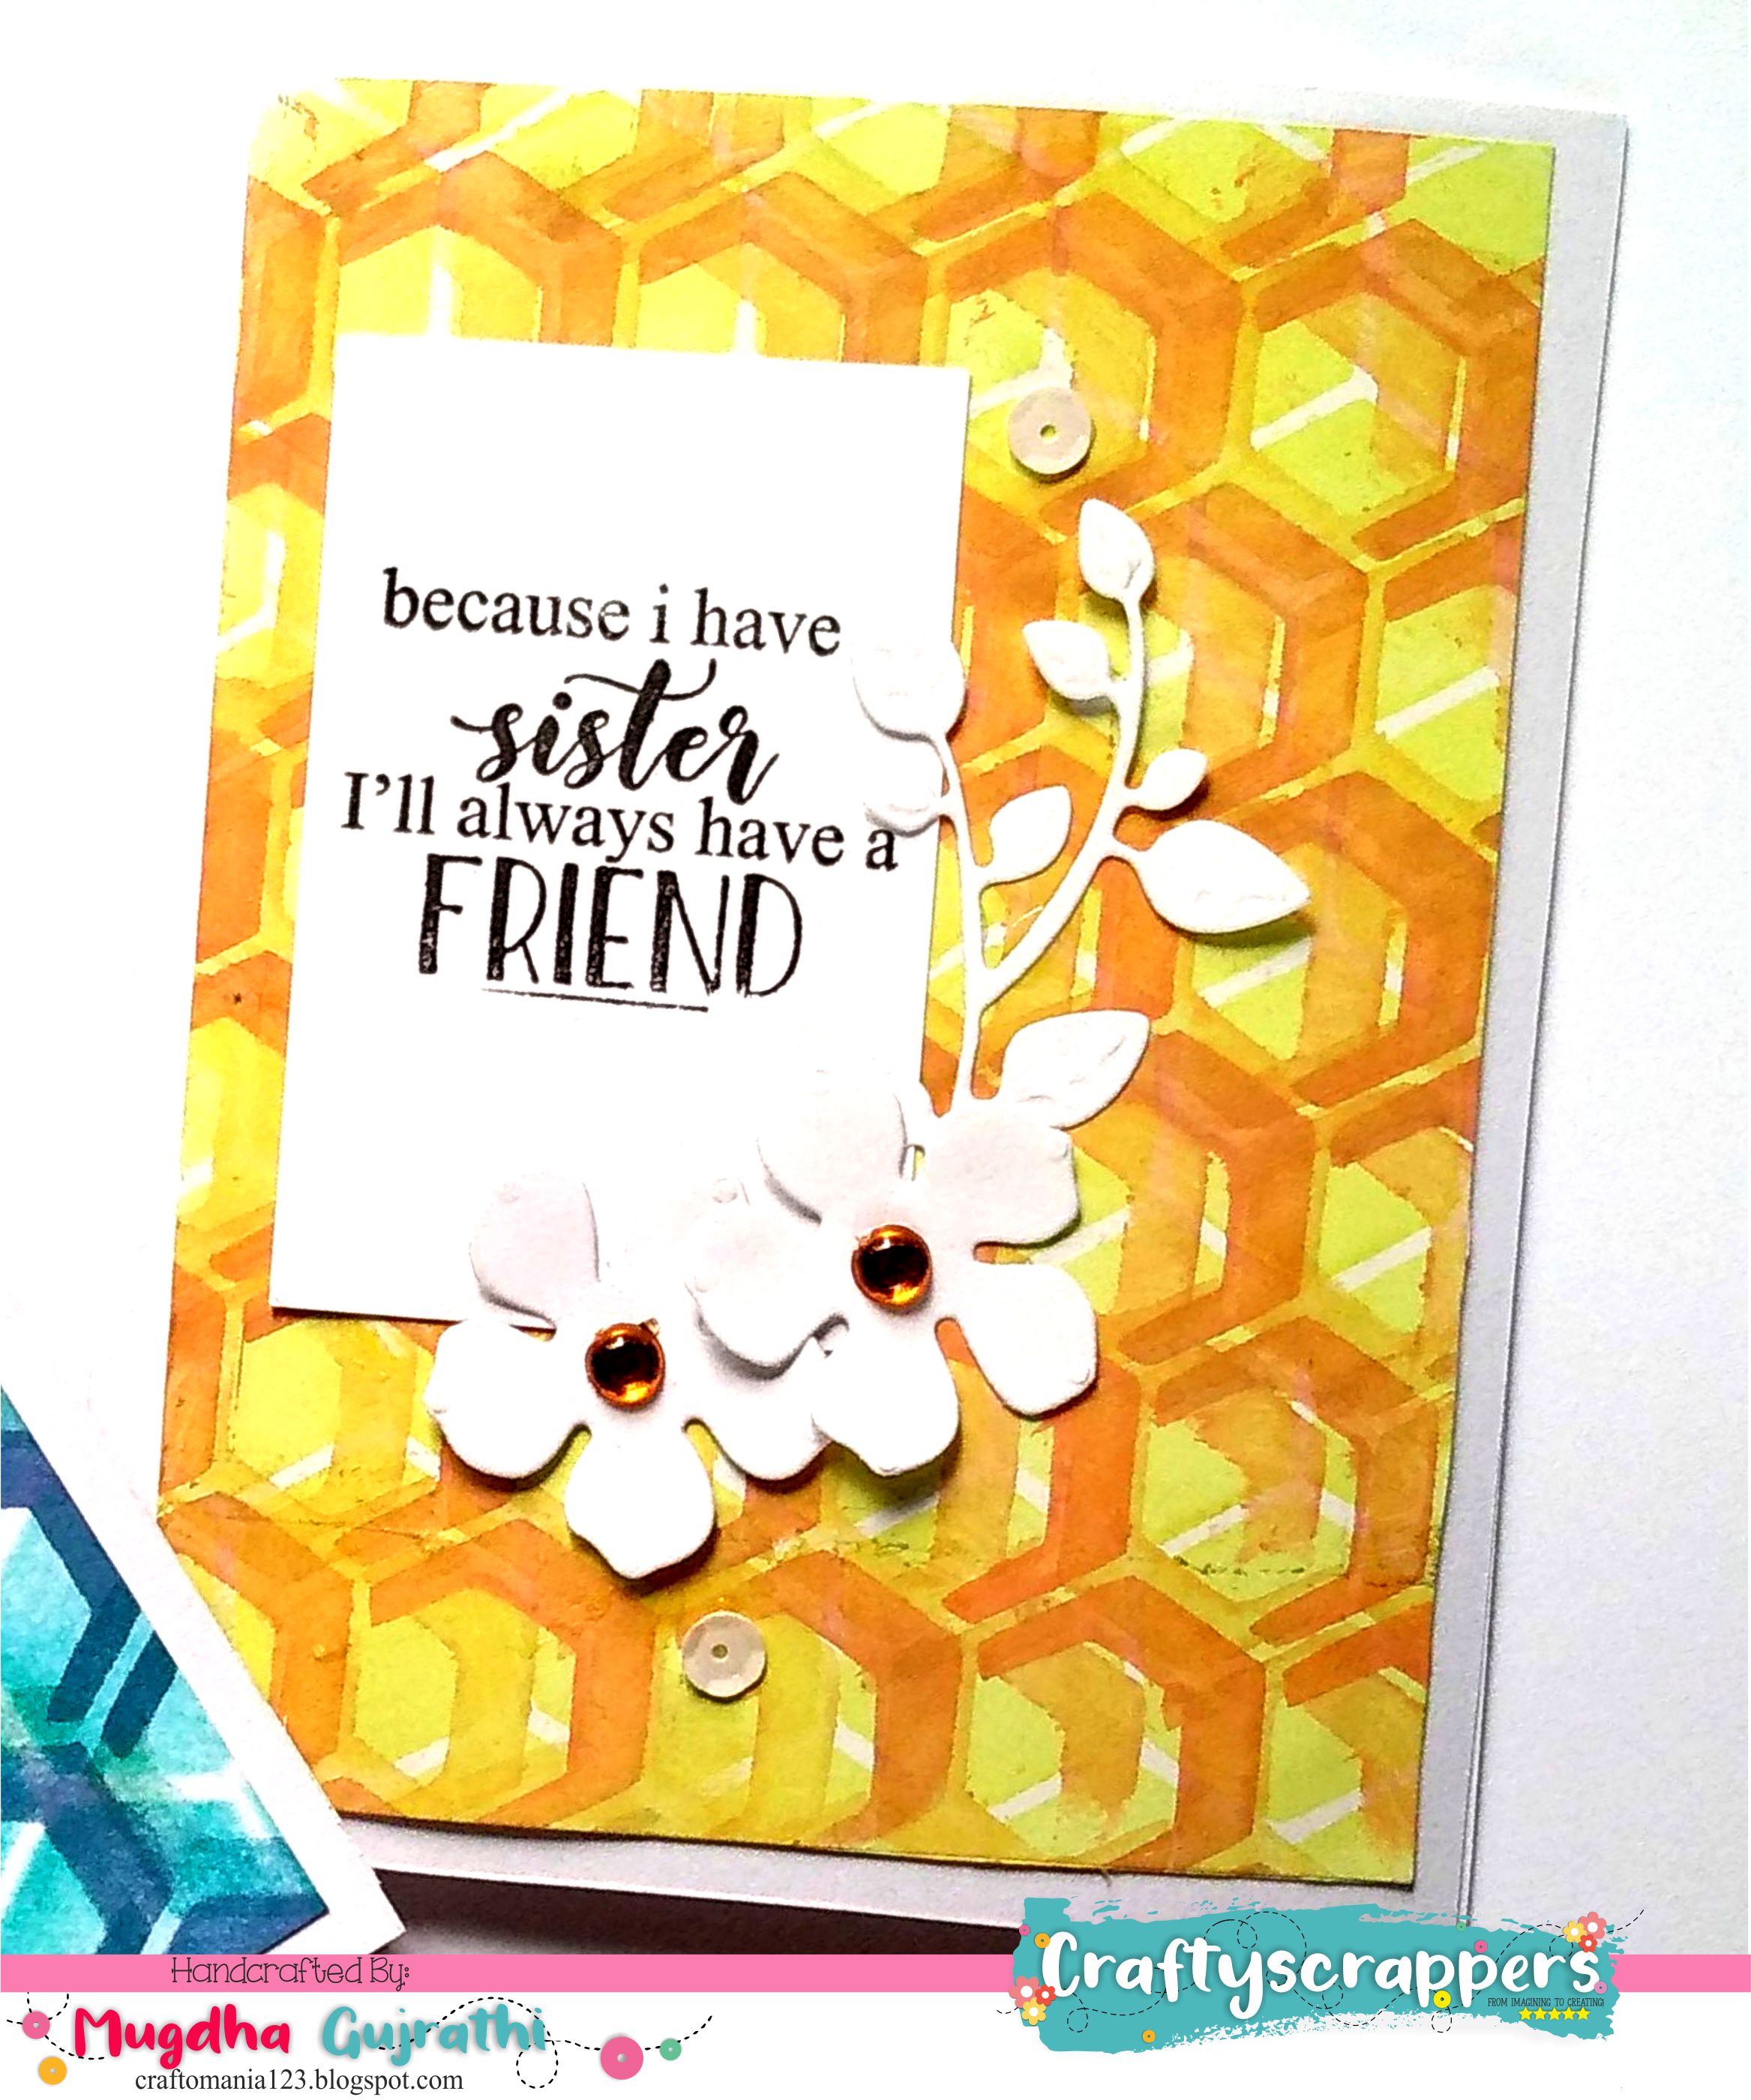
( light color first then dark and again light)