Devika Gujral here,l Creative Designer @craftyscrappers
Rakhi is just around the corner…so how about doing away with those plain white envelopes??

if you have missed the previous post check it out here:
CHALLENGE#24:”RAKSHABANDHAN”
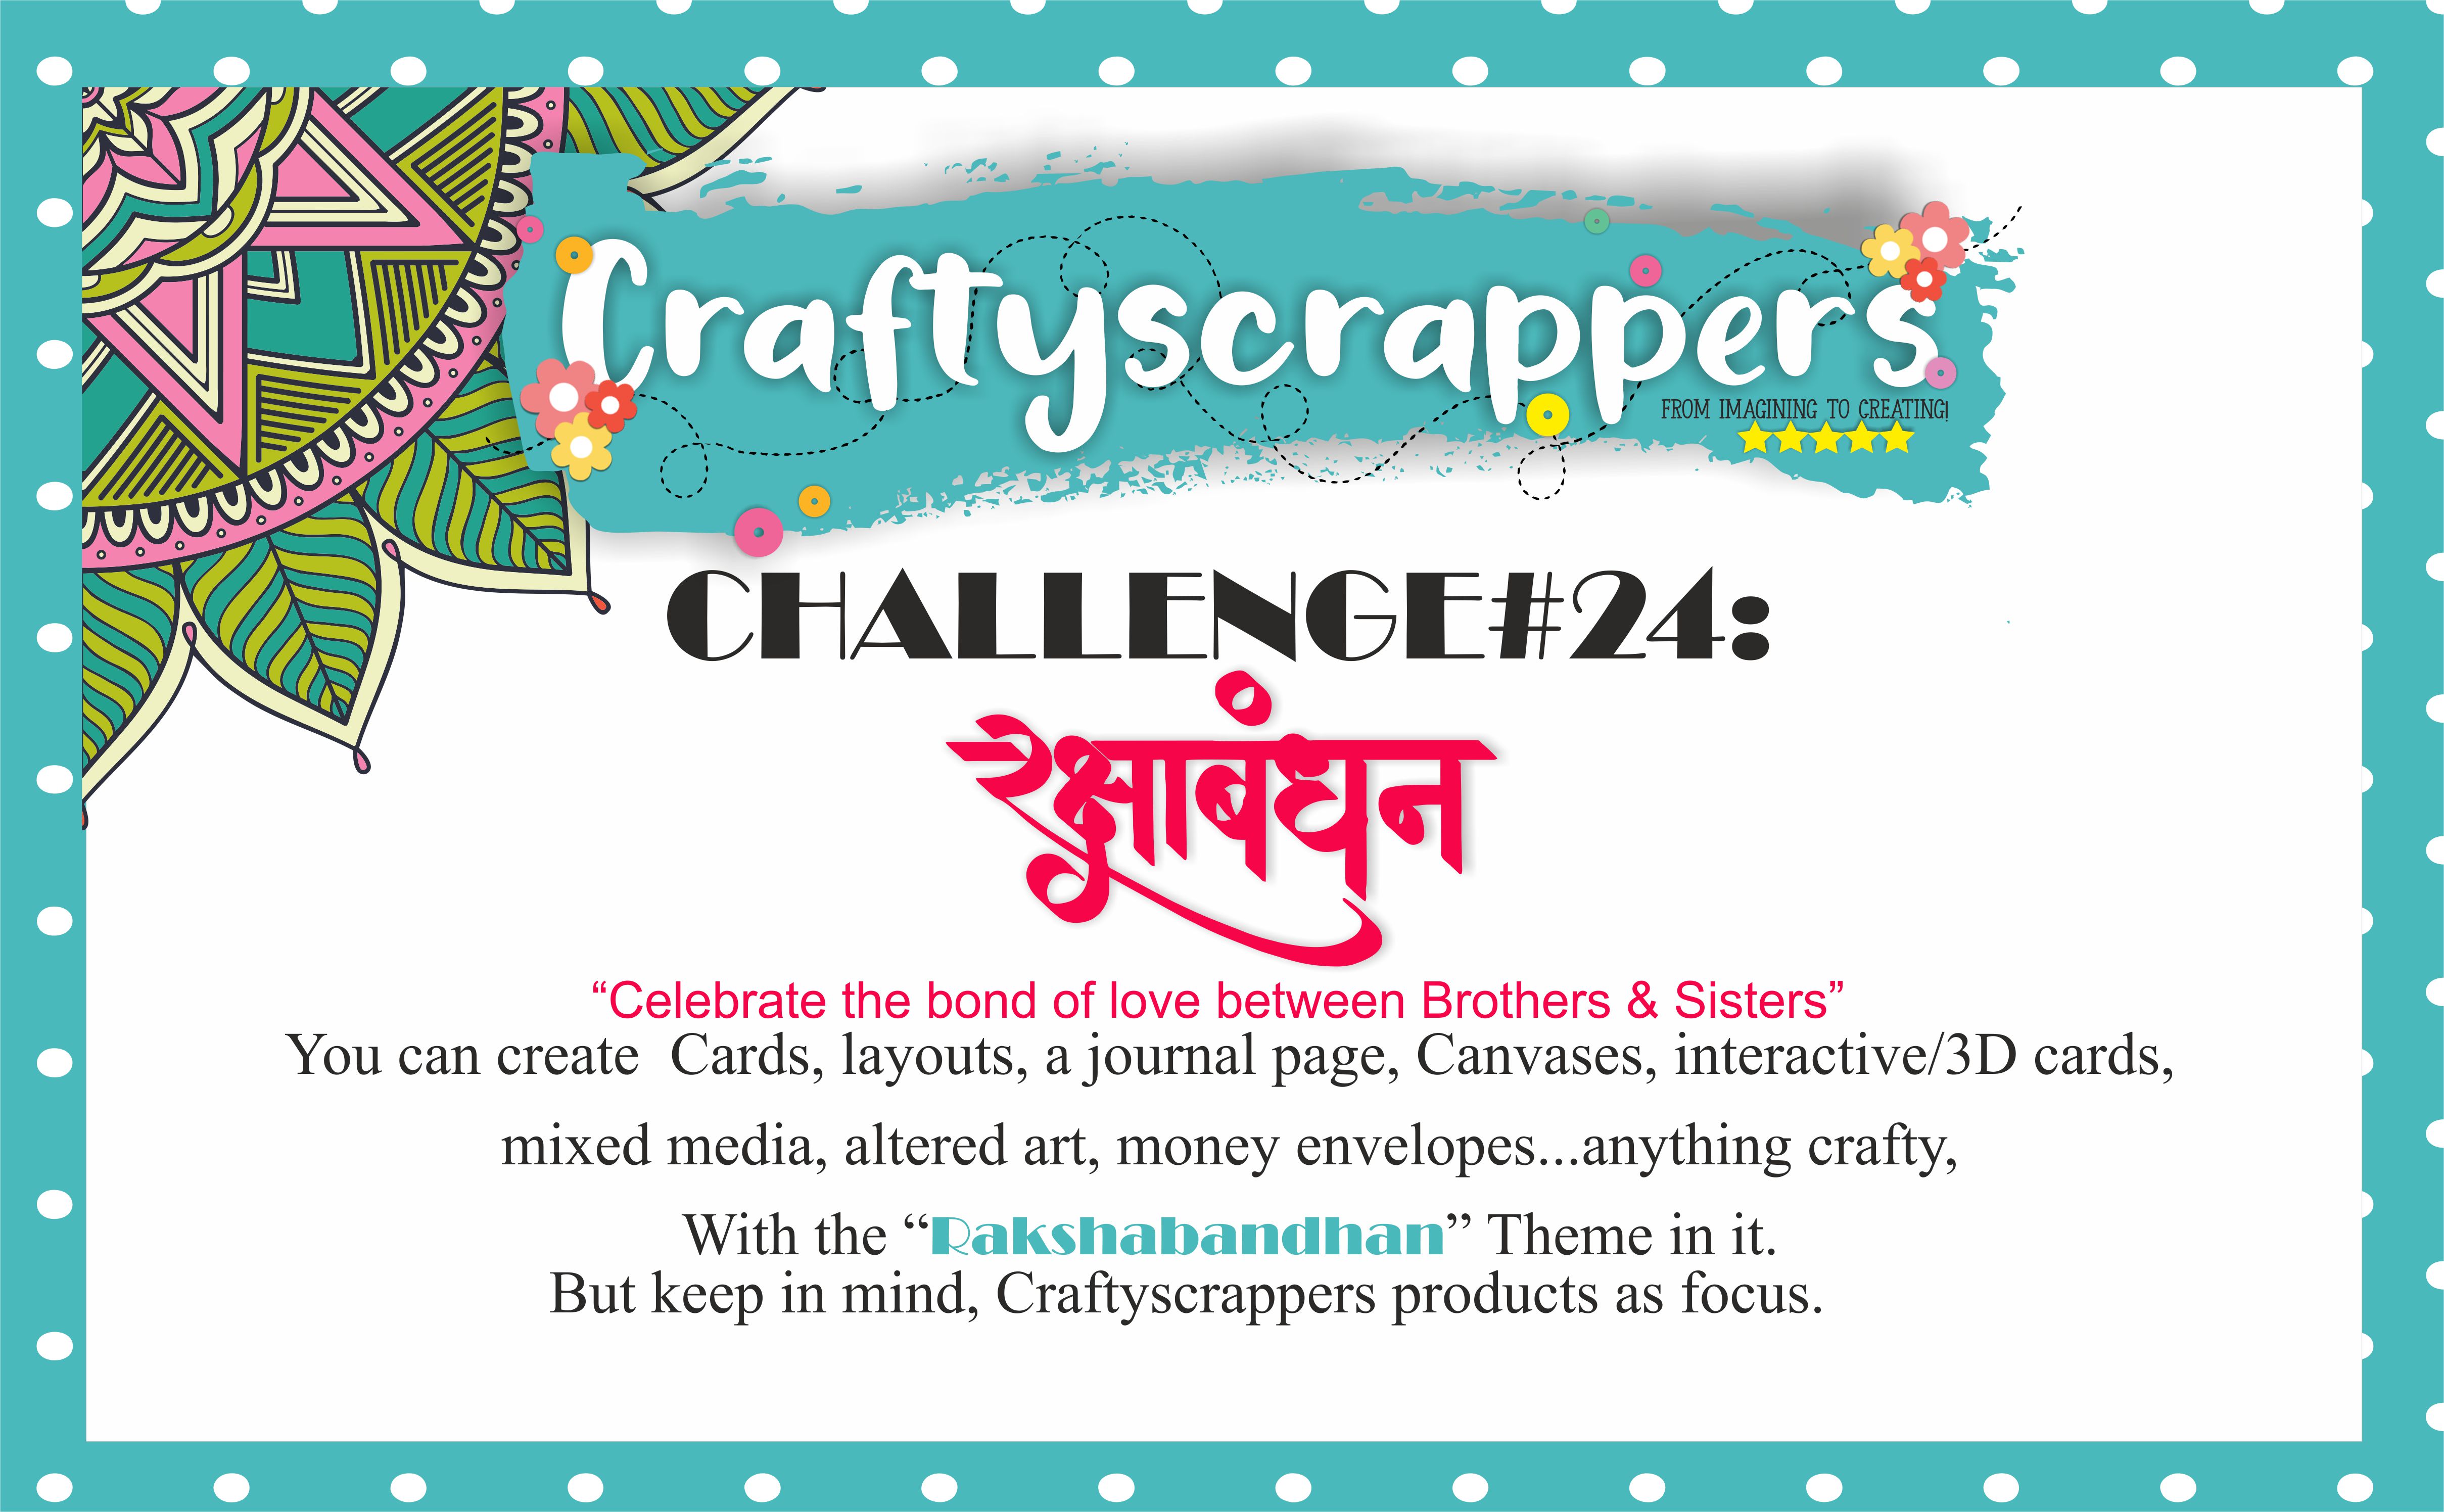
You can create Cards, layouts, a journal page, Canvases, interactive/3D cards,
mixed media, altered art,money envelopes …anything crafty,
With the RAKSHA BANDHAN theme in it!
But keep in mind, Craftyscrappers products as focus.
Last date of submission is 31ST AUGUST,2018

To win the amazing goodie bags !

Today, I will do a tutorial for making a pretty envelope using
2-IN-1 3D DESIGNS”Diamond Pattern” stencil
![cs-stnl-352IN1-DIAMOND PATTERNS].jpg](https://craftyscrappers.files.wordpress.com/2018/08/cs-stnl-352in1-diamond-patterns.jpg?w=972)
This stencil is so versatile and easy to use!
You can flip it and create all the more patterns..no set rule..just get your inks/pastes/colours and let your imagination do some amazing stencilling! 😉
and “Super Silblings” stamp set from Craftyscrappers.
![st-fest-50[super-siblings].jpg](https://craftyscrappers.files.wordpress.com/2018/08/st-fest-50super-siblings1.jpg?w=800)
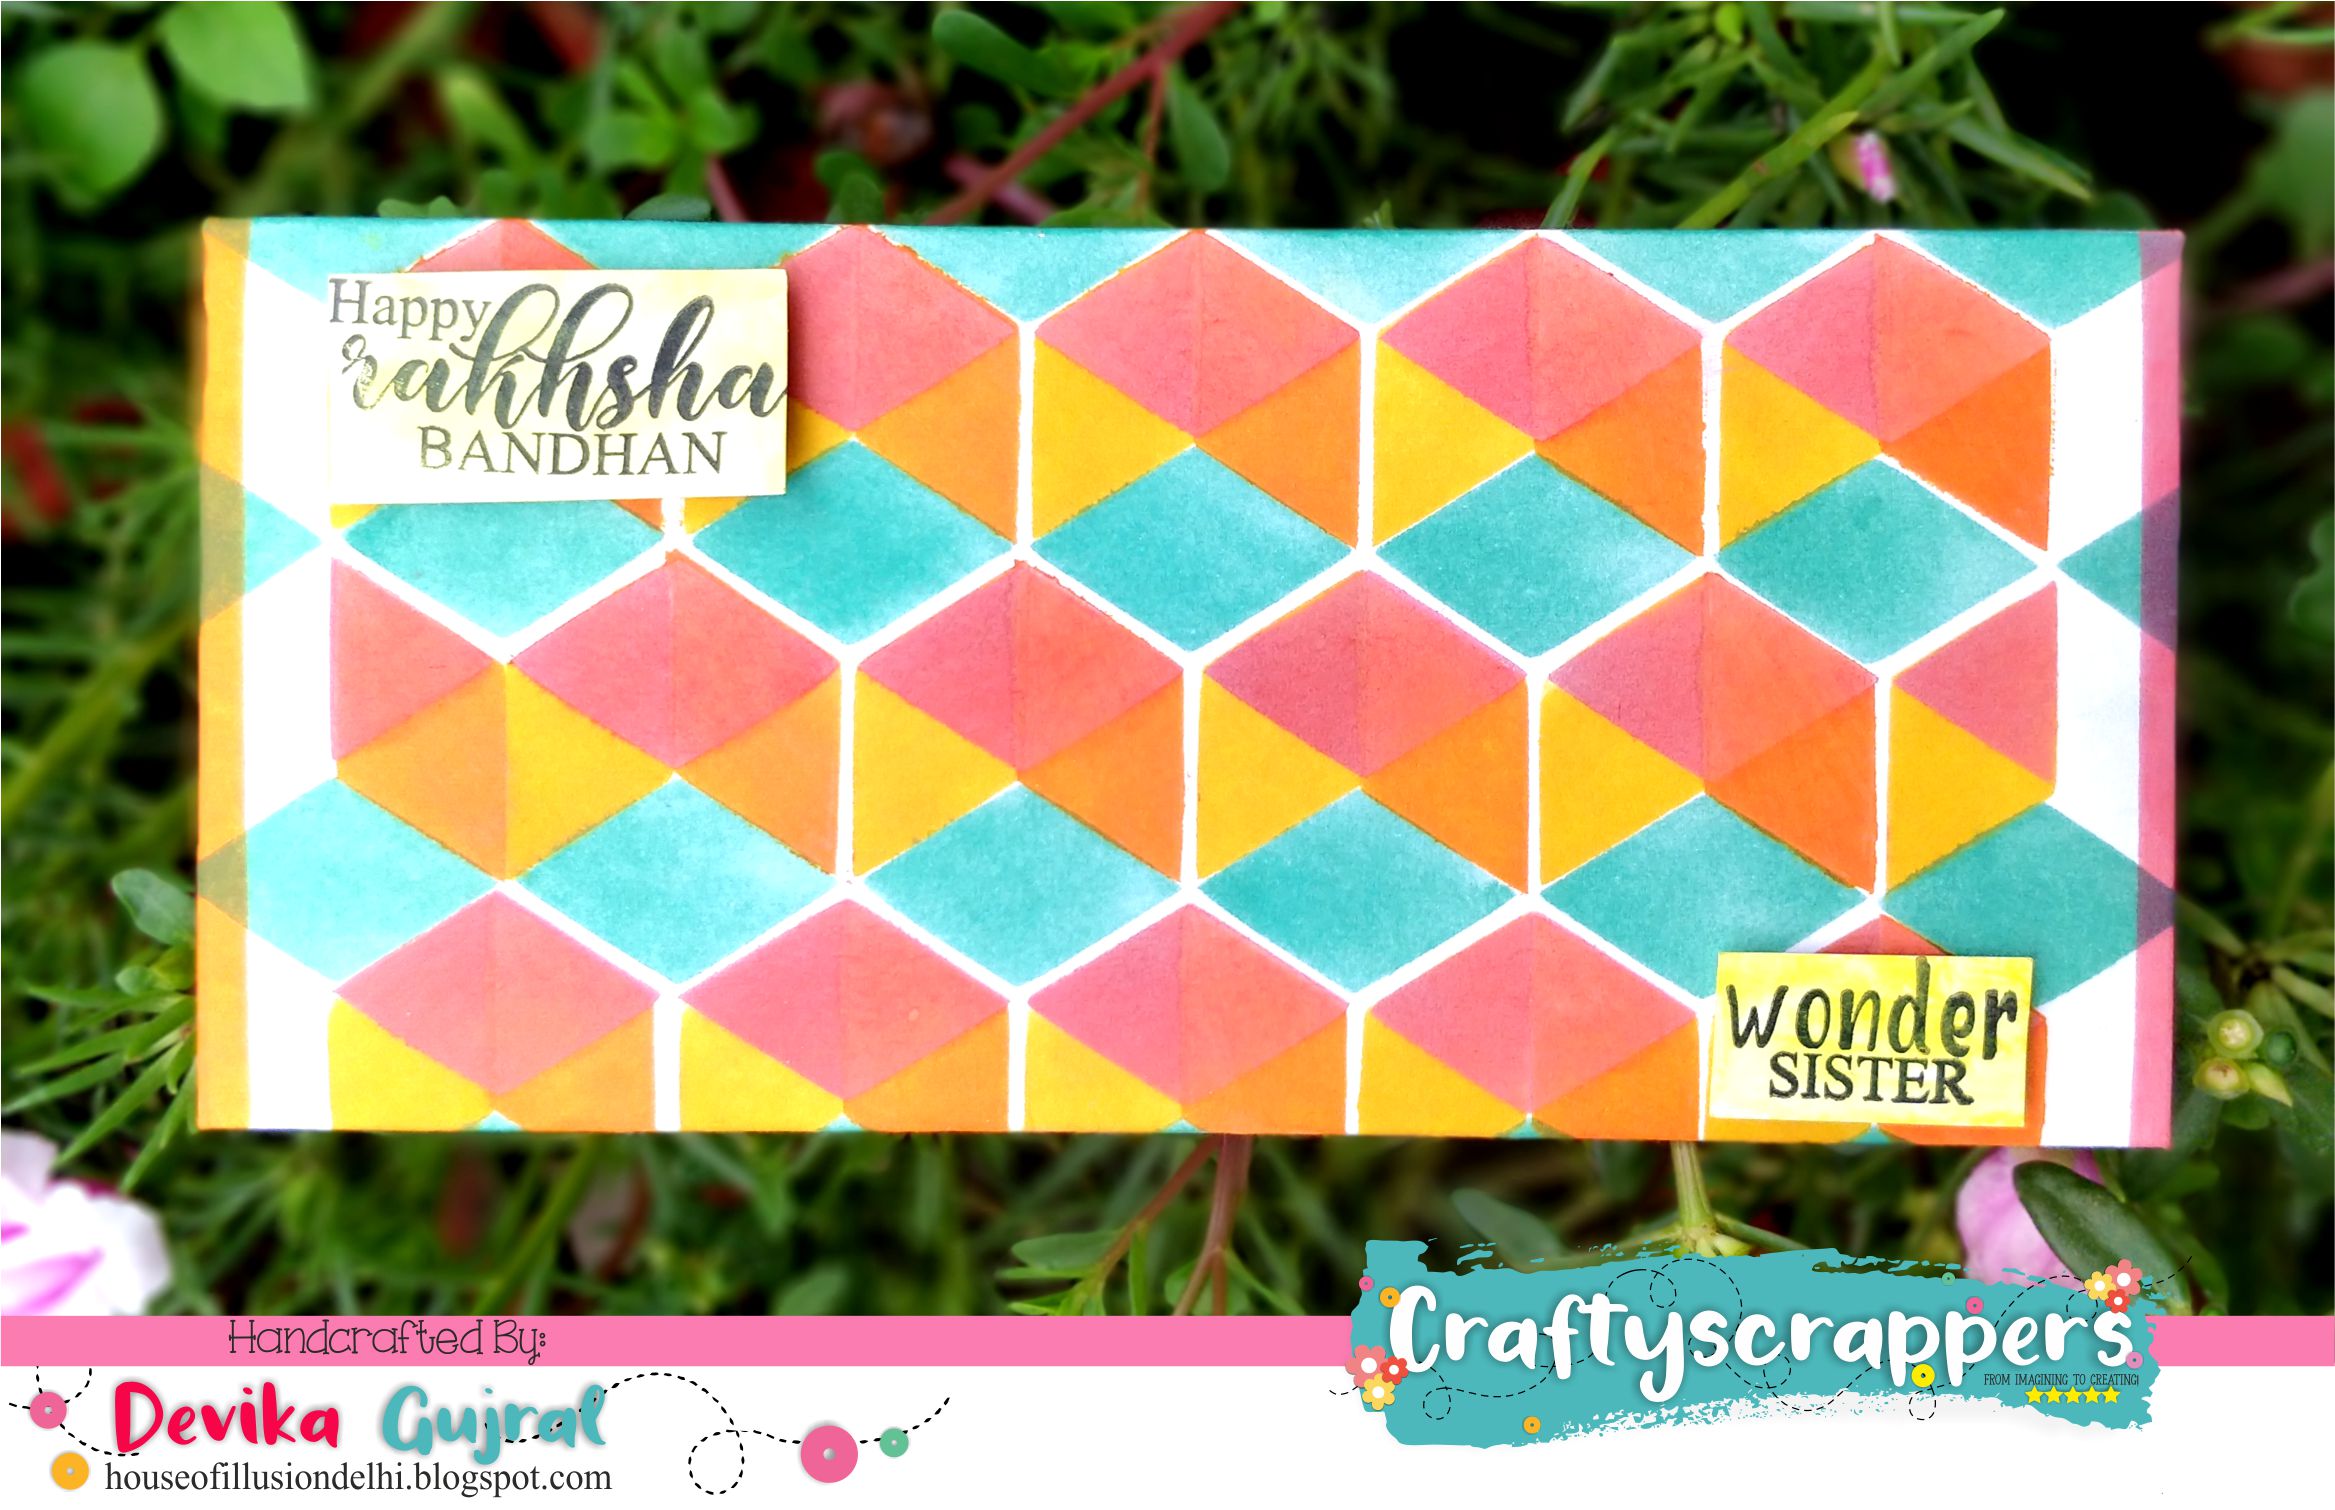
So here’s my Finished RAKHI ENVELOPE
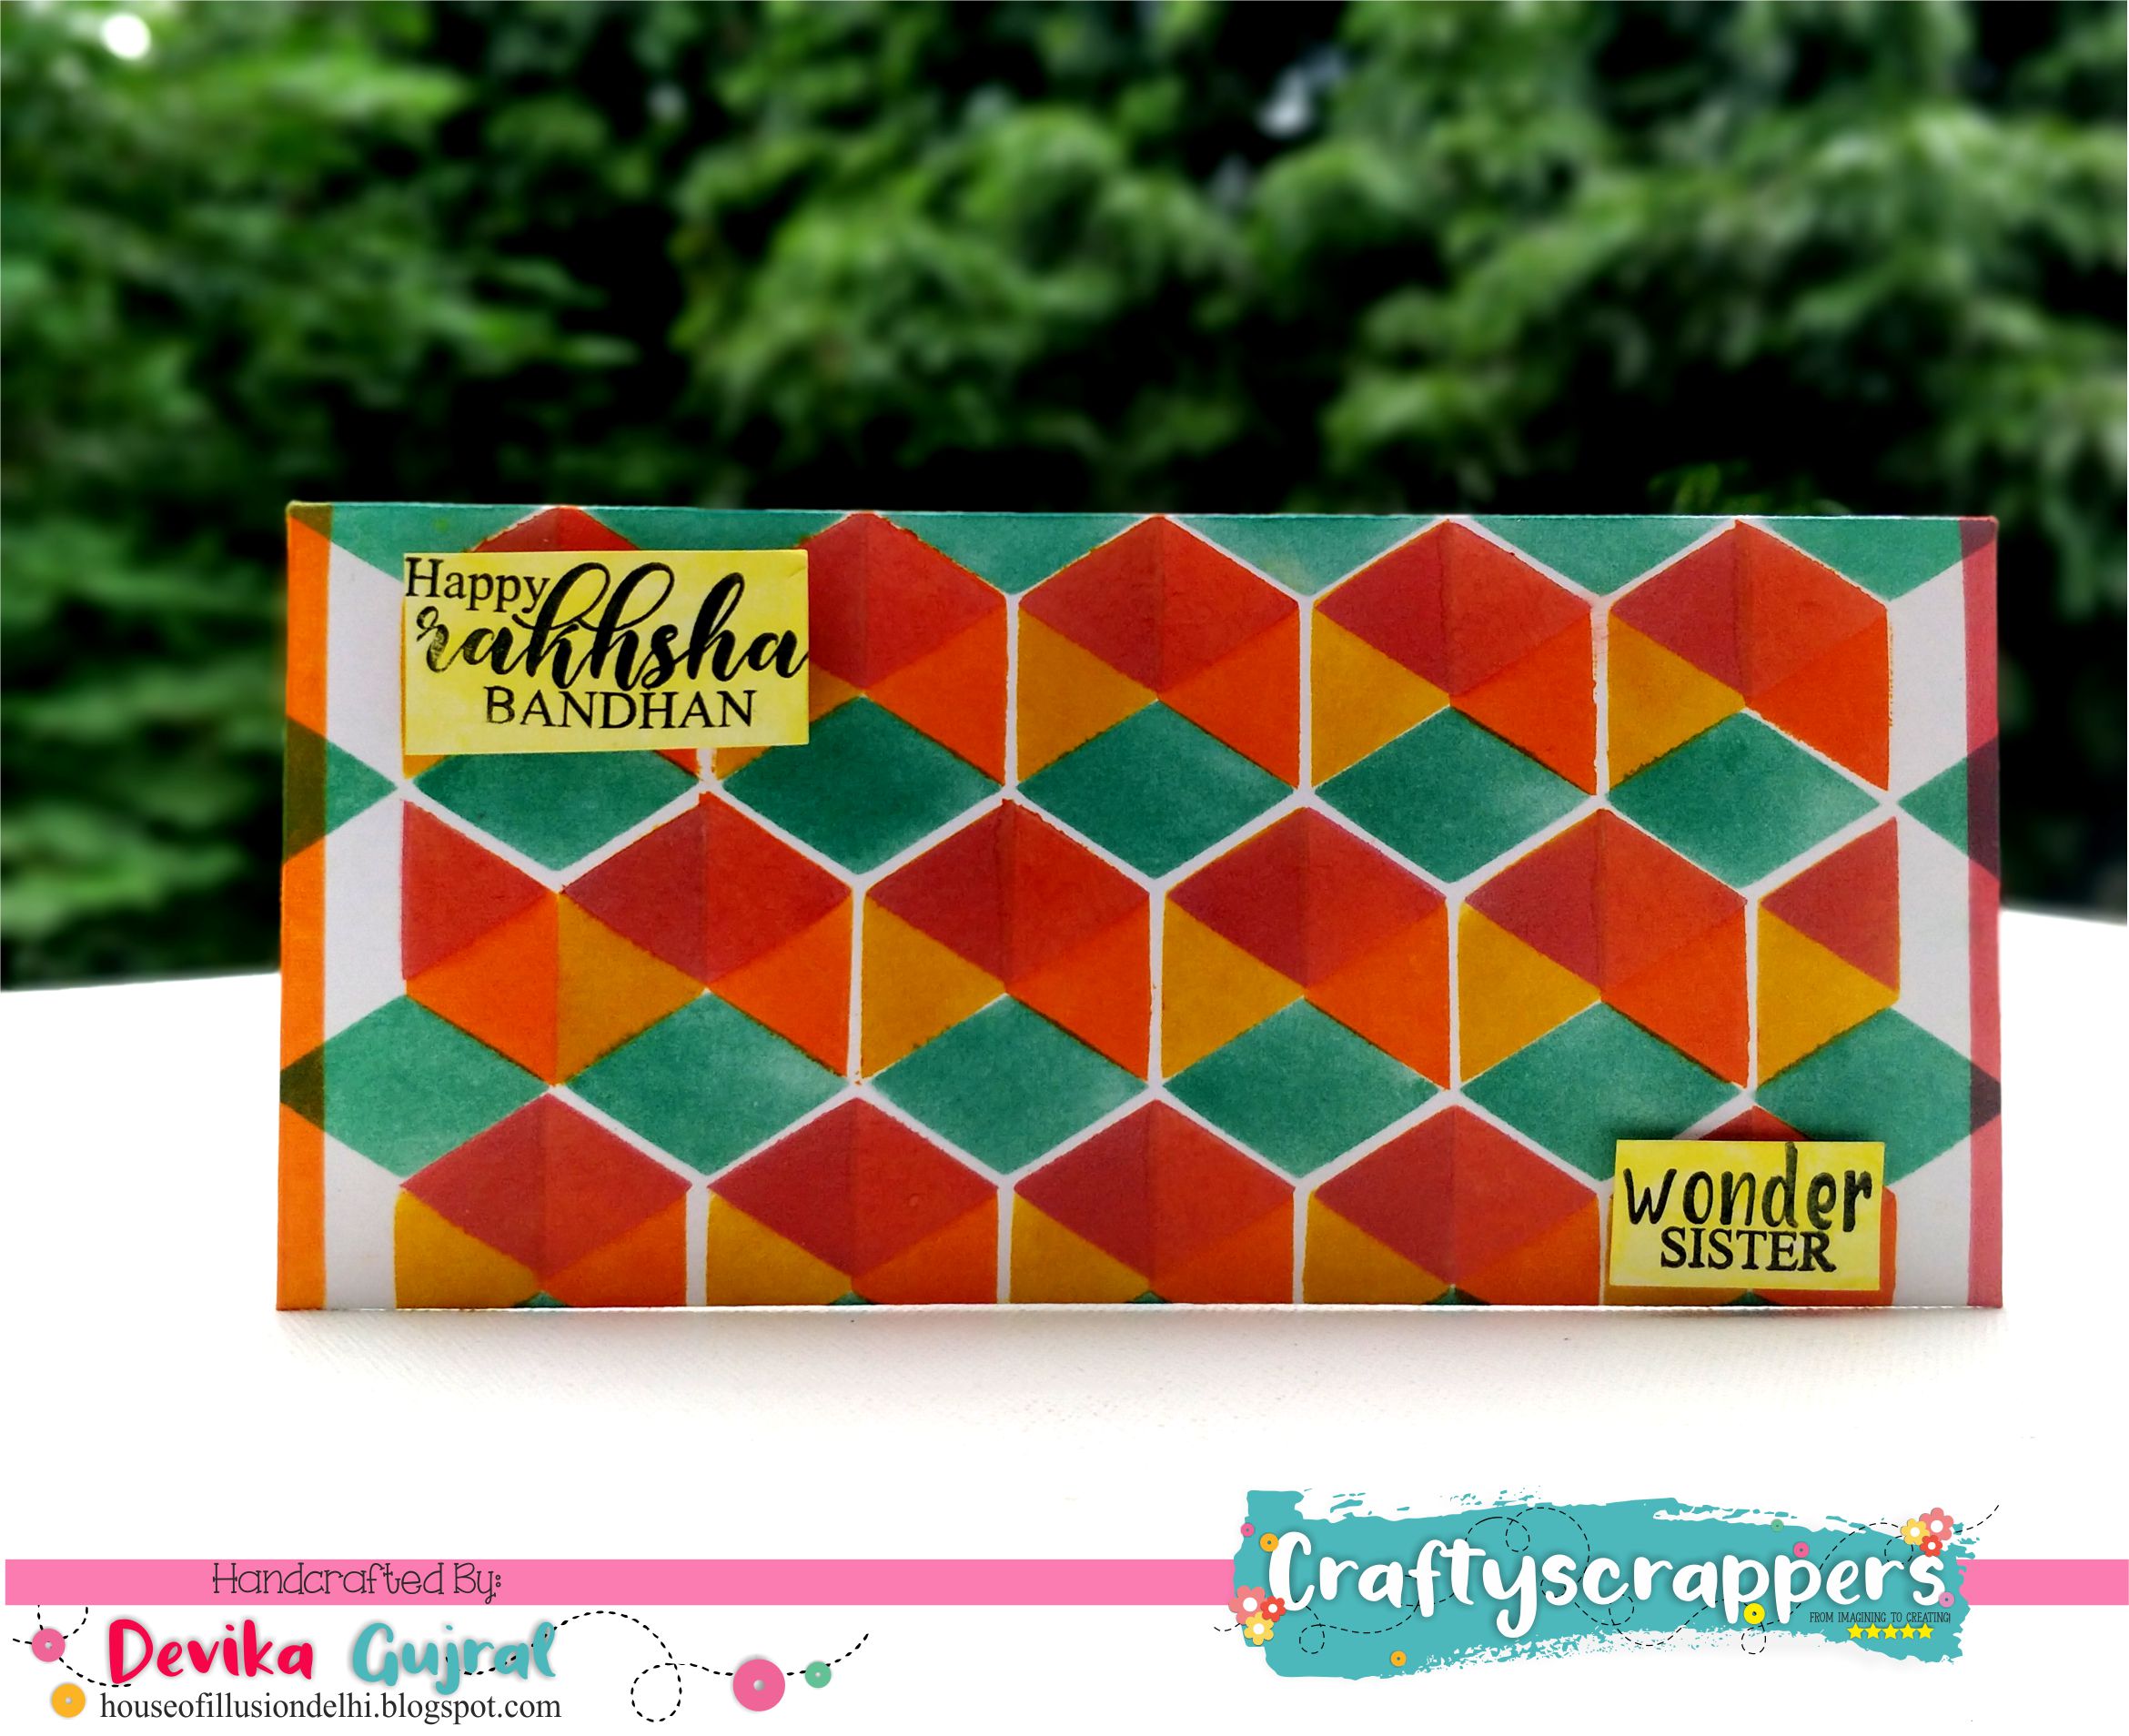
SUPPLIES USED:


Take a white coloured envelope.


Tape it down onto your craftsheet with the help of the masking tape (This is done to ensure that the envelope stays in it’s place and doesn’t ruin the positioning of the stencil.


Place the Horizontal Diamond stencil pattern and put Fired Brick Distress Oxide through it.

Now take the other part of t stencil, the one with diagonal diamond pattern and place it on the envelope.


I wanted to have overlapping shades so I have overlapped the stencil.Use Spiced Mermalade Distress ink through it.Now comes the fun part…just flip the diaognal diamond pattern stencil, overlap it on to the Red inkes patyern and put Fossiled Amber distress ink through it.

Similarly, flip the horizontal diamond pattern stencil design and put Evergreen Bough distress ink through it.
You have a traditional-yet-modern looking envelope ready! 😀
Take the sentiments from the “Super siblings” stamp set, stamp it with Black archival ink on White cardstock from Craftyscrappers, fussy cut it and spray it with the “Sweet Sunshine” Shimmer spray…this spray just pops the sentiment and gives life to it..I absolutely loveeee it!

And thus finishes the envelope
SOME CLOSE-UPS:


So That’s all from my end today.I hope you like this RAKHI ENVELOPE.
Do leave some love and feedback below and I will be back soon for more inspirations!
If you like my work, you can also follow me on these social media accounts:facebook ,Youtube and Blog.
Don’t forget to join in our craft challenges,(details at the beginning of the post!)
You can participate via mr.linky (at the end of the challenge post)or via facebook,Instagram and even via email.
(While sharing your creation post over the social media, ie
Facebook/twitter/instagram
please use #Craftyscrappers challenge24 to qualify for submission,
failing to do so, the entry would be disqualified.)
Thanks for stopping by.
Happy Crafting!