Hello everyone,
This is Apurva here on Craftyscrappers blog today with
Simple and Quick Card Tutorial using
The hot selling Product of Craftyscrappers that is SHIMMER PASTES.
Simple and Quick Card Tutorial using
The hot selling Product of Craftyscrappers that is SHIMMER PASTES.

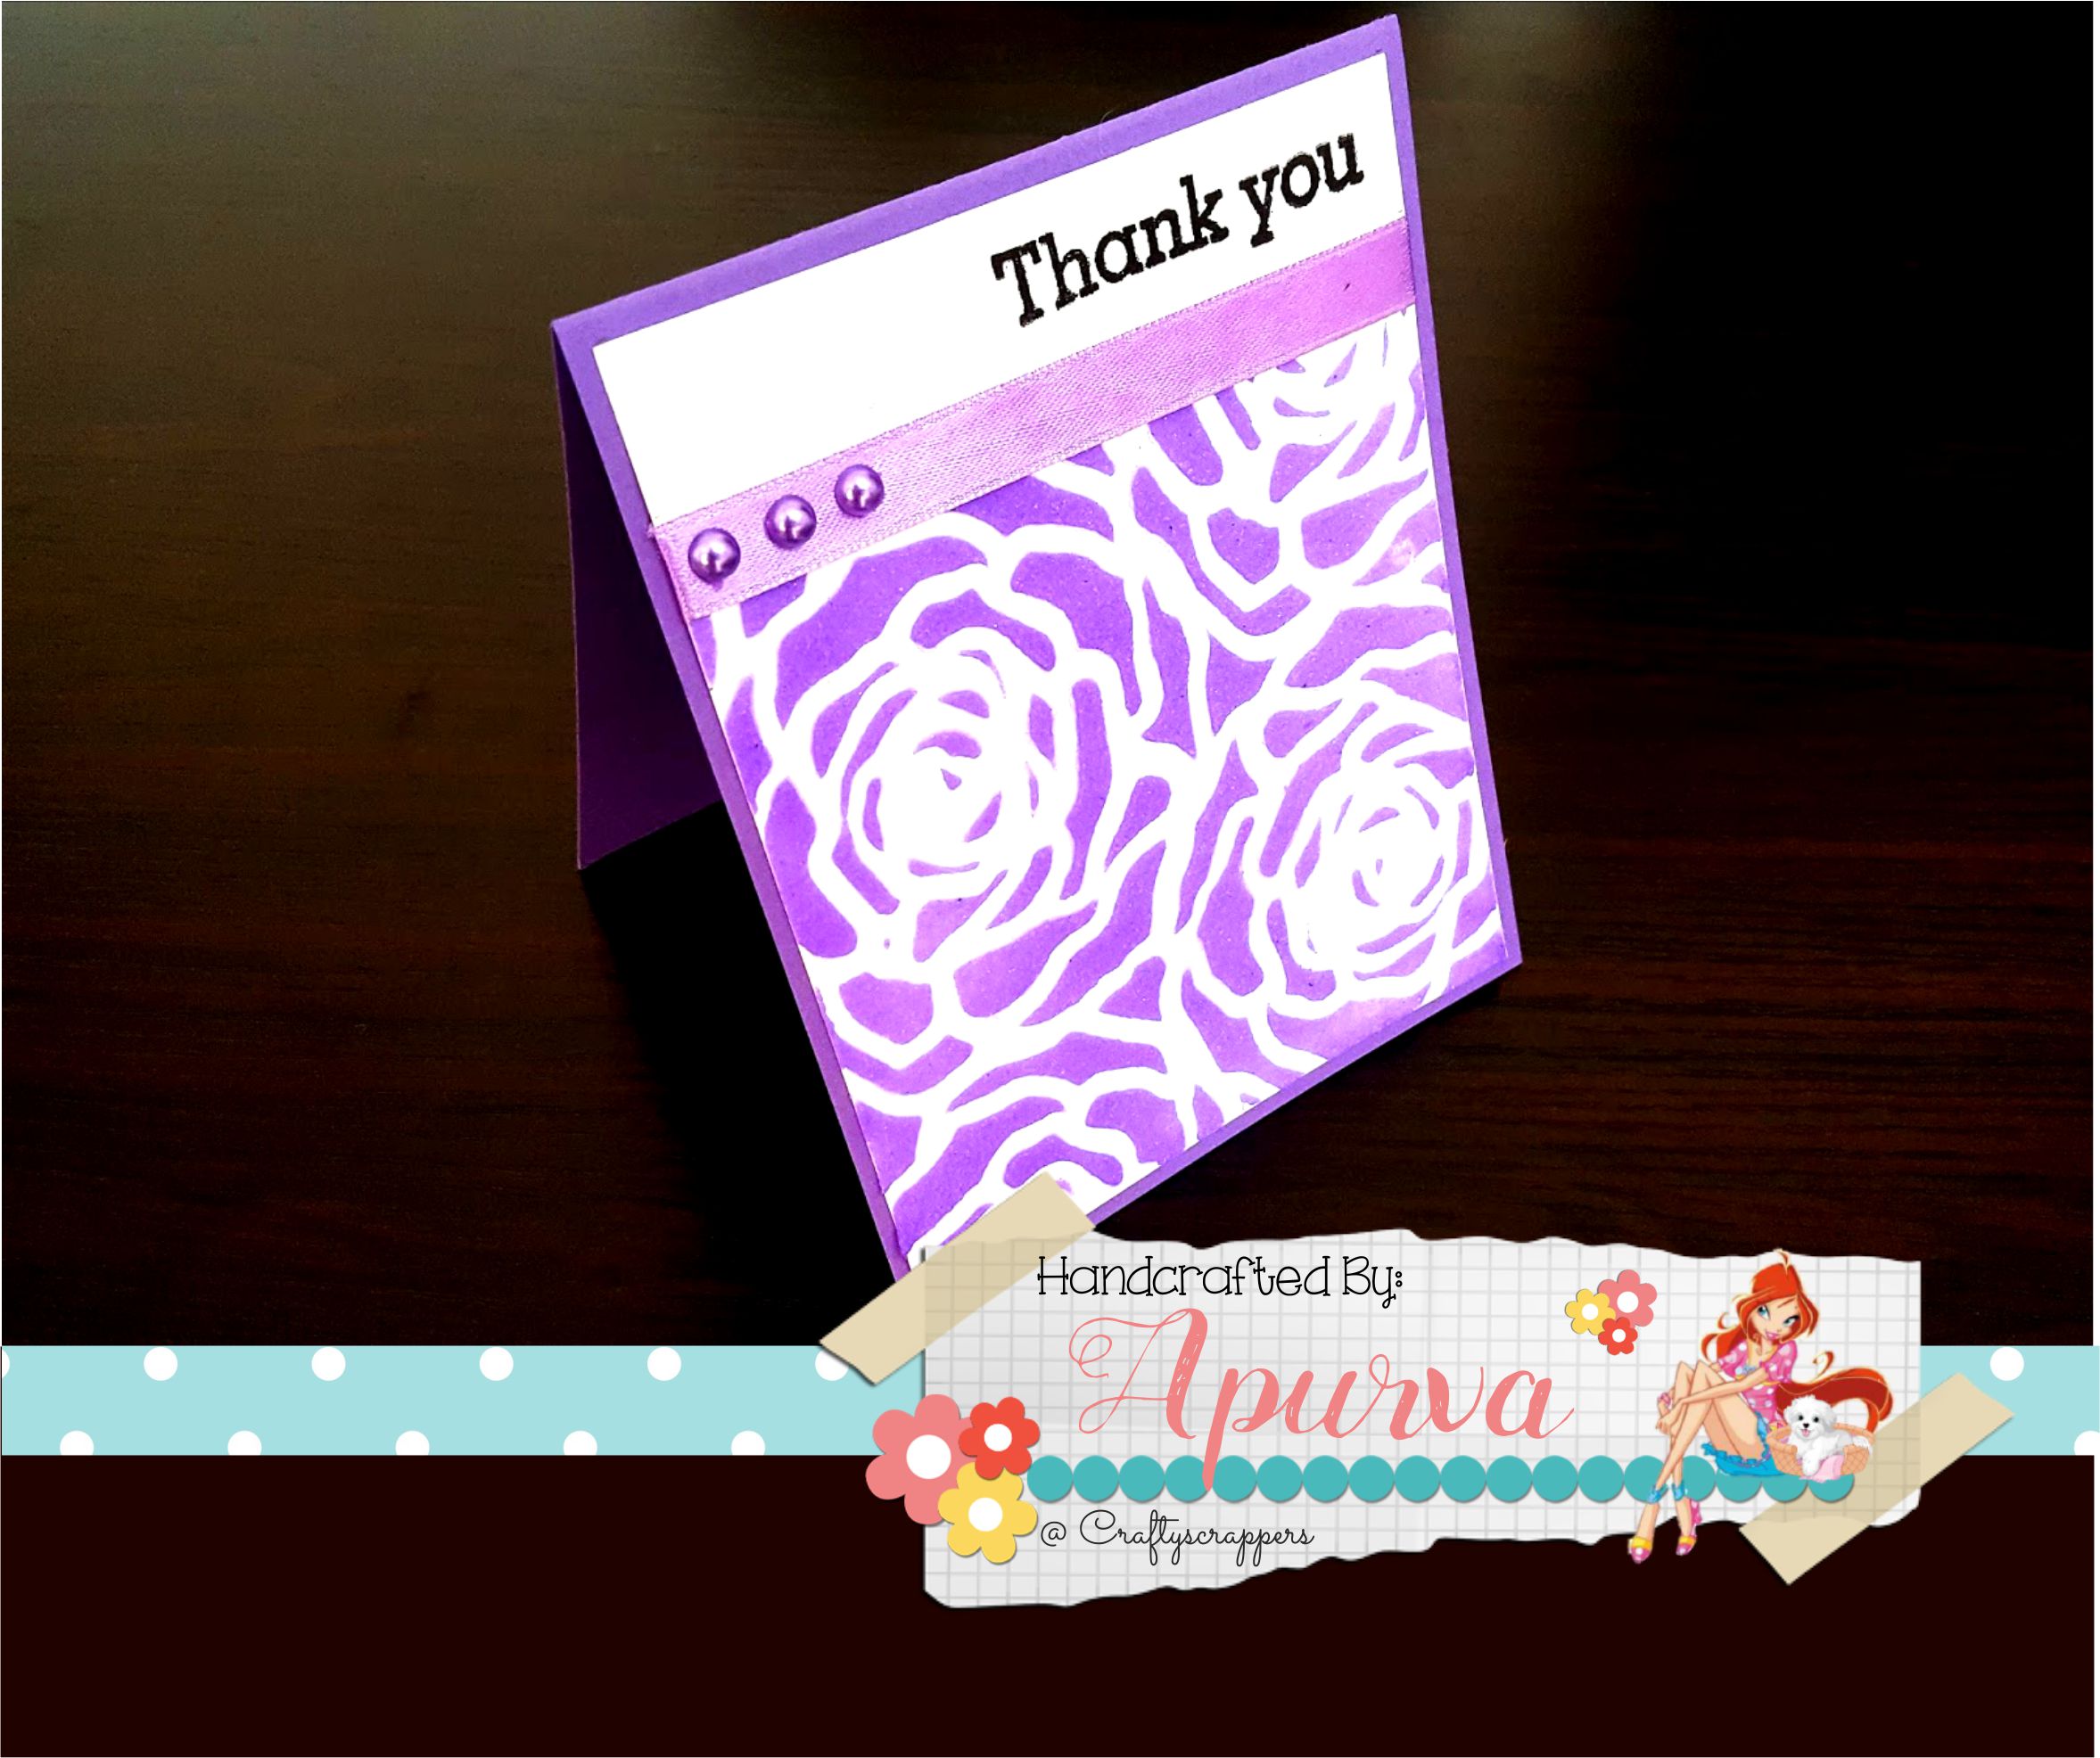
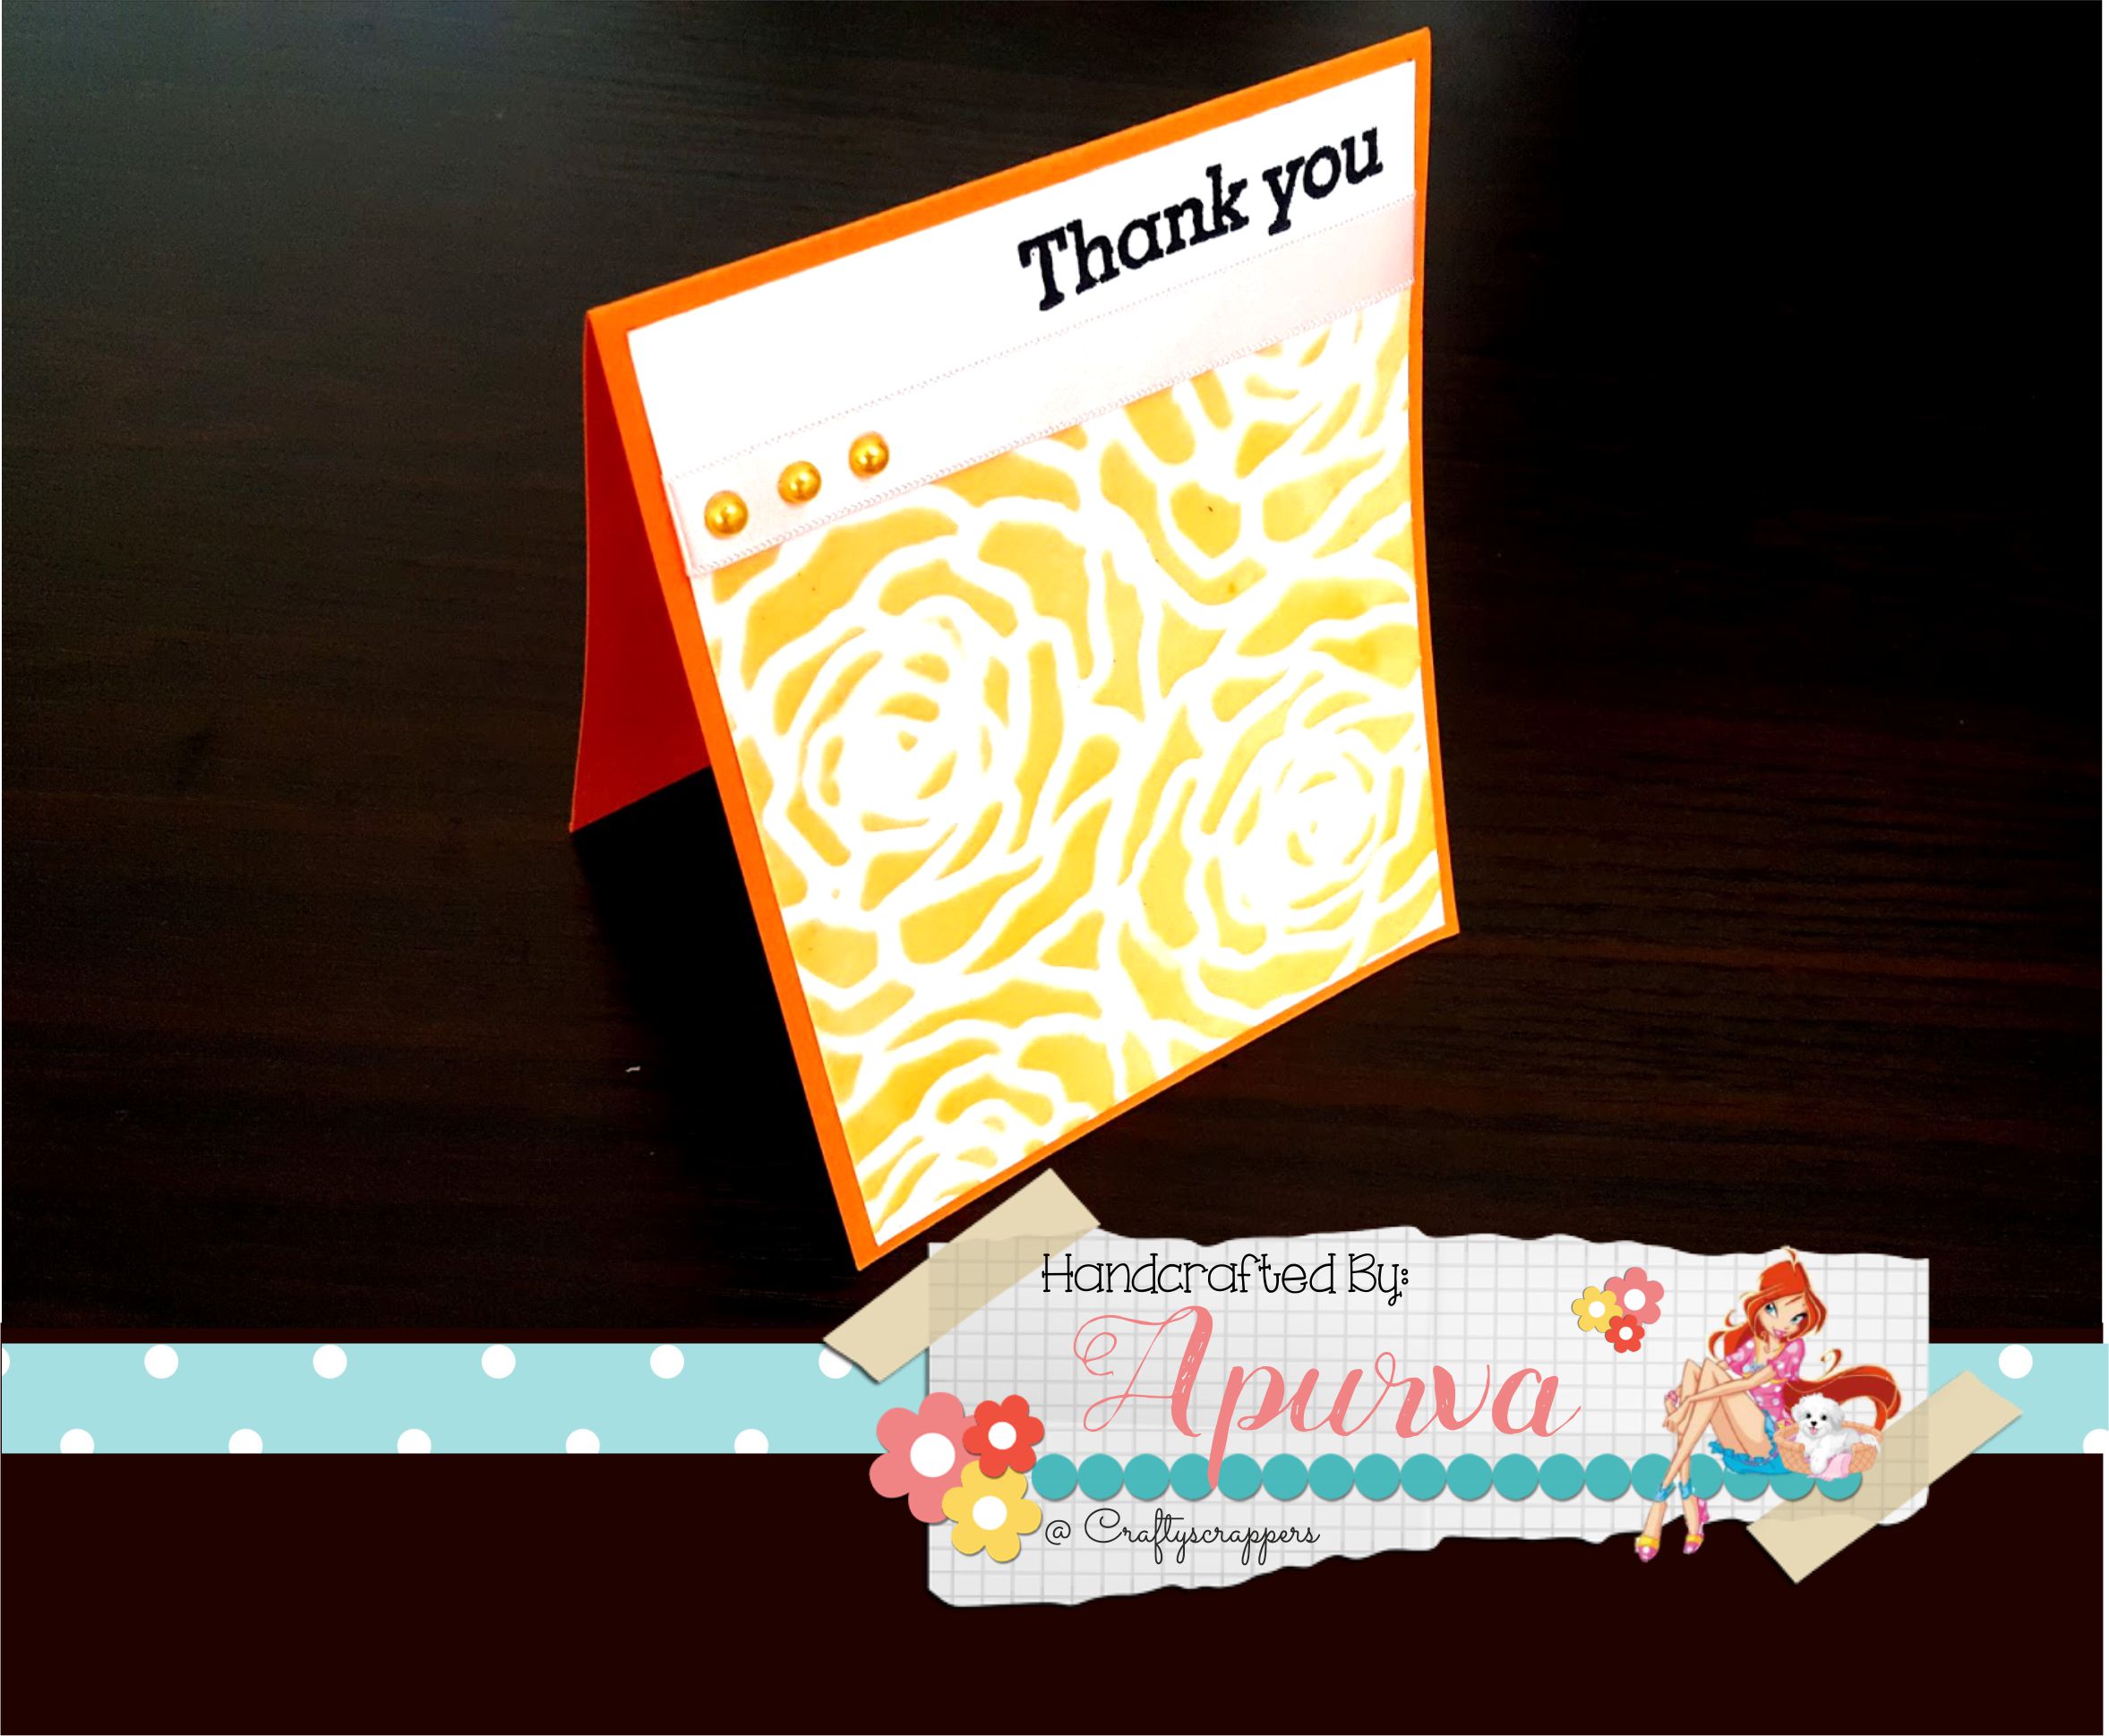
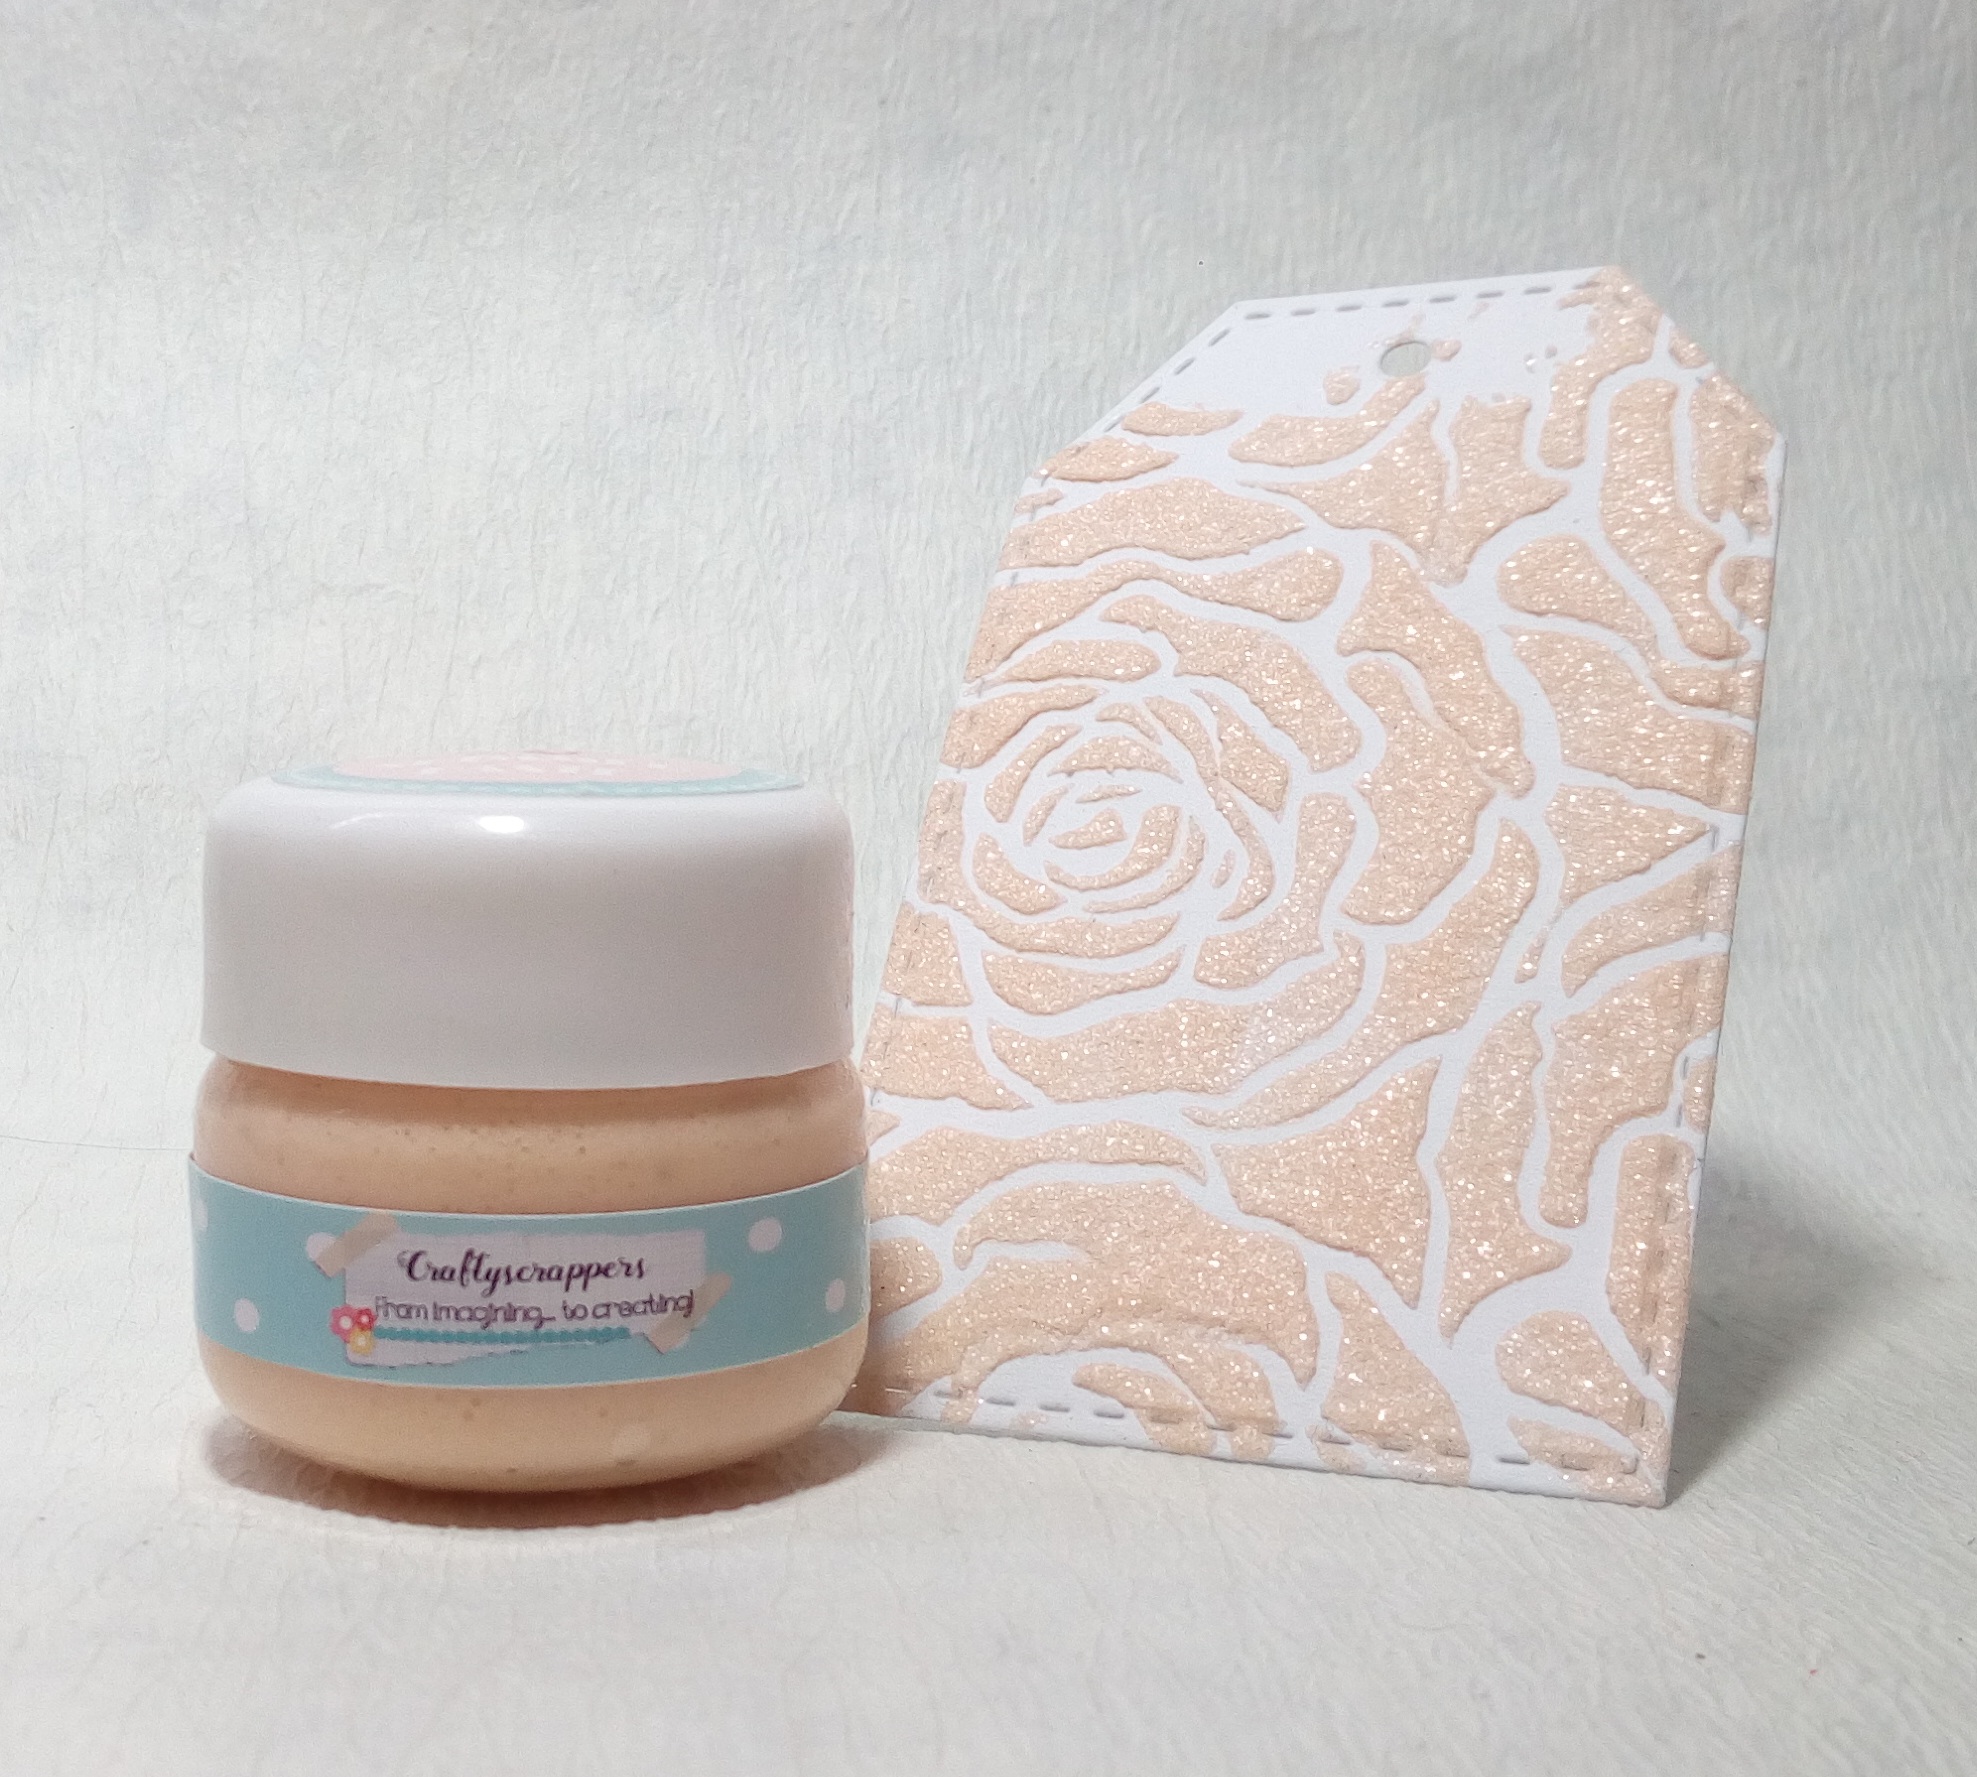
Here’s a look at the completed Cards.
So lets begin with the tutorial…

I took a piece of Beilo 300 gsm Cardstock mearuring 4.25″ × 5.5 “.
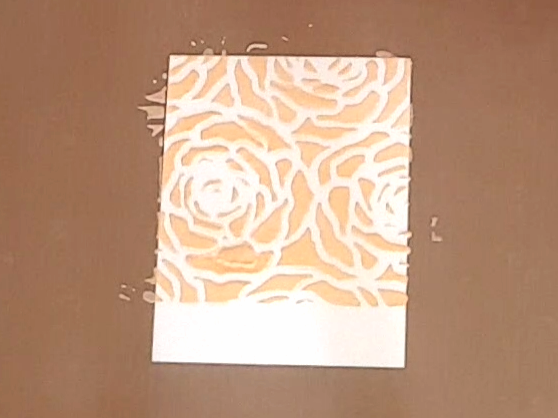
I placed my favorite Rose Bunch stencil From Craftyscrappers on the card stock and secured it with the masking Tape.
I placed my favorite Rose Bunch stencil From Craftyscrappers on the card stock and secured it with the masking Tape.
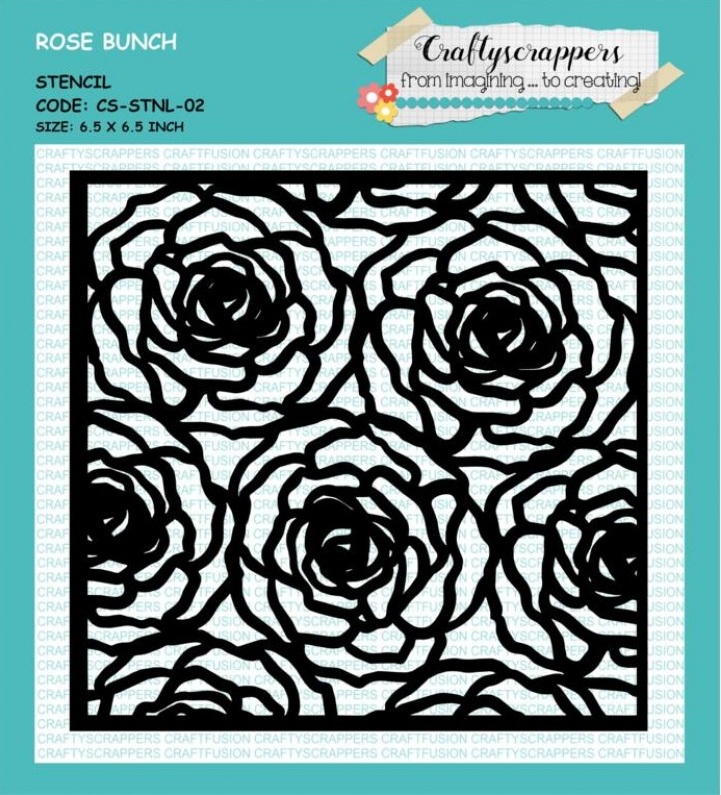
Craftyscrappers Stencil -ROSE BUNCH
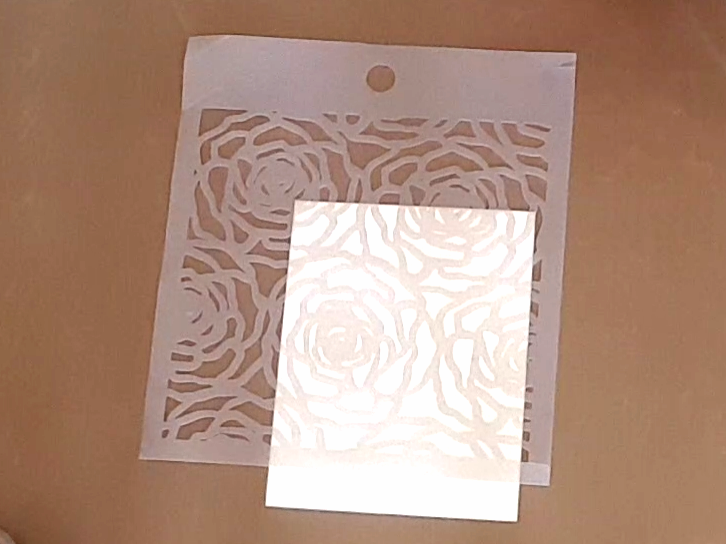 CARDSTOCK UNDERNEATH THE STENCIL.

Using a spatula apply the glittery Shimmer paste all over the stencil evenly.
I used the SHIMMER PASTE- BLUSH
I used the SHIMMER PASTE- BLUSH
SHIMMER PASTE-BLUSH
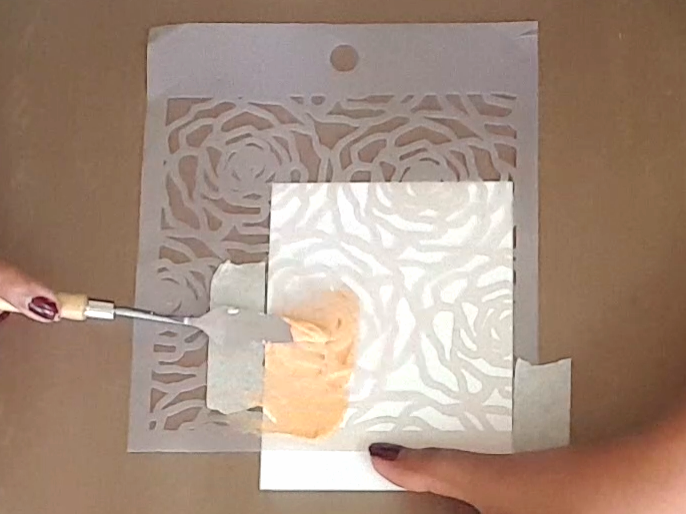

Apply the shimmer paste, evenly all over the cardstock and once done,
pick the extra and keep it in the bottle.
(That way there is less wastage.)
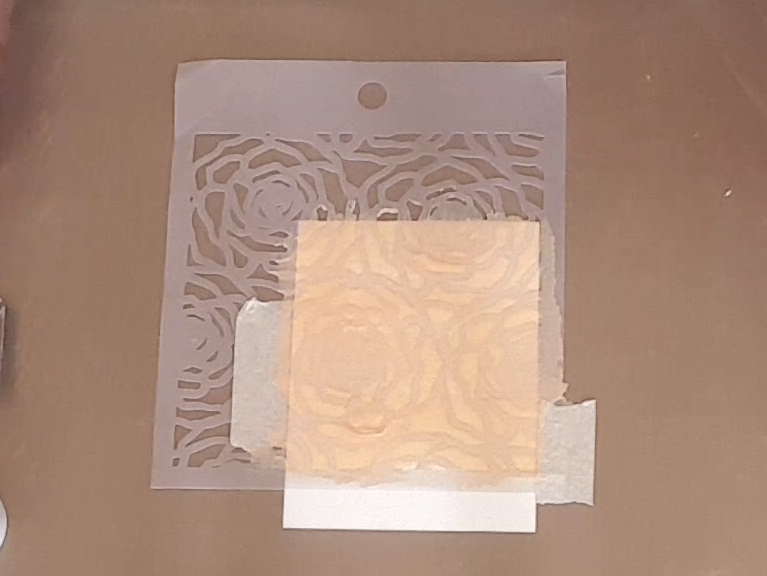

Remove the Stencil slowly n allow it to dry.
You can air dry it or you can use a heat tool to dry it.
I prefer air dry method for this effect.
You can air dry it or you can use a heat tool to dry it.
I prefer air dry method for this effect.
(this is how it will look…)

Then I took a piece of Orange Cardstock measuring 4.5″×11″inches in size.
and folded it in half scoring at 5.5″ on 11″ side.
I adhered a matching ribbon and pearls on the embossed panel
and using red tacky tape I adhered it to the Orange Cardstock.
and folded it in half scoring at 5.5″ on 11″ side.
I adhered a matching ribbon and pearls on the embossed panel
and using red tacky tape I adhered it to the Orange Cardstock.

I stamped a thank you sentiment using my Archival ink and completed the card.
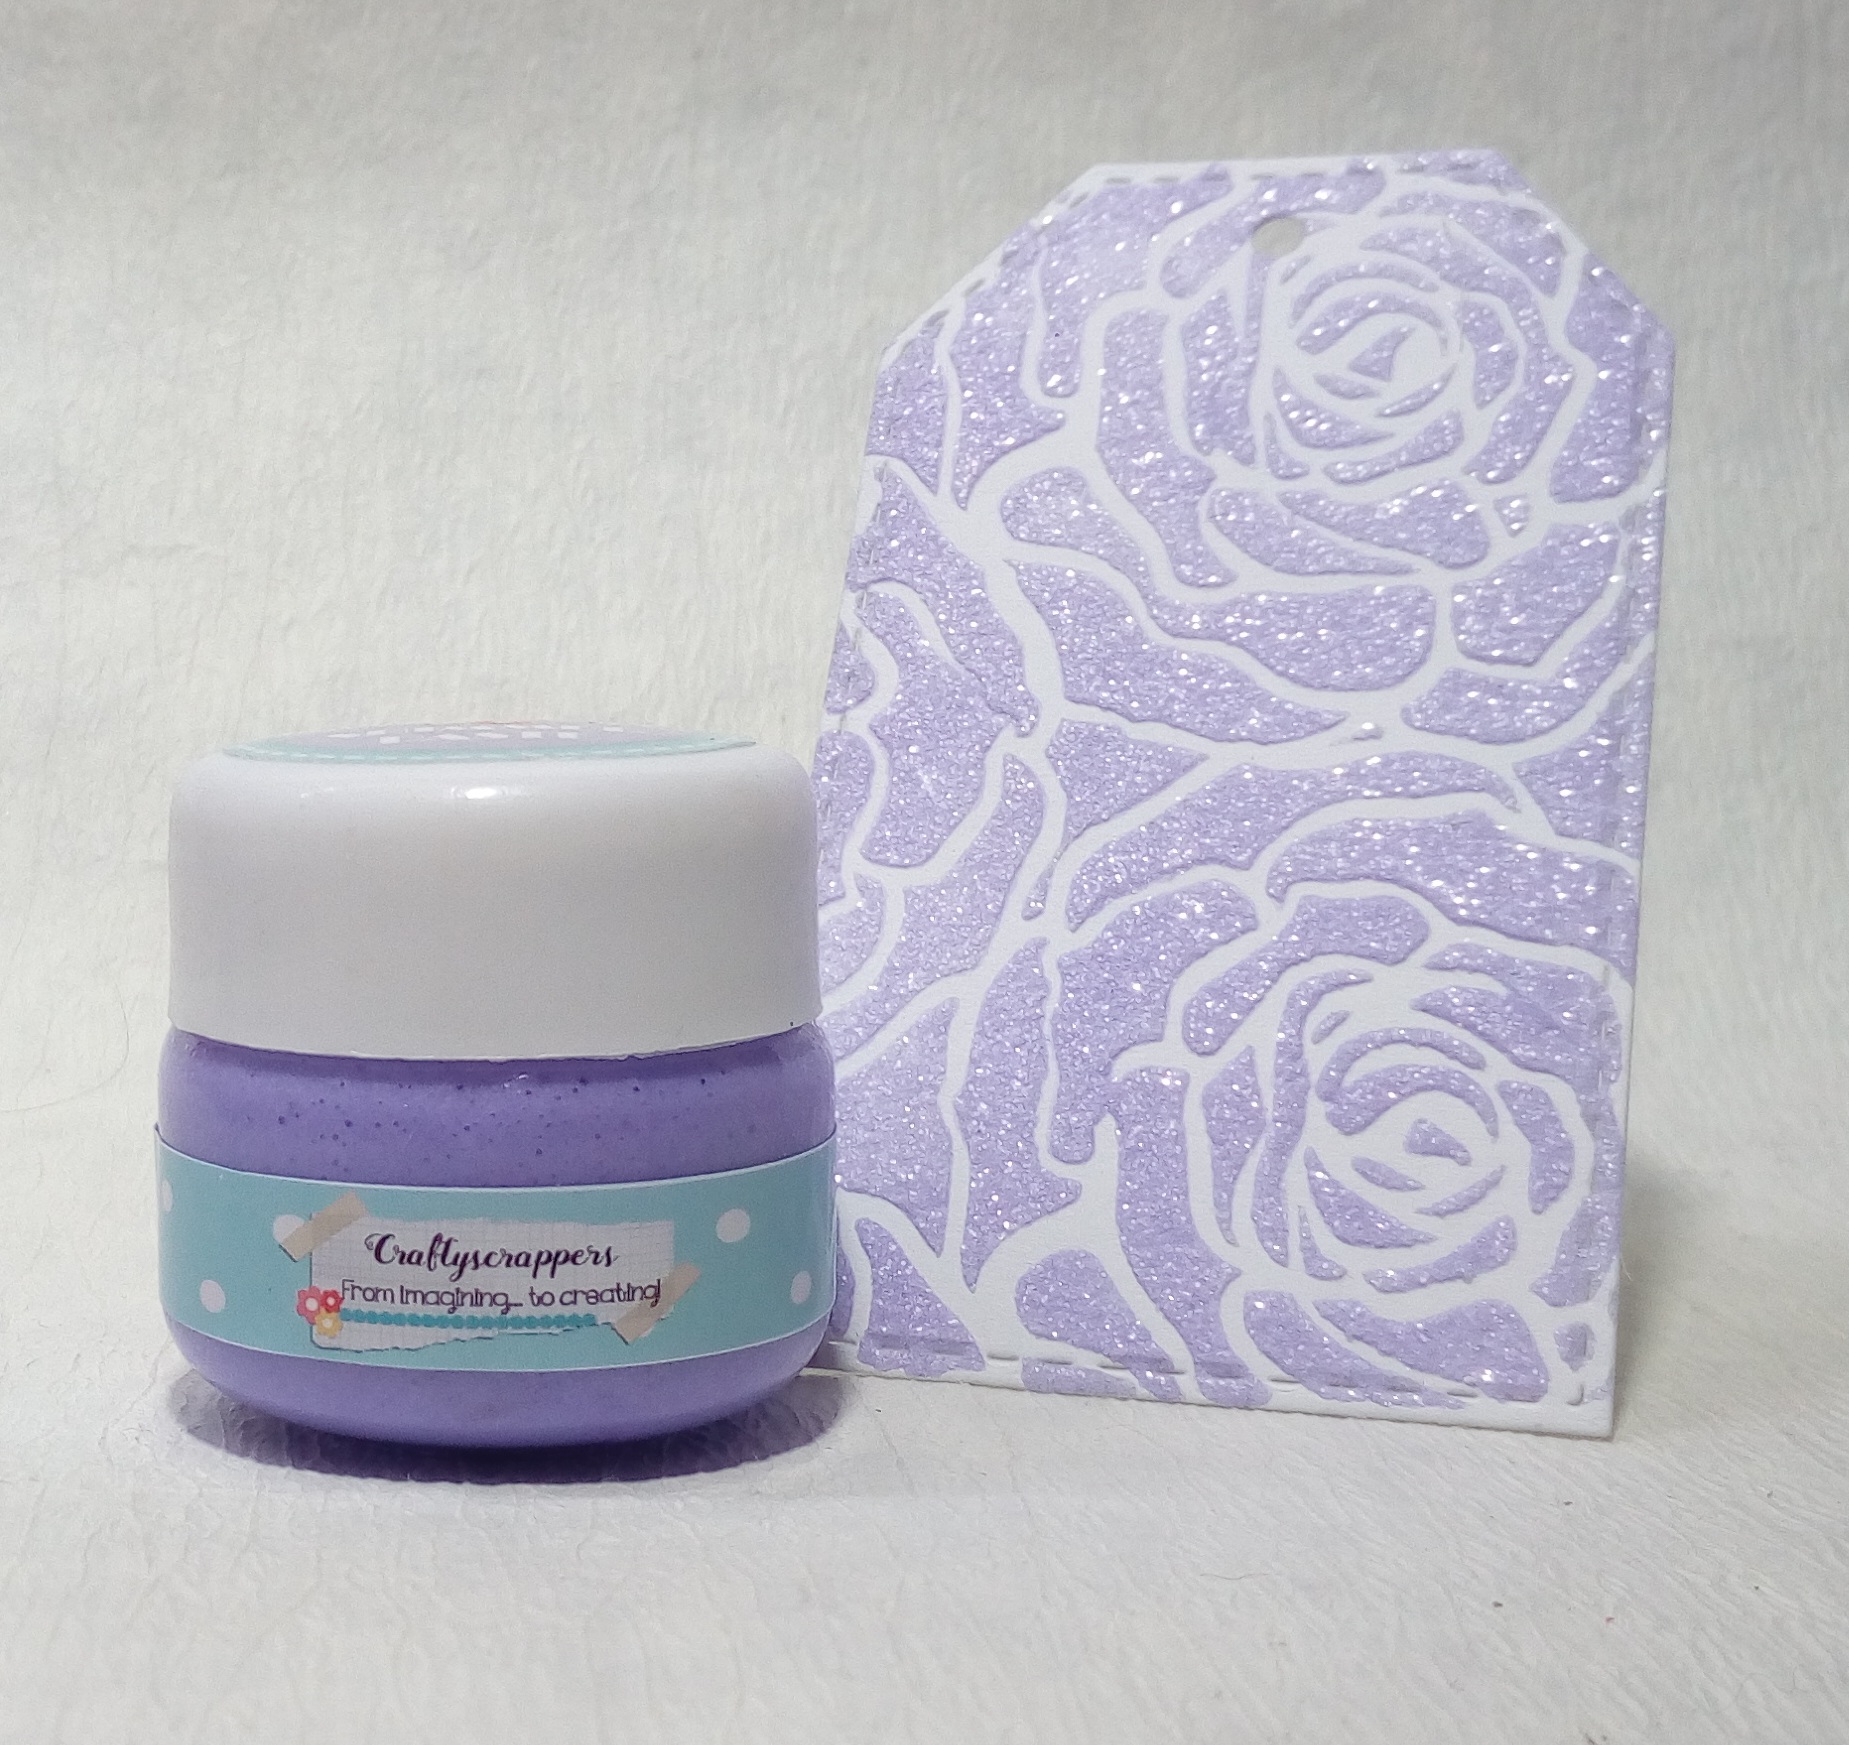
The texture and effect of the shimmer paste is just awesome
and it gives a nice shimmery effect to the card.
and it gives a nice shimmery effect to the card.
SOME CLOSE-UPS TO SHOW THE SHIMMER IN THE SHIMMER PASTES.
Hope You all liked it. Thank you for stopping By.
Love n Regards!!!