This is Anila over the blog today,
and i have some tags tutorial to share with you today,
using different techniques and mediums.
Who doesn’t love tags… 🙂
Stampers have used tags for years to create mini works of art.
A tag is small that is not too intimidating very easy and fun to create..
that is .. it’s okay, even if you mess up.
Tags are great for experimenting with new techniques, too.
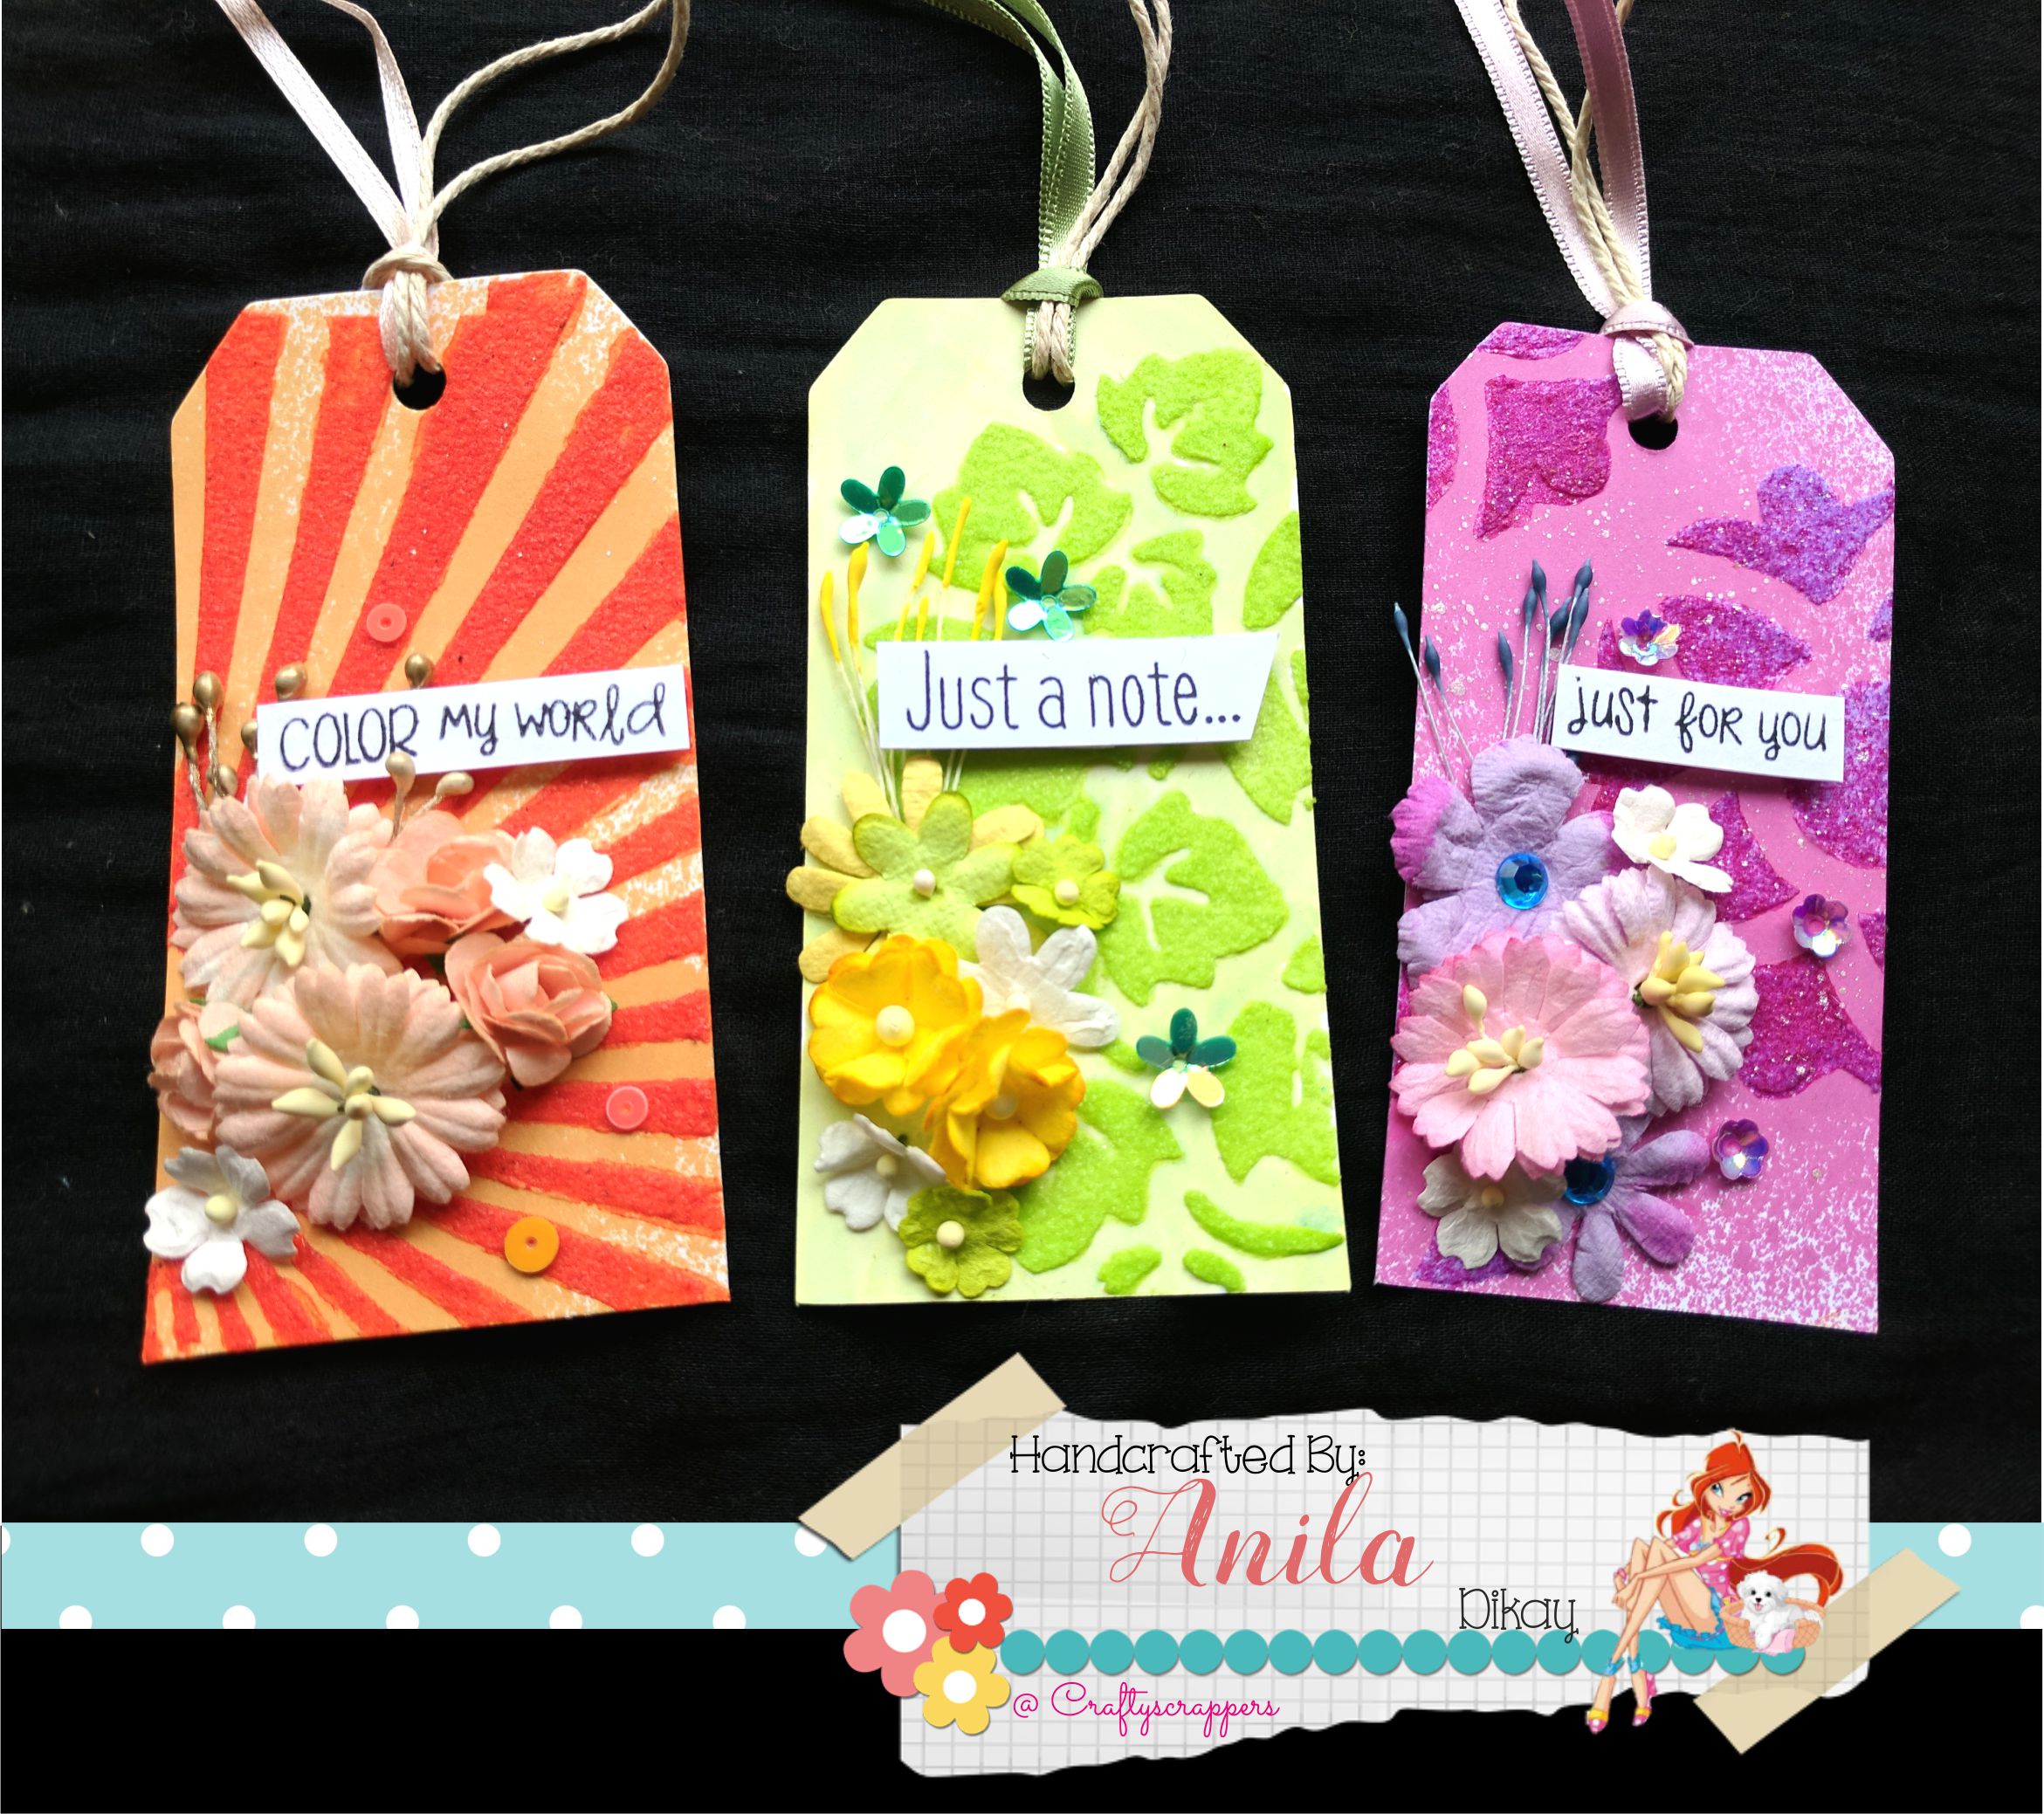
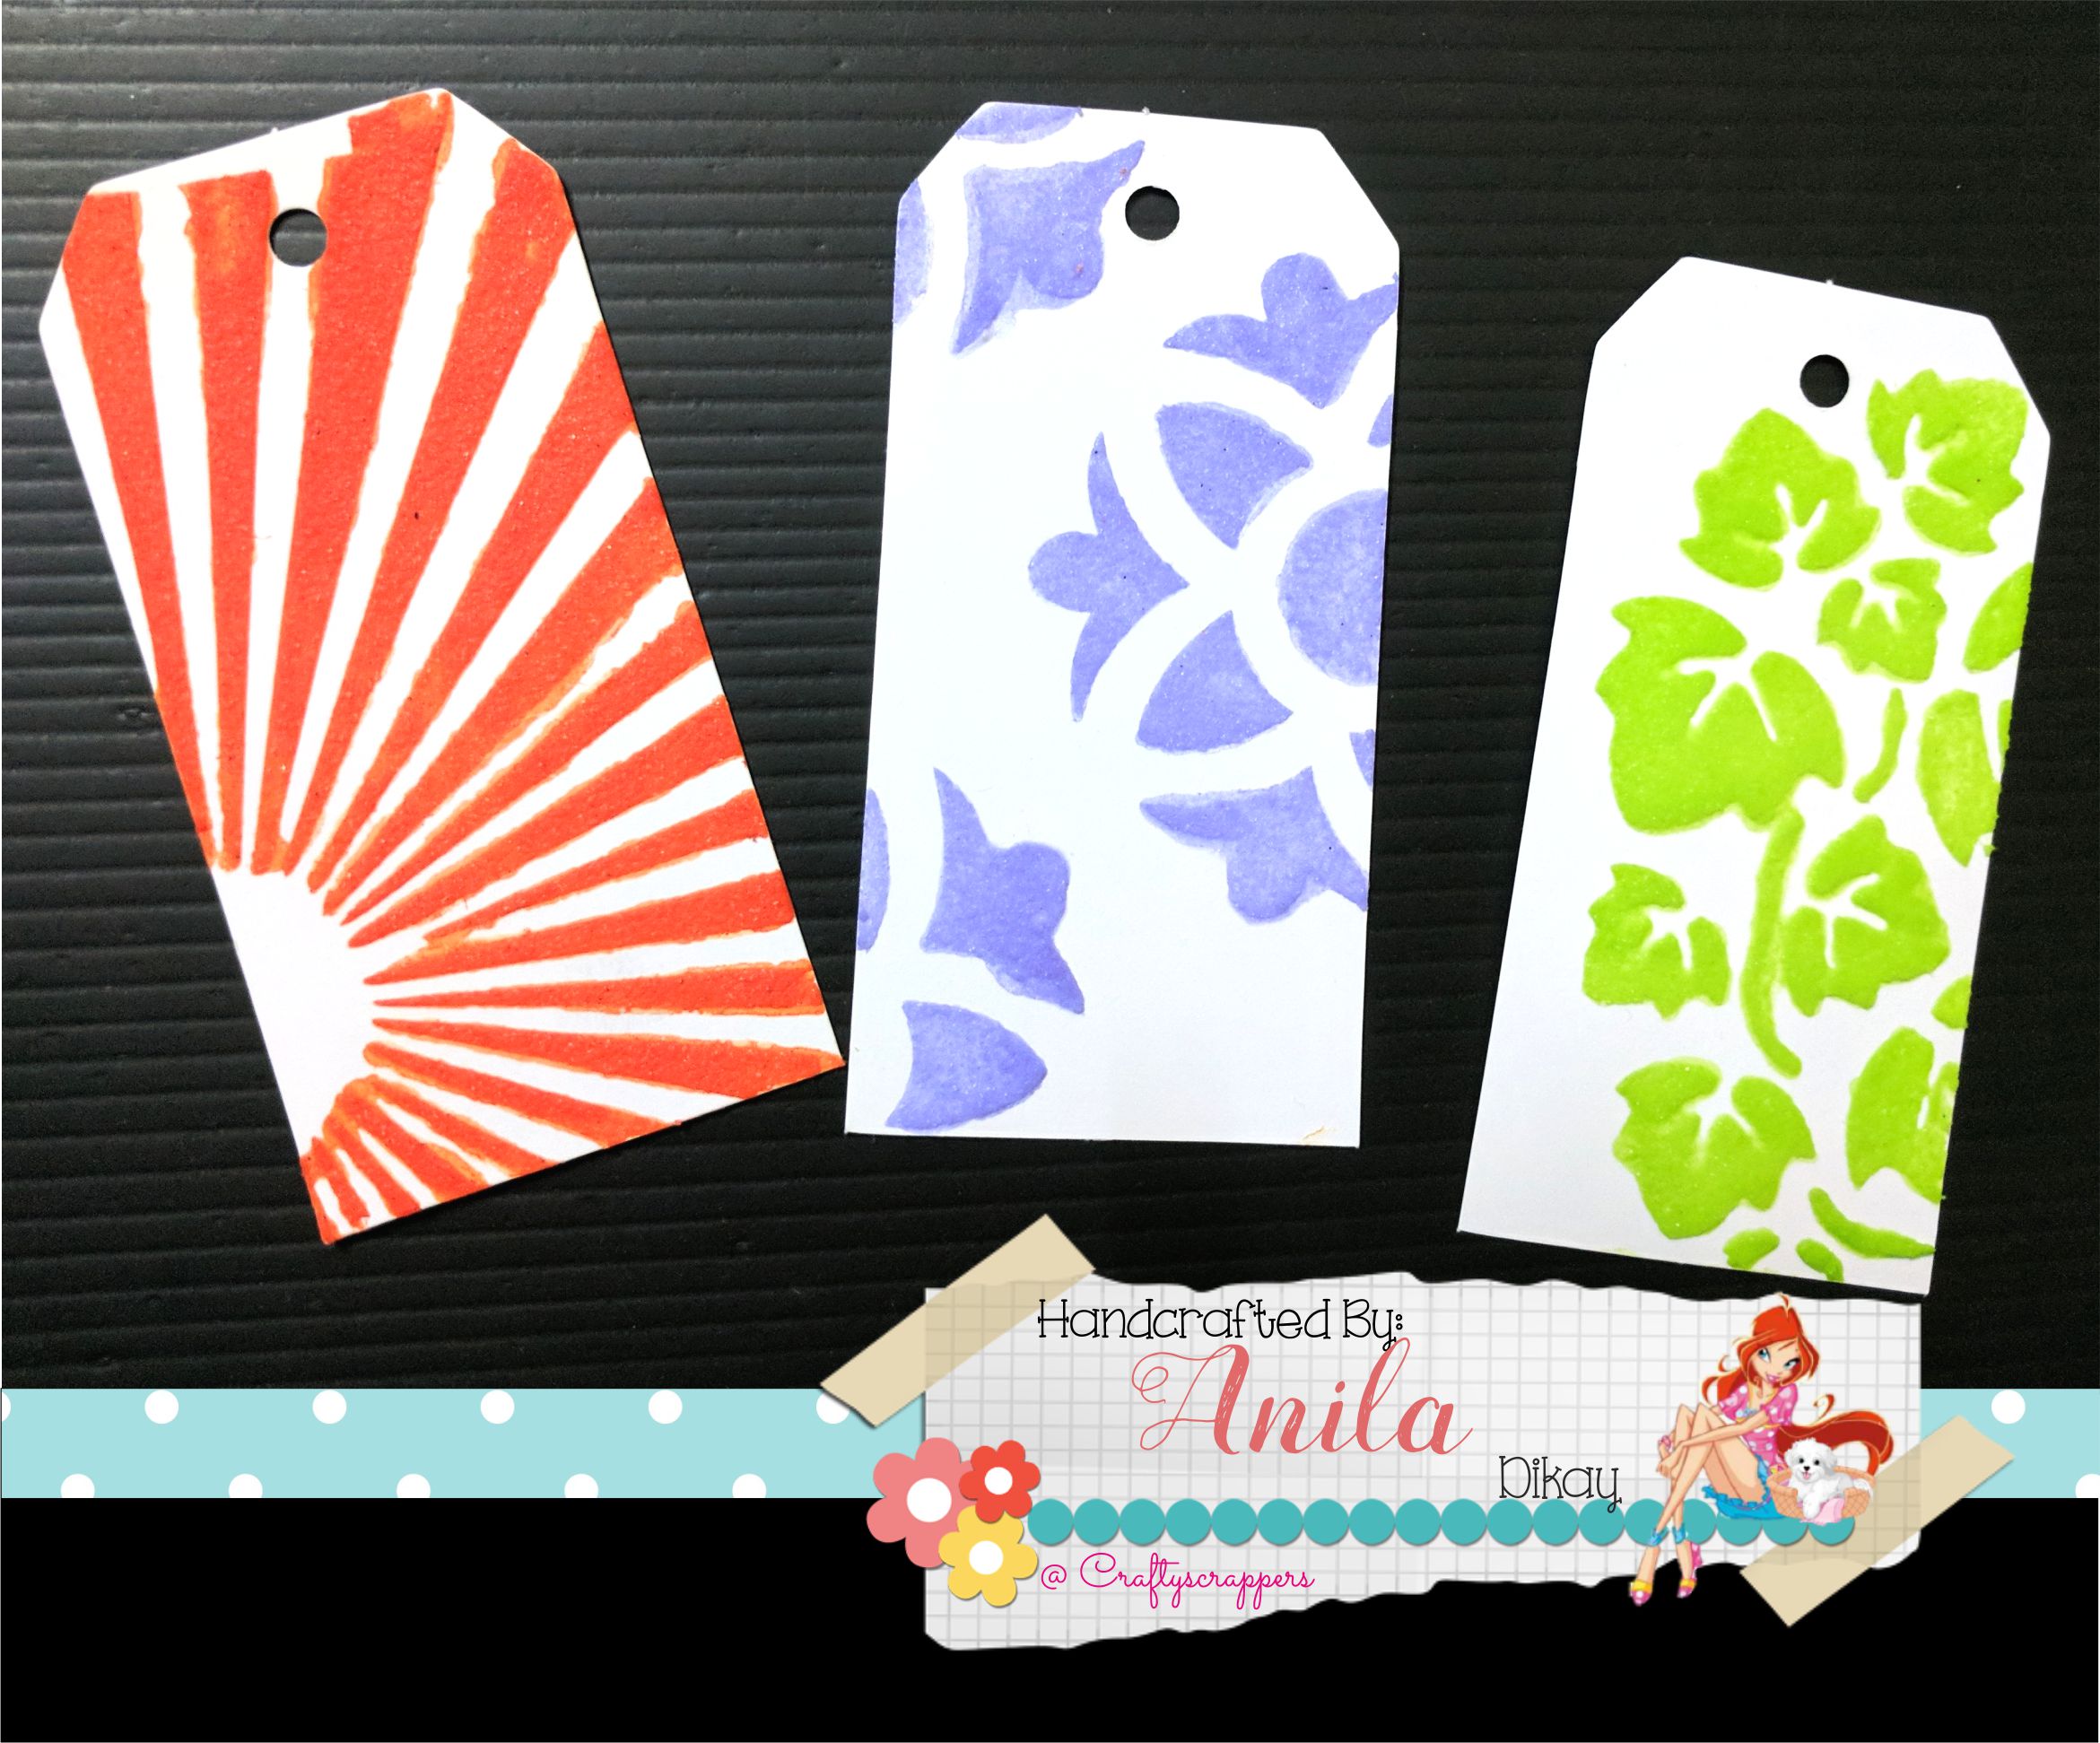
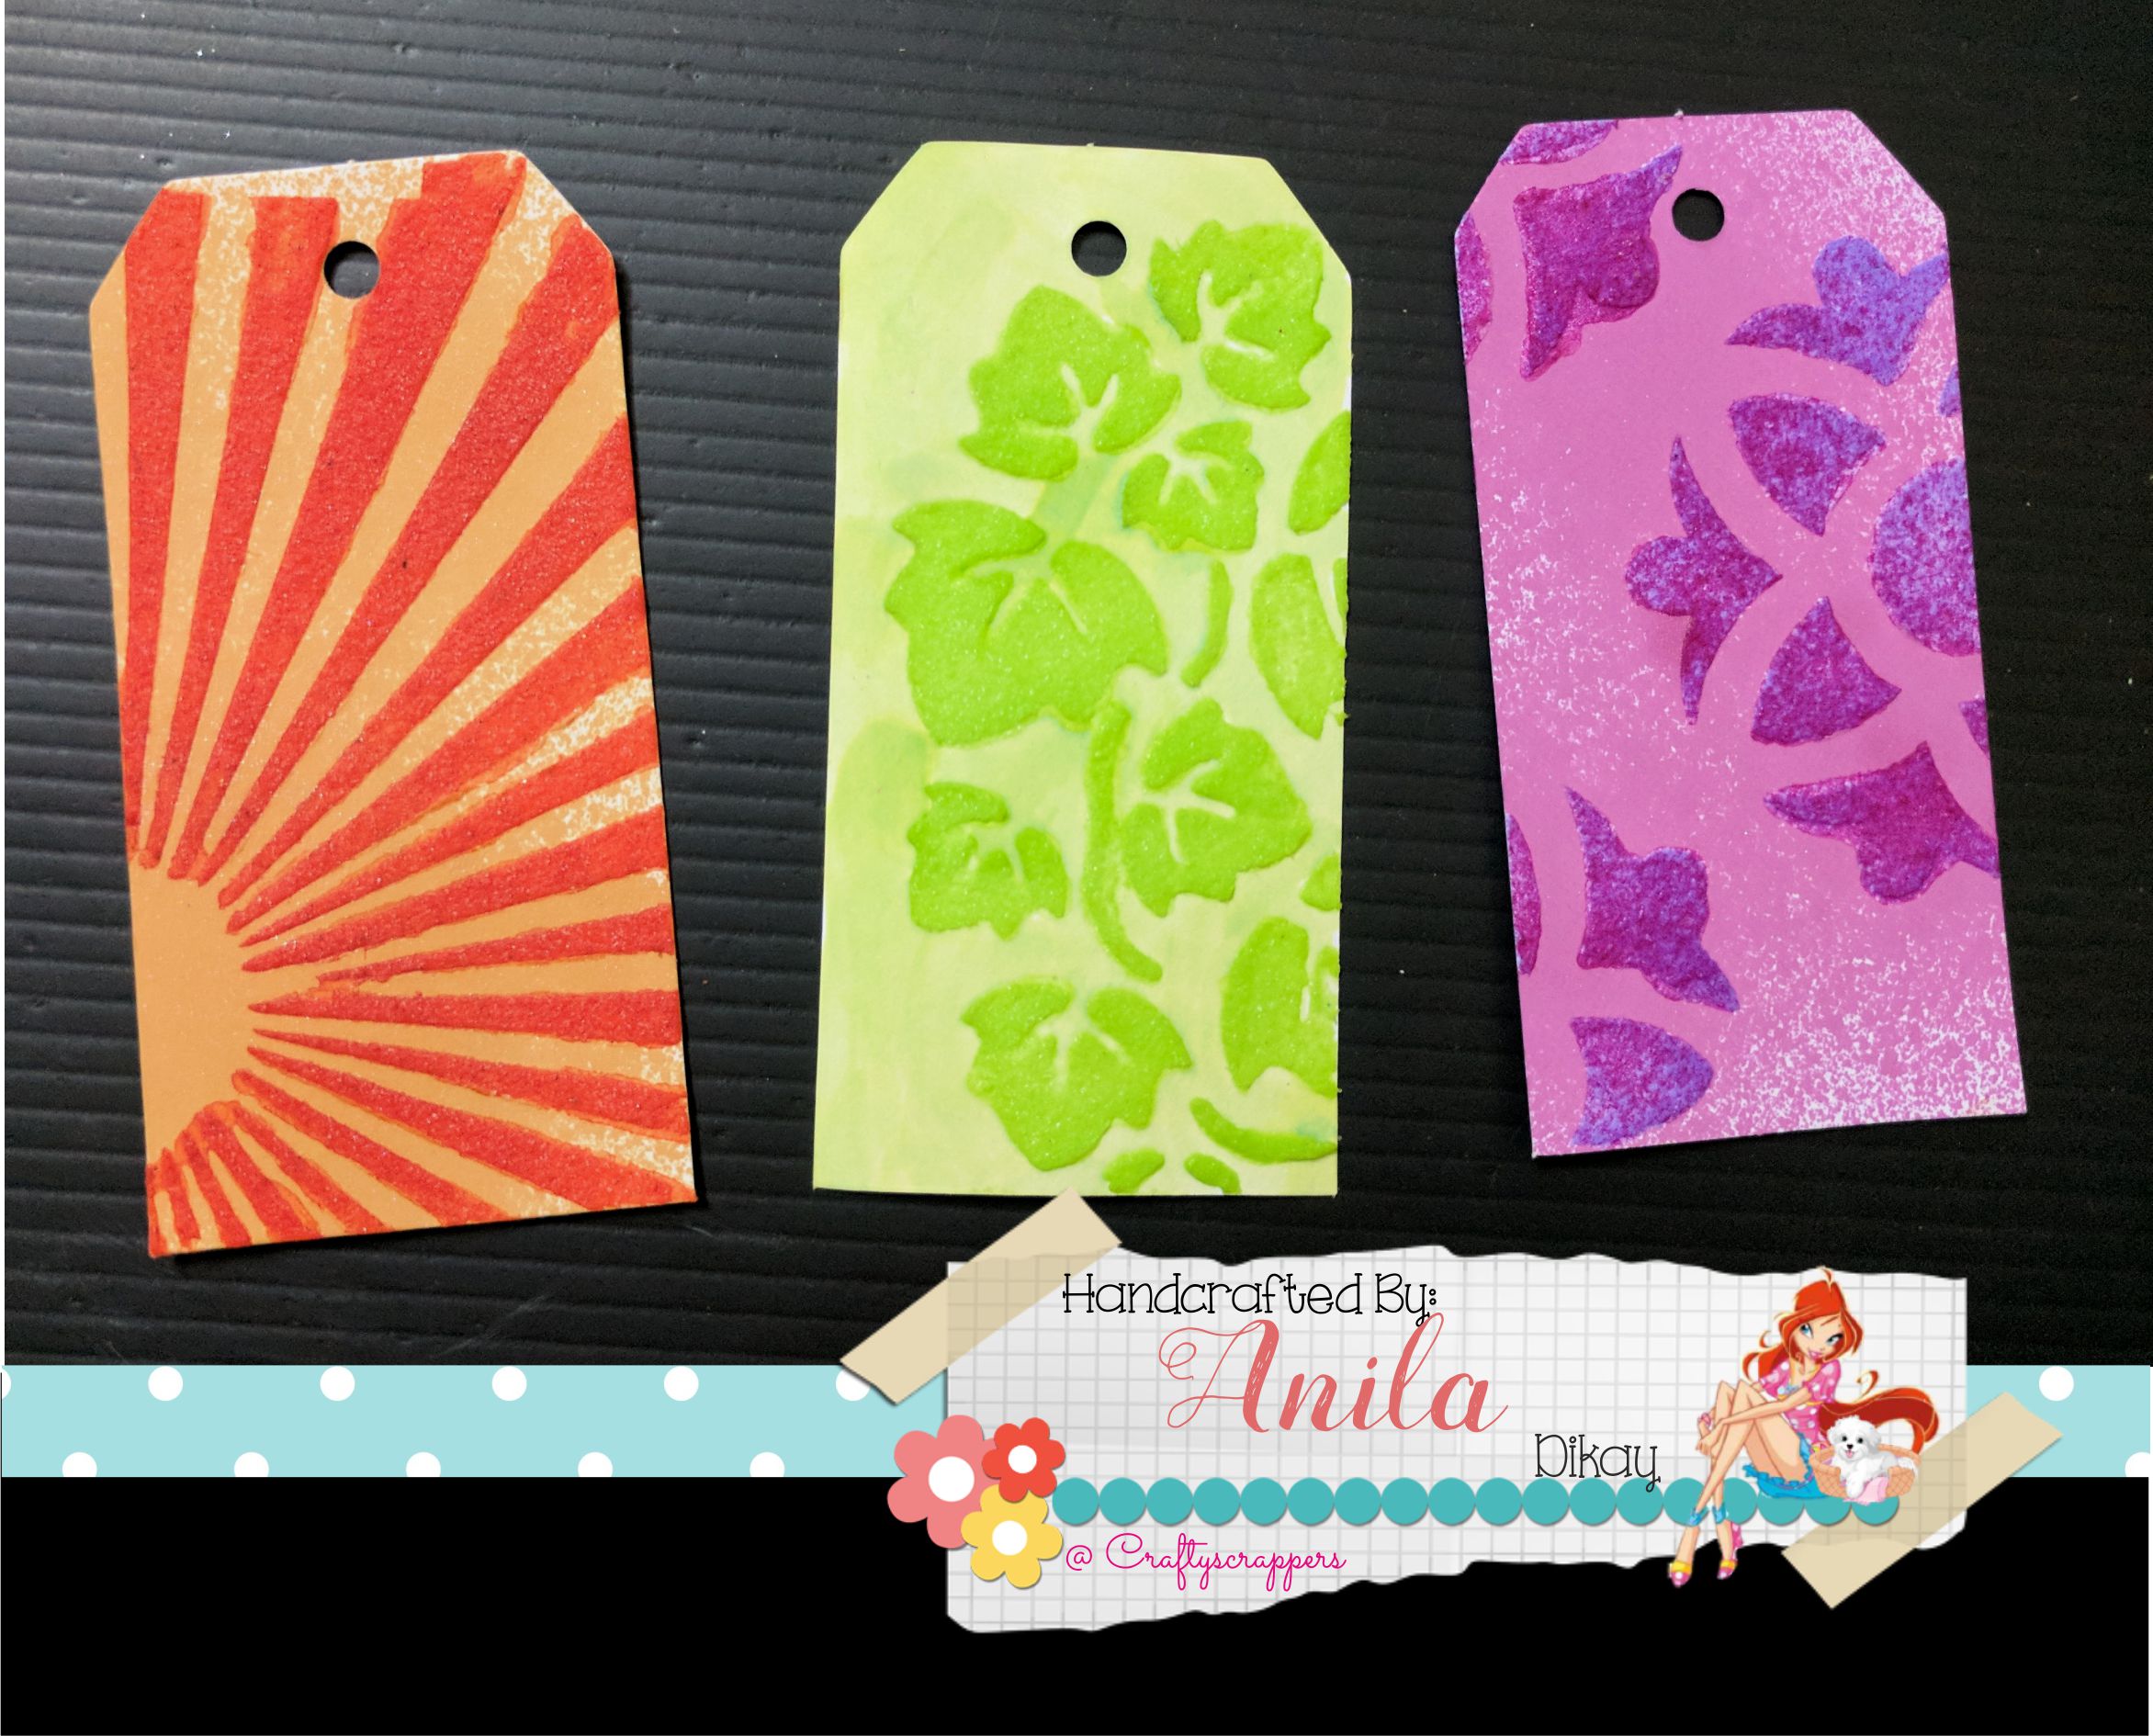
So I created these three easy yet fun tags with stamps, inks,
sprays ,stencils and shimmer pastes…

So lets begin with the tutorial…
(* picture heavy post!)

You can even cut them from a white Cardstock,
of any size to create your own custom sized tags.
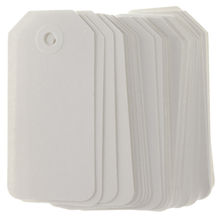
Ready made TAGS

Took the tag, secured it on the table with washi tape.
Then Secure the stencil over the tag with washi tape.
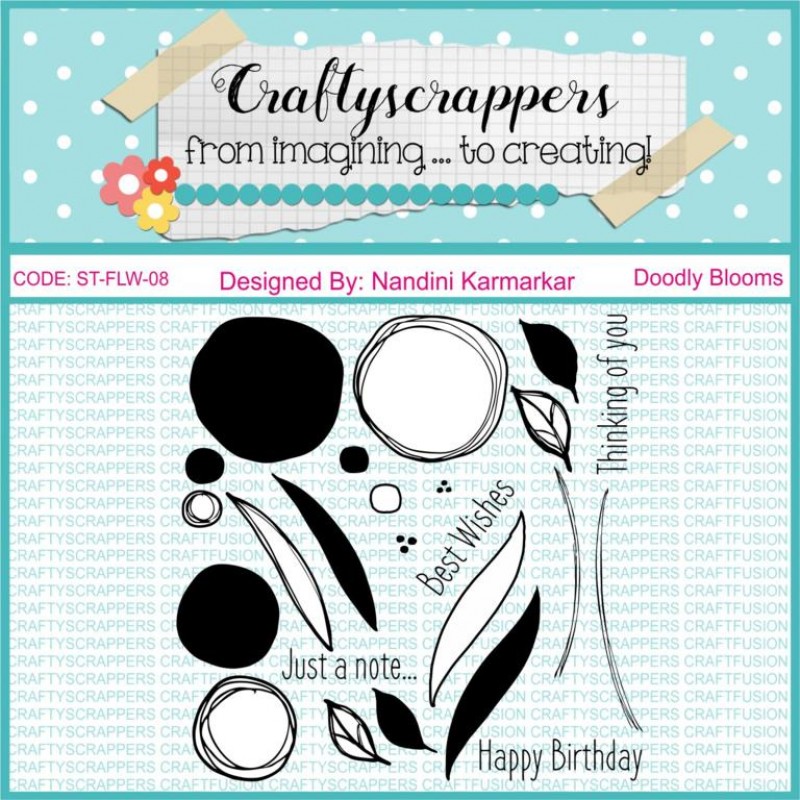
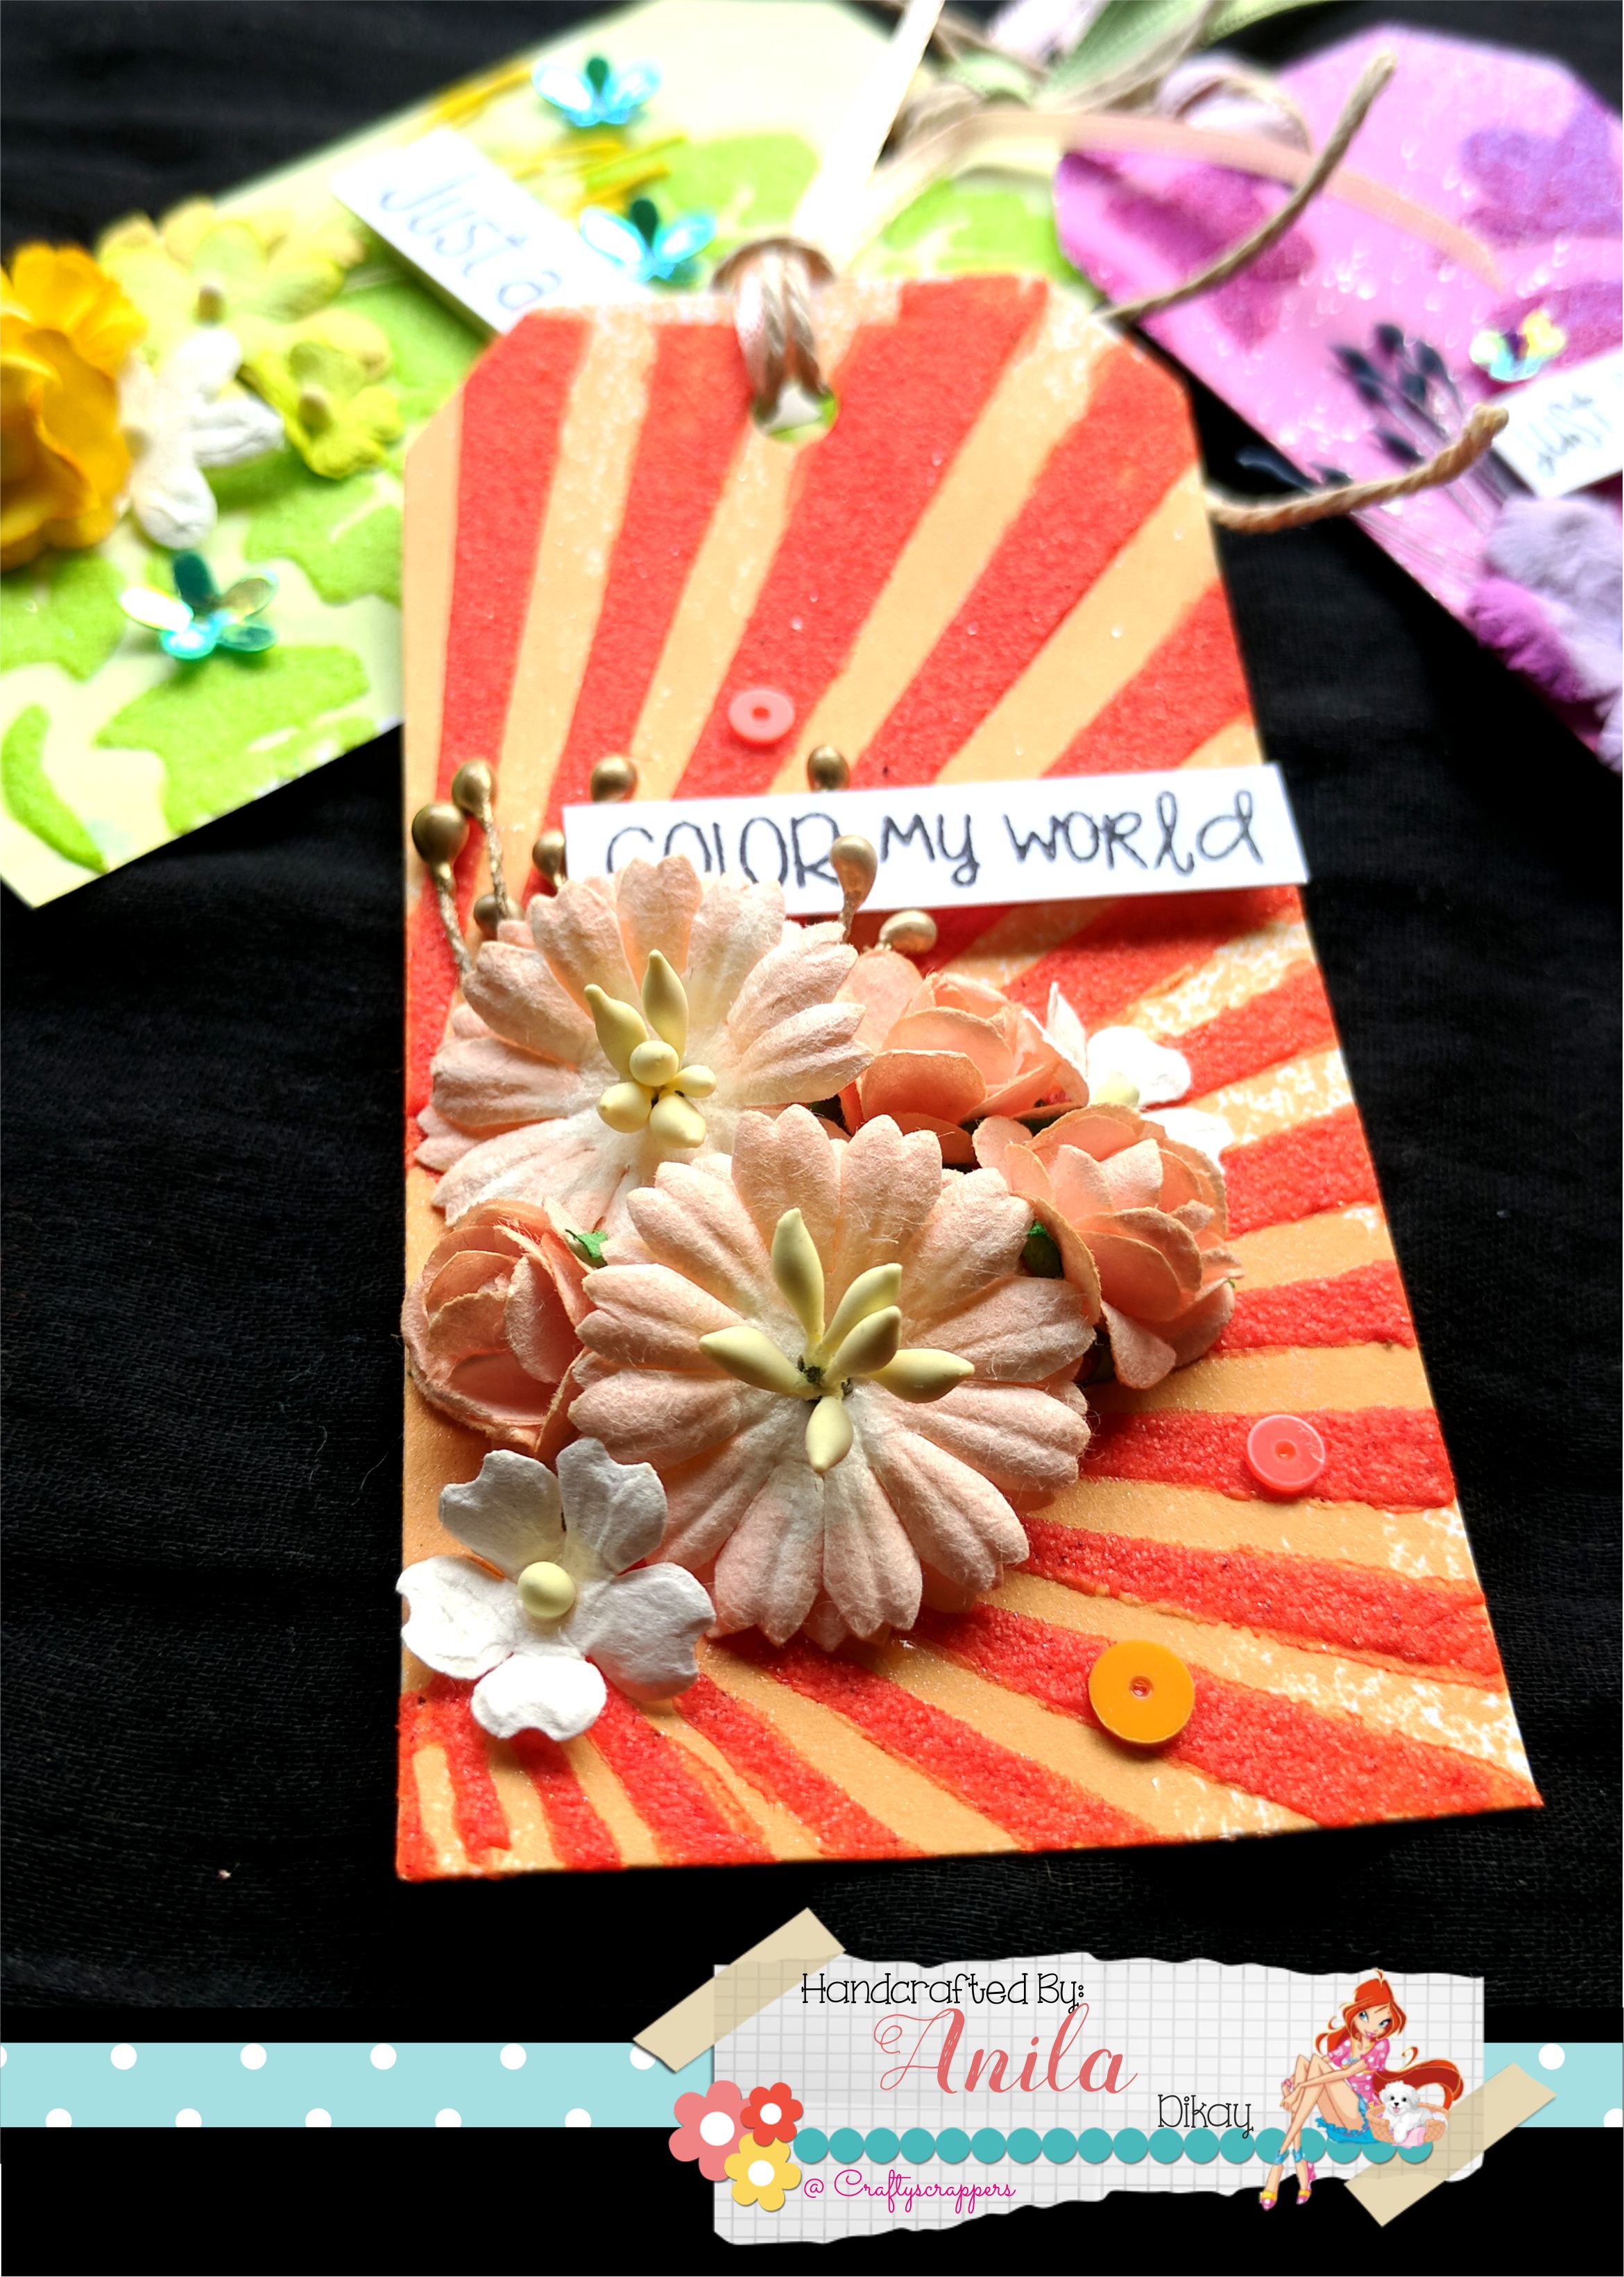
The stencil that i have used for this tag is from craftyscrappers
and its called, “create-a-scene(sunburst)
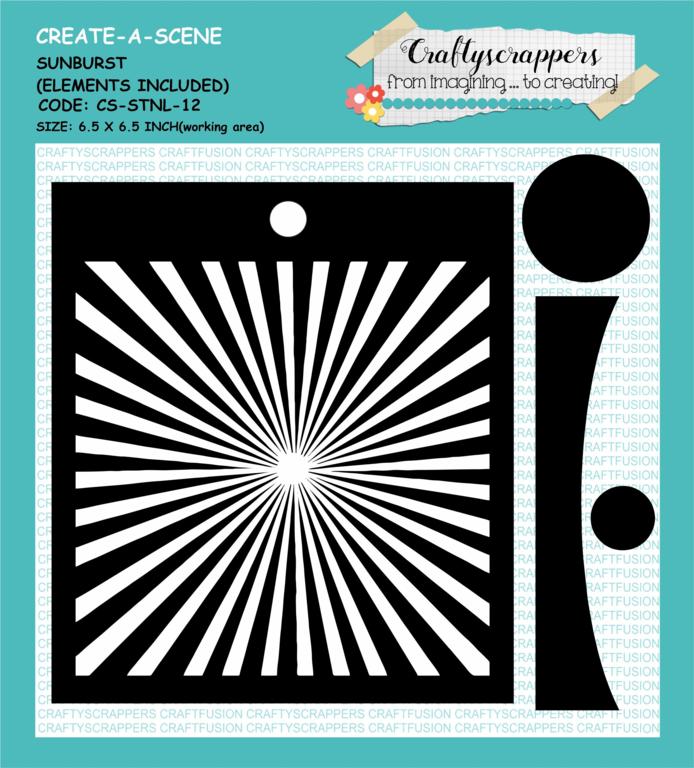
CREATE-A-SCENE(SUNBURST)

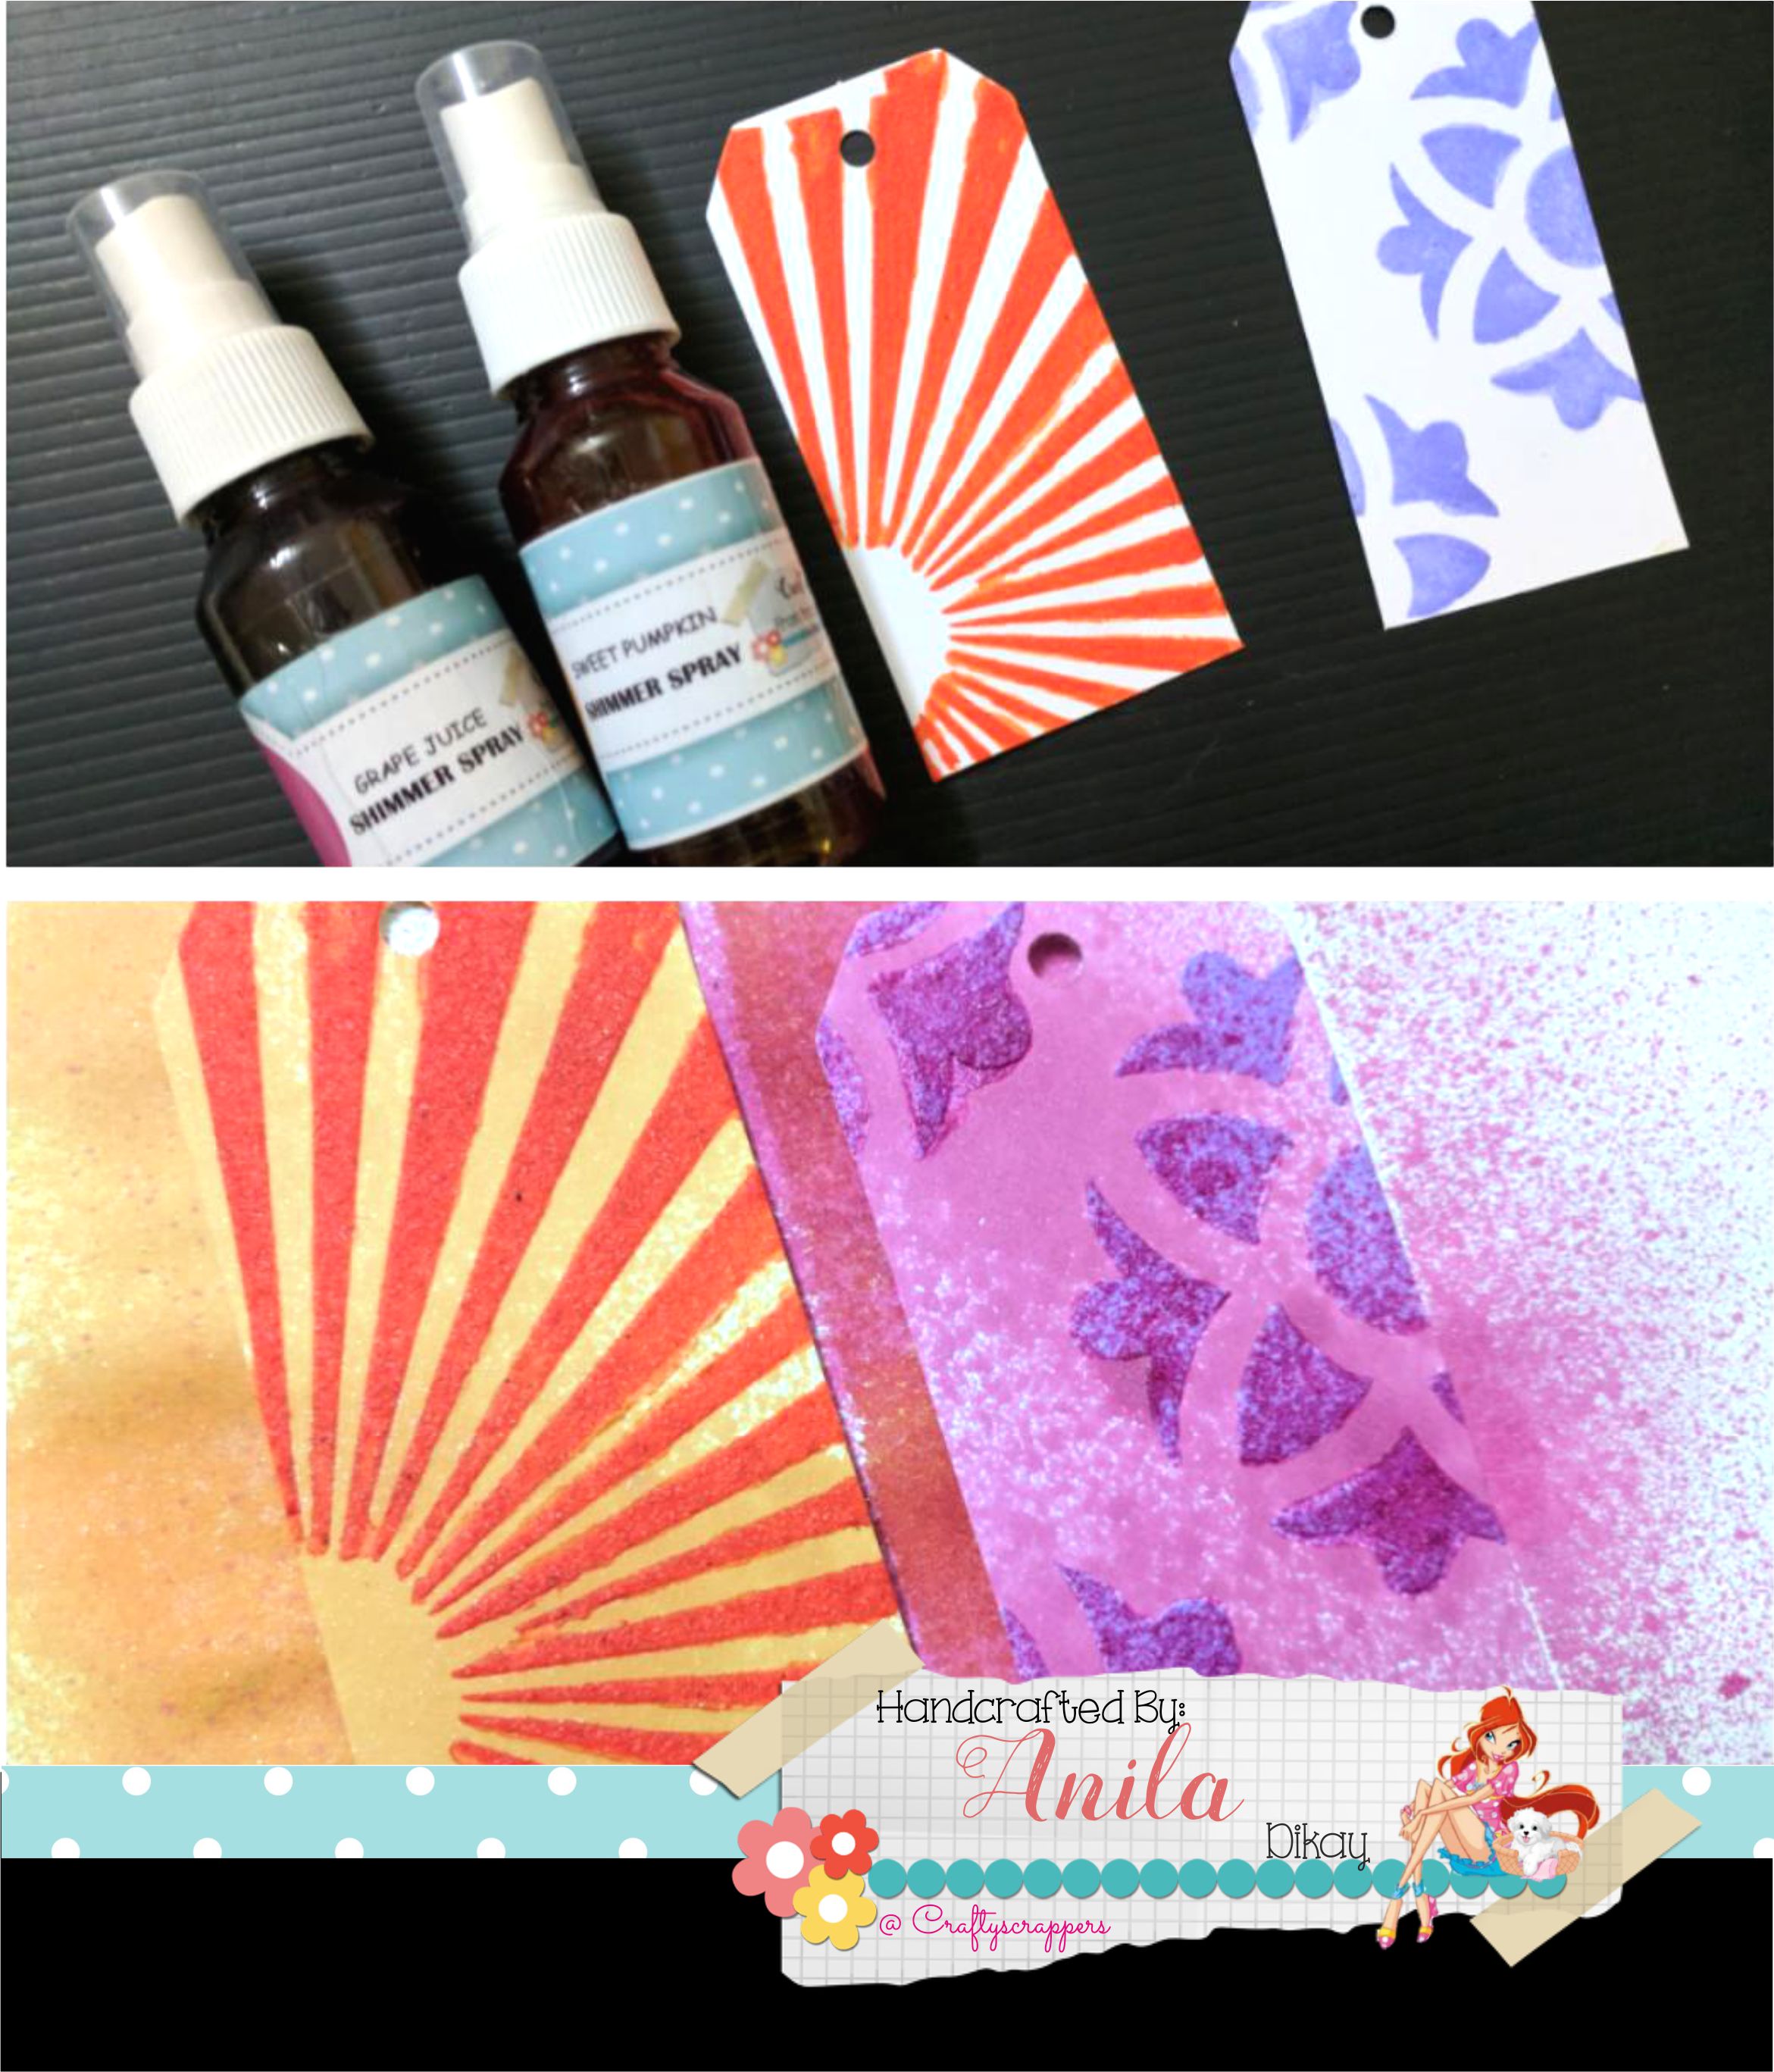
Take sufficient amount of shimmer paste (Separate stencil and shimmer paste for each tag) and evenly spread it across/through the stencil.
The shimmer paste that i am using here is called,
-
- SHIMMER PASTE-STEM
-
- SHIMMER PASTE-PUMPKIN
-
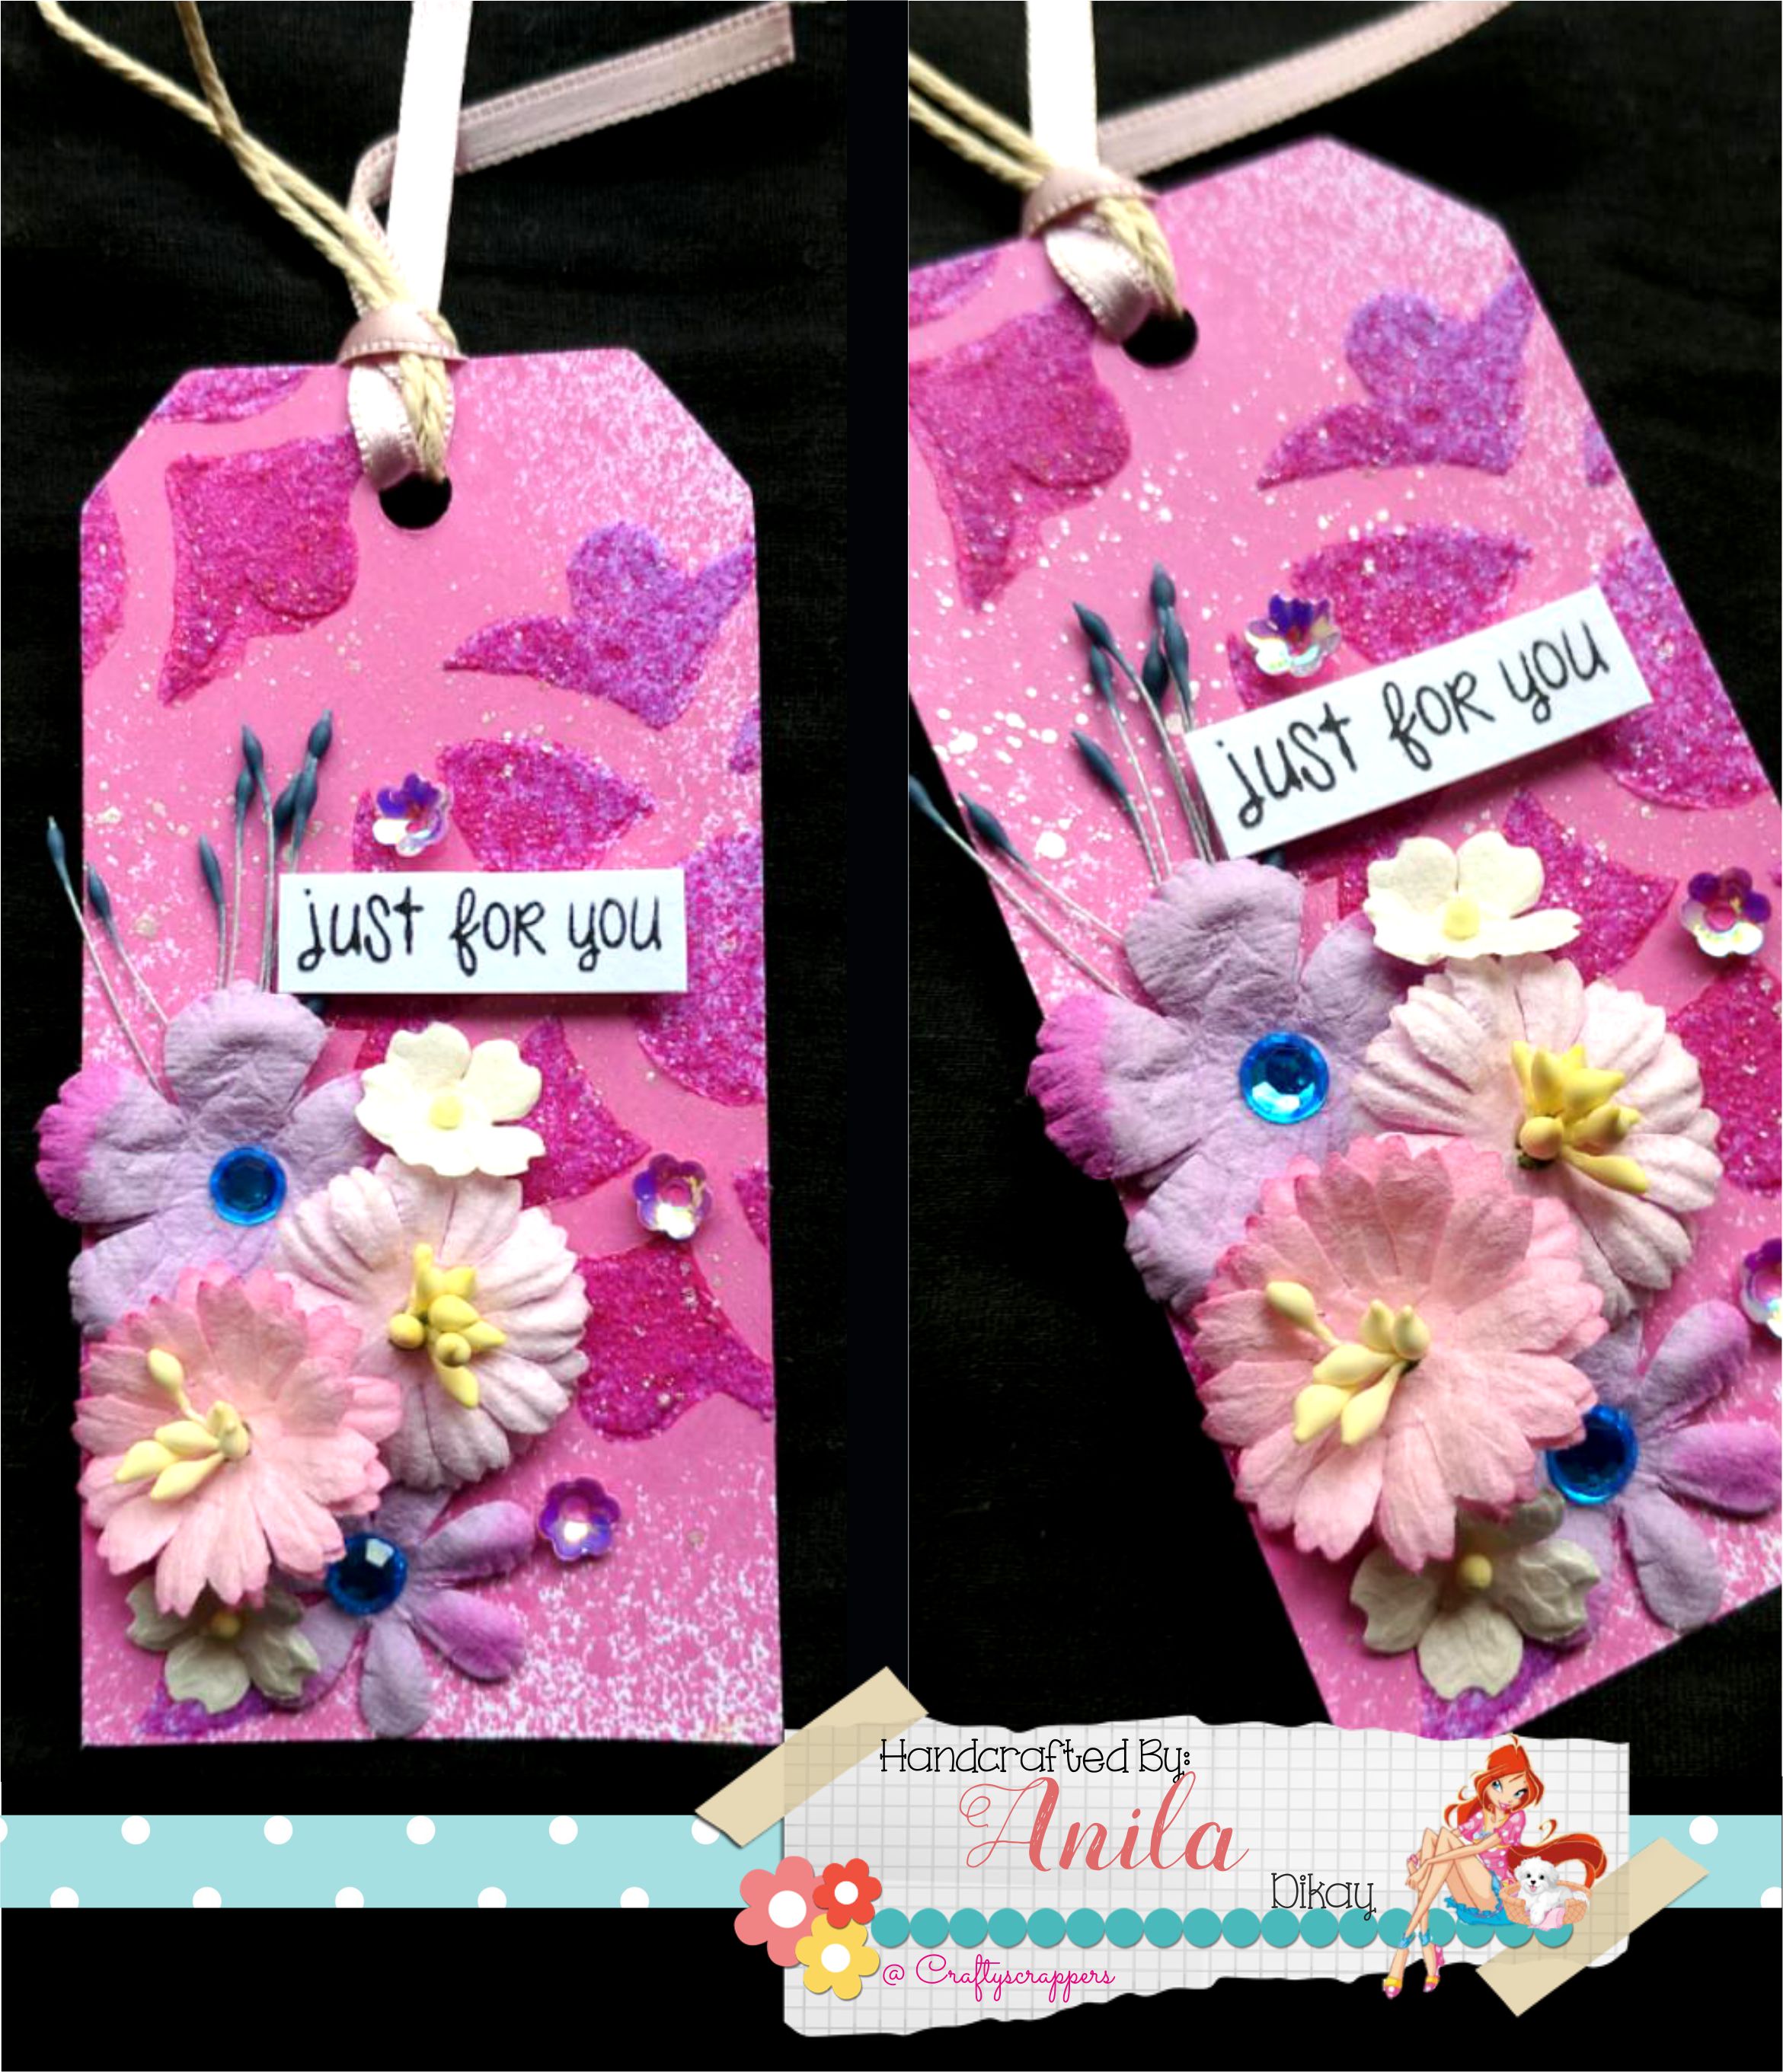
- SHIMMER PASTE-LILAC
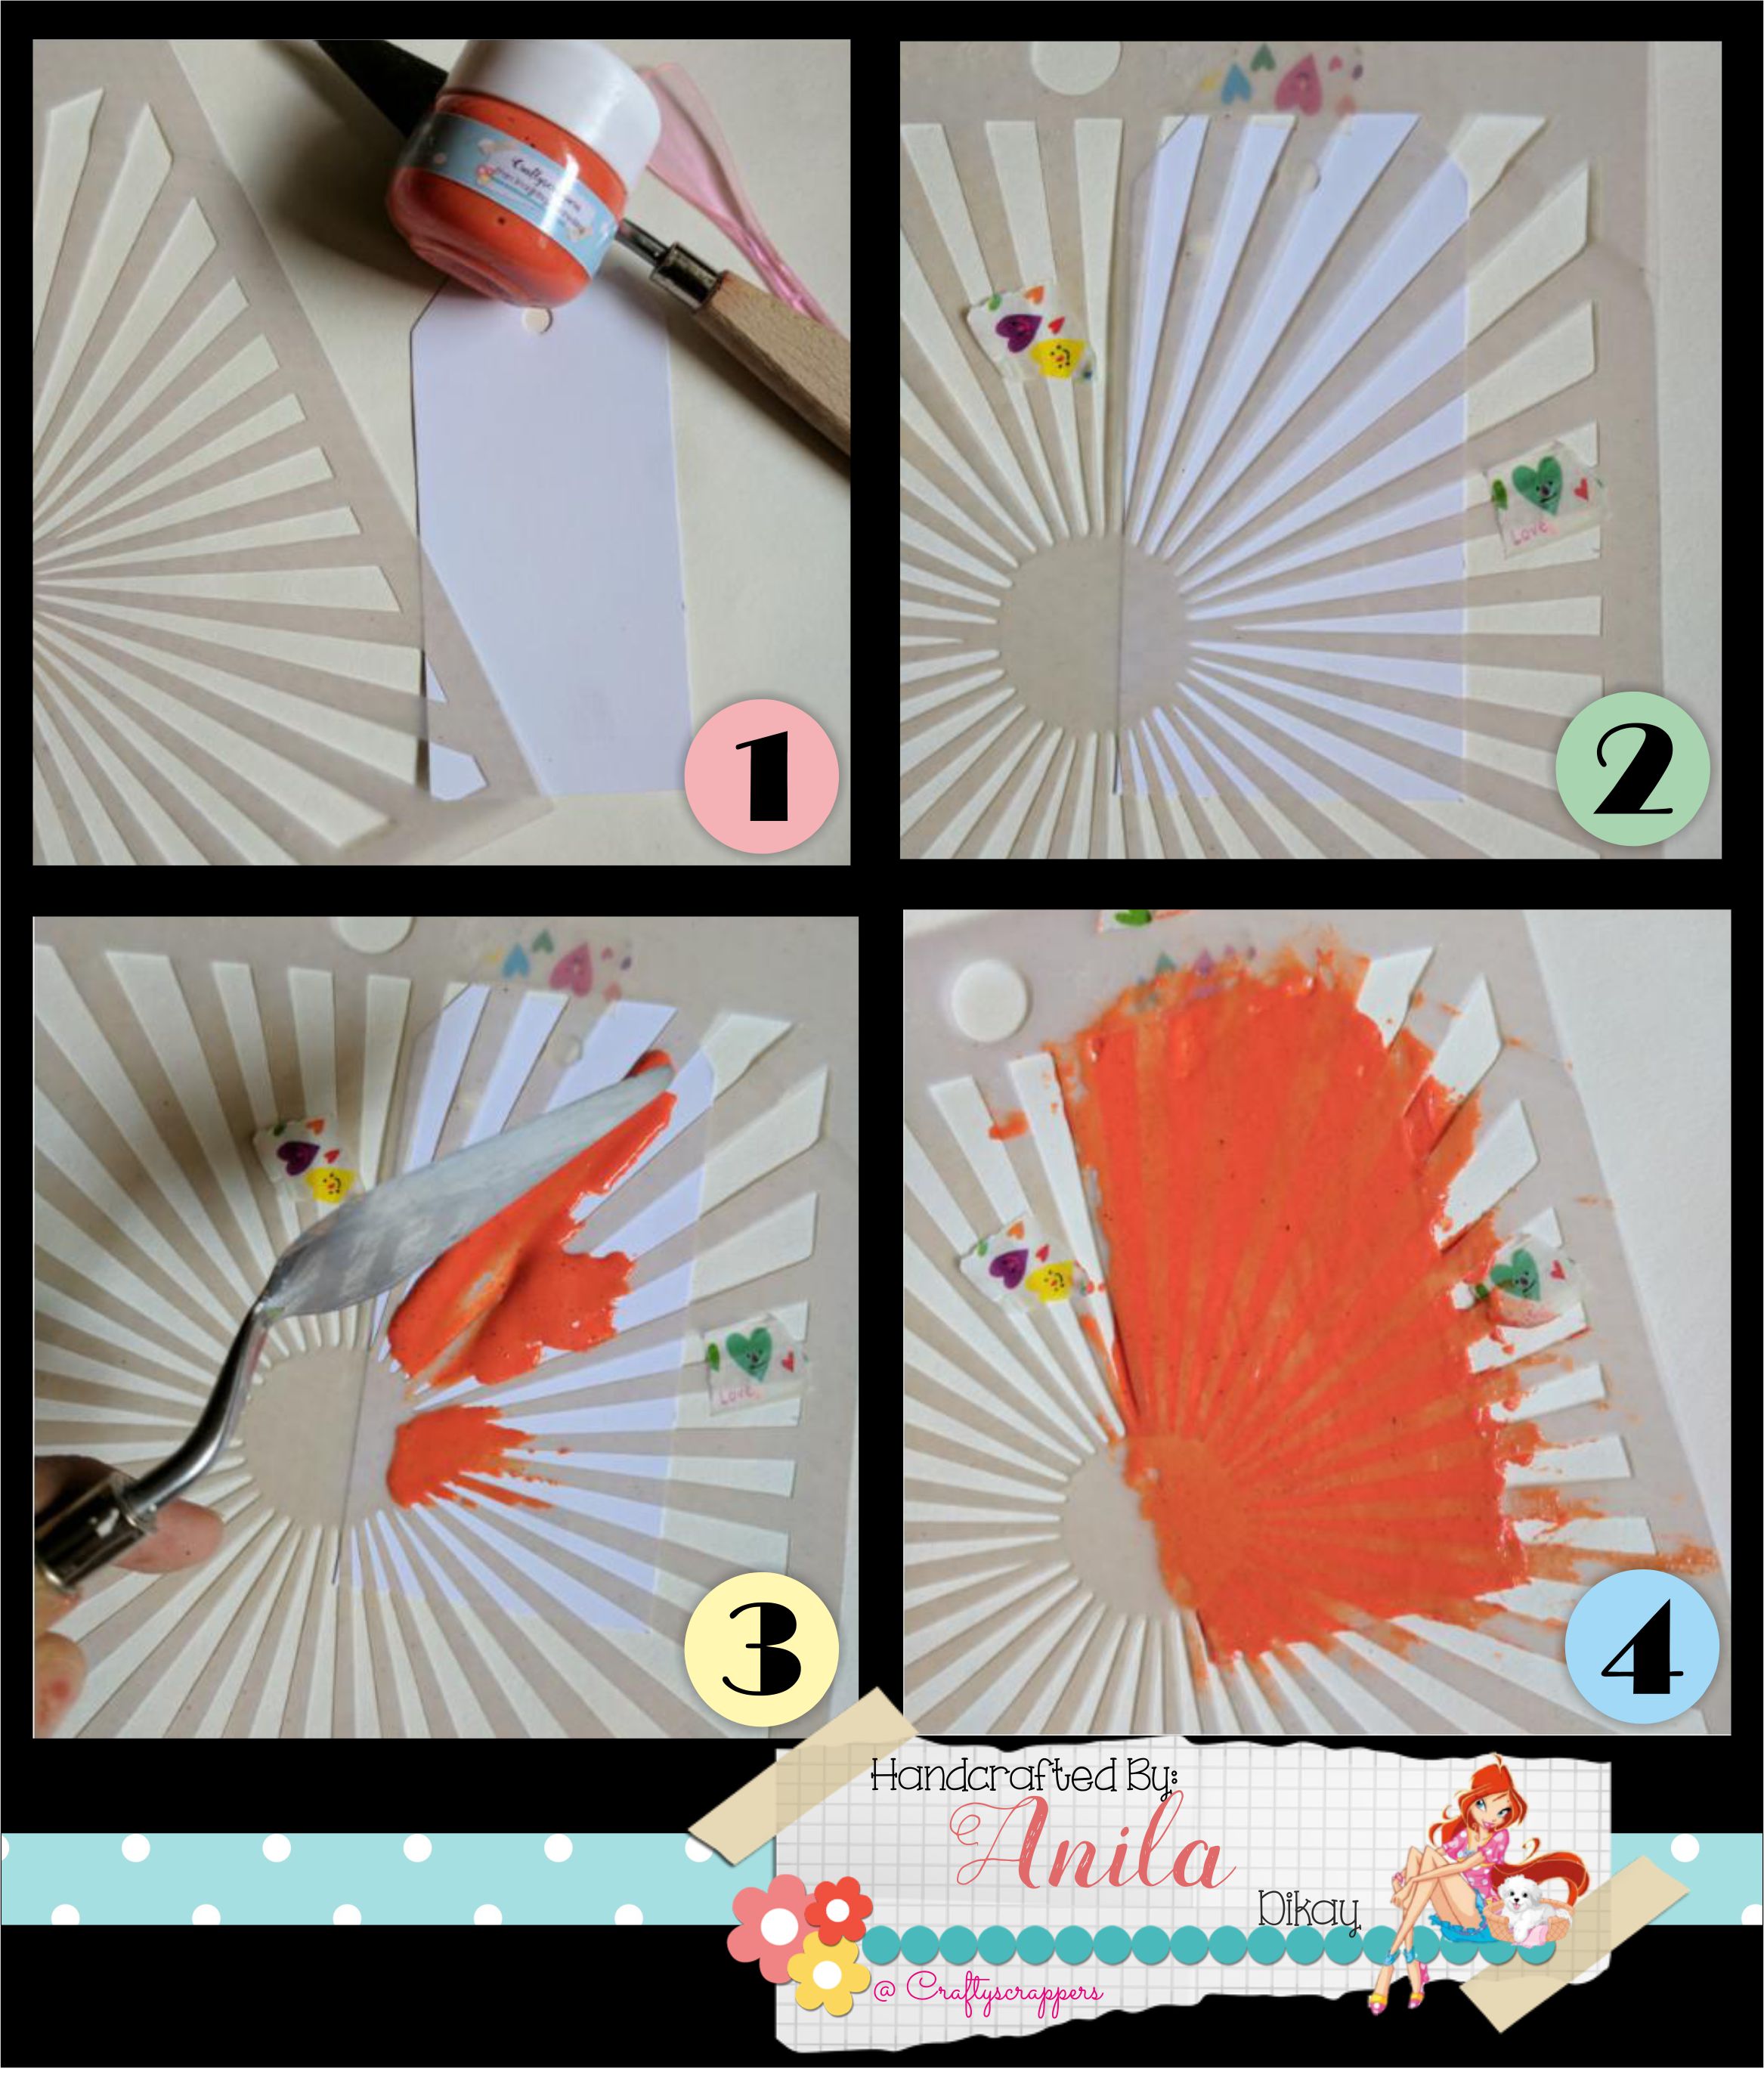

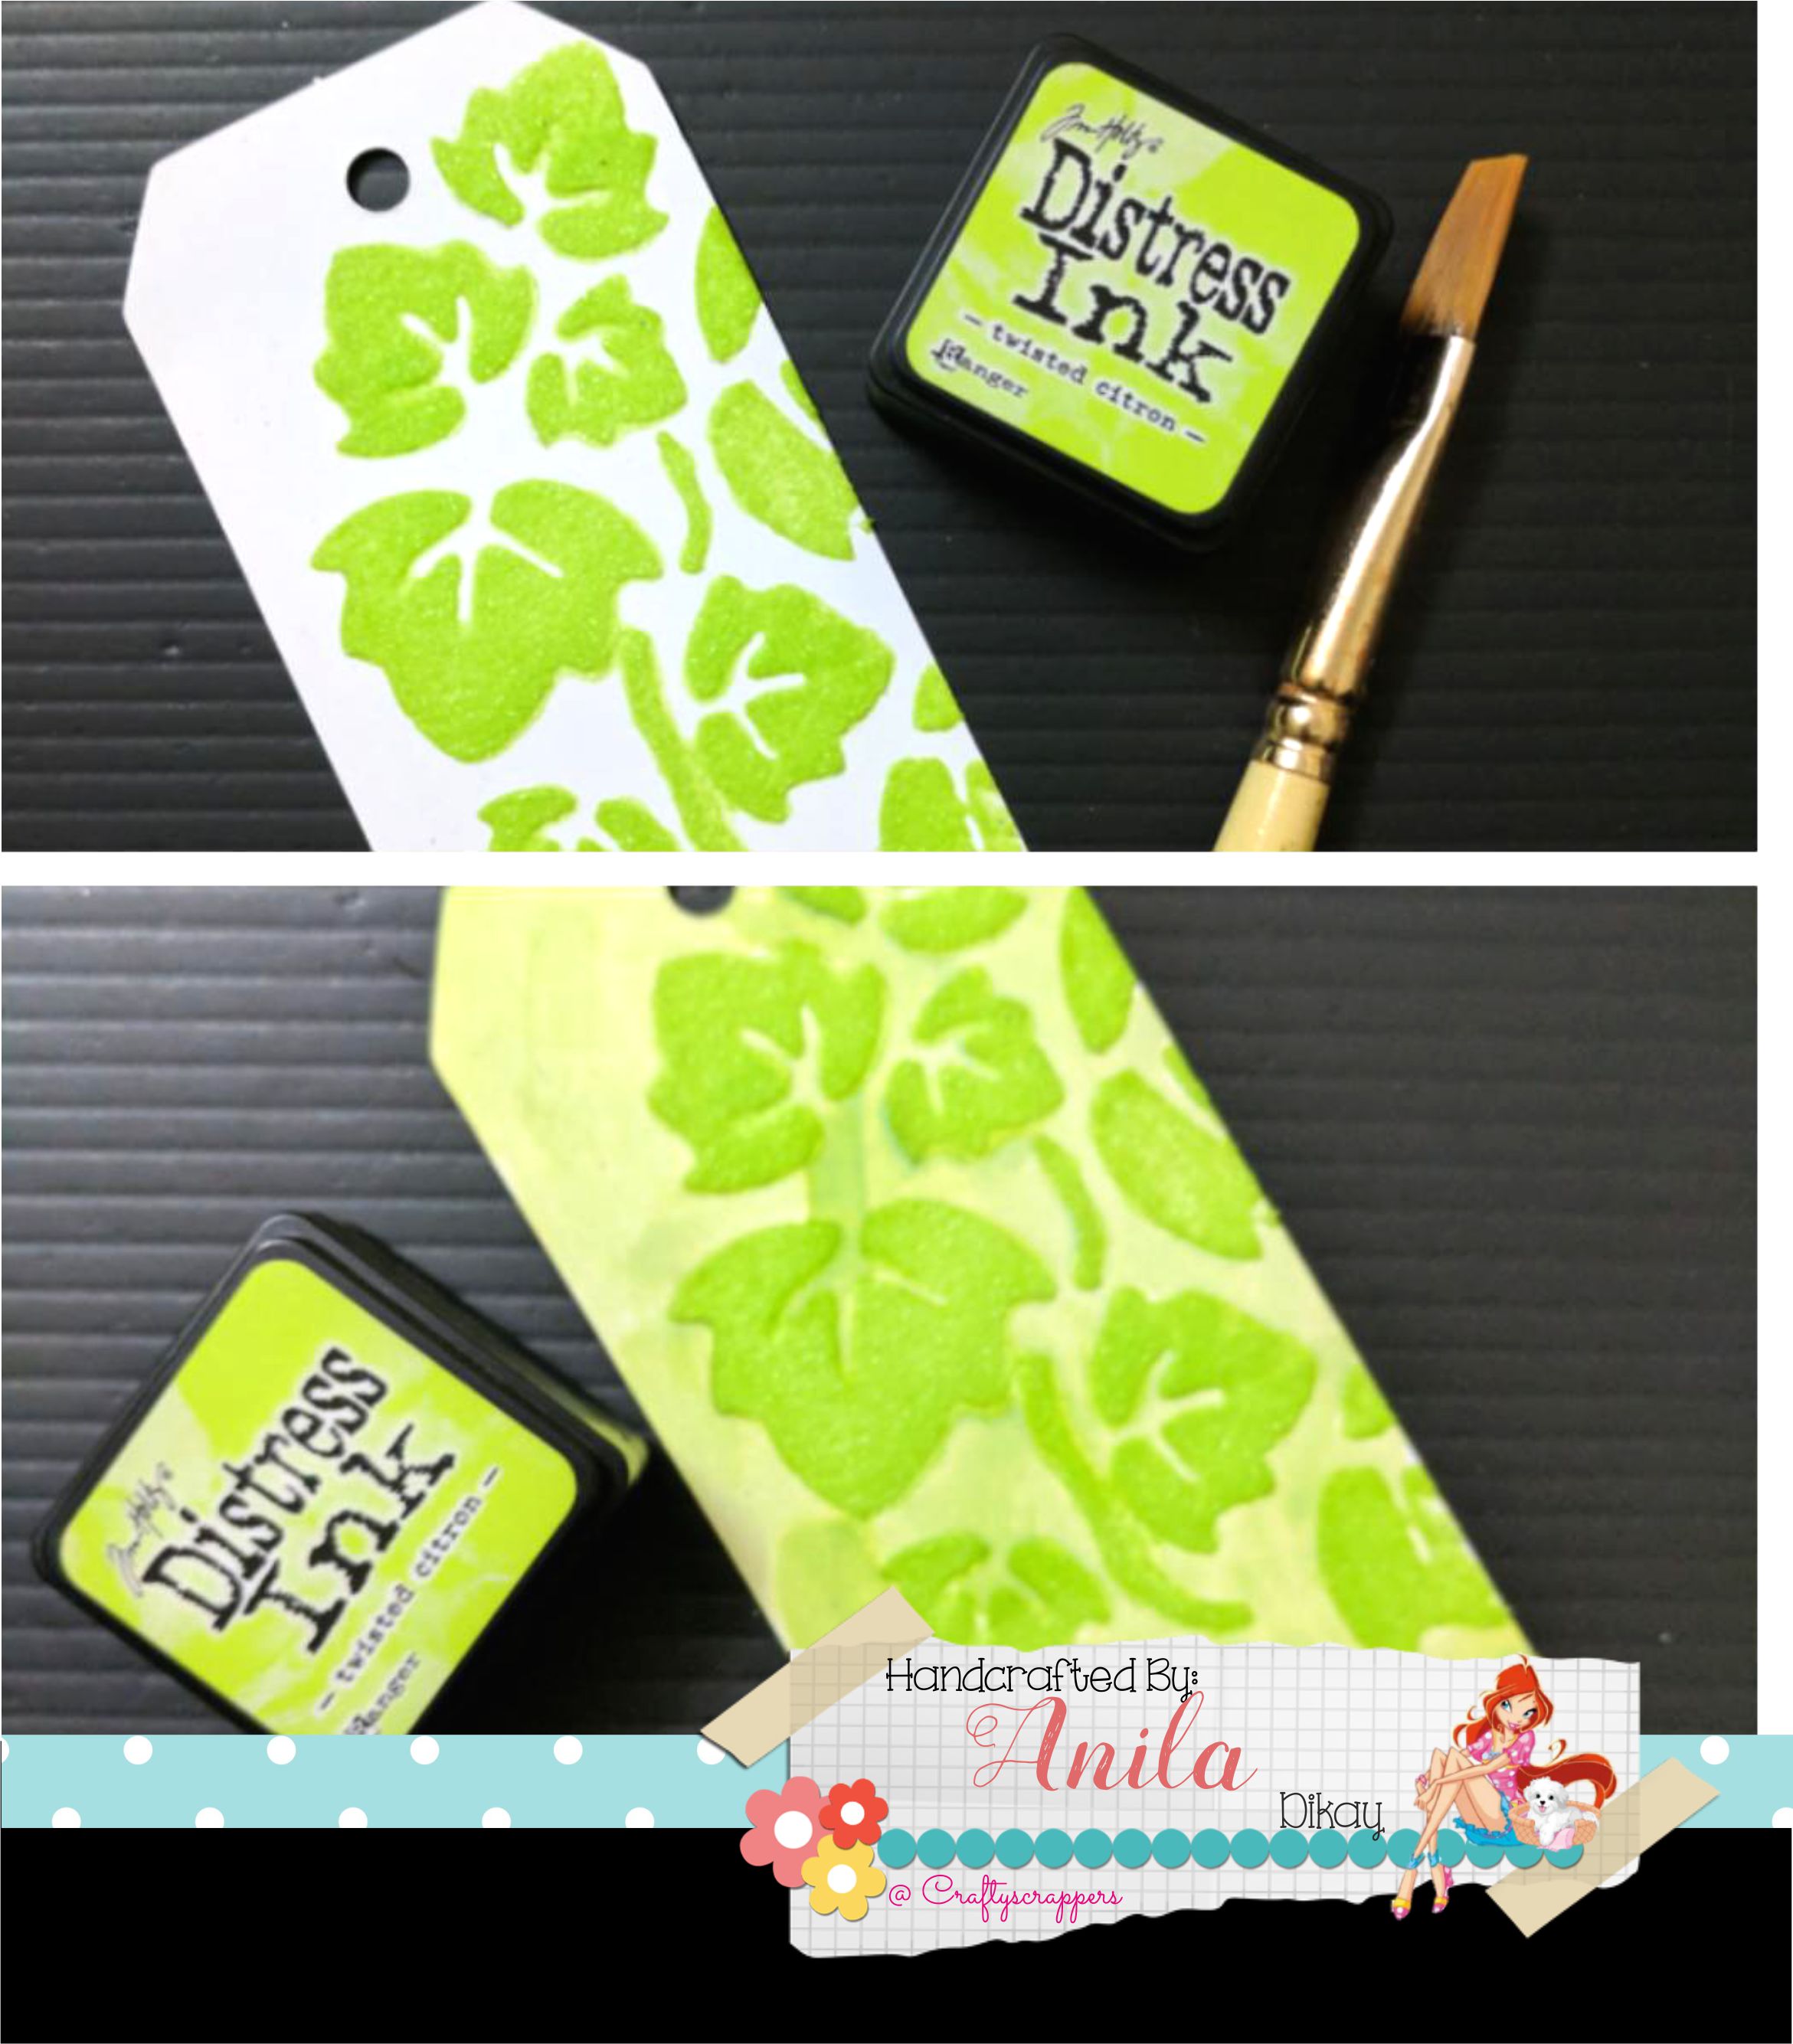
After applying a generous layer of the shimmer paste,
I let it air-dry. (You can heat-set it too!)

The shimmer sprays that i used here are,
SHIMMER SPRAY-Grape juice and SHIMMER SPRAY-Sweet Pumpkin
-
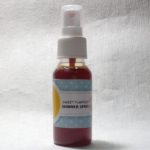
- SHIMMER SPRAY-Sweet Pumpkin
-

- SHIMMER SPRAY-Grape Juice


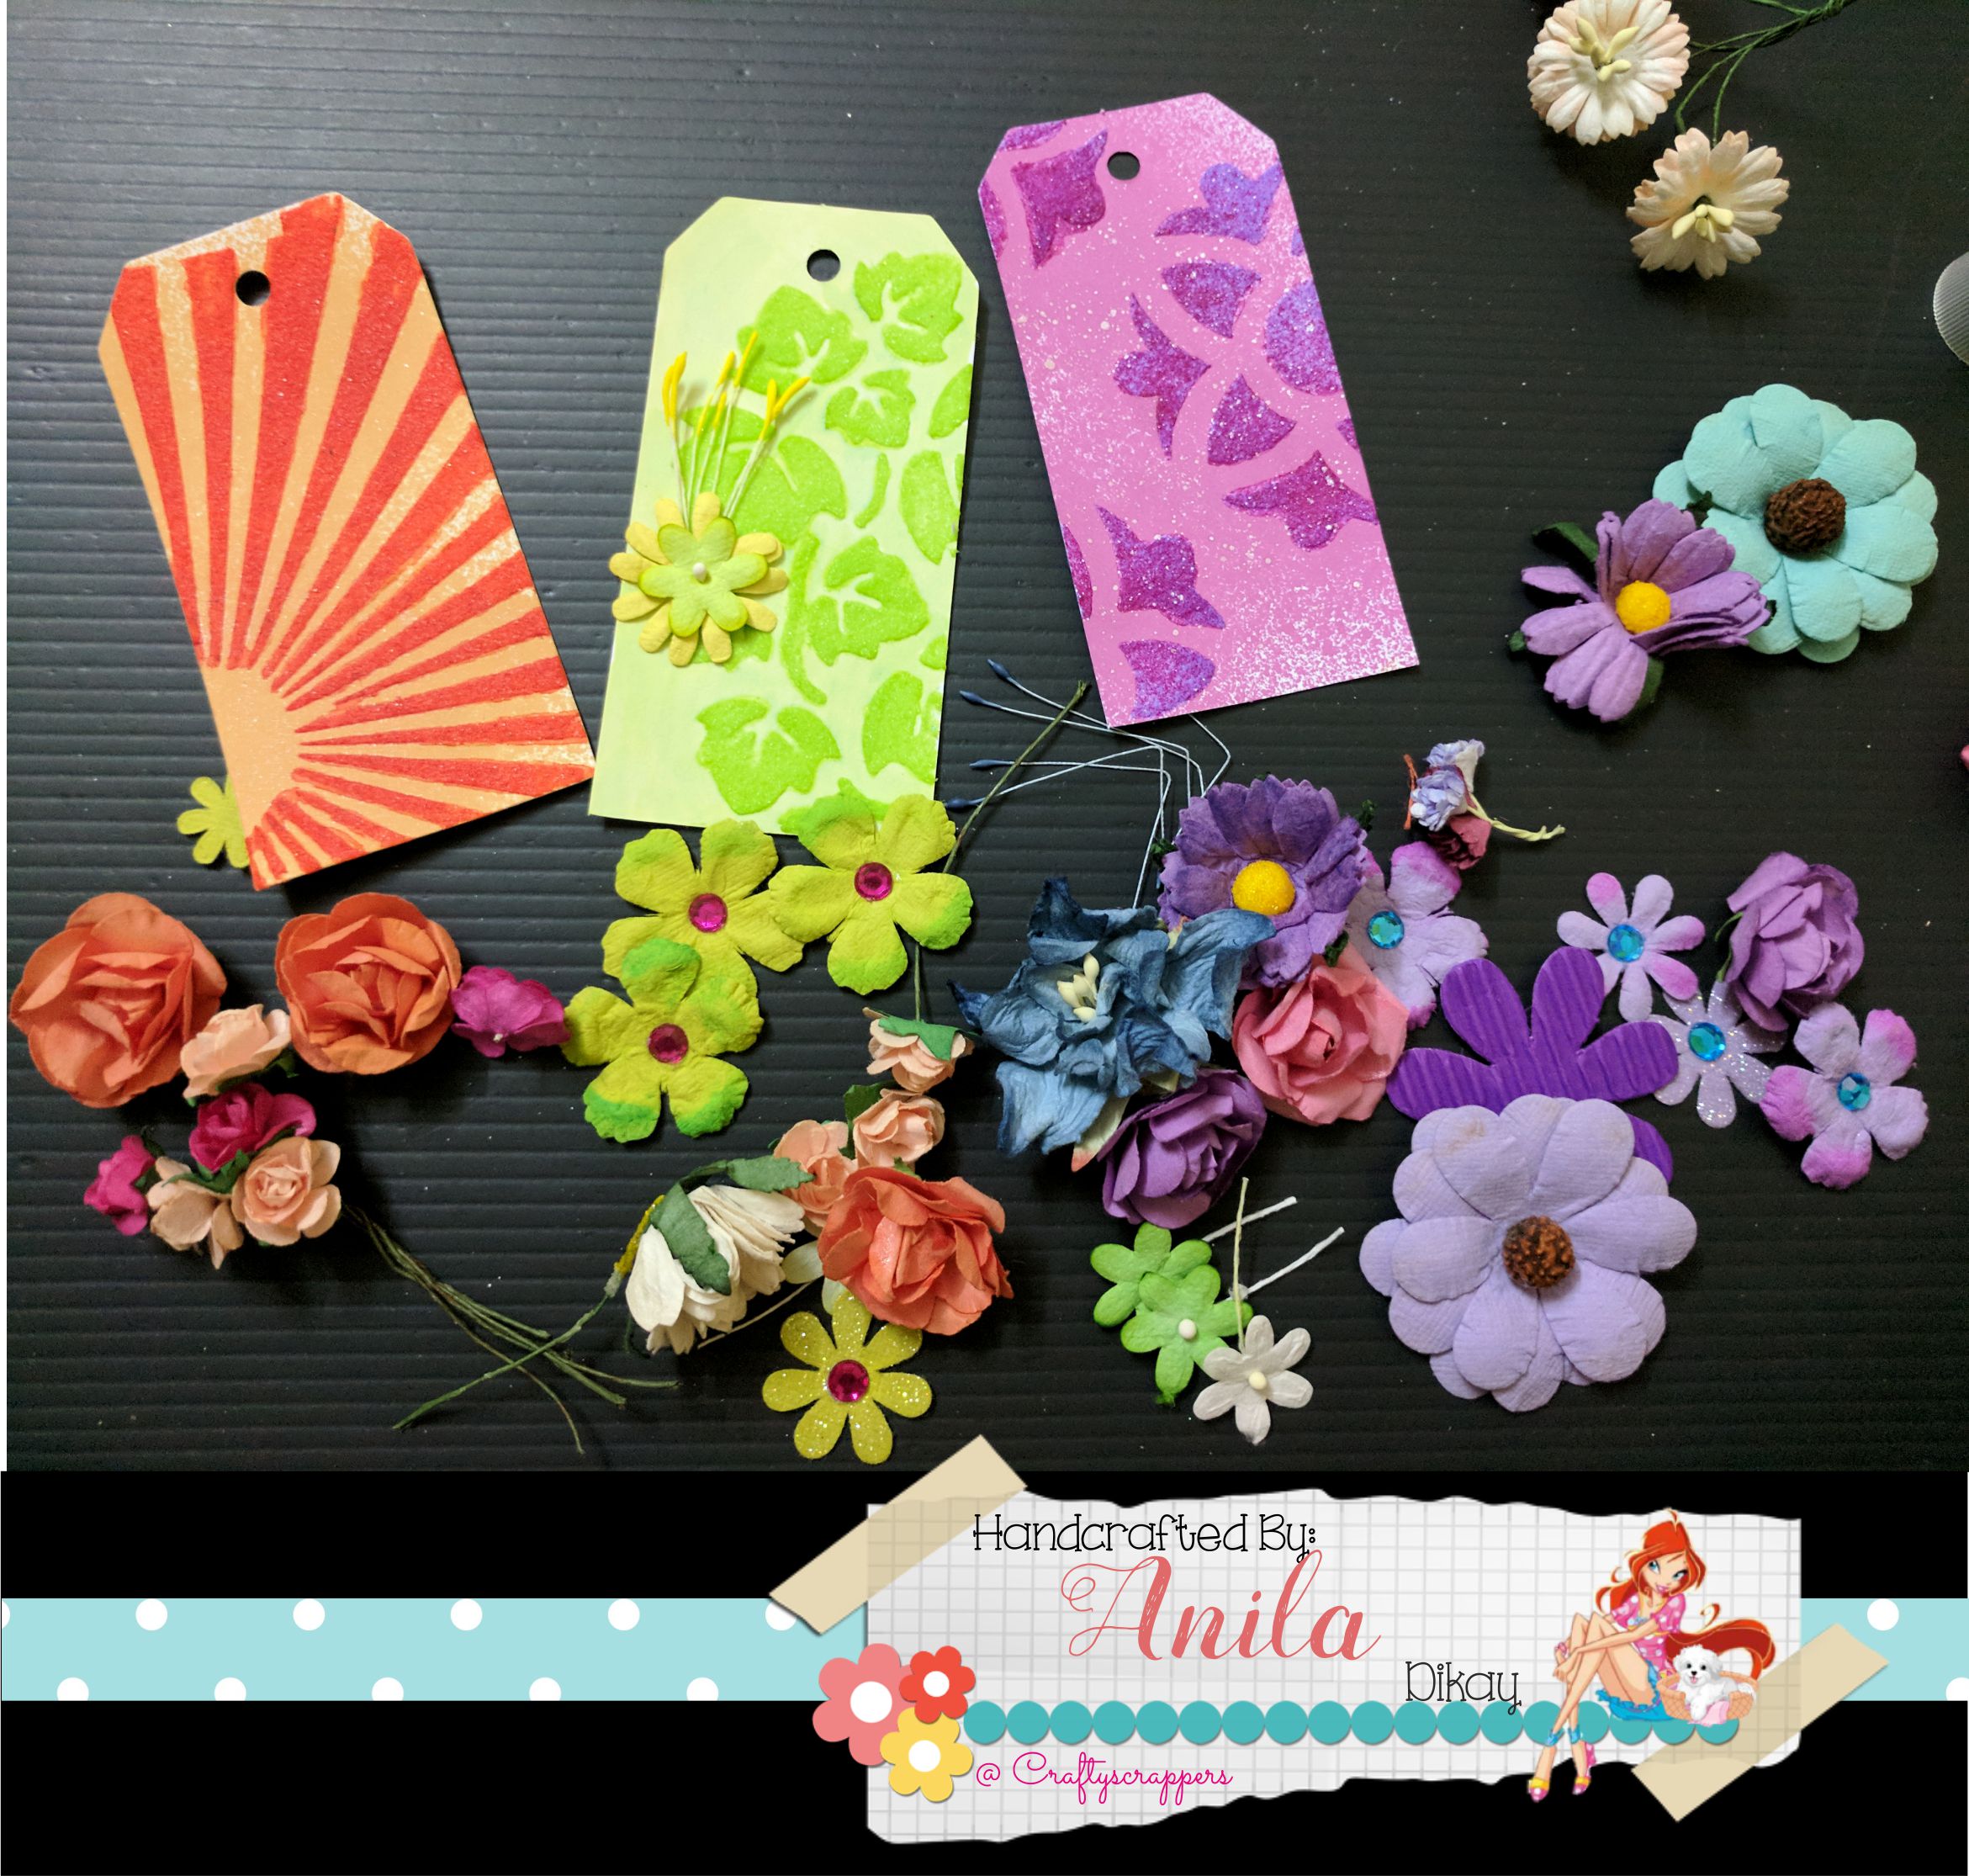

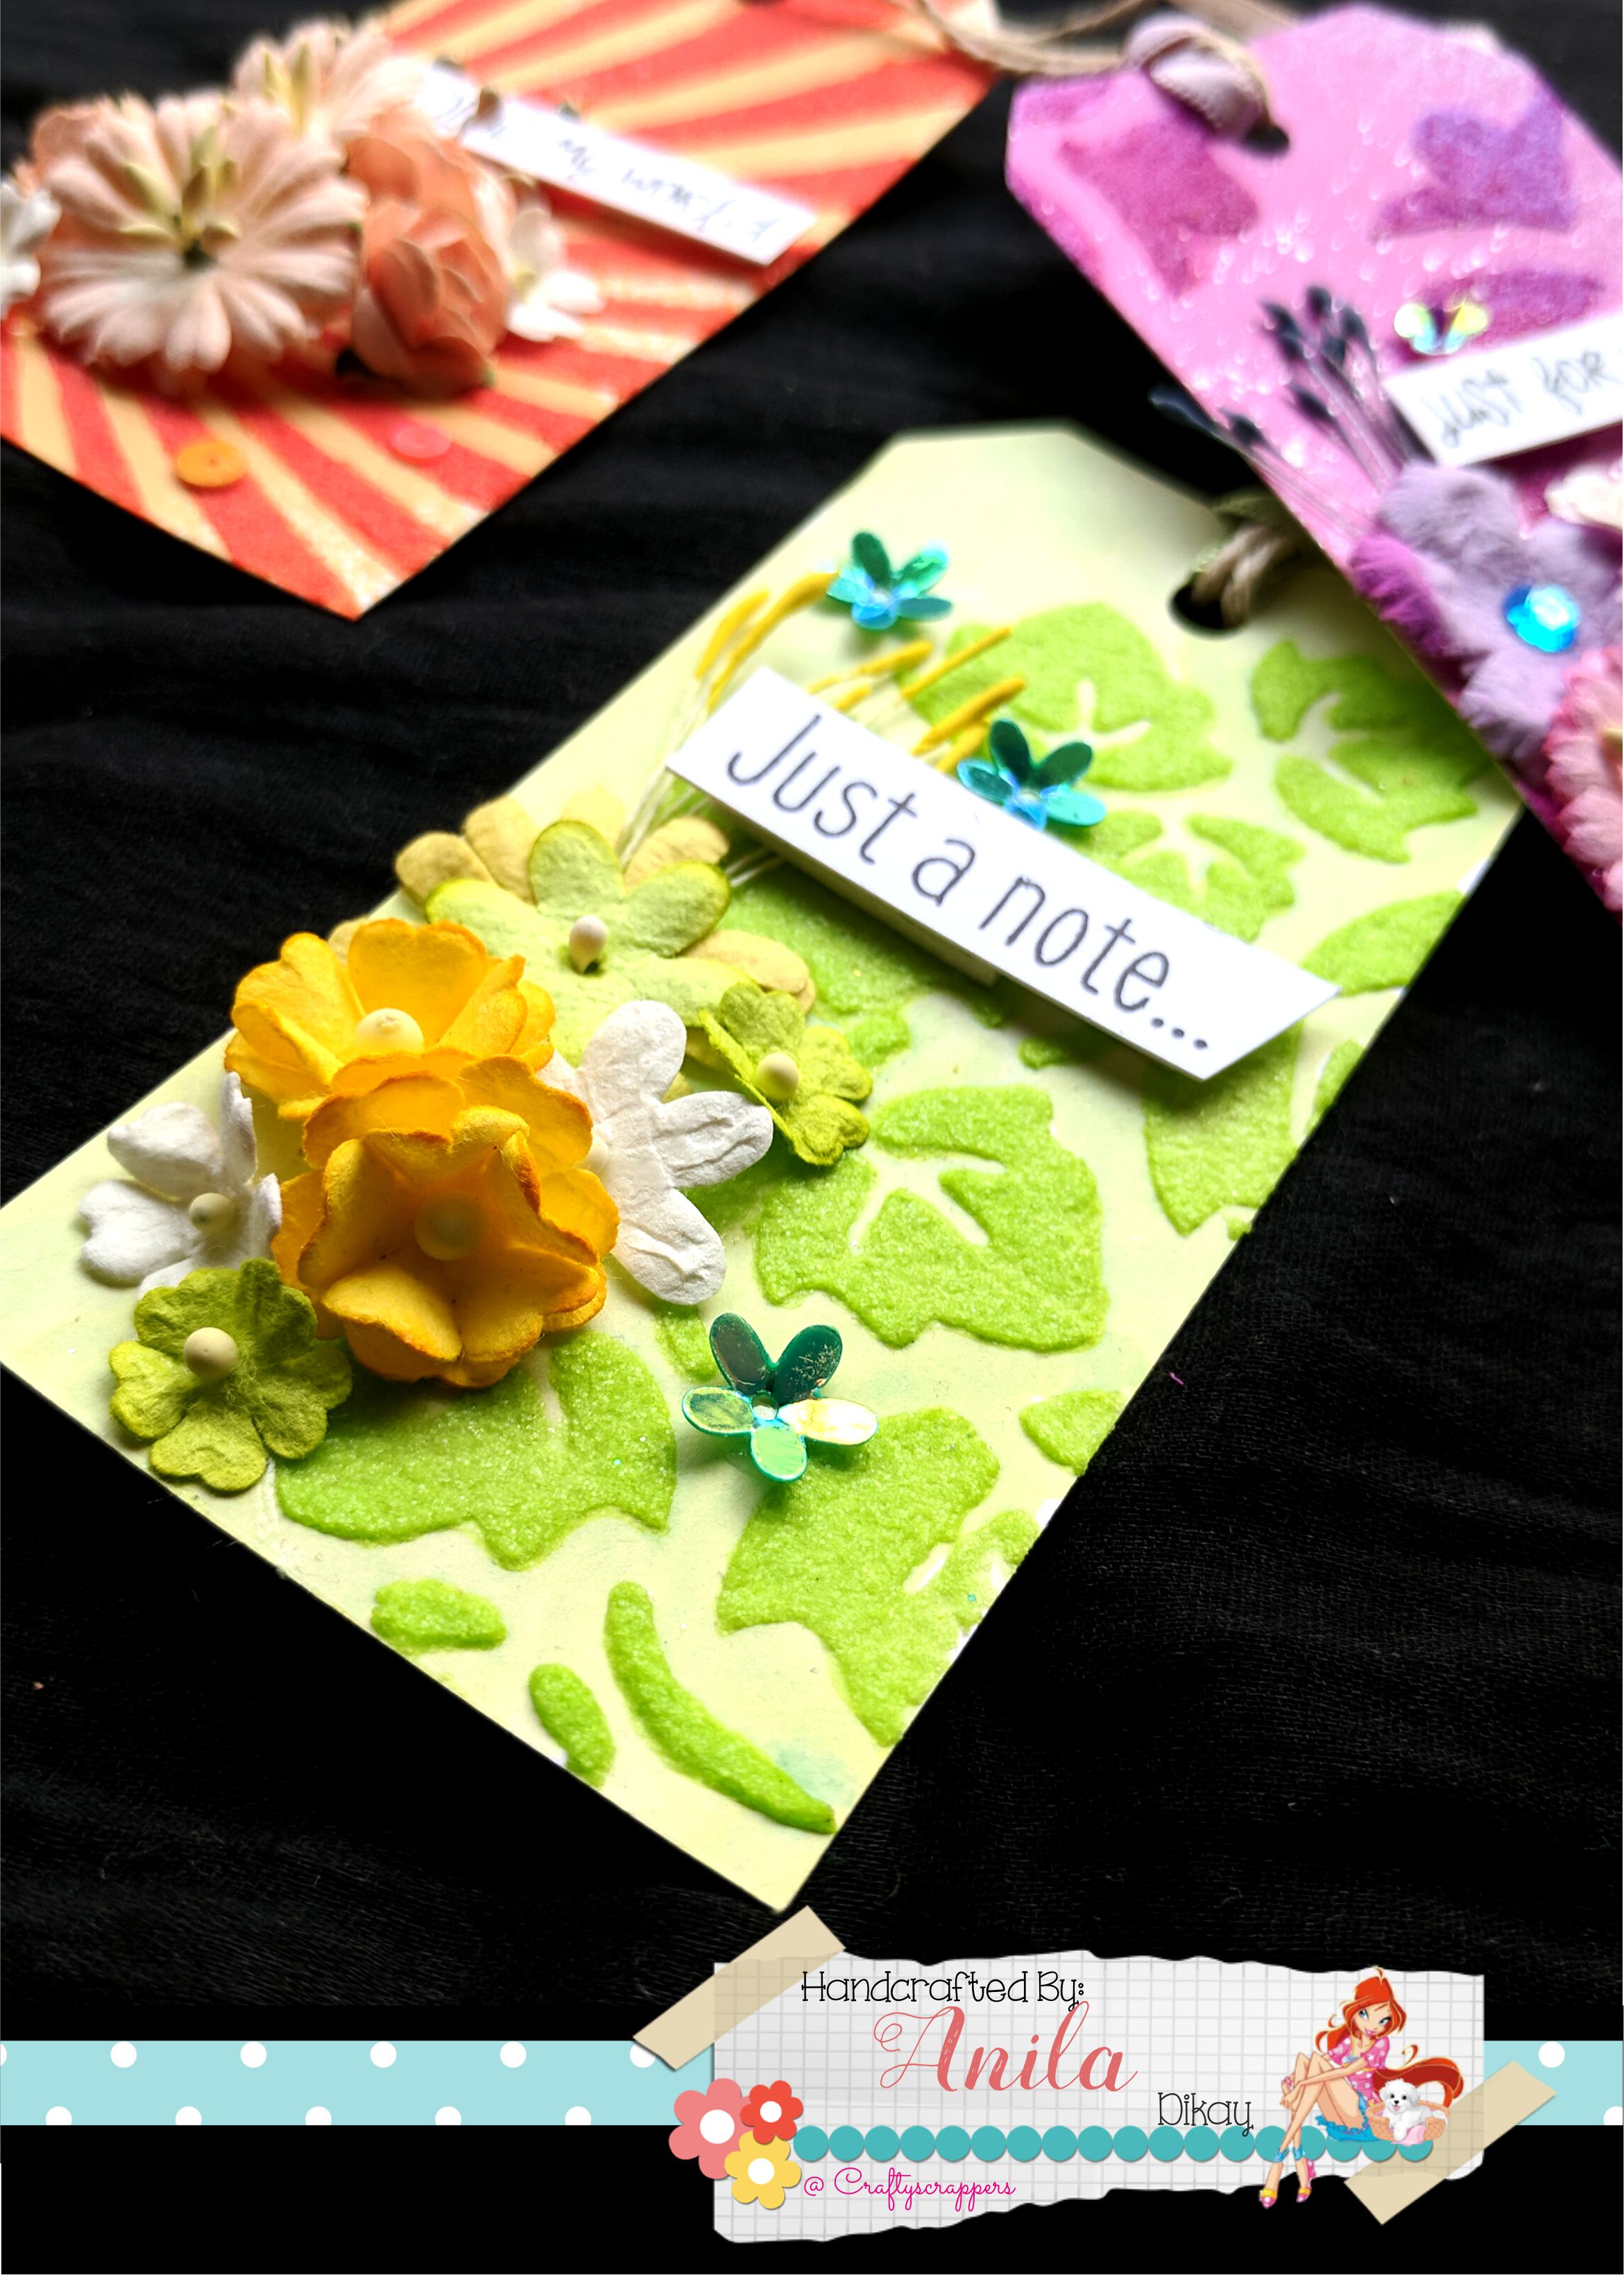
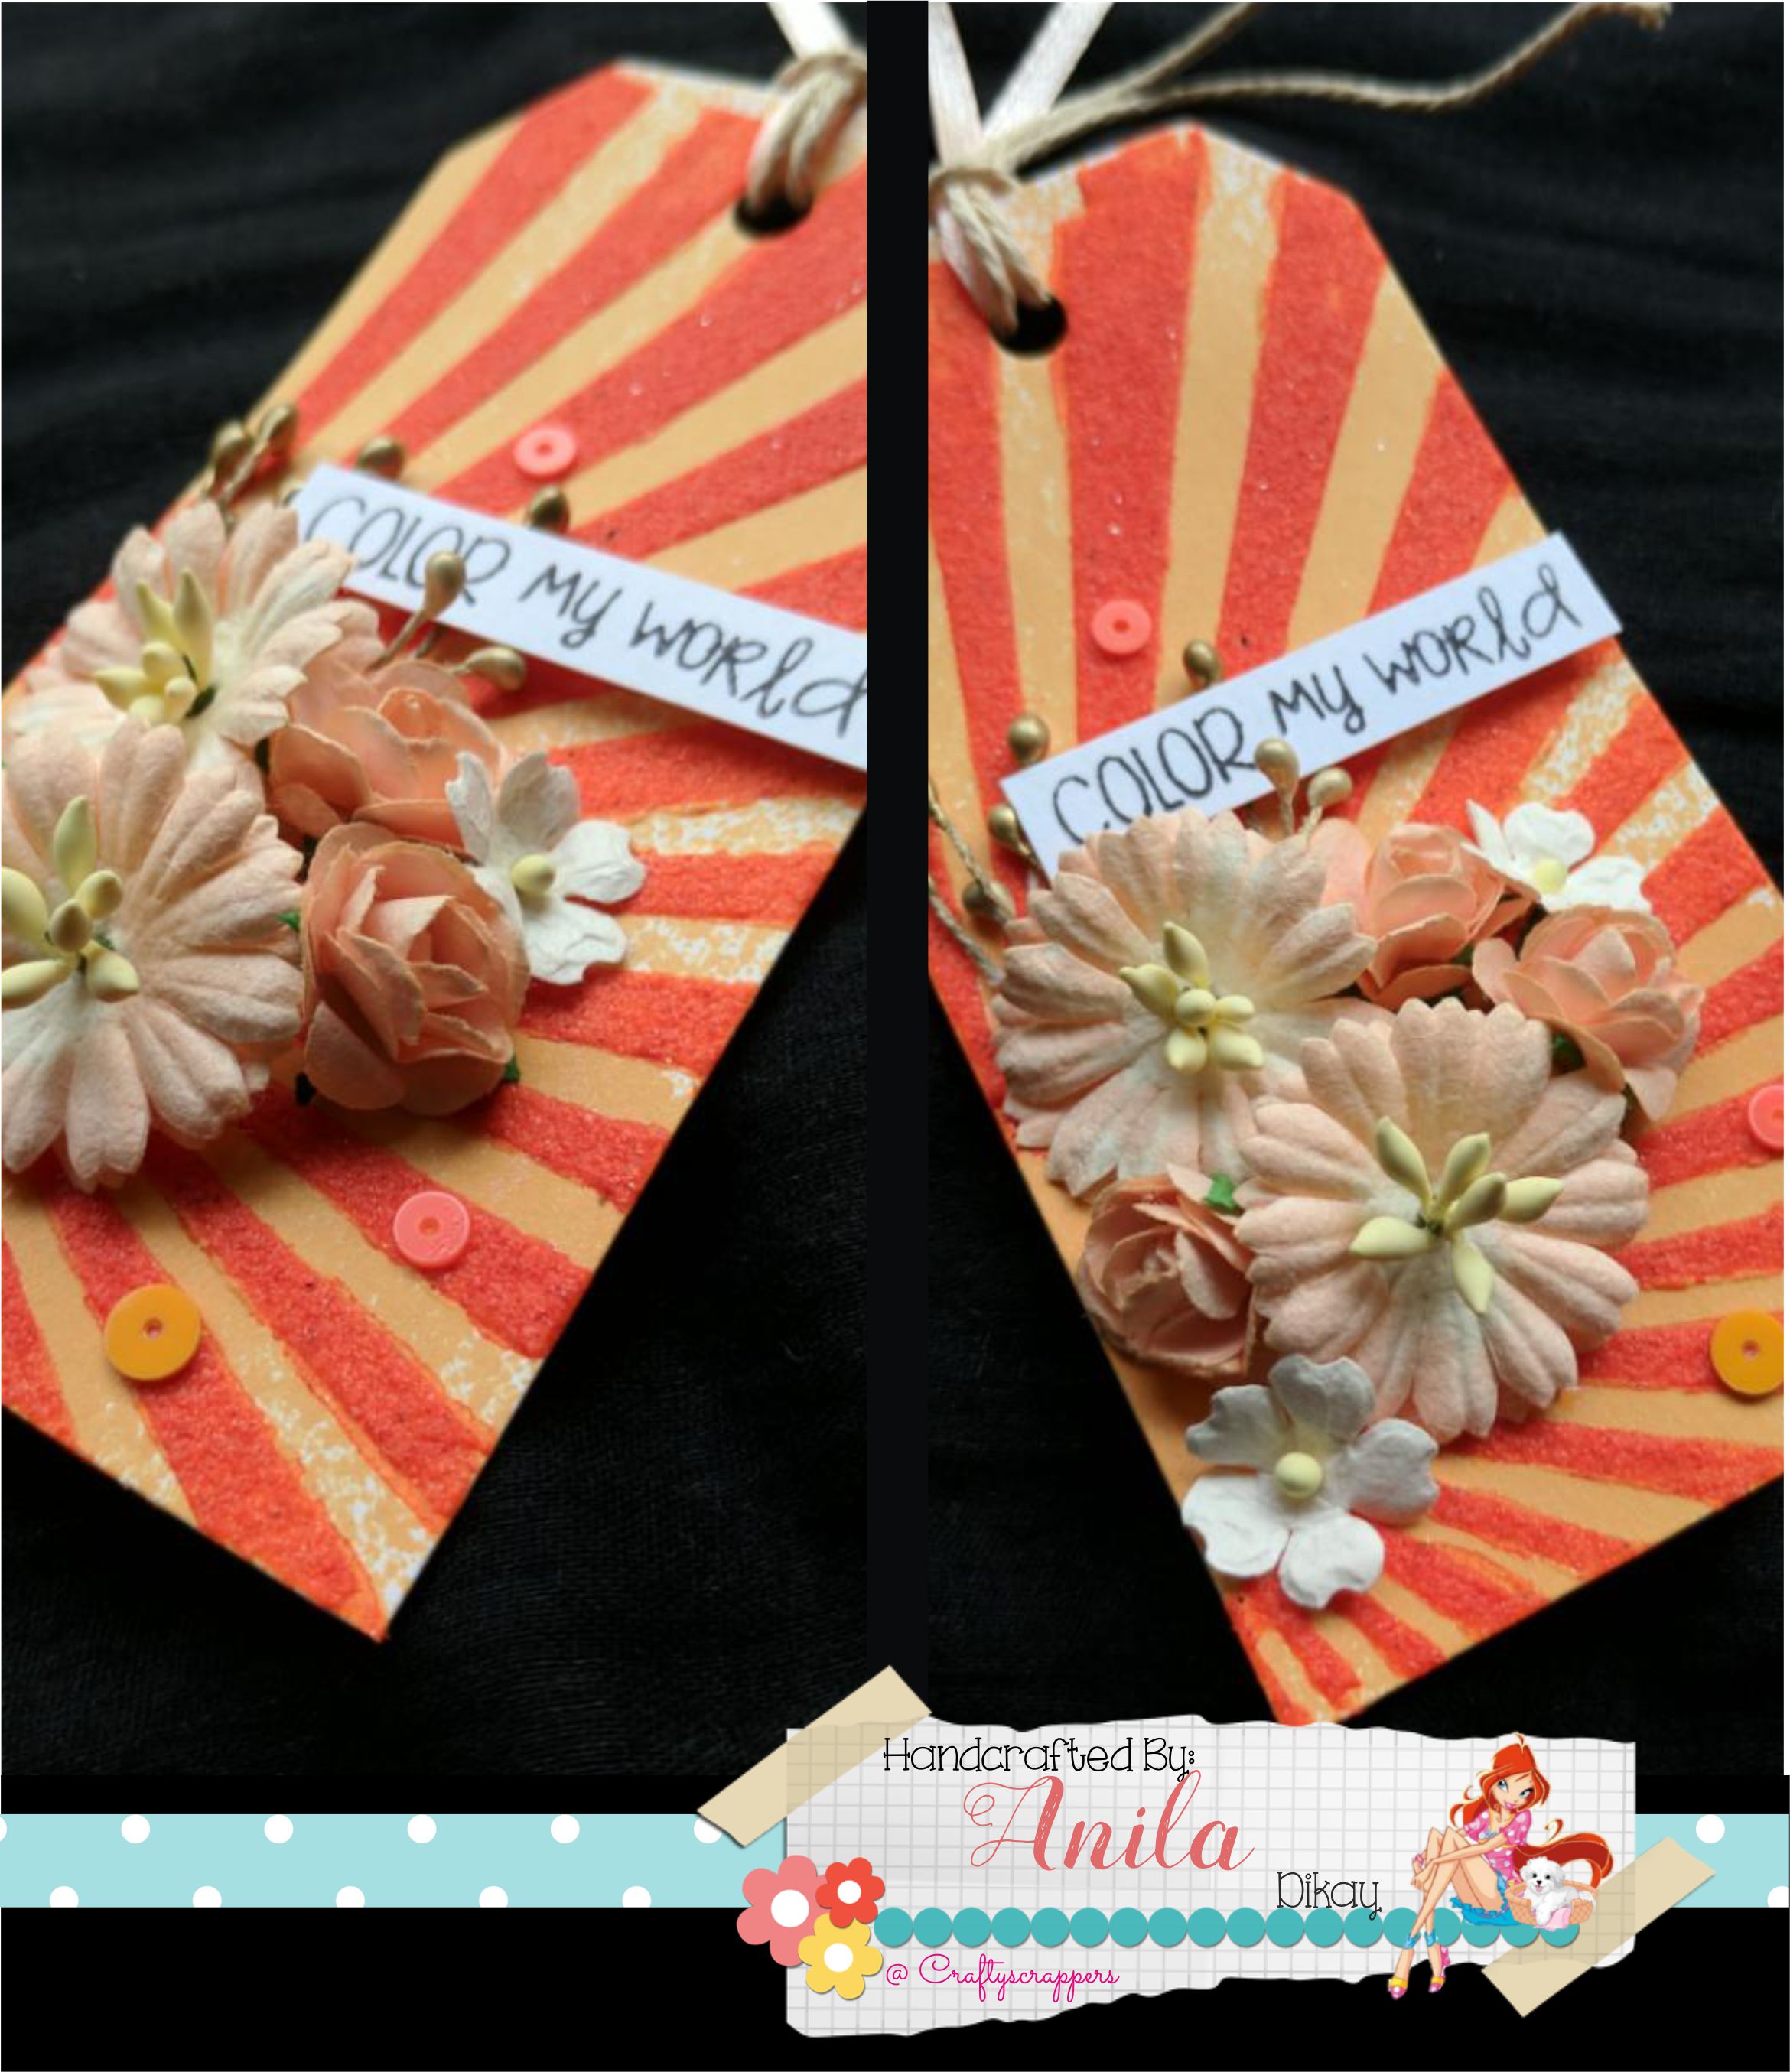
Like this stem color tag with coordinating flowers…
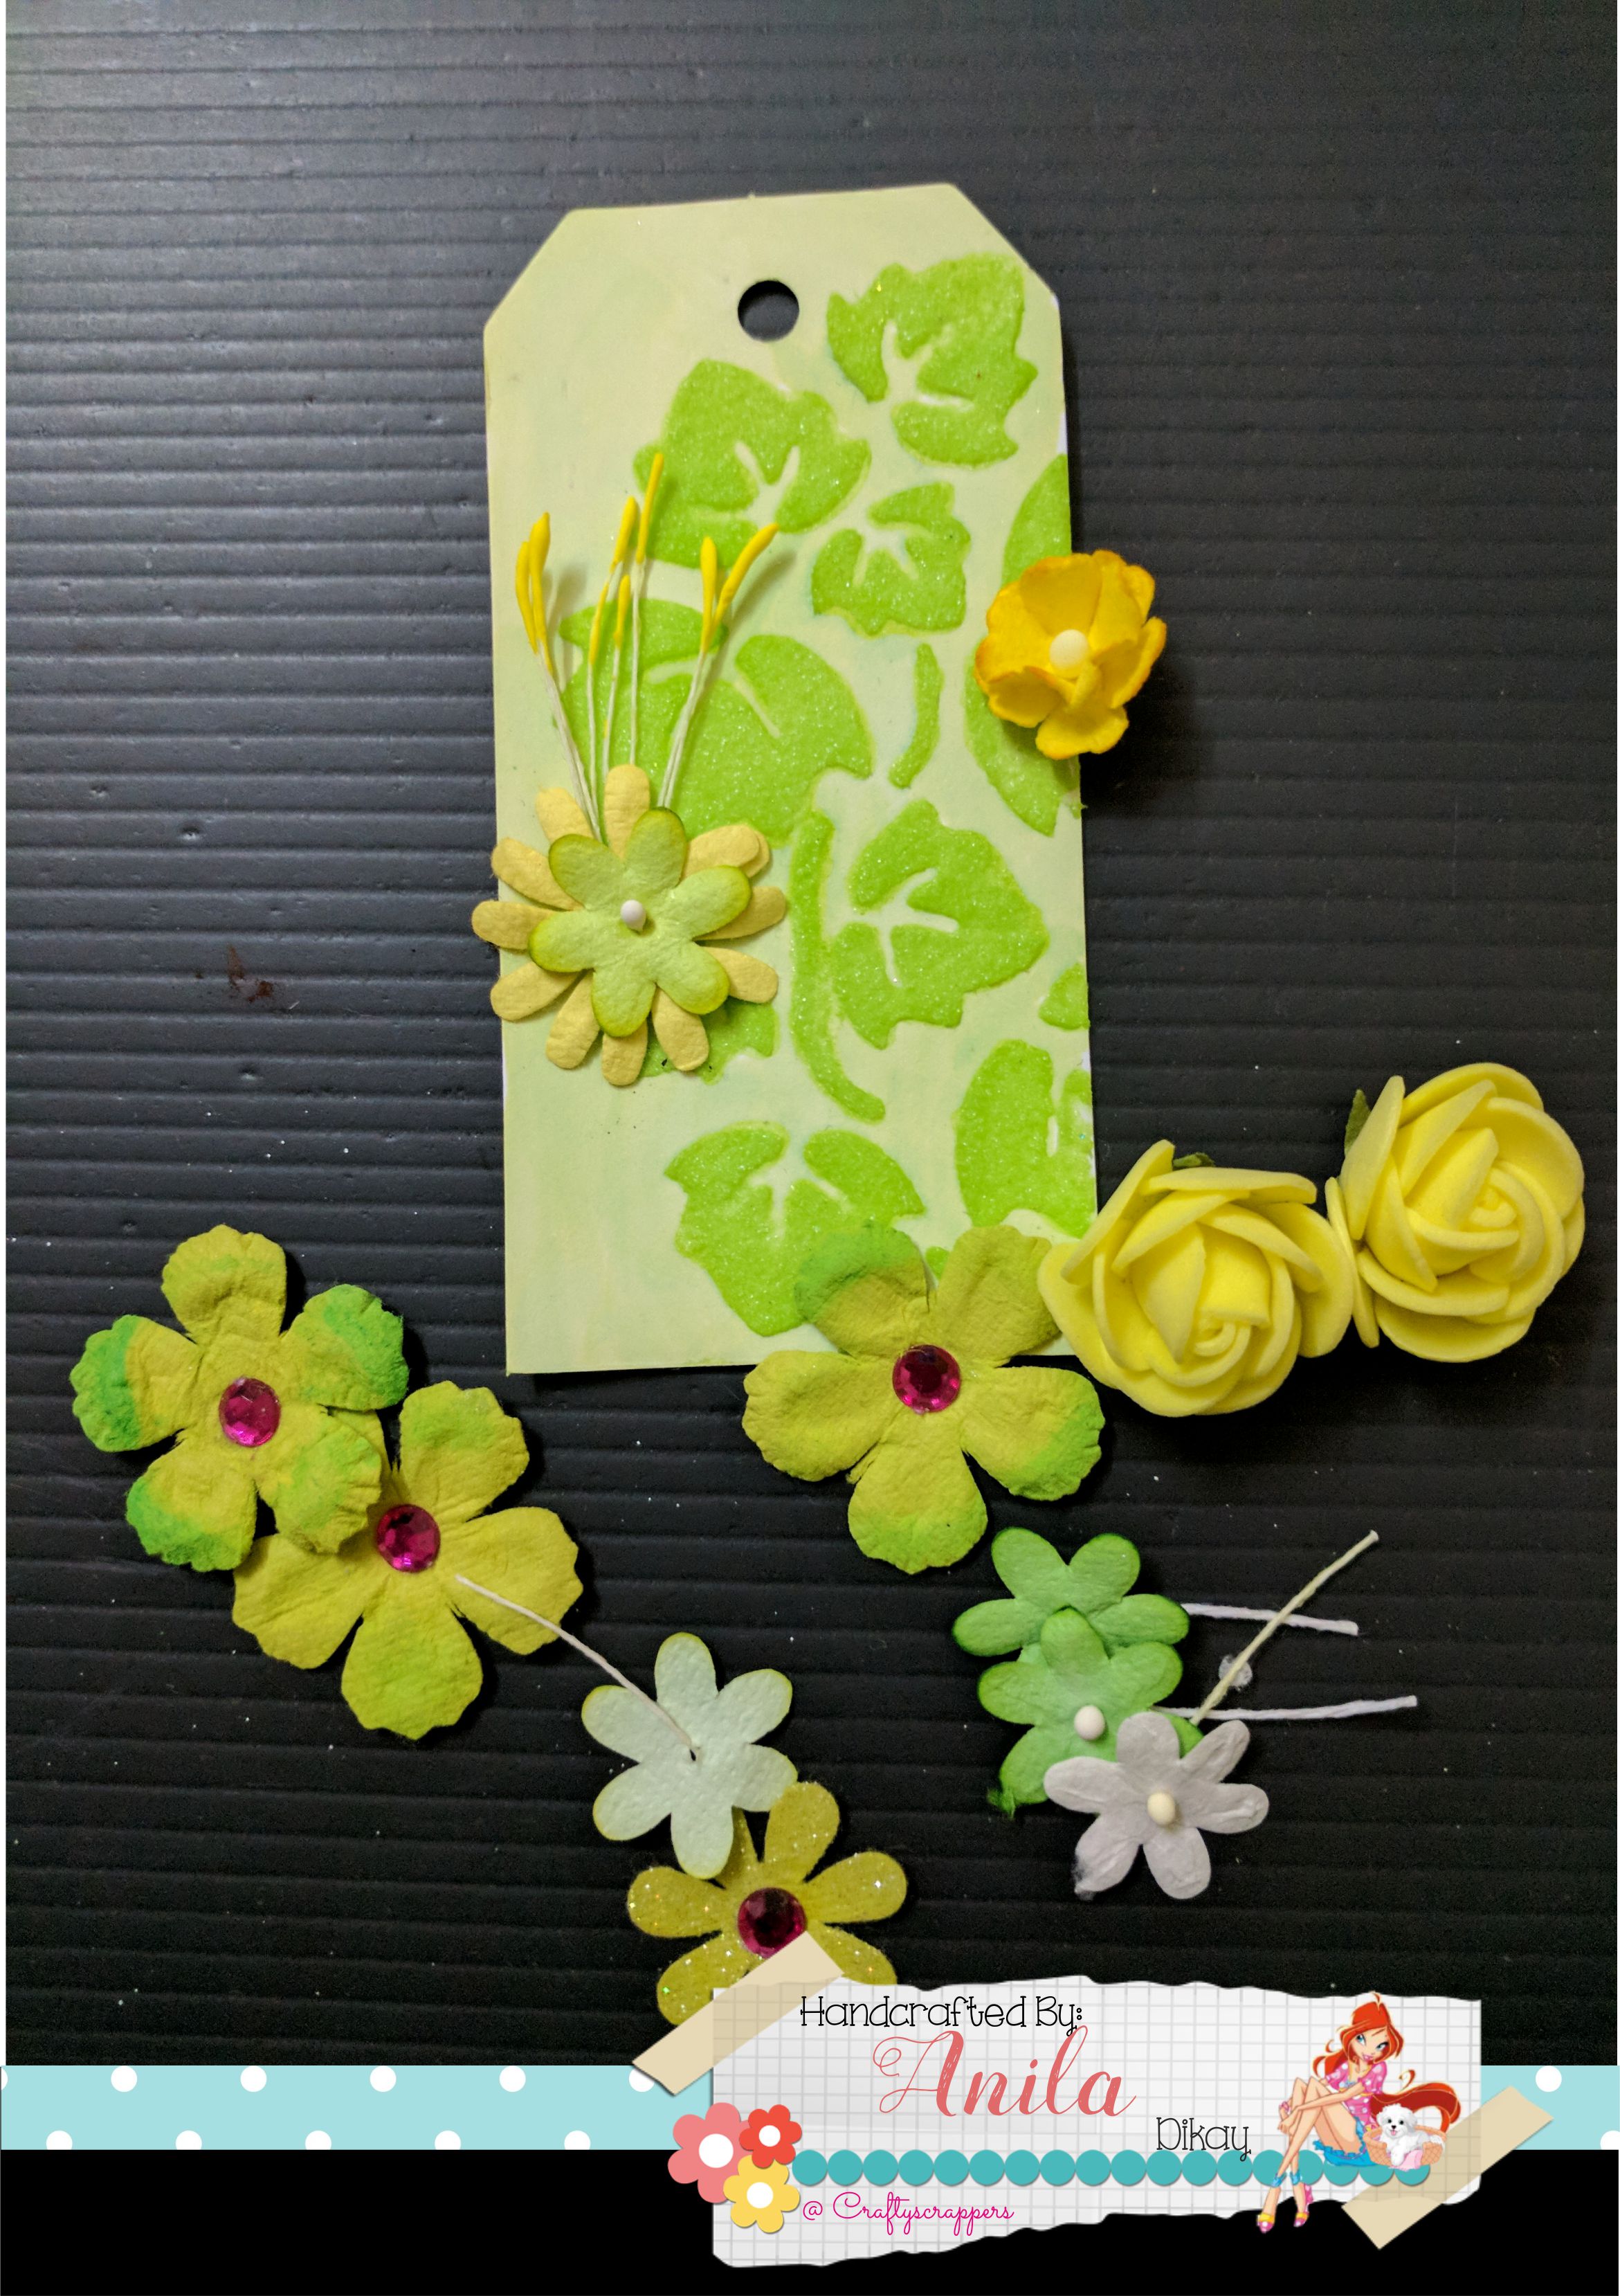

and mounted them on the tag using foam adhesive.
I tied twines along with coordinating ribbon through the punched hole.
Lastly added matching sequins from craftyscrappers to add some elements.
(TAG#1)
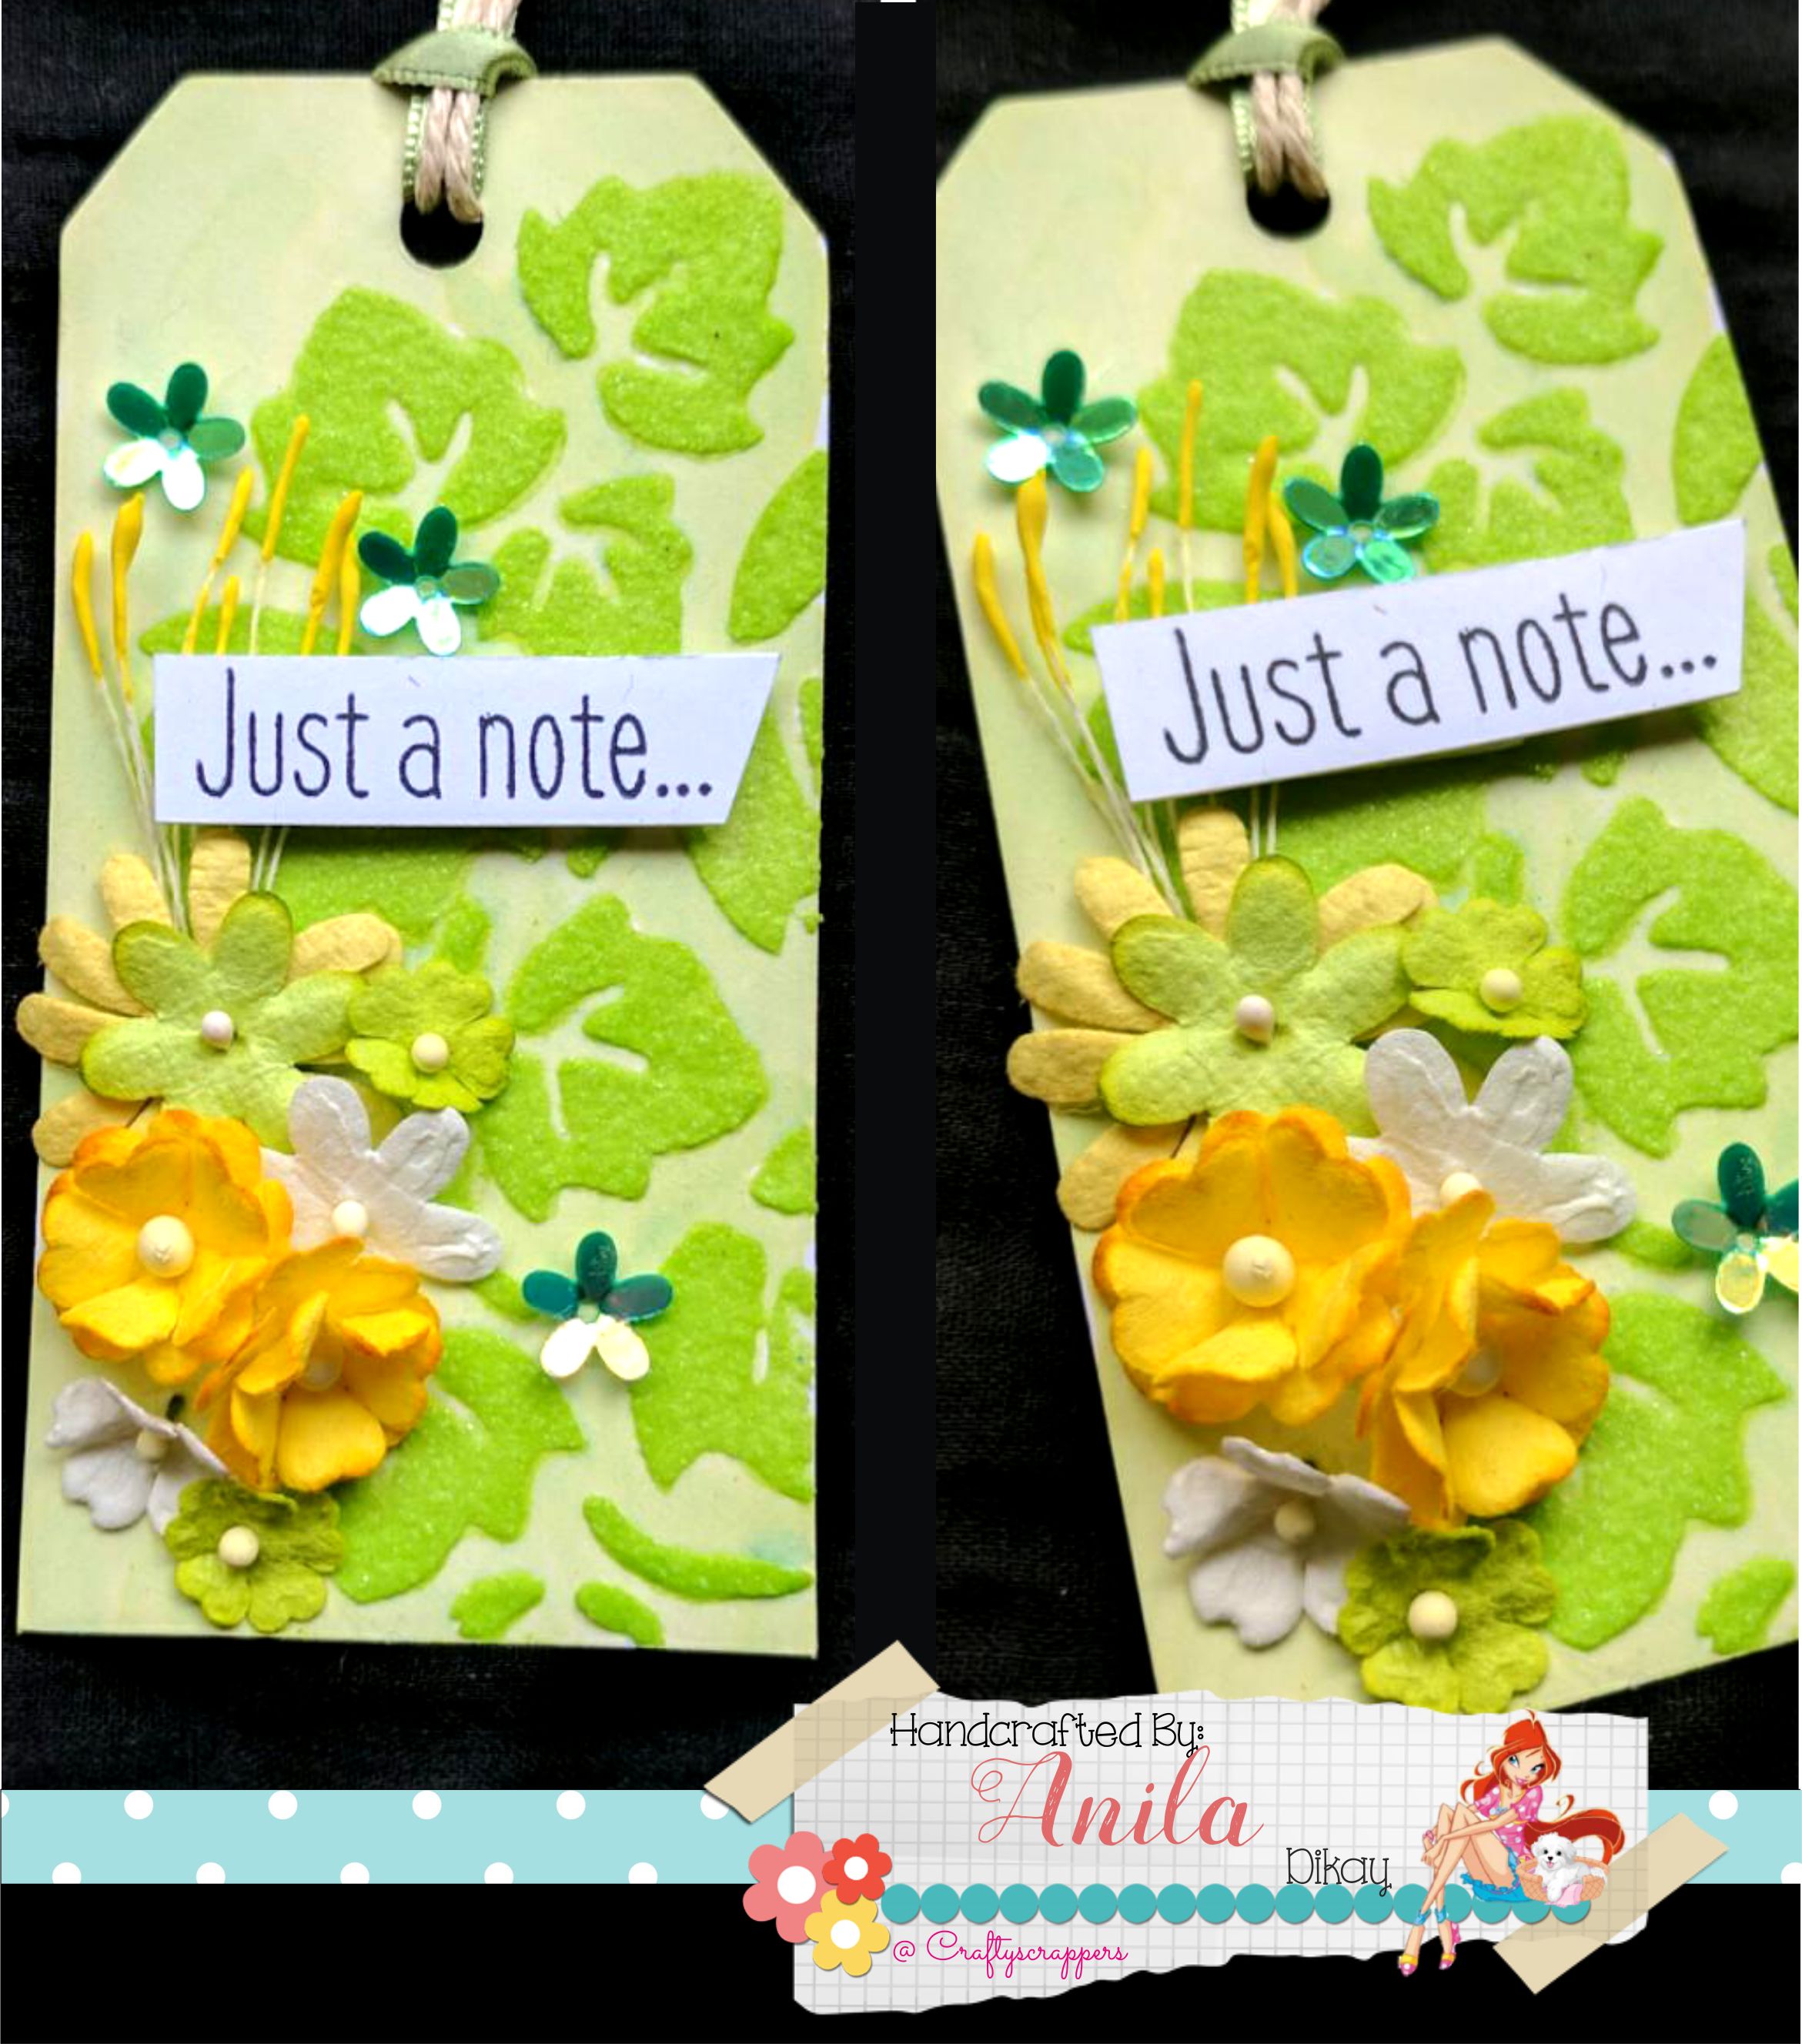
(TAG#2)
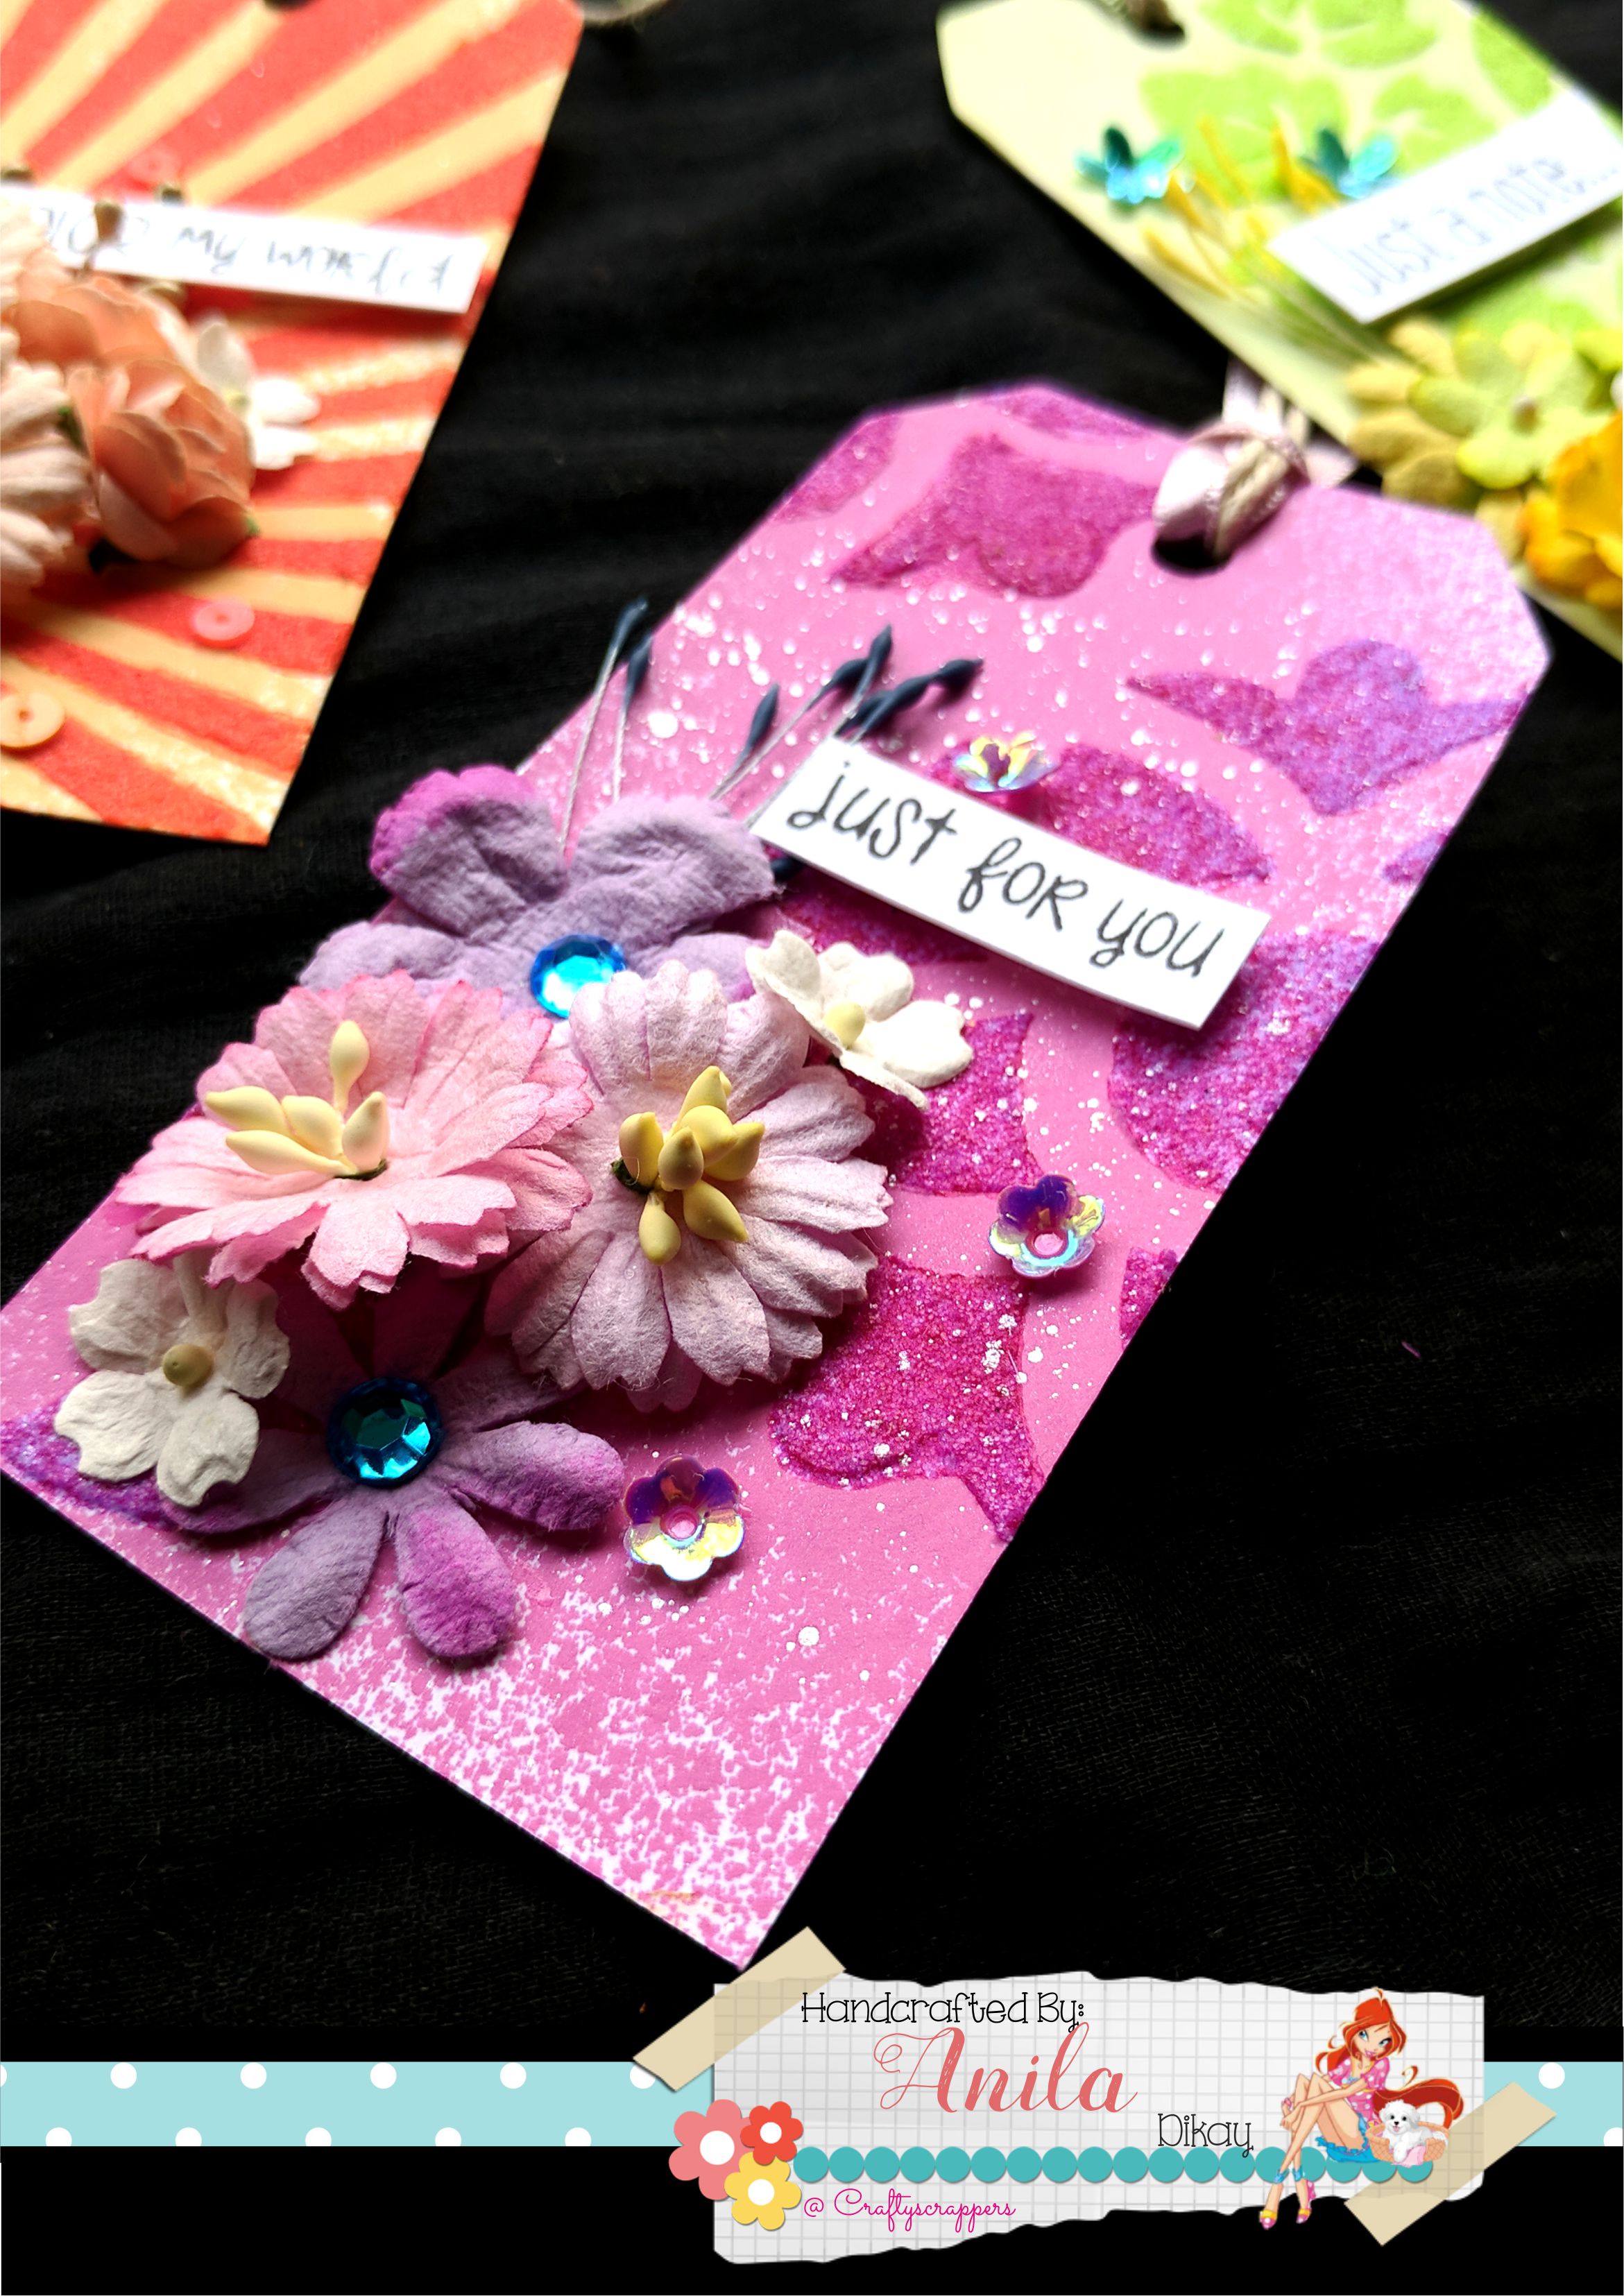
Can you tell me which tag is your favorite?
Do leave your feedback in the comments section.
We will be back with many more interesting projects
& tutorials by our team, so stay tuned!