Hello crafty people!
I hope you all are doing well.
This is Meeta Bhalotia Creative Designer at craftyscrappers
and today I am here with my inspiration post for our ongoing challenge…
Challenge#29:COLORS-speak louder than words!(FACEBOOK)
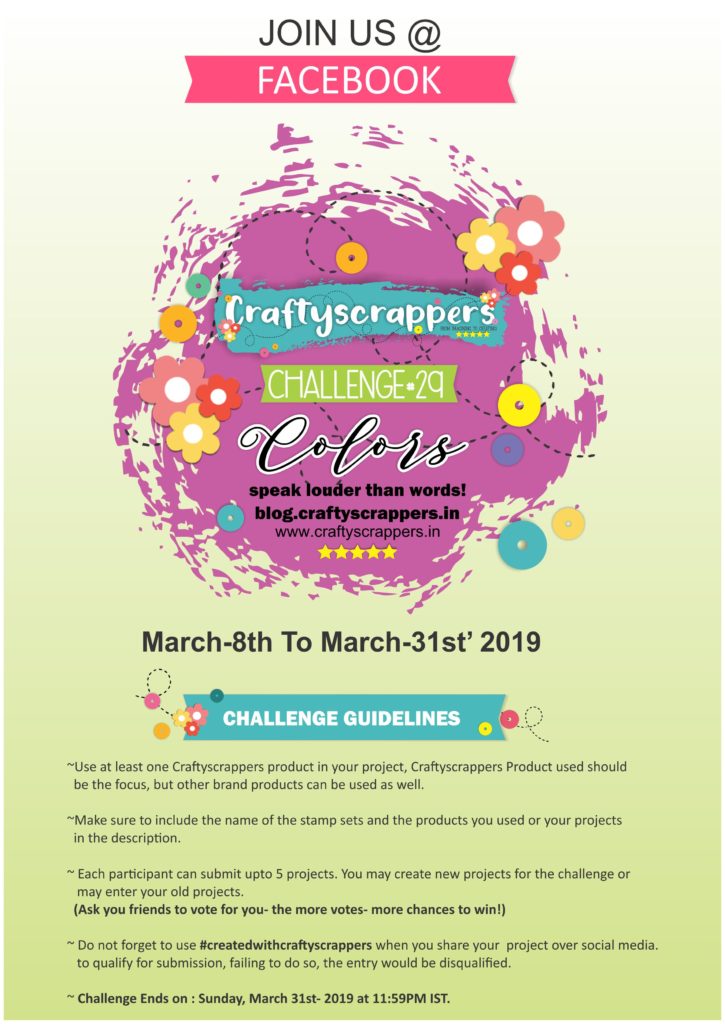
It’ the month of colors and our challenge is also about colors ” Colors speaker louder than words.
I have made 2 different cards with the same stamp set.
It shows how different color tones change the entire look of the same stamp set.
So lets look at them one by one…
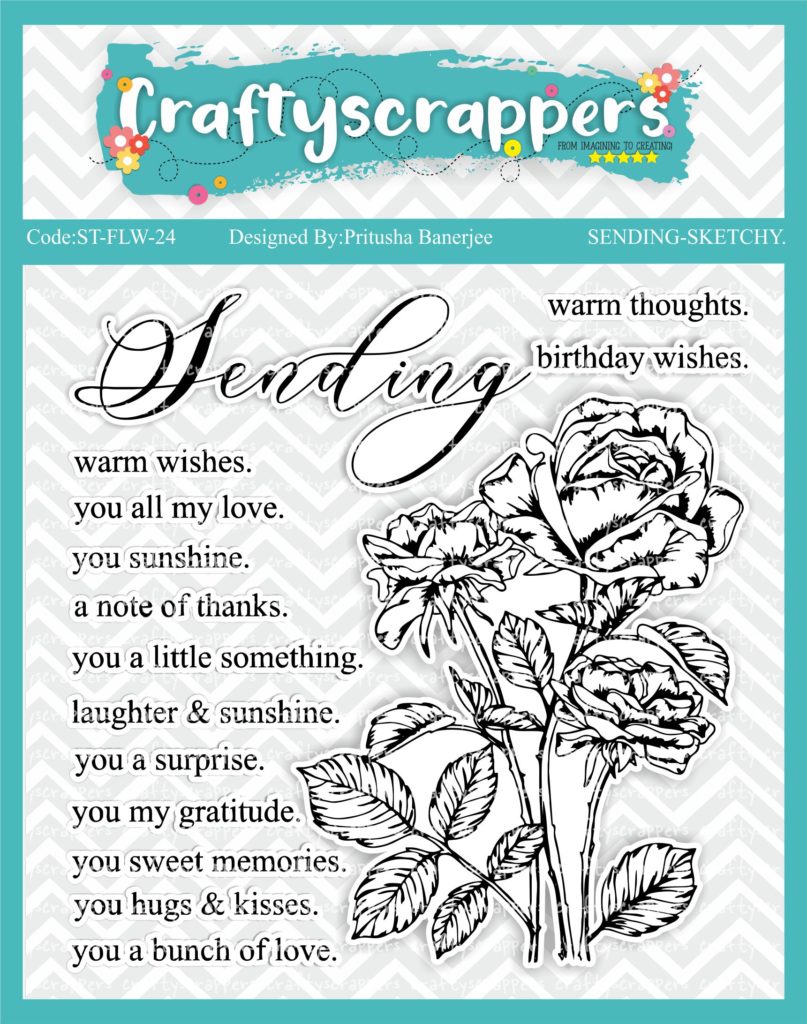
So to create my cards, i have used craftyscrappers stamp set
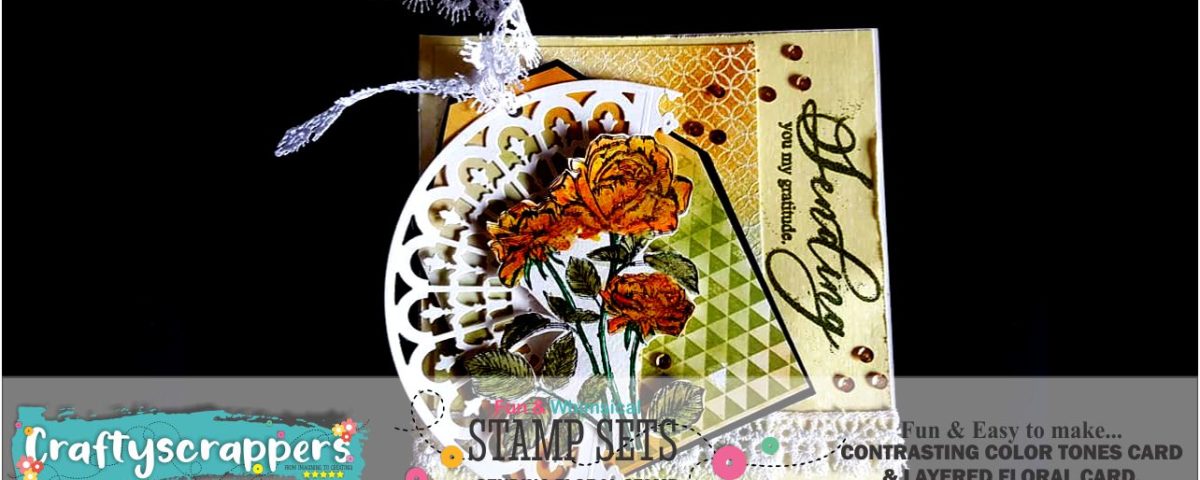
CARD#1: LAYERED FLORAL CARD
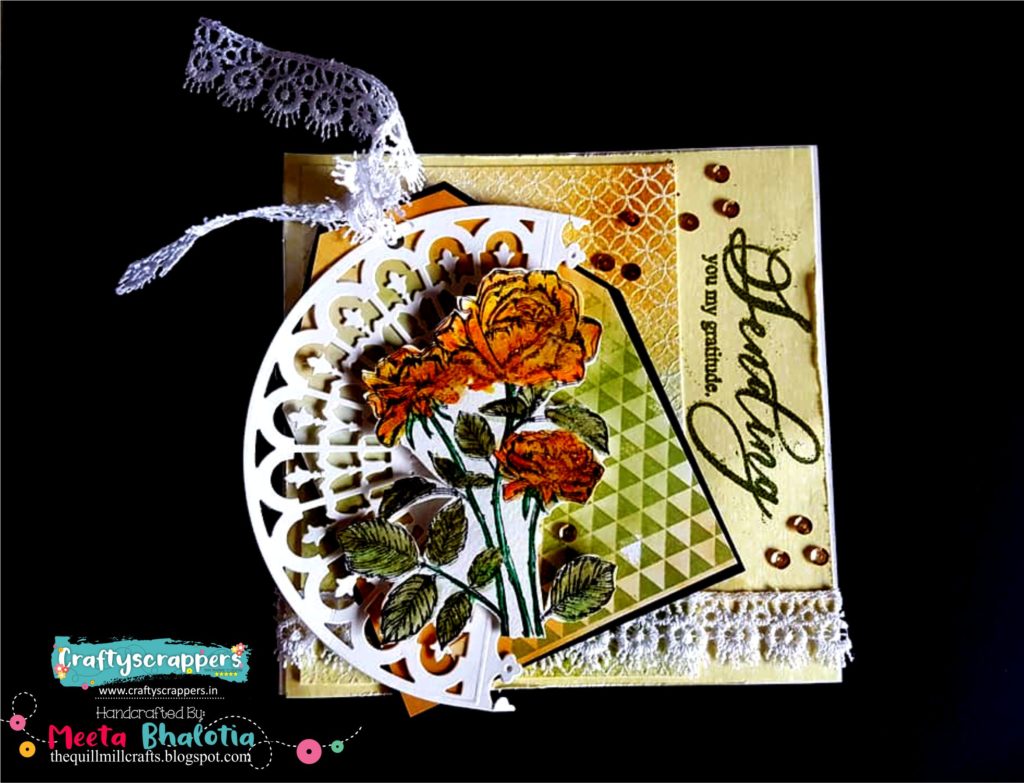
A BRIEF TUTORIAL:
- I firstly Stamped the ROSE stamp from the ‘SENDING‘ stamp set from CRAFTYSCRAPPERS.
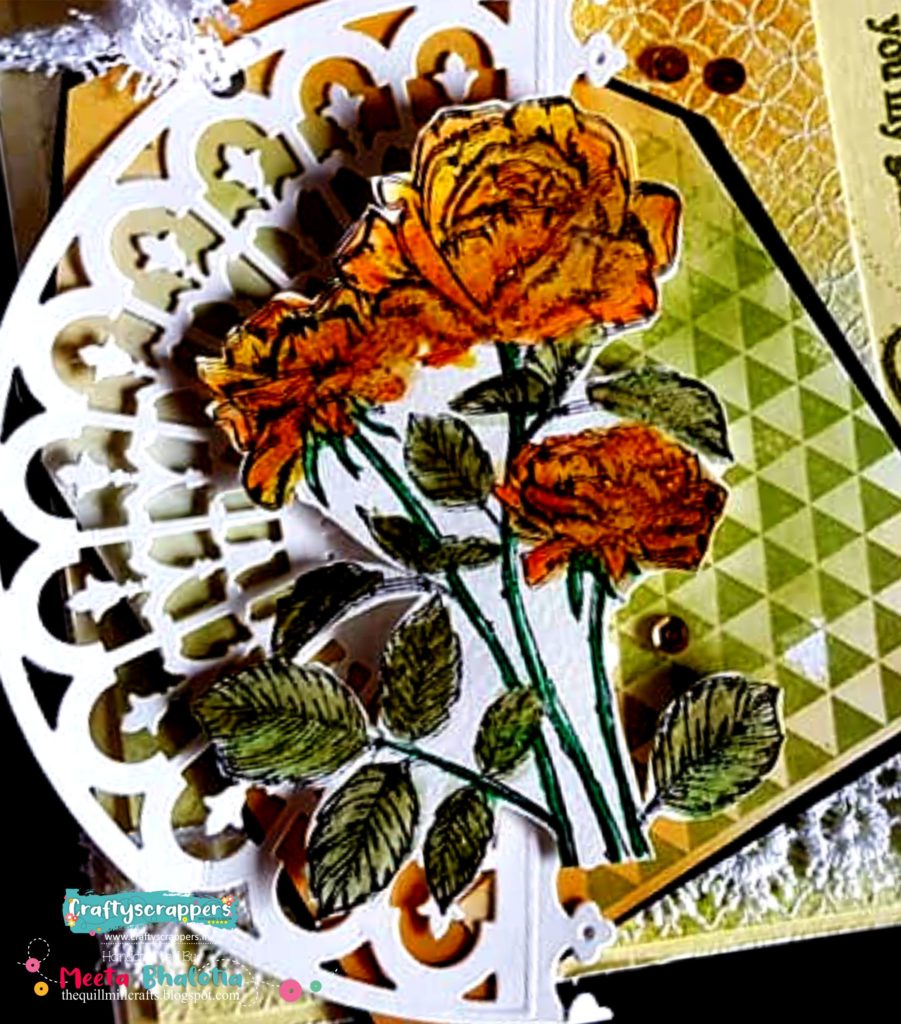
- I used Zig colour brush pens to color it and then highlighted it with CRAFTYSCRAPPERS SHIMMER PASTE — CANDY and MOSS .
- This gave a beautiful shine and shimmer to the stamp.
- Then I fussy cut it.
- Now for the card I took a small rectangular piece of iris cardstock. Distressed, stamped and embossed to make the background.
- Took another cardstock in the shape of of a tag .
- Distessed and stamped to give the background on the tag . Adhered a die cut and added the stamp
- The whole thing adhered to a black tag. Punched a hole and put a white lace
- Took another yellow colored pattern paper distressed the edged with the distress tool and embossed the SENDING YOU MY GRATITUDE sentiment .
- Now assembling of the LAYERED CARD
- Took a white square card of 6 by 6 inches.
- Adhered the yellow pattern paper with the embossed sentiment.
- Then put a lace on the lower side.
- Then adhered the background rectangle piece .
- Then adhered the tag with the rose stamp with foam tape to give a raised effect.
- Finally added few sequins from Shaker element Flirty Espresso
- And the card is ready.
Here is a close-up:
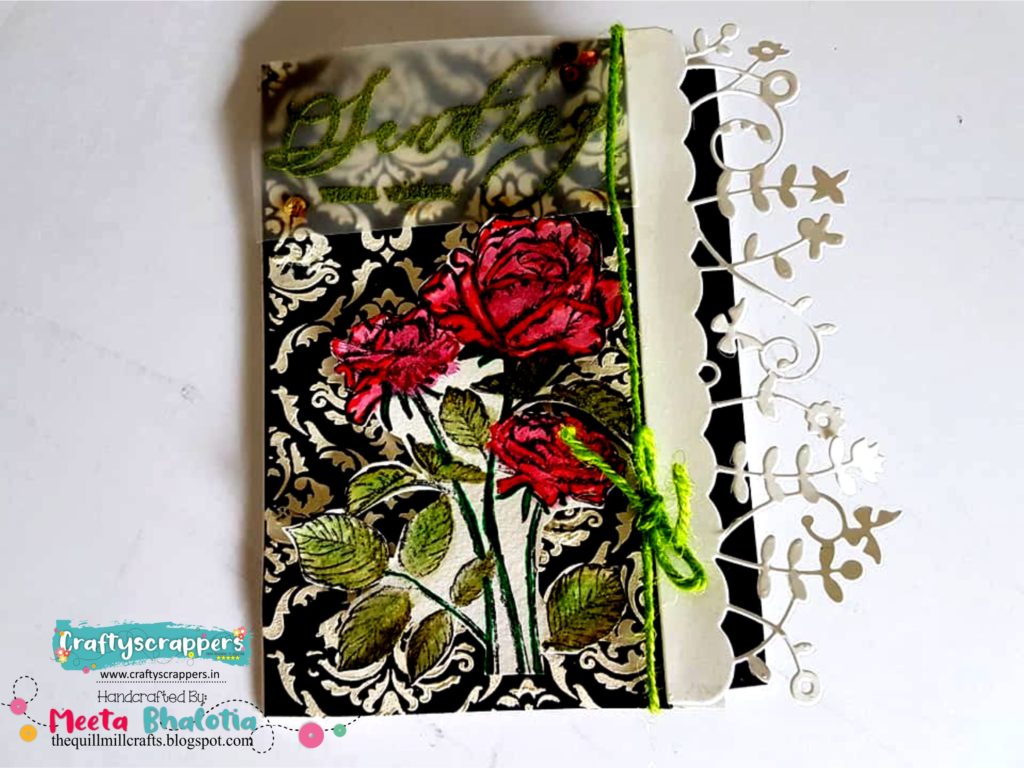
CARD#2: contrasting color tones (black white, red)
A BRIEF TUTORIAL:
- First stamped the rose stamp from the ‘SENDING’ stamp set.
- Colored in Yellow and green tones with the Zig colorbrush.
- Highlighted the whole stamp with the shimmer paste ( Ornament and Moss)
- Fussy cut it
- On a vellum paper stamped the sentiment “SENDING WARM WISHES’ and heat embossed with the green embossing power.
- I took white and black cardstocks
- On the black cardstock I stencil it with white texture paste.and let it dry.
- Adhered it to the white card which I have folded in 3 different measurements to make a 3 fold card. Also added black cardstock on the inner fold.
- Added a border diecut of tiny flowers,and leaves.
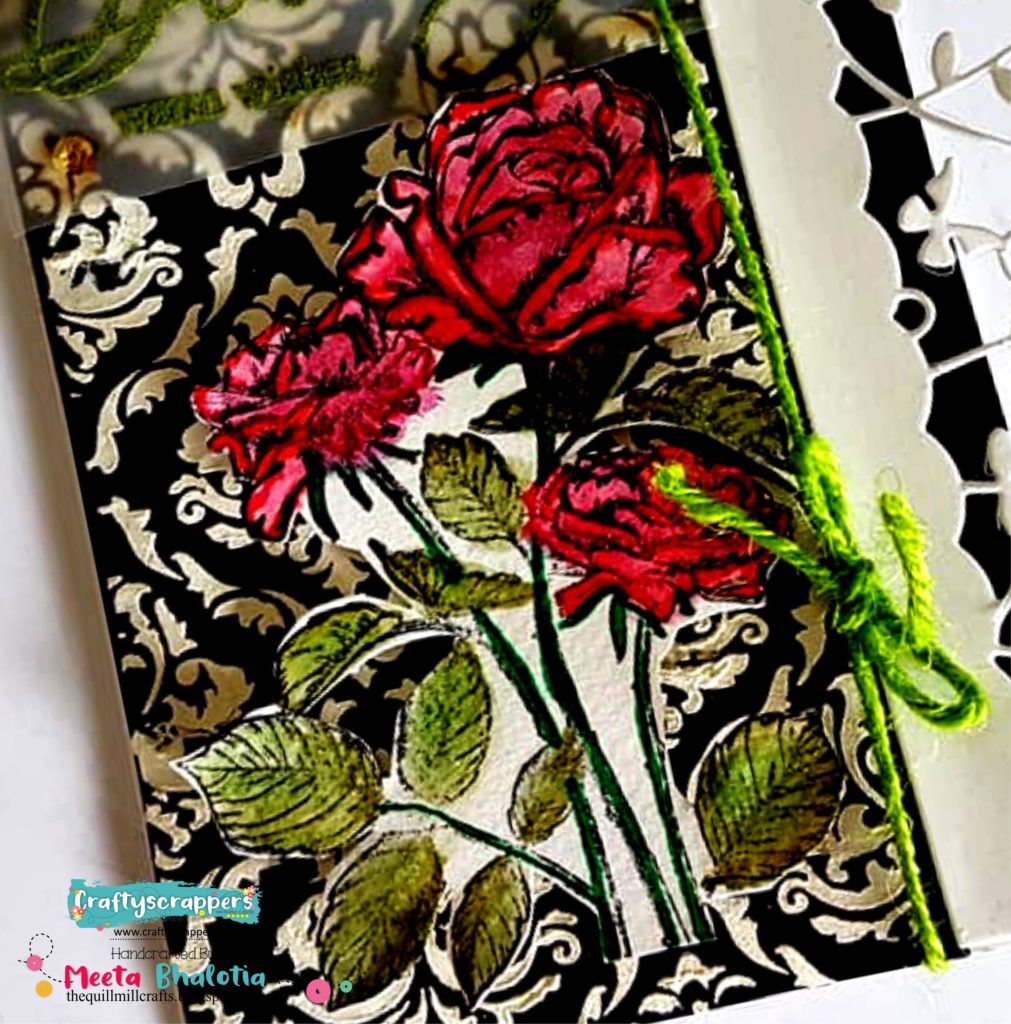
- Then added the colored rose stamp with foam tape to give a little dimension to the card.
- Added the sentiment on the top
- With a green jute cord tied a bow along the card.
- Finally added some sequins from the Shaker element Flirty Espresso here and there to give a finished look.
Heres a close-up:
This is all from my side.
I hope you liked this project.
Do let me know how you like this project in the comments below.Until then Happy Crafting 🙂
Don’t forget to join in our craft challenges
(details at the beginning of the post)
You can participate via Facebook, Instagram and even via email.
(While sharing your creation post over the social media, ie
Facebook/twitter/Instagram
please use #Craftyscrapperschallenge29 to qualify for submission,
failing to do so, the entry would be disqualified.)
Thanks for stopping by.
Have a crafty day ahead !


Love the way you layered your first card and the colour combination in the second.