
Hello friends,
This is Priyadarshini, Creative Designer @craftyscrappers
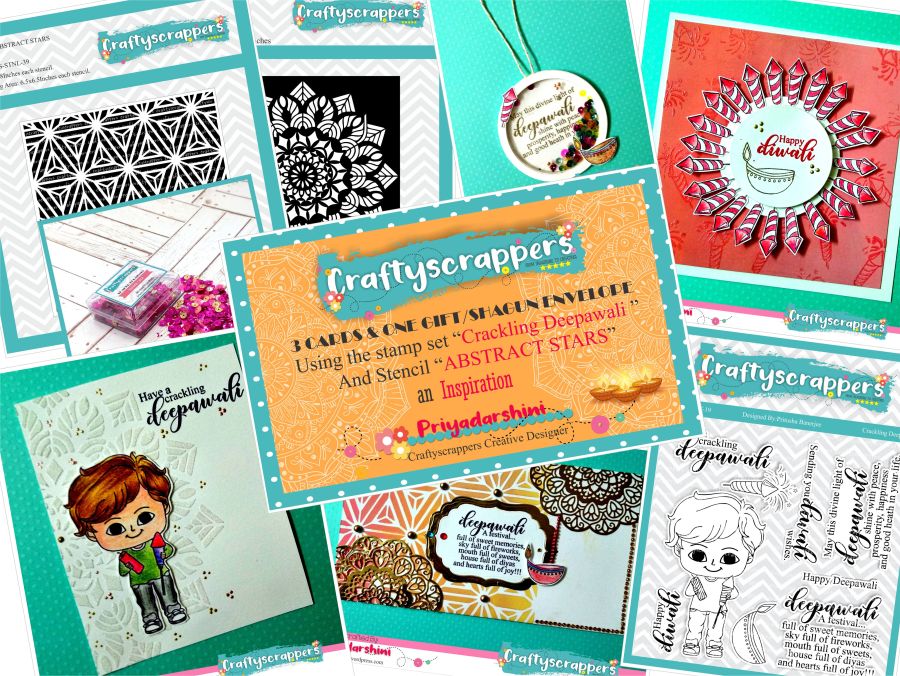
and today I have a new project to share with you as an inspiration for our new challenge with theme is ‘Celebrate Dusshera & Diwali’.
Our festive season has started and its months of fun and joy and celebration. Its my favorite time of the year and the most busiest time for me.
With Navaratri celebrations just over and Diwali around the corner, I decided to make 4 projects as an inspiration for Craftyscrappers blog this month.

For these projects I used only one stamp set and 2 stencils. I wanted to show that 4 projects can be made with minimal supplies. I have used few supplies to make these projects. As always, my cards are CAS (clean and simple). I have made 3 cards and one gift/shagun envelope.
To start with i have used Craftyscrappers Stamp set:
Crackling Deepawali

along with Craftyscrappers stencil:
Abstract stars
![cs-stnl-39-ABSTRACT STARS].jpg](https://craftyscrappers.files.wordpress.com/2018/10/cs-stnl-39-abstract-stars.jpg?w=798)
and Craftyscrappers stencil:
RANGOLI
![cs-stnl-24[RANGOLI].jpg](https://craftyscrappers.files.wordpress.com/2018/10/cs-stnl-24rangoli2.jpg?w=798)
and lastly Craftyscrappers SHAKER ELEMENTS:


Additional products you will need to create the projects:
- Altenew Jet black ink
- Distress oxide inks
Abandoned coral
Picked raspberry
Spiced marmalade
Wild honey
Firebrick - White card stock, gold card stock
- Foam adhesive
- Circle die cut and Doily die cut
- Colour pencils
- Embossing paste
- Embossing powder – Sparkle, clear gloss, gold
- Anti-static powder tool
- Liquid pearls
- Gemstones
- Heat tool for embossing.
if you have missed the previous post check it out here:
CHALLENGE#26: Celebrate DUSSHERA & DIWALI
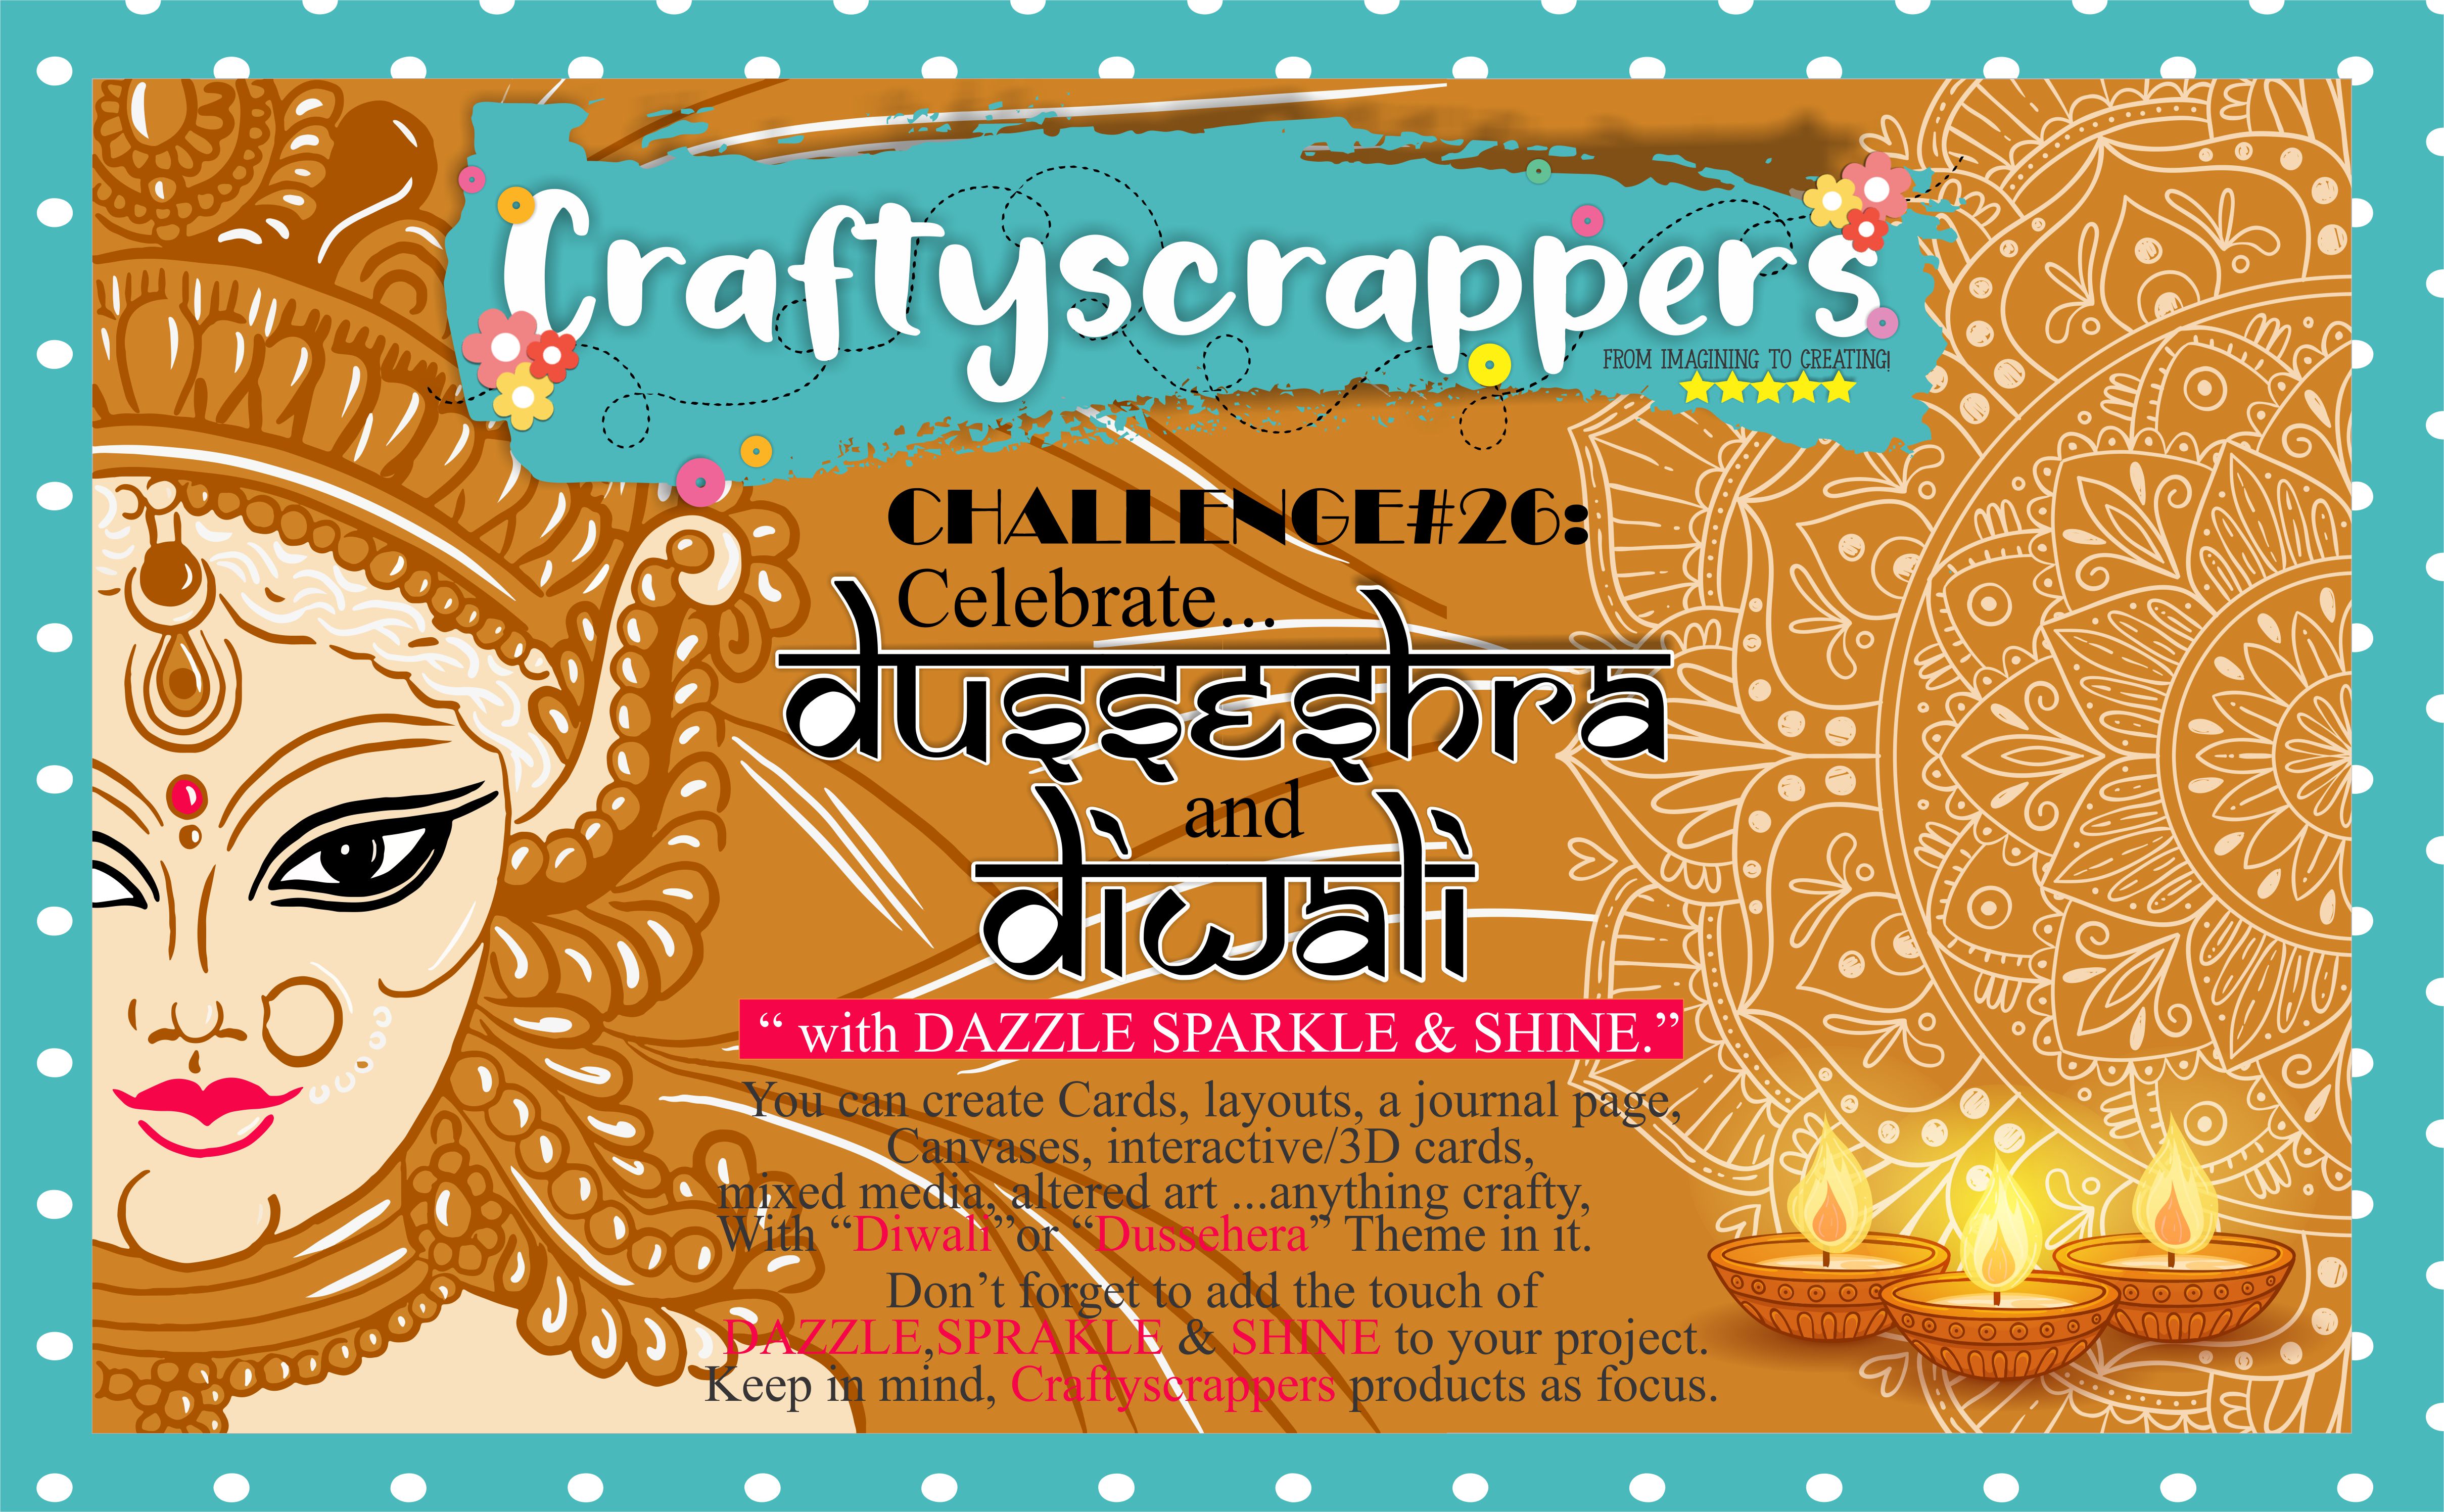
You can create Cards, layouts, a journal page, Canvases, interactive/3D cards, mixed media, altered art …anything crafty,
With “Diwali”or “Dussehera” Theme in it.
Don’t forget to add the touch of DAZZLE,SPRAKLE & SHINE to your project.
Keep in mind, Craftyscrappers products as focus.
Last date of submission is 30 NOVEMBER 2018


PROJECT#1: CAS One Layer card

A BRIEF TUTORIAL:
- I took craftyscrappers premium white card stock and placed the rangoli stencil on one side of the card.
- I added some embossing paste to the stencil.
- Once I removed the stencil, I immediately added the sparkle embossing powder and let it dry for about 10 minutes before I heat set it.
- By the time it dried, I stamped and colored the image.
- After 10 mins, I heat set the embossing powder.
- Using some strong adhesive, I added the image to the card.
- To finish the card, I added the sentiment and some liquid pearls
- (Used rangoli stencil as it has a festive look)
Here are some close-ups:


PROJECT#2: SHAKER GIFT TAG

A BRIEF TUTORIAL:
- First for this tag, I die cut a lot of circles. One for the base and about 10 more die cuts to stack them up. Then, I also die cut a circle to close the shaker using acetate. I used two sizes of circle die cuts to make 10 circle frames.
- I stamped the sentiment on the base and heat embossed with gold powder.
- I stamped and colored a rocket and a lamp.
- I used tacky glue and started stacking the die cuts up.
- Before adding the last two frame layers, I added the shaker elements and the acetate sheet and twine thread.
- I added the last two frame layers and then added the stamped the images to finish the tag.
Here are some close-ups:


PROJECT#3: SPINNER CARD

A BRIEF TUTORIAL:
- I took 5.5 x 5.5 inche white cardstock and distress inked the entire cardstock.
- Once its dry, I clear embossed the background using rocket image from the stamp set.
- I stamped lots of the rocket and coloured them. Then fuzzy cut these rockets and keep them aside.
- To make the spinner feature, I die cut 5 rings (like the frame which goes behind the sentiment and it holds the sentiment in place)
- One circle die cut to stamp the sentiment.
- One larger ring die cut to hold all the rockets.
- I place the 5 rings in the middle of the card and added some foam adhesive to the centre.
- I carefully place the large ring (it will sit easily around the first set of rings). This large ring works as the spinner
- Using strong adhesive, I added the sentiment to the centre.
- Since the large ring is protruding out its easy to add the rockets. I used tacky glue to add the rockets and the spinner element works.
Here are some close-ups:


BONUS PROJECT# Gift envelope

A BRIEF TUTORIAL:
- I used a white cardstock to make this envelope. I distress inked the envelope using abstract stars stencil.
- Once the ink was dry, I added gold die cut doily (I cut it into half and added them on each side of the envelope)
- I added the sentiment to the center of the envelope and added a gold frame to it.
- To finish the card, I added a small lamp and added a red ball chain to the lamp so it looks like its hanging.
- I also added some gemstones and rhinestones.
Here are some close-ups:


Do leave some love and feedback below and I will be back soon for more inspirations!
Don’t forget to join in our craft challenges,(details at the beginning of the post!)
You can participate via mr.linky (at the end of the challenge post)or via facebook,Instagram and even via email.
(While sharing your creation post over the social media, ie
Facebook/twitter/instagram
please use #Craftyscrappers challenge26 to qualify for submission,
failing to do so, the entry would be disqualified.)
Thanks for stopping by.
Happy Crafting!
