
Hello everyone,
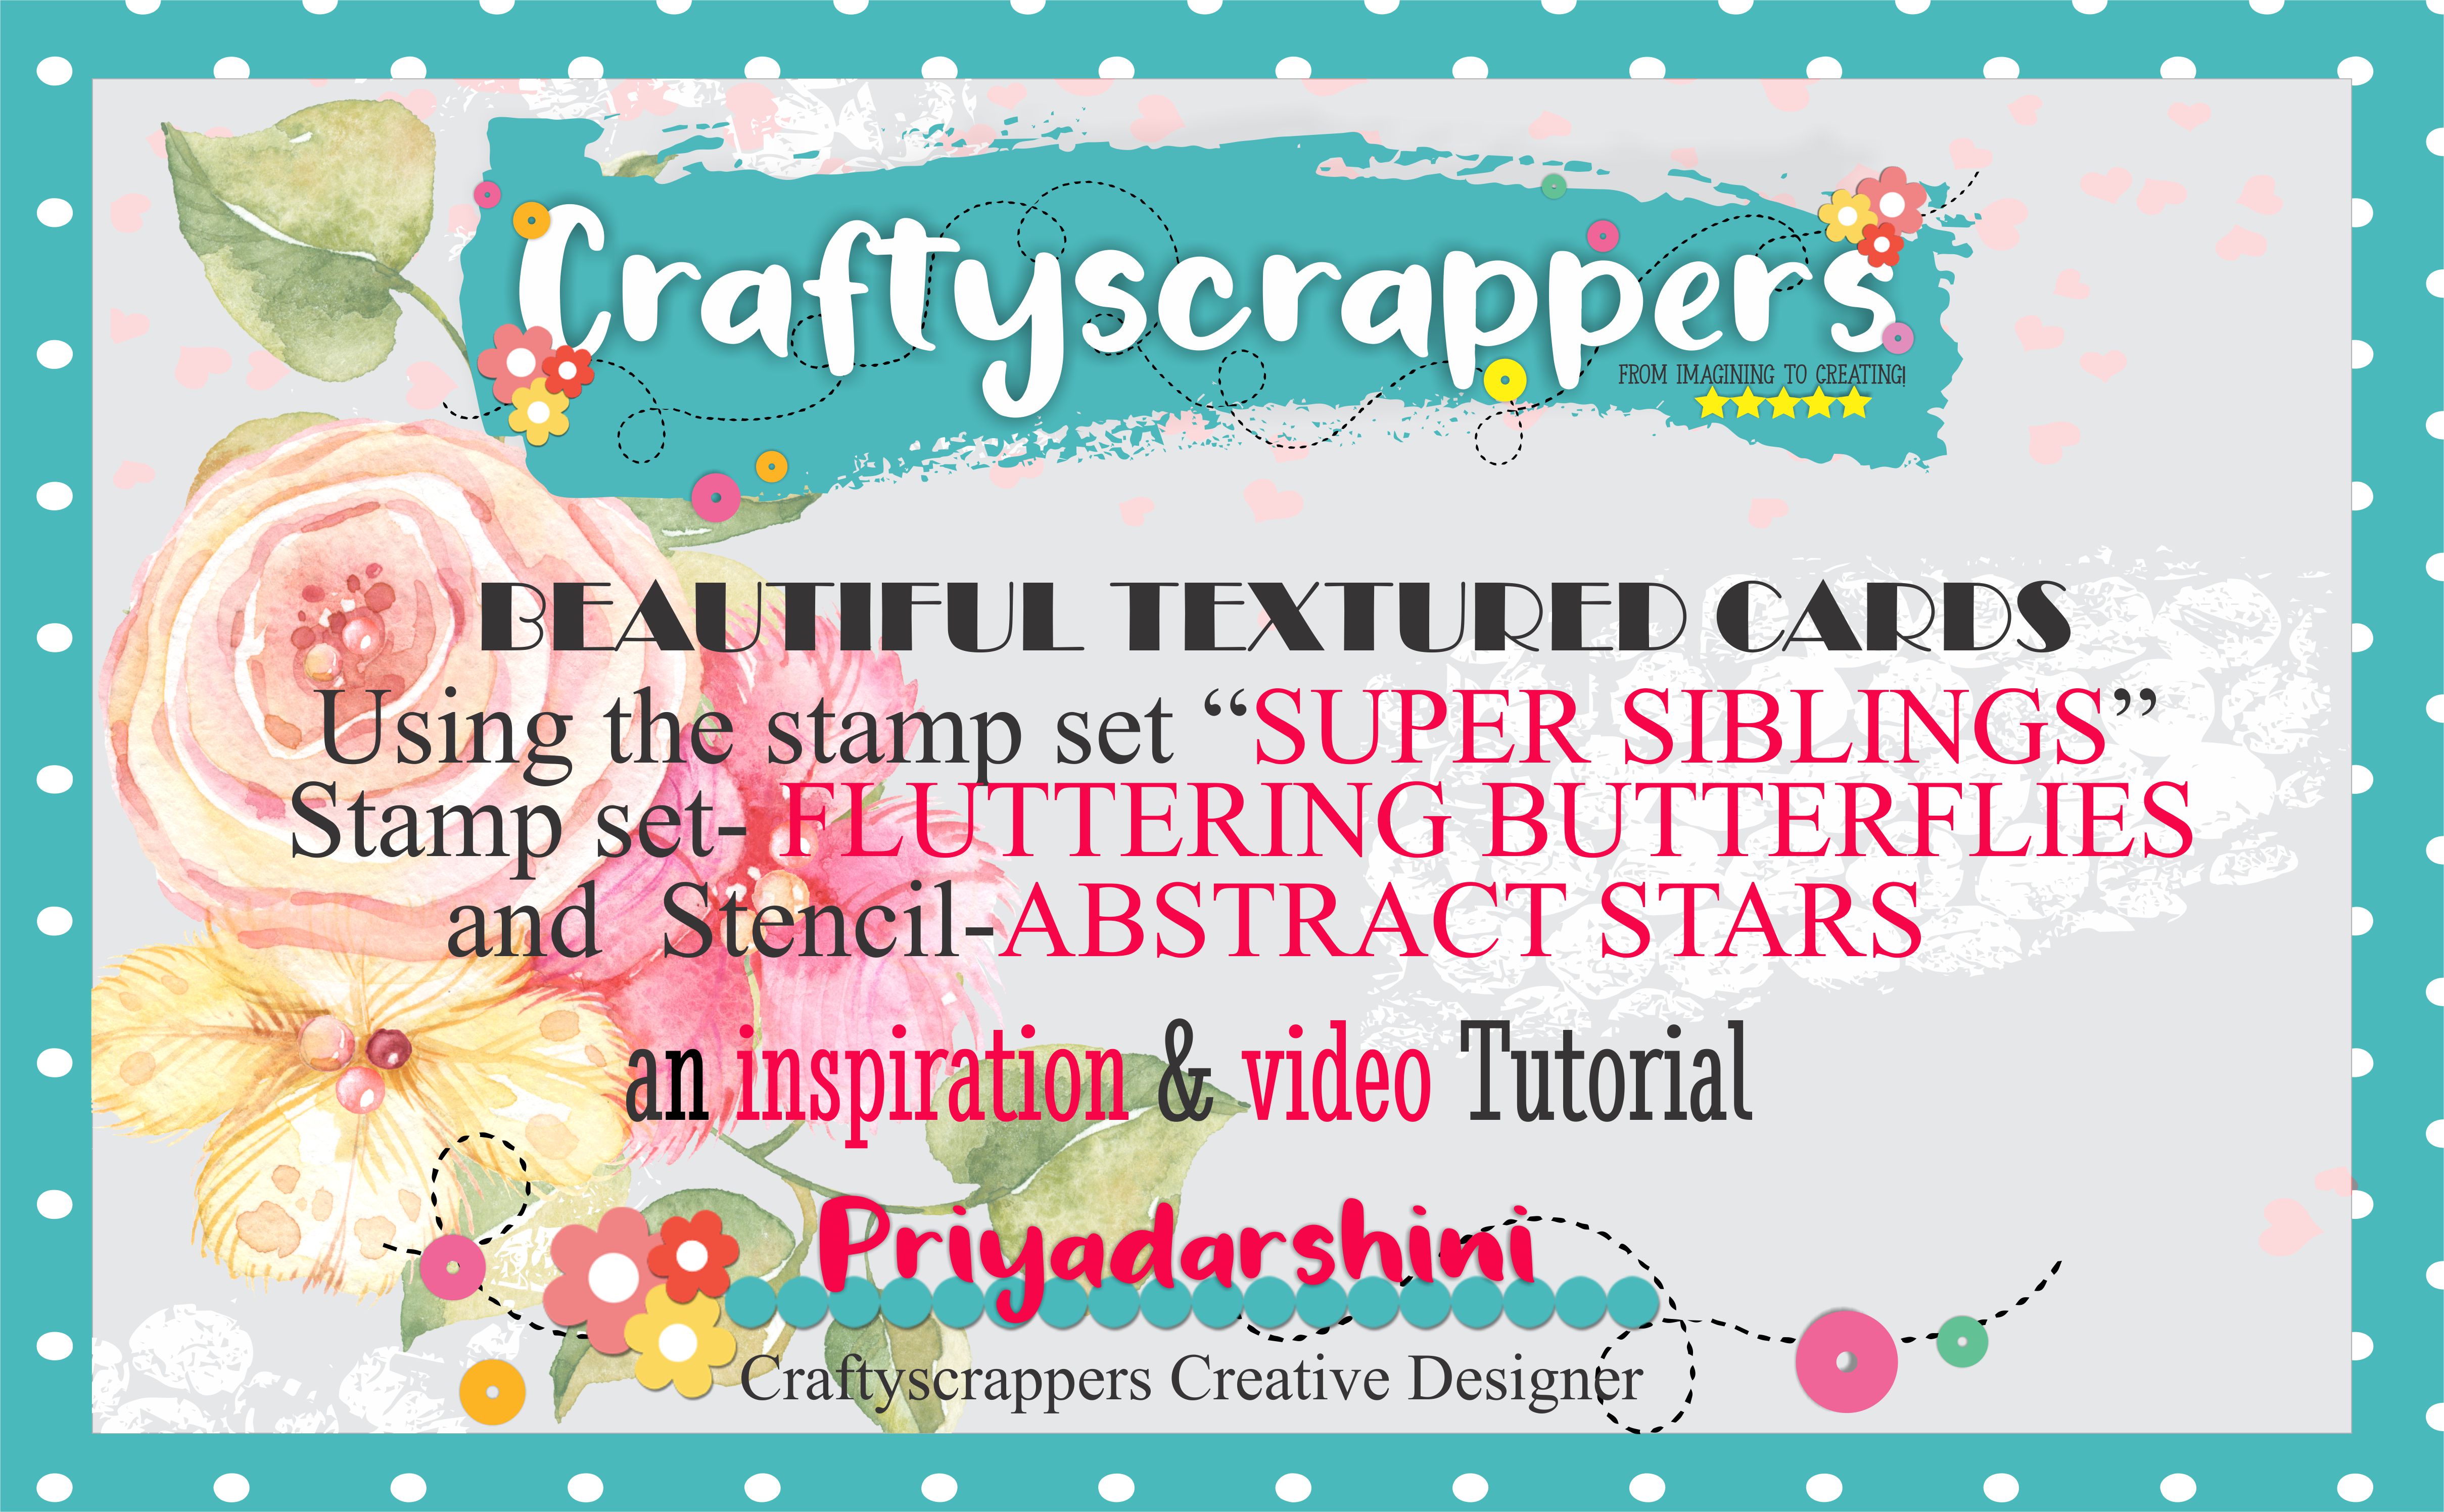
This is Priyadarshini, Creative Designer @craftyscrappers
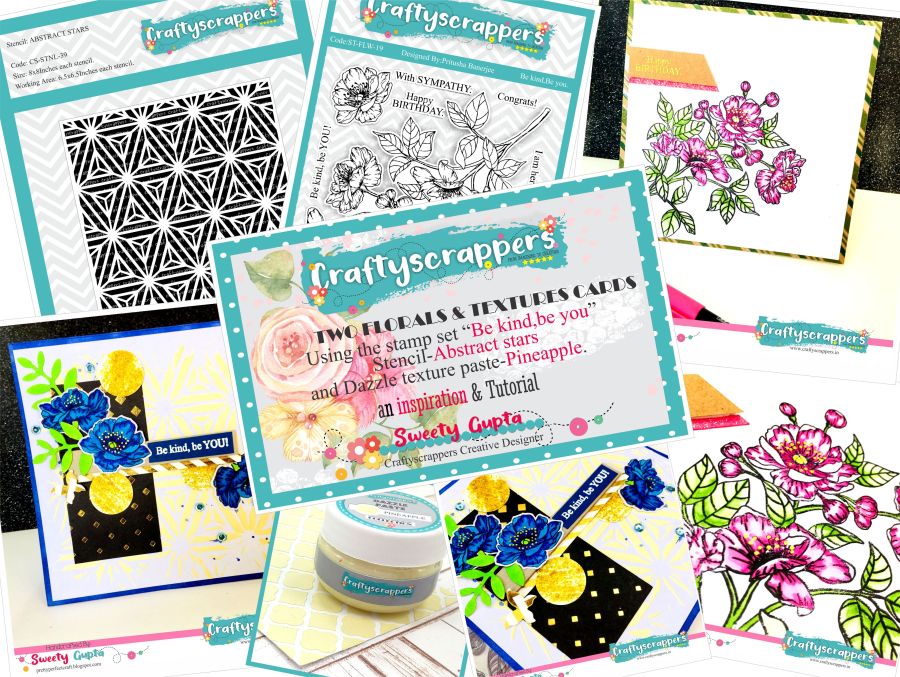
and today I have three beautiful technique oriented texture cards for you.
i also have a video tutorial to share where i have demonstrated all of the three techniques in detail.
But before I start, let me tell you our challenge for the month of SEPTEMBER is ongoing, if you have missed the previous post check it out here:
CHALLENGE#25:”FLORALS & TEXTURES”
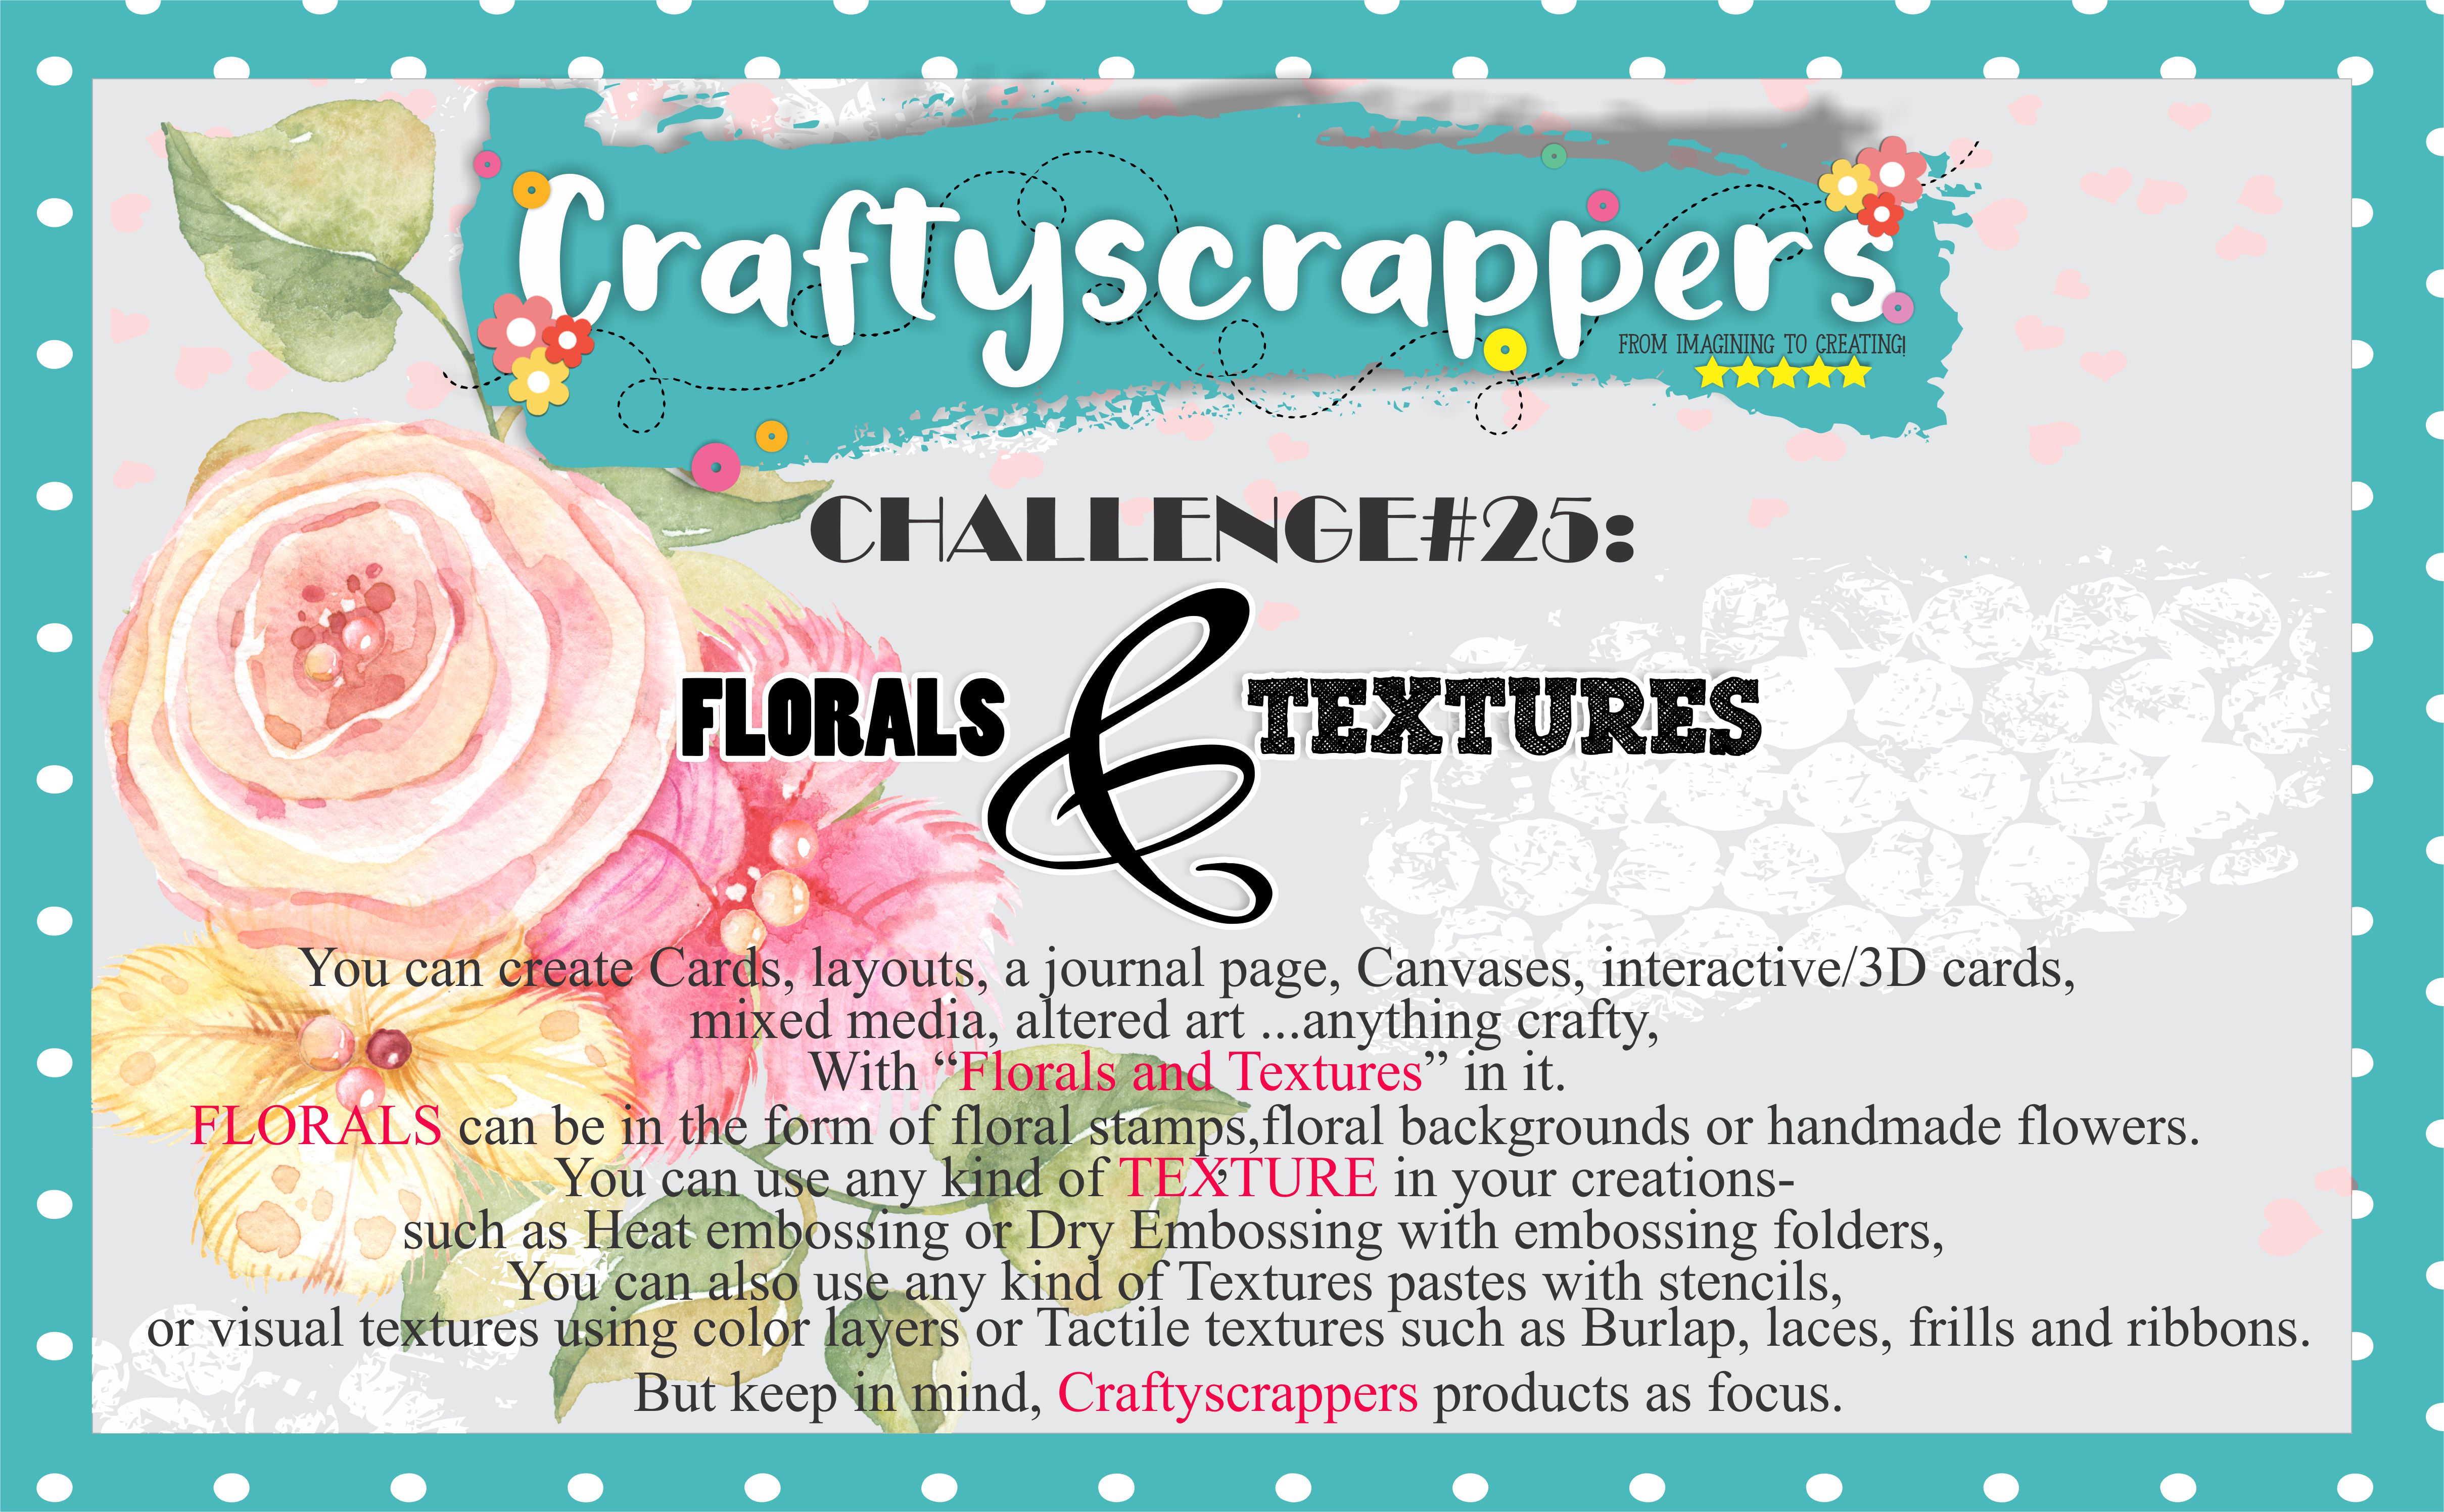
So join the fun to win amazing prizes from us!!!

Here is a look at the three cards that i created:
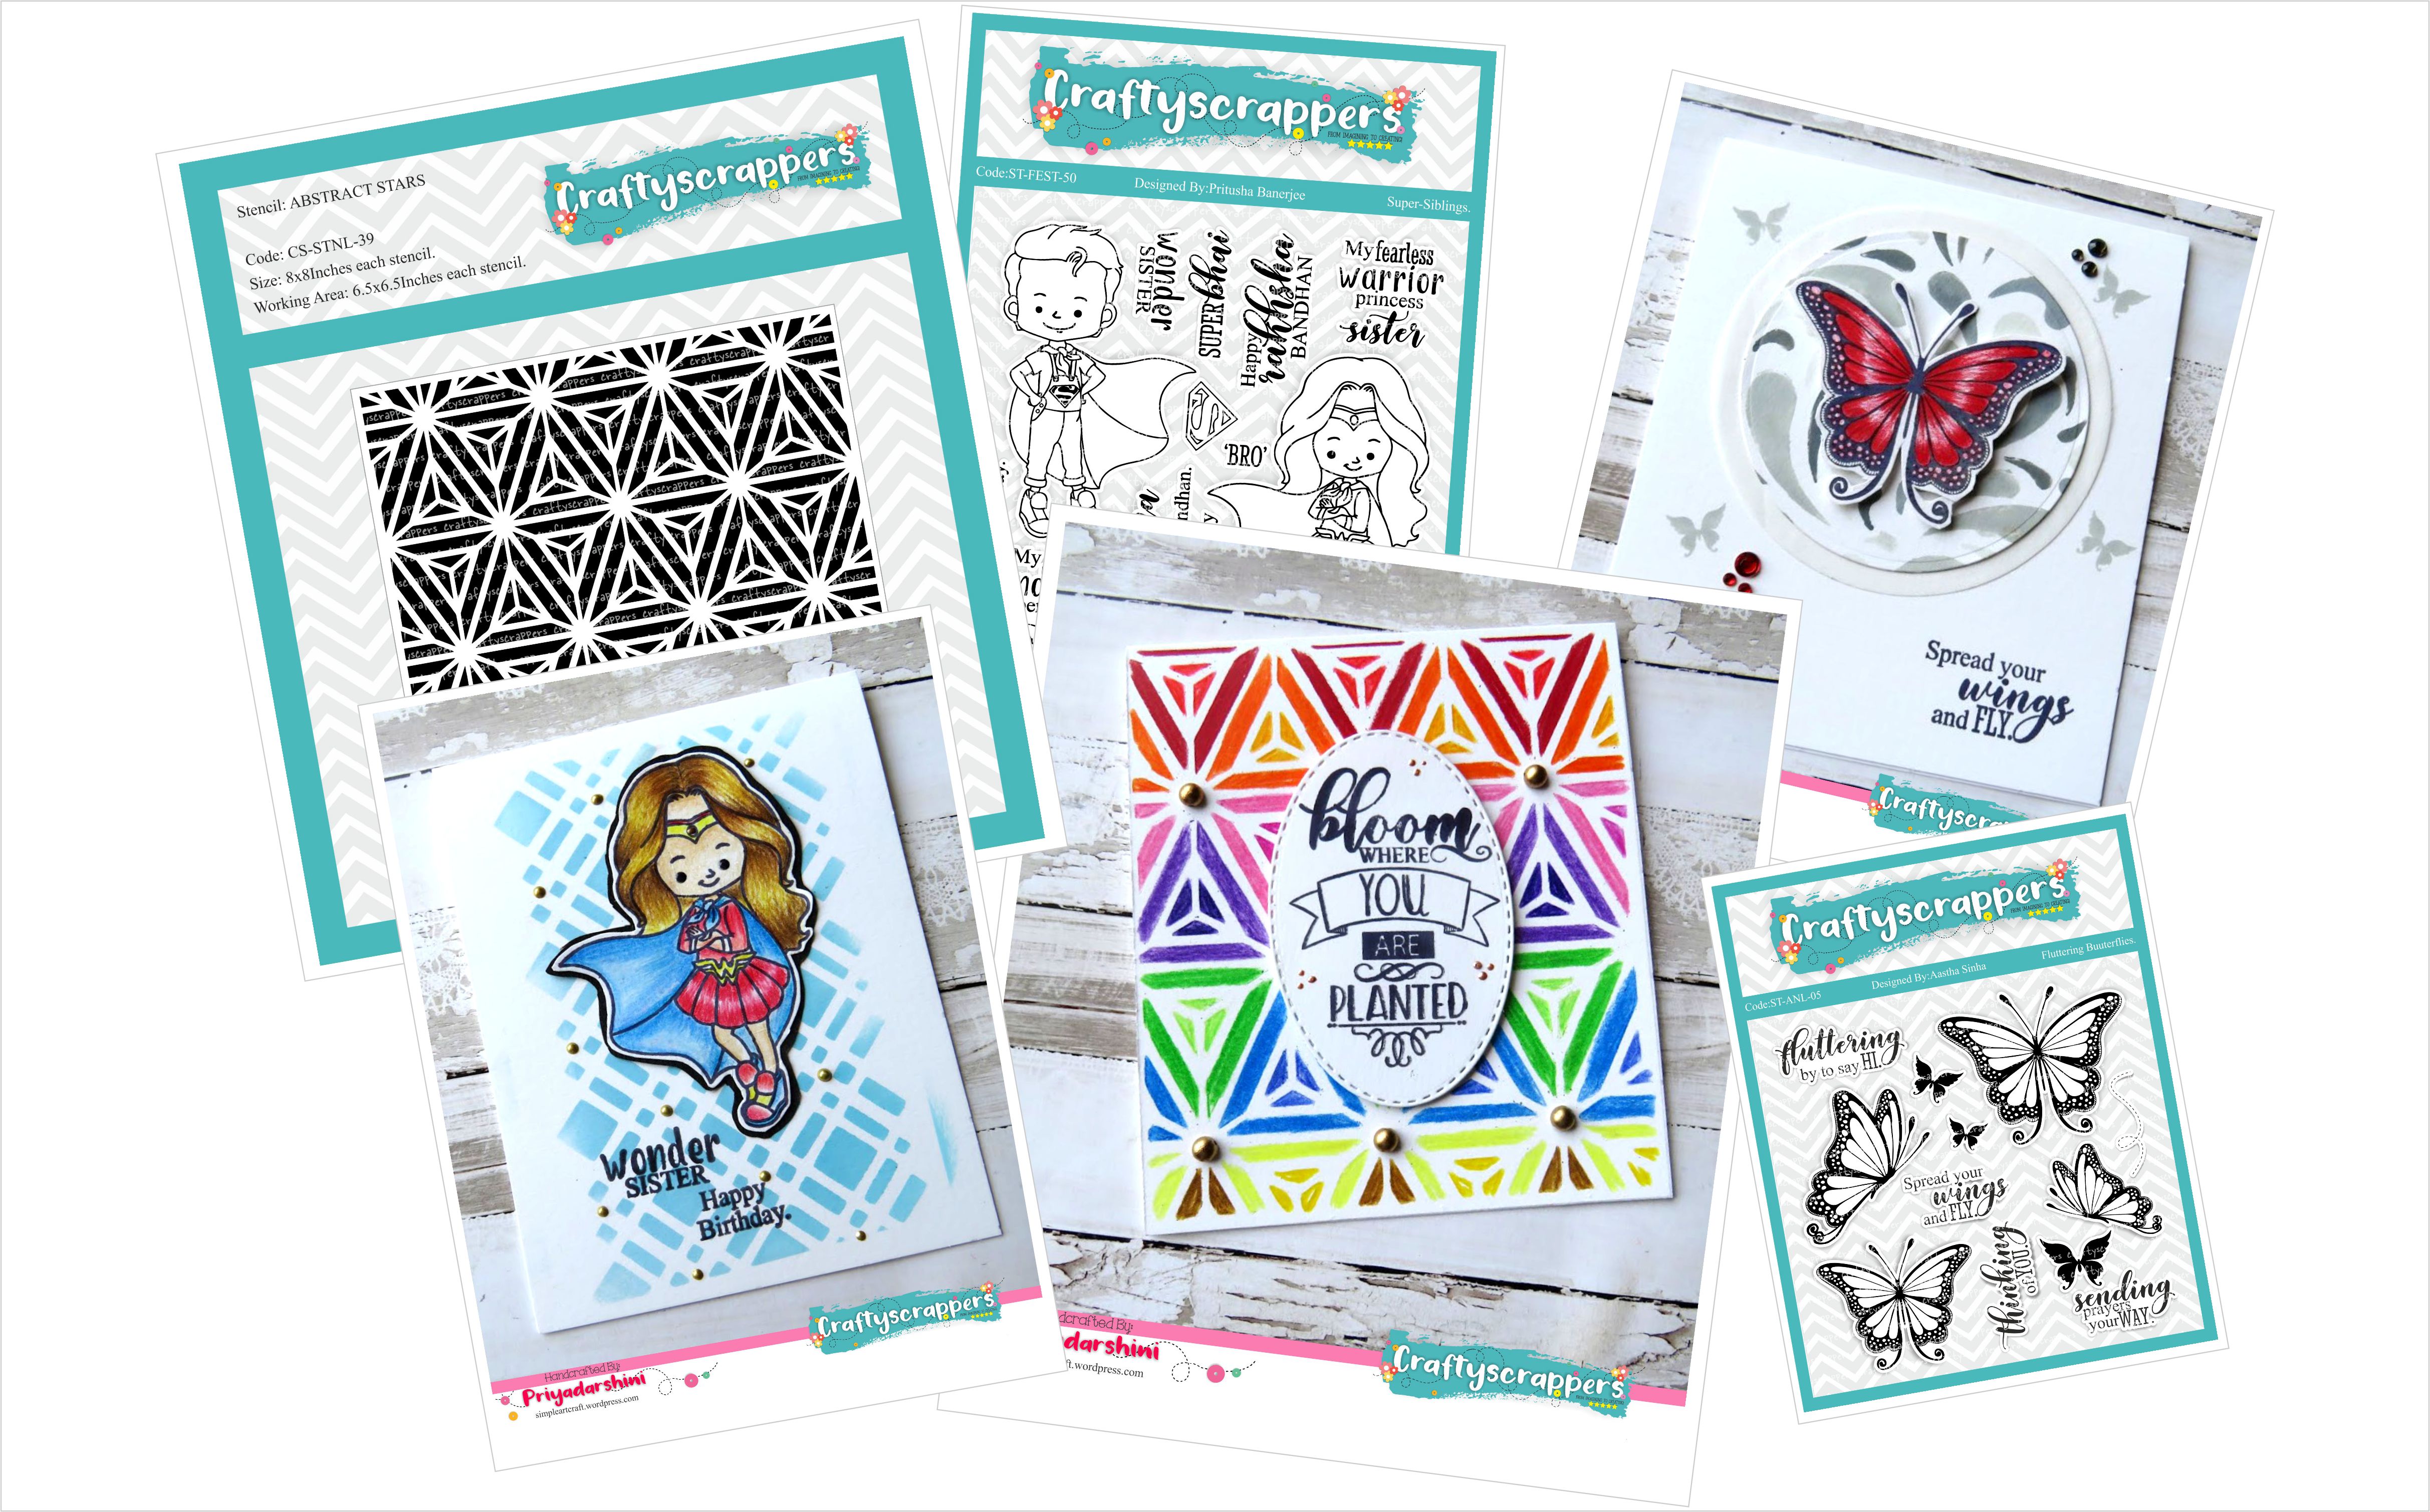
To create my three technique oriented cards,
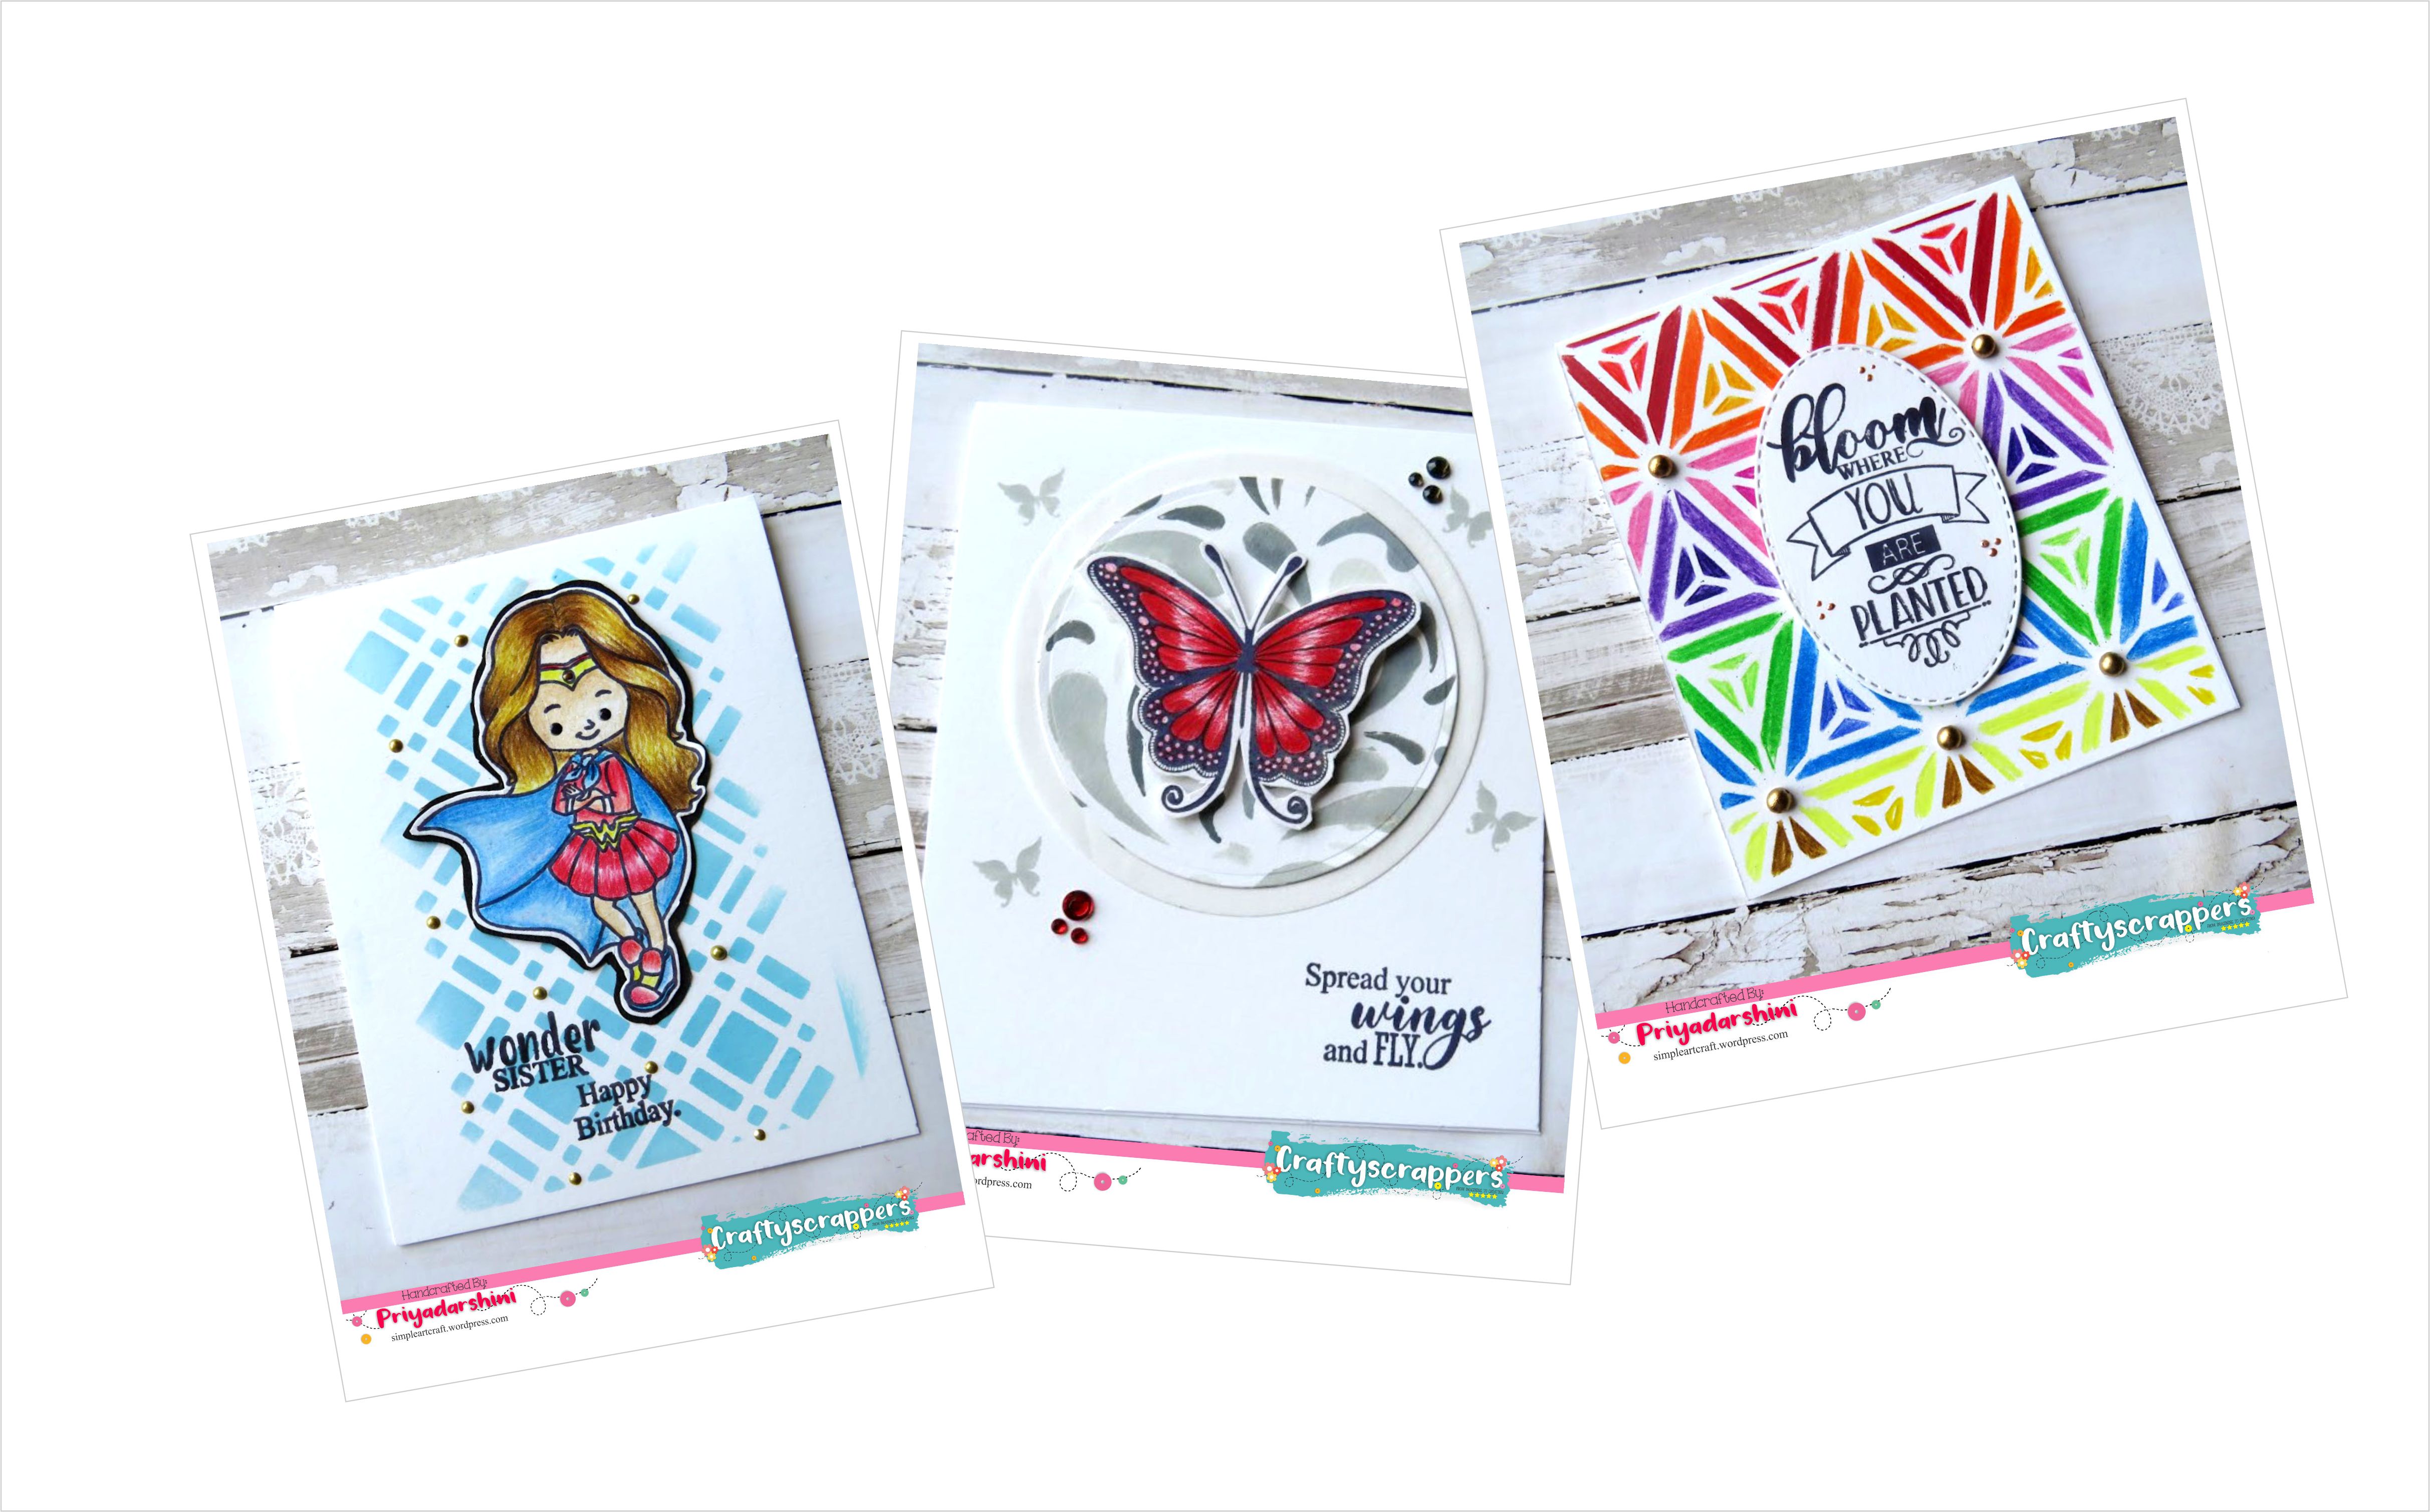
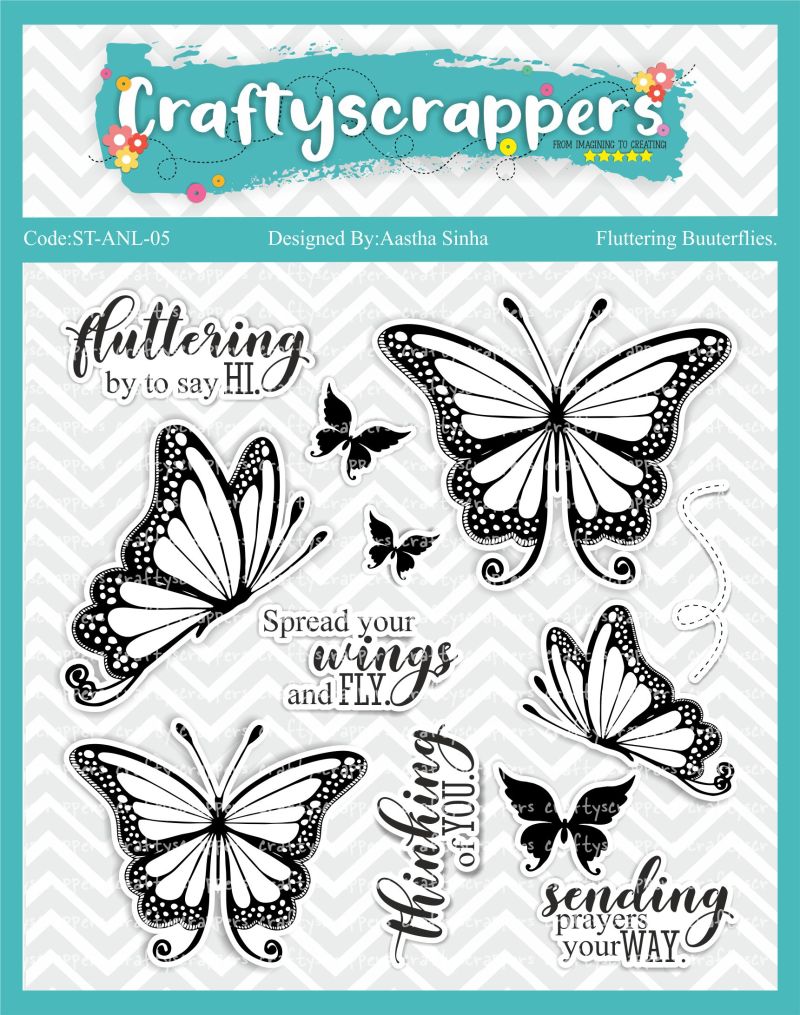
i have used @craftyscrappers stamp set,
![st-fest-50[super-siblings].jpg](https://craftyscrappers.files.wordpress.com/2018/09/st-fest-50super-siblings.jpg?w=798)
and the amazing and intricate stencil-ABSTRACT STARS
![cs-stnl-39-ABSTRACT STARS].jpg](https://craftyscrappers.files.wordpress.com/2018/09/cs-stnl-39-abstract-stars.jpg?w=800)
CARD#1: VELLUM BUTTERFLY CARD
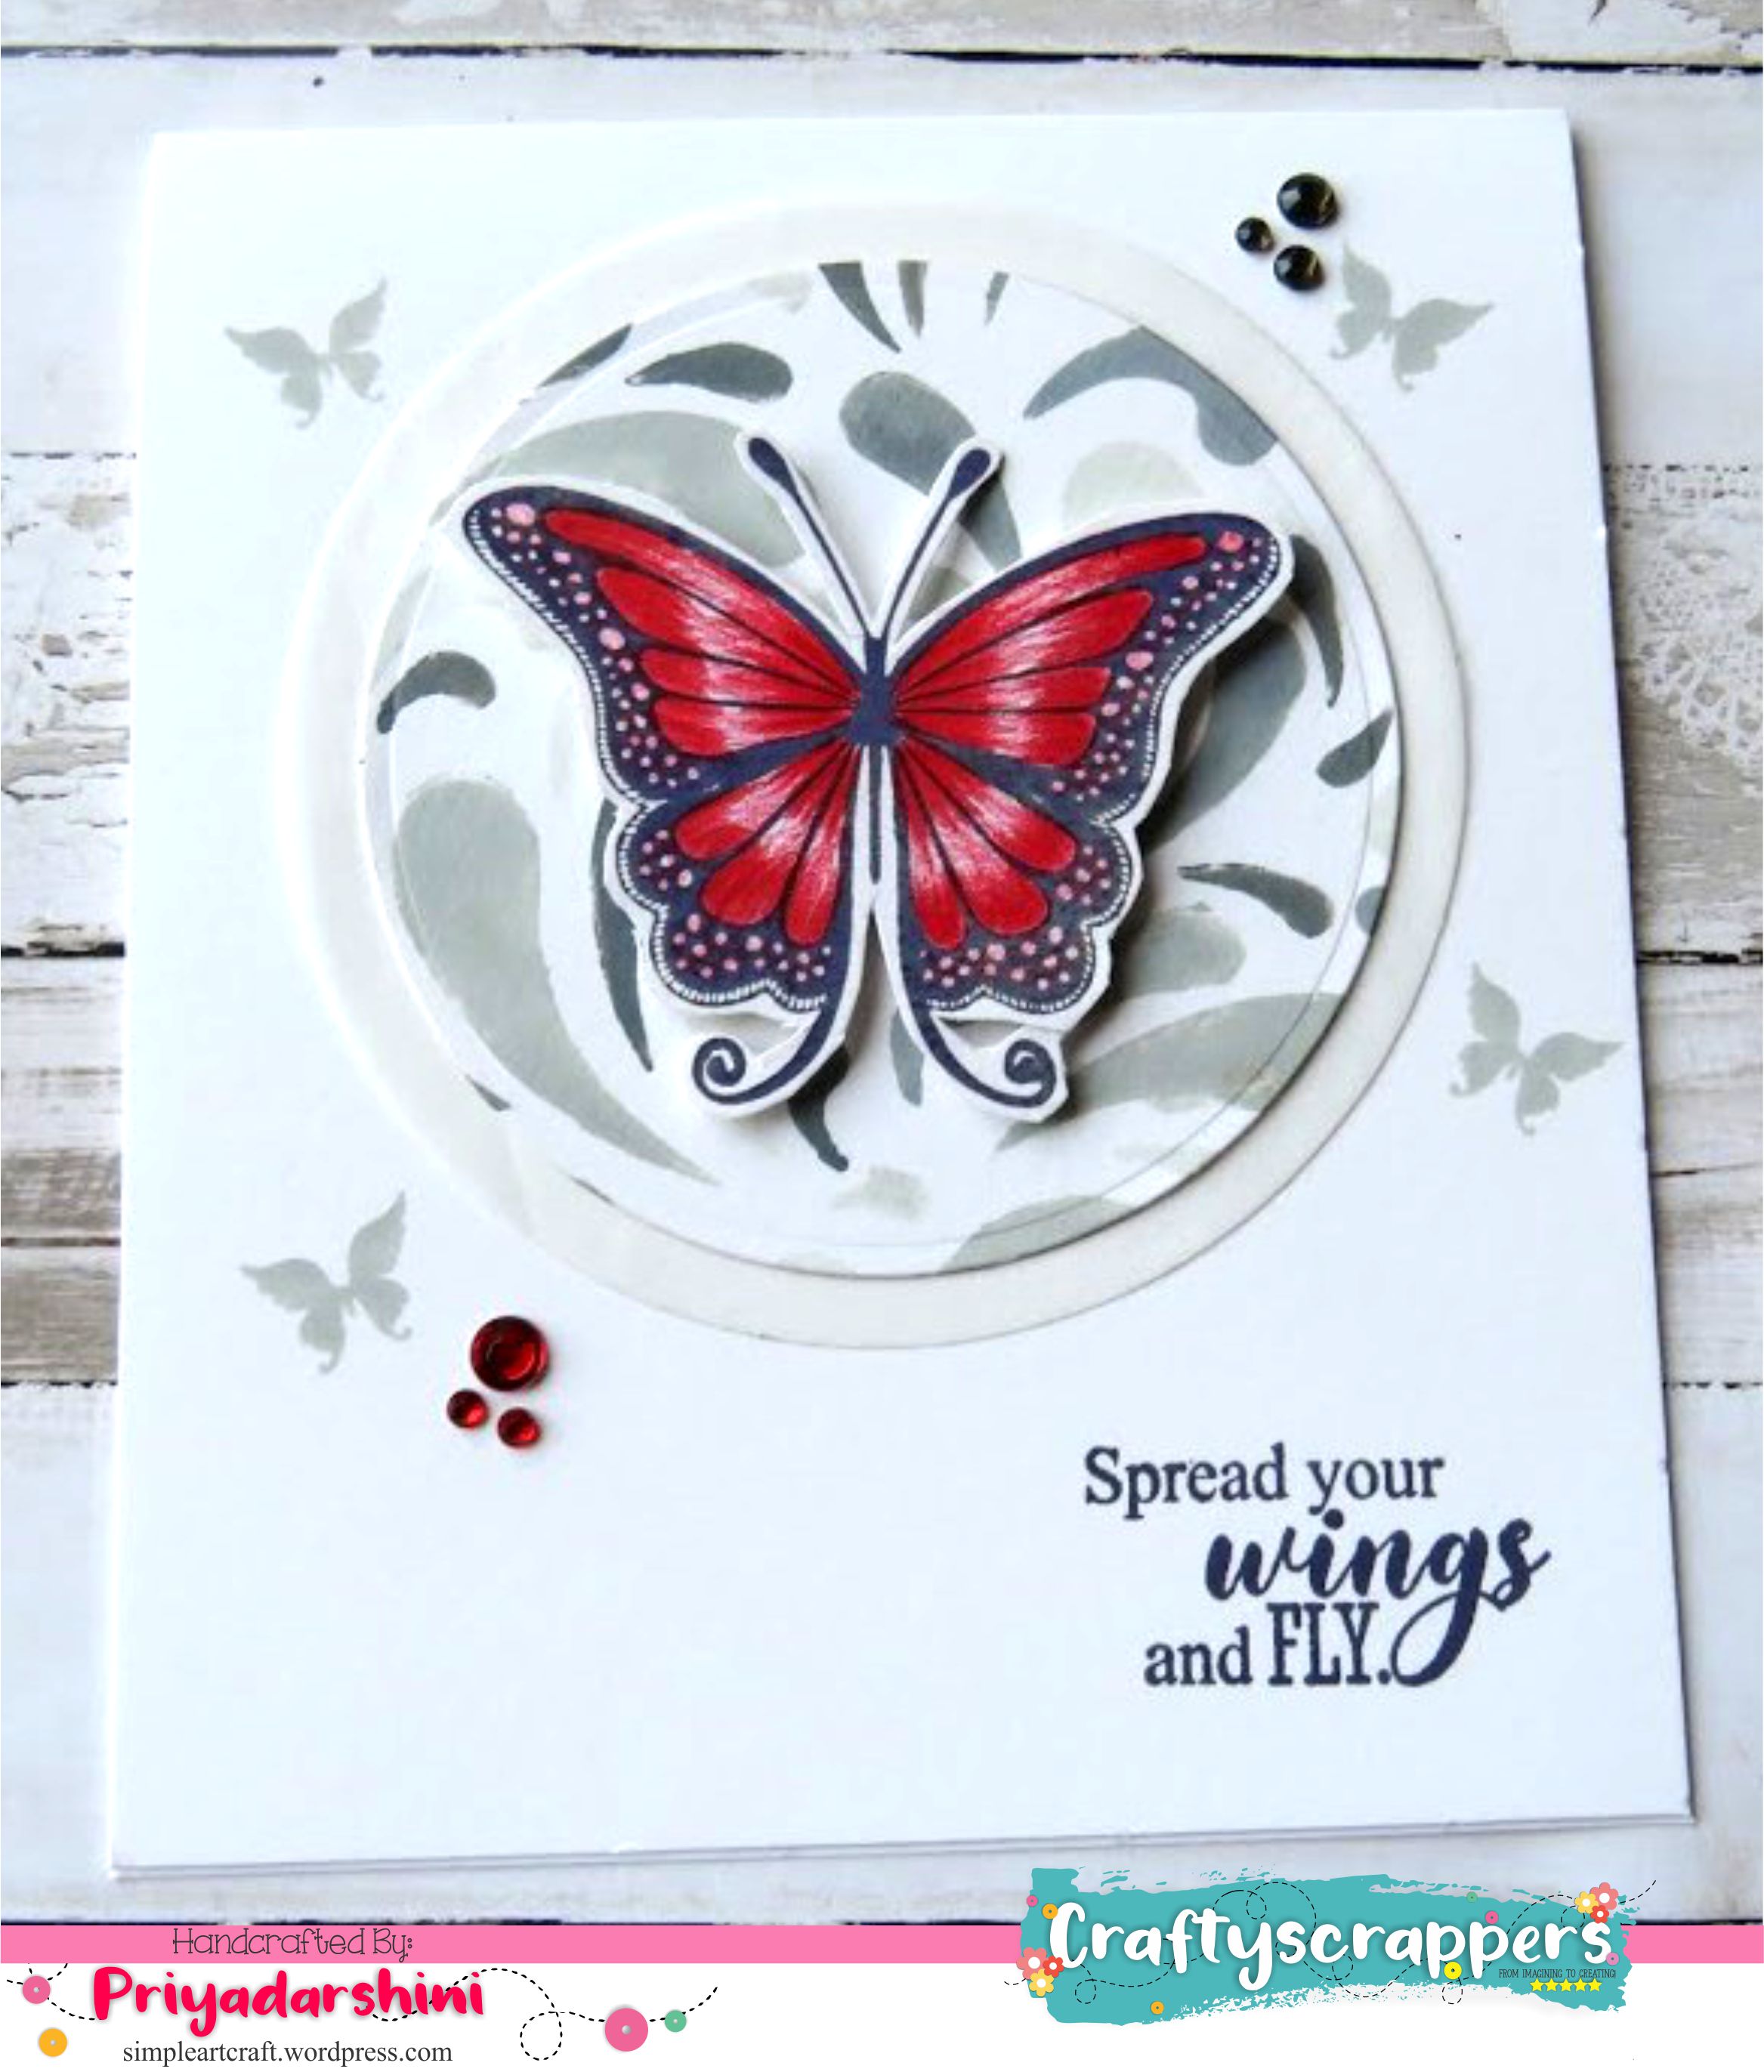
A BRIEF TUTORIAL:
- I took 4 different shades of grey colour inks from Altenew
- I secured my stencil to the card stock.
- Using ear buds, I started adding colour to the stencil. I went by randomly adding colour to give each design in the stencil highlights.
- I stamped and coloured the butterfly
- I die cut the stencilled piece and added the same to a circle vellum piece
- I added the butterfly to the stencilled circle and stamped some little butterflies and sentiment.
- To finish the card, I added some embellishments.
Tips
- Tracing paper can also be used as an alternative or vellum IF only being used for backgrounds.
- This technique using ear buds works well for stencil which has intricate design as well as large designs.
- Dye inks works best for this technique.
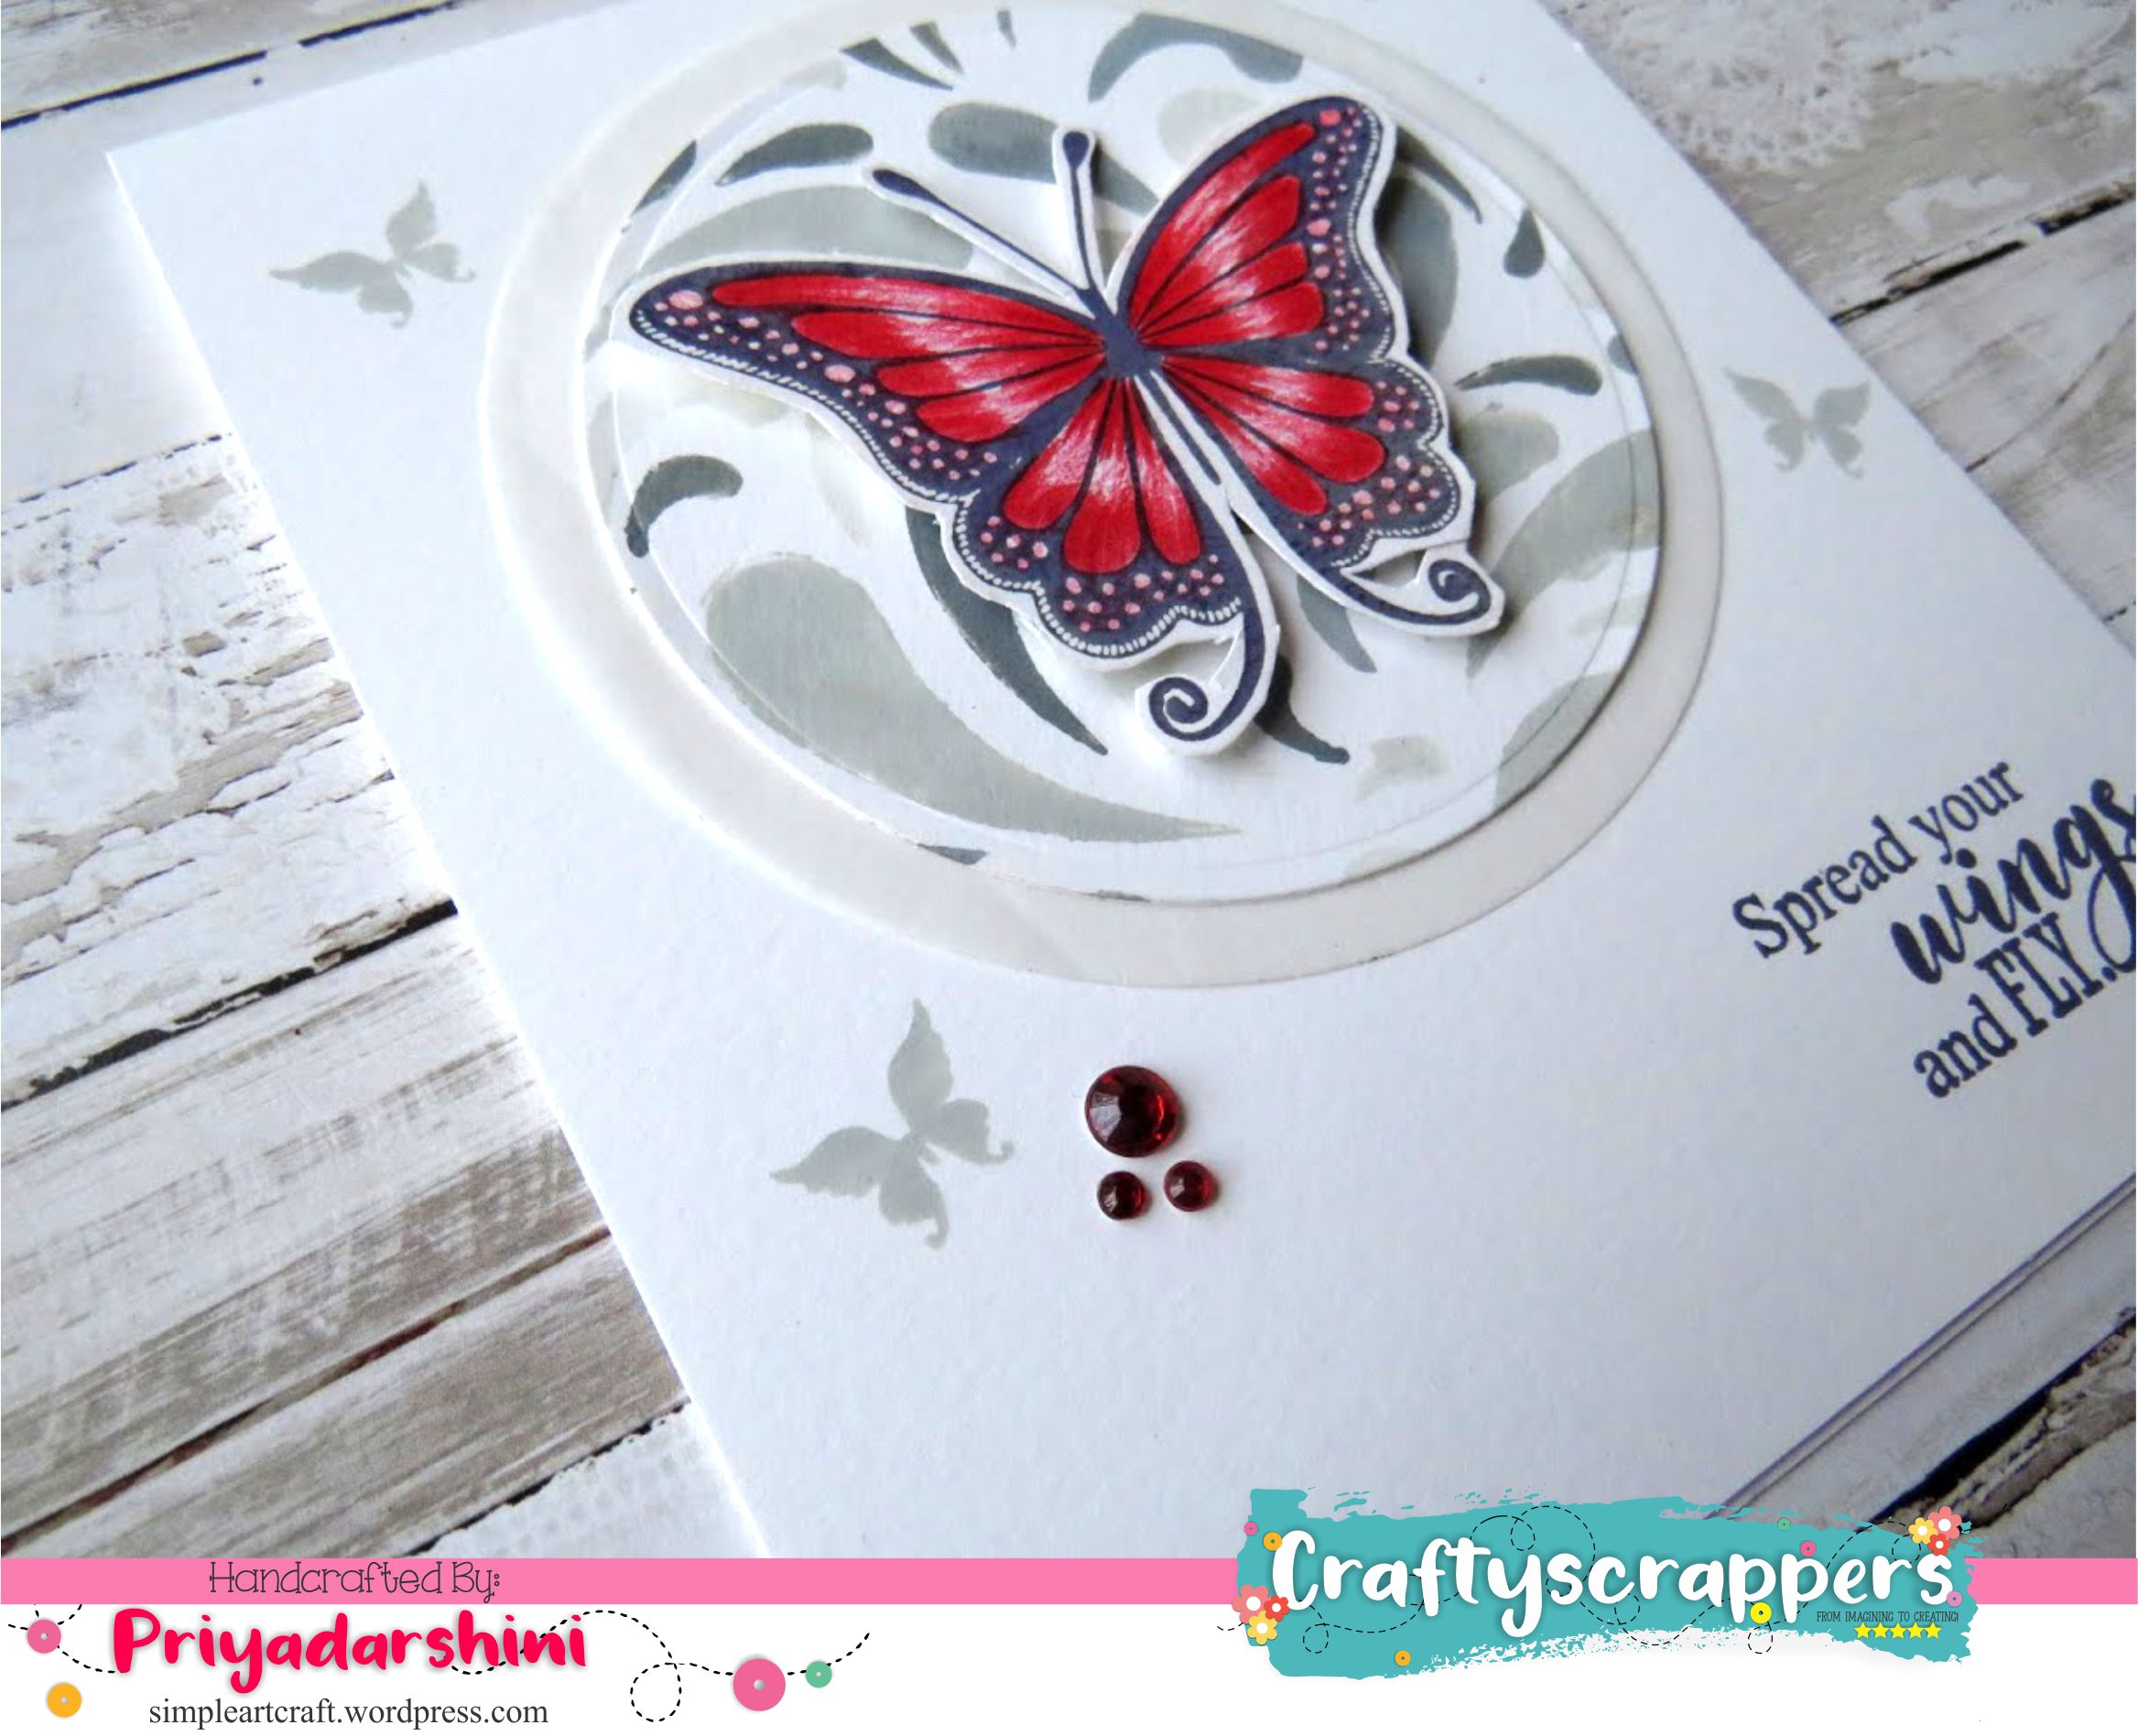
SOME CLOSE-UPS:

CARD#2: RAINBOW BACKGROUND CARD
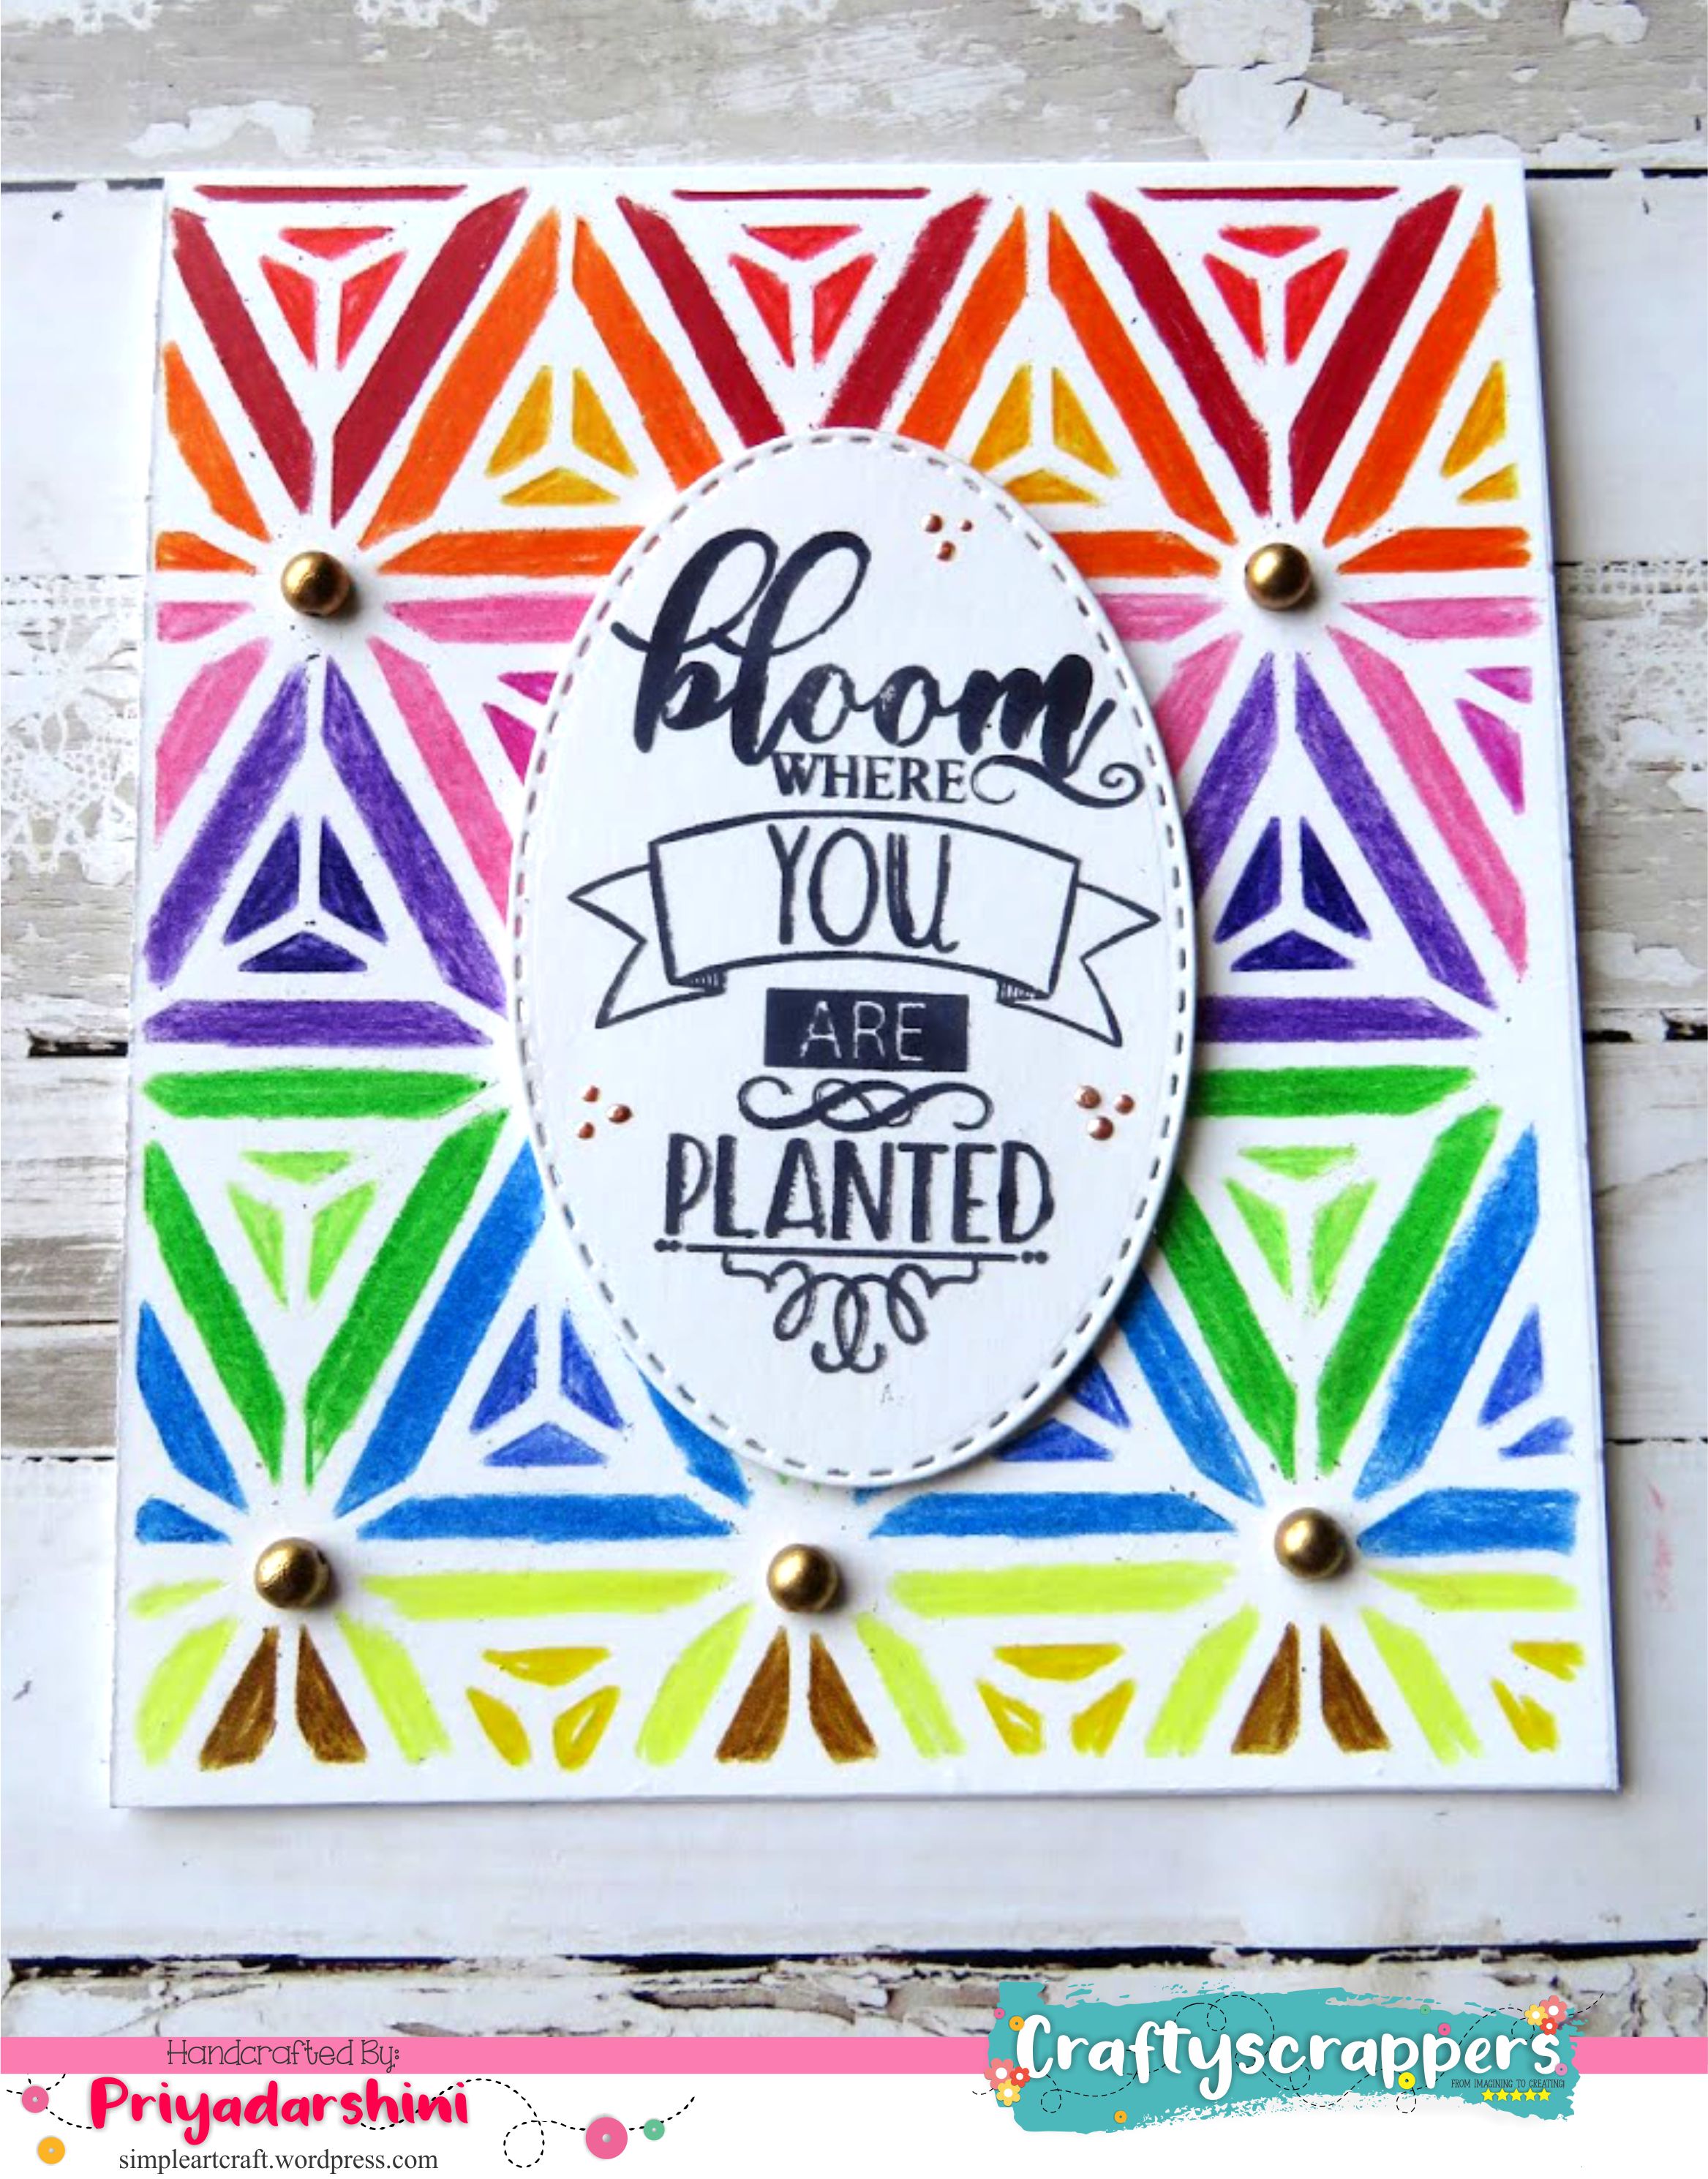
A BRIEF TUTORIAL:
- I secured the stencil to the cardstock
- Since I am using colour pencils for this technique, I keep them sharp.
- I chose rainbow colour and started randomly adding colour
- Here, I used polychromous pencils
- I took 2 shades of each colour for this technique.
- Once I am done colouring, I added an oval die cut with a sentiment to the centre of the card
- To finish it, I added some half dull gold beads.
Tip:
- Any colour pencil works for this technique
- Any stencil design works for this technique.
- Best technique for one-layer card
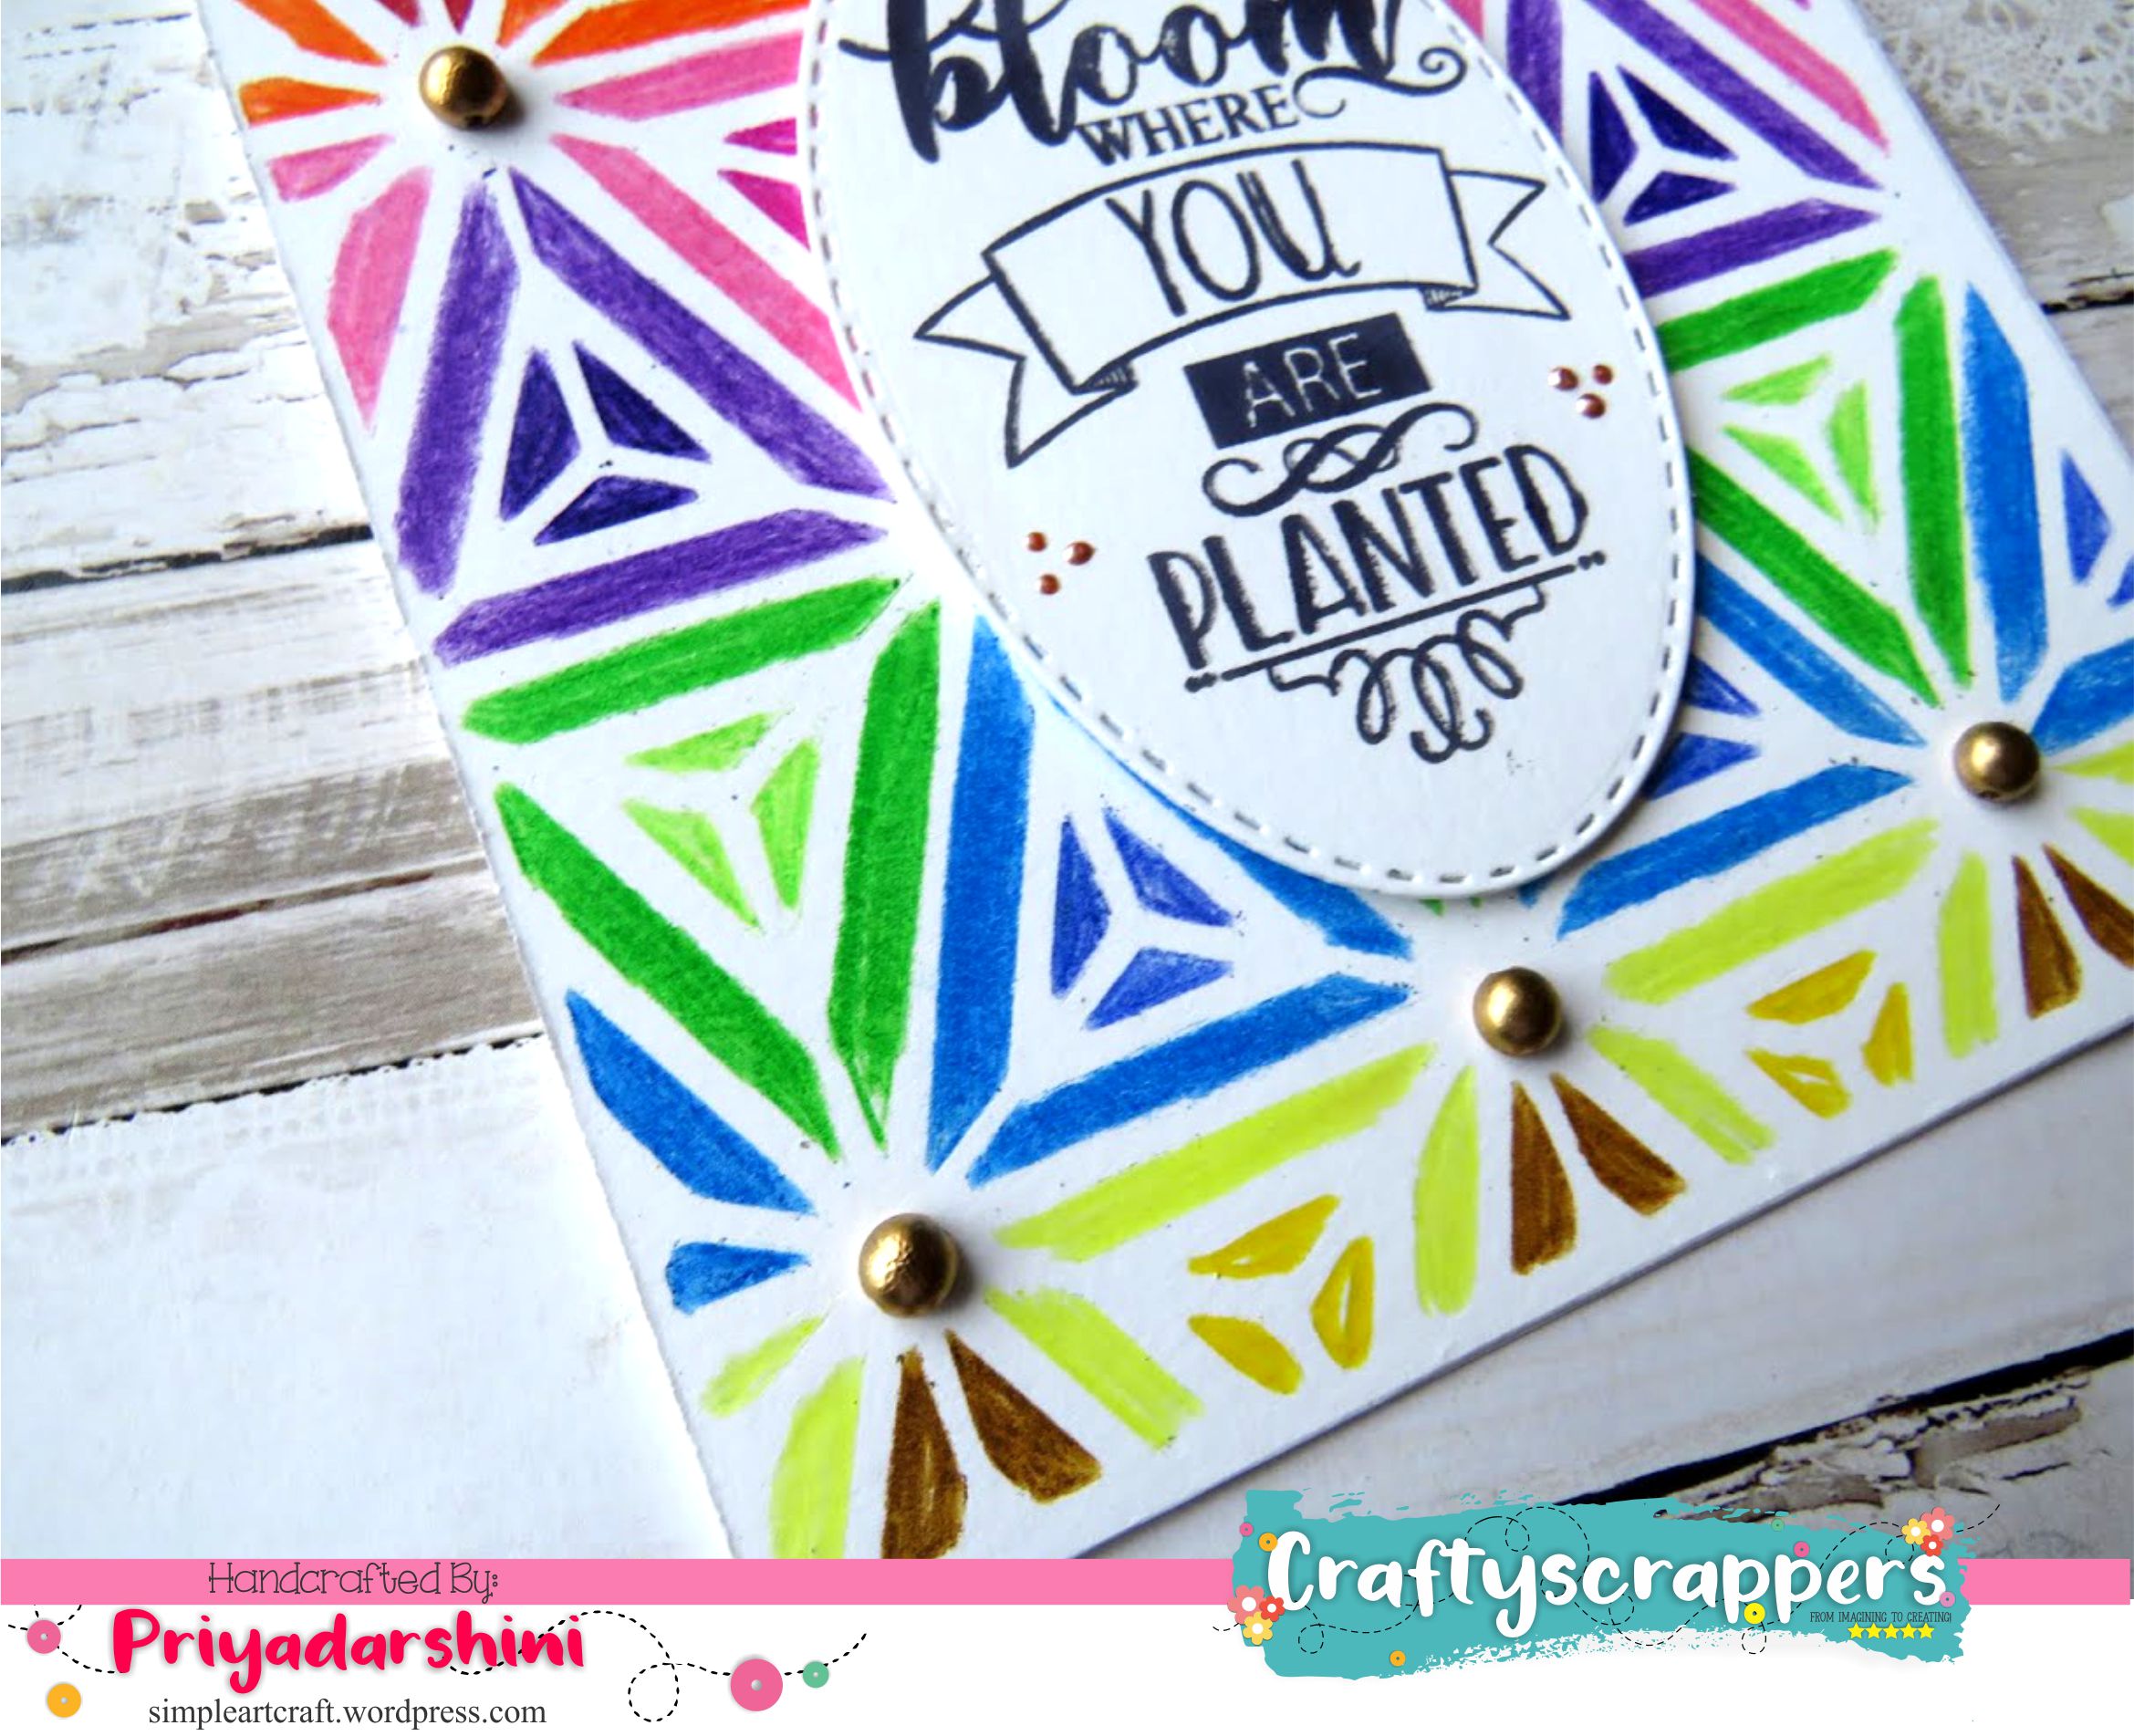
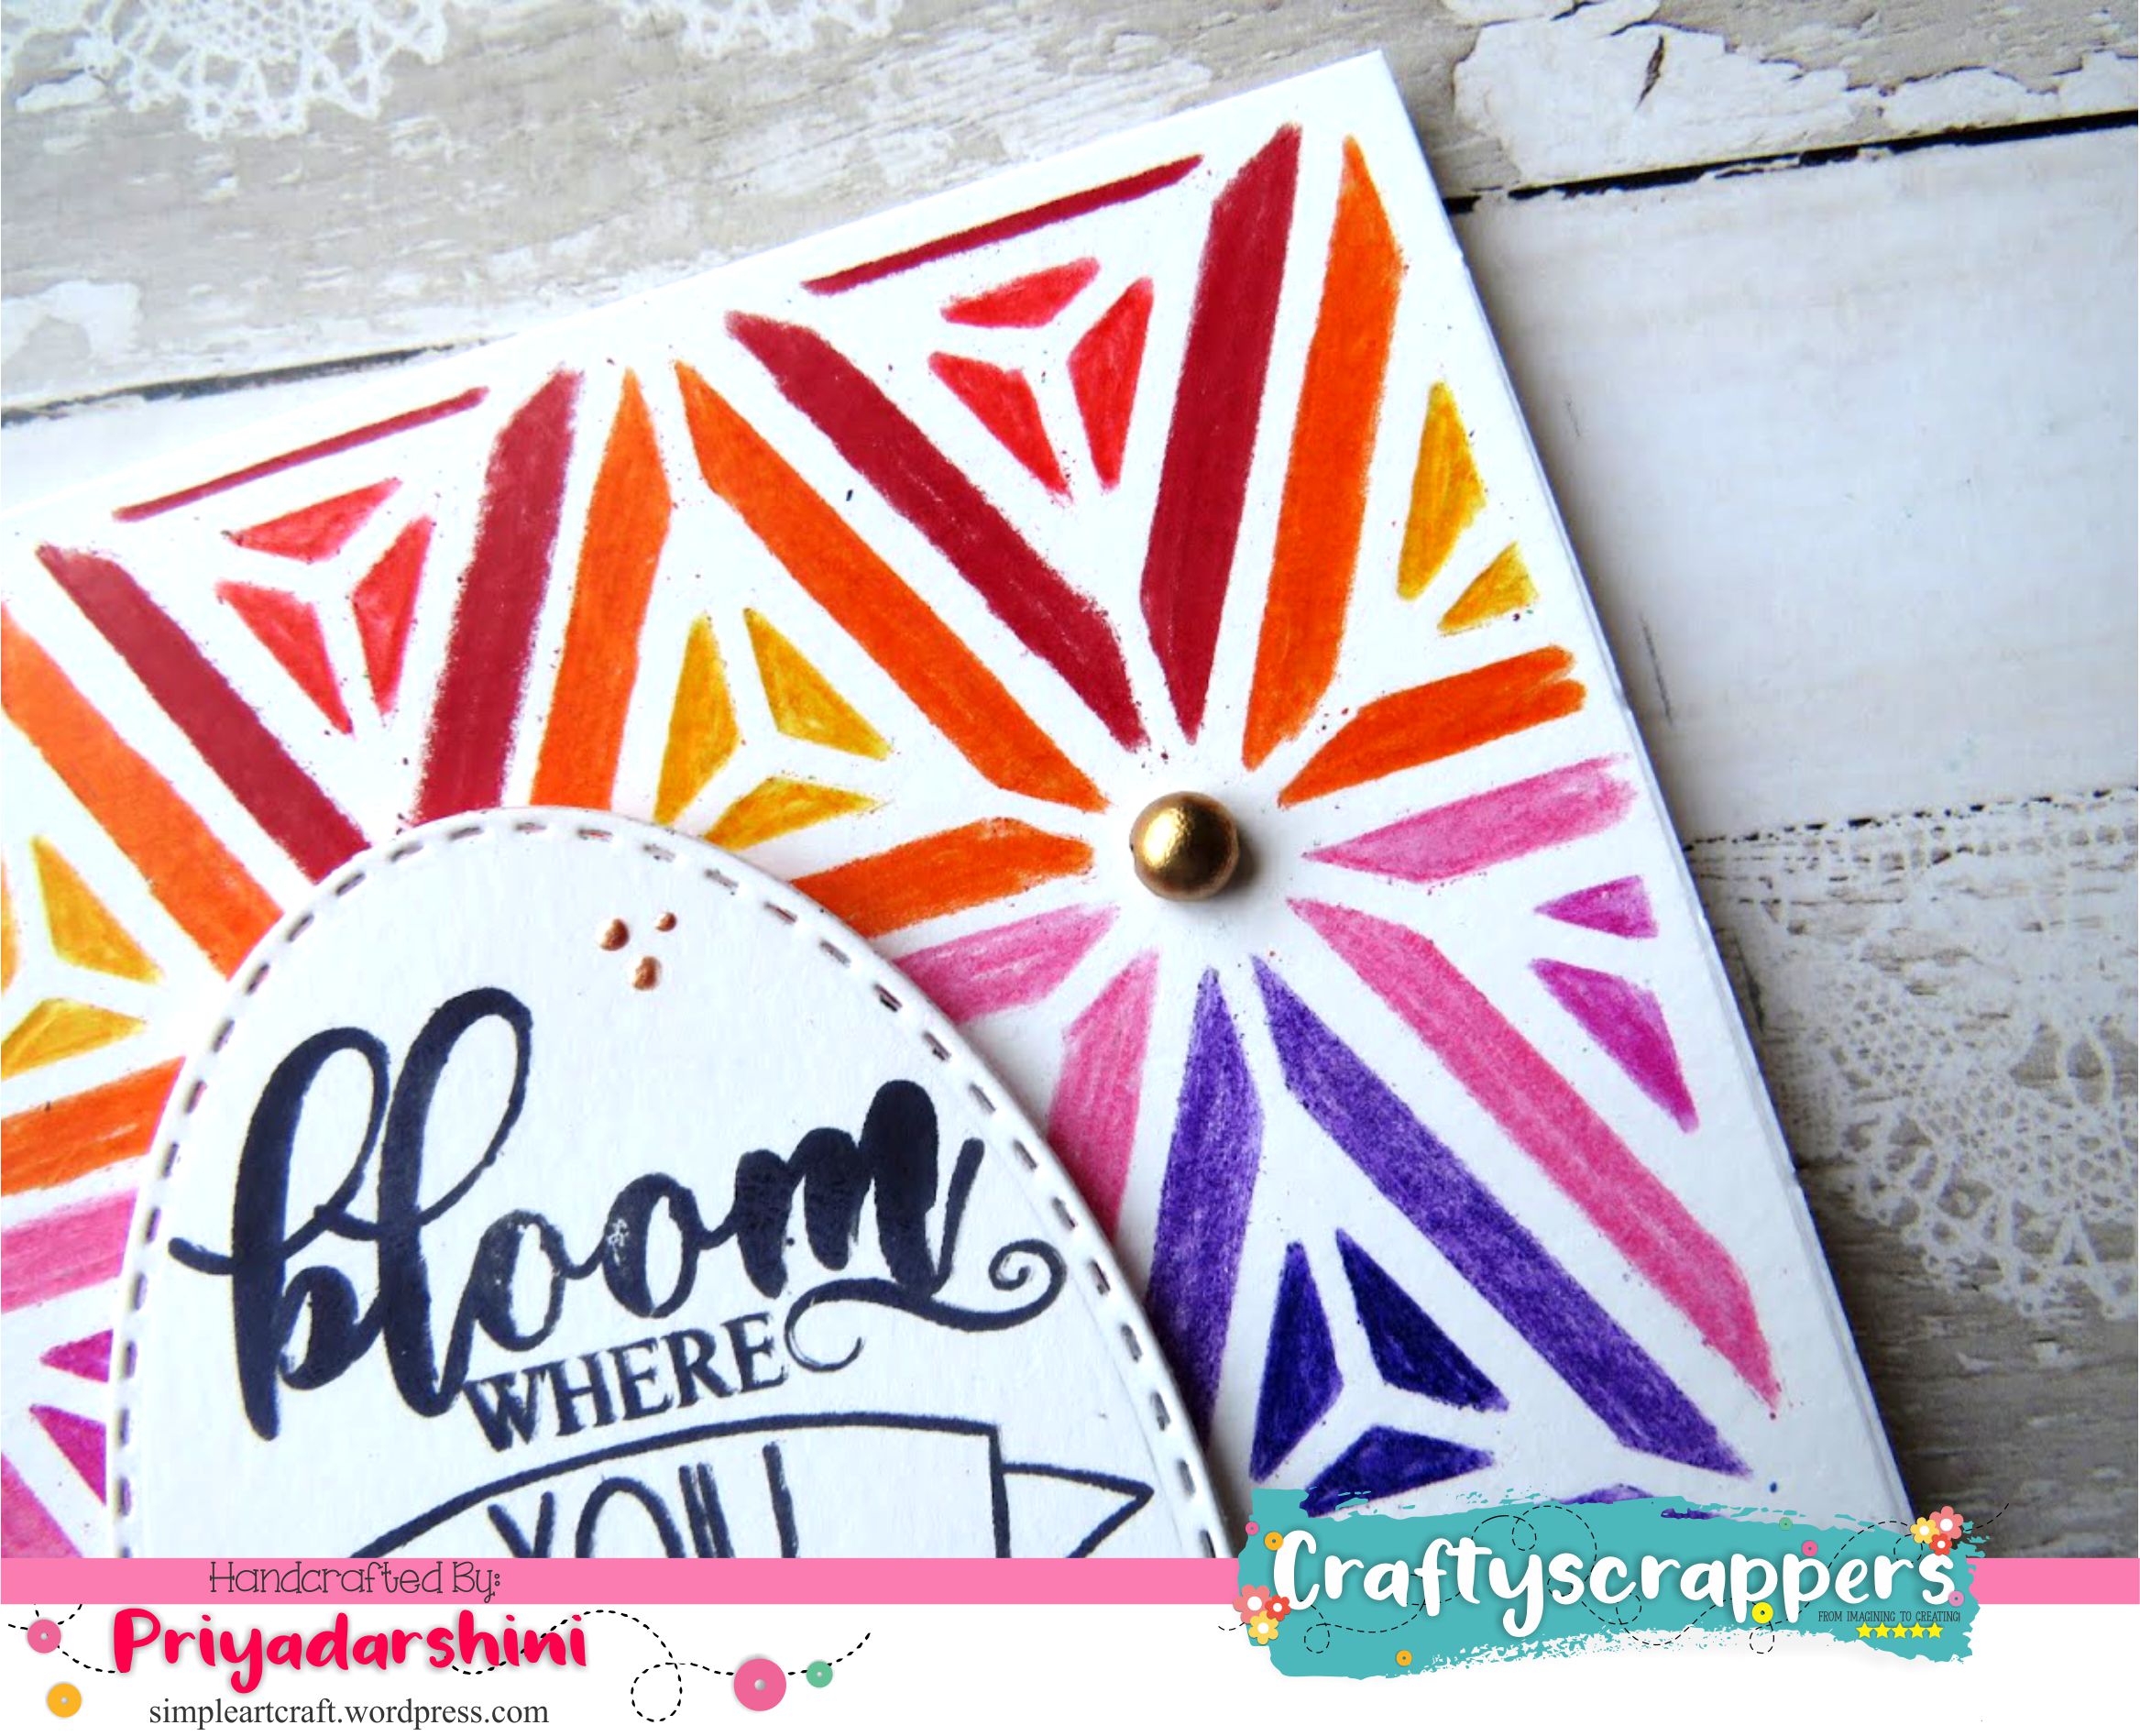
SOME CLOSE-UPS:
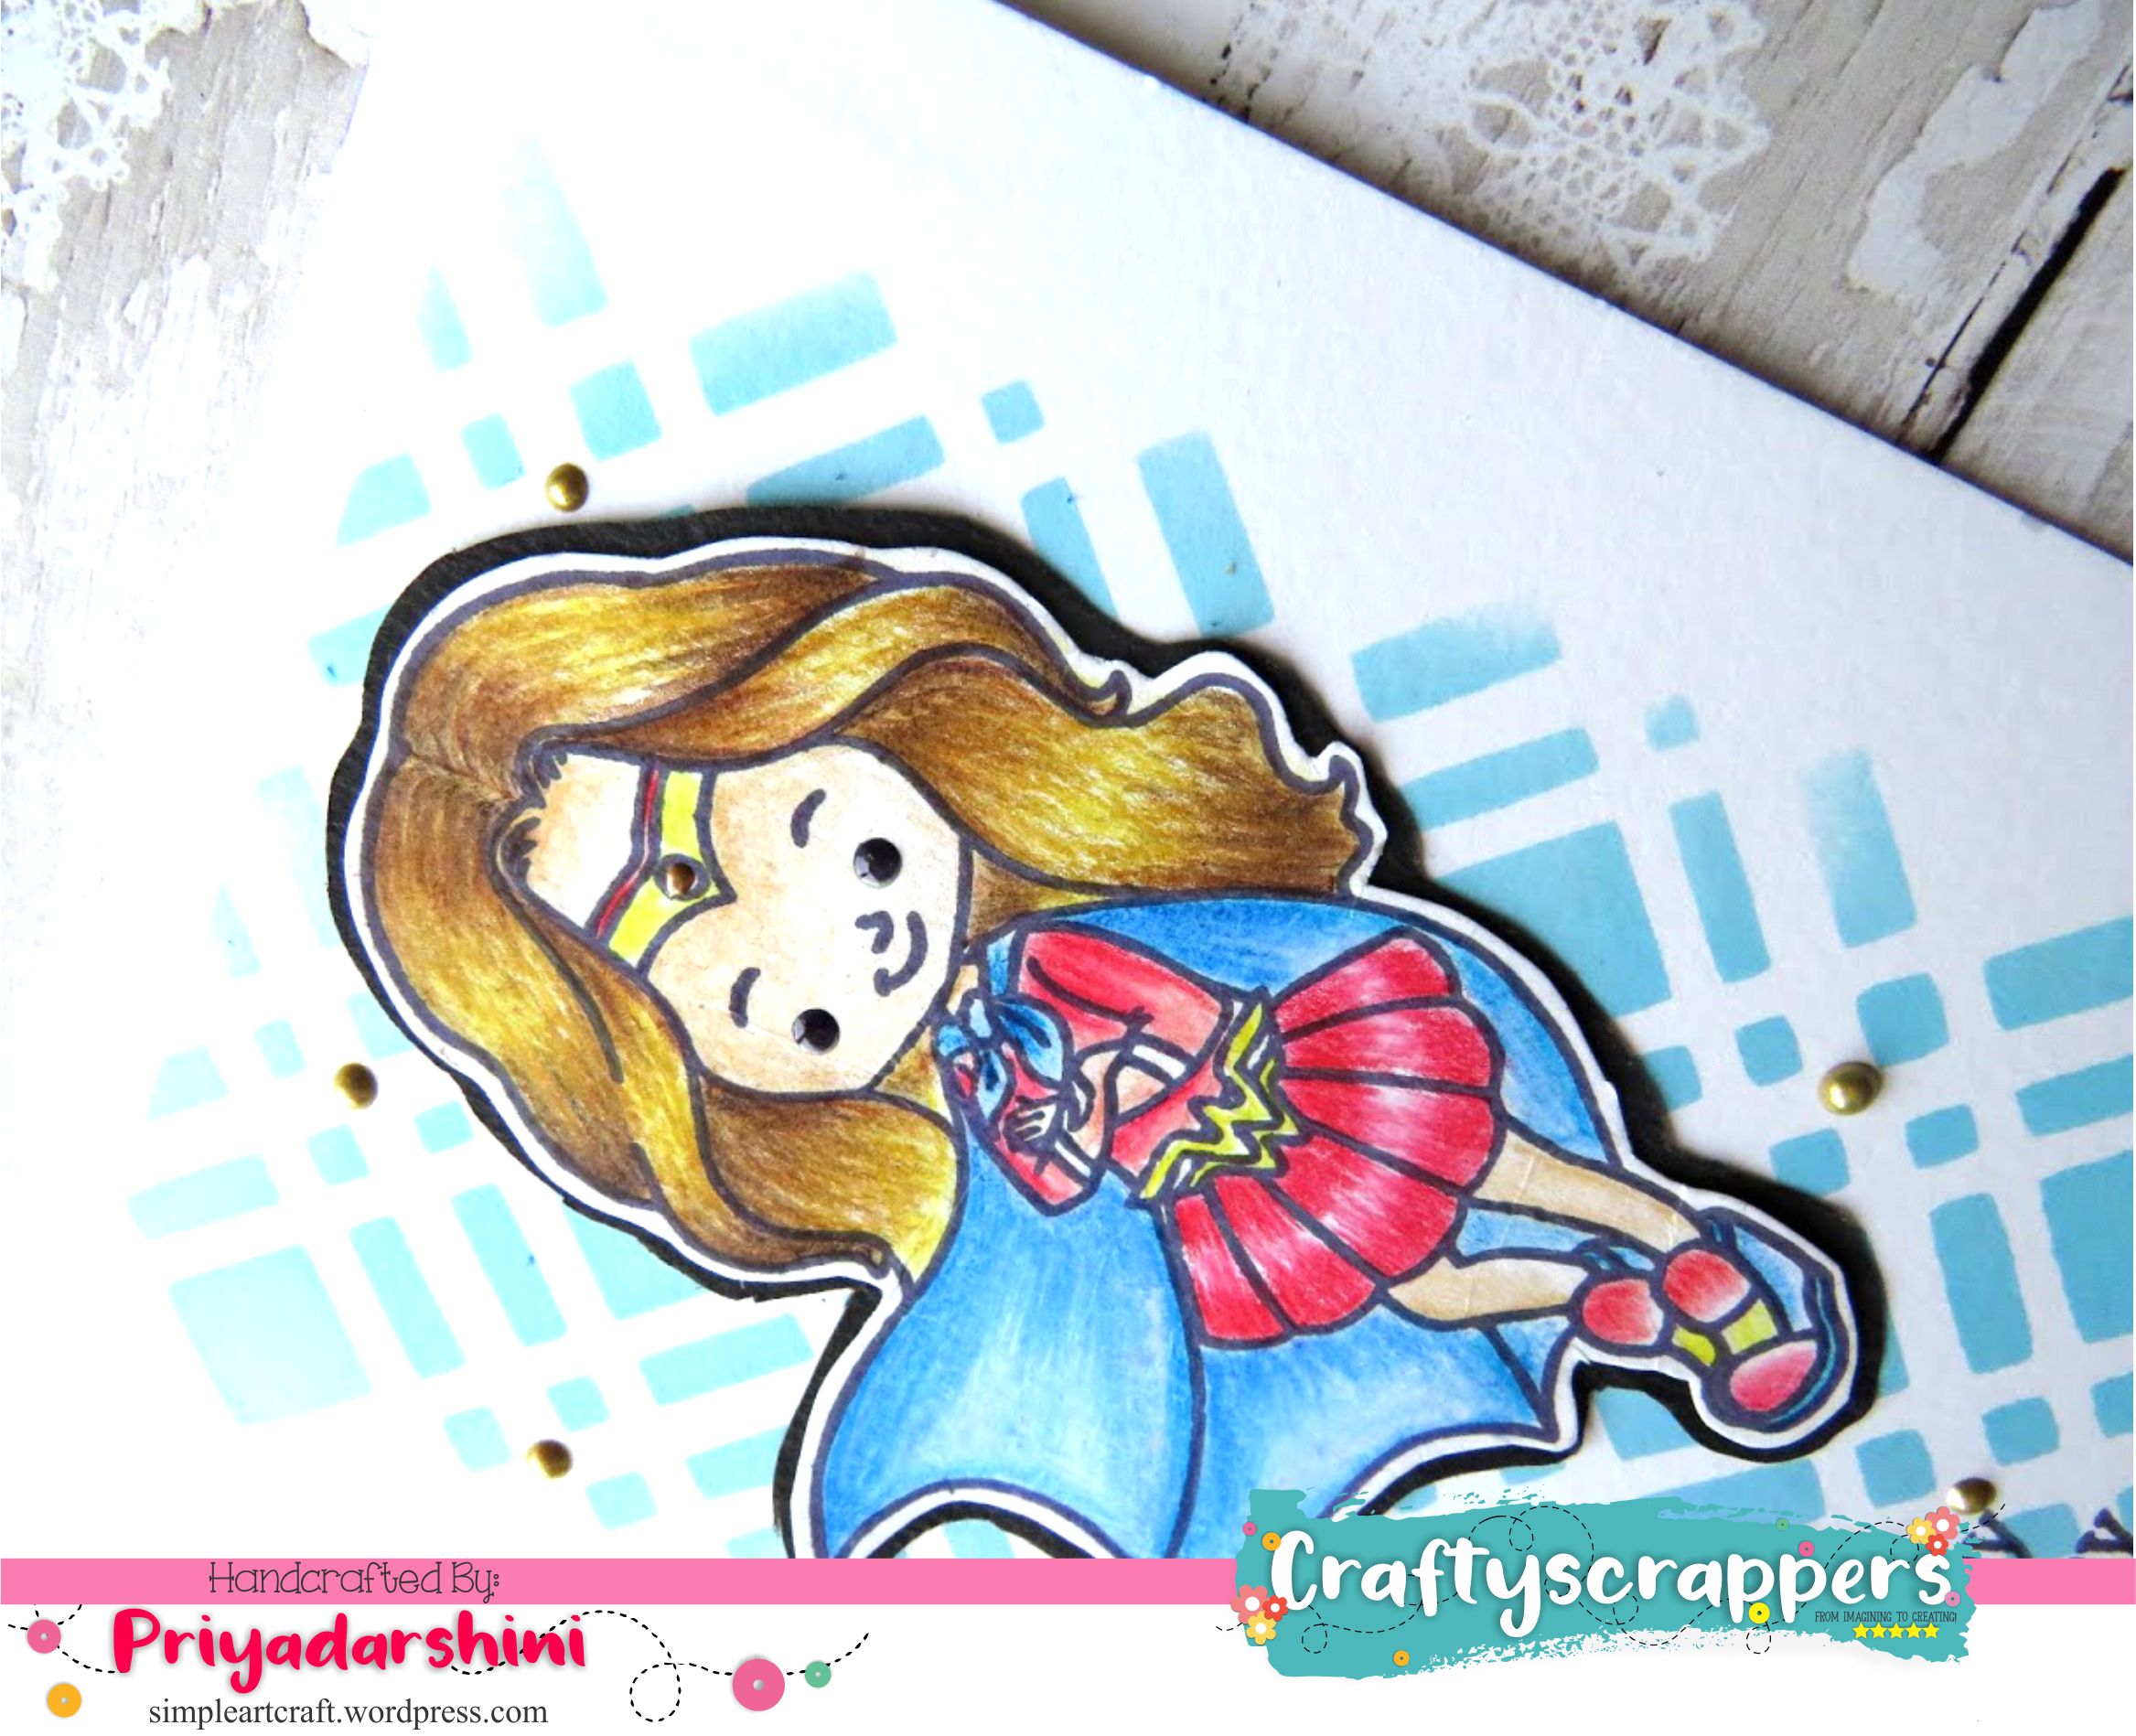
CARD#3: DISTRESS BACKGROUND CARD
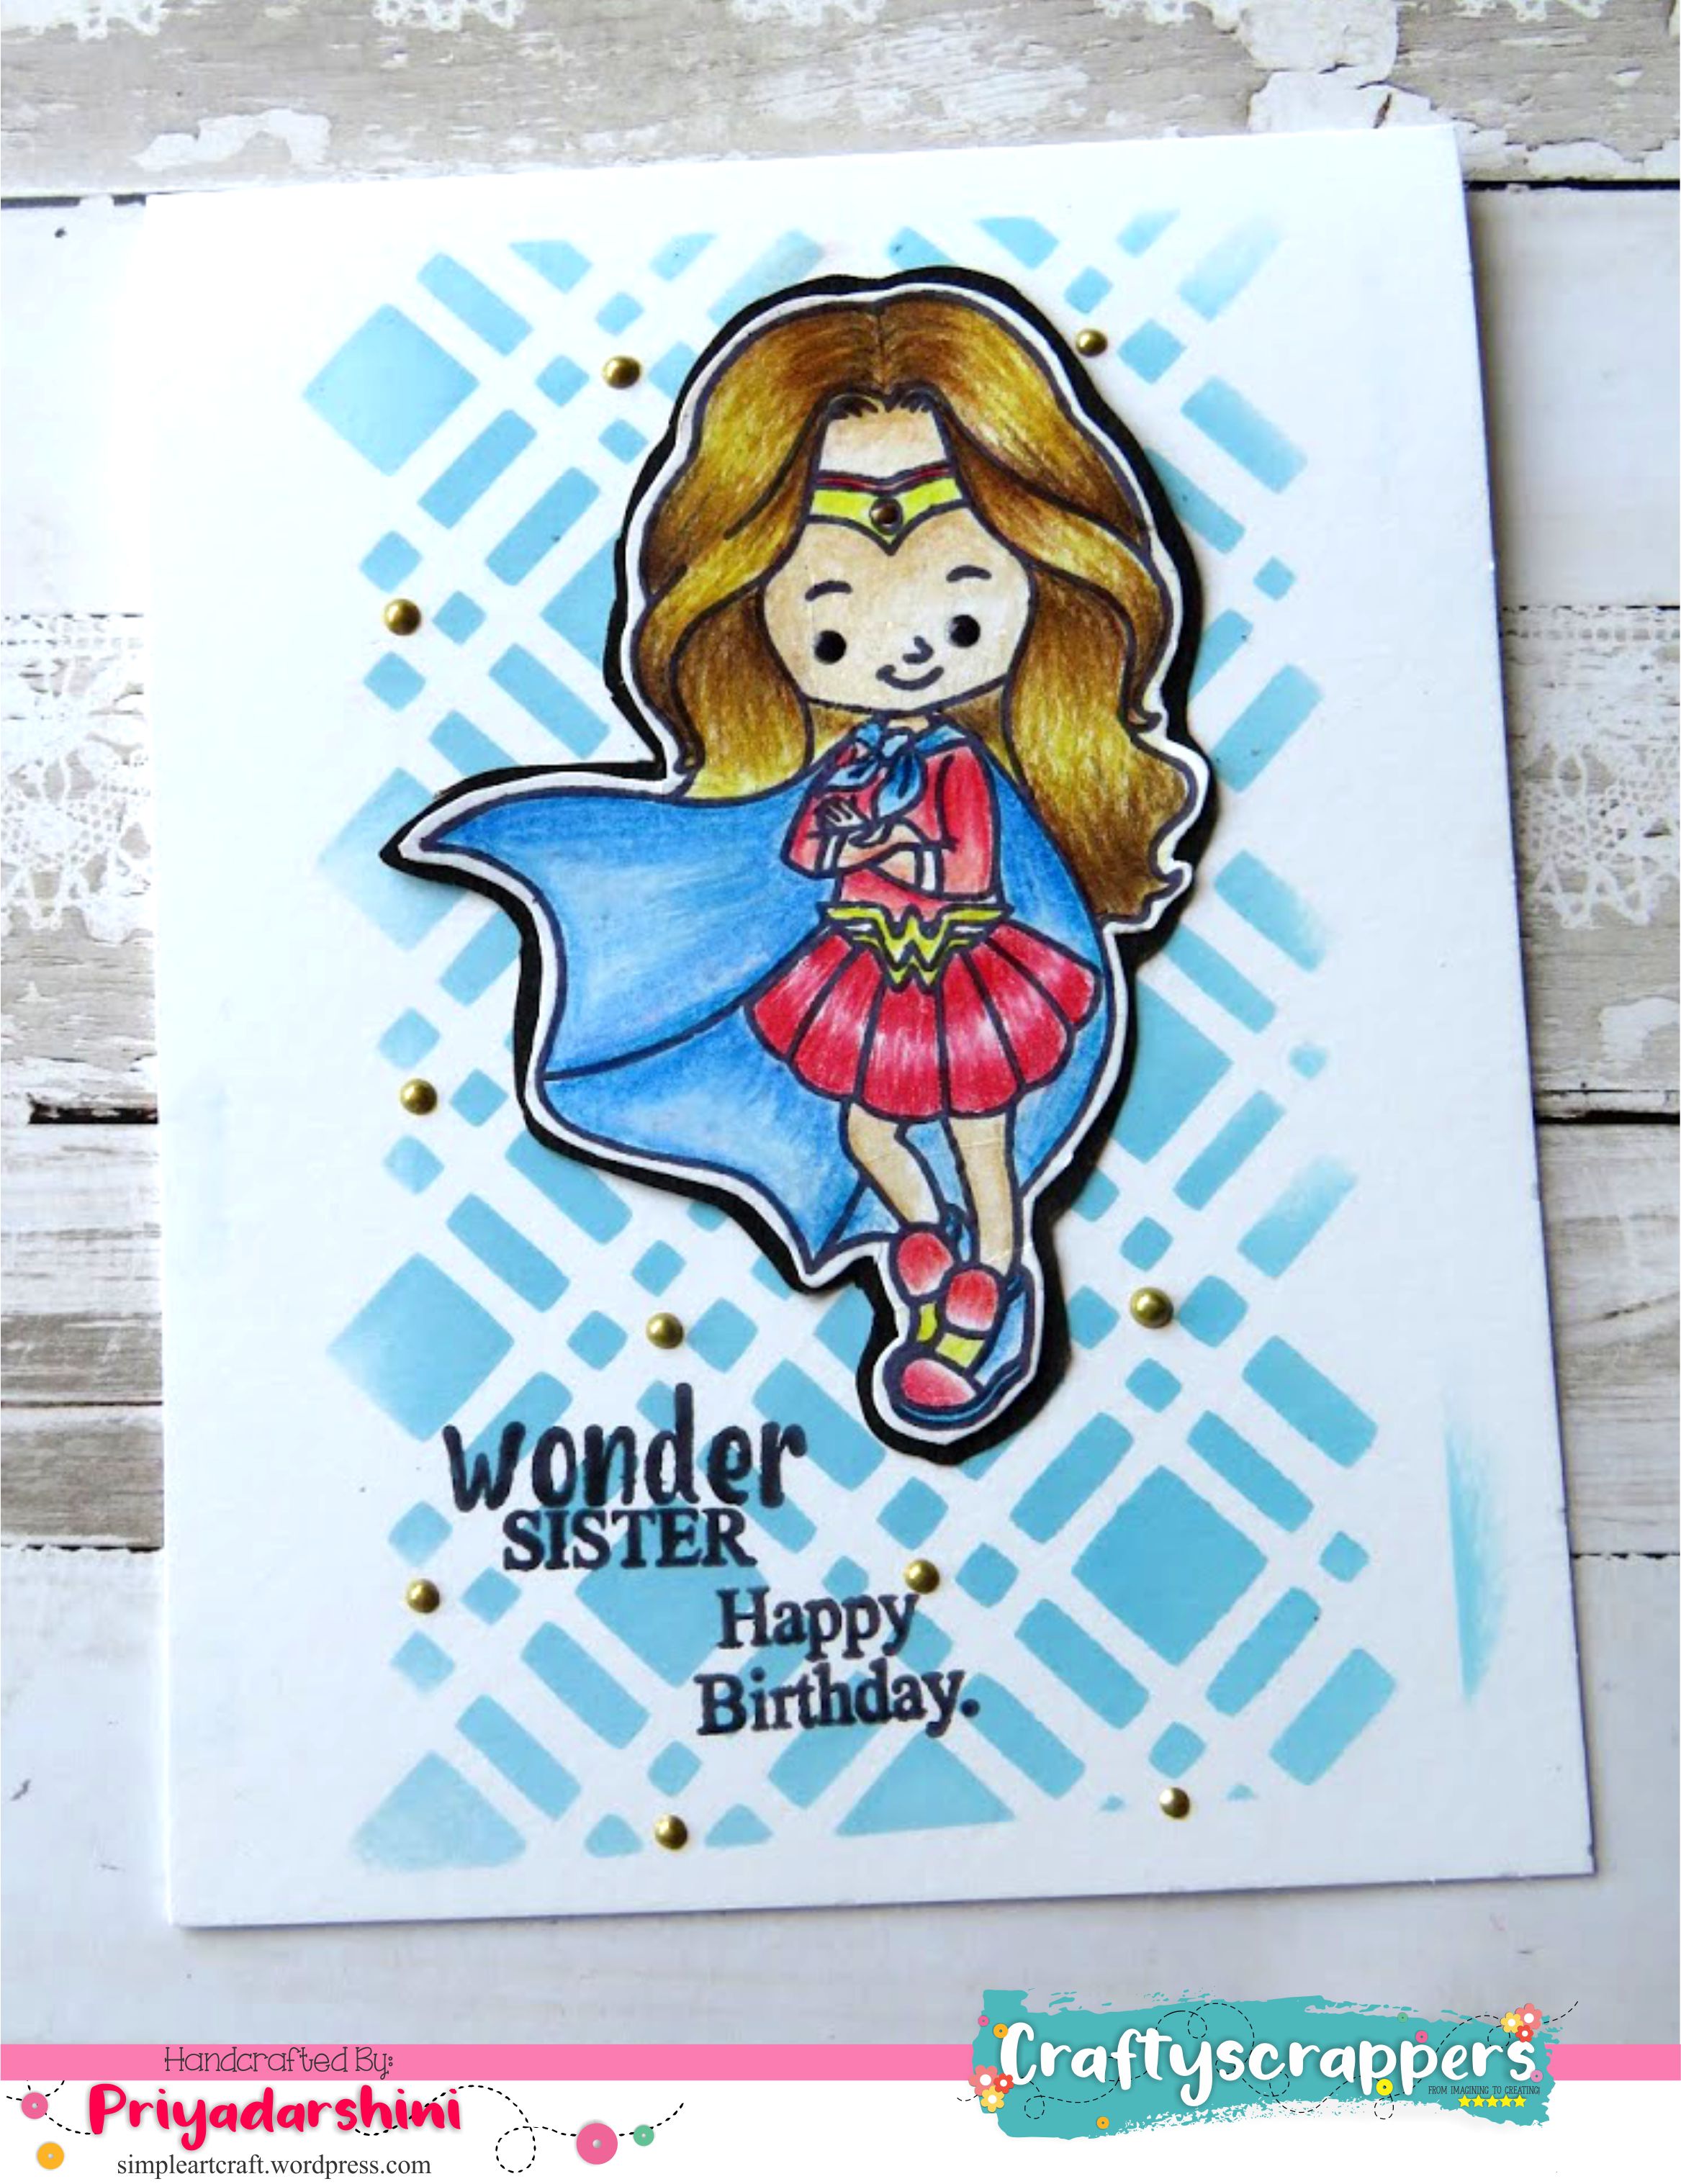
A BRIEF TUTORIAL:
- For this card, I did regular stencilling using Altenew inks
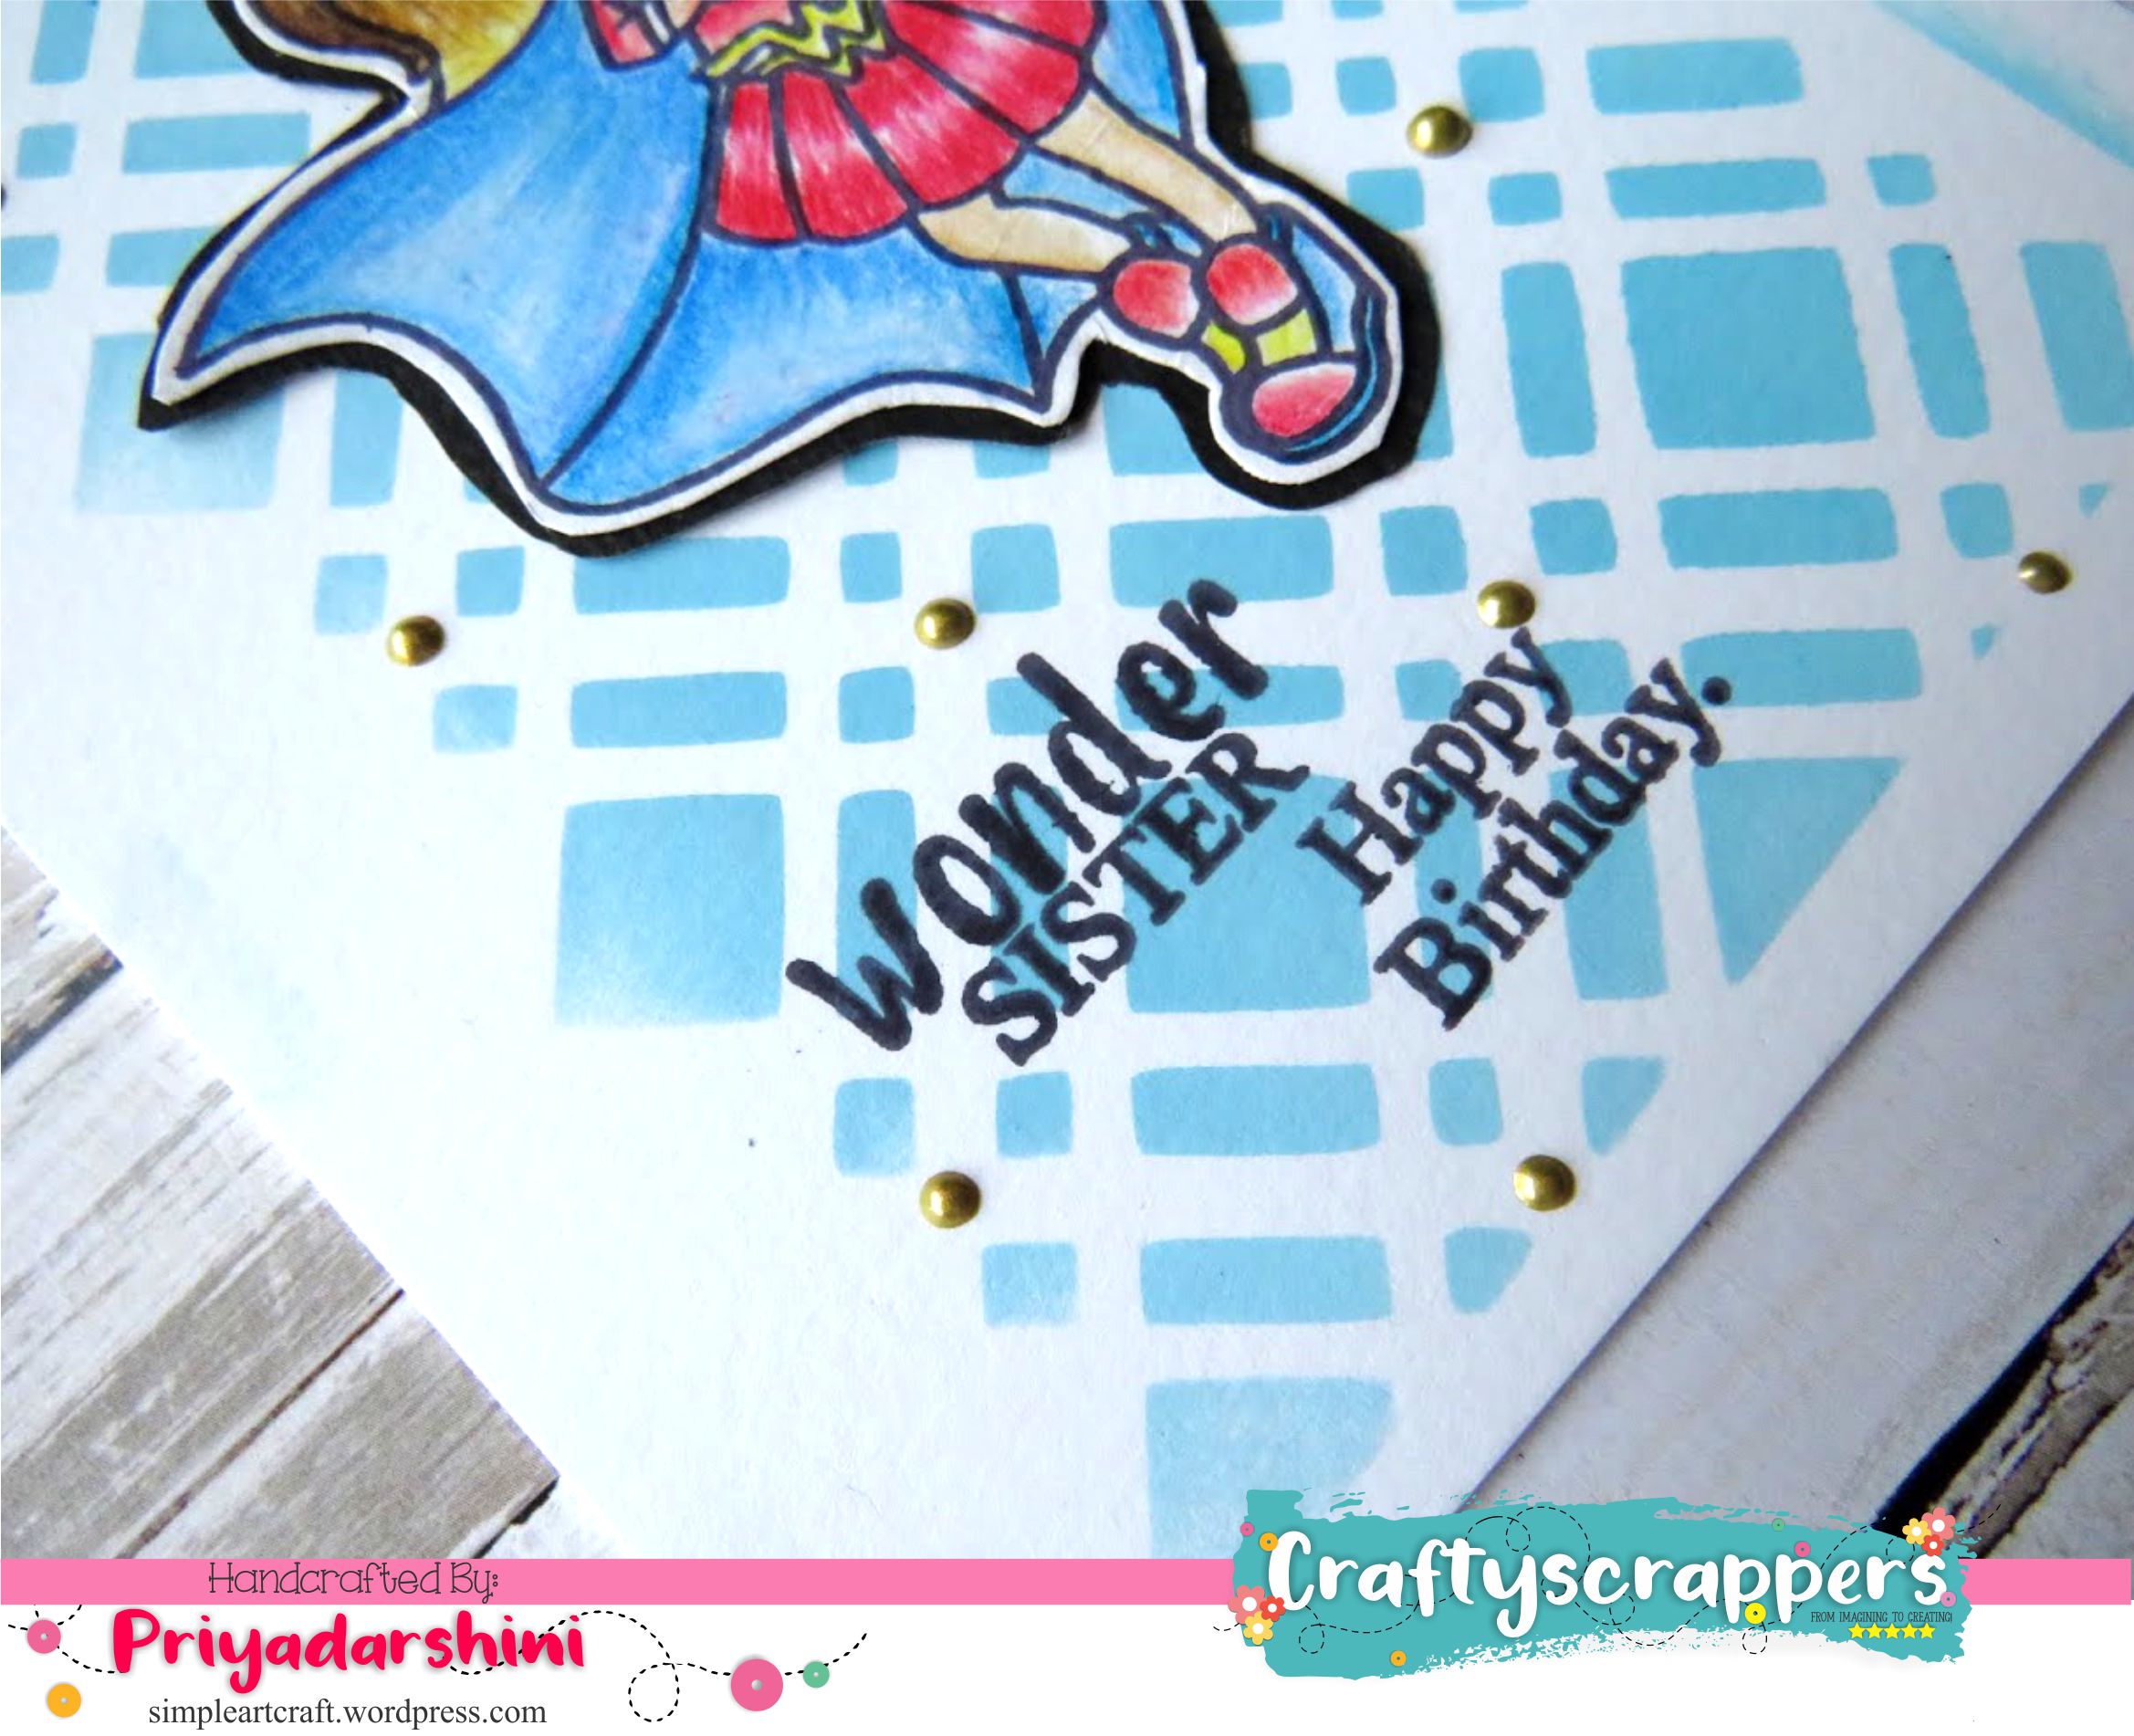
- I stamped my favourite image and coloured her.
- When I fuzzy cut this image, I left some gap from the image and added a black outline using alcohol markers.
- I added the sentiment and liquid pearls to finish the card.
Tip:
- Black stock can be used instead of alcohol markers as outline
- This technique is best for one-layer card.
SOME CLOSE-UPS:
check out my complete start-to-finish tutorial on how i created these three cards here:

So That’s all from my end today.I hope you like my three texture and technique oriented cards and its making process.
Do leave some love and feedback below and I will be back soon for more inspirations!
also do checkout my video tutorial, LIKE AND SUBSCRIBE!!!
Don’t forget to join in our craft challenges,(details at the beginning of the post!)
You can participate via mr.linky (at the end of the challenge post)or via facebook,Instagram and even via email.
(While sharing your creation post over the social media, ie
Facebook/twitter/instagram
please use #Craftyscrappers challenge25 to qualify for submission,
failing to do so, the entry would be disqualified.)
Thanks for stopping by.
Happy Crafting!
