Hello crafty friends,
This is Soniya here Creative Designer @craftyscrappers
and today I have a super simple yet gorgeous looking mixed media project to share with you all, where i will be demonstrating a technique called, mirror stamping!
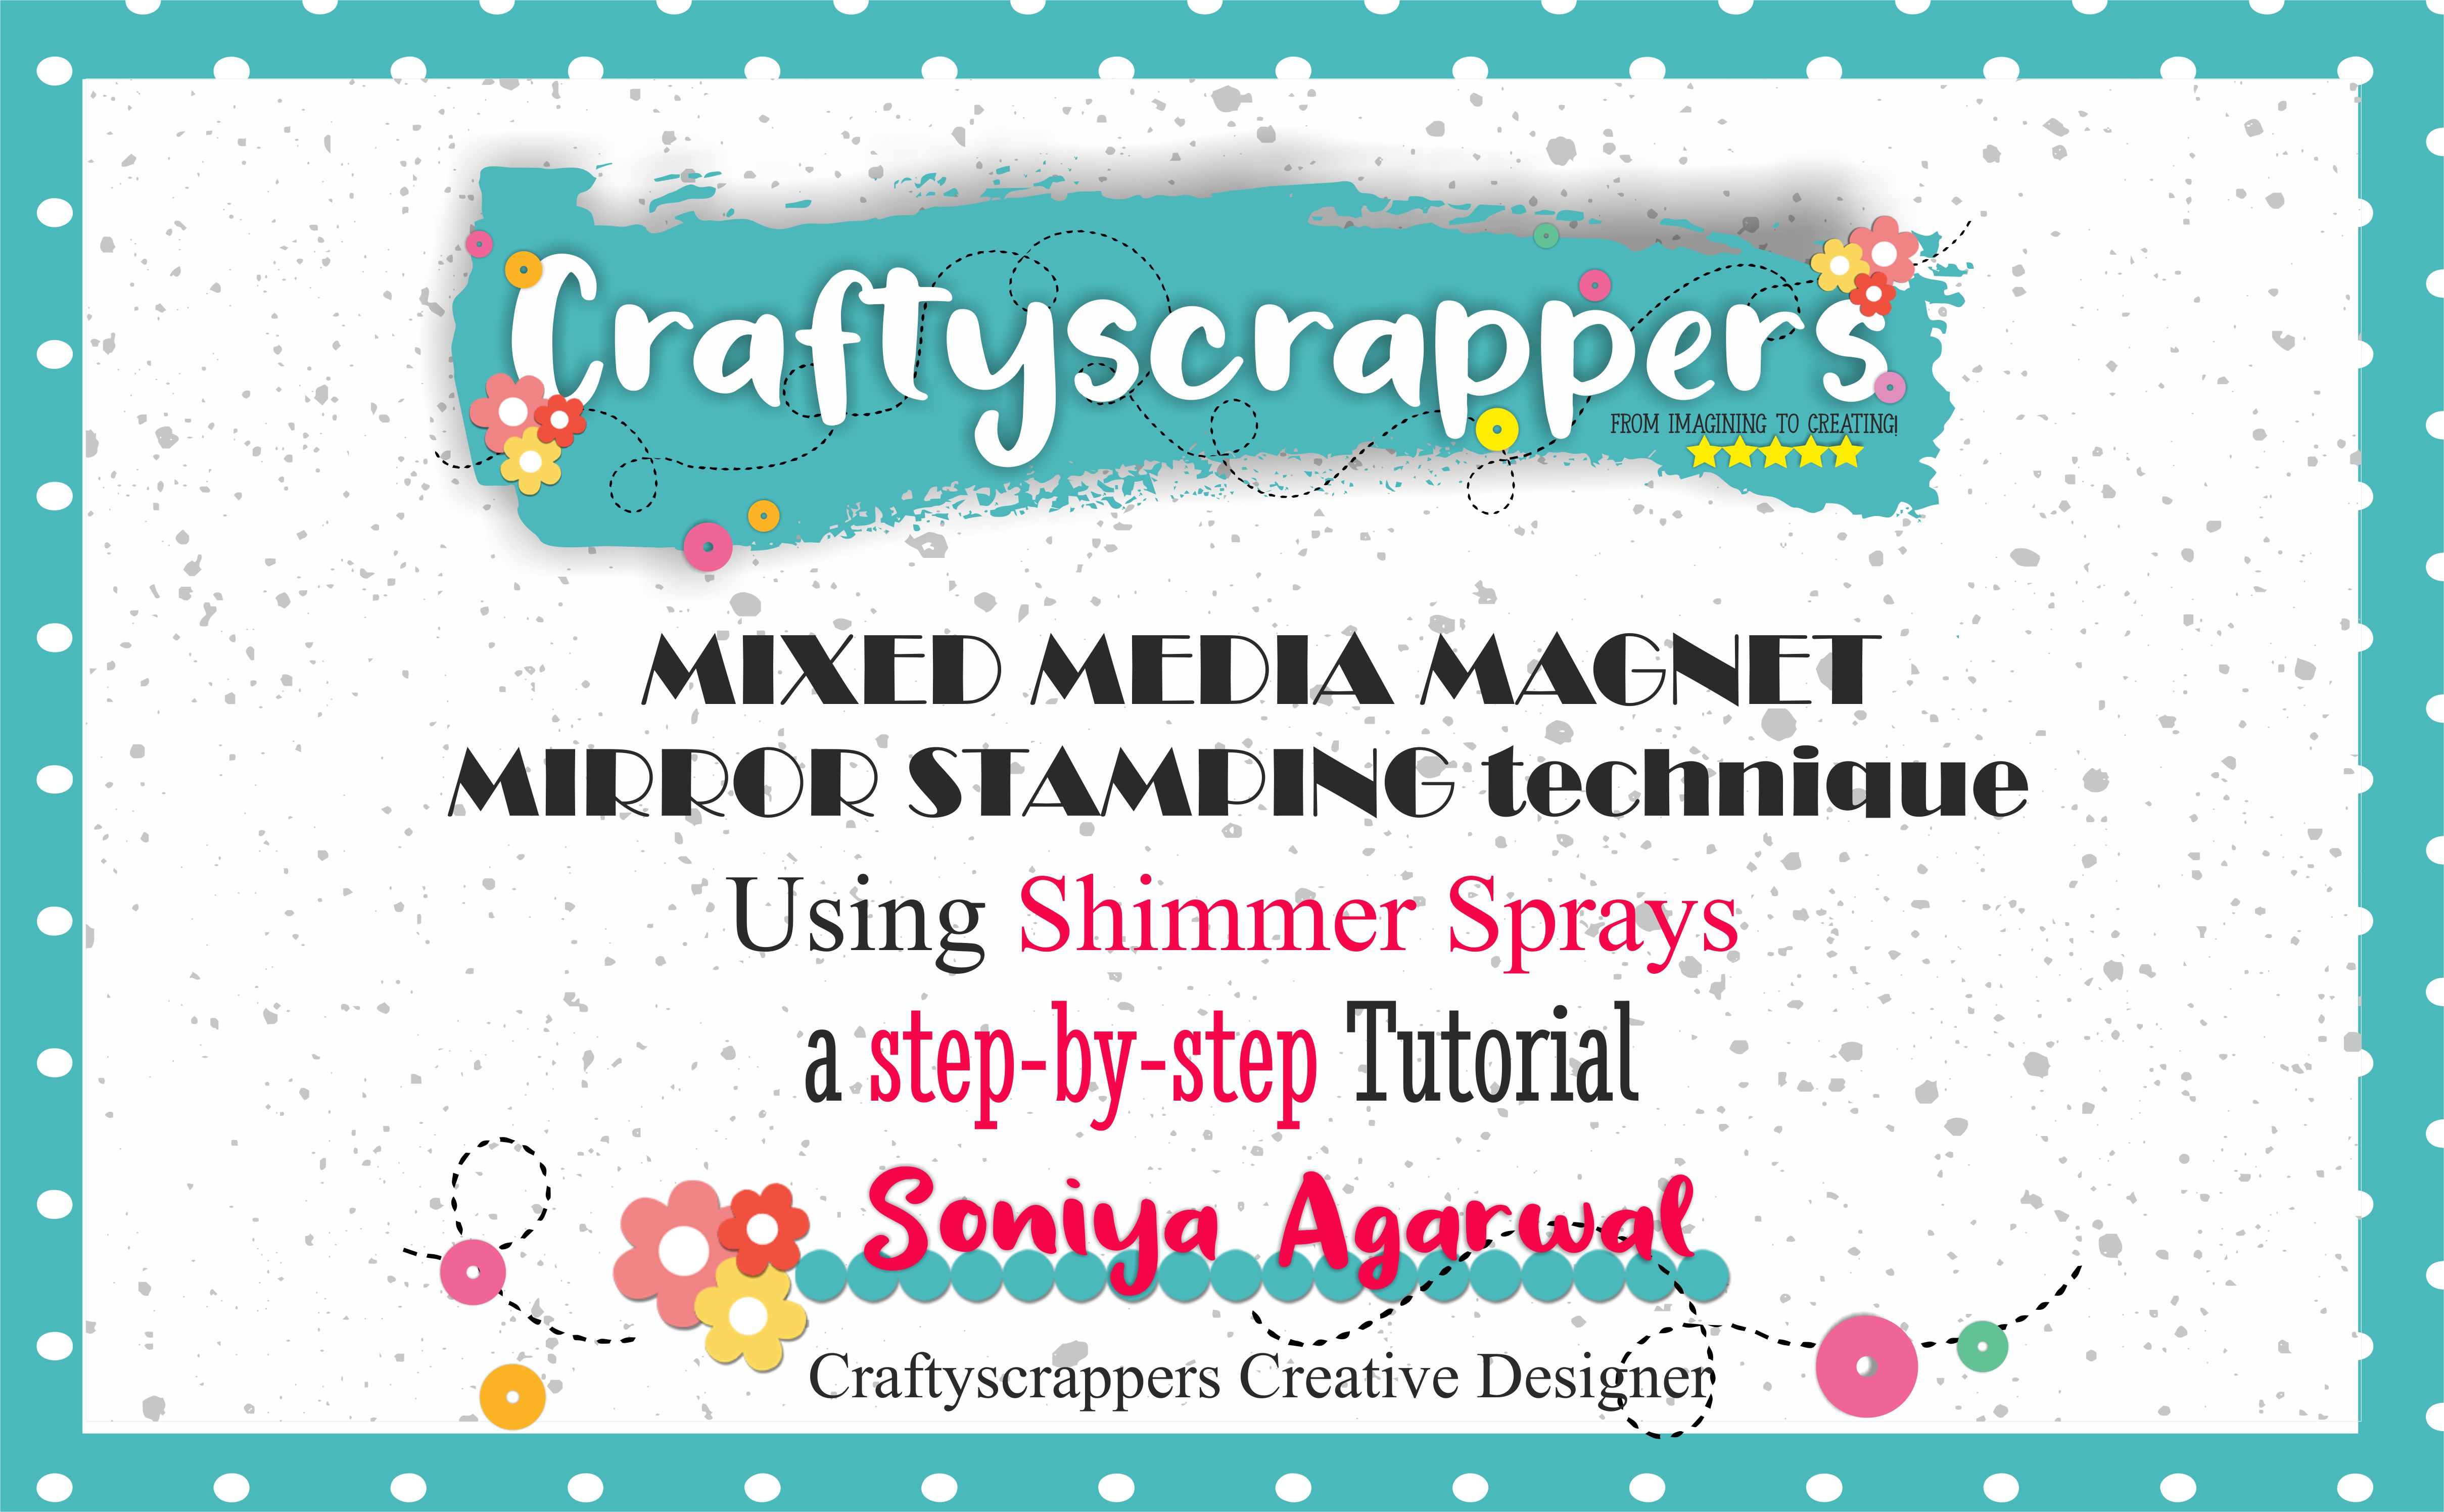
For this project, i have used Craftyscrappers amazing SHIMMER SPRAYS
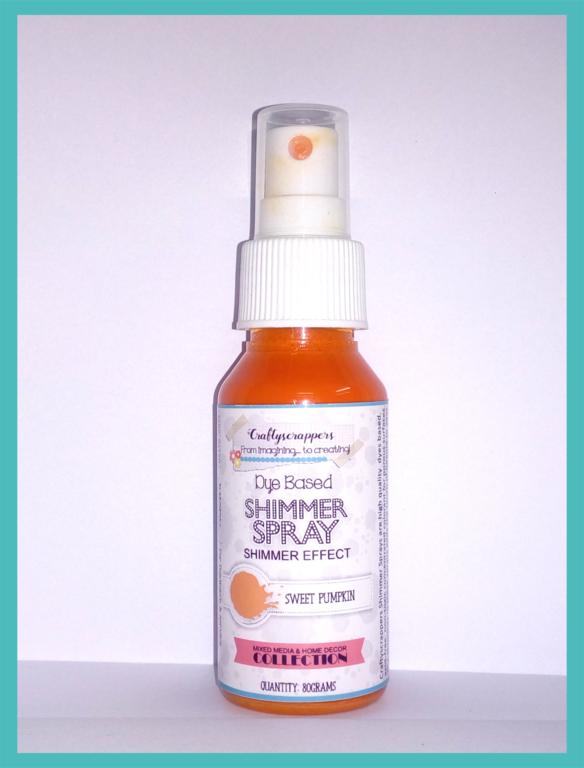
Craftyscrappers Shimmer Sprays are high quality dyes based, acid-free, non-toxic concentrated colorant for porous surfaces.
The shimmer in these sprays adds the touch of beauty to your craft projects. These are water-based sprays.
INSTRUCTION TO USE:
- Remove the inner seal, Assemble the Spray pumps to the Shimmer sprays bottle firmly.
- Shake the shimmer spray bottle horizontally before spraying to avoid nozzle clogging.
- Spray gently to the desired area,
- Put the cap back on and keep aside after use.
- Craftyscrappers Shimmer sprays bright and vibrant palette will colorize paper, Sticky Back Canvas, wood, paper, clay and more.
- You can use these directly or you can even mist them with water to lighten the colour or mix-match the colors to make your own variations.
- Can be used to create backgrounds on cards, scrapbooks, journal pages, and in mixed media art as well as home decor projects.

if you have missed the previous post check it out here:
CHALLENGE#23:”MIRROR IMAGE STAMPING!”
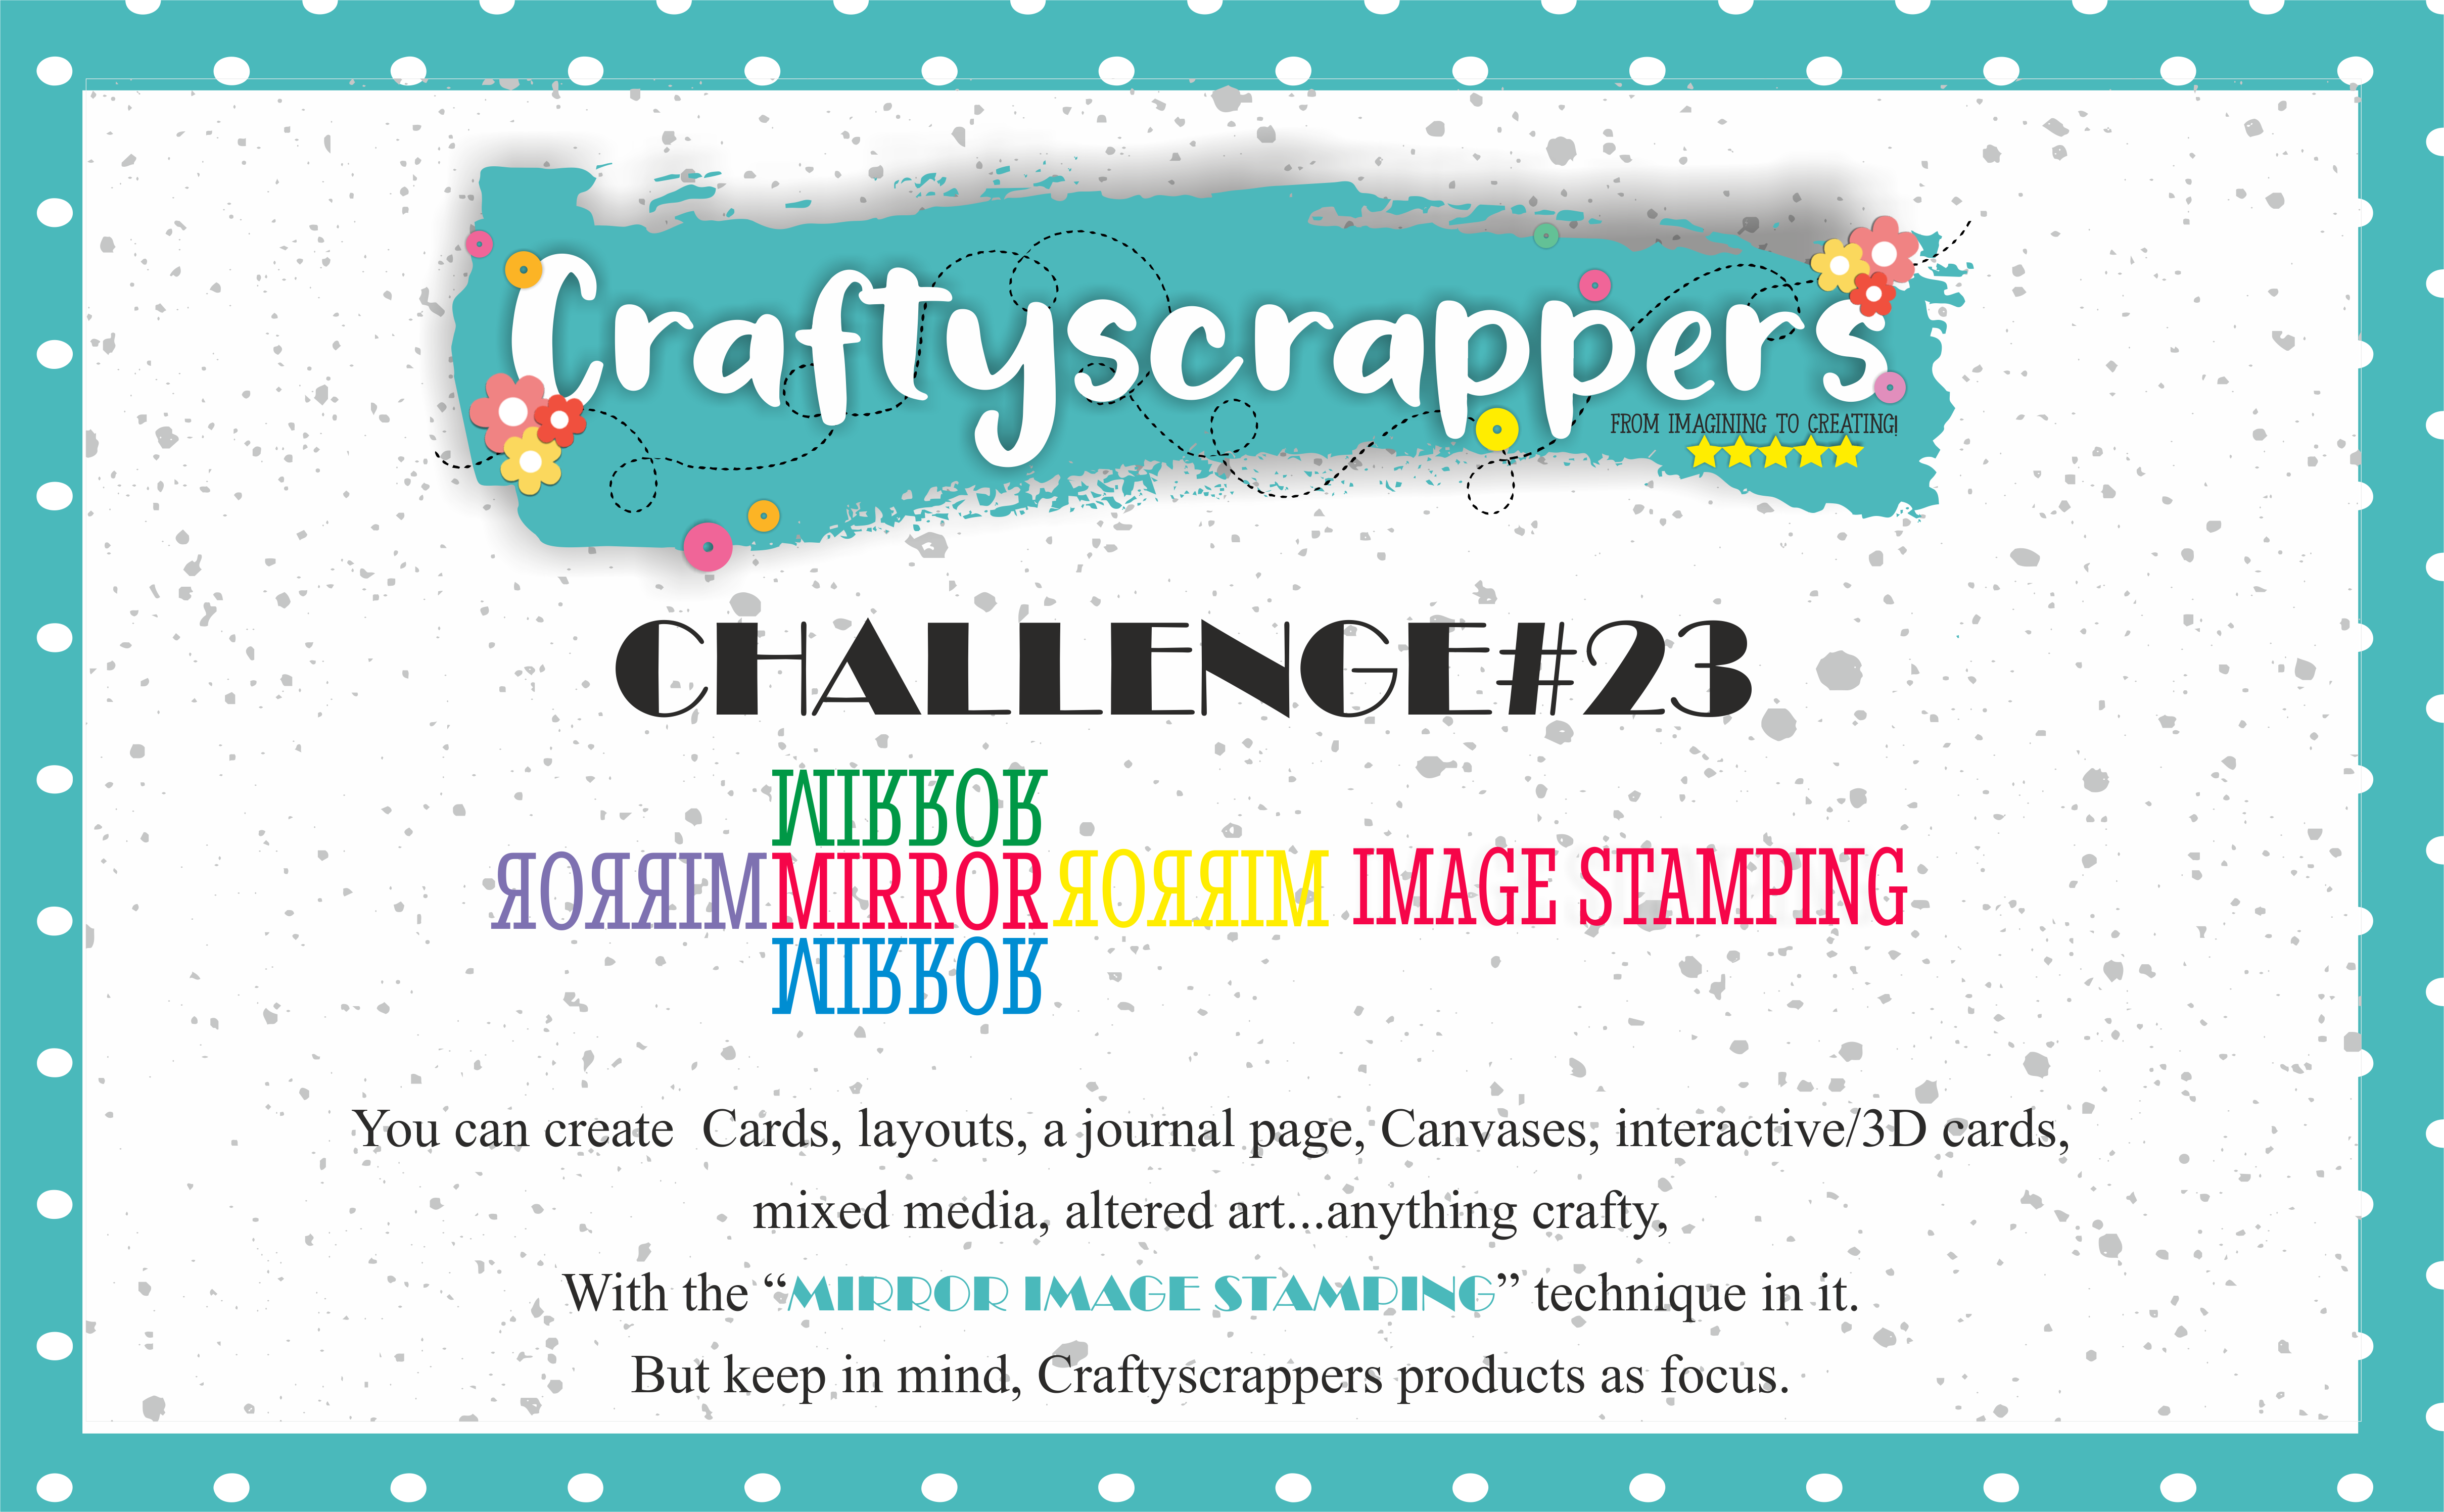
You can create Cards, layouts, a journal page, Canvases, interactive/3D cards,
mixed media, altered art…anything crafty,
With the MIRROR IMAGE STAMPING technique in it!
But keep in mind, Craftyscrappers products as focus.
- Last date of submission is 31ST JULY,2018

To win the amazing goodie bags !
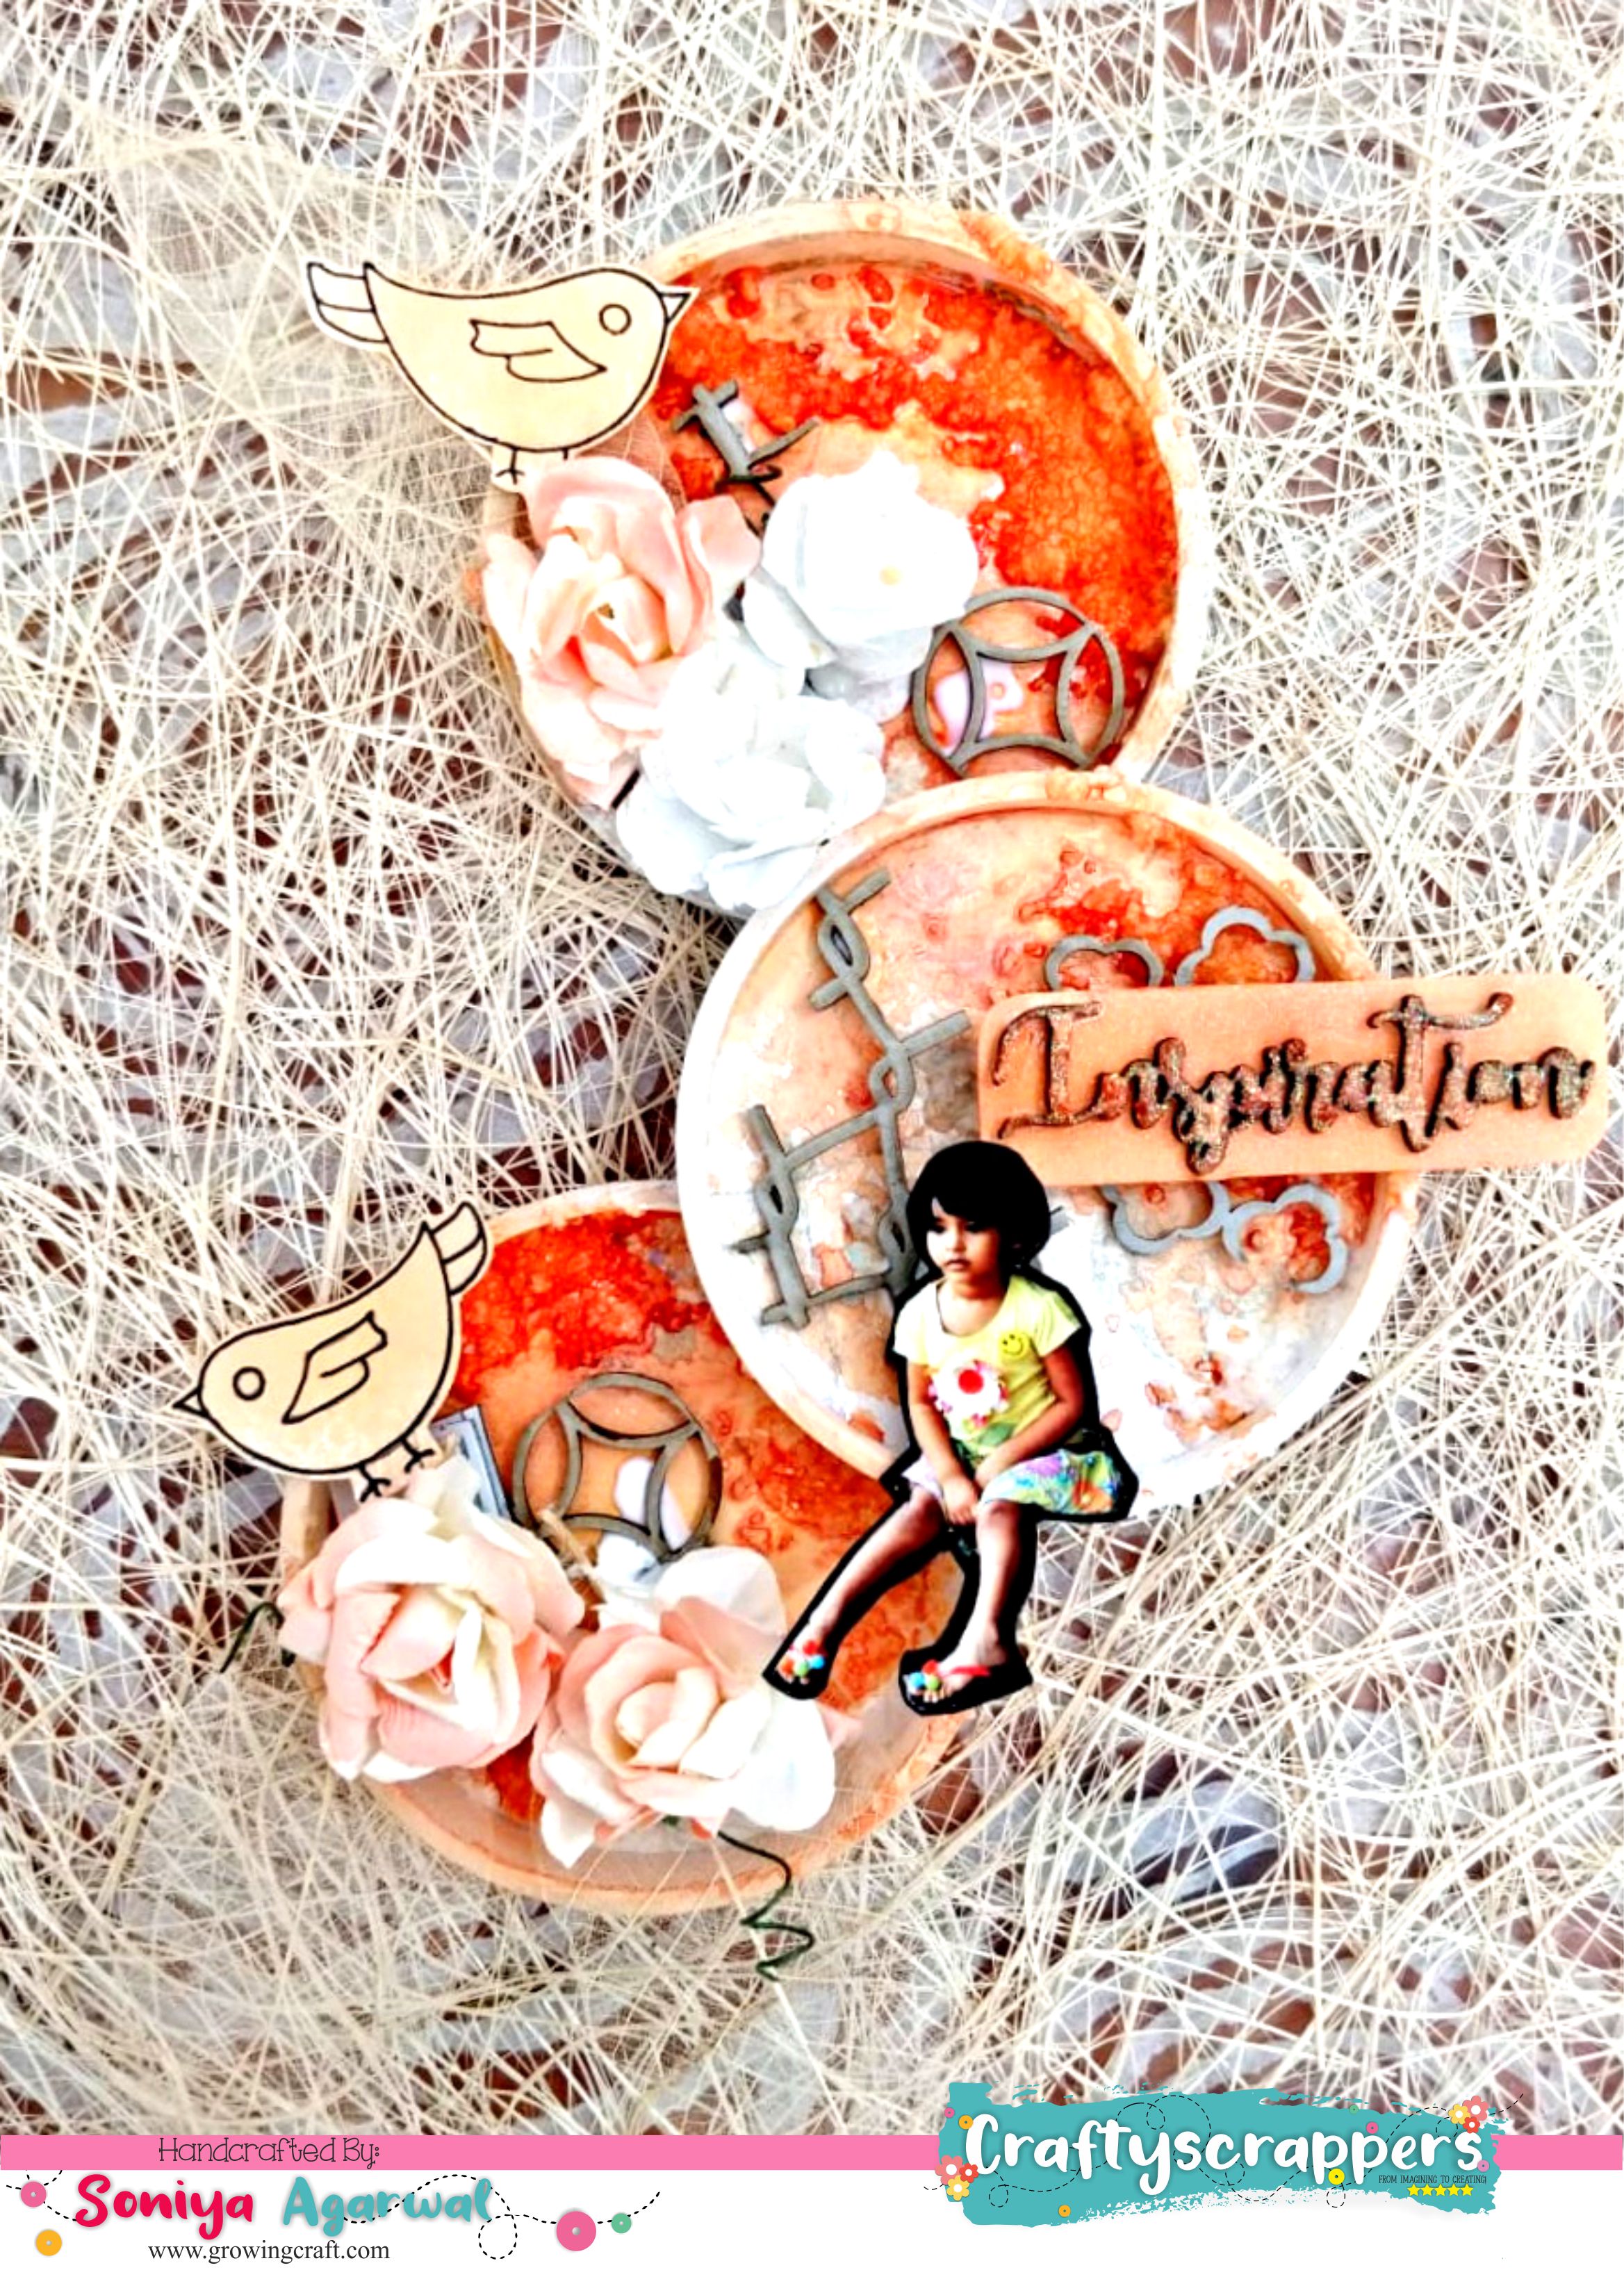


Clean your plastic/cardboard rings.
Stick them to pattern paper and ones it dries out, cut them to shape.
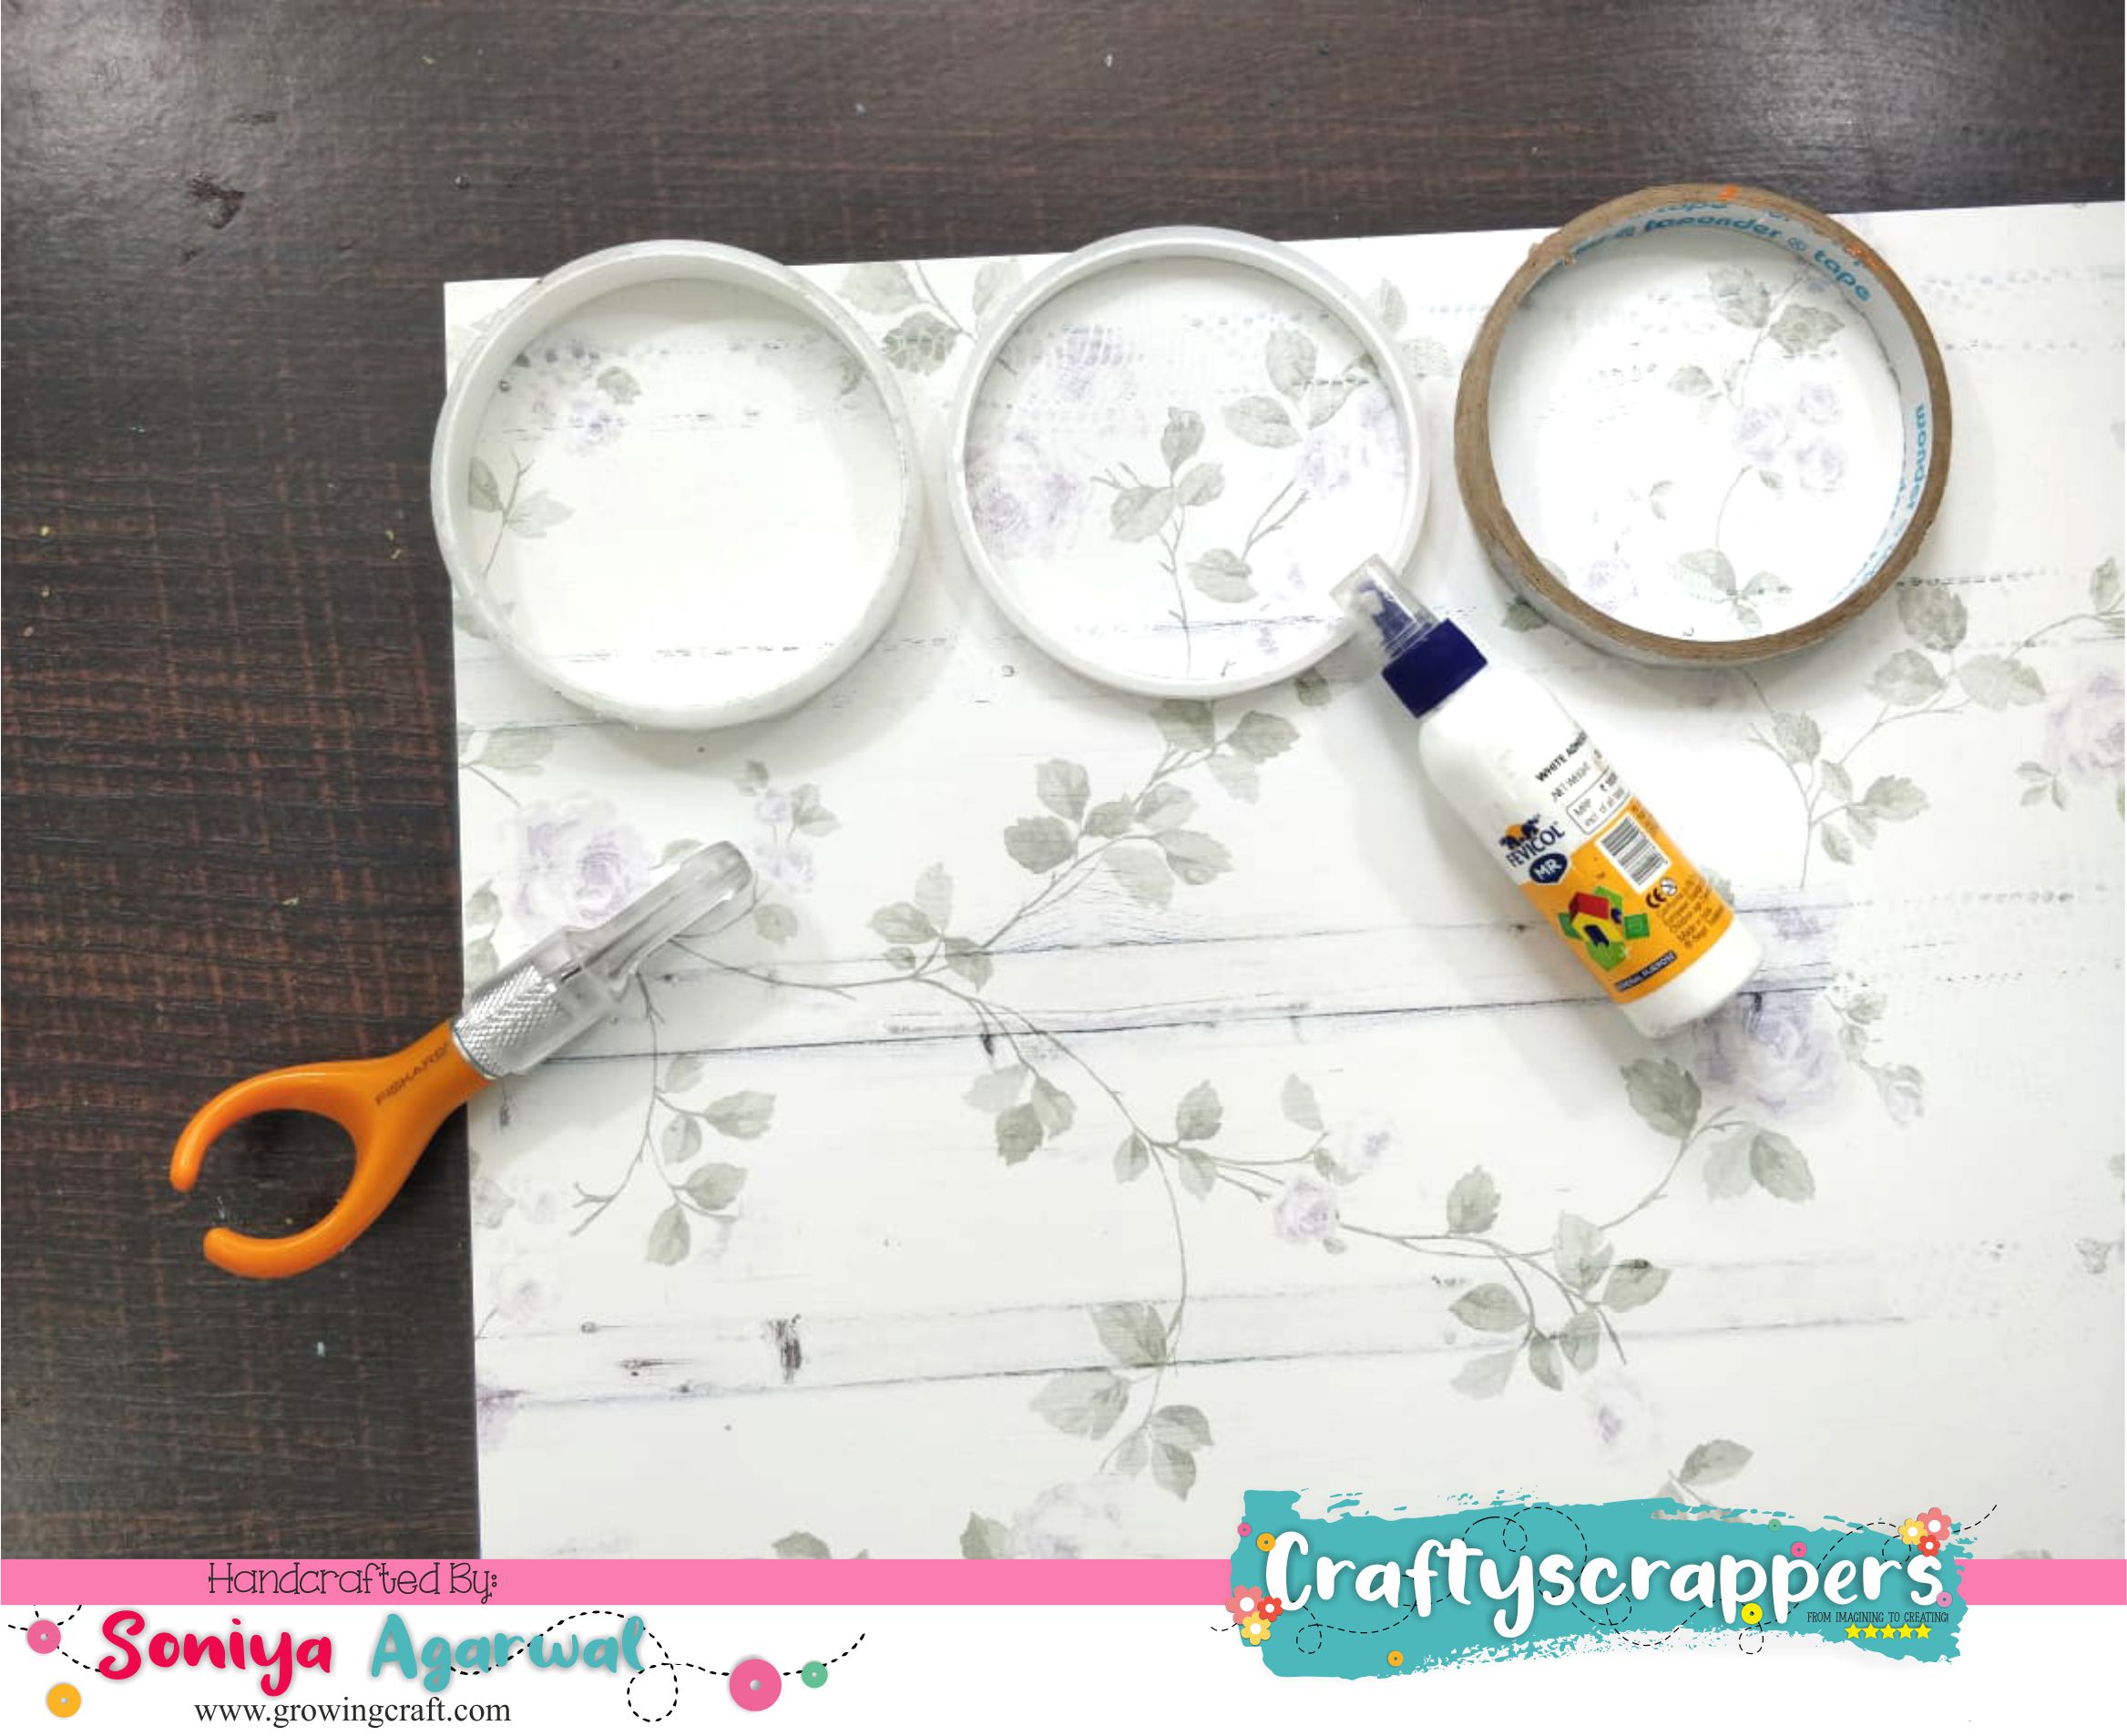

Apply a thick coat of gesso on the borders.


Mirror stamp the bird on a cardstock and spray paint them.


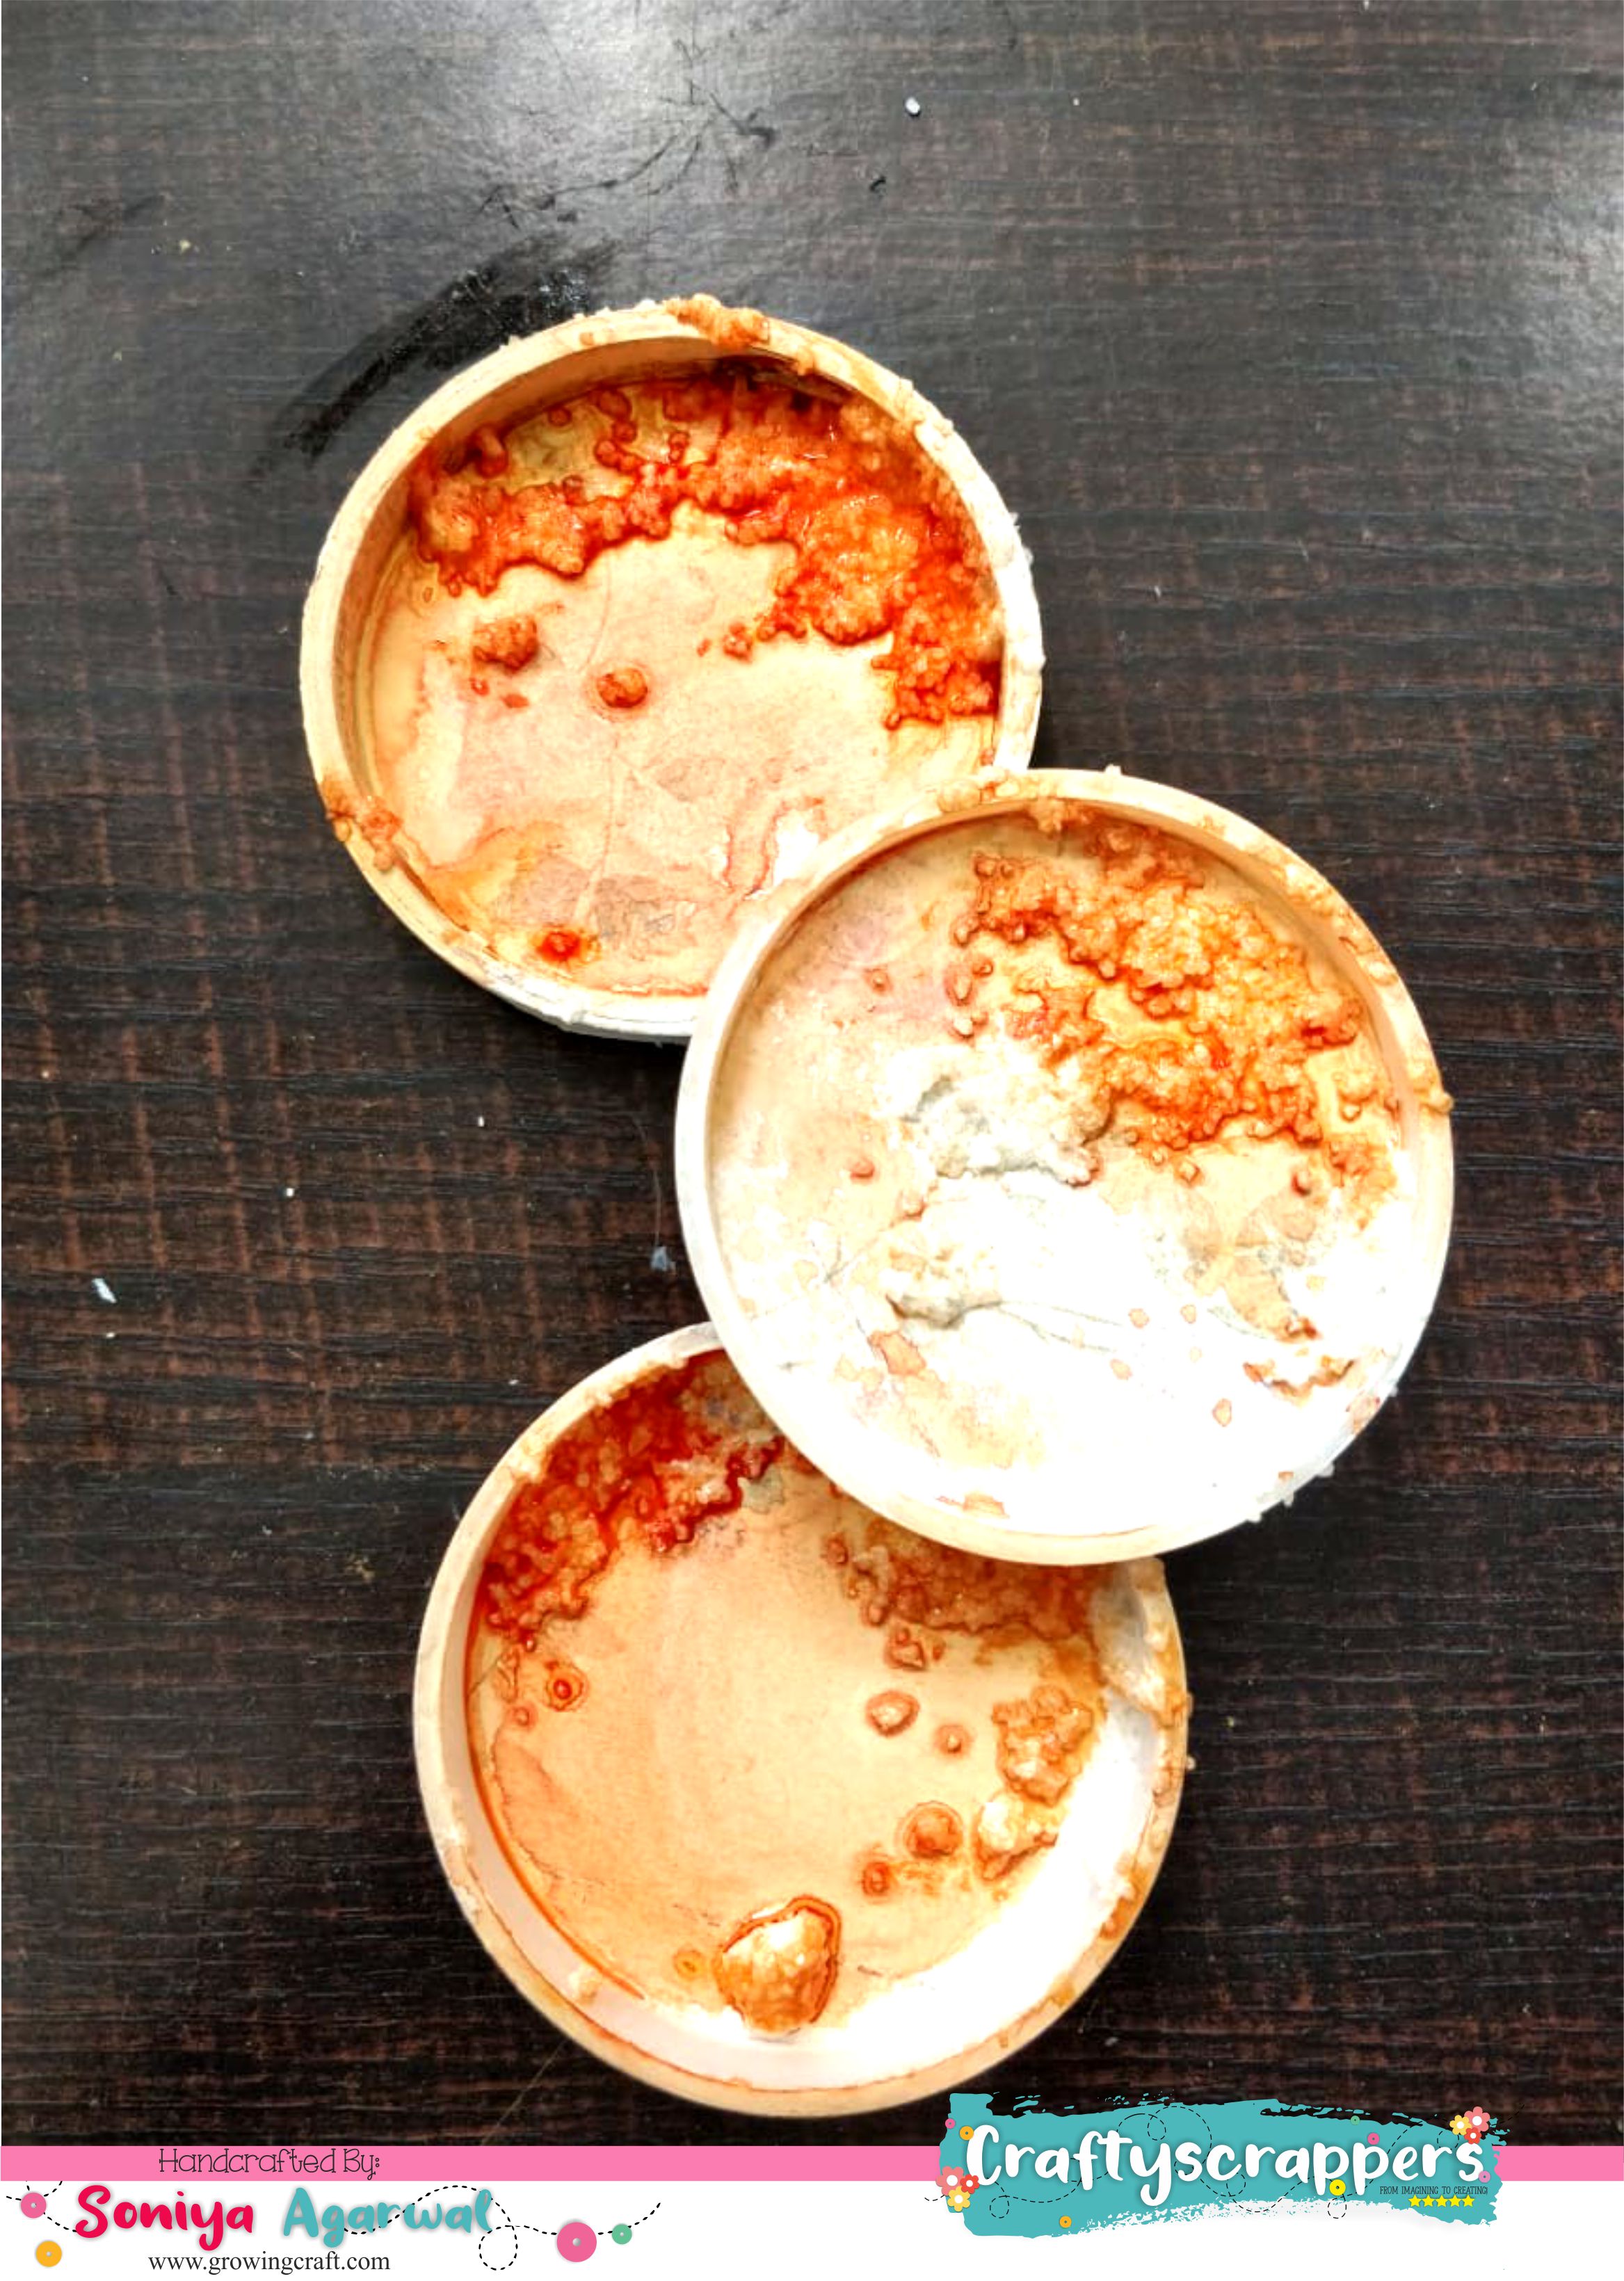
Fussy-cut your stamped image with a very thin border.Stick your ring base to each other and fill them with sand paste.Ones the paste has dried out completely, Add colour with shimmer spray paints.
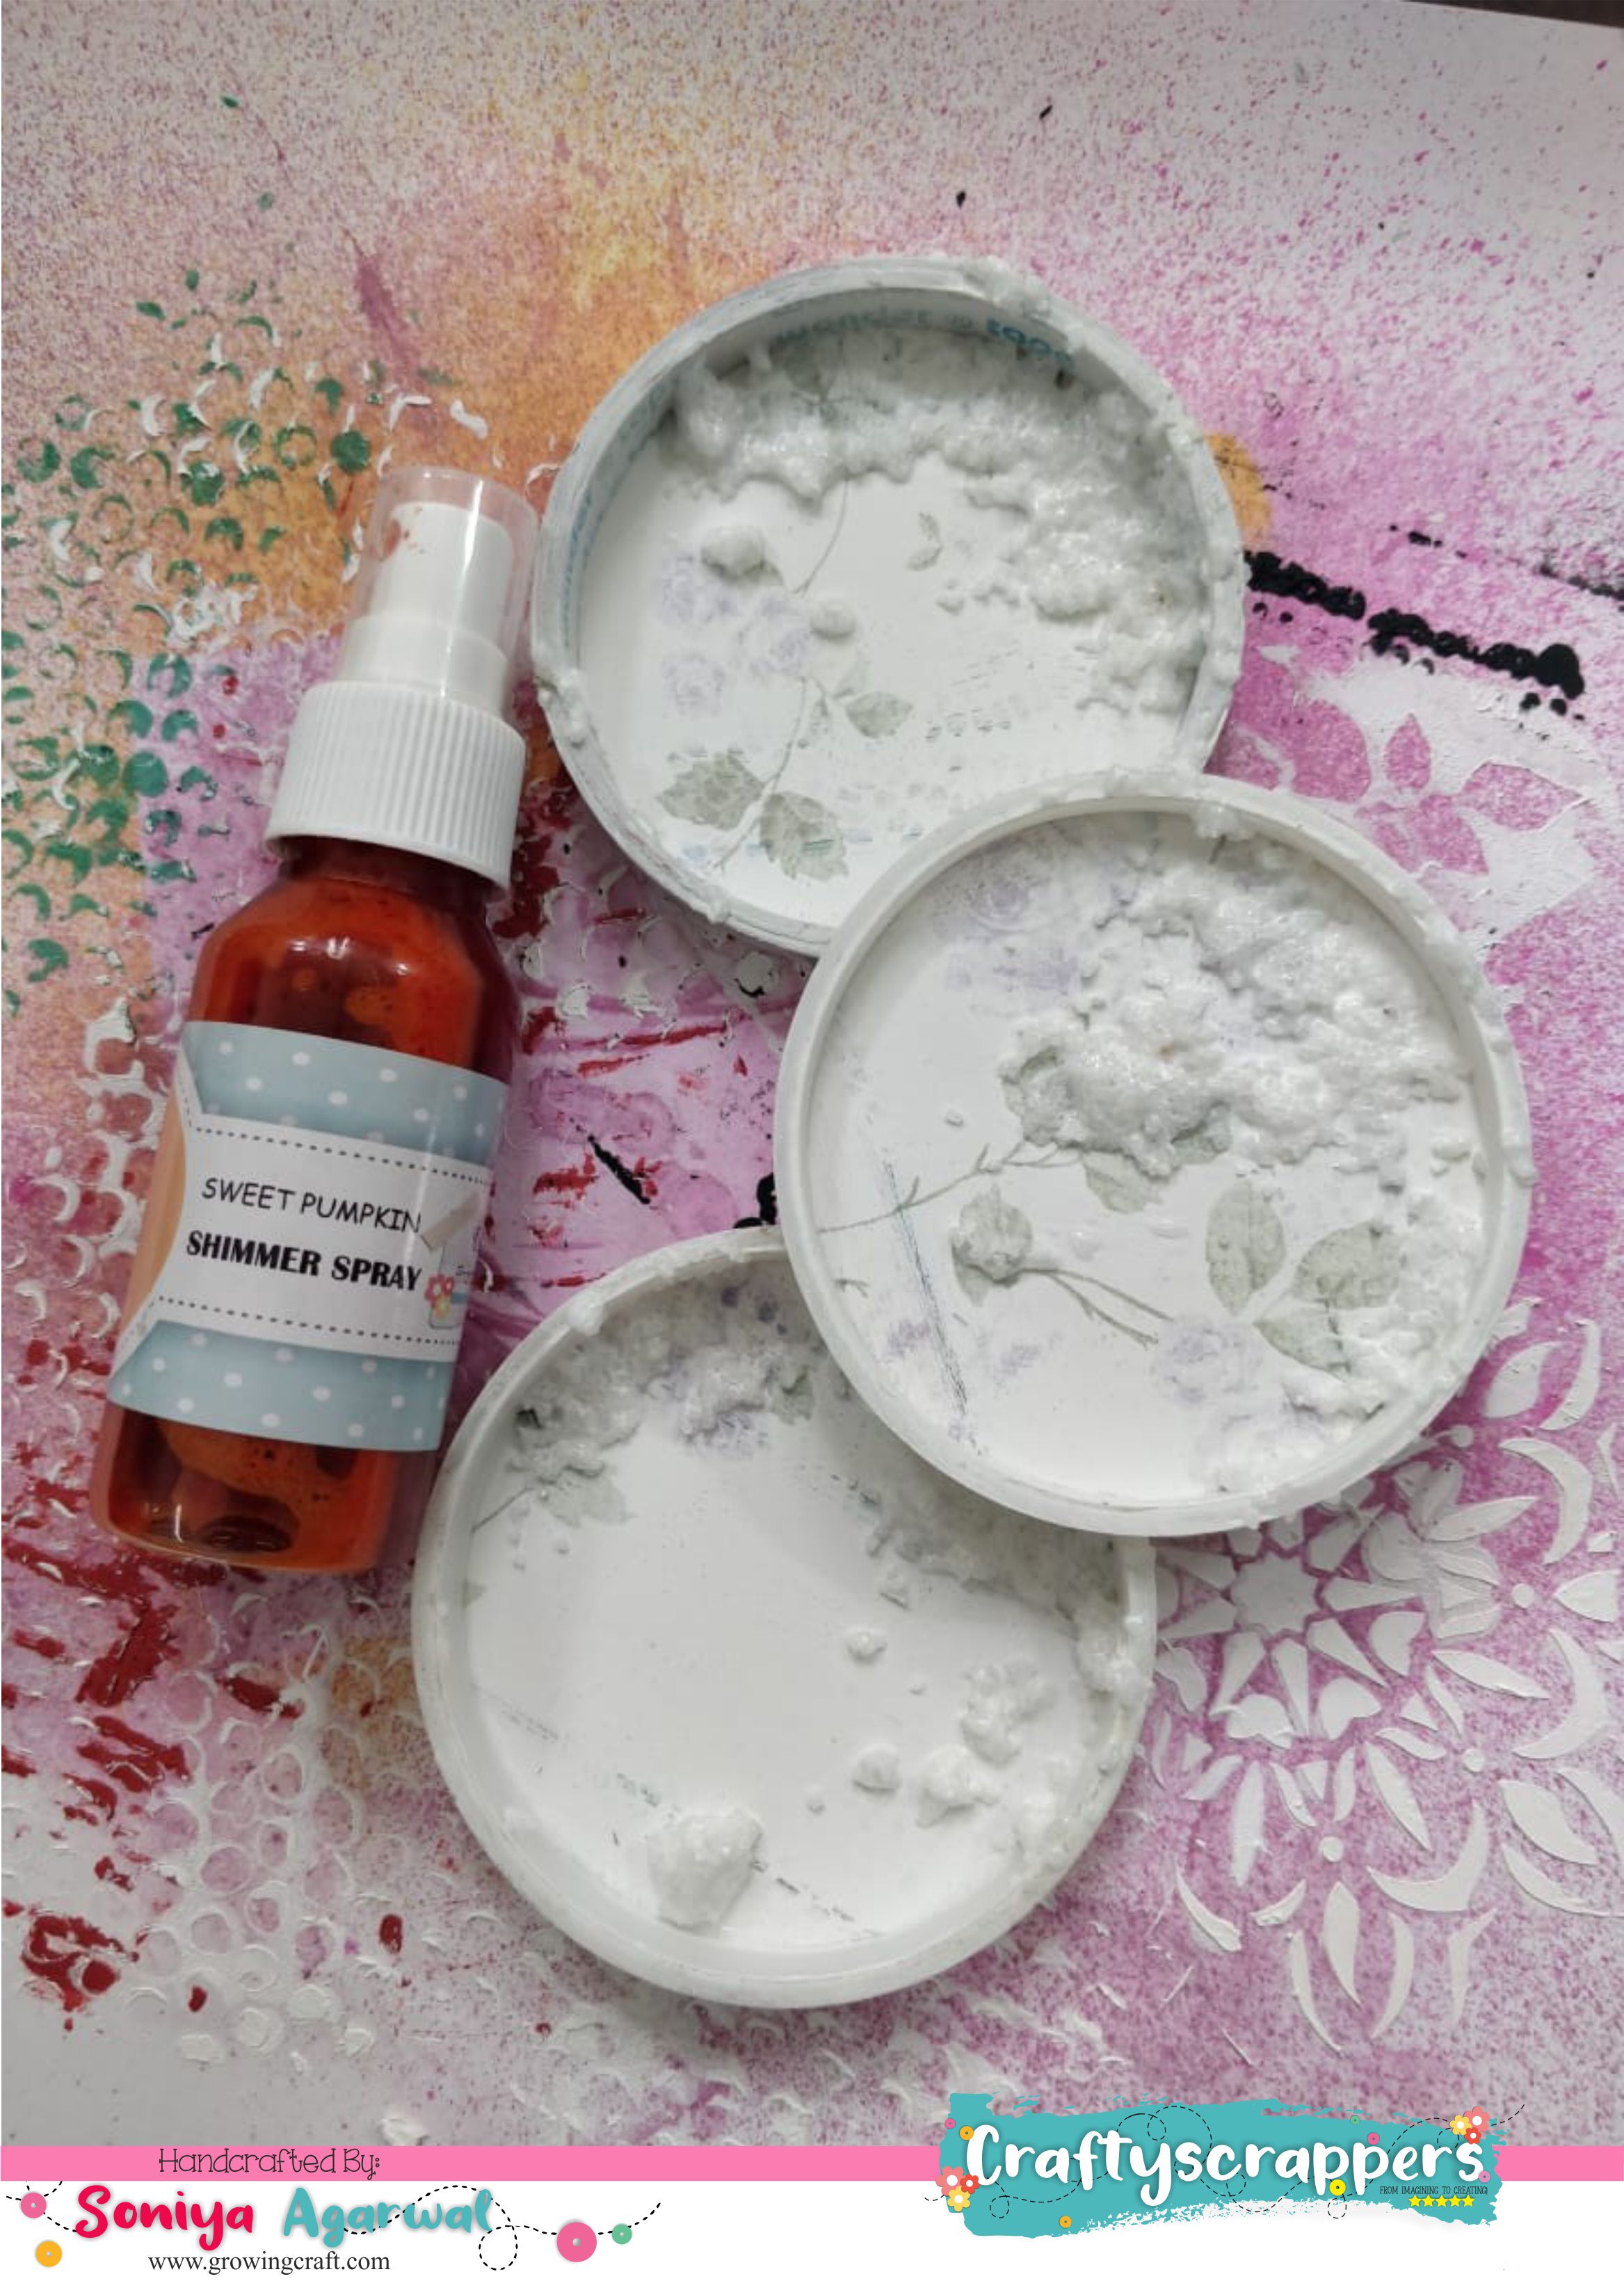
This is how it looks, once shimmer spray applied:

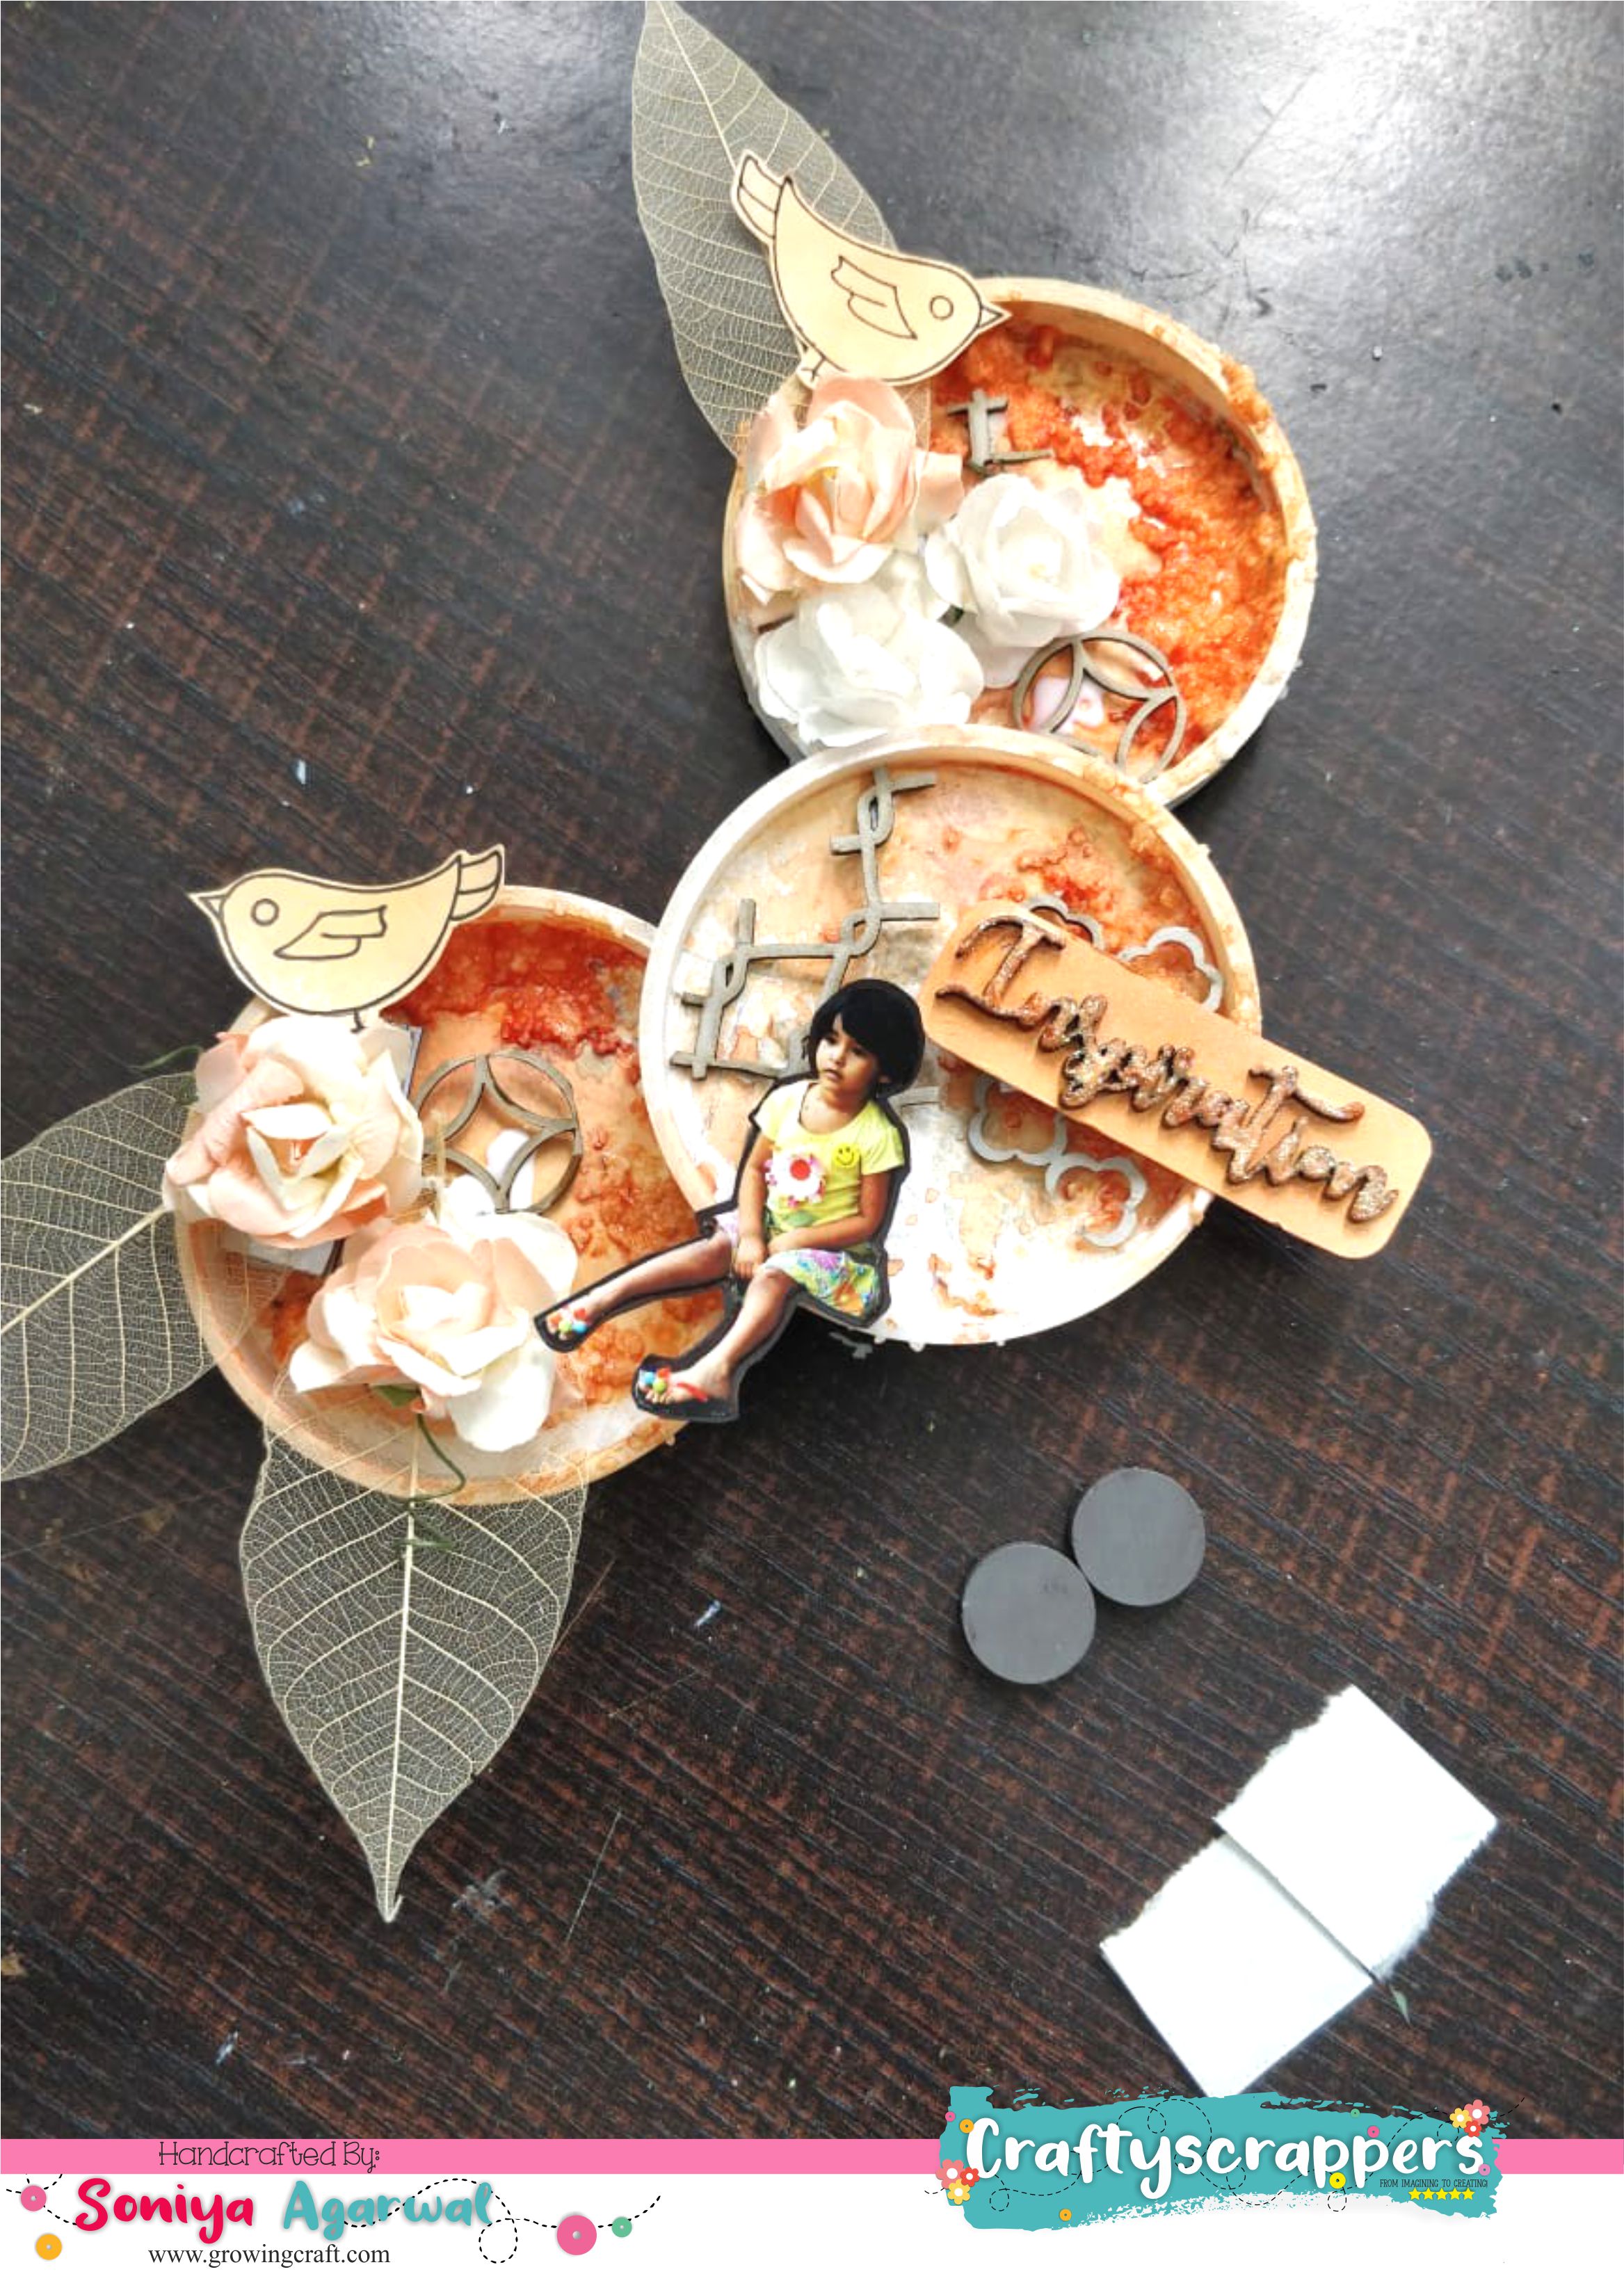
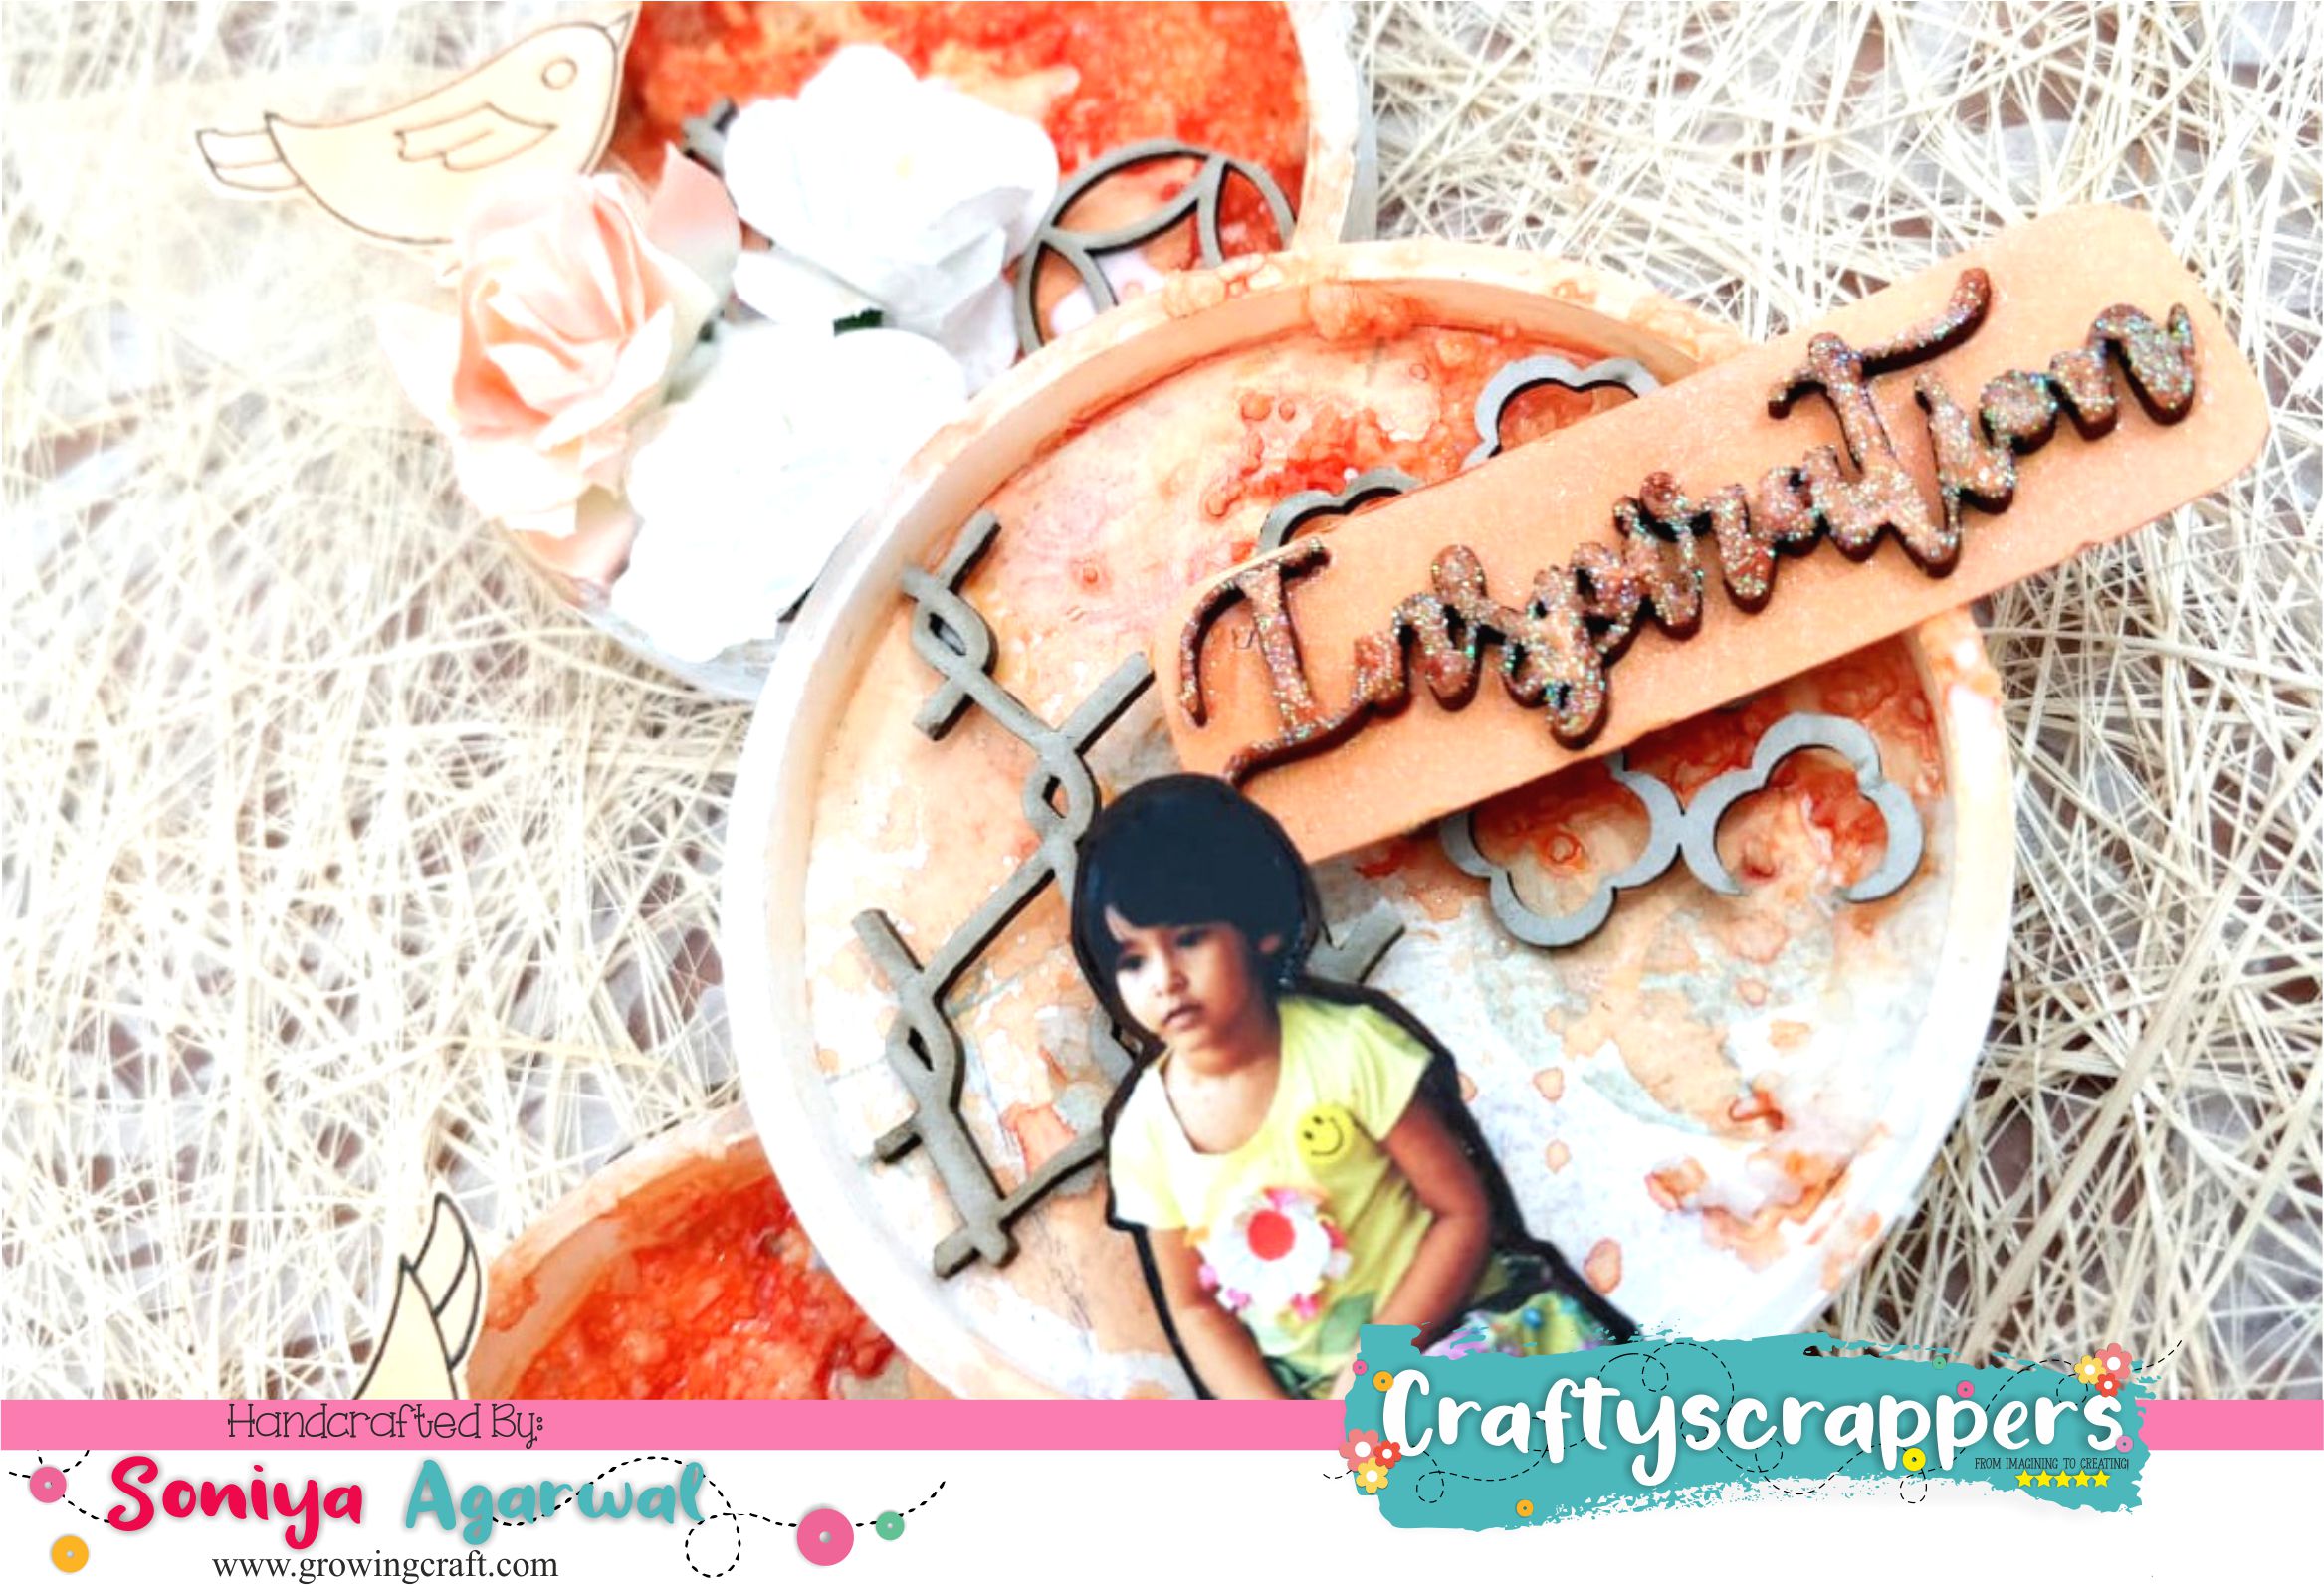
Stick small pieces of cardboard to add height to your embellishments.
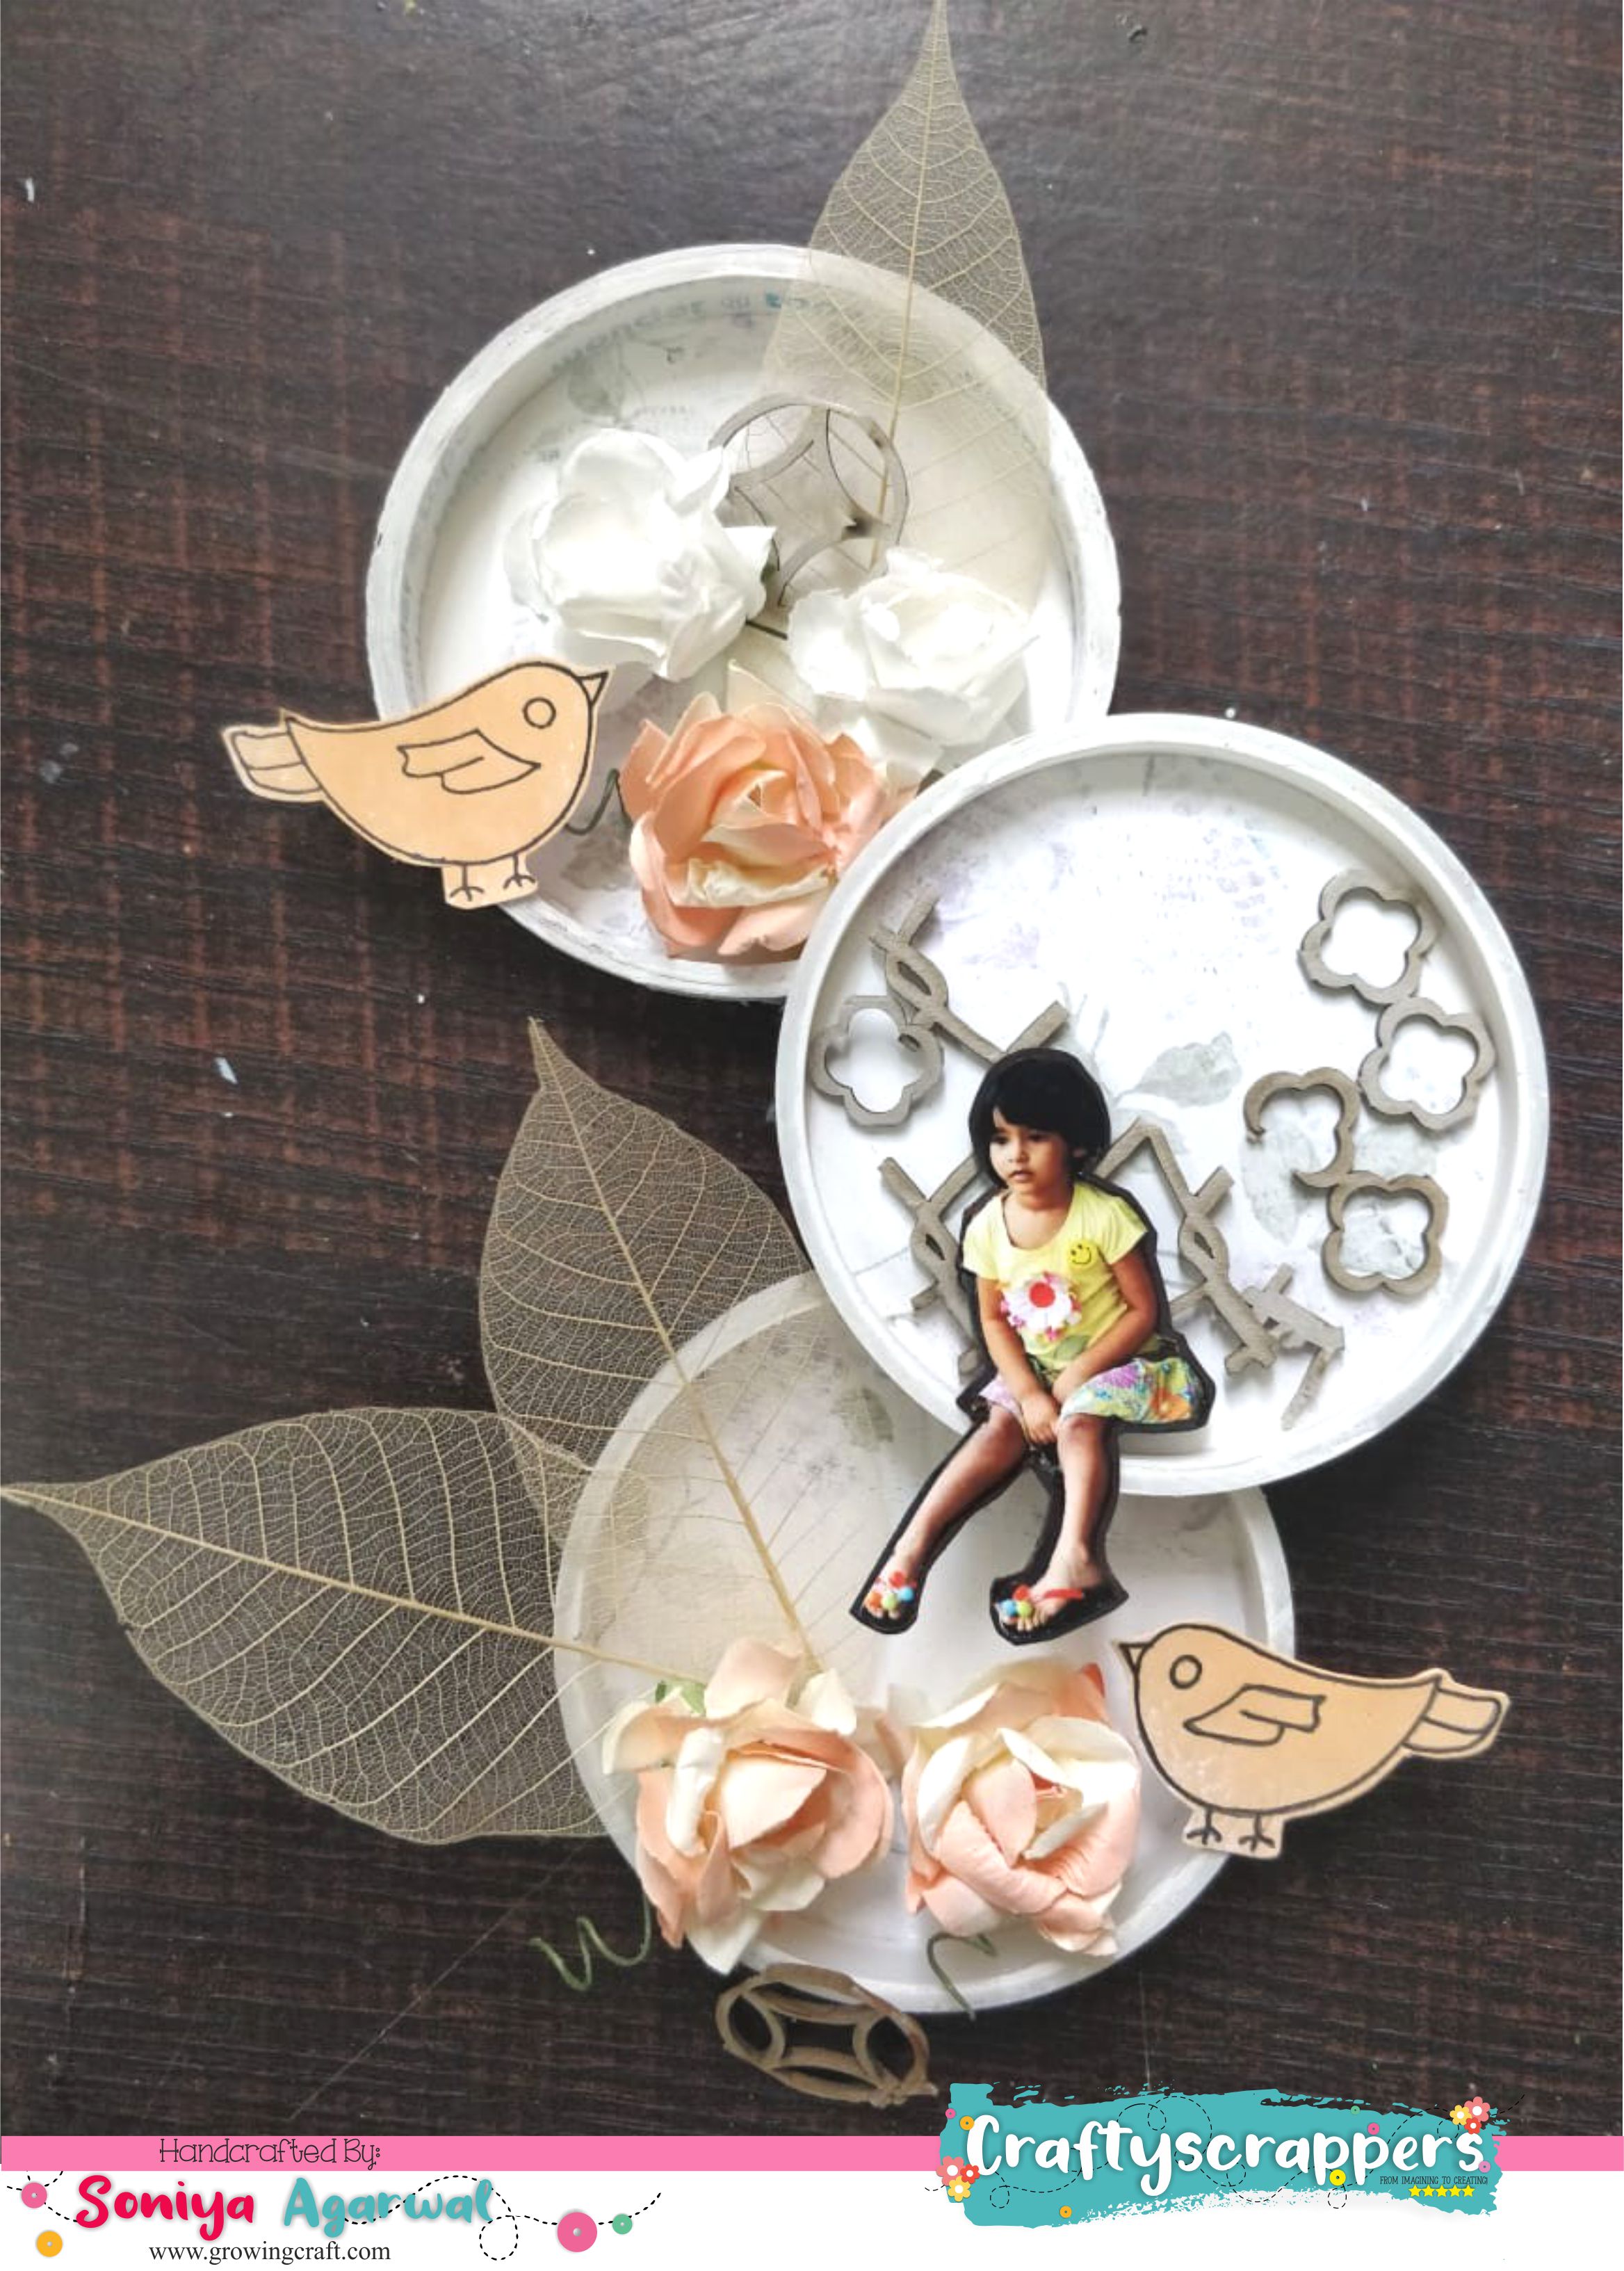

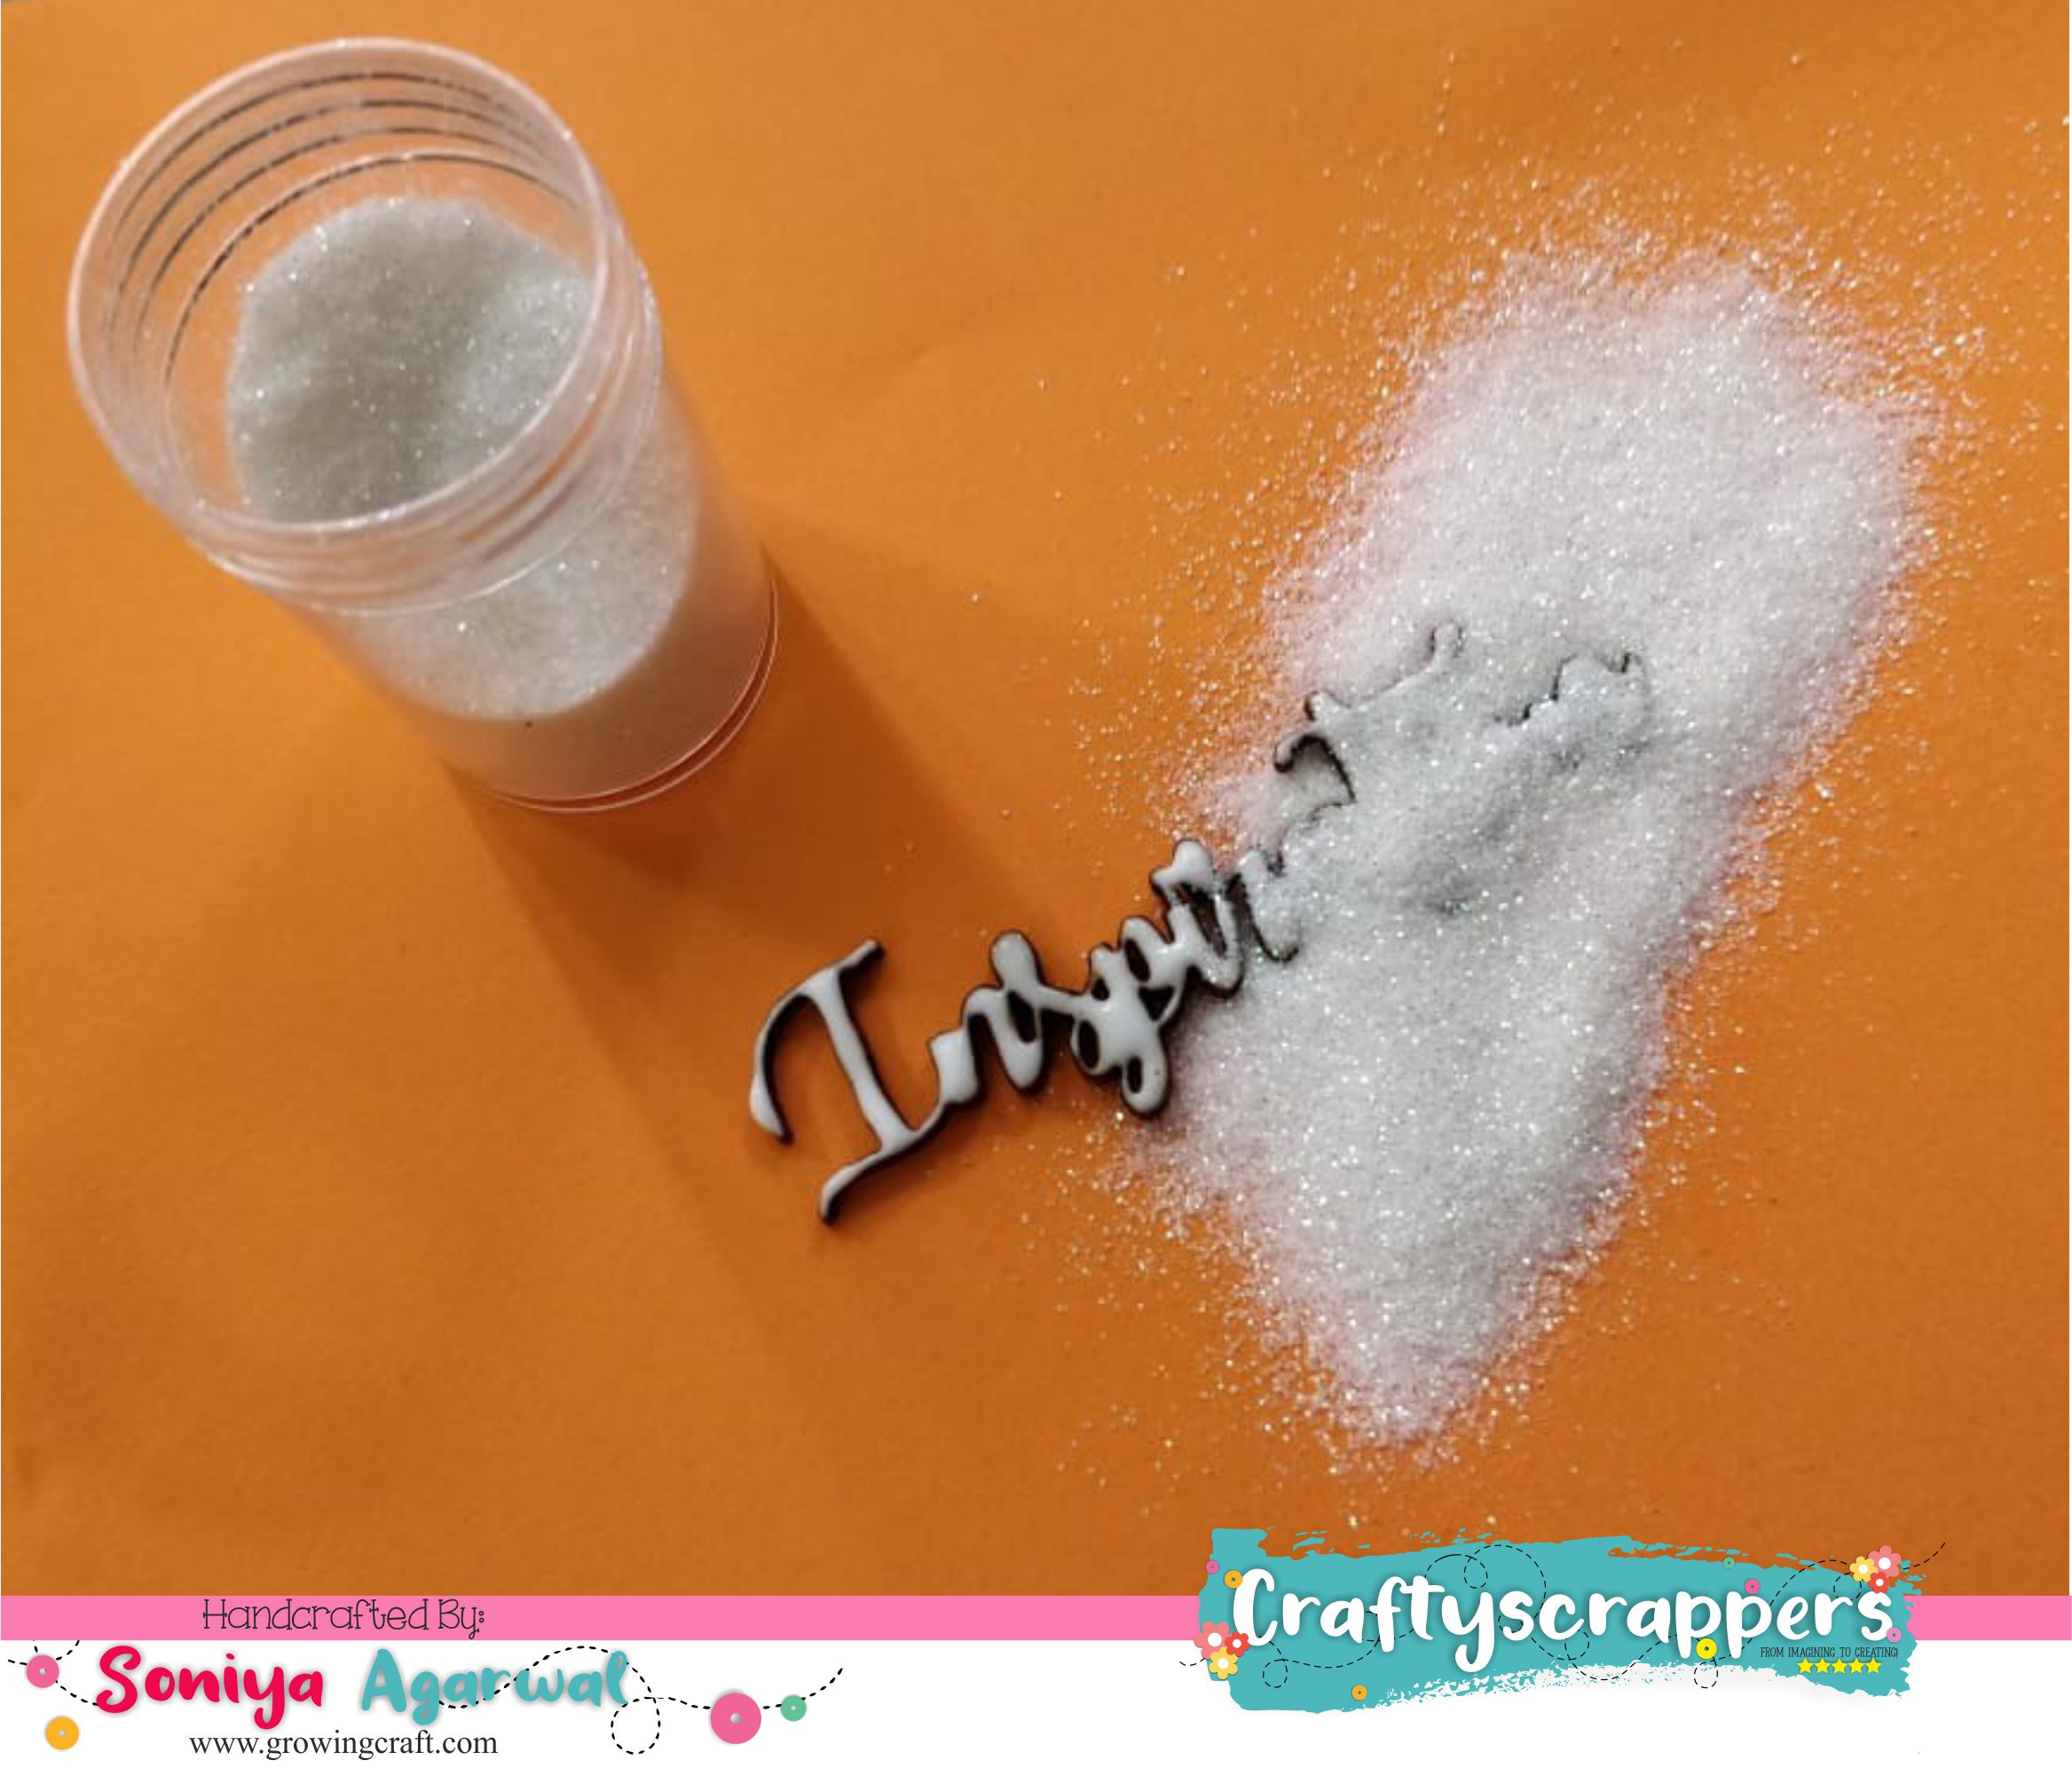
Add adhesive and glitter to sentiment. Stick them to a colored card stock and spray paint again.
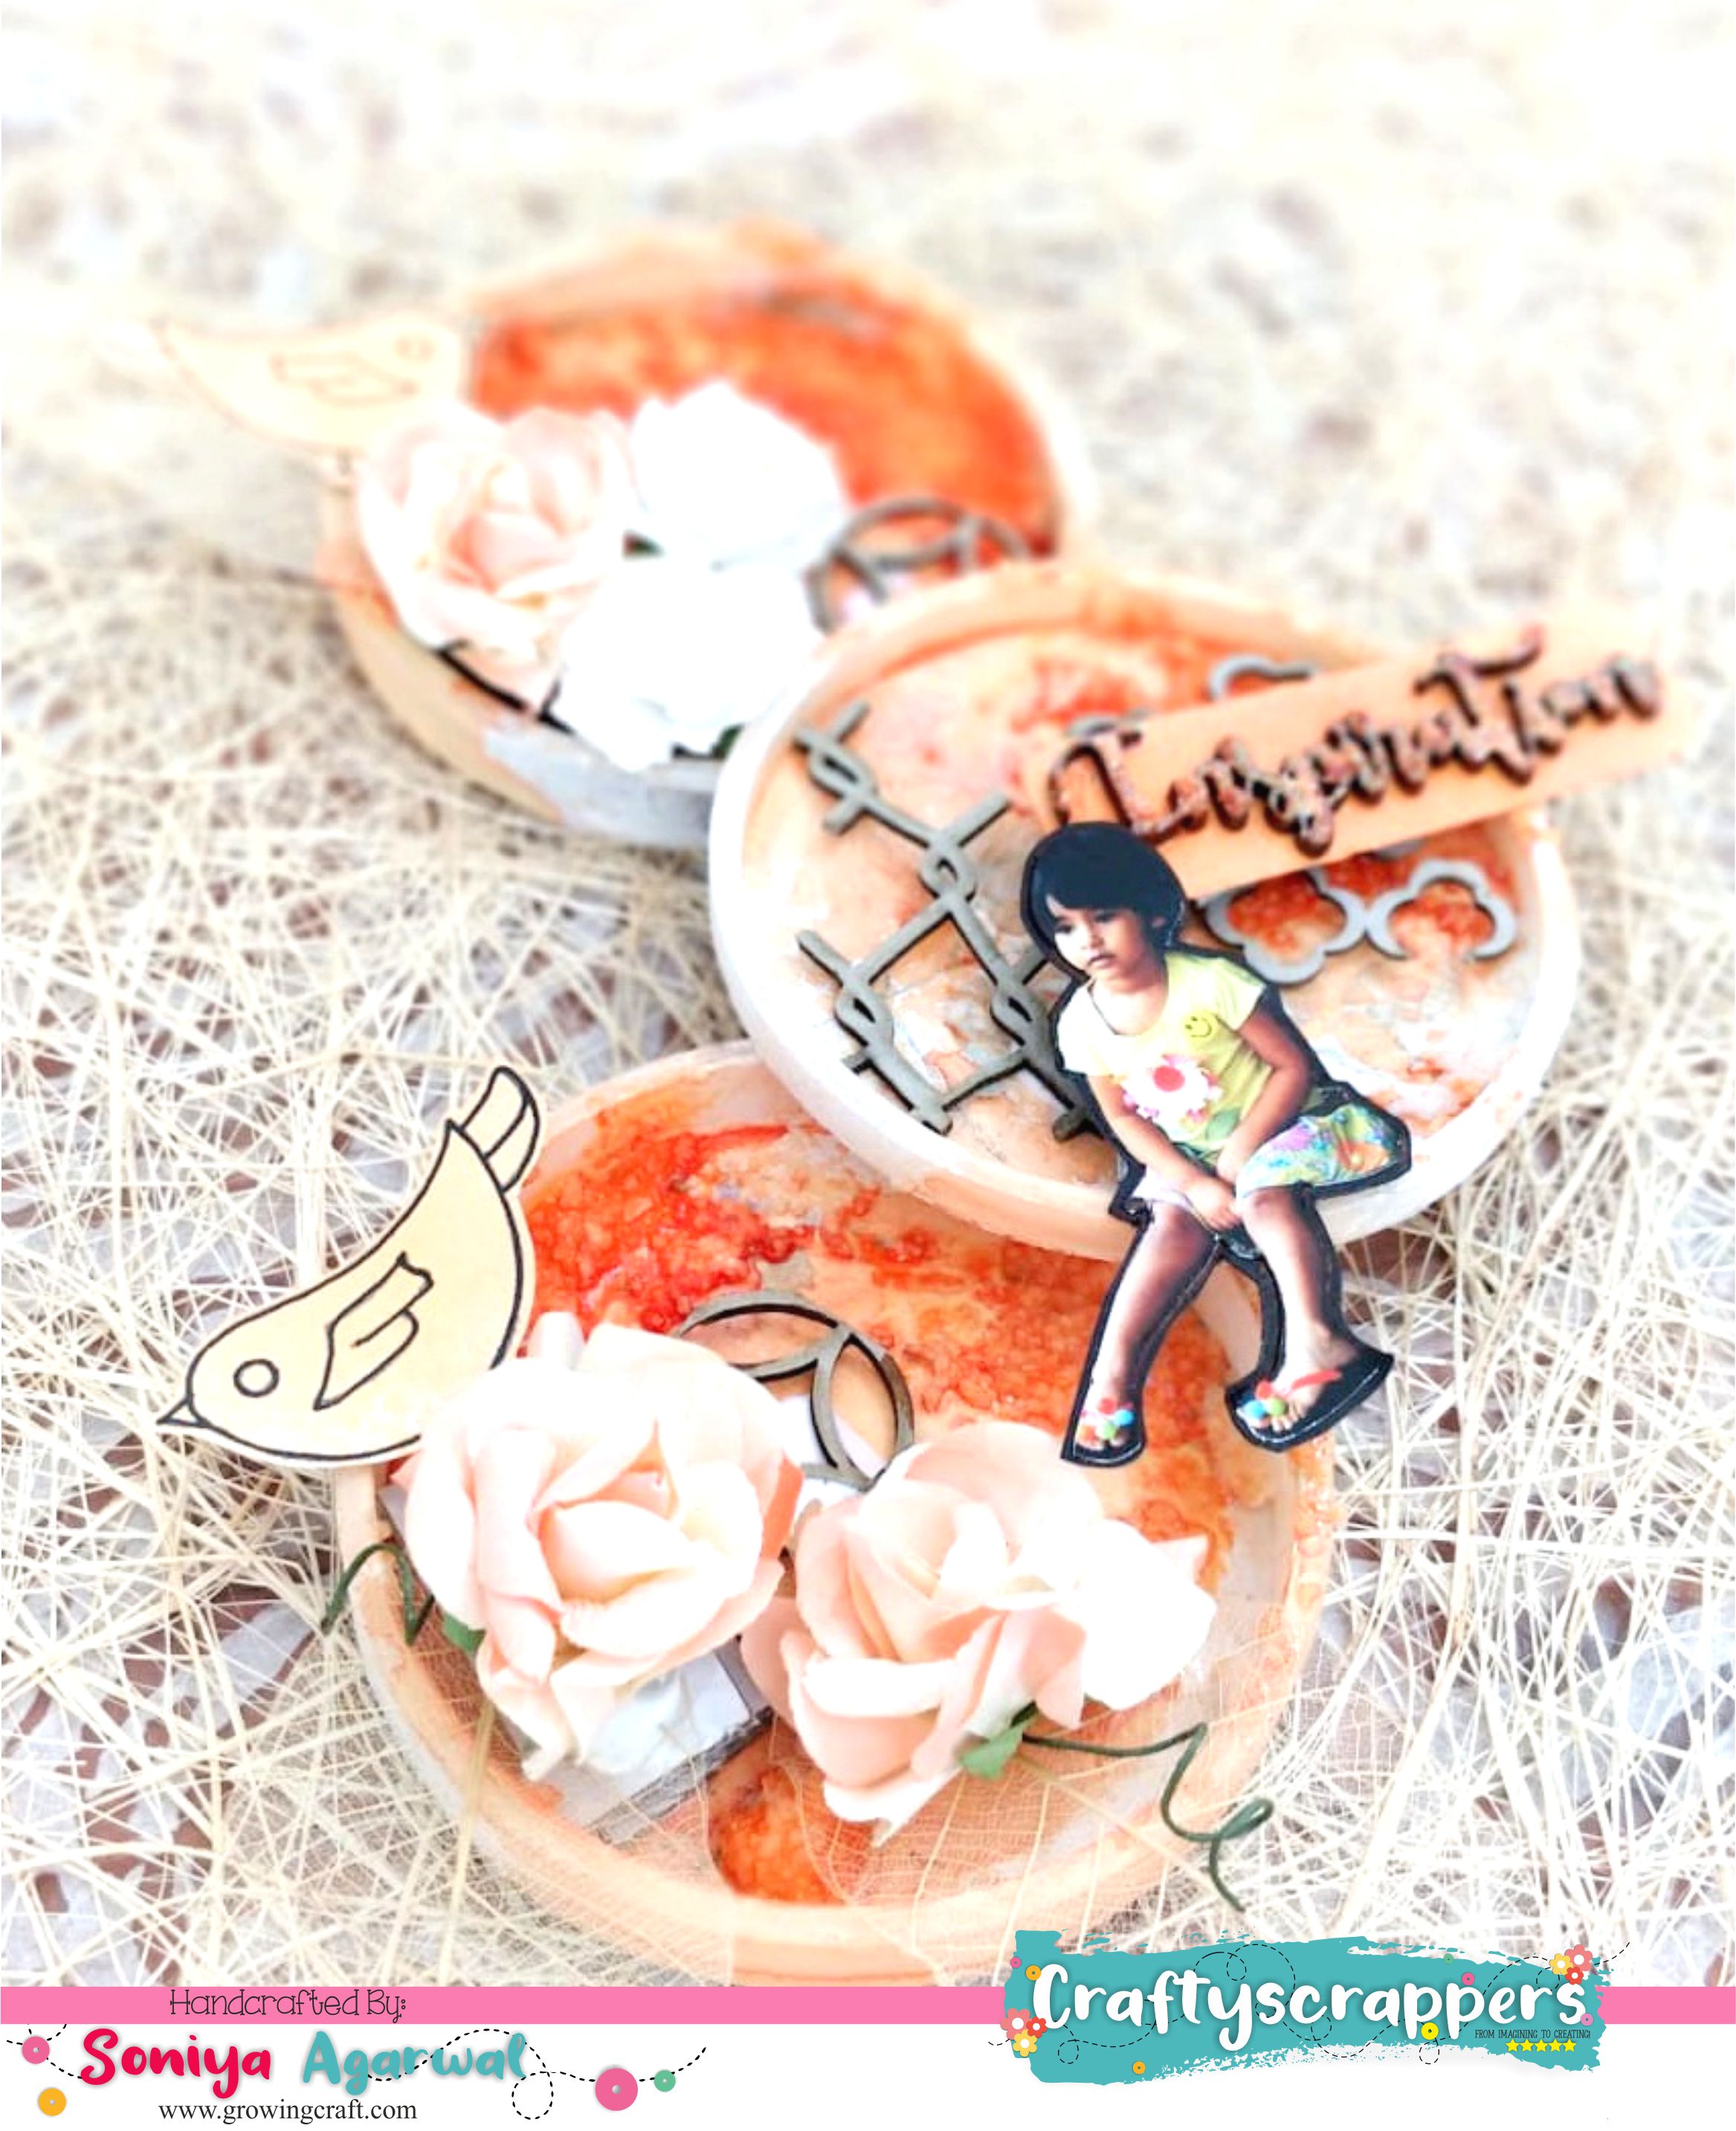
Time to assemble and stick all the elements.
Add 2 heavy magnets with the help of glue drop and your MIXED MEDIA MAGNET is ready.
So That’s all from my end today.Hope you guys have enjoyed this MIXED MEDIA MAGNET MIRROR STAMPING process as much I enjoyed creating, If you try this project, then do tag us (#Craftyscrappers) on your social medias so that we can have a look too….. Don’t forget to grab new release products on our store with a launch sale discount.
Do leave some love and feedback below and I will be back soon for more inspirations and fun and easy craft tutorials!
Don’t forget to join in our craft challenges,(details at the beginning of the post!)
You can participate via mr.linky (at the end of the challenge post)or via facebook,Instagram and even via email.
(While sharing your creation post over the social media, ie
Facebook/twitter/instagram/Pinterest/blog
please use #Craftyscrappers challenge23 to qualify for submission,
(failing to do so, the entry would be disqualified.)
Thanks for stopping by and have a fun filled day!!!
Happy Crafting!