Hi Friends,
This is Anjali, Creative Designer @craftyscrappers
and I hope you are having a creative day.
So today i have come up with a step-by-step tutorial showing you how you can create CAS cards suing simple, readily available colors from your stash.
For today’s tutorial, i am not going to use any fancy coloring mediums that are expensive and are not in everybodys budget.
Im going to be using Faber castell sketch pens today and show you how brightly and beautifully you can color with them on your stamps and get beautiful results.
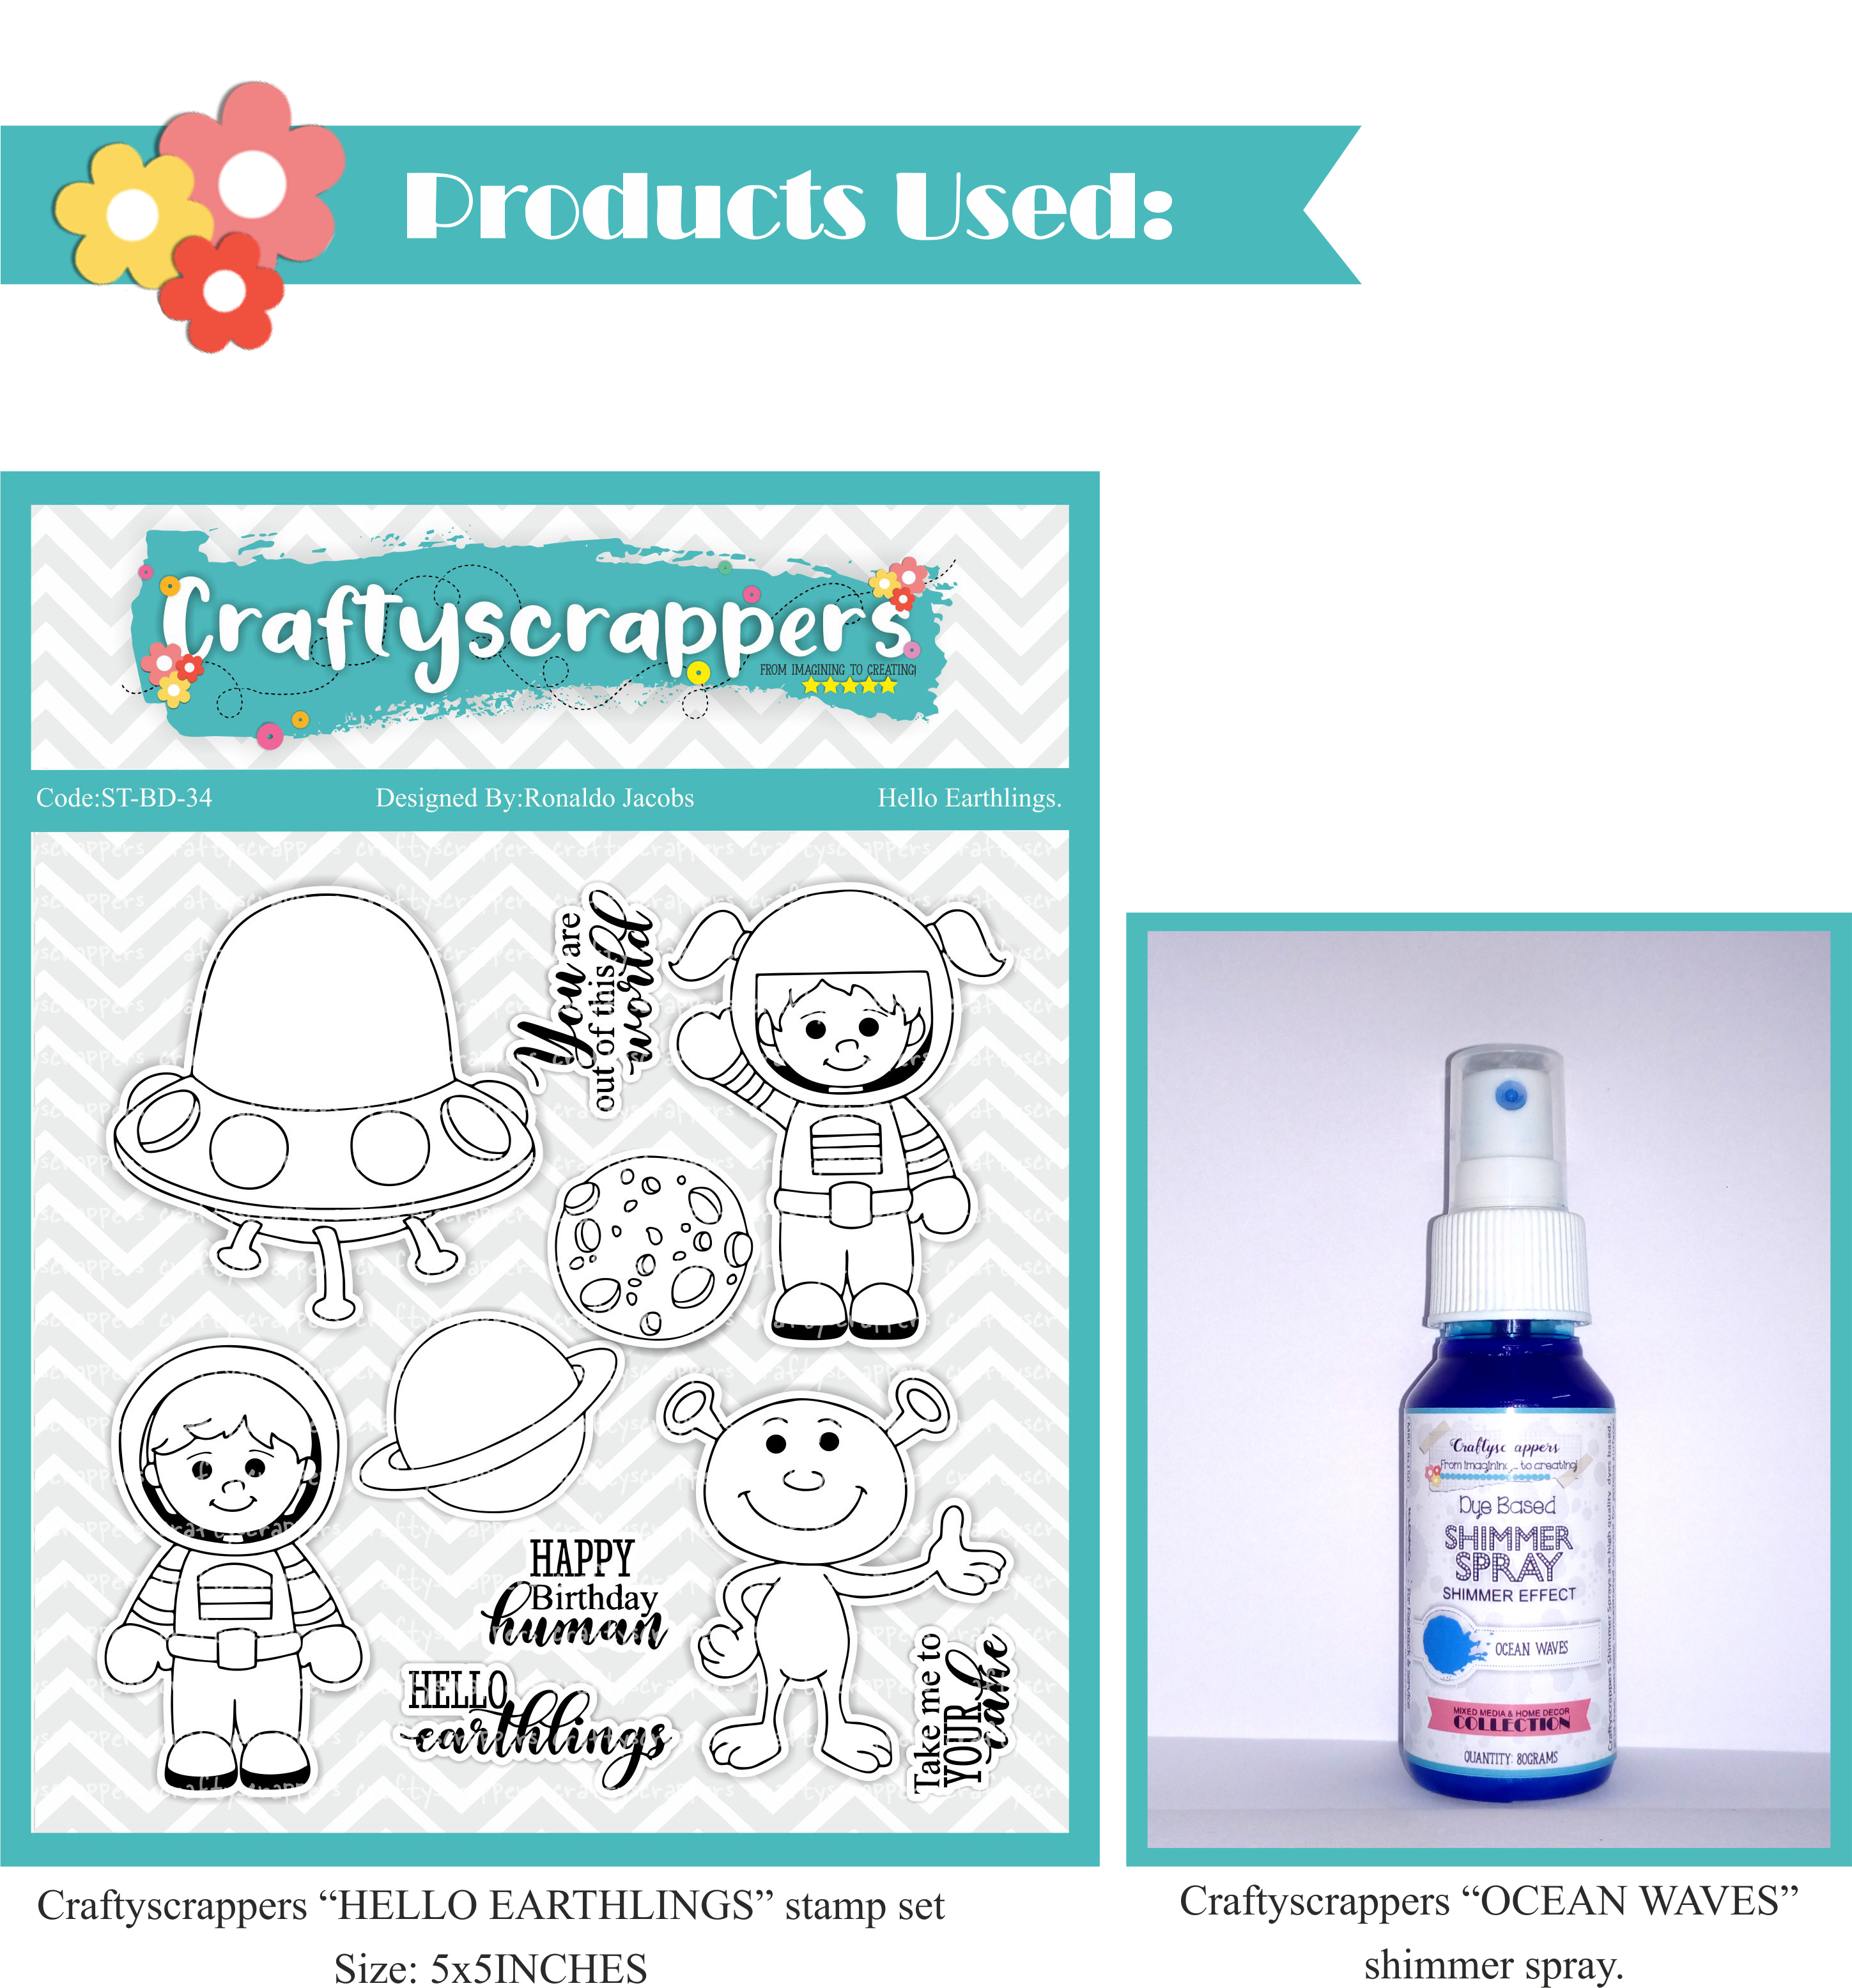
The stamp set that i am going to use today is

and its really a cute one, Which has a cute alien, a fun spaceship that you can add fun color too and two astronauts,A girl and a boy and two planets.
The stamp set is just so perfect for both feminine and masculine cards, and i just love the coordinated sentiments this stamp sets have.
There are so many endless possibilities and ways you can use this stamp set to create fun birthday cards and everyday cards. just love it!!!
if you have missed the previous post check it out here:
CHALLENGE#23:”MIRROR IMAGE STAMPING!”
You can create Cards, layouts, a journal page, Canvases, interactive/3D cards,
mixed media, altered art…anything crafty,
With the MIRROR IMAGE STAMPING technique in it!
But keep in mind, Craftyscrappers products as focus.
- Last date of submission is 31ST JULY,2018

To win the amazing goodie bags !

Here’s the final look of the Hello Earthlings card:


To start with, we need White cardstock as base of the card,Black archival ink set, color pens to color the stamped images,Glue and Scissors for fussy cutting.
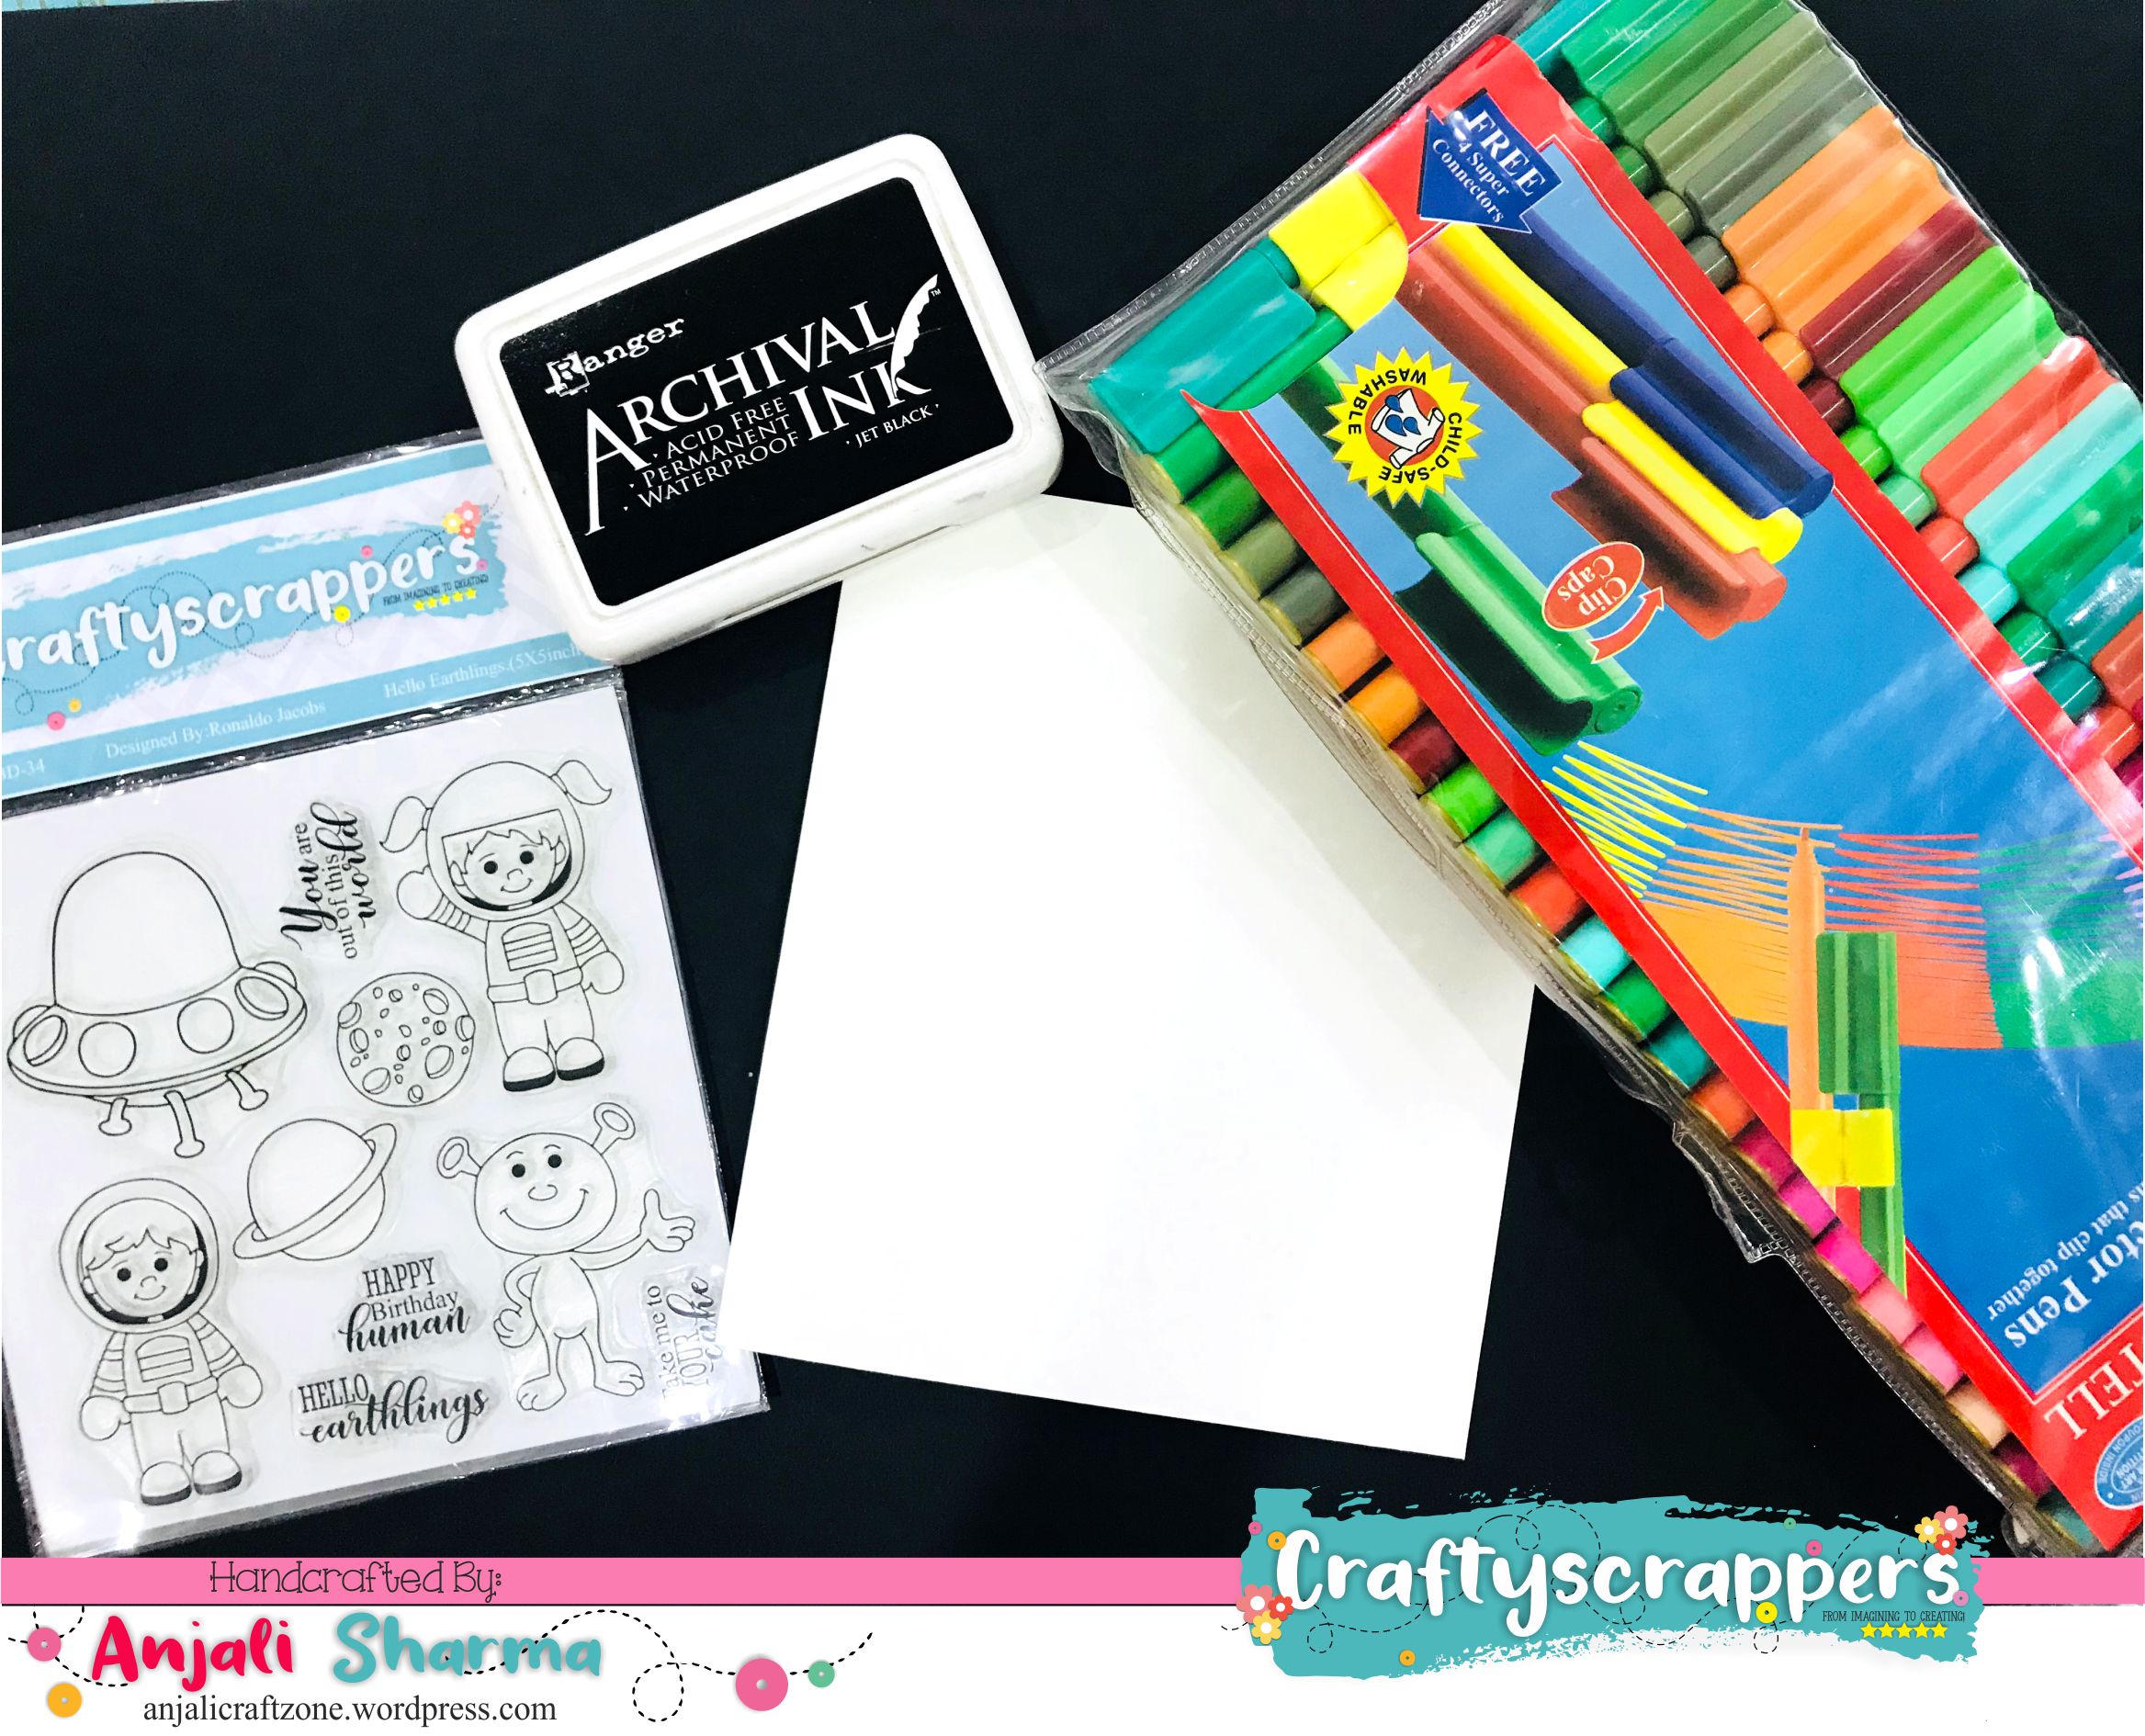
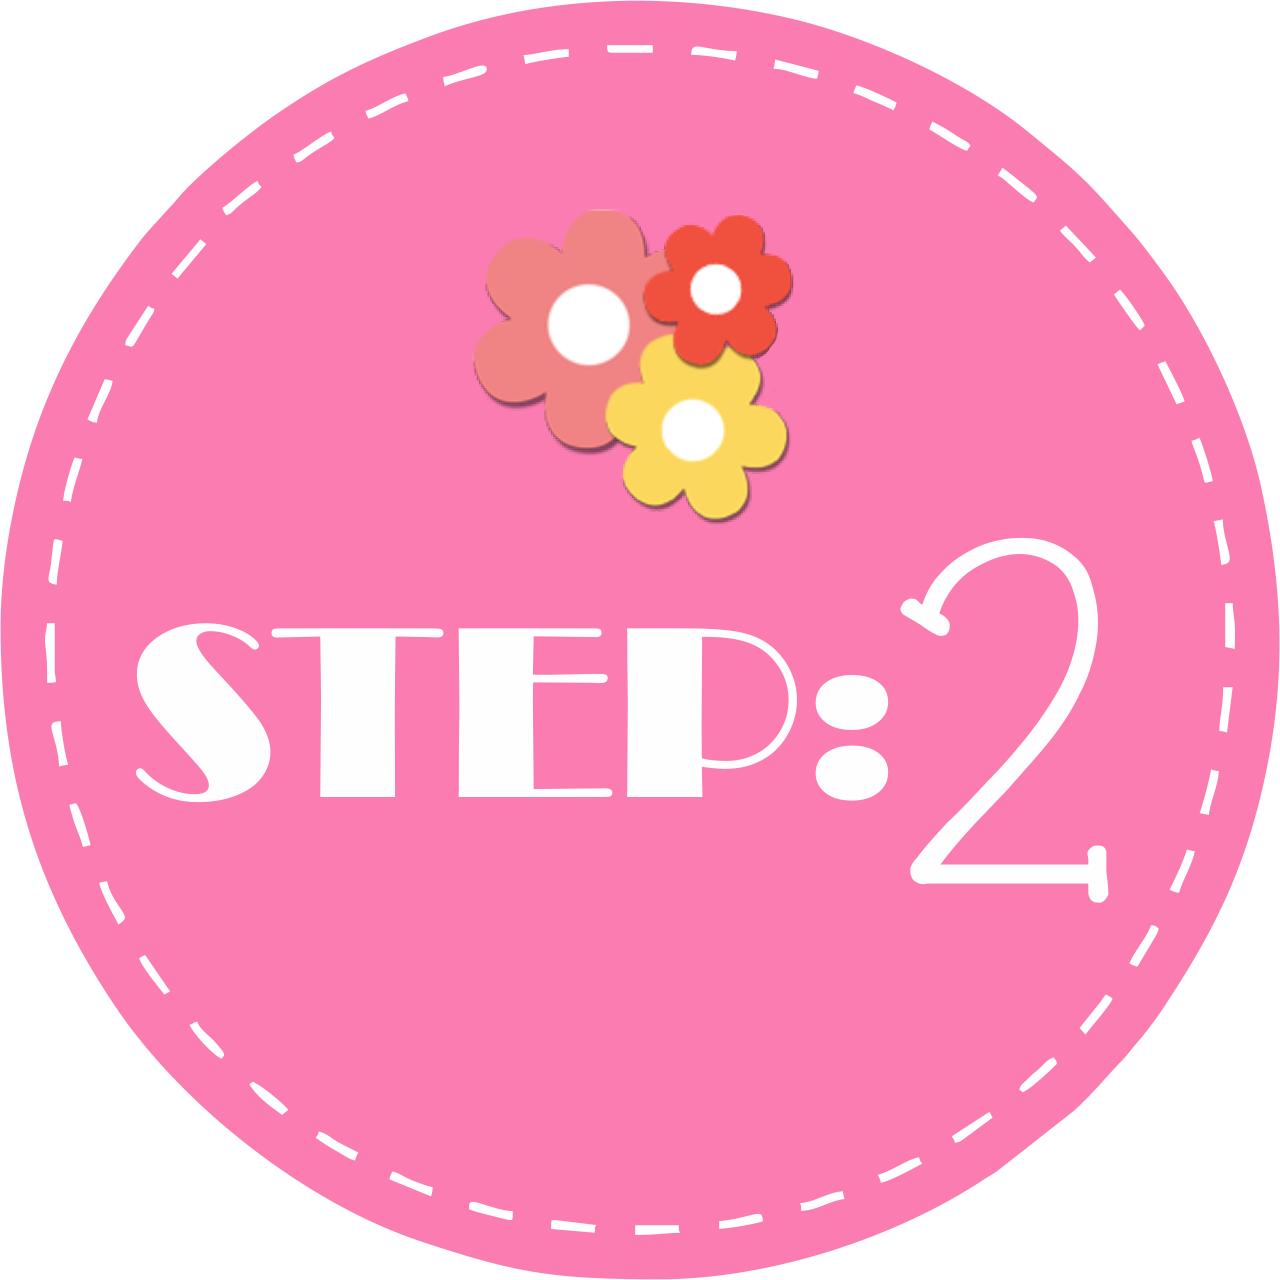
I have then Stamped, Colored and fussy cut the images.
Then for creating background i used blue water color and some shimmer spray on a white cardstock for layering on our card base.
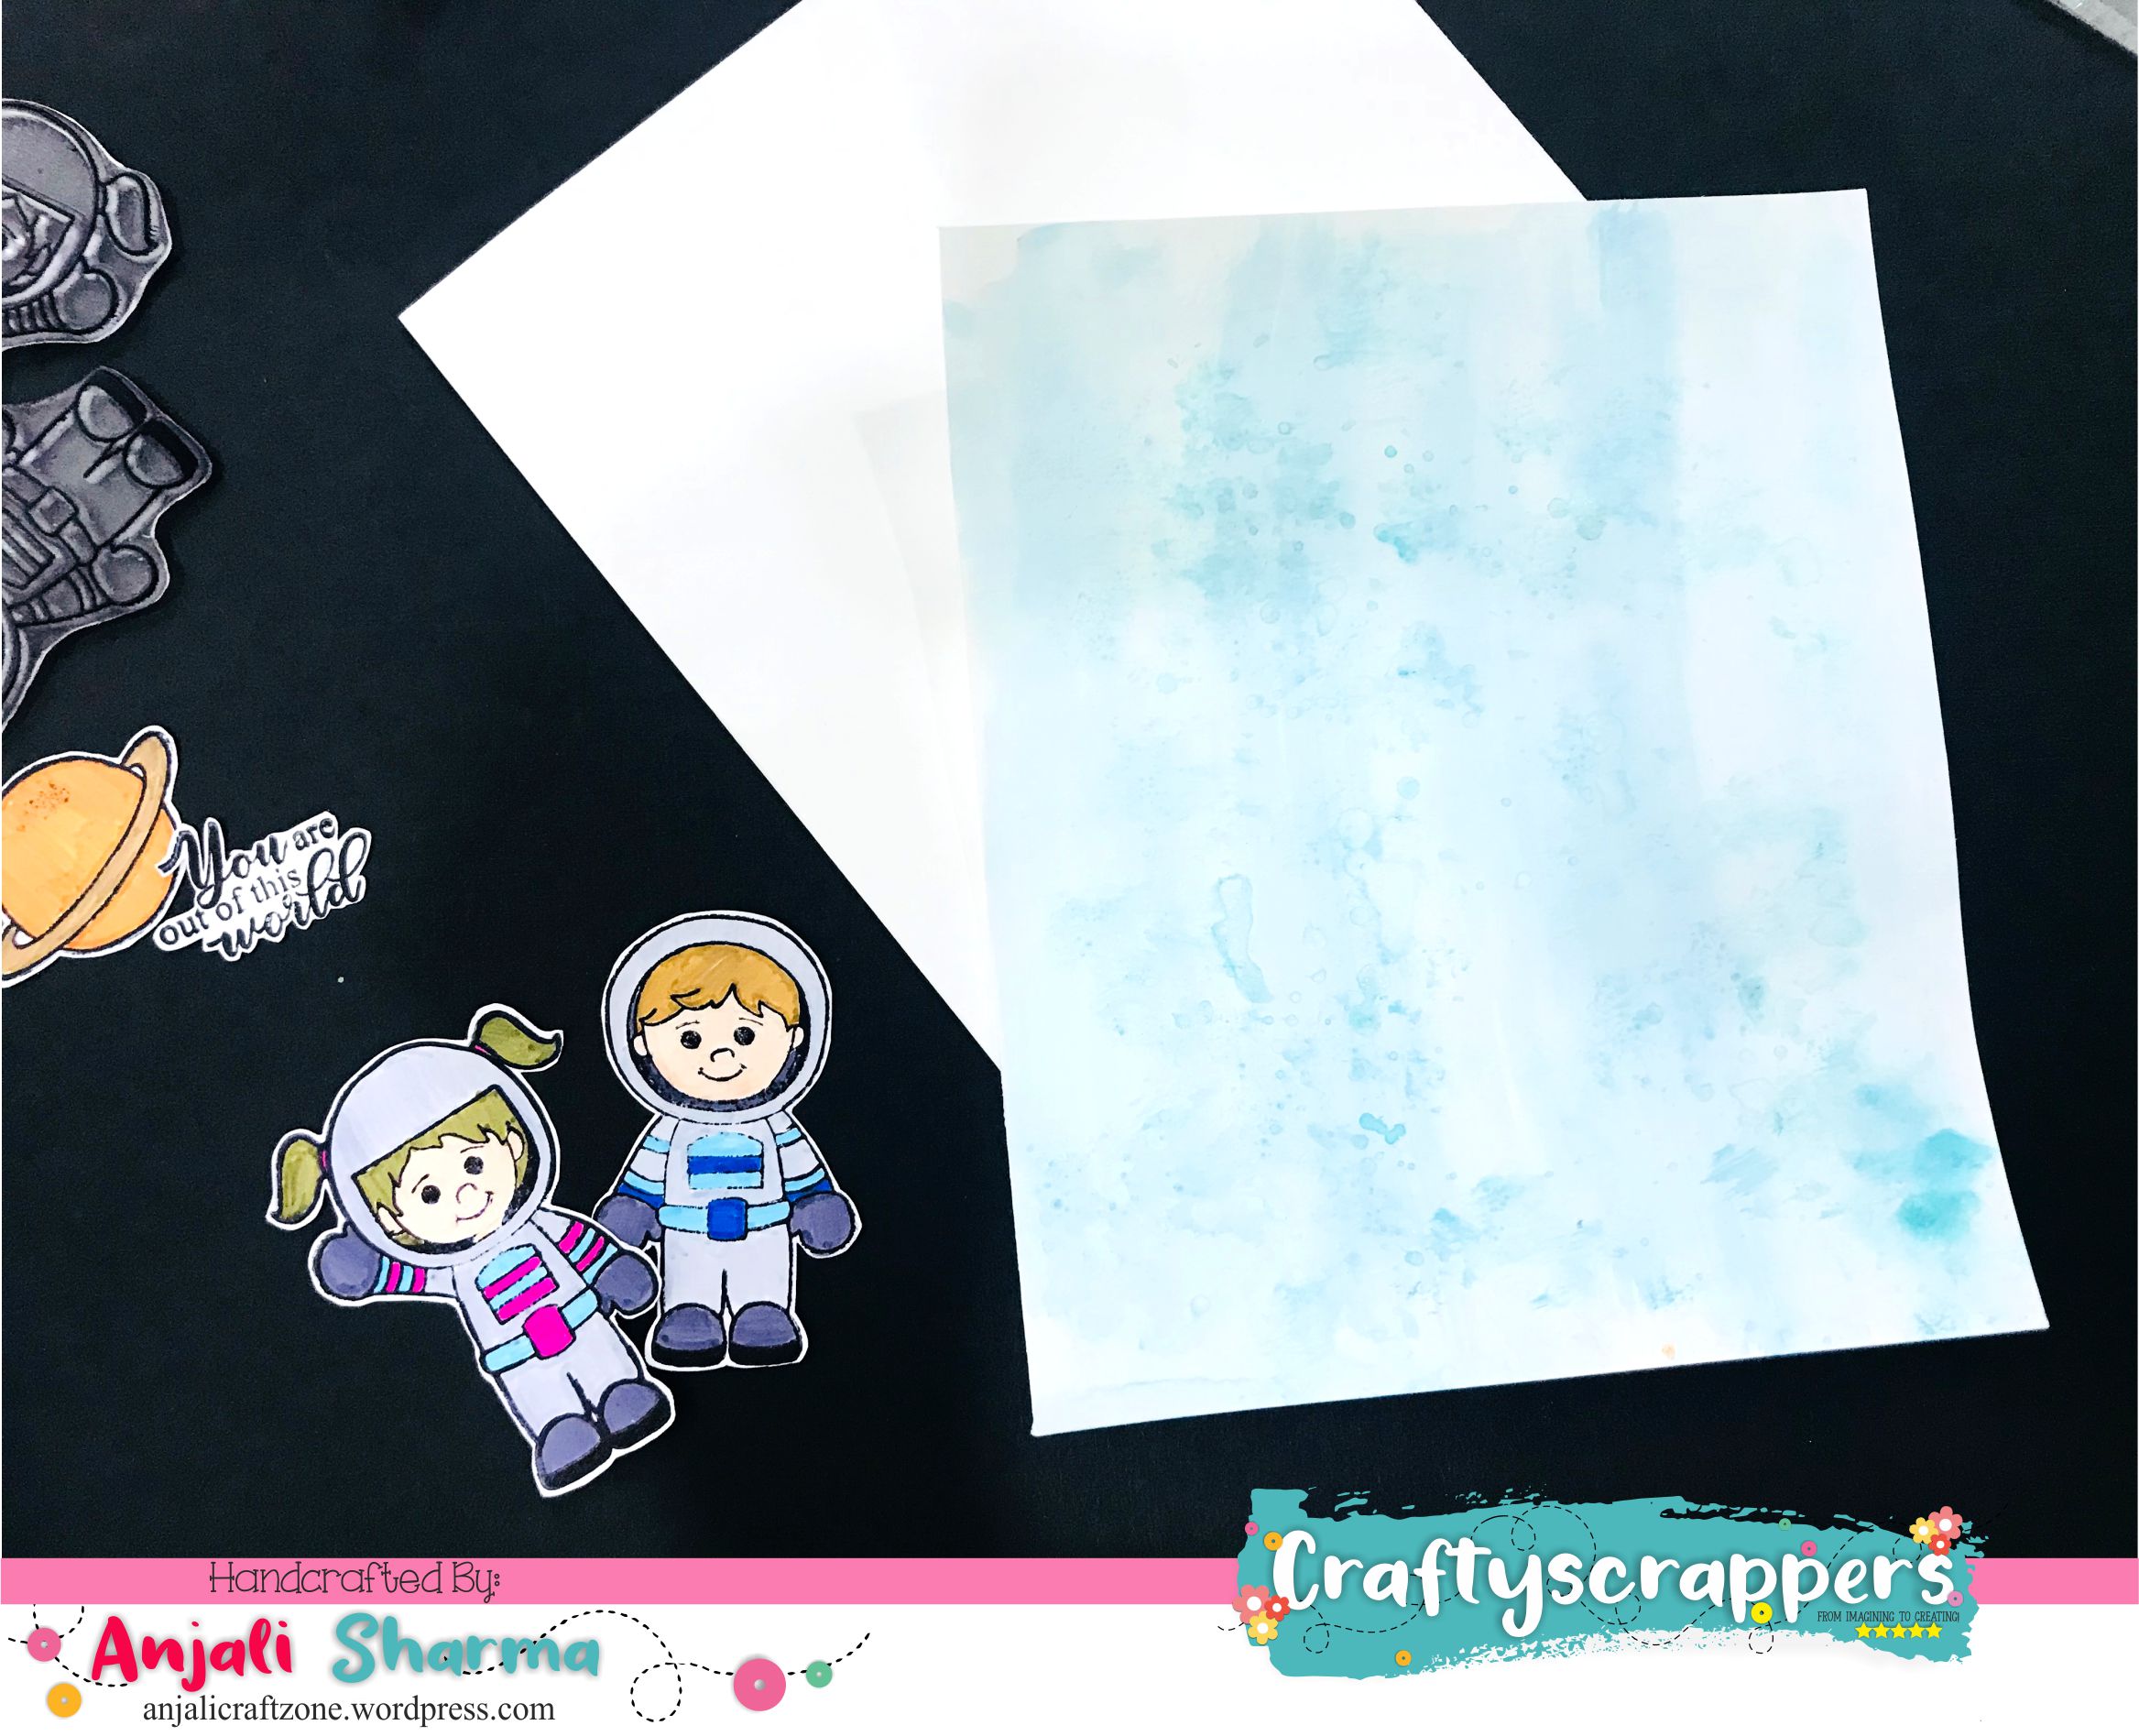

Then I added 3D foam tape on the images to paste them on the card after sticking the blue card base and added few blue sequins to finish the card.

And we are done. How easy it was to create such cute card.
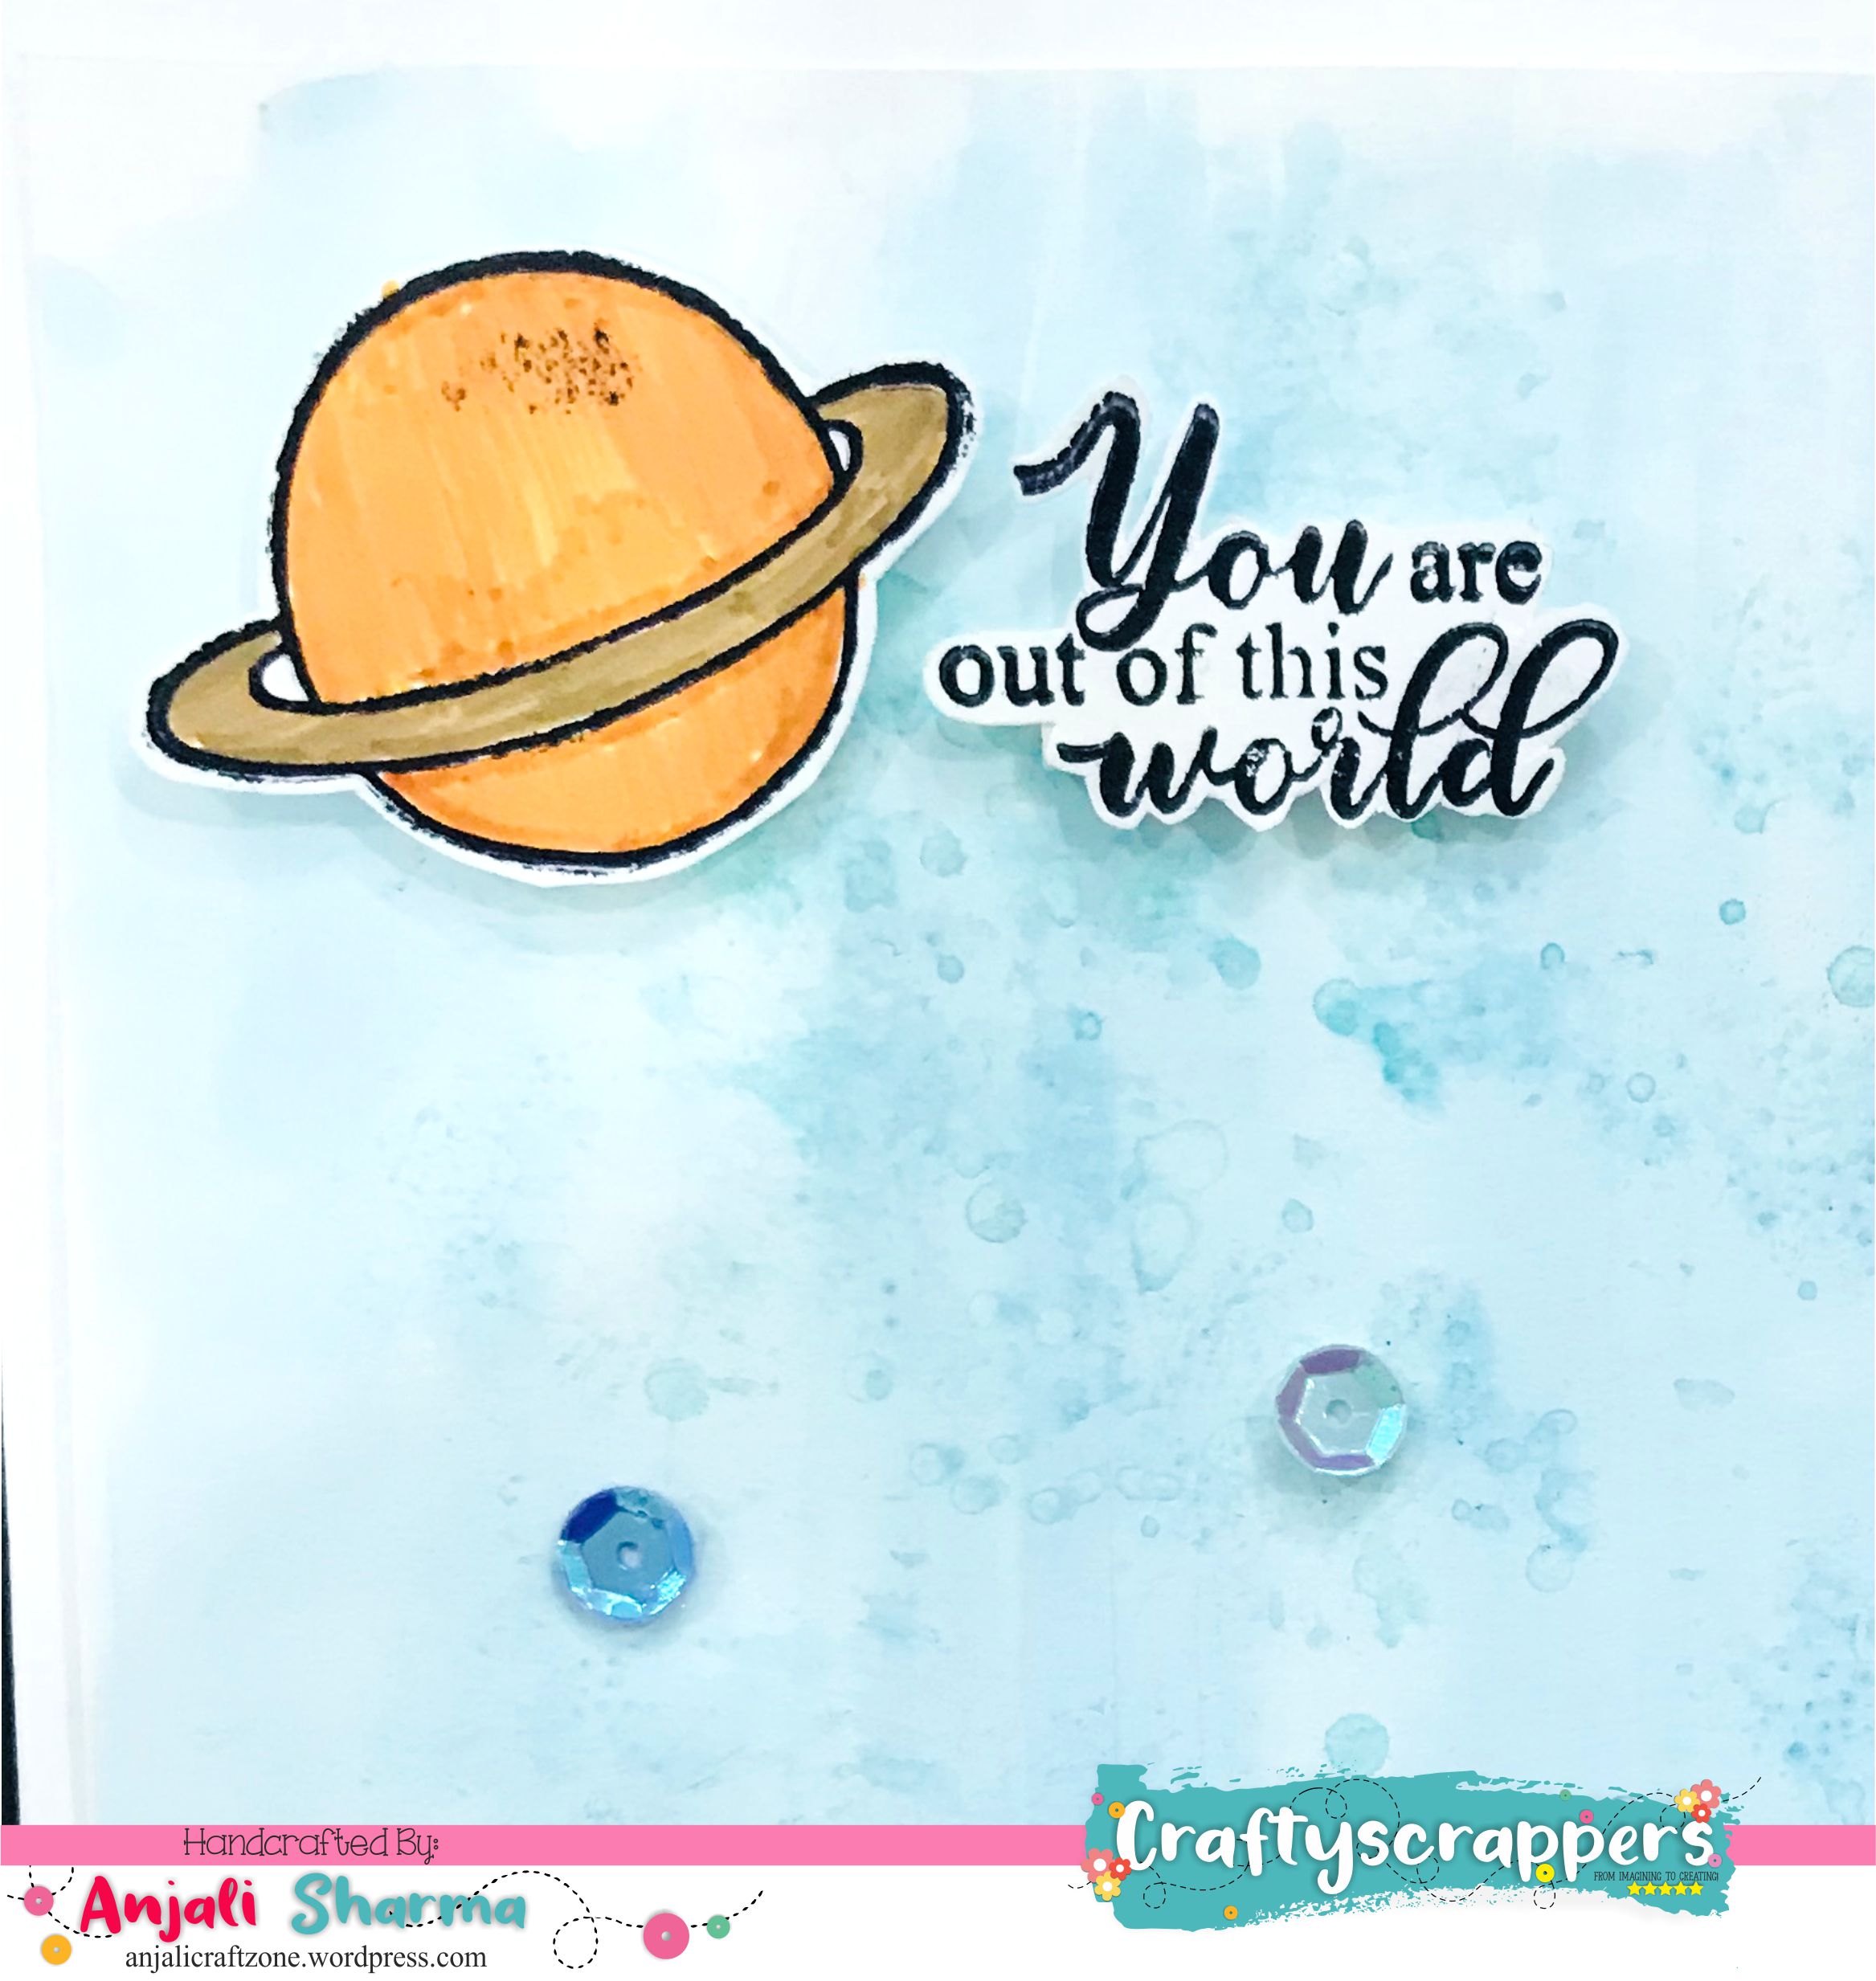
Here are some of the close-ups:
So That’s all from my end today.
I hope you like this simple, easy to make CAS card as much as i enjoyed creating it.
Do leave some love and feedback below and I will be back soon for more inspirations!
Don’t forget to join in our craft challenges,(details at the beginning of the post!)
You can participate via mr.linky (at the end of the challenge post)or via facebook,Instagram and even via email.
(While sharing your creation post over the social media, ie
Facebook/twitter/instagram
please use #Craftyscrappers challenge23 to qualify for submission,
failing to do so, the entry would be disqualified.)
I hope you give this a try.
Thanks for stopping by. Have a fabulous Day!
HUGS,