Hello my Arty and crafty friends,
This Archana here again, Creative Designer @craftyscrappers
and today I came up with super simple yet beautiful
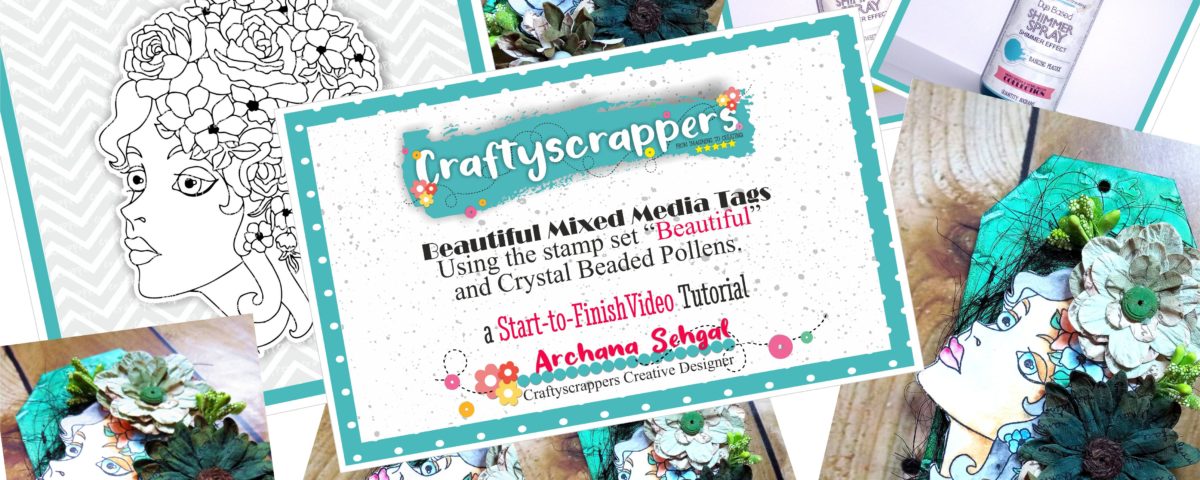
mixed media tag.
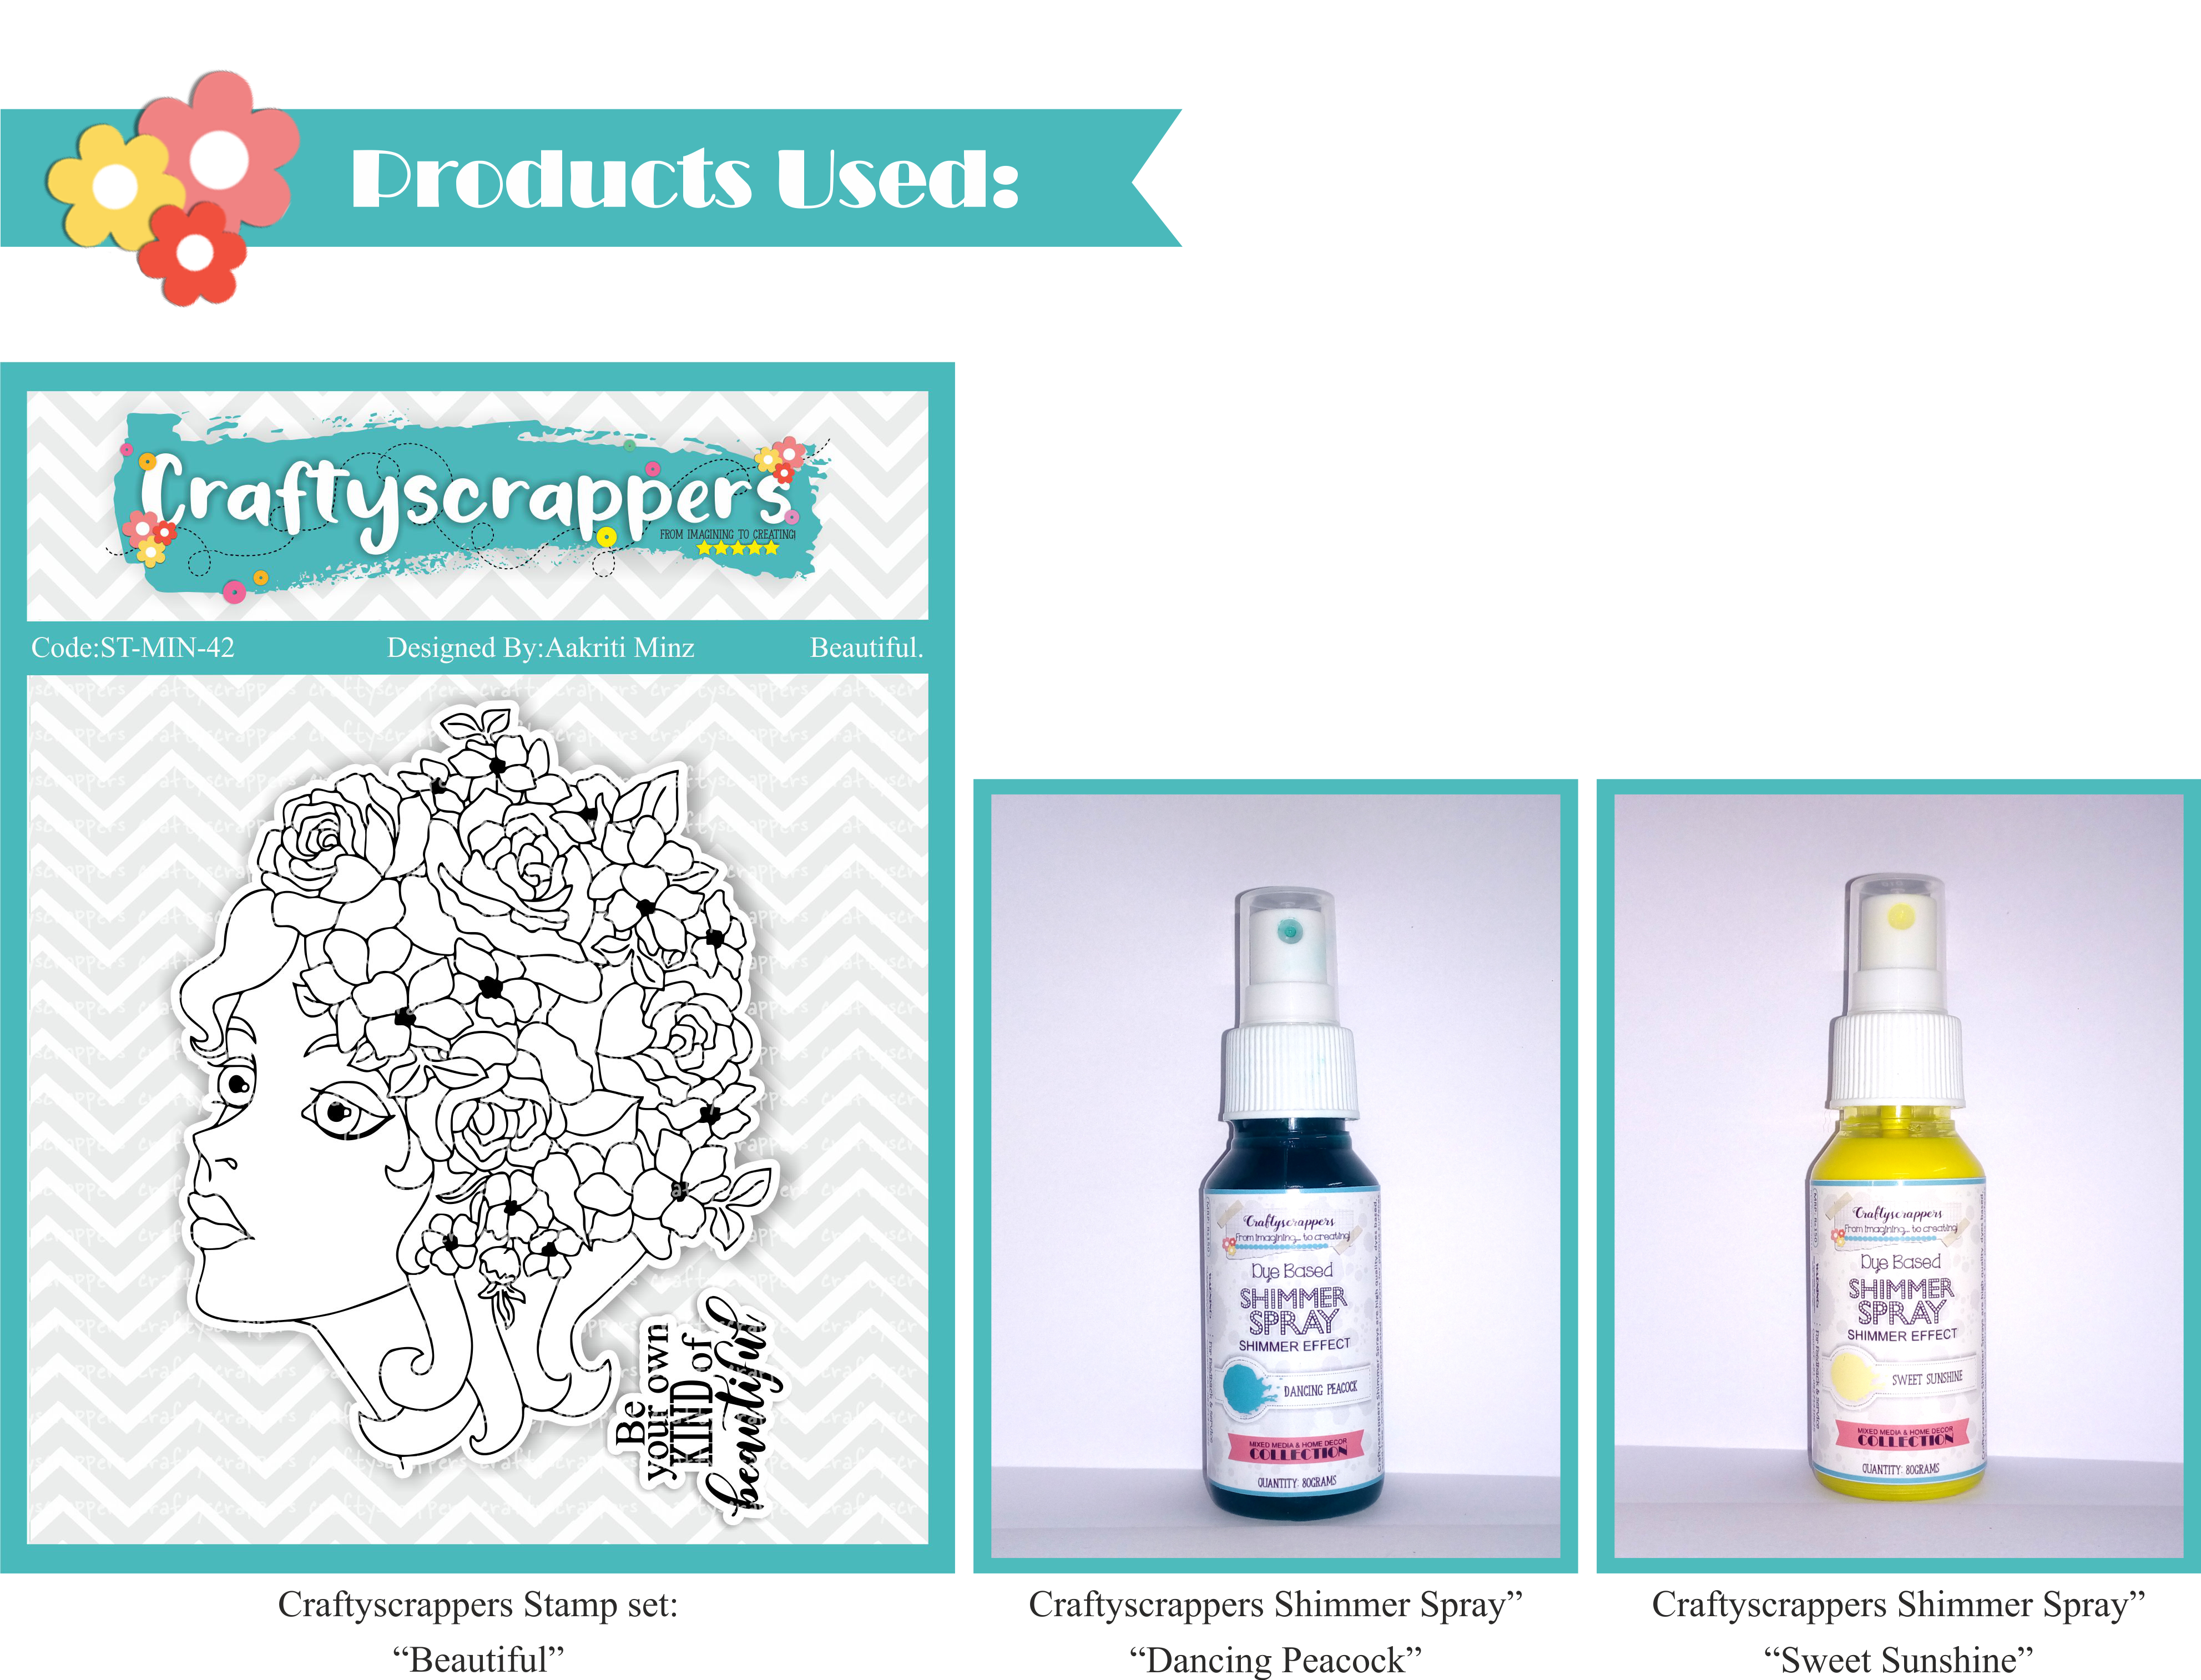
using the amazing stamp set called
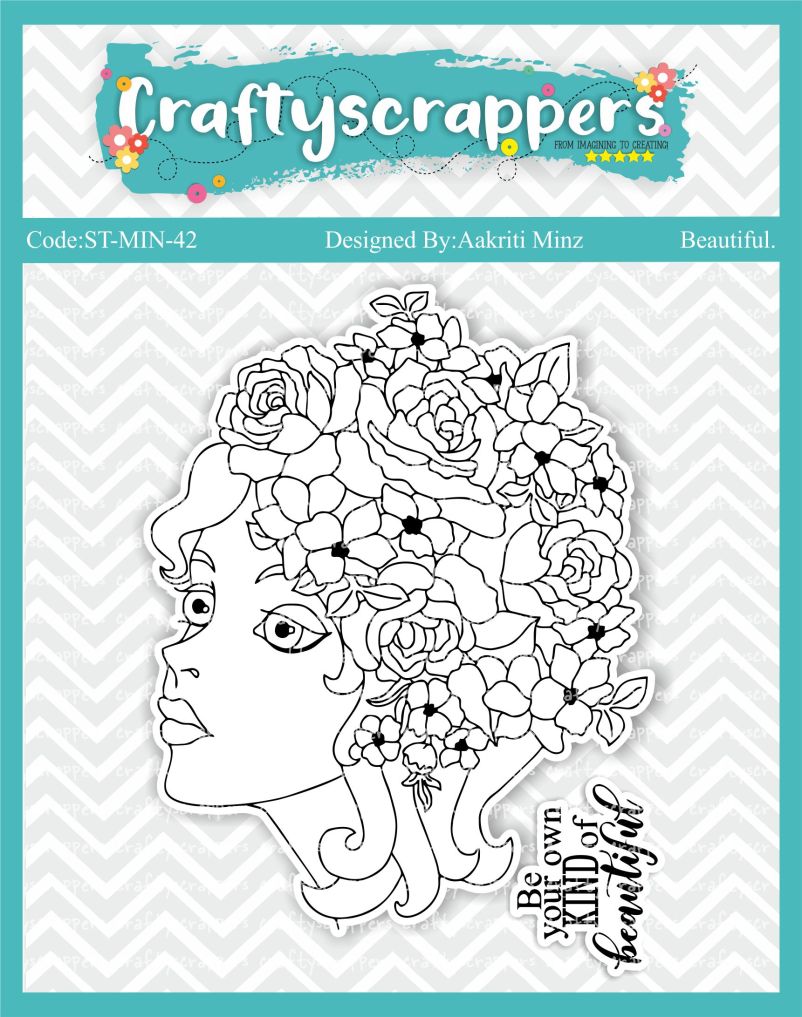
Its a one of a kind stamp set, that can be used in various crafts, you can create endless cards and layouts and try different techniques with this particular stamp set, as well as it is a must have if you are a mixed media artist. You can create overlays and 3 dimentional layeres to finish your creation using the stamp set, the possibilities are just endless. The beautiful face and the flowers will surely add the mesmerizing look to anything that you create with this.
I have so many plans and ways to use this stamp set, but today i will share with you how i created a dimensional, gorgeous looking tag and i have a video tutorial for you to demonstrate all the process needed.
if you have missed the previous post check it out here:
CHALLENGE#23:”MIRROR IMAGE STAMPING!”
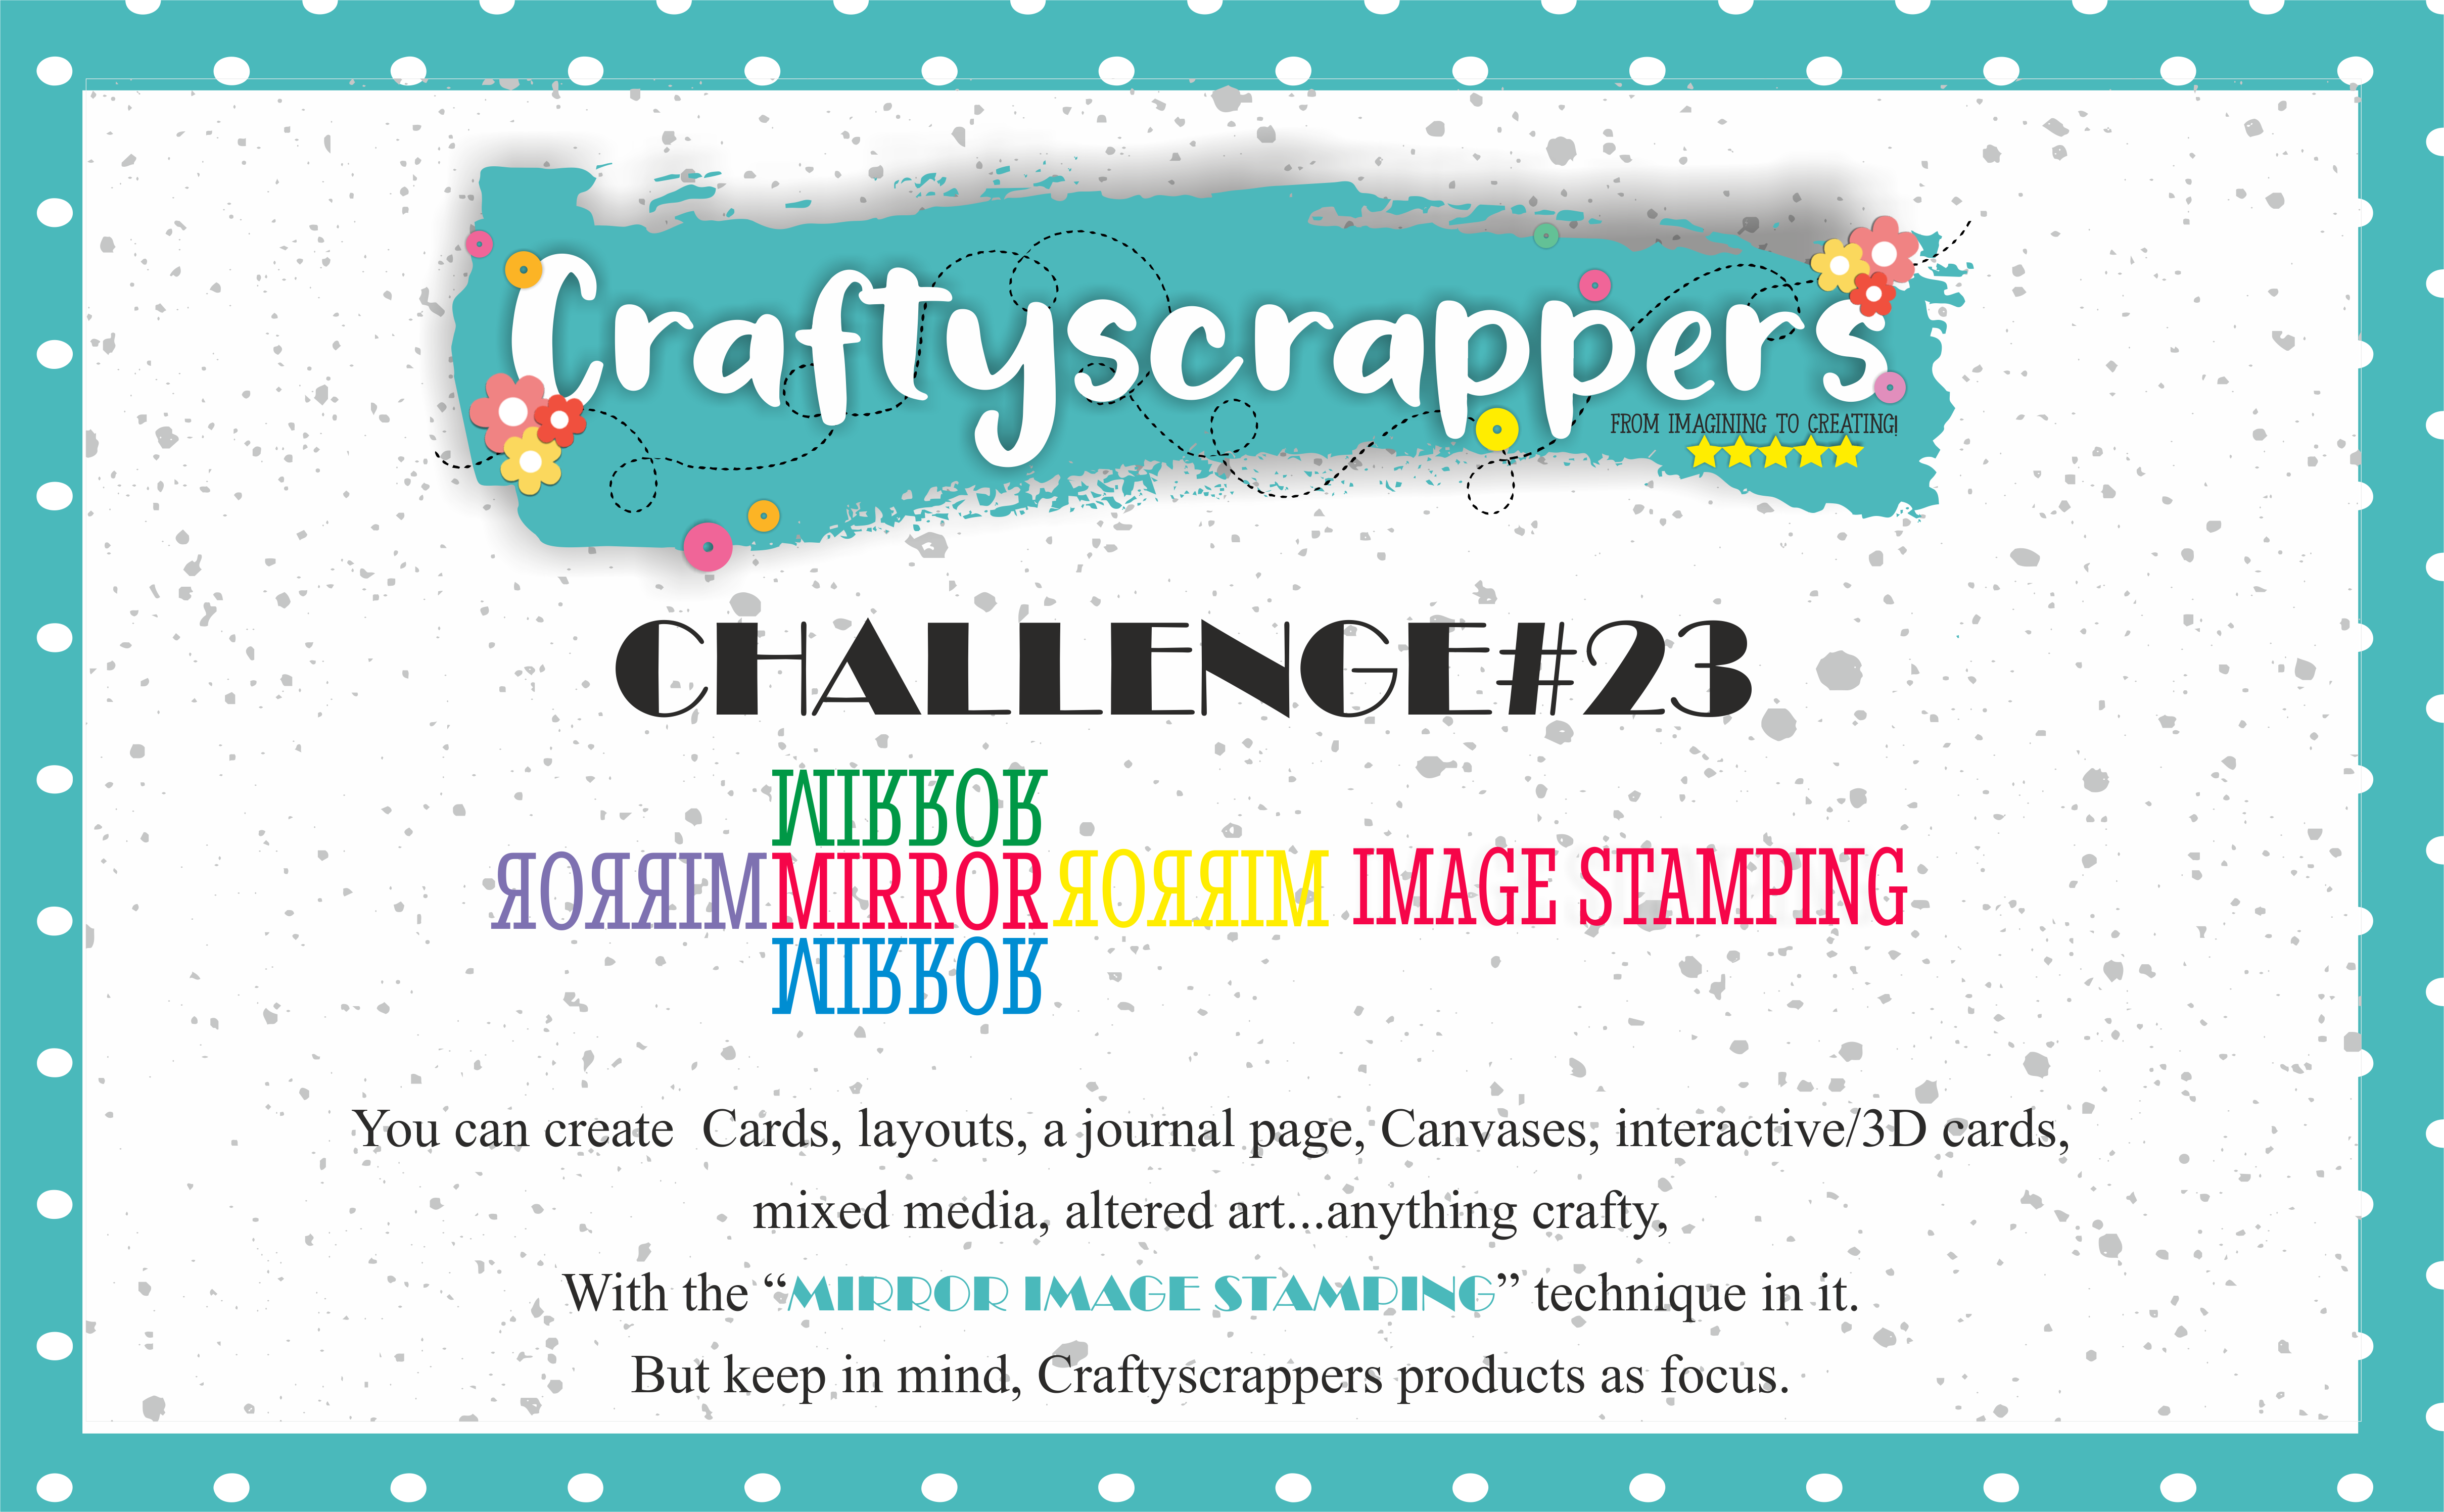
You can create Cards, layouts, a journal page, Canvases, interactive/3D cards,
mixed media, altered art…anything crafty,
With the MIRROR IMAGE STAMPING technique in it!
But keep in mind, Craftyscrappers products as focus.
- Last date of submission is 31ST JULY,2018

To win the amazing goodie bags !
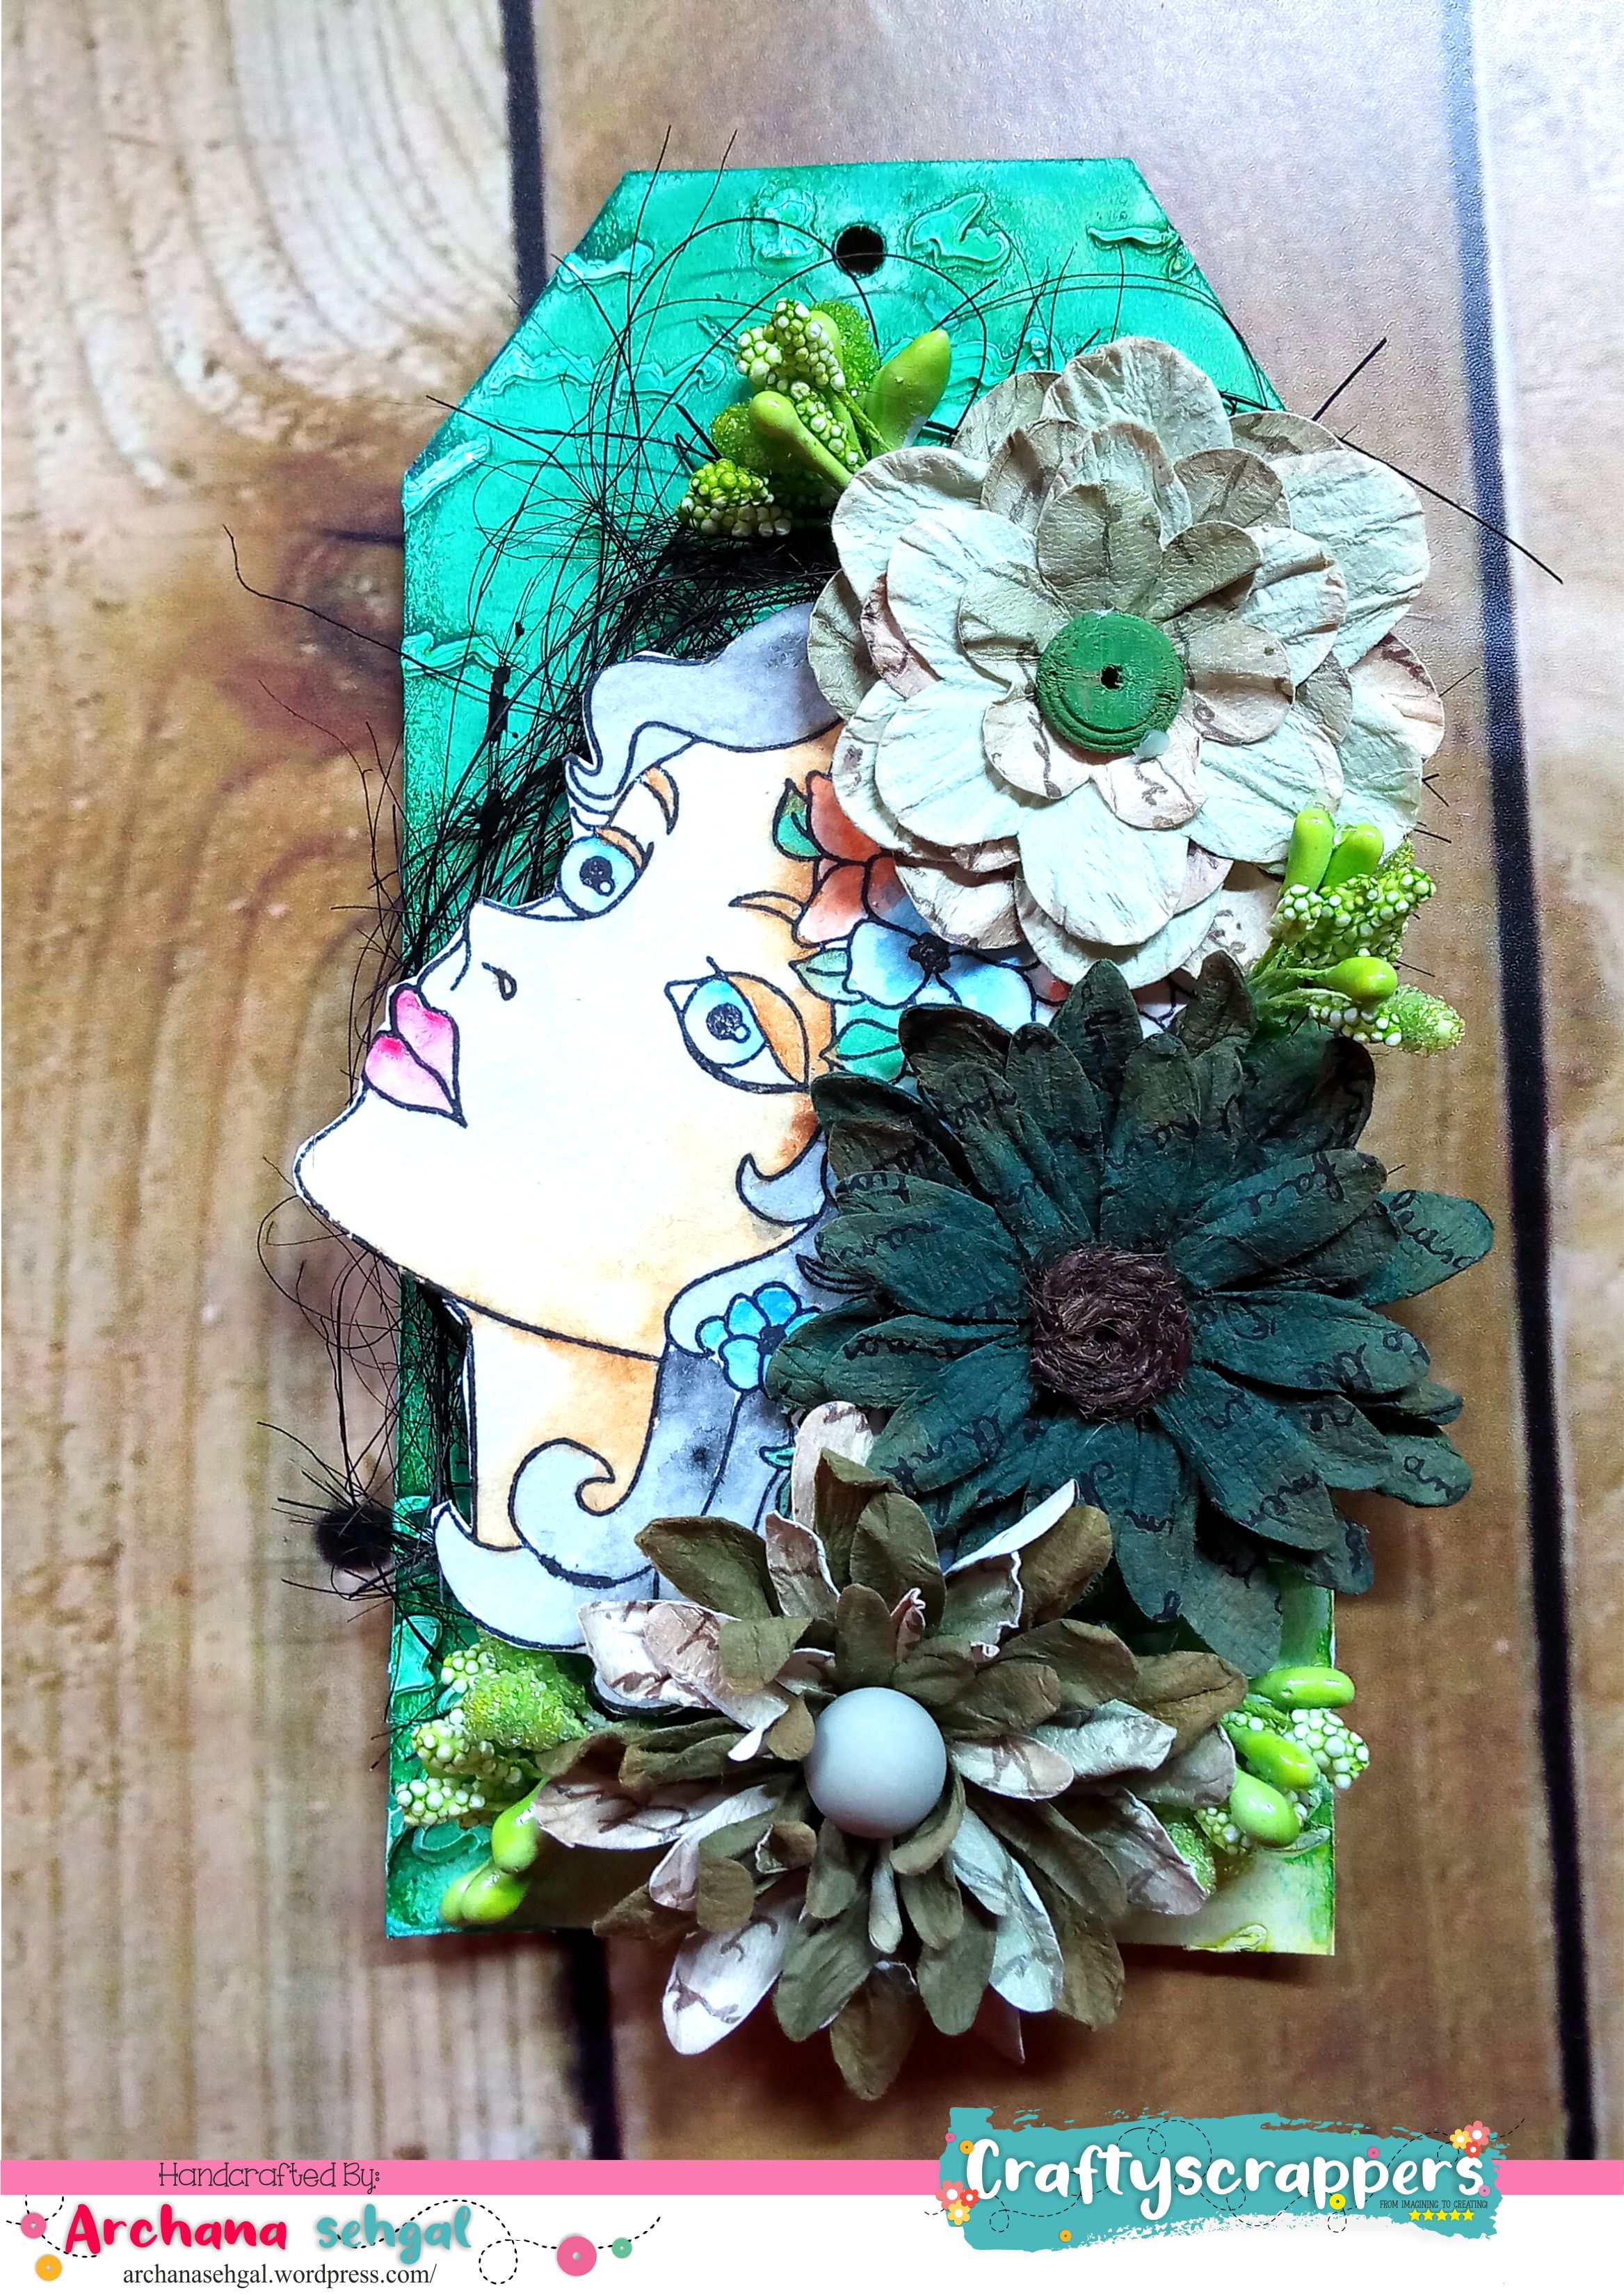

- You are gonna need,Blank tags, Stencil,Texture paste,Craftyscrappers shimmer sprays “Dancing peacock”, and “Sweet Sunshine”,Coconut fiber,Handmade flowersand Craftyscrappers Stamp set “Beautiful” to start with.
- I took blank stamp and spread texture paste through stencil to build a background.
- Once it dries completely I colored the tag using shimmer sprays “Dancing peacock”, “Sweet Sunshine”,
- I tilted the tag bit so that both the color flow into each other and blend nicely.
- I distress the edges of tag using dark green stamp pad and added black colored coconut fiber.
- Stamped the image from Stamp set “Beautiful” and colored it using diluted acrylic paints with water
- Glue down stamped image onto the fiber that pasted earlier and also added handmade flowers forming a composition, and Taaaa-Daaaaaaa, we finish this super simple tag.

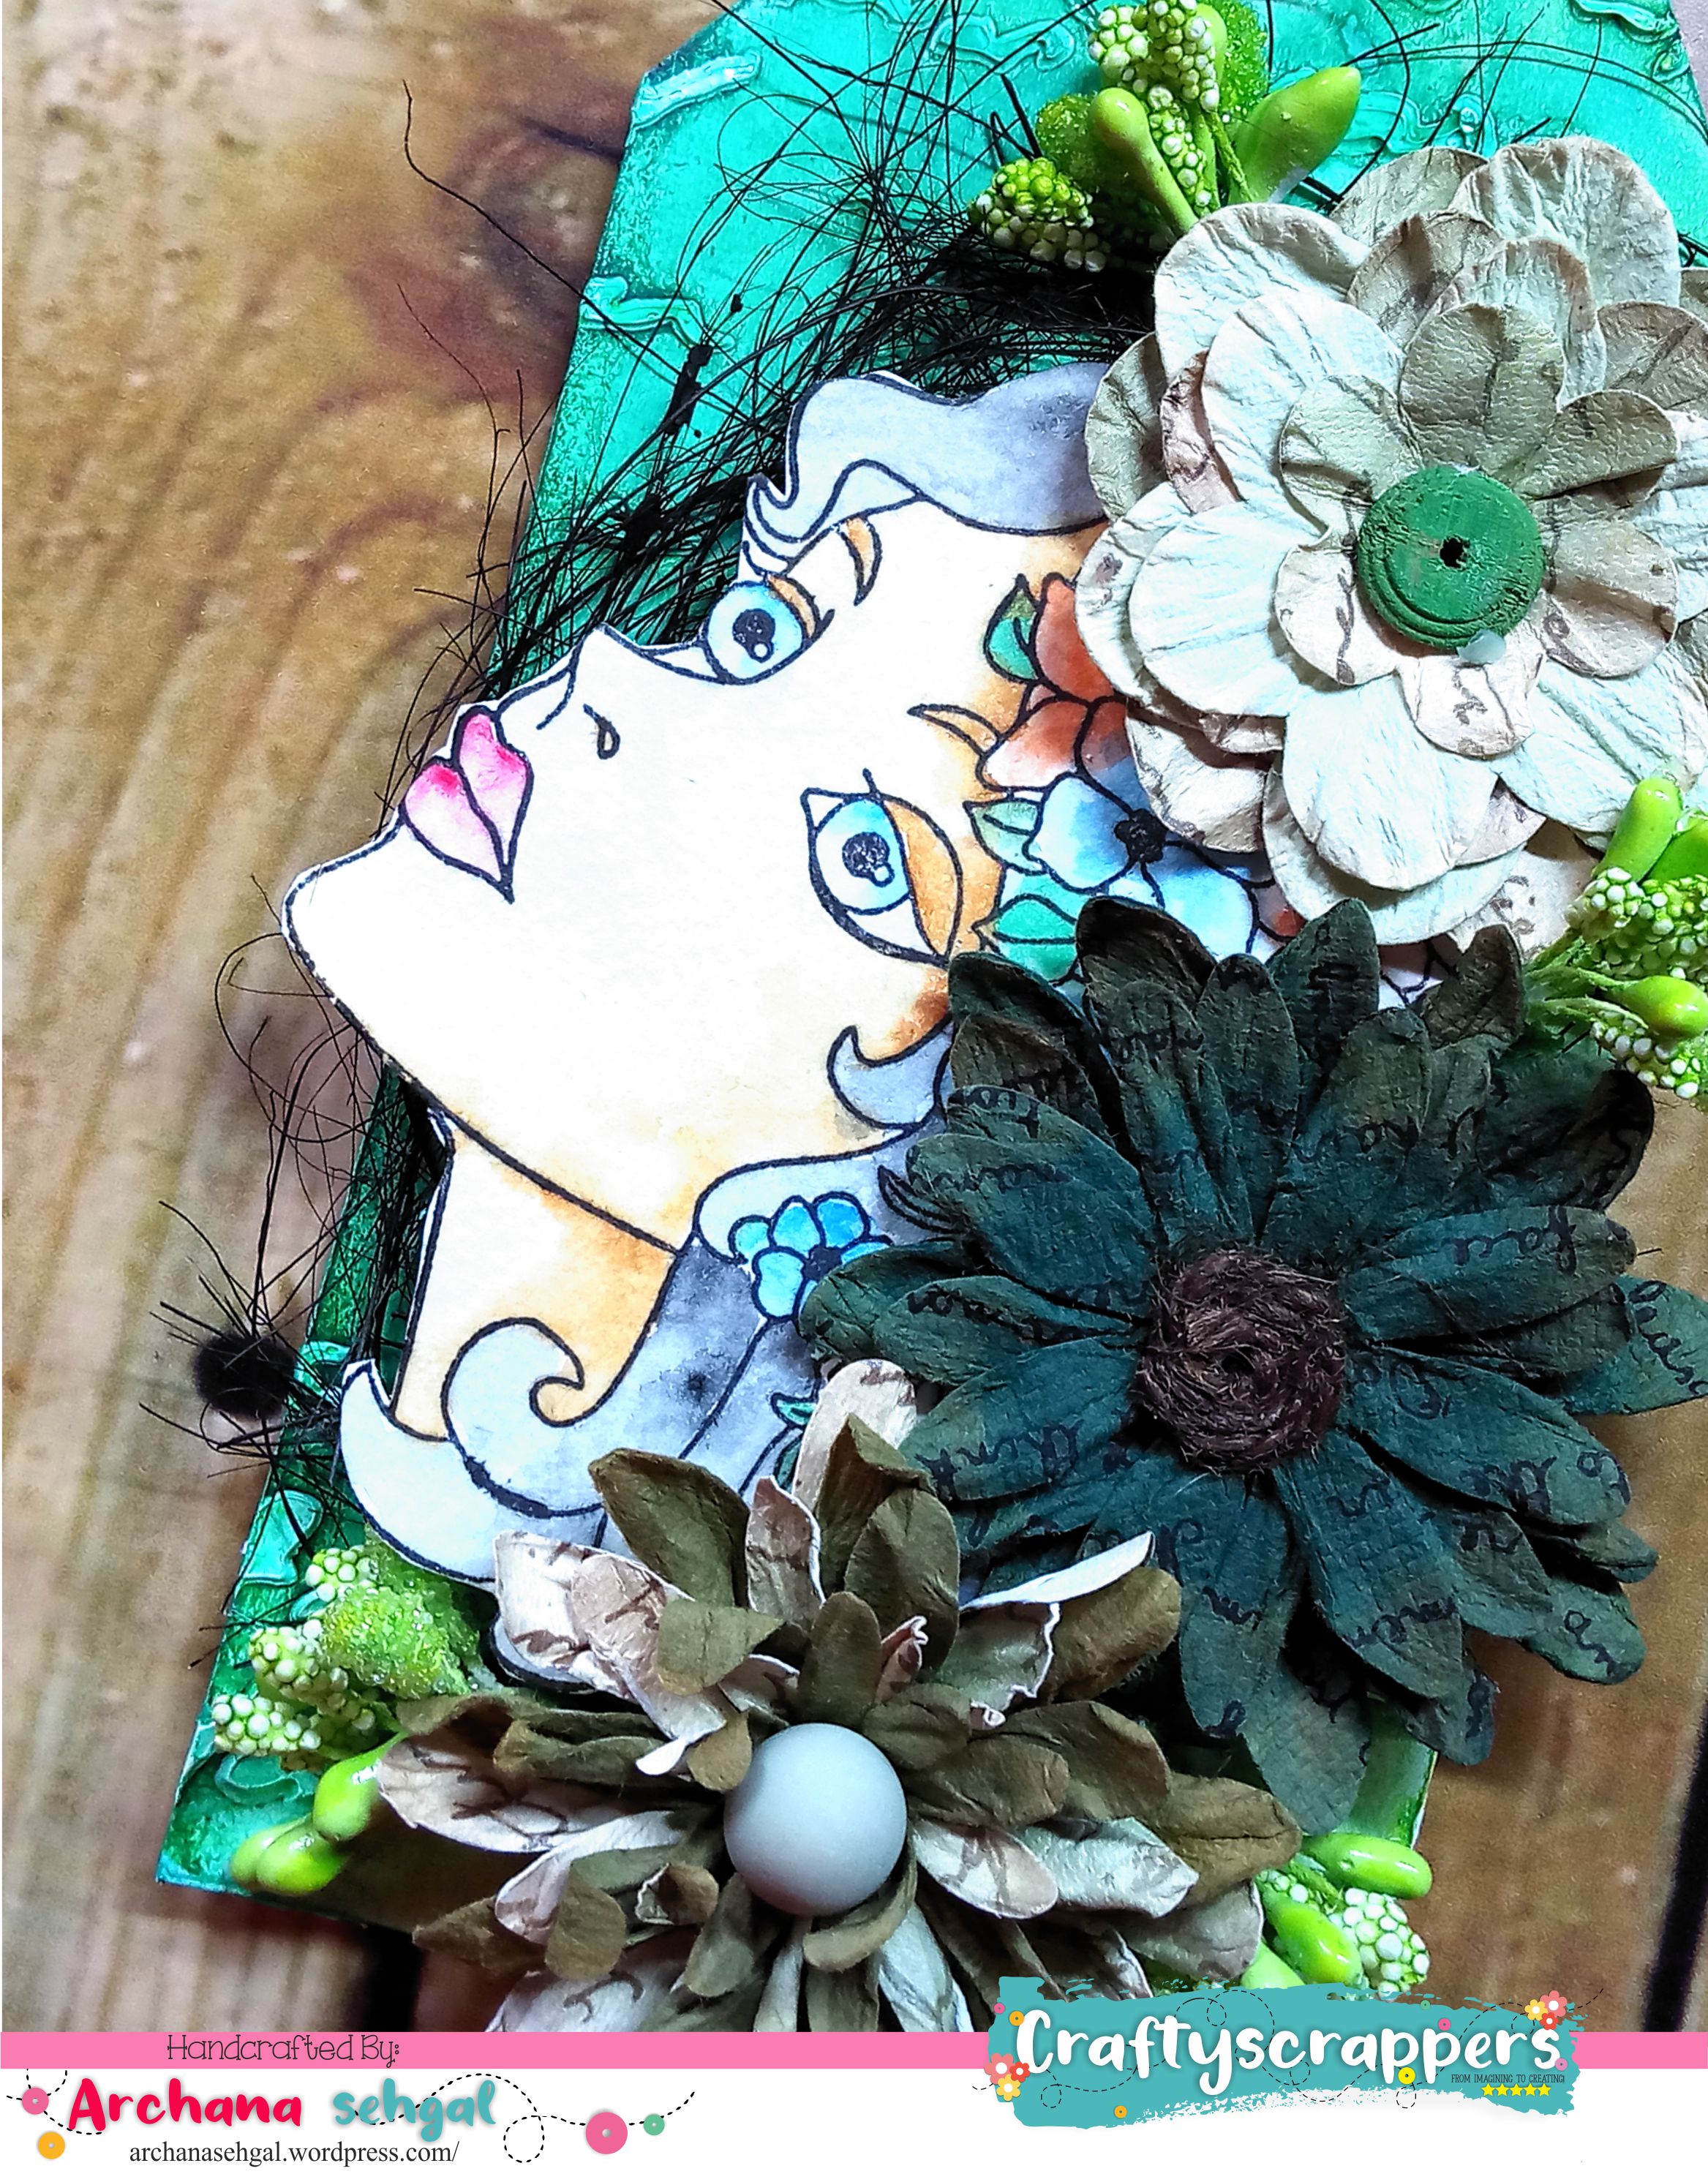
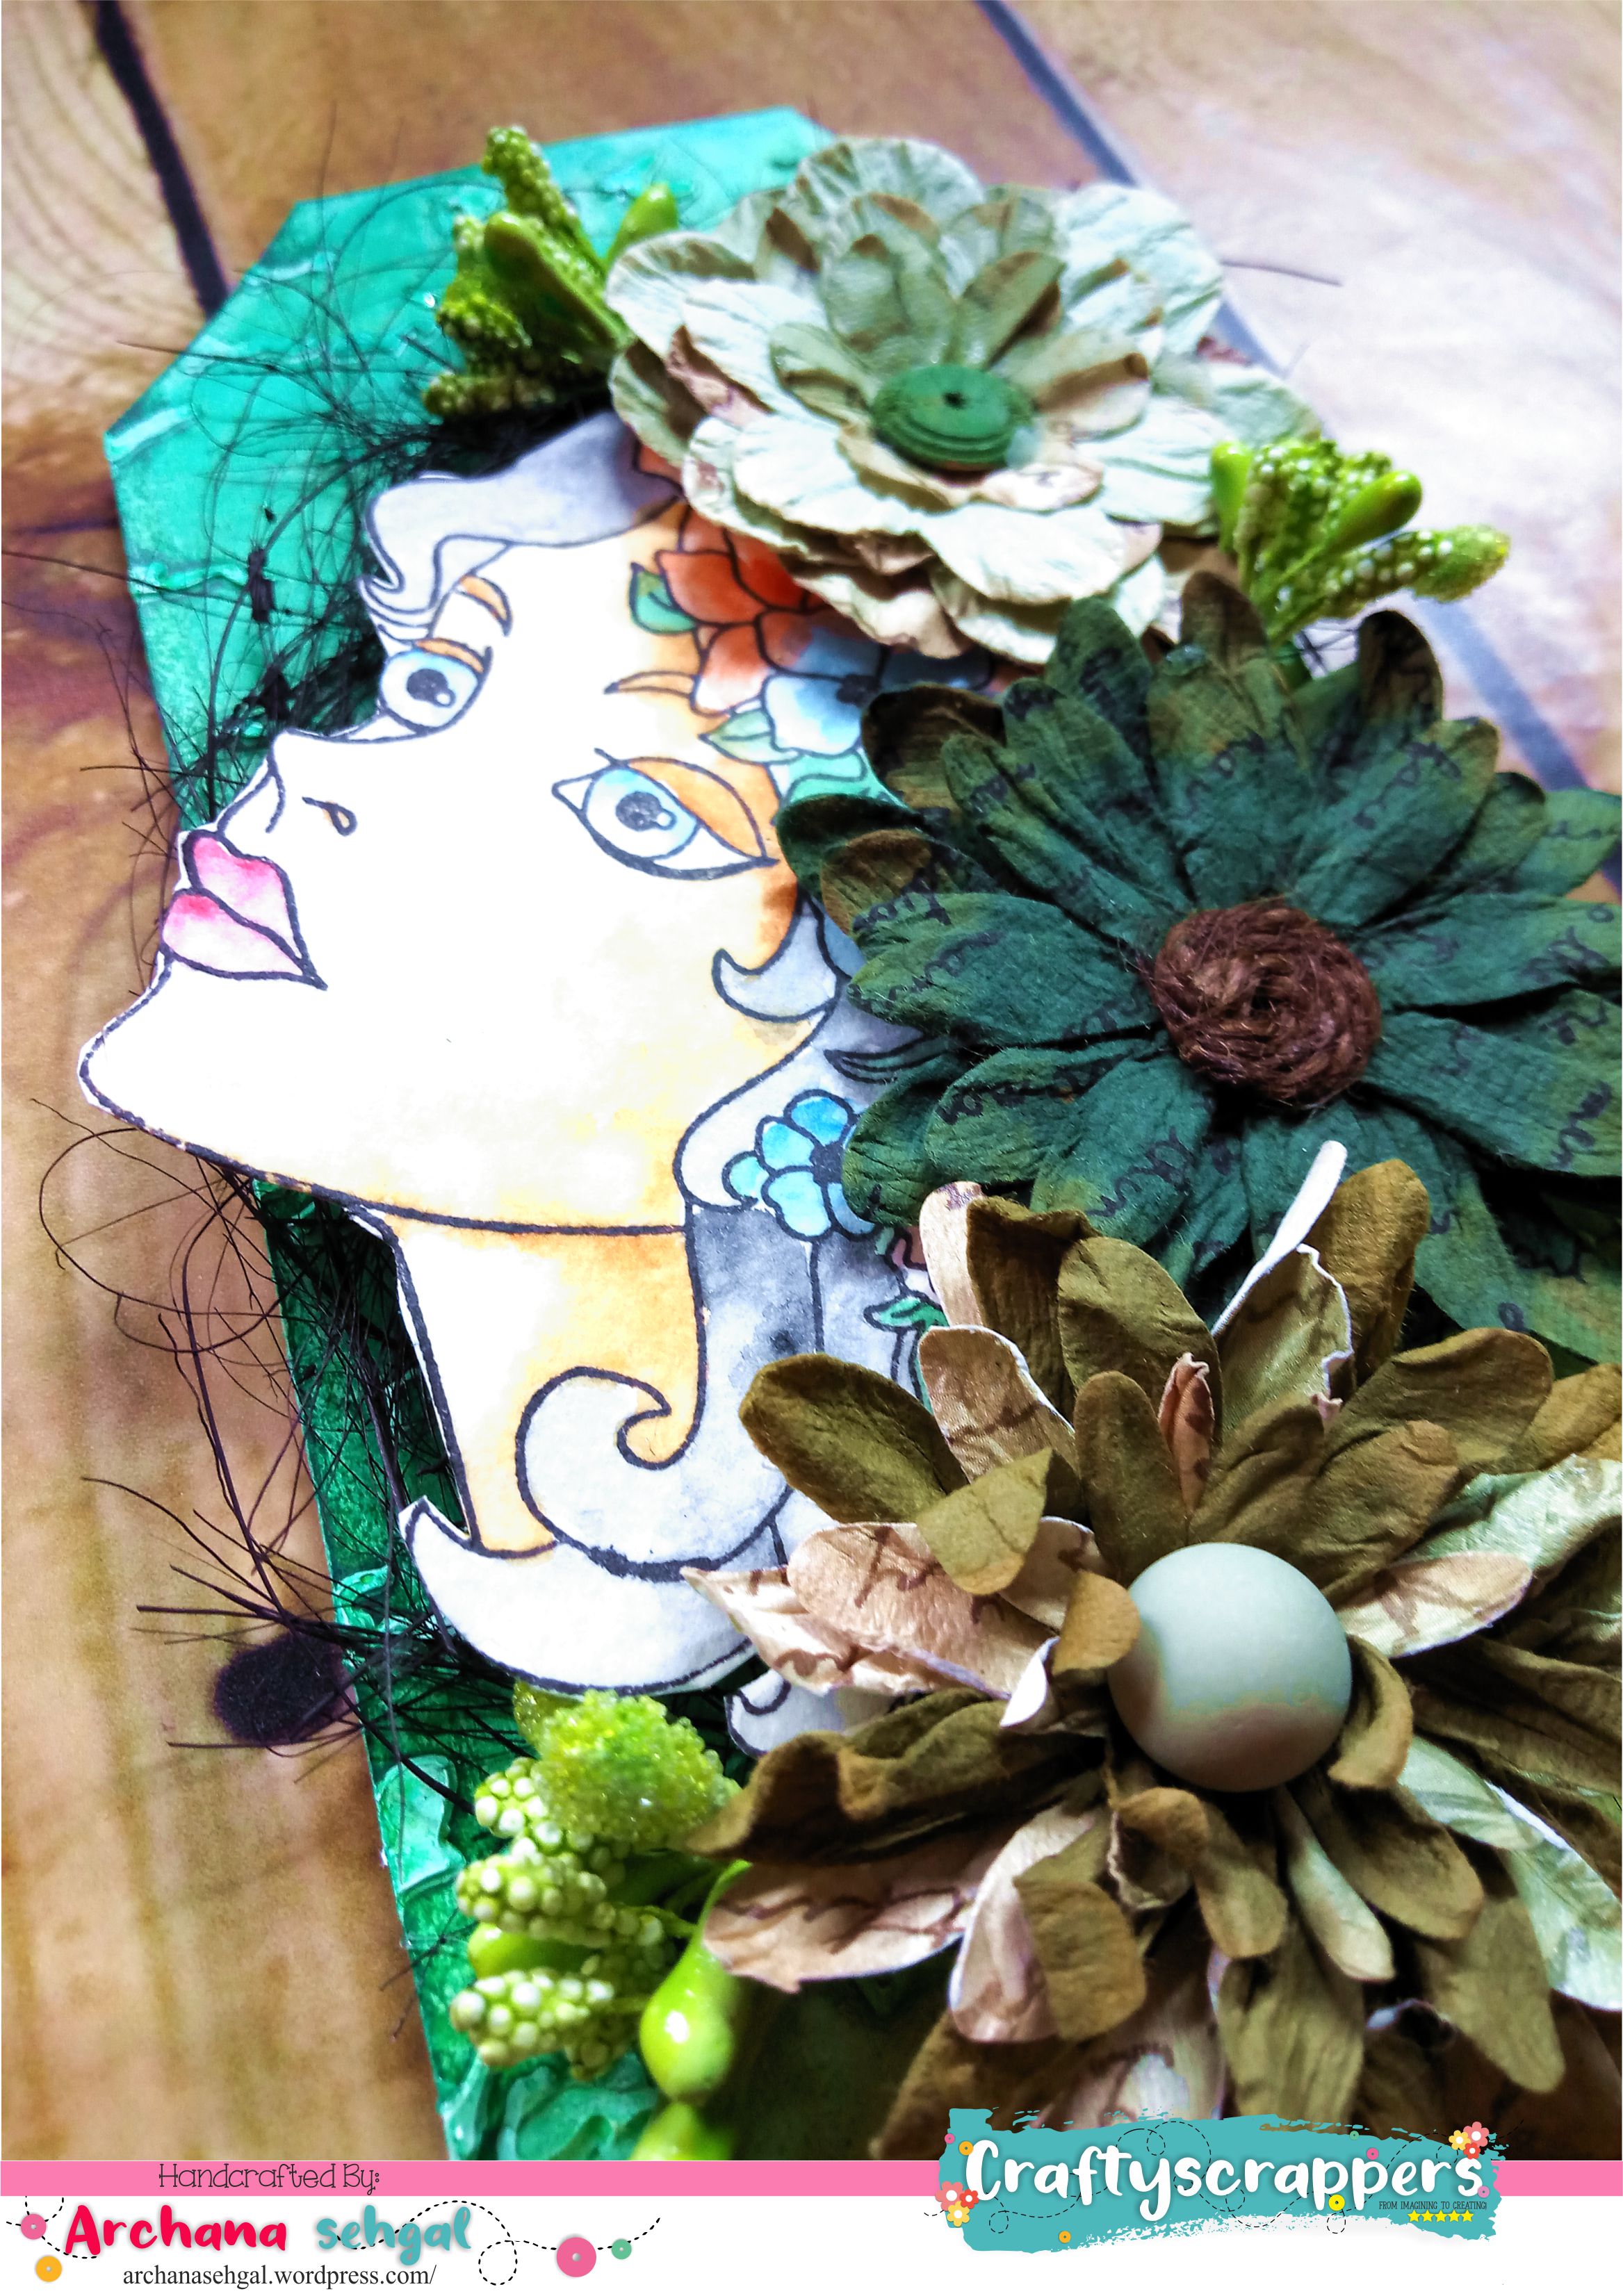
Some close-ups:

Check out my complete start to finish video here:


So That’s all from my end today.Hope you guys have enjoyed this process as much I enjoyed creating, If you try this project, then do tag us (#Craftyscrappers) on your social medias so that we can have a look too….. Don’t forget to grab new release products on our store with a launch sale discount.
Do leave some love and feedback below and I will be back soon for more inspirations and fun and easy craft tutorials!
Don’t forget to join in our craft challenges,(details at the beginning of the post!)
You can participate via mr.linky (at the end of the challenge post)or via facebook,Instagram and even via email.
(While sharing your creation post over the social media, ie
Facebook/twitter/instagram/Pinterest/blog
please use #Craftyscrappers challenge23 to qualify for submission,
(failing to do so, the entry would be disqualified.)
Thanks for stopping by and have a fun filled day!!!
Happy Crafting!


