

Hello!! My Arty and Crafty Friends,
This is DT Archana here, on the blog today.
Today’s project is all about Craftyscrappers Shimmer Pastes which is super glittery and sparkly, and I am so amazed by the finished look of the project using these beauties and it’s a must have product if you are crazy about adding that glitter and at the same time textural or dimensional touch to the project.
I also have a video tutorial showing you how i created these mixed media tags.
keep reading to know more 🙂
Okay so we all are pretty excited about Craftyscrappers 5th birthday bash, which is sadly ending tomorrow 🙁 but they have amazing giveaways and also a craft challenges, which is ongoing for this fabulous month of APRIL…
“Time to Celebrate”
- Last date of submission is 30th APRIL,2018

To win the amazing goodie bags !
So Join me in wishing Craftyscrappers a very HAPPY BIRTHDAY
and many more successes in the coming future!!!

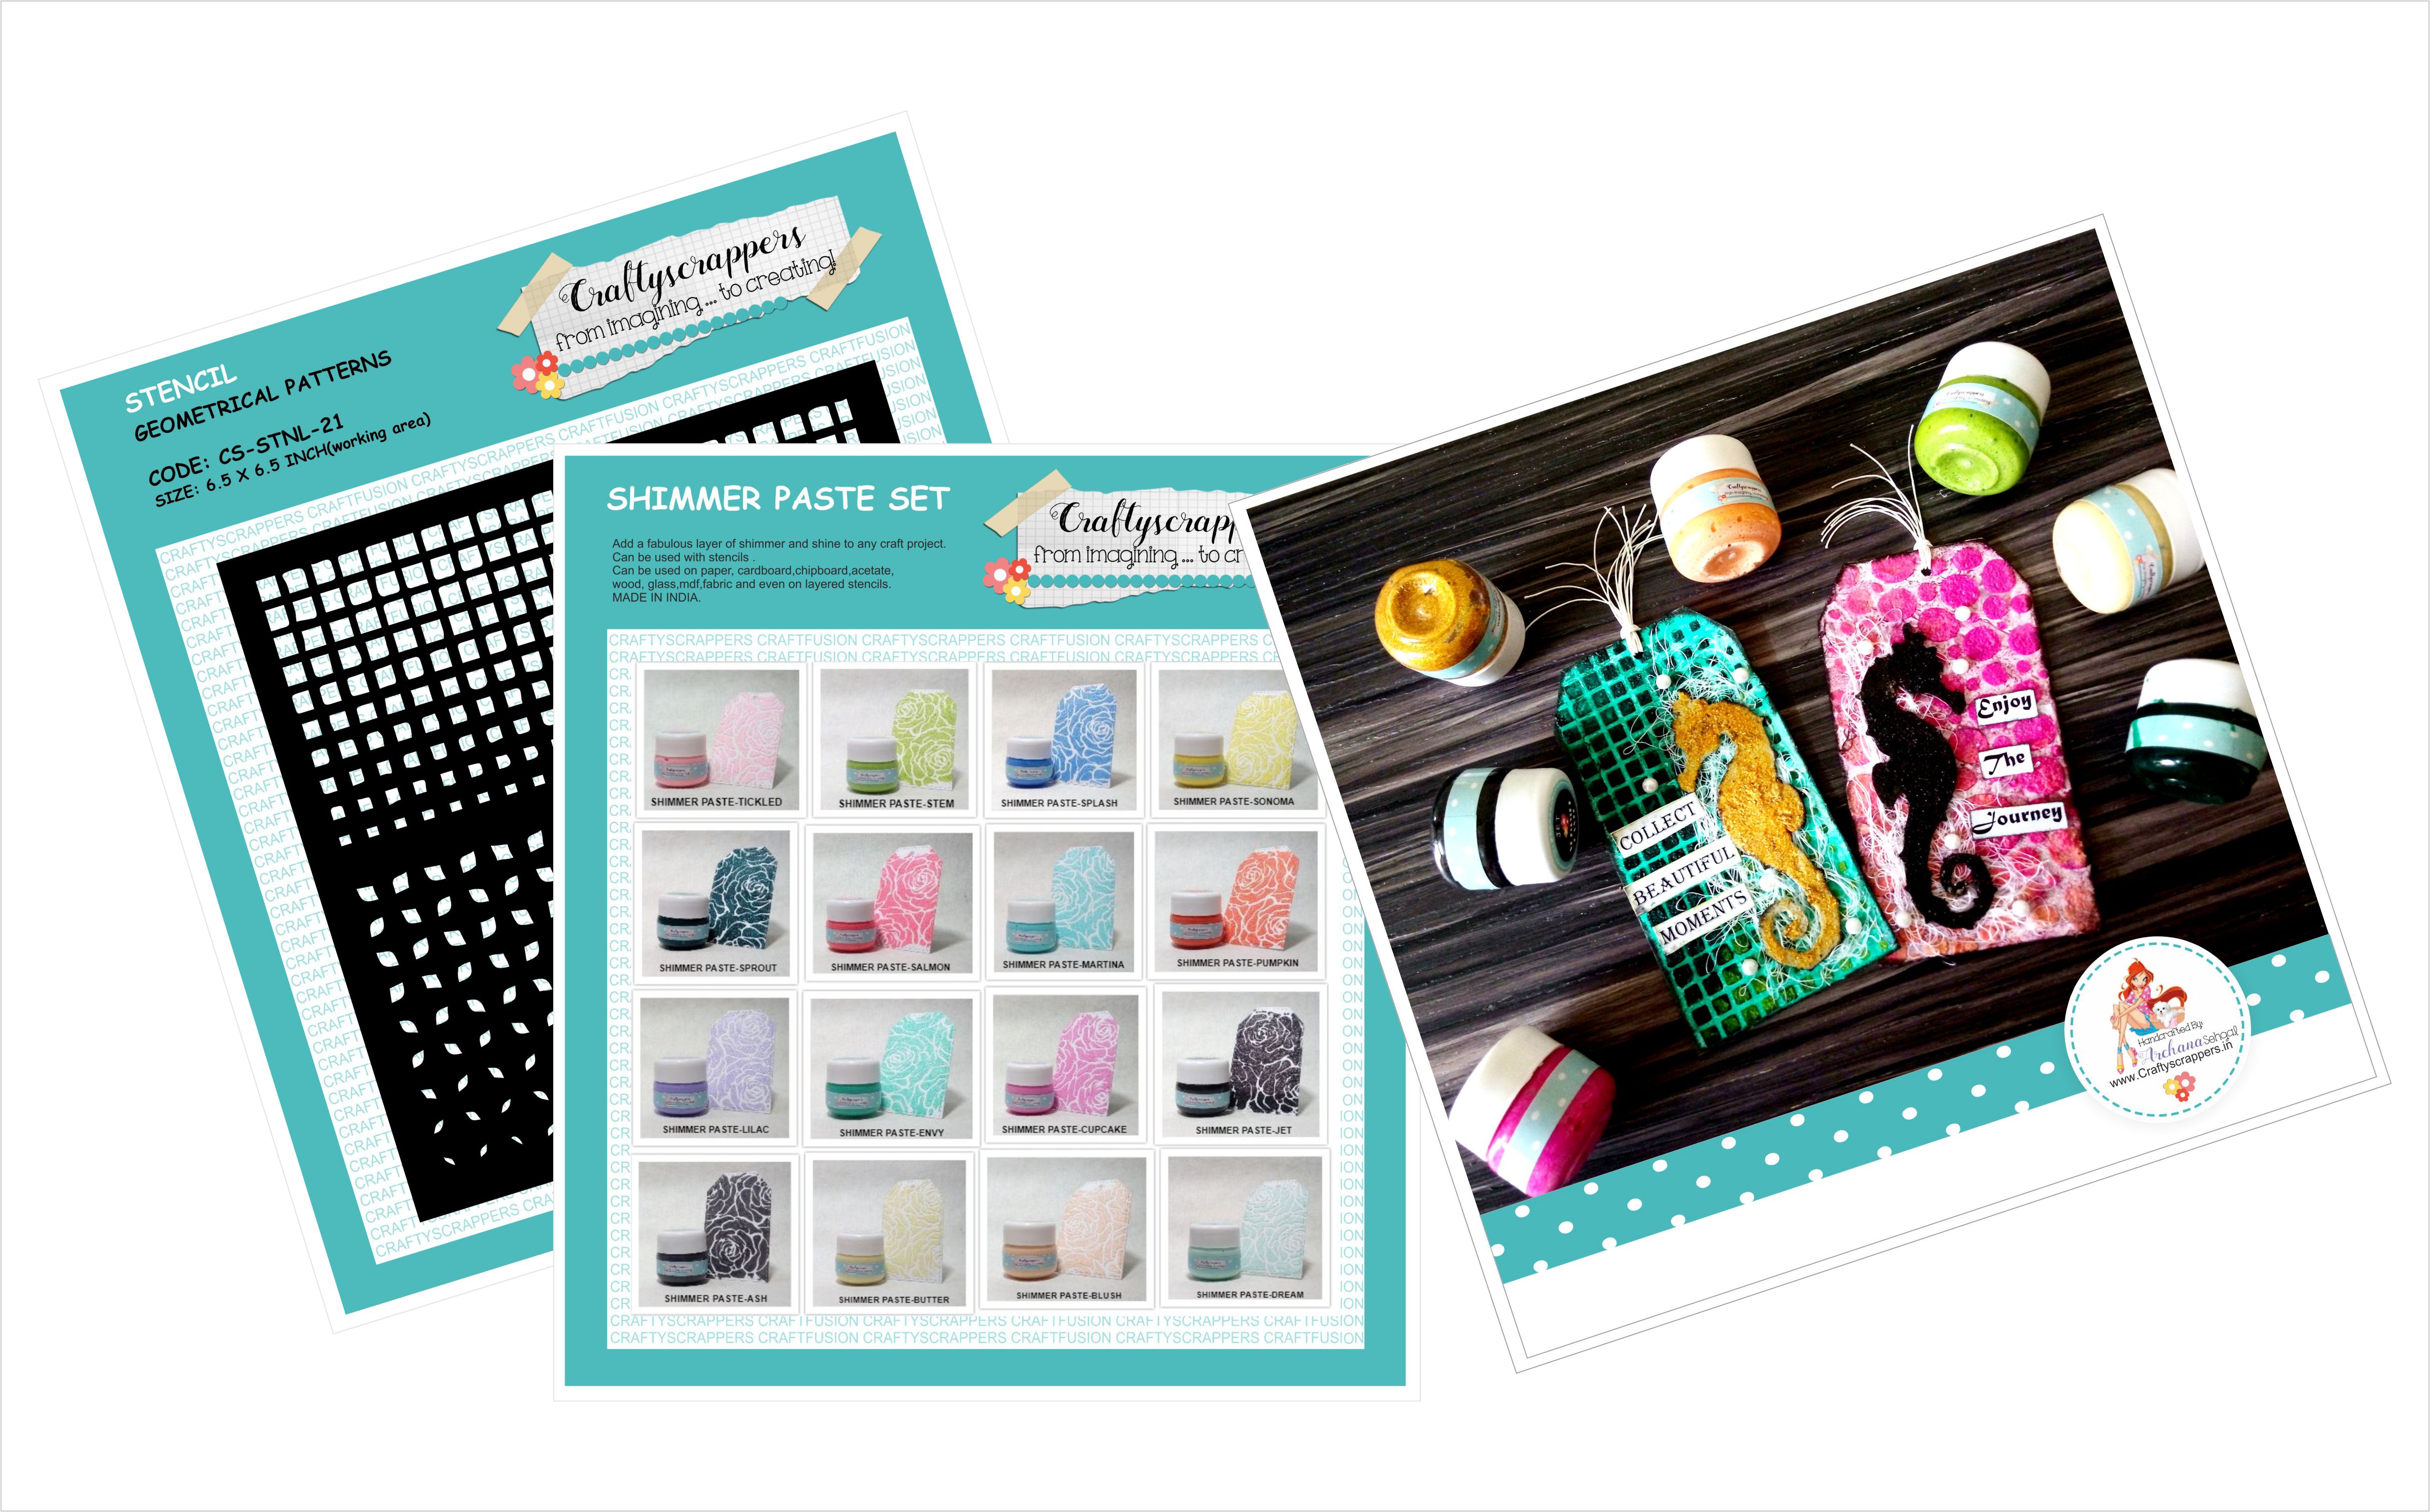
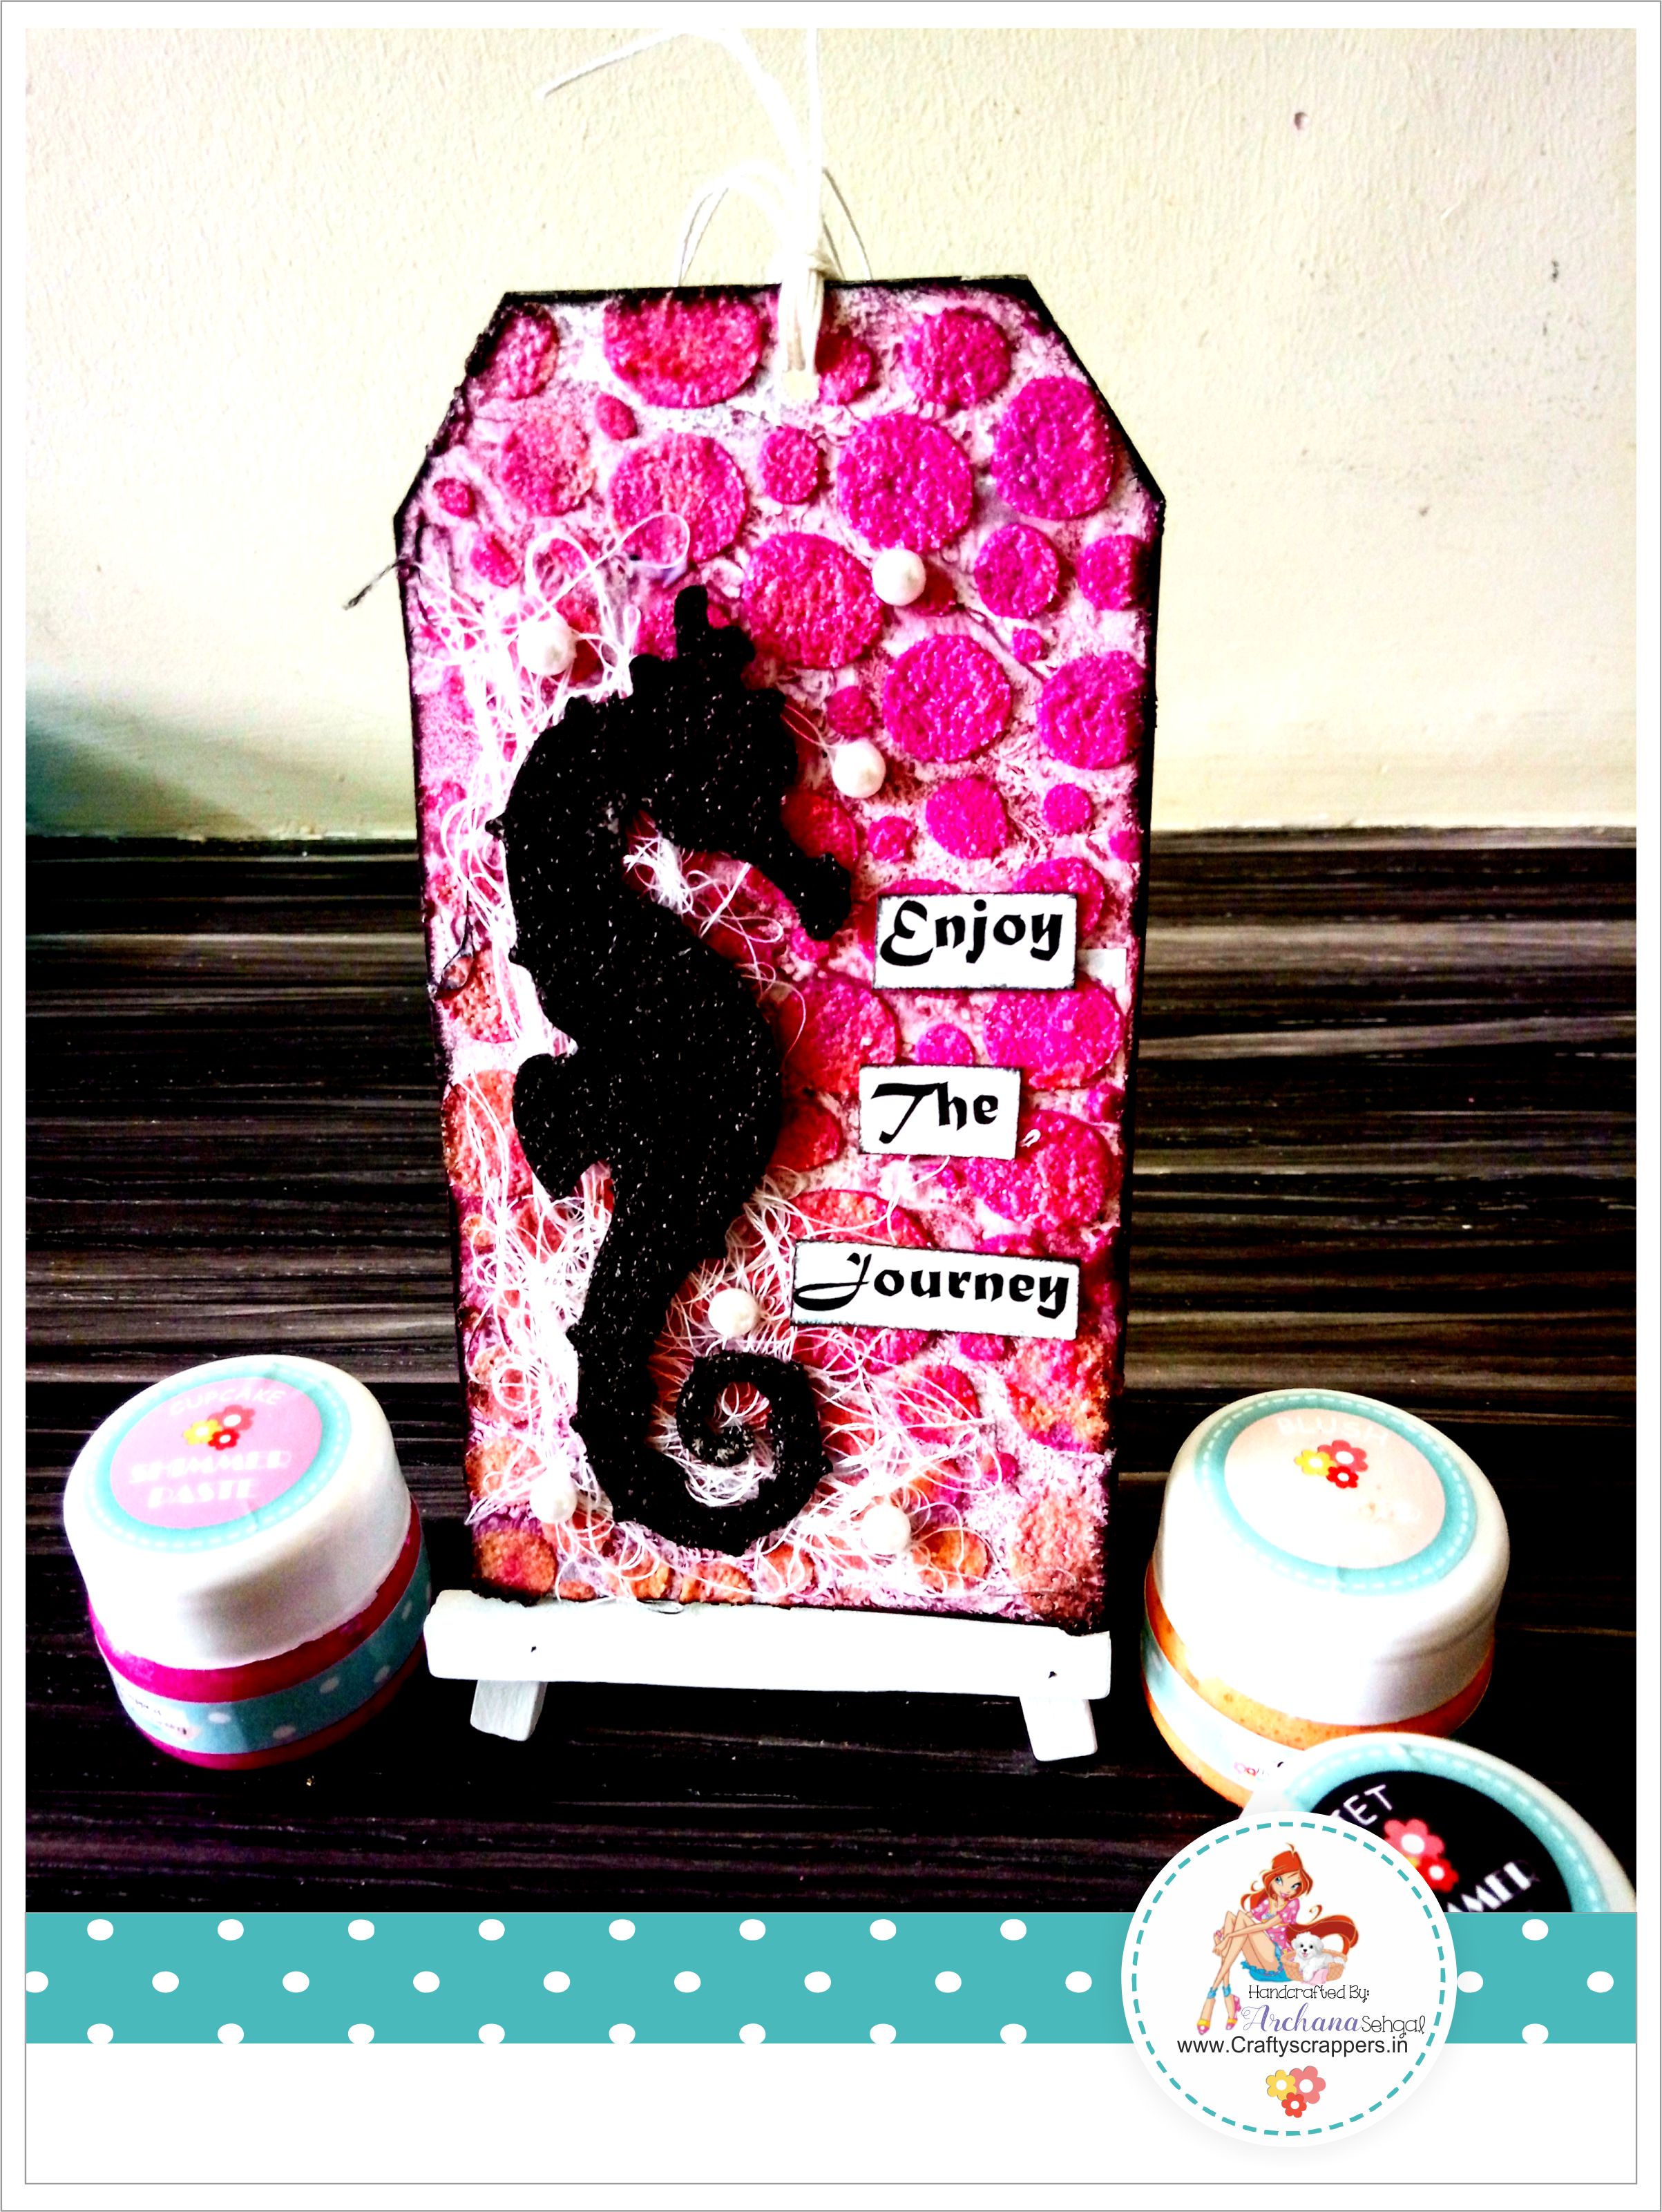
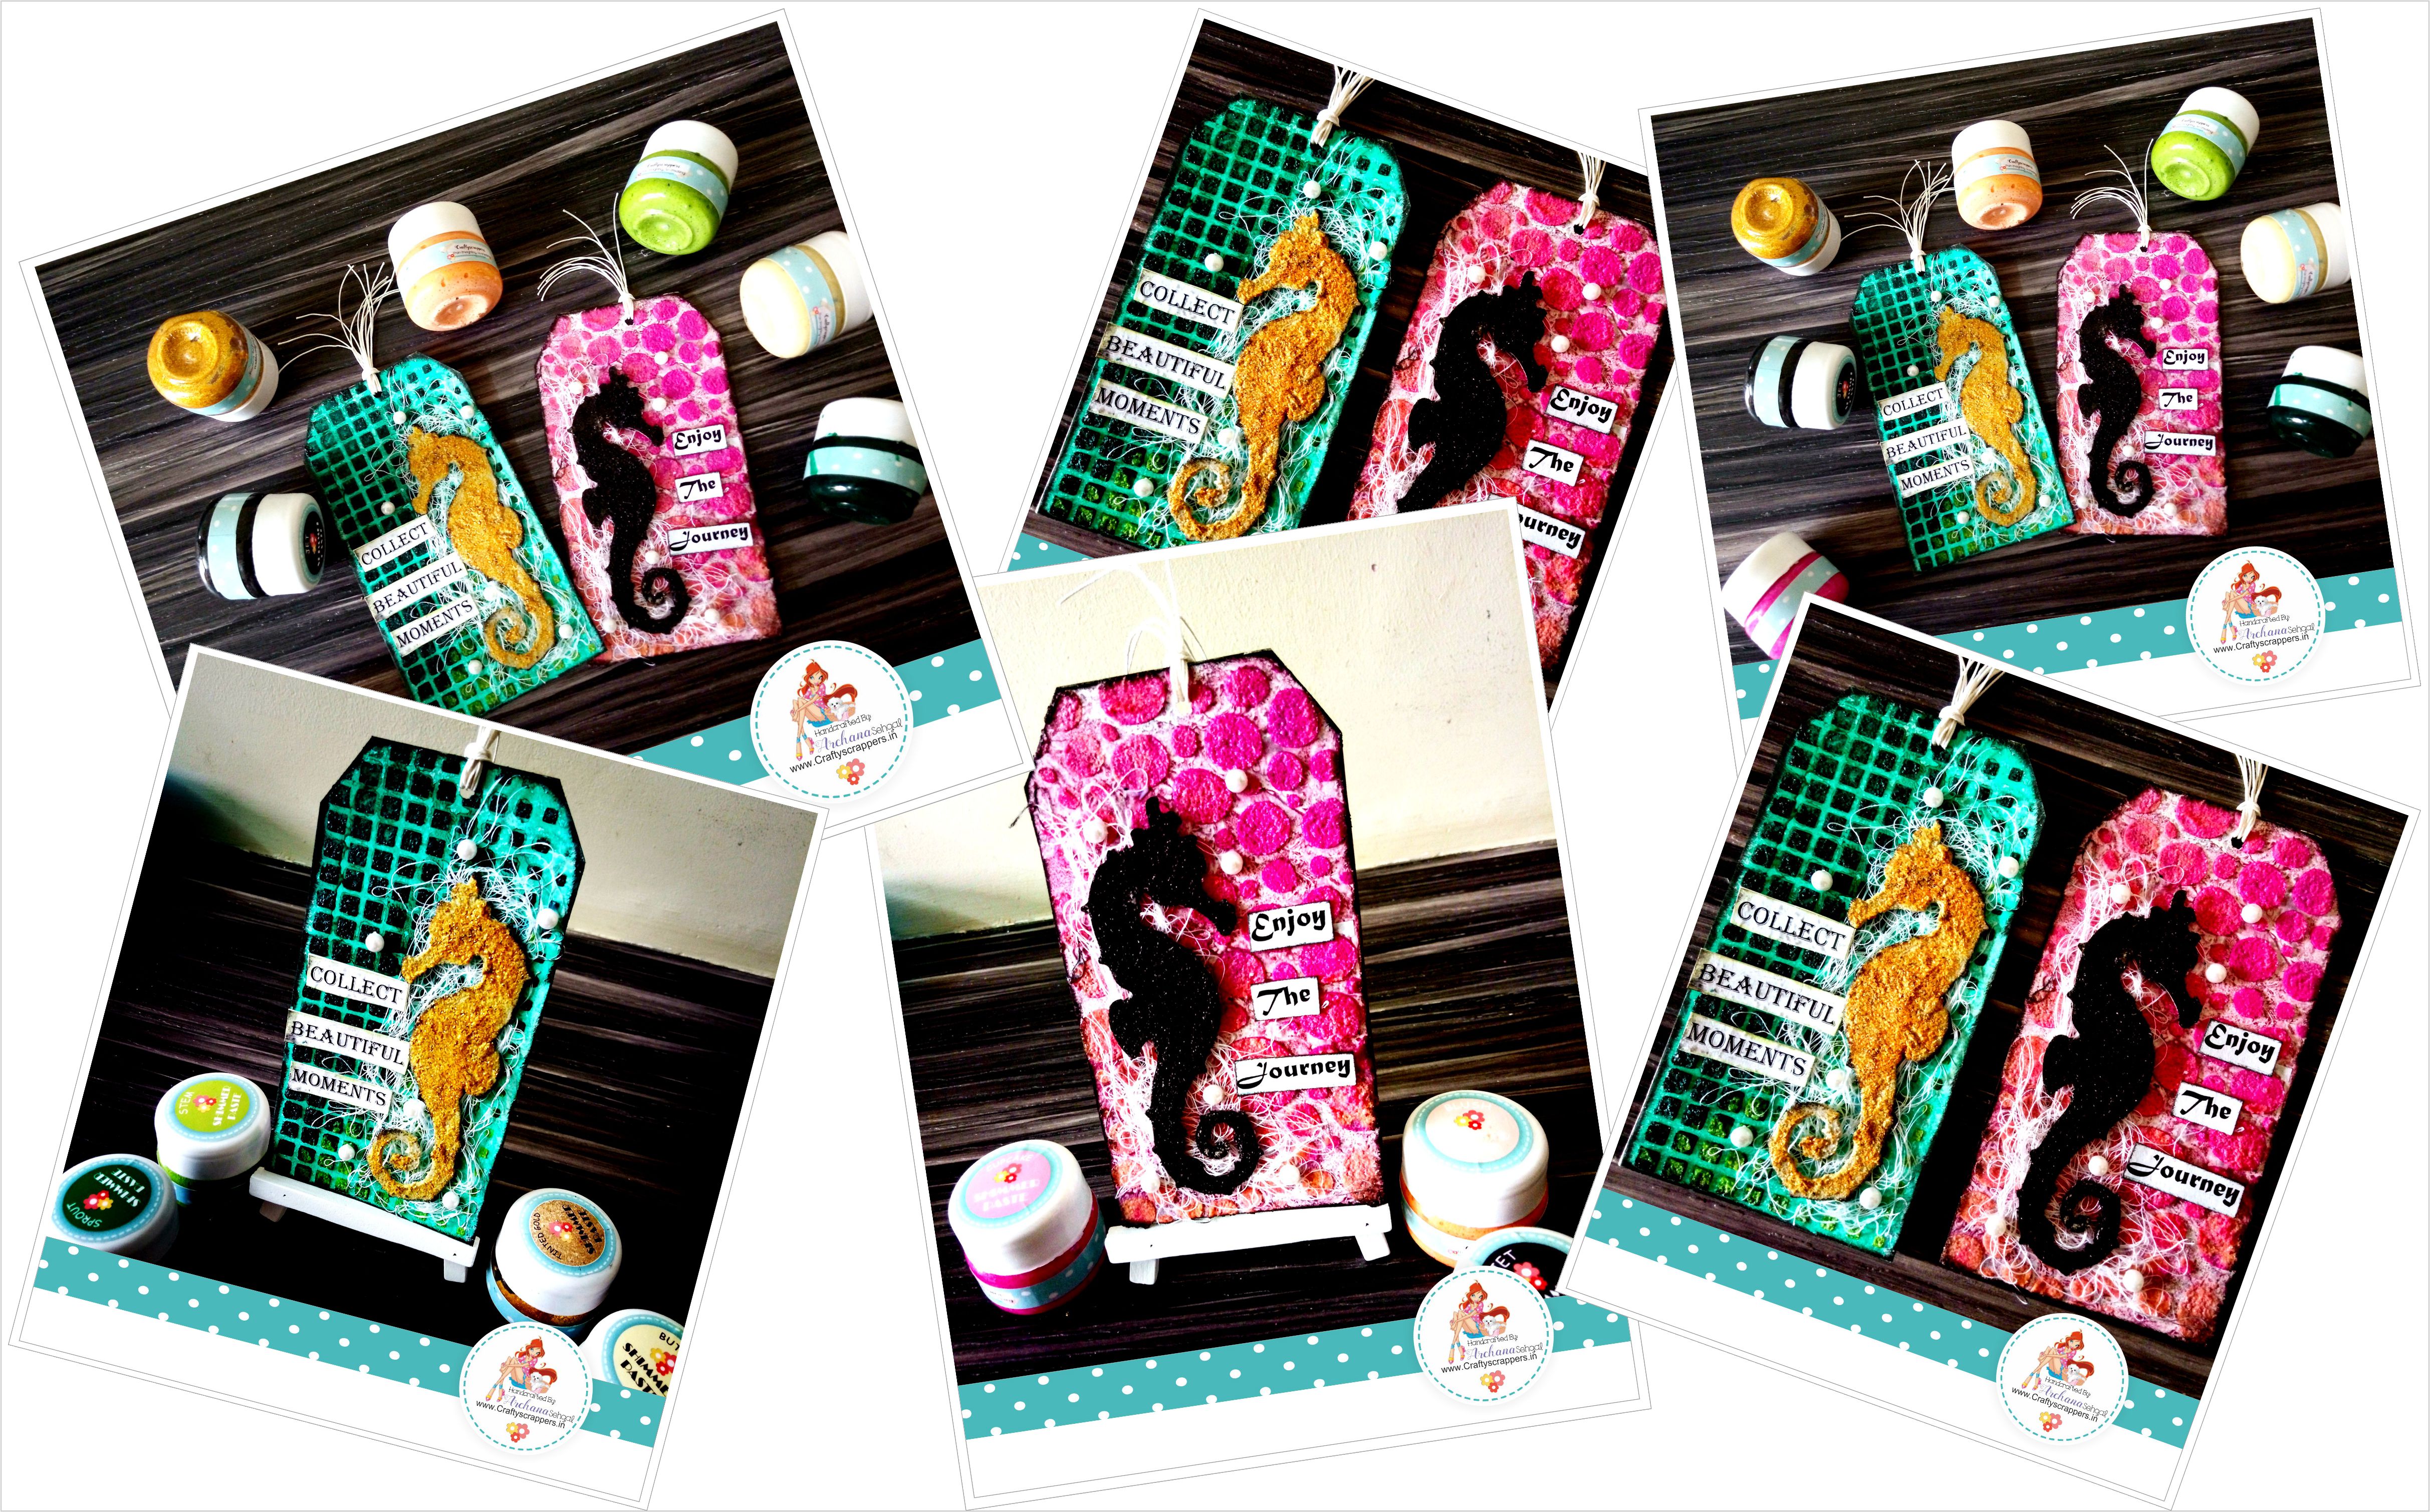
So here are the tags that i created:
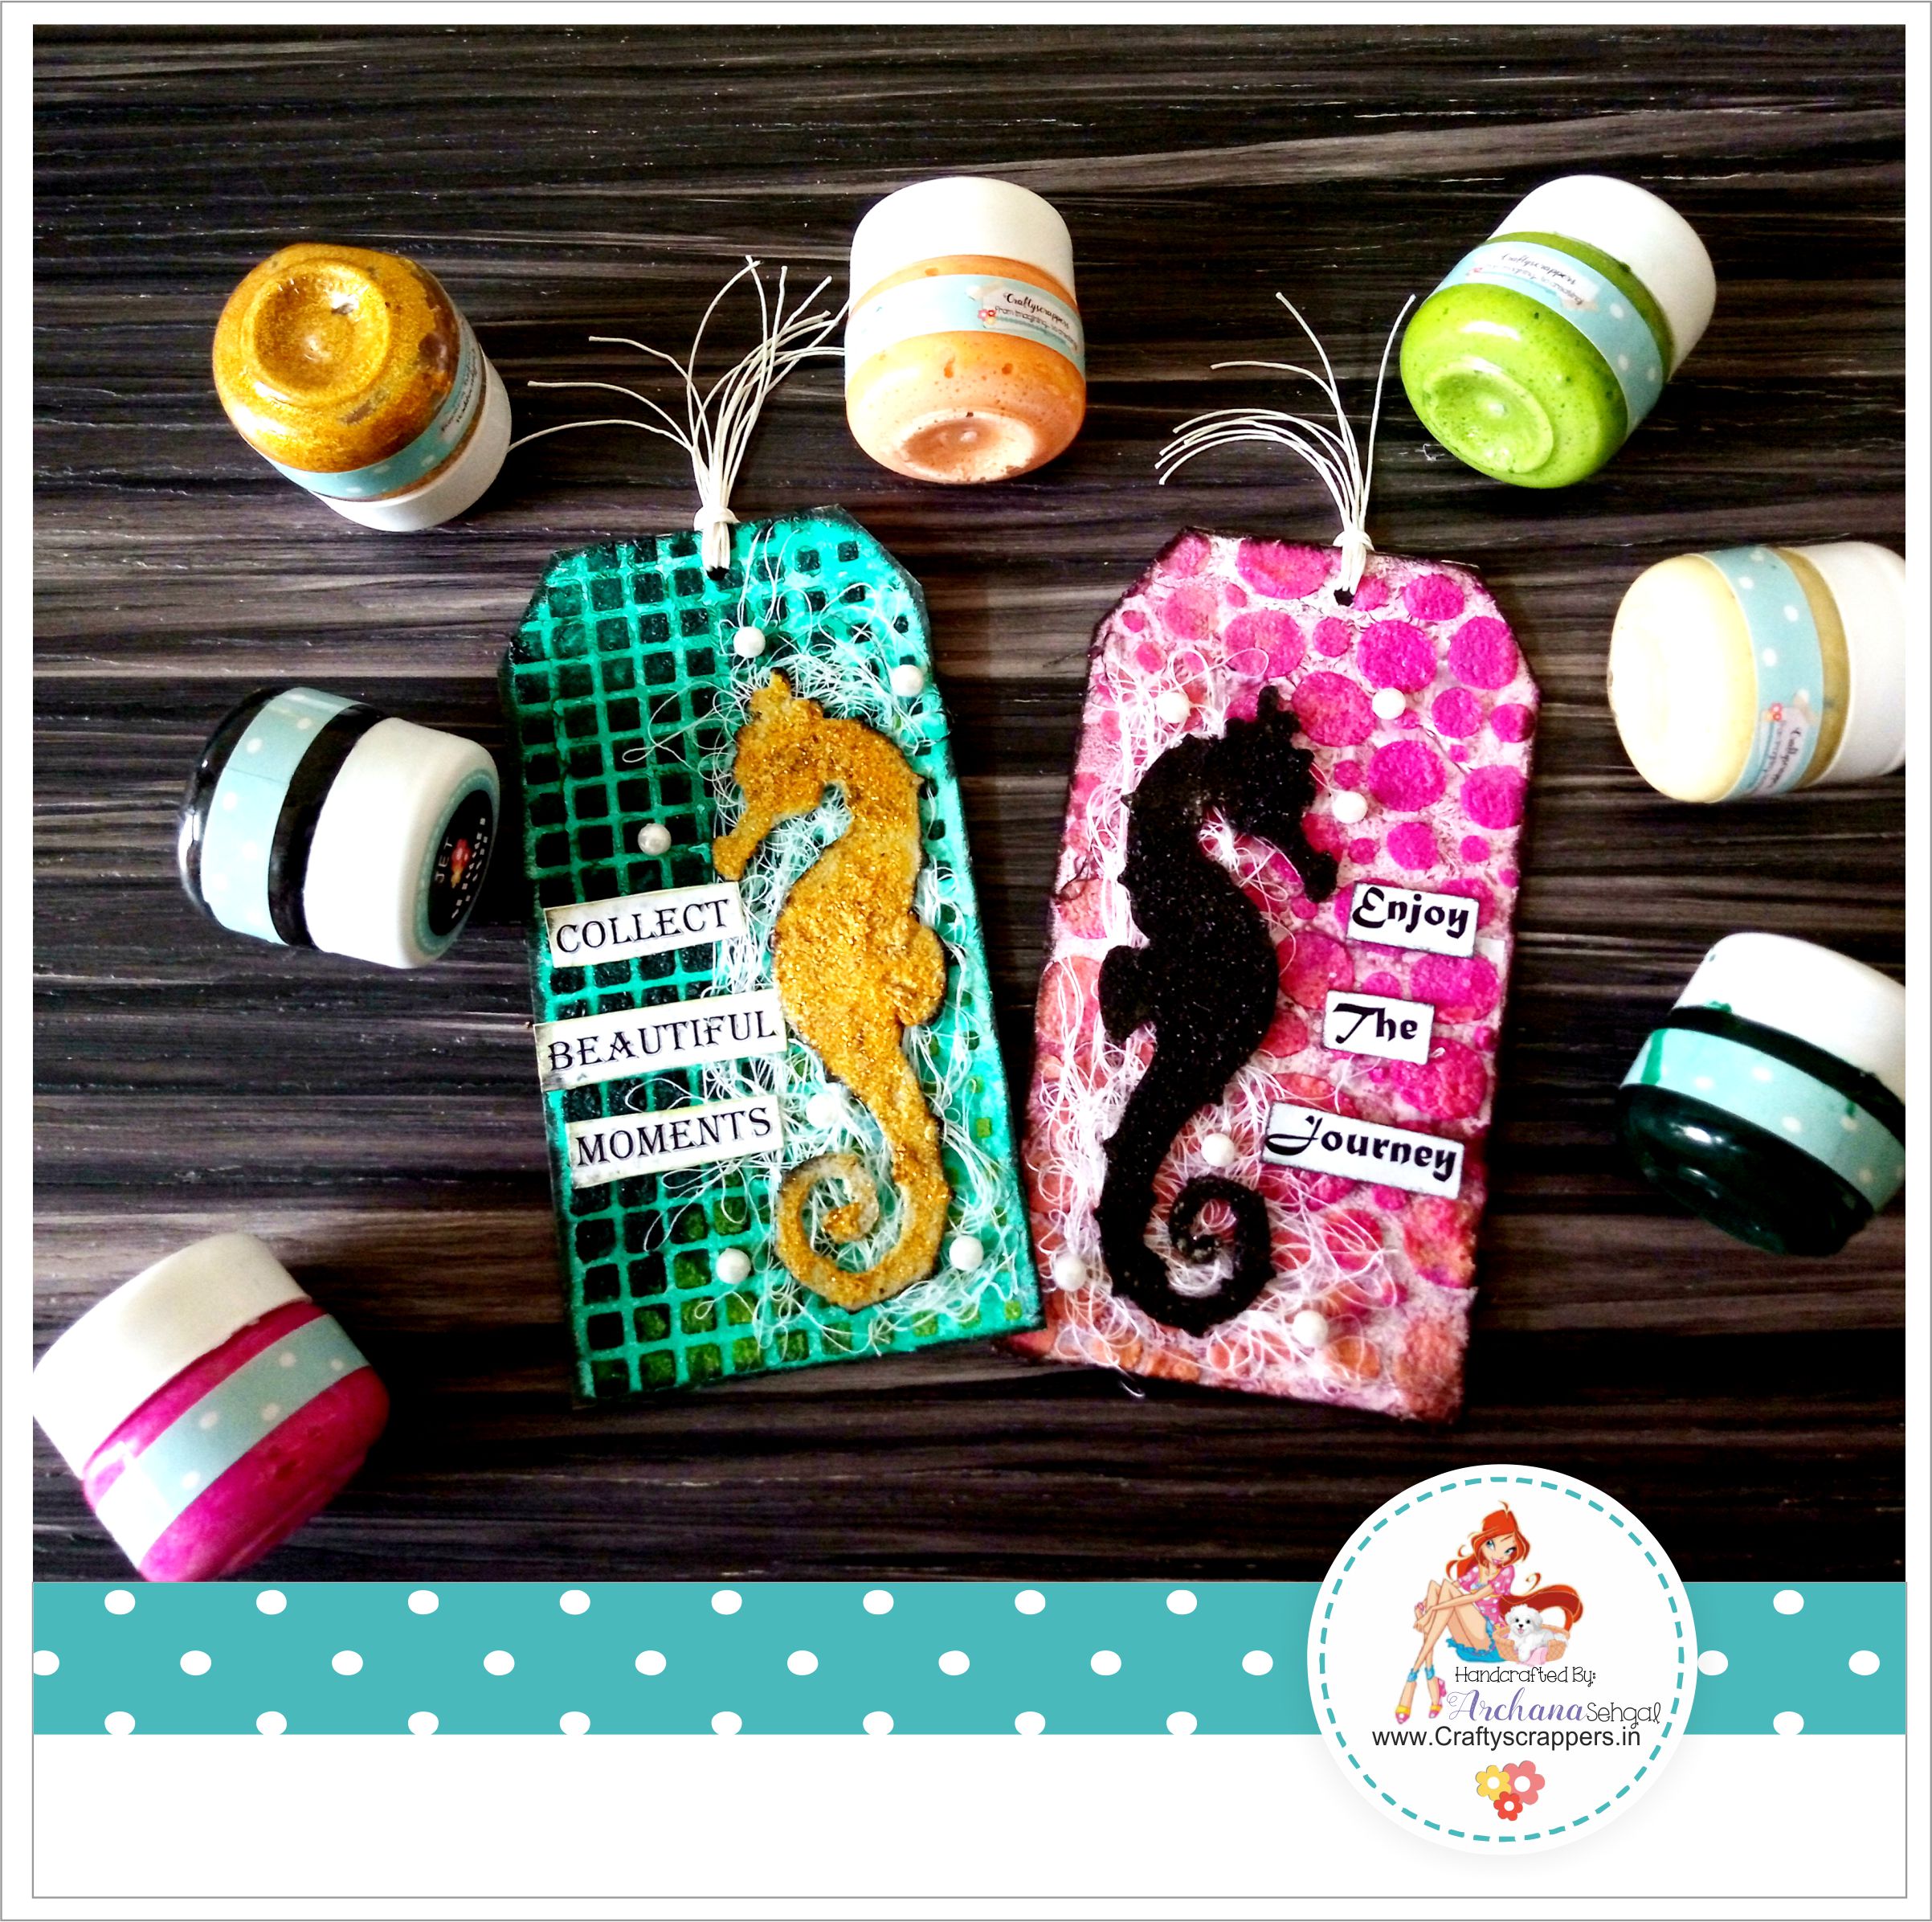
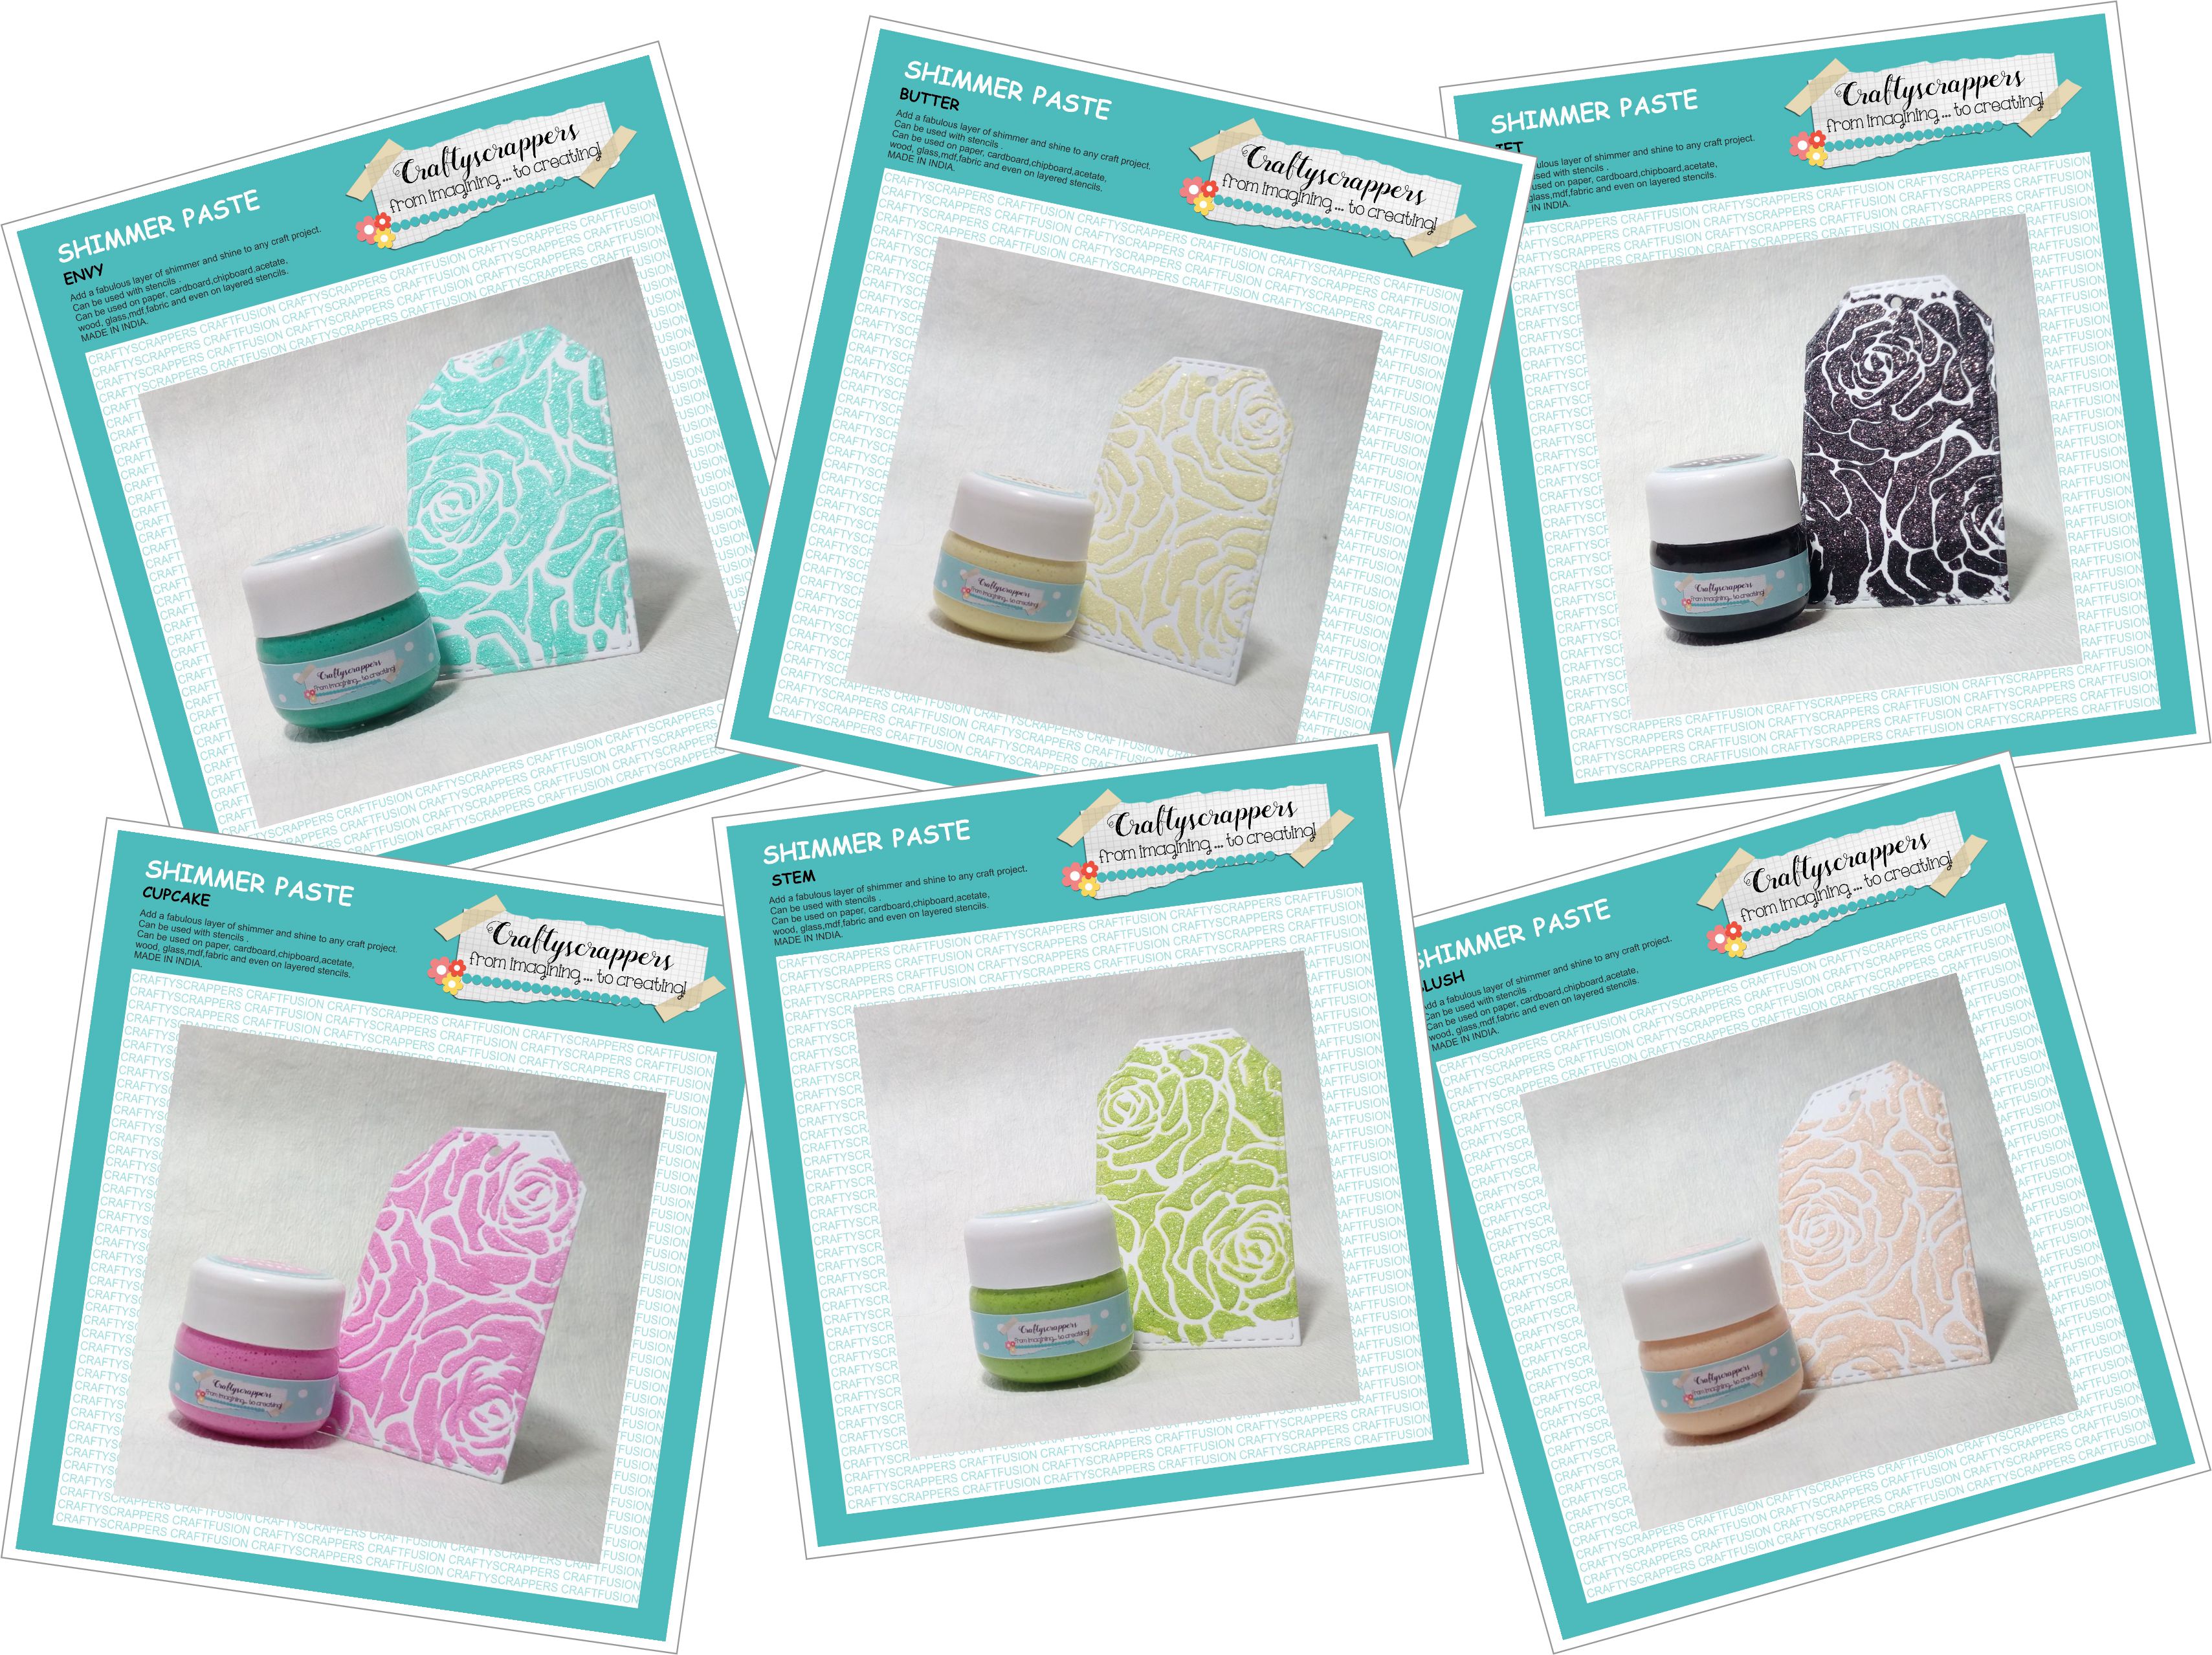
So to create these tags, i have used, craftyscrappers amazing
SHIMMER PASTES
Sprout, Stem, Cupcake, Blush, Butter, Tinted gold, Jet)
![cs-stnl-21[GEOMETRICAL PATTERNS].jpg](https://craftyscrappers.files.wordpress.com/2018/04/cs-stnl-21geometrical-patterns.jpg?w=906)
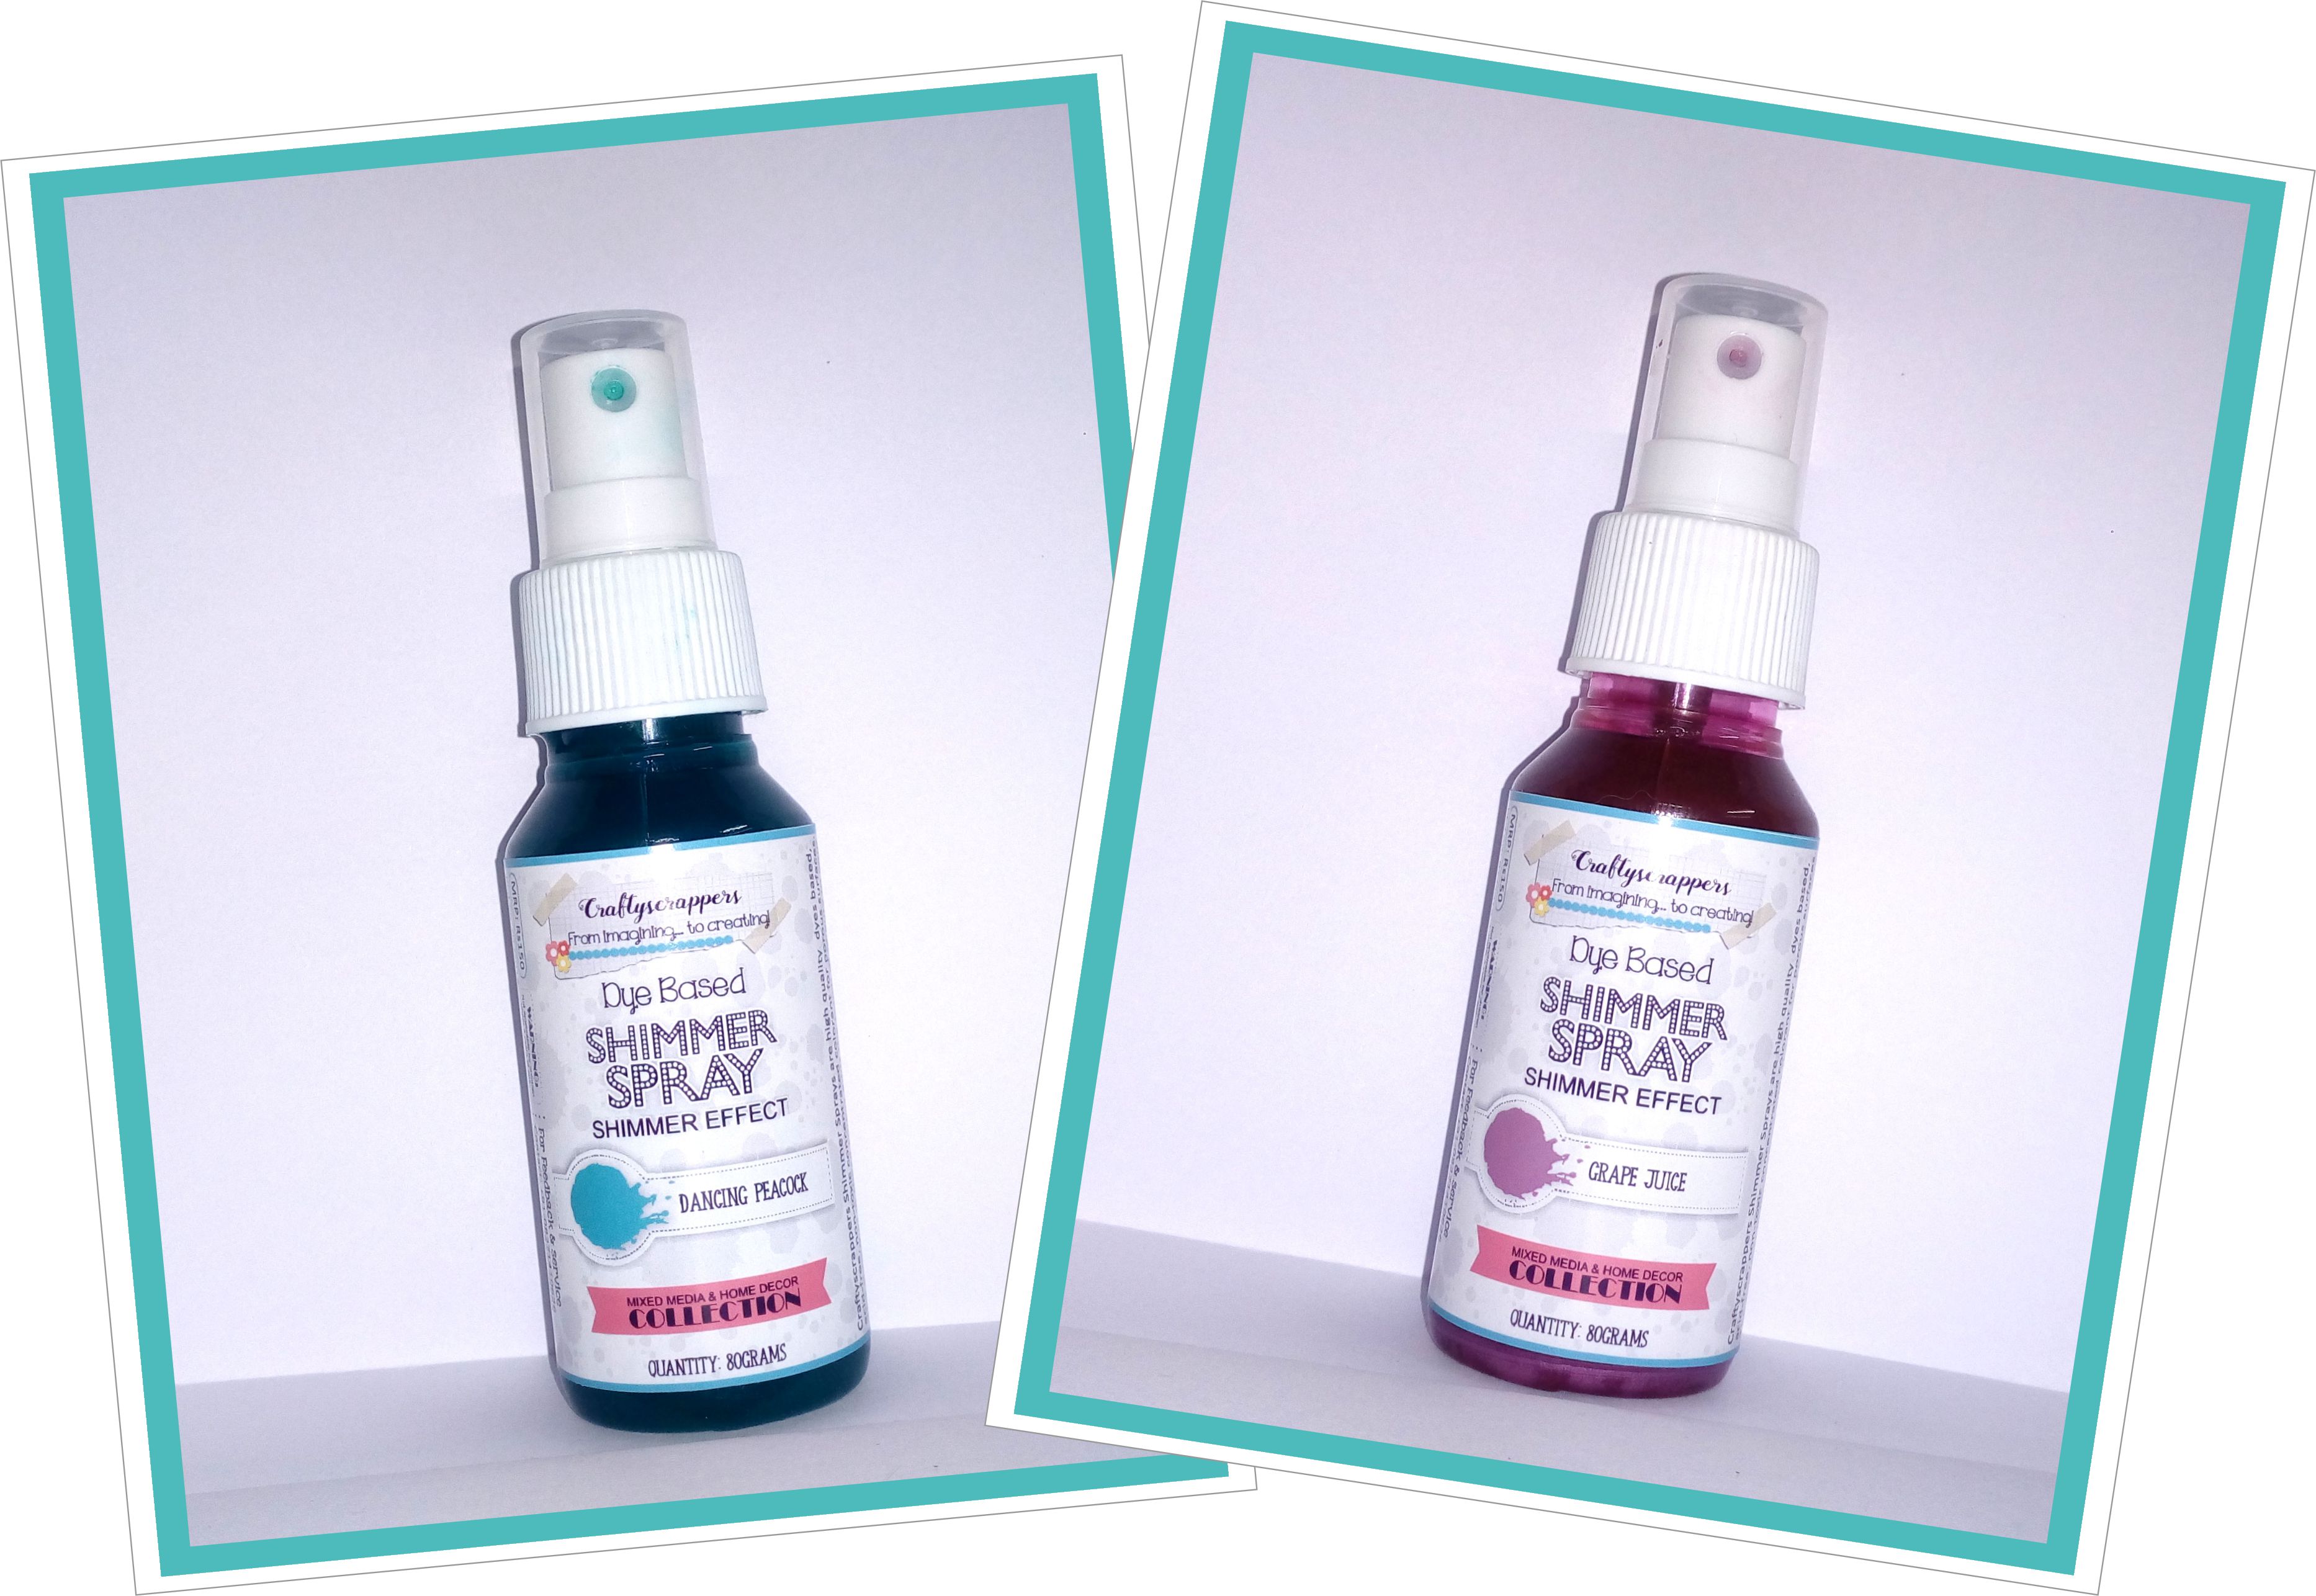
Along with Craftyscrappers Shimmer Sprays
Grape juice and dancing peacock)
A BRIEF TUTORIAL:
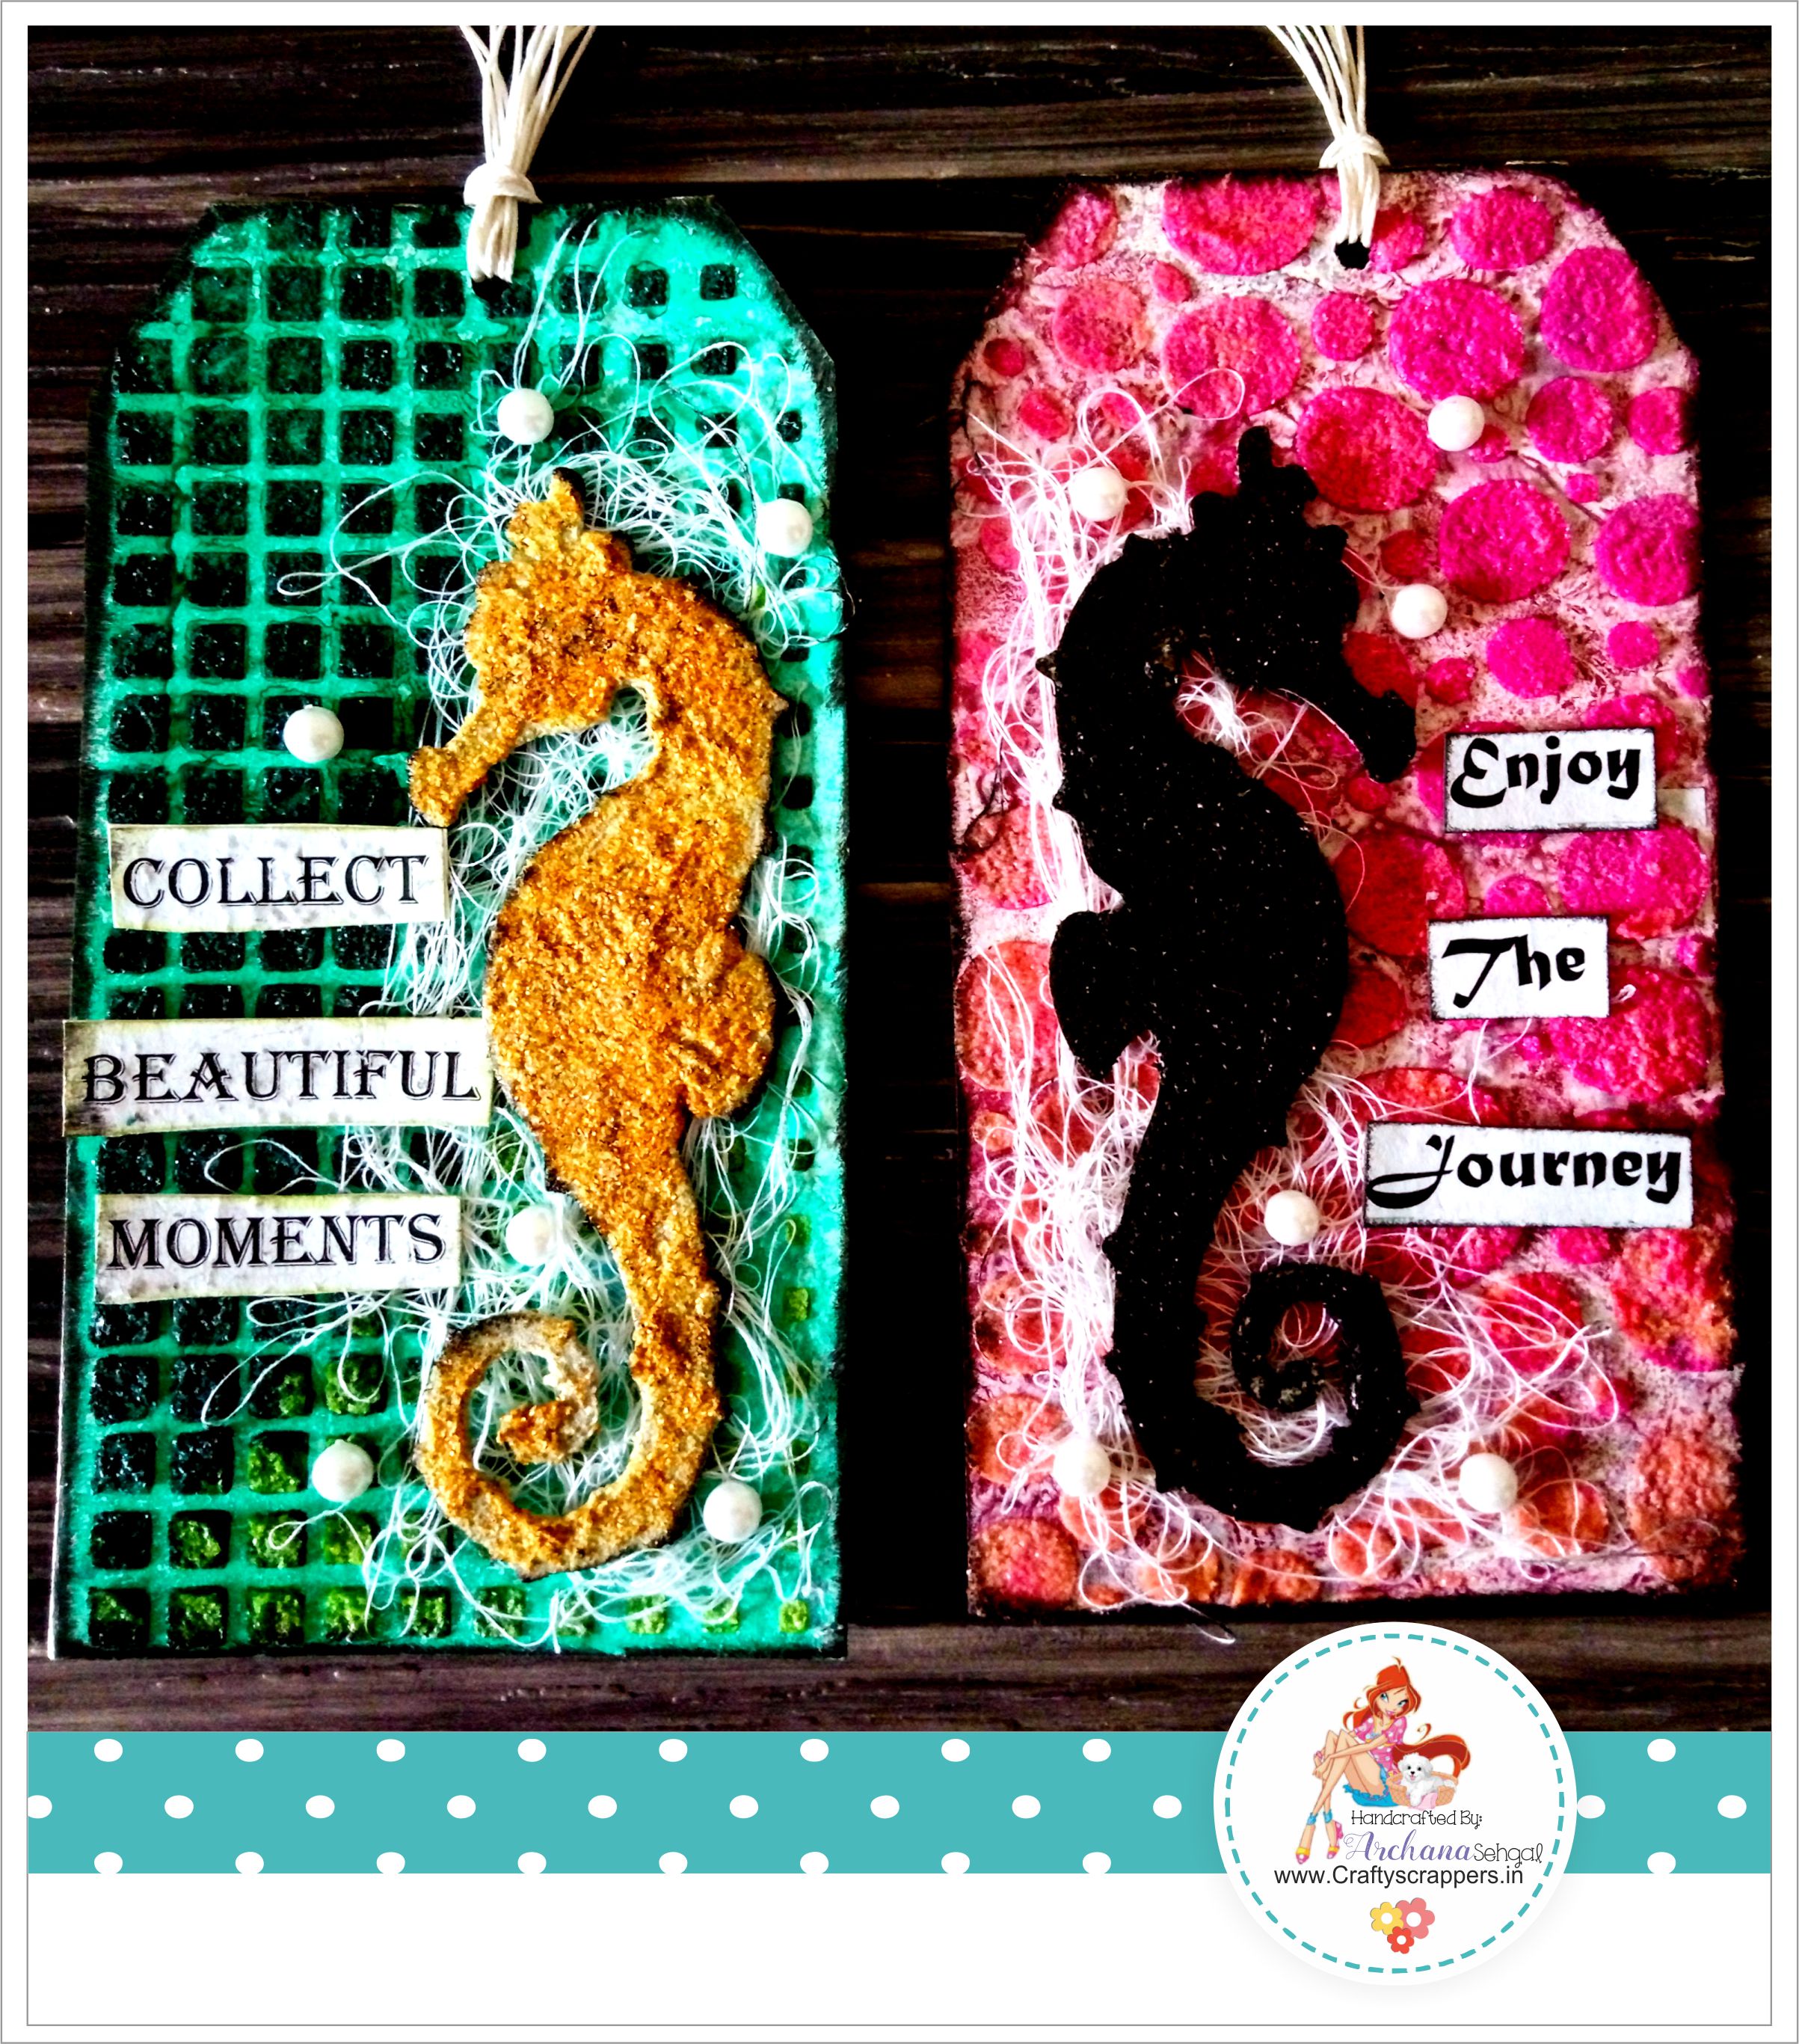
- I took 2 blank tags and colored them using Craftyscrappers “Grape juice” and “dancing peacock” shimmer sprays and lift excess color using tissue ( here I just dabbed tissue paper on tags at random places)
- Created texture on the first tag using Stencil “Geometrical patterns” and Craftyscrappers “Sprout” and “Stem” Shimmer paste , Just lay down the stencil on tag and spread generous amount of paste using palette knife ( I must tell you this pastes colors are so gorgeous and beautiful that makes you to fall in love with your project again and again) #MustHaveSupplies
- For second tag I used another shades of Shimmer paste and those are “Cupcake” and “Blush” using same technique (To see these amazing shimmer paste result, don’t forget to watch the video, It’s already up on our channel)
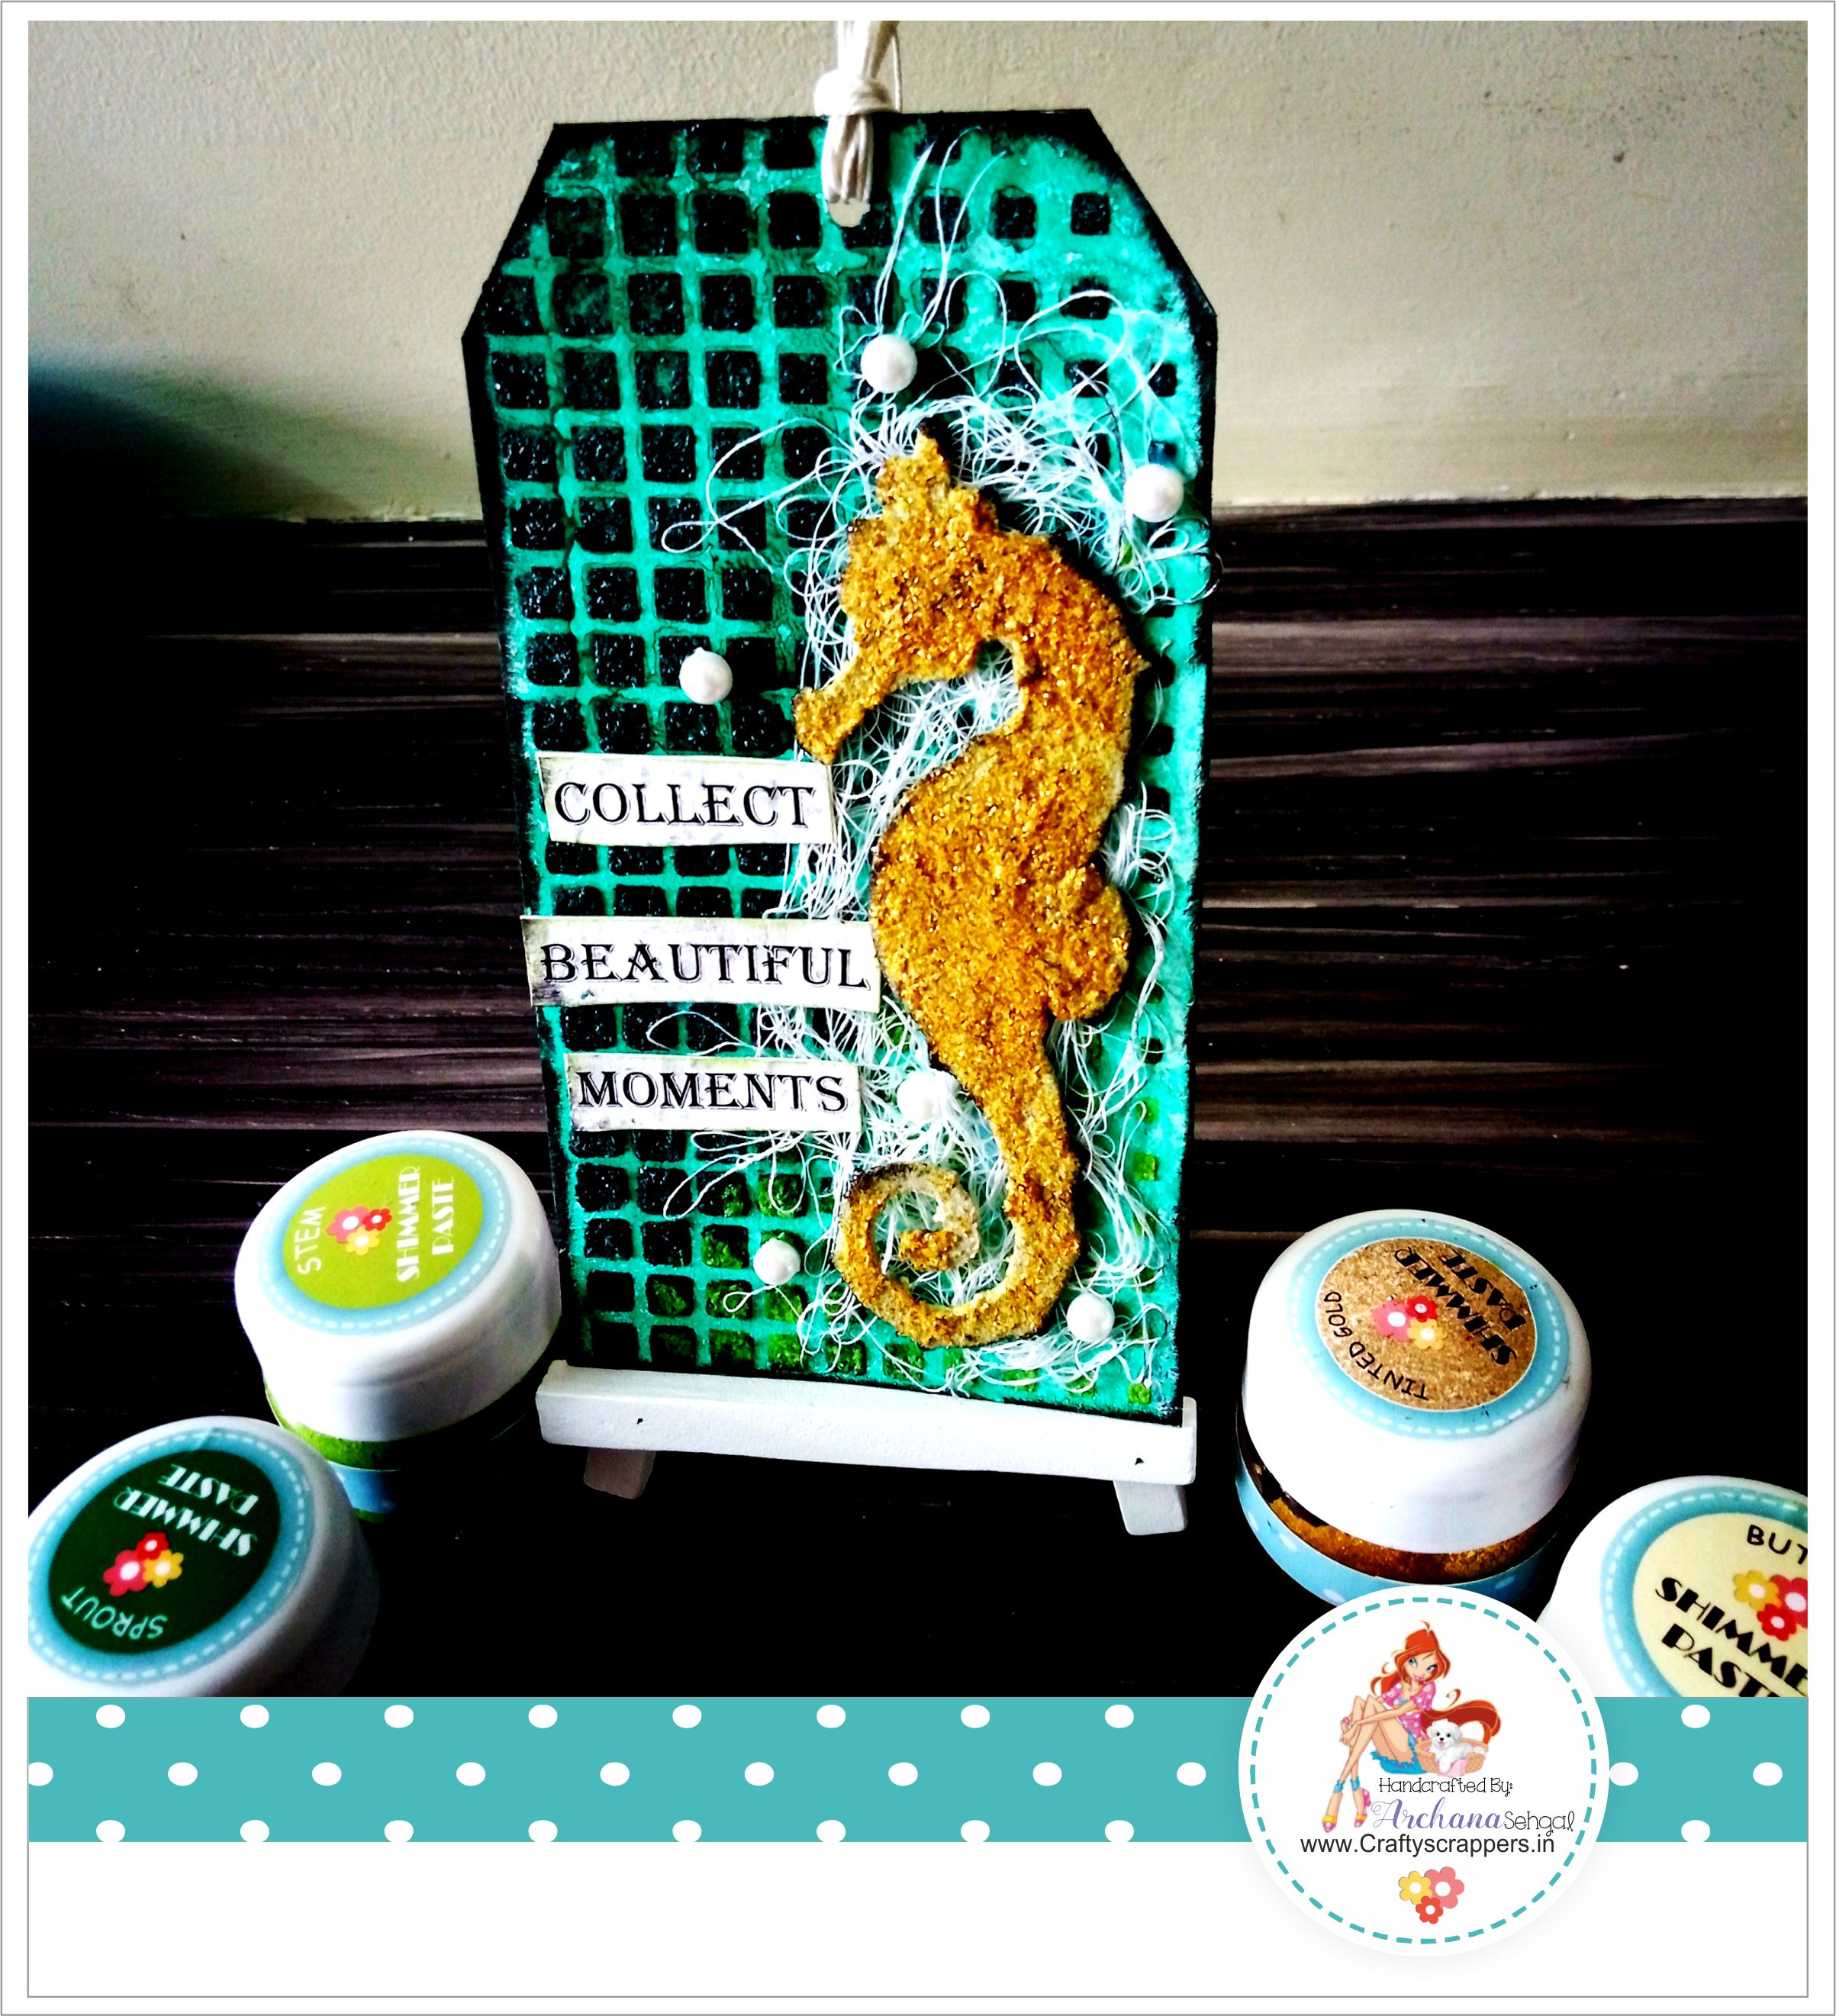
- Then I took 2 raw Sea Horse chipboard cut-outs and also covered entire cut-outs using Shimmer paste called “Butter” & Tinted gold” and for another cut-out I used “Jet” Shade.
- To give the base for these Chipboard cut-outs, I used normal white sewing thread and pasted it on tag, after that I glue down the sea-horse cutout on tag, I follow the same process for both the tags.
- Finished these tags by distressing the edges of tag using Black ink pad and adding some inspirational sayings…
Check out the complete video tutorial here:
Hope you guys have enjoyed this process as much I enjoyed creating, If you tried this page, do tag us (#Craftyscrappers) on your social medias so that we can have a look too…..Don’t forget to grab new release products on our store.
I will be back soon with some more inspiration…
And do join in our craft challenges,(details at the beginning of the post!)
You can participate via mr.linky (at the end of the challenge post)or via facebook,Instagram and even via email.
(While sharing your creation post over the social media, ie
Facebook/twitter/instagram
please use #Craftyscrappers challenge22 to qualify for submission,
failing to do so, the entry would be disqualified.)
Have a fabulous Day!
Happy Crafting!
