
Hello!! My Arty and Crafty Friends,
This is DT Archana here, on the blog today.
And i hope you guys have enjoyed the festival of Holi with lots of colors,
today I have come up with an idea of colorful and vibrant project for you all.
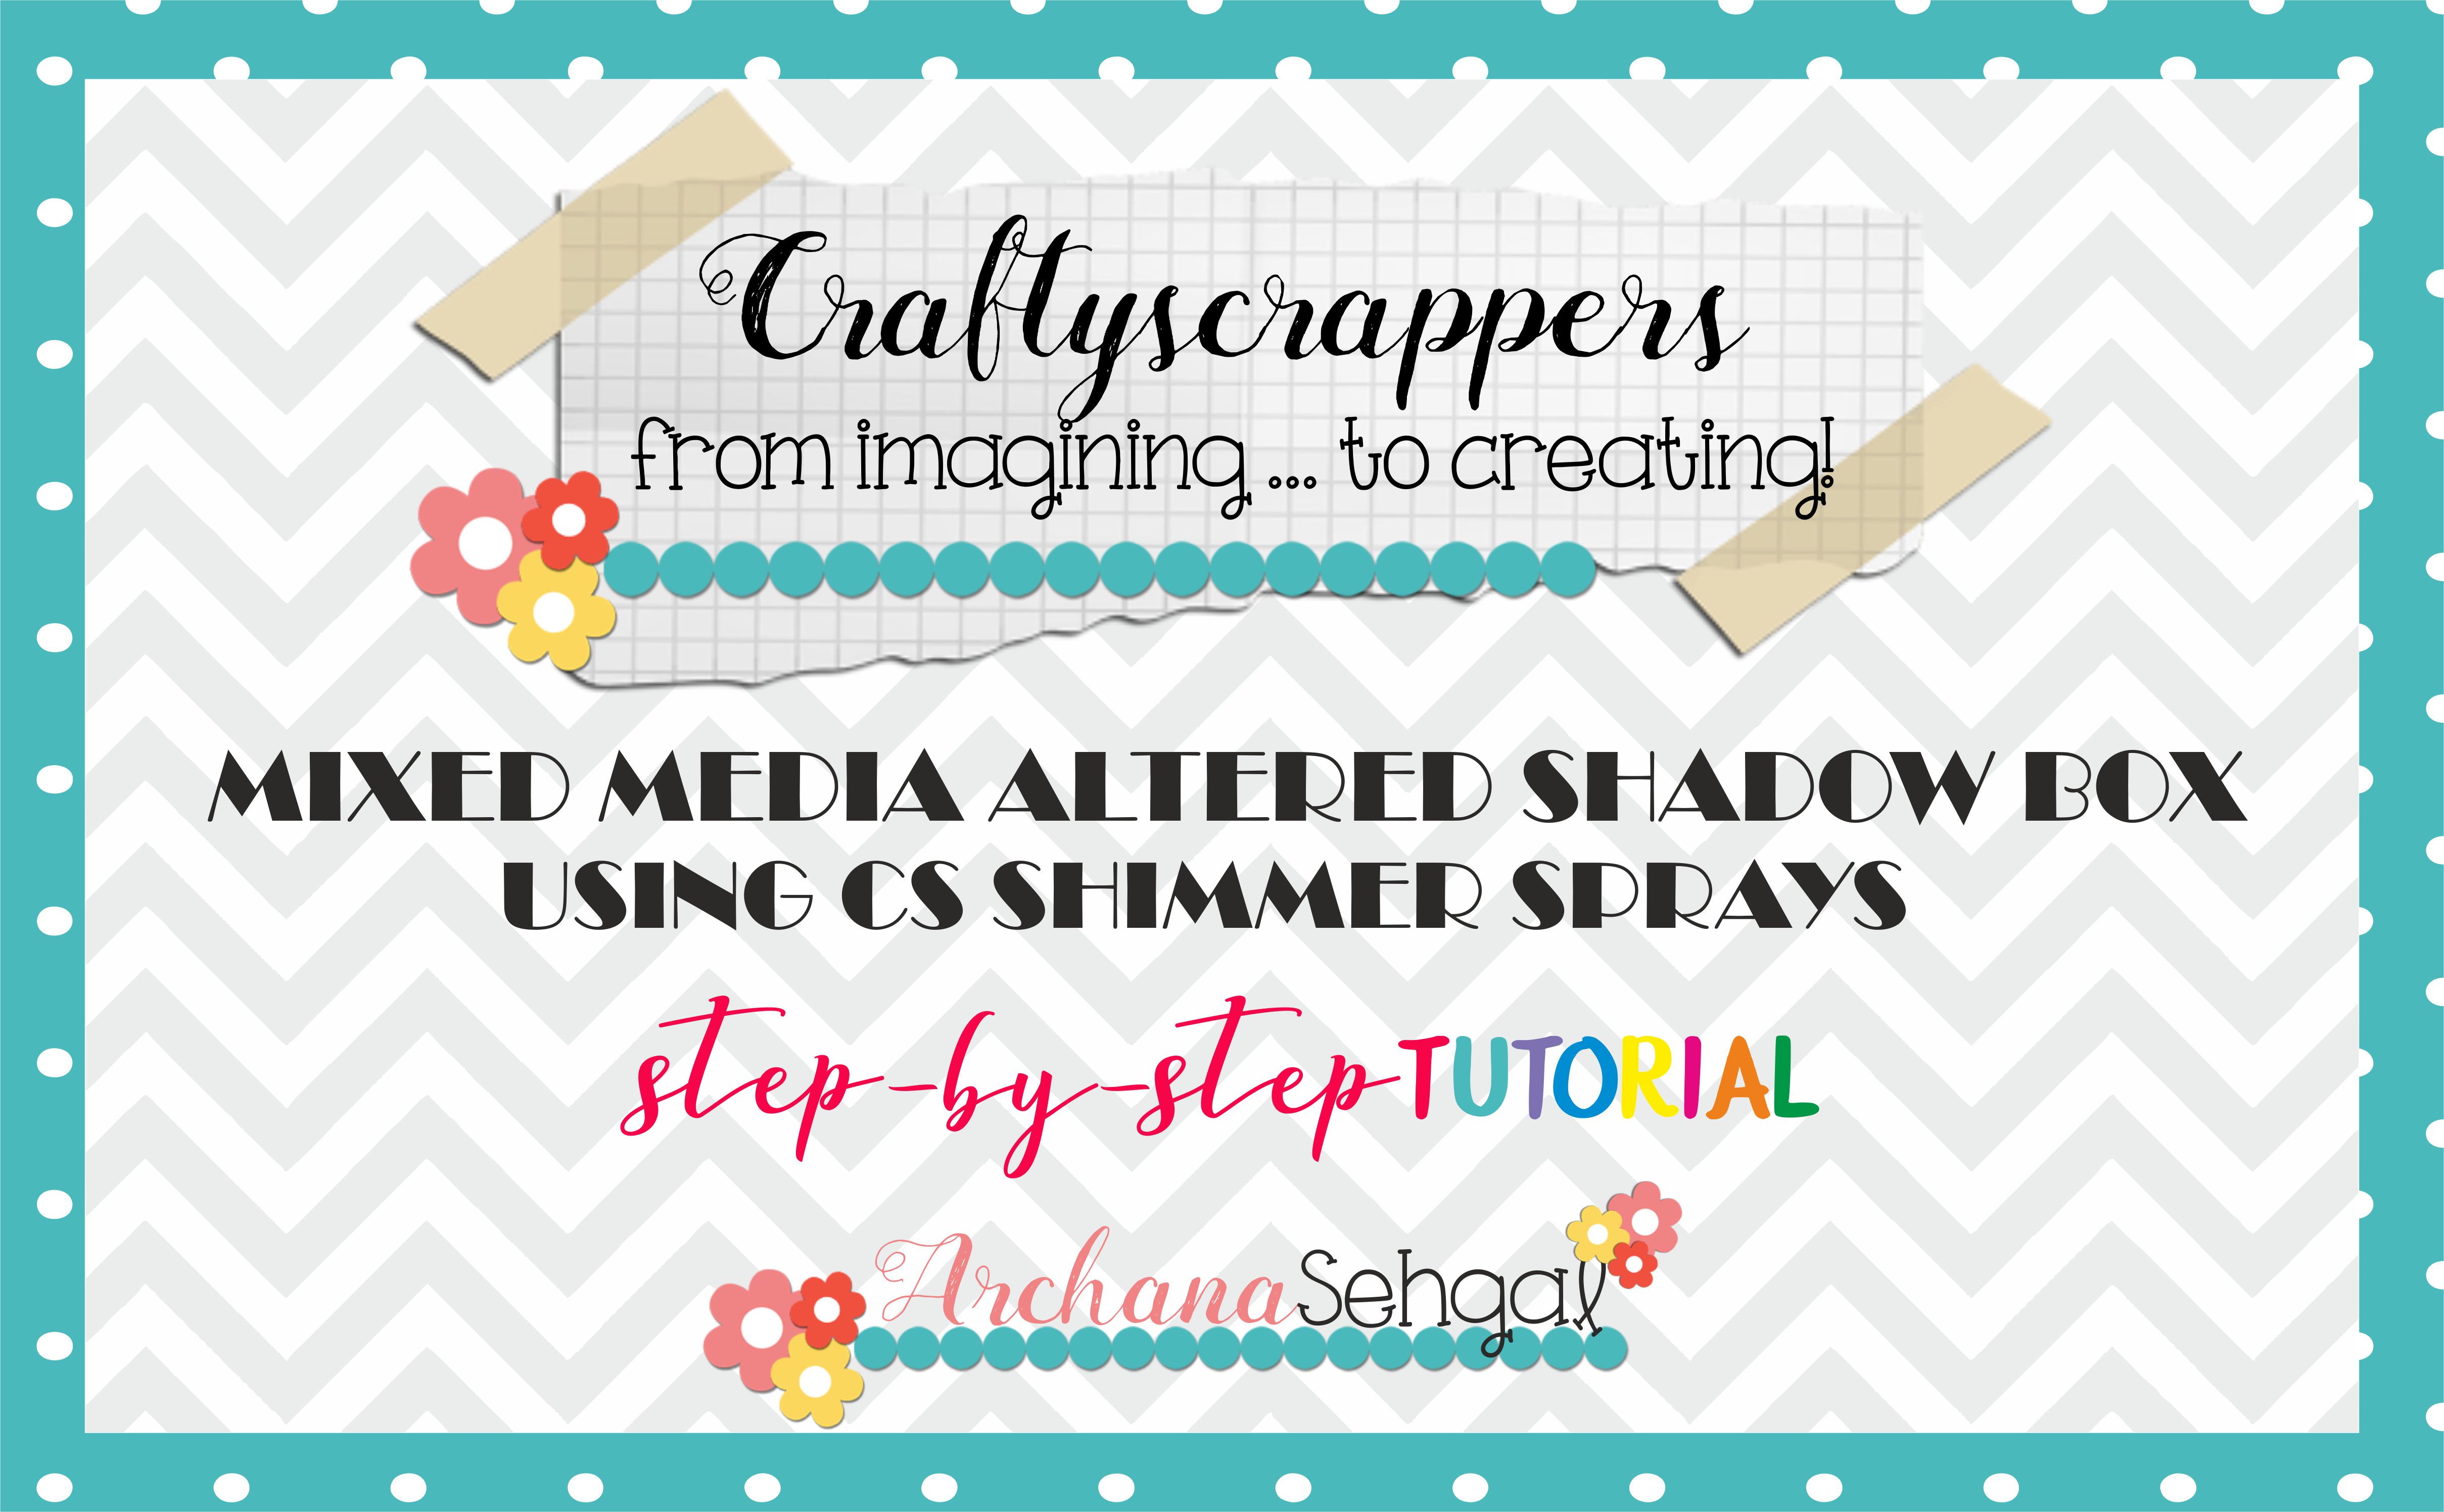
But Before moving on with my STEP-BY-STEP tutorial, let me share with you my
MARCH DT KIT’2018 that i received:
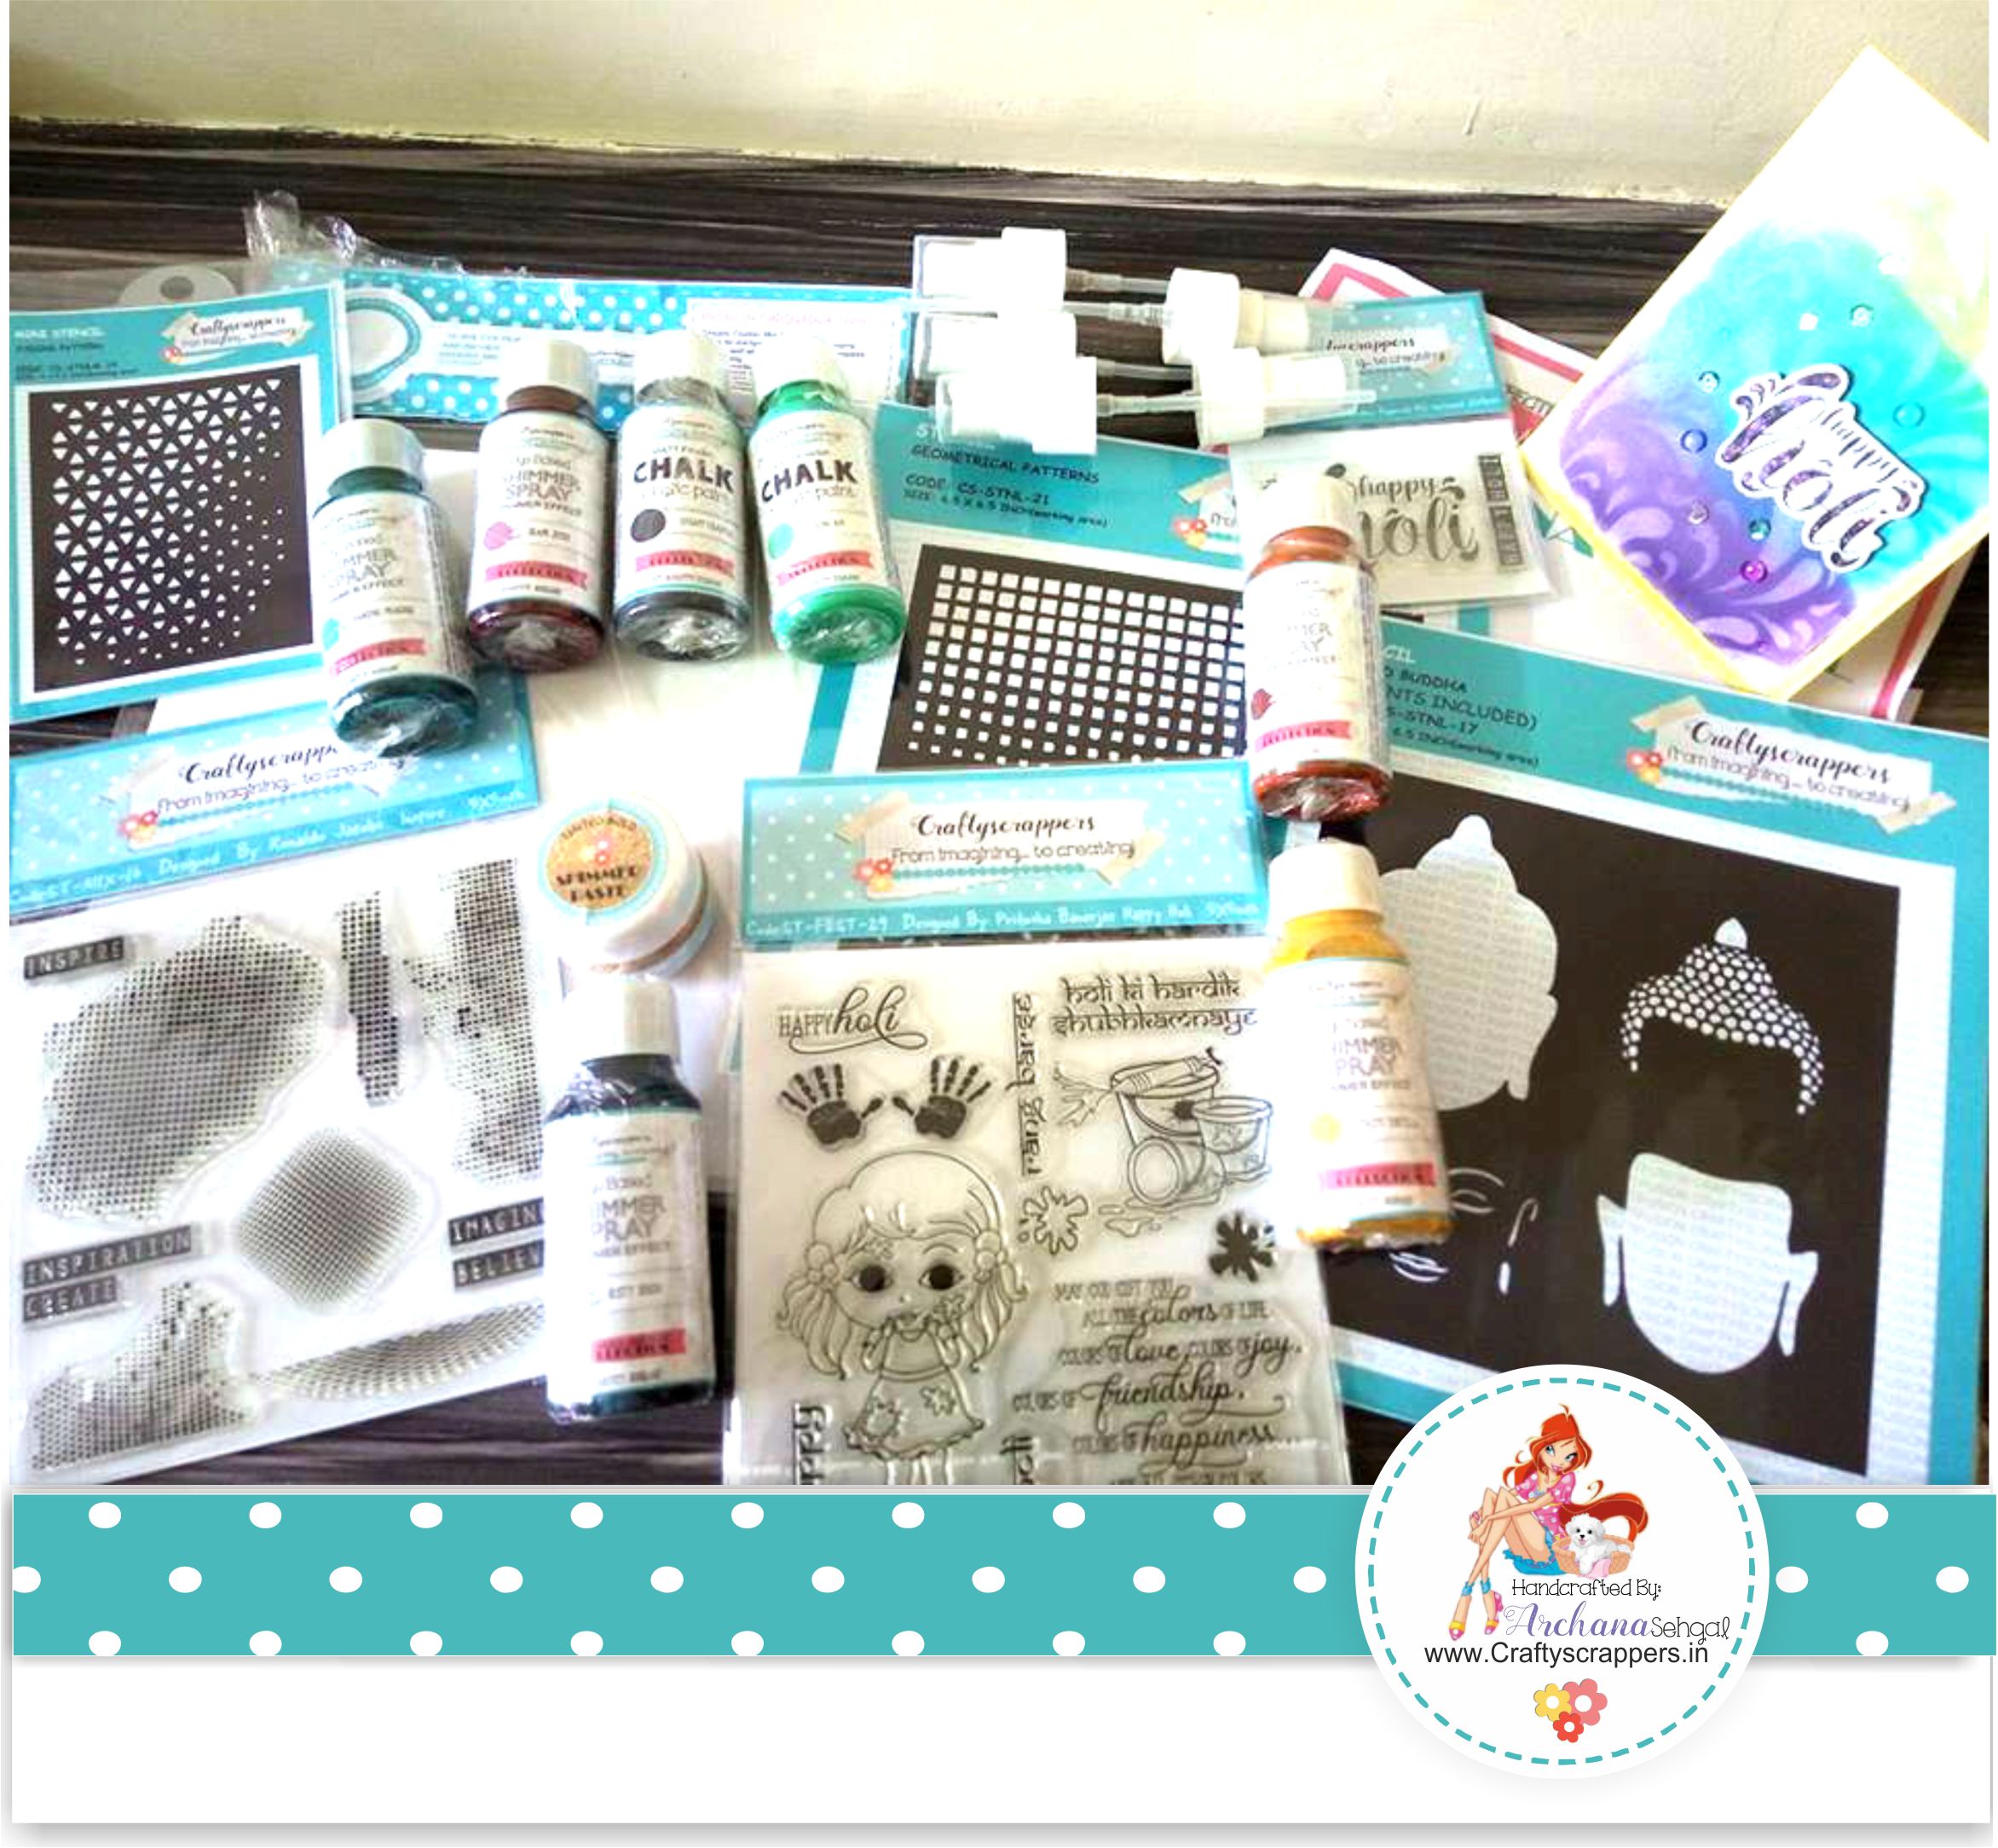
I am so in love with the products, the Stamps are one of a kind,with beautiful designs and are of high quality, They have come up with lots of mixed media stamps, which i totally love! then there are the shimmer sprays which are a must have, such vibrant colors they are available in, with the touch of shimmer ,jazzes up makes each and every project, The good thing about these vibrant sprays are that they can be used in multiple surfaces.(Trust me, i have tried them on different surfaces, paper,wood,mdf,chipboard-and they work like a charm)
The stencils on the other hand are super quality with amazing designs, a crafter has the option to select the sizes, whether small or big and they have lots of mixed media stencils too, not to mention the layered stencils-ohh i love them!
And then there are these awesome chalk paints that are also my favorite, you can use them for backgrounds or even use them with stencils to add dimensional touch to your projects, isn’t that amazing!!
You can grab all of these at the Sale price over at our store, before the sale ends and the products go out of stock!

if you have missed the previous post check it out here:
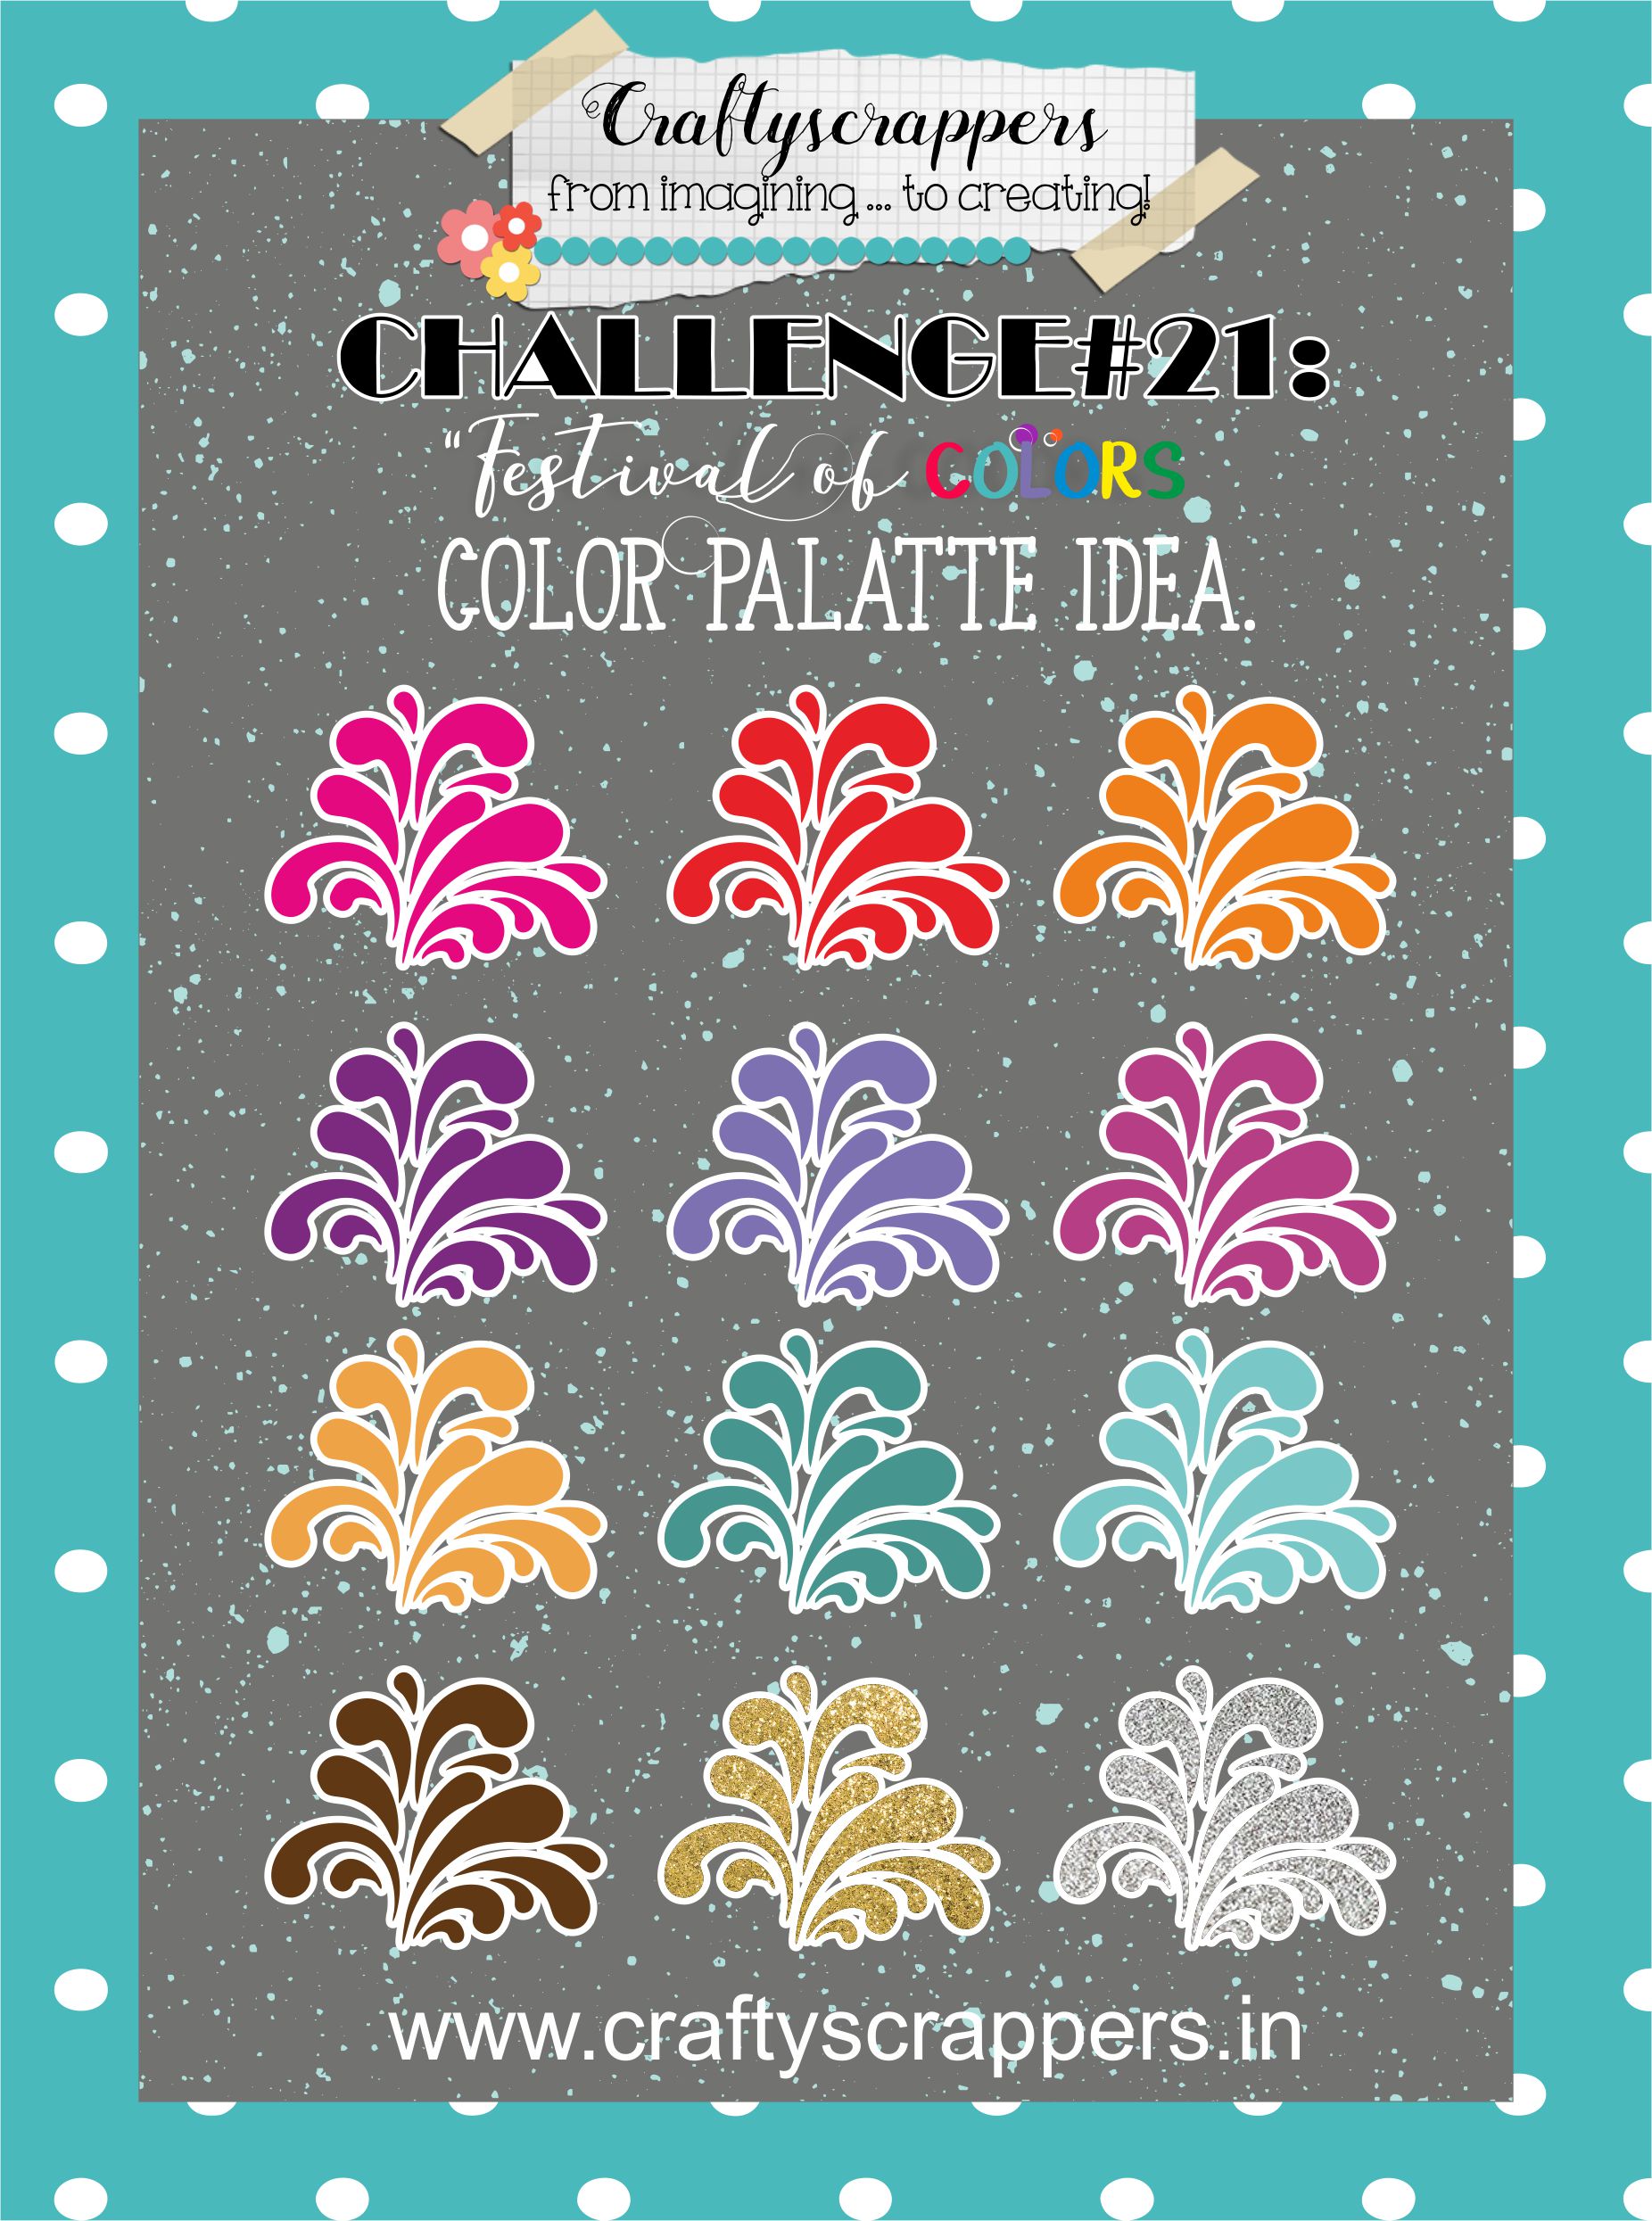
Challenge#21:” FESTIVAL OF COLORS”
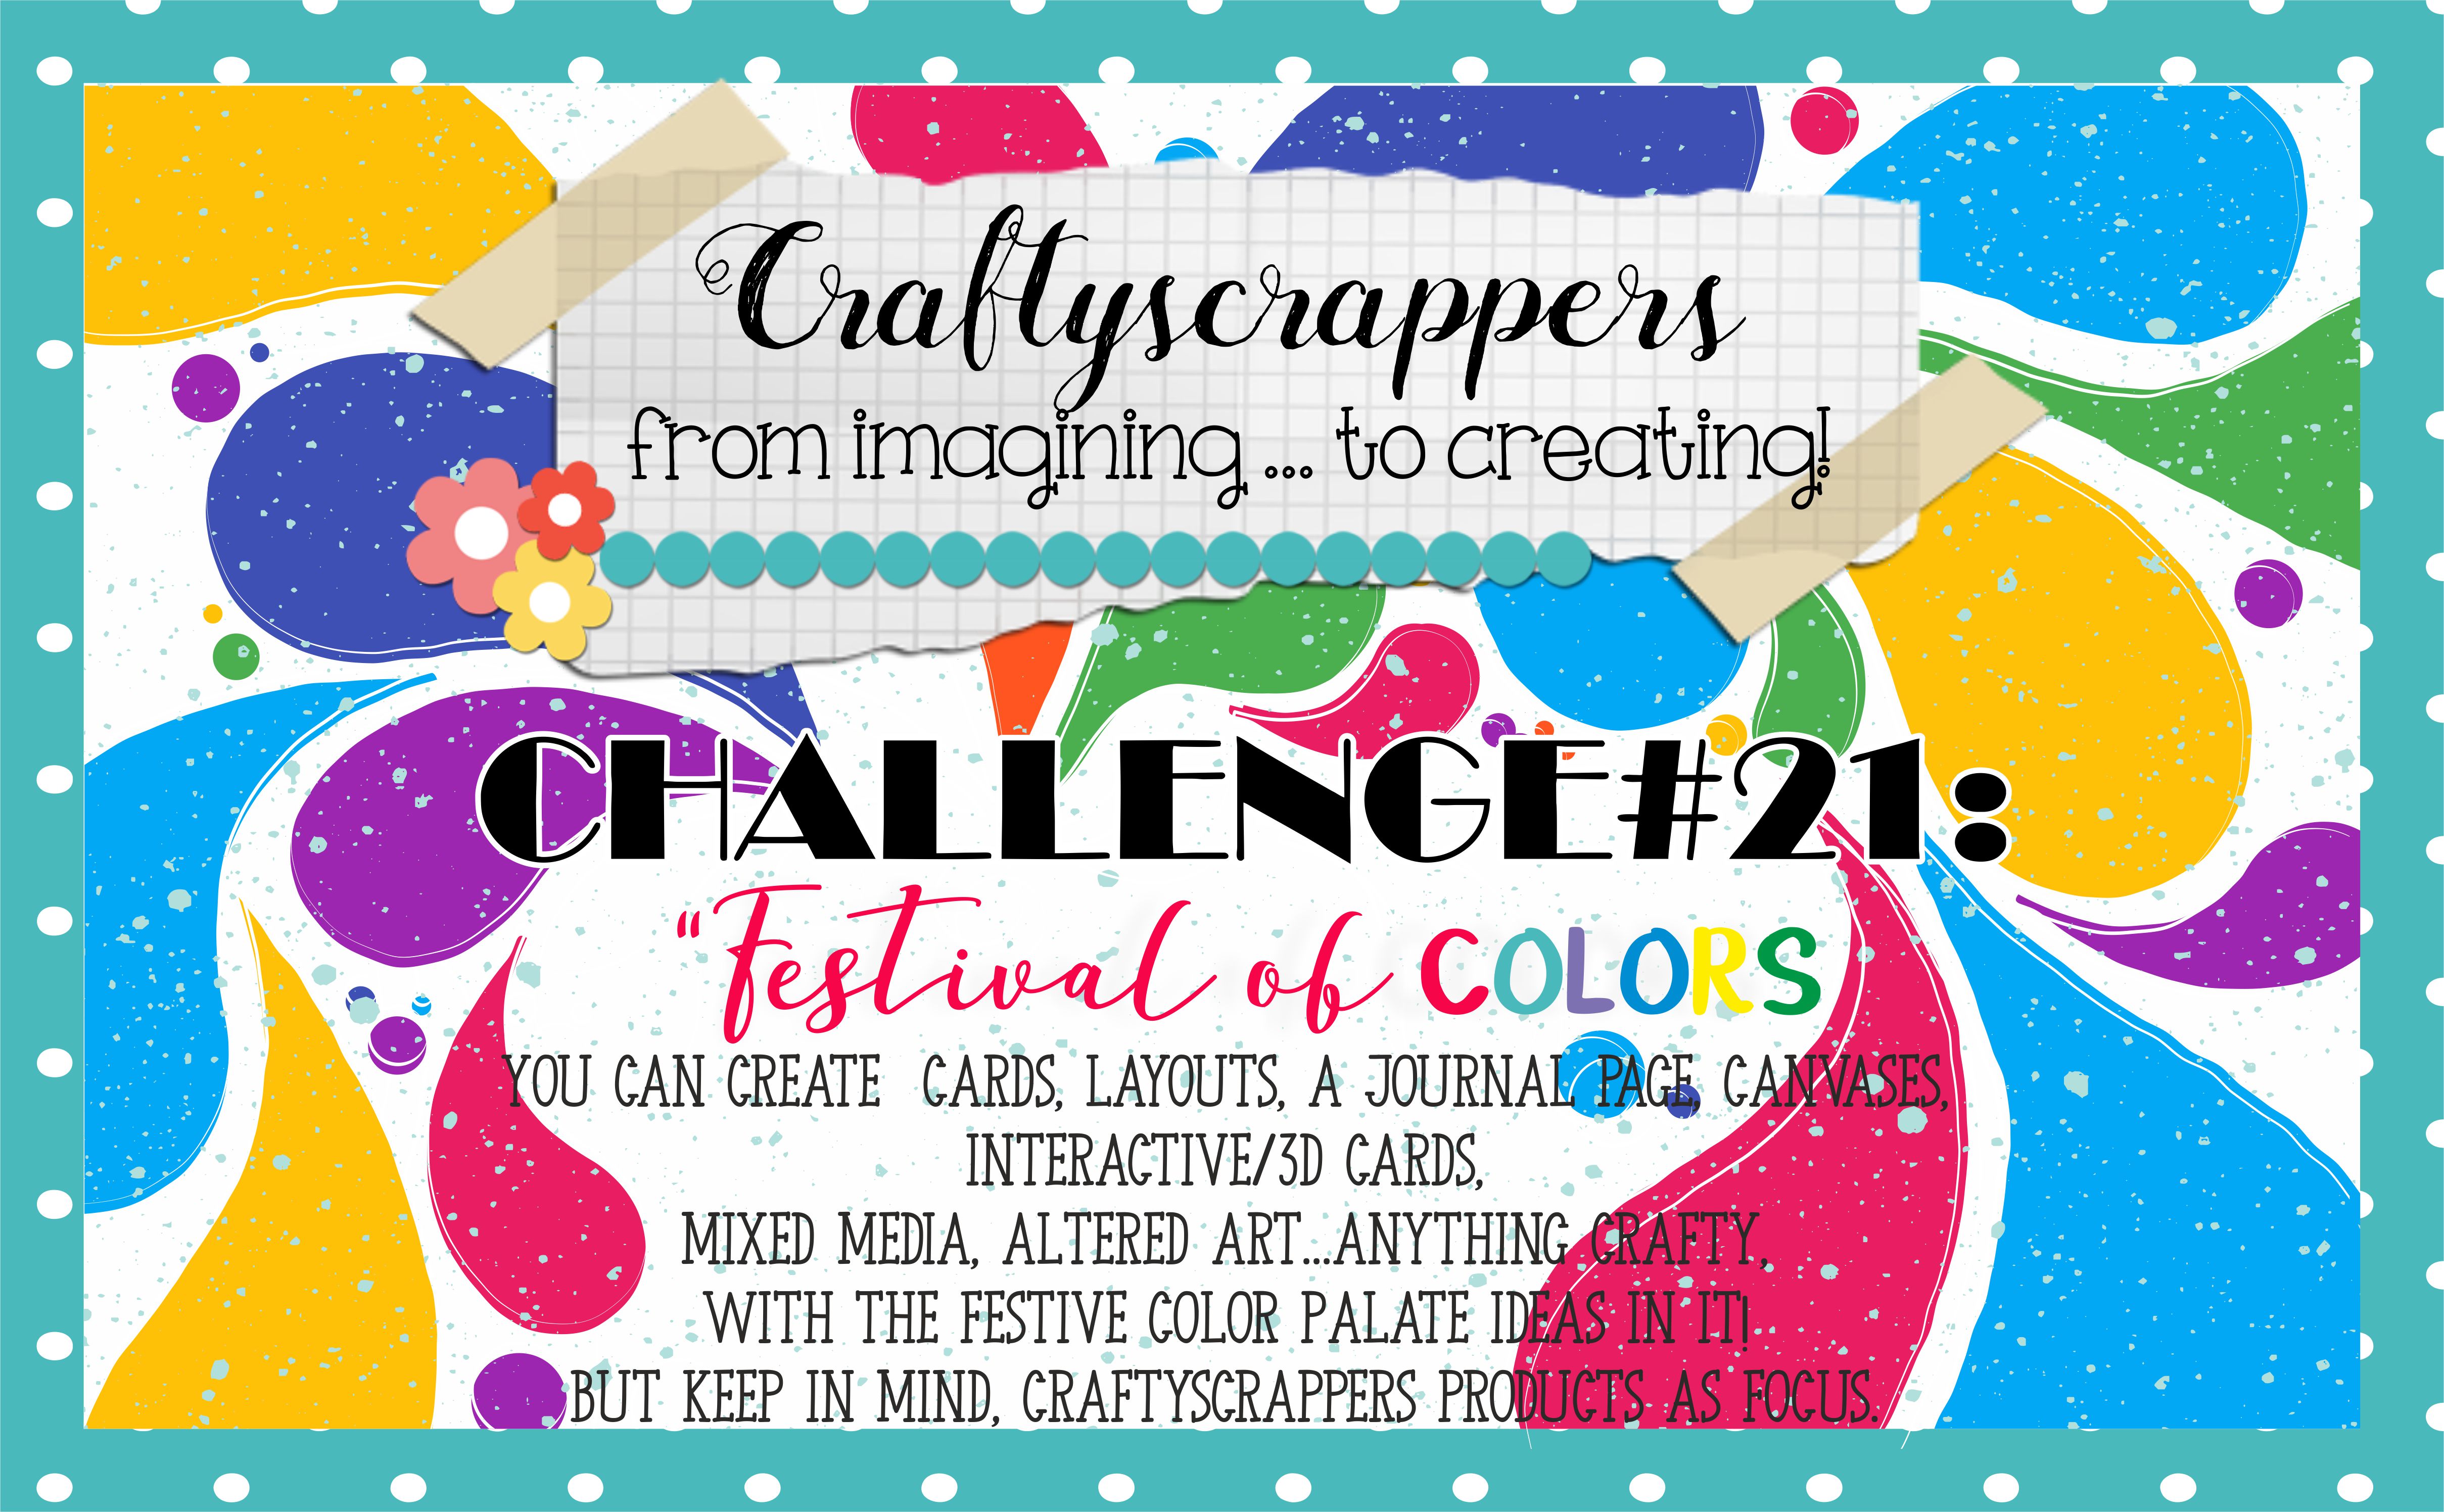
You can create Cards, layouts, a journal page, Canvases, interactive/3D cards,
mixed media, altered art…anything crafty,With the FESTIVAL COLORS in it!
(Don’t forget to add the touch of GOLD or SILVER to your creations!)
But keep in mind, Craftyscrappers products as focus.
- Last date of submission is 31st MARCH,2018

To win the amazing goodie bags !
Okay so moving on to my tutorial now…
So for my tutorial today, i have come up with an idea of colorful and vibrant project,
as accordance with the festival of colors-Holi.
And i will be demonstrating you, how i have created this vibrant looking altered mixed media shadow box, from start to finish.
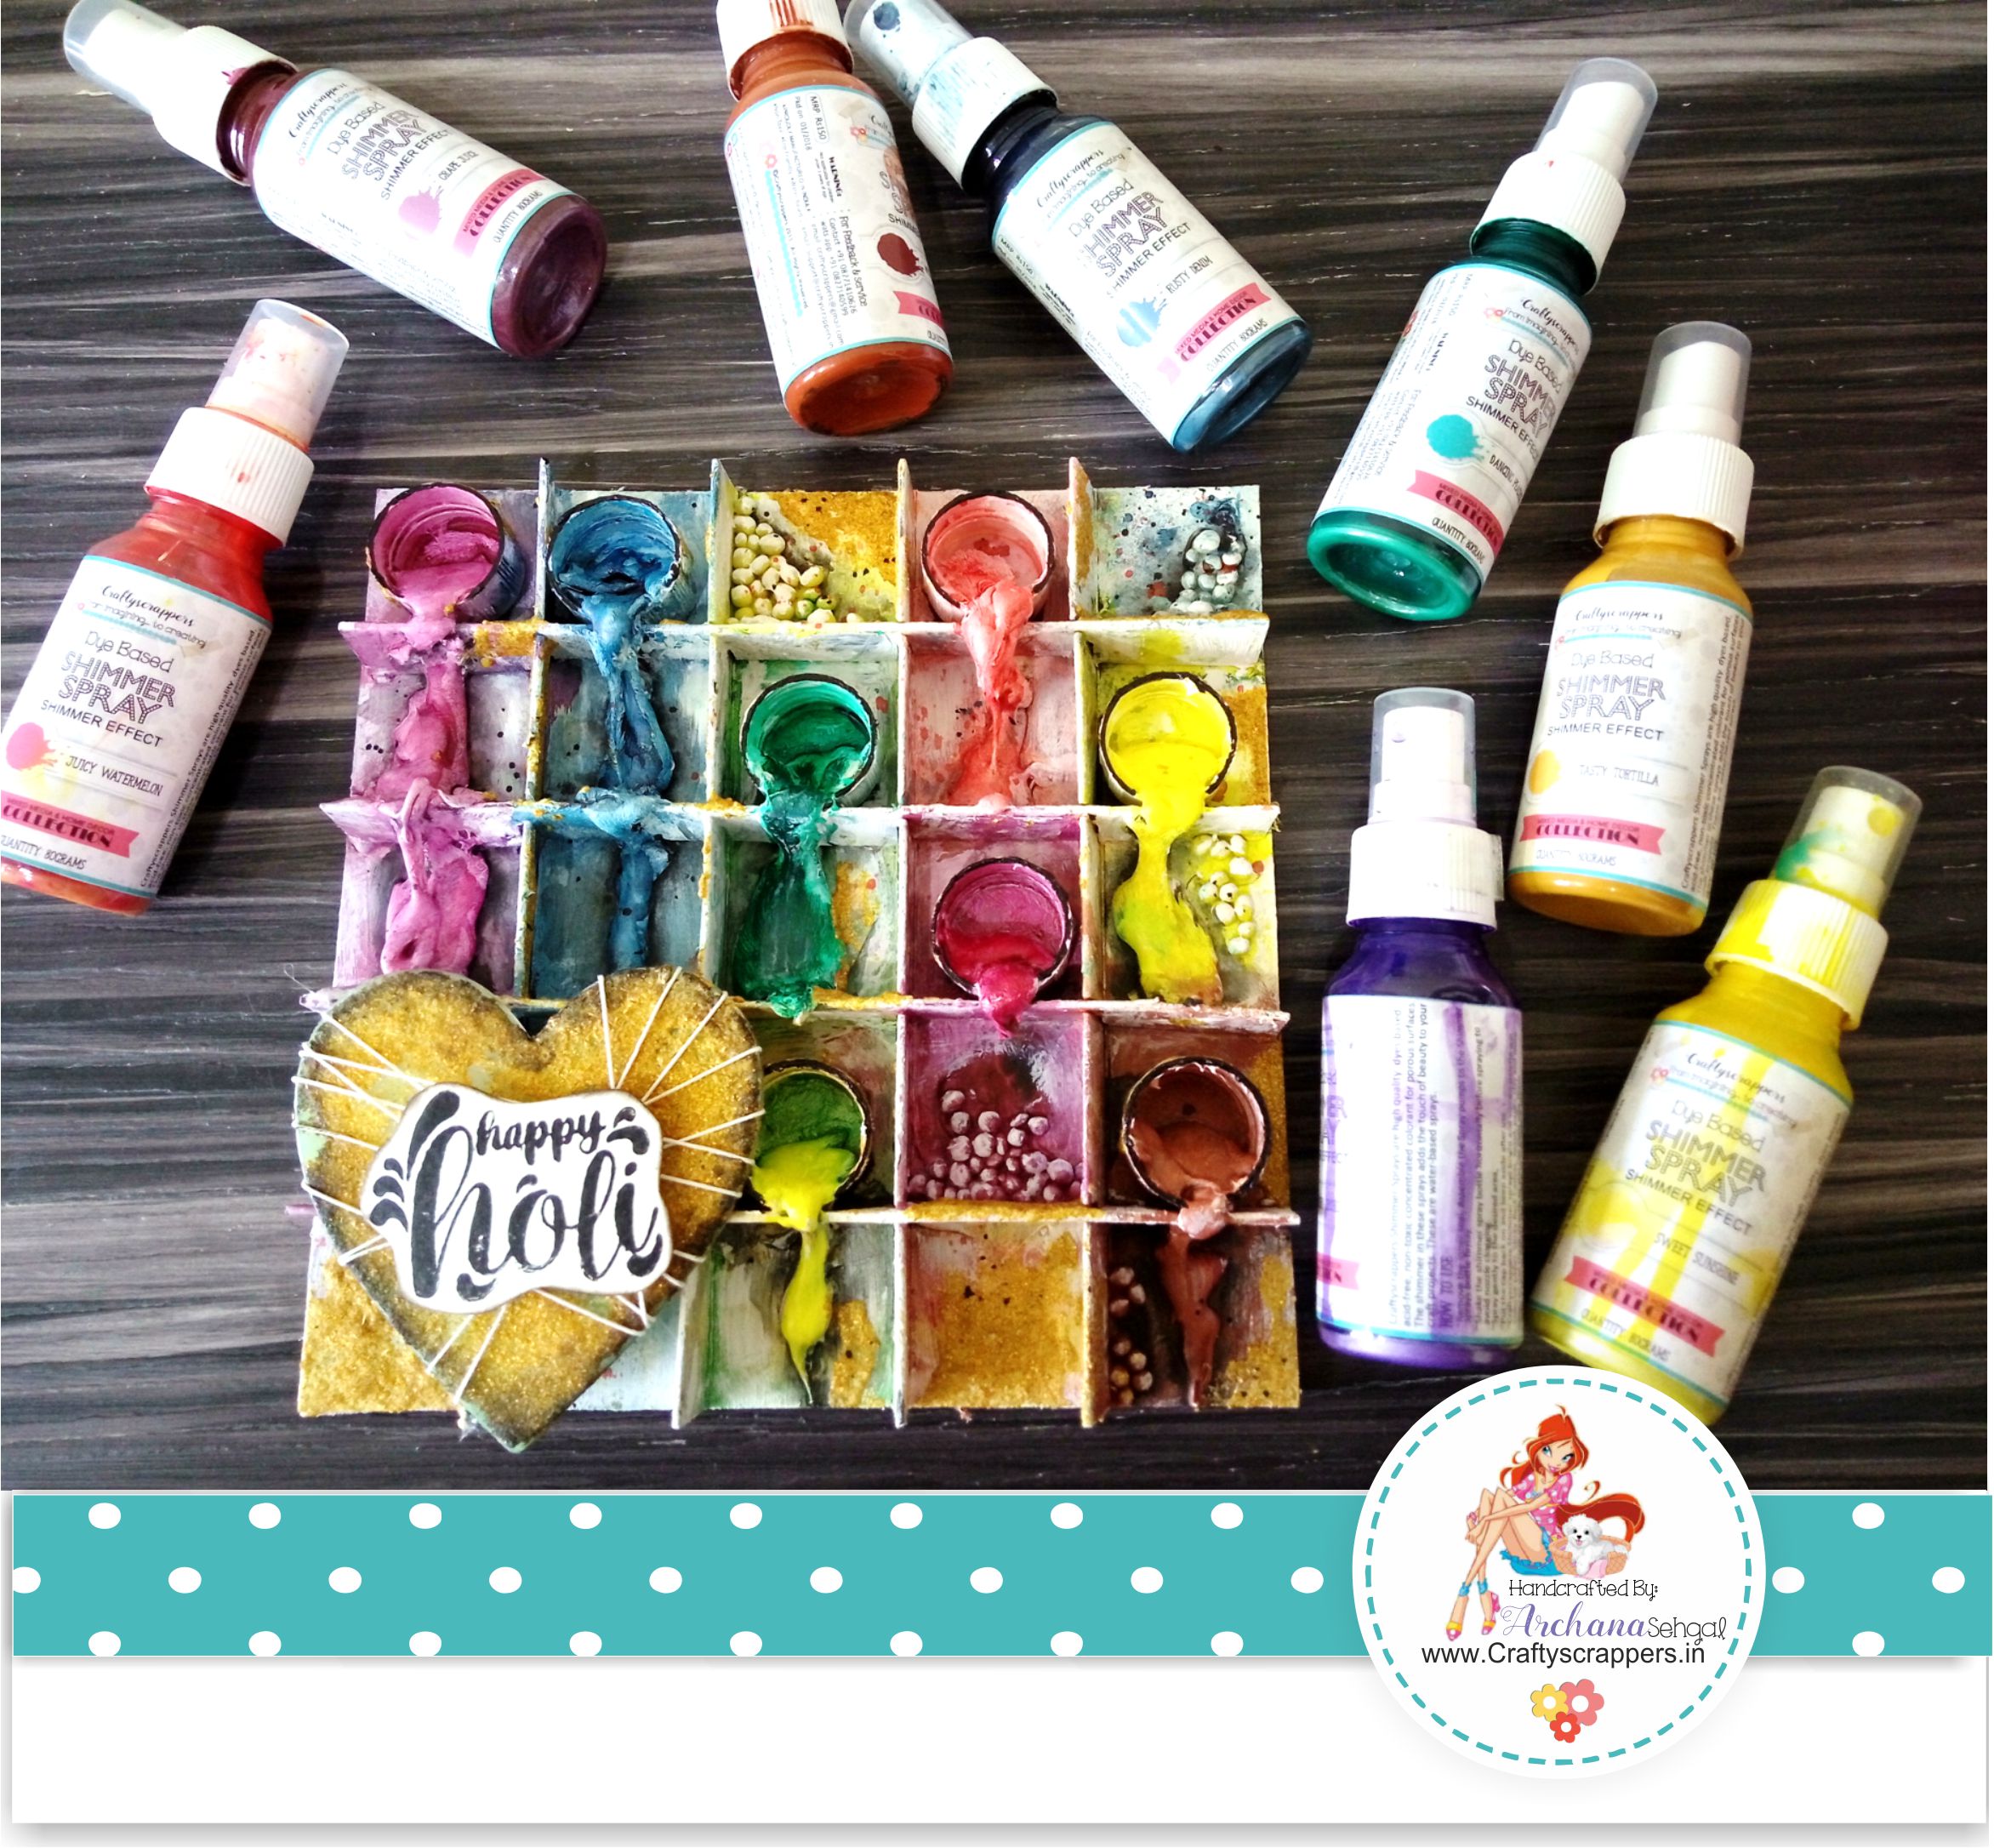
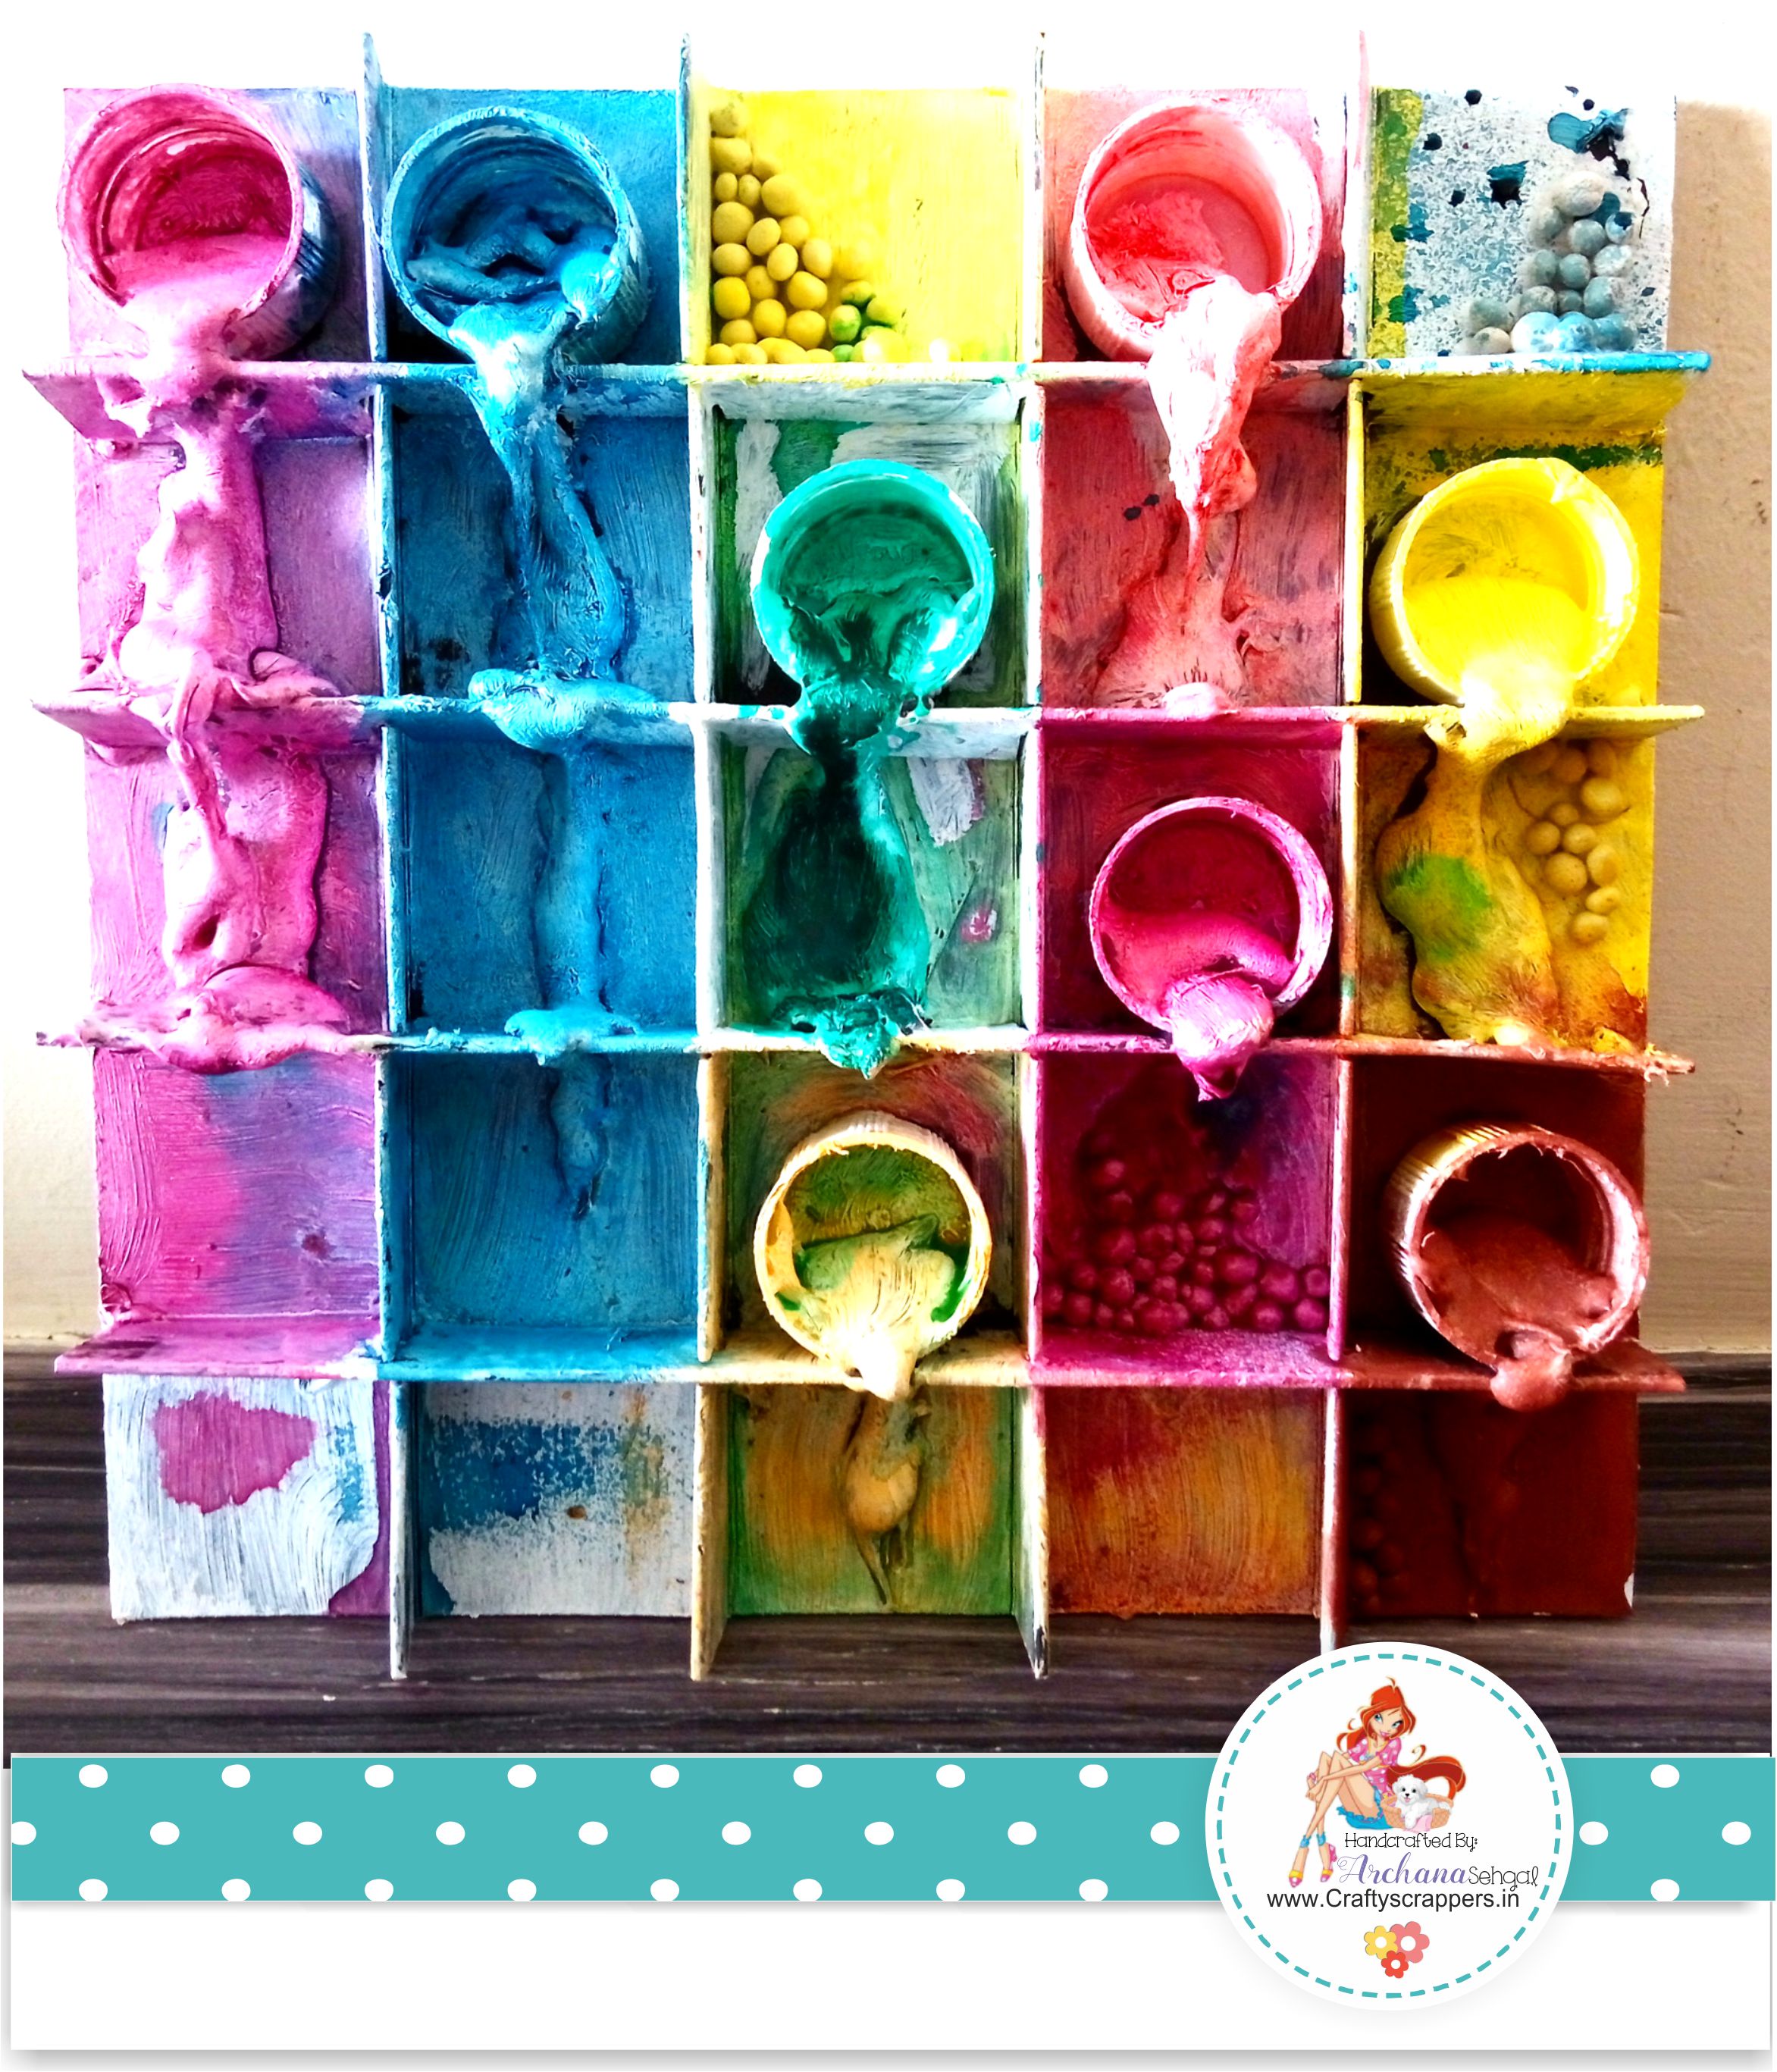
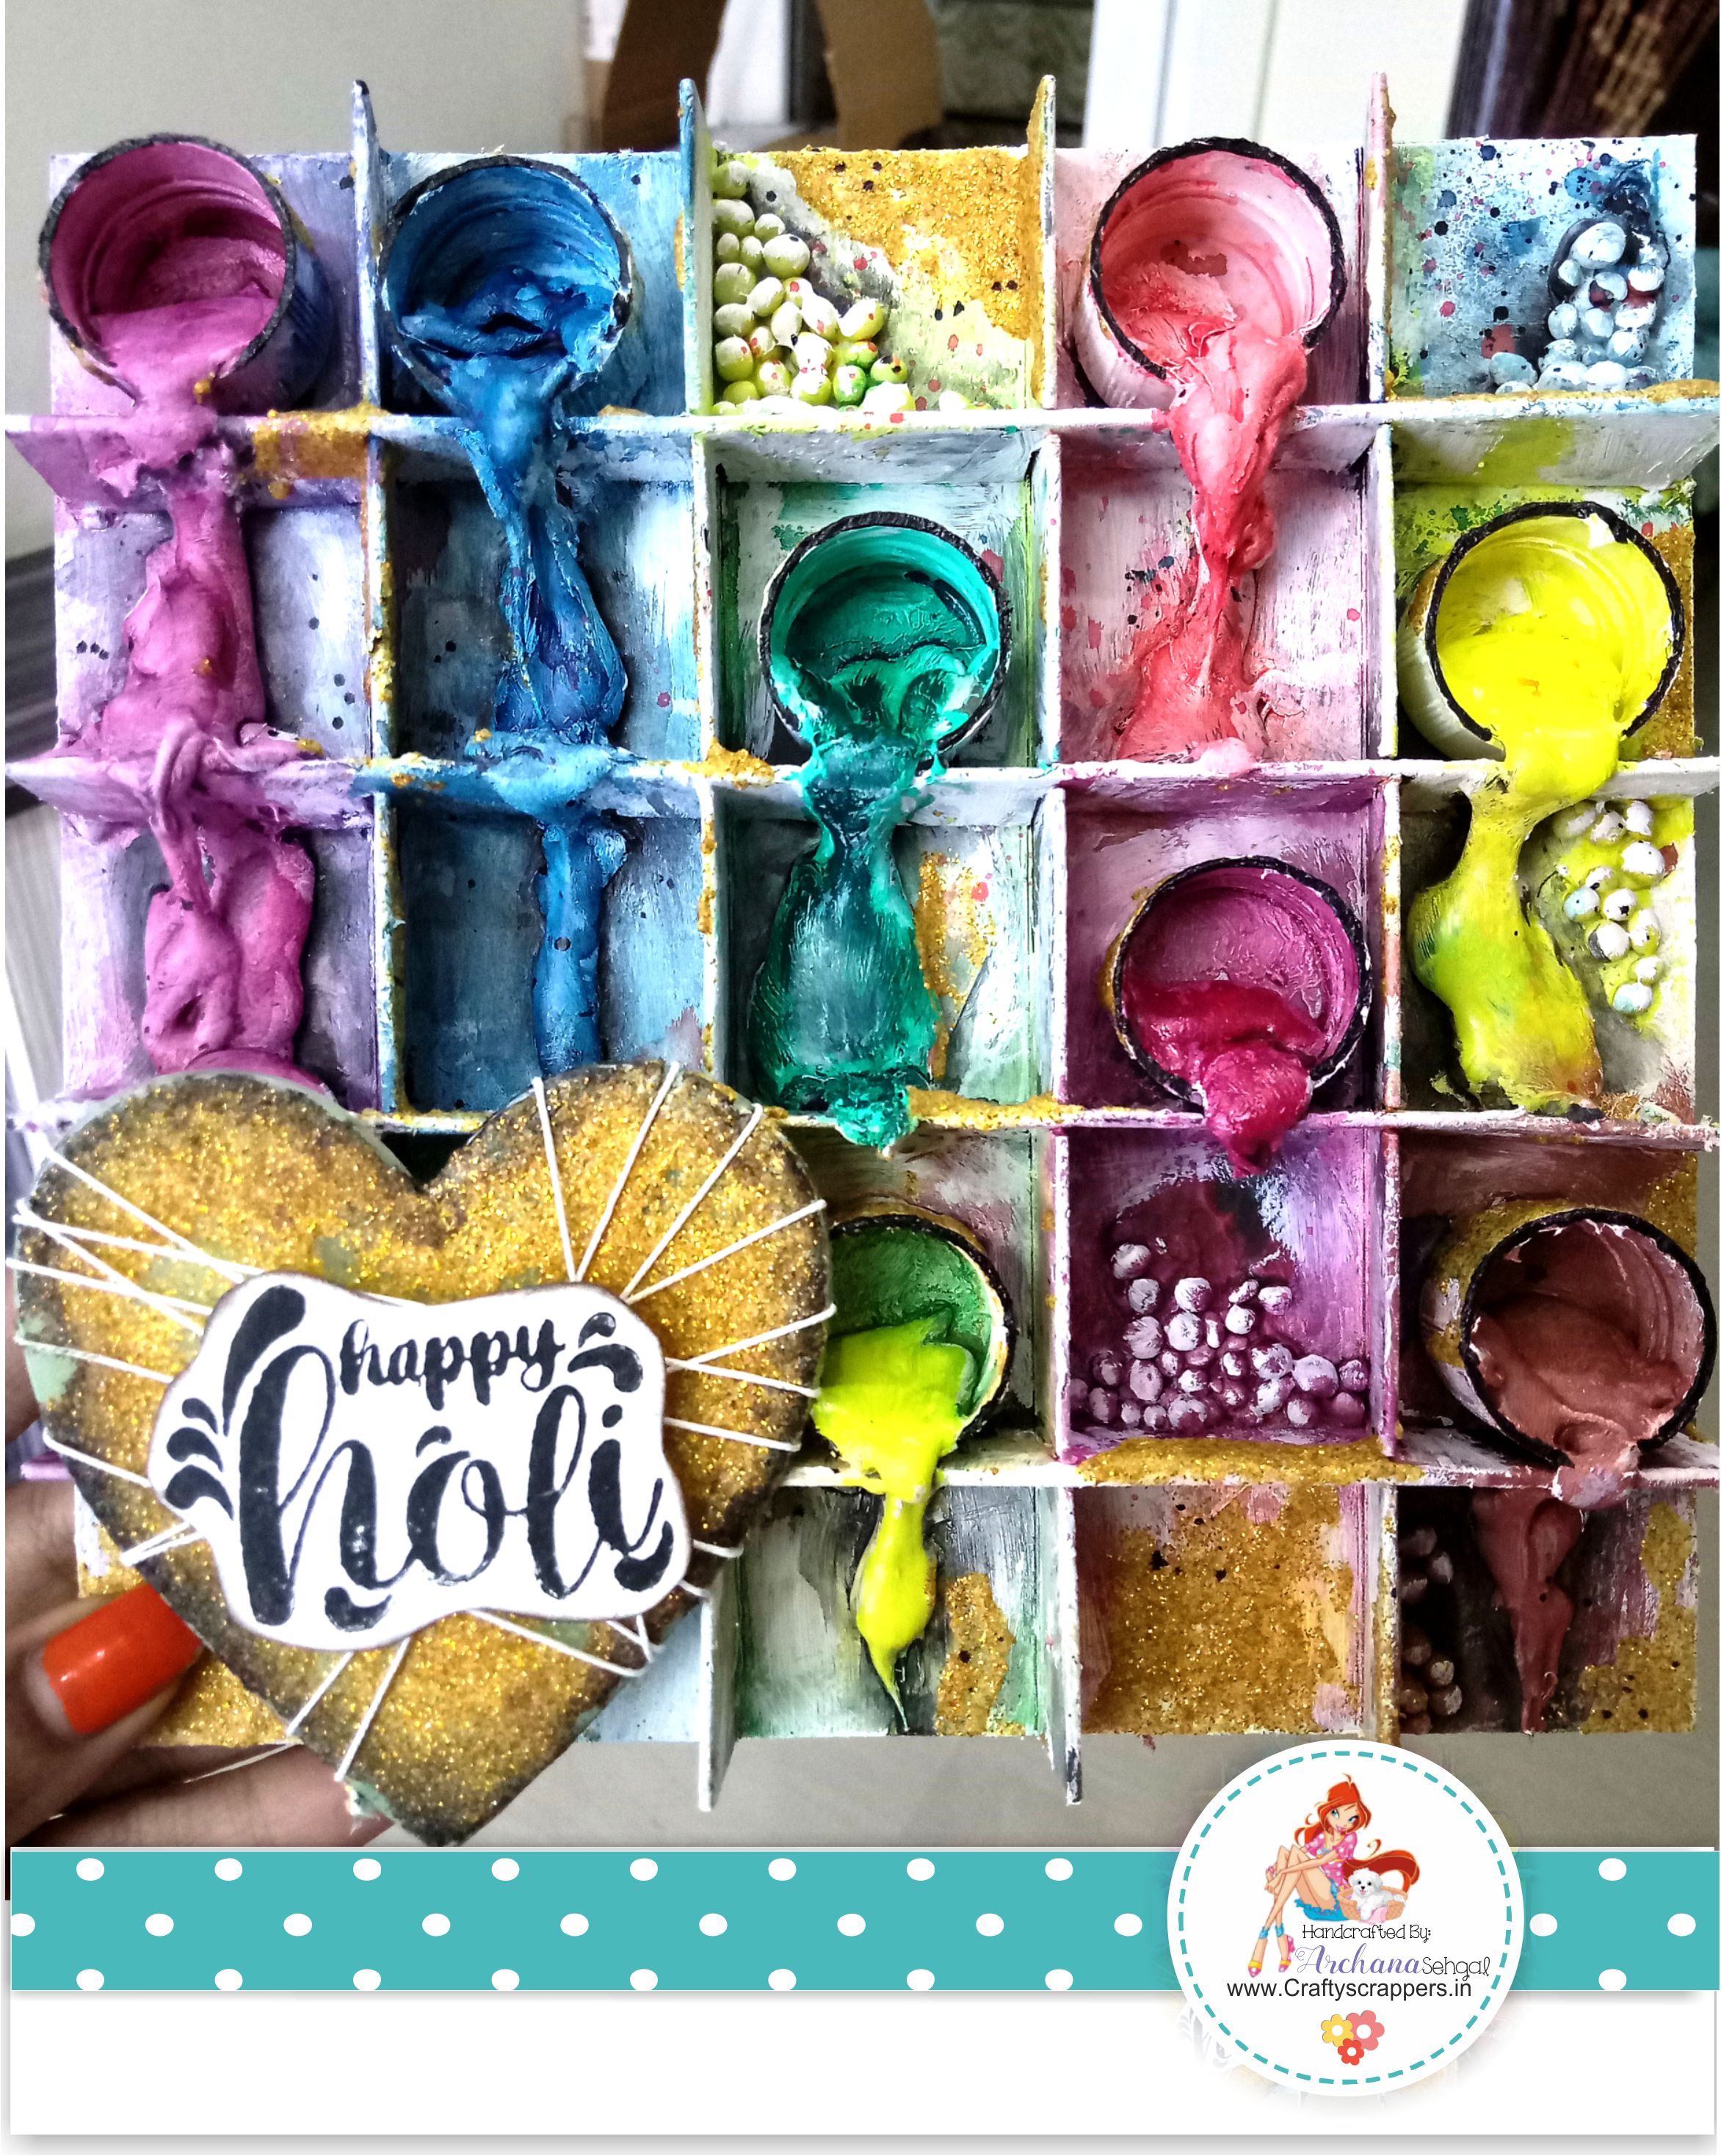
Here is the final shot of the project which we are going to create today:


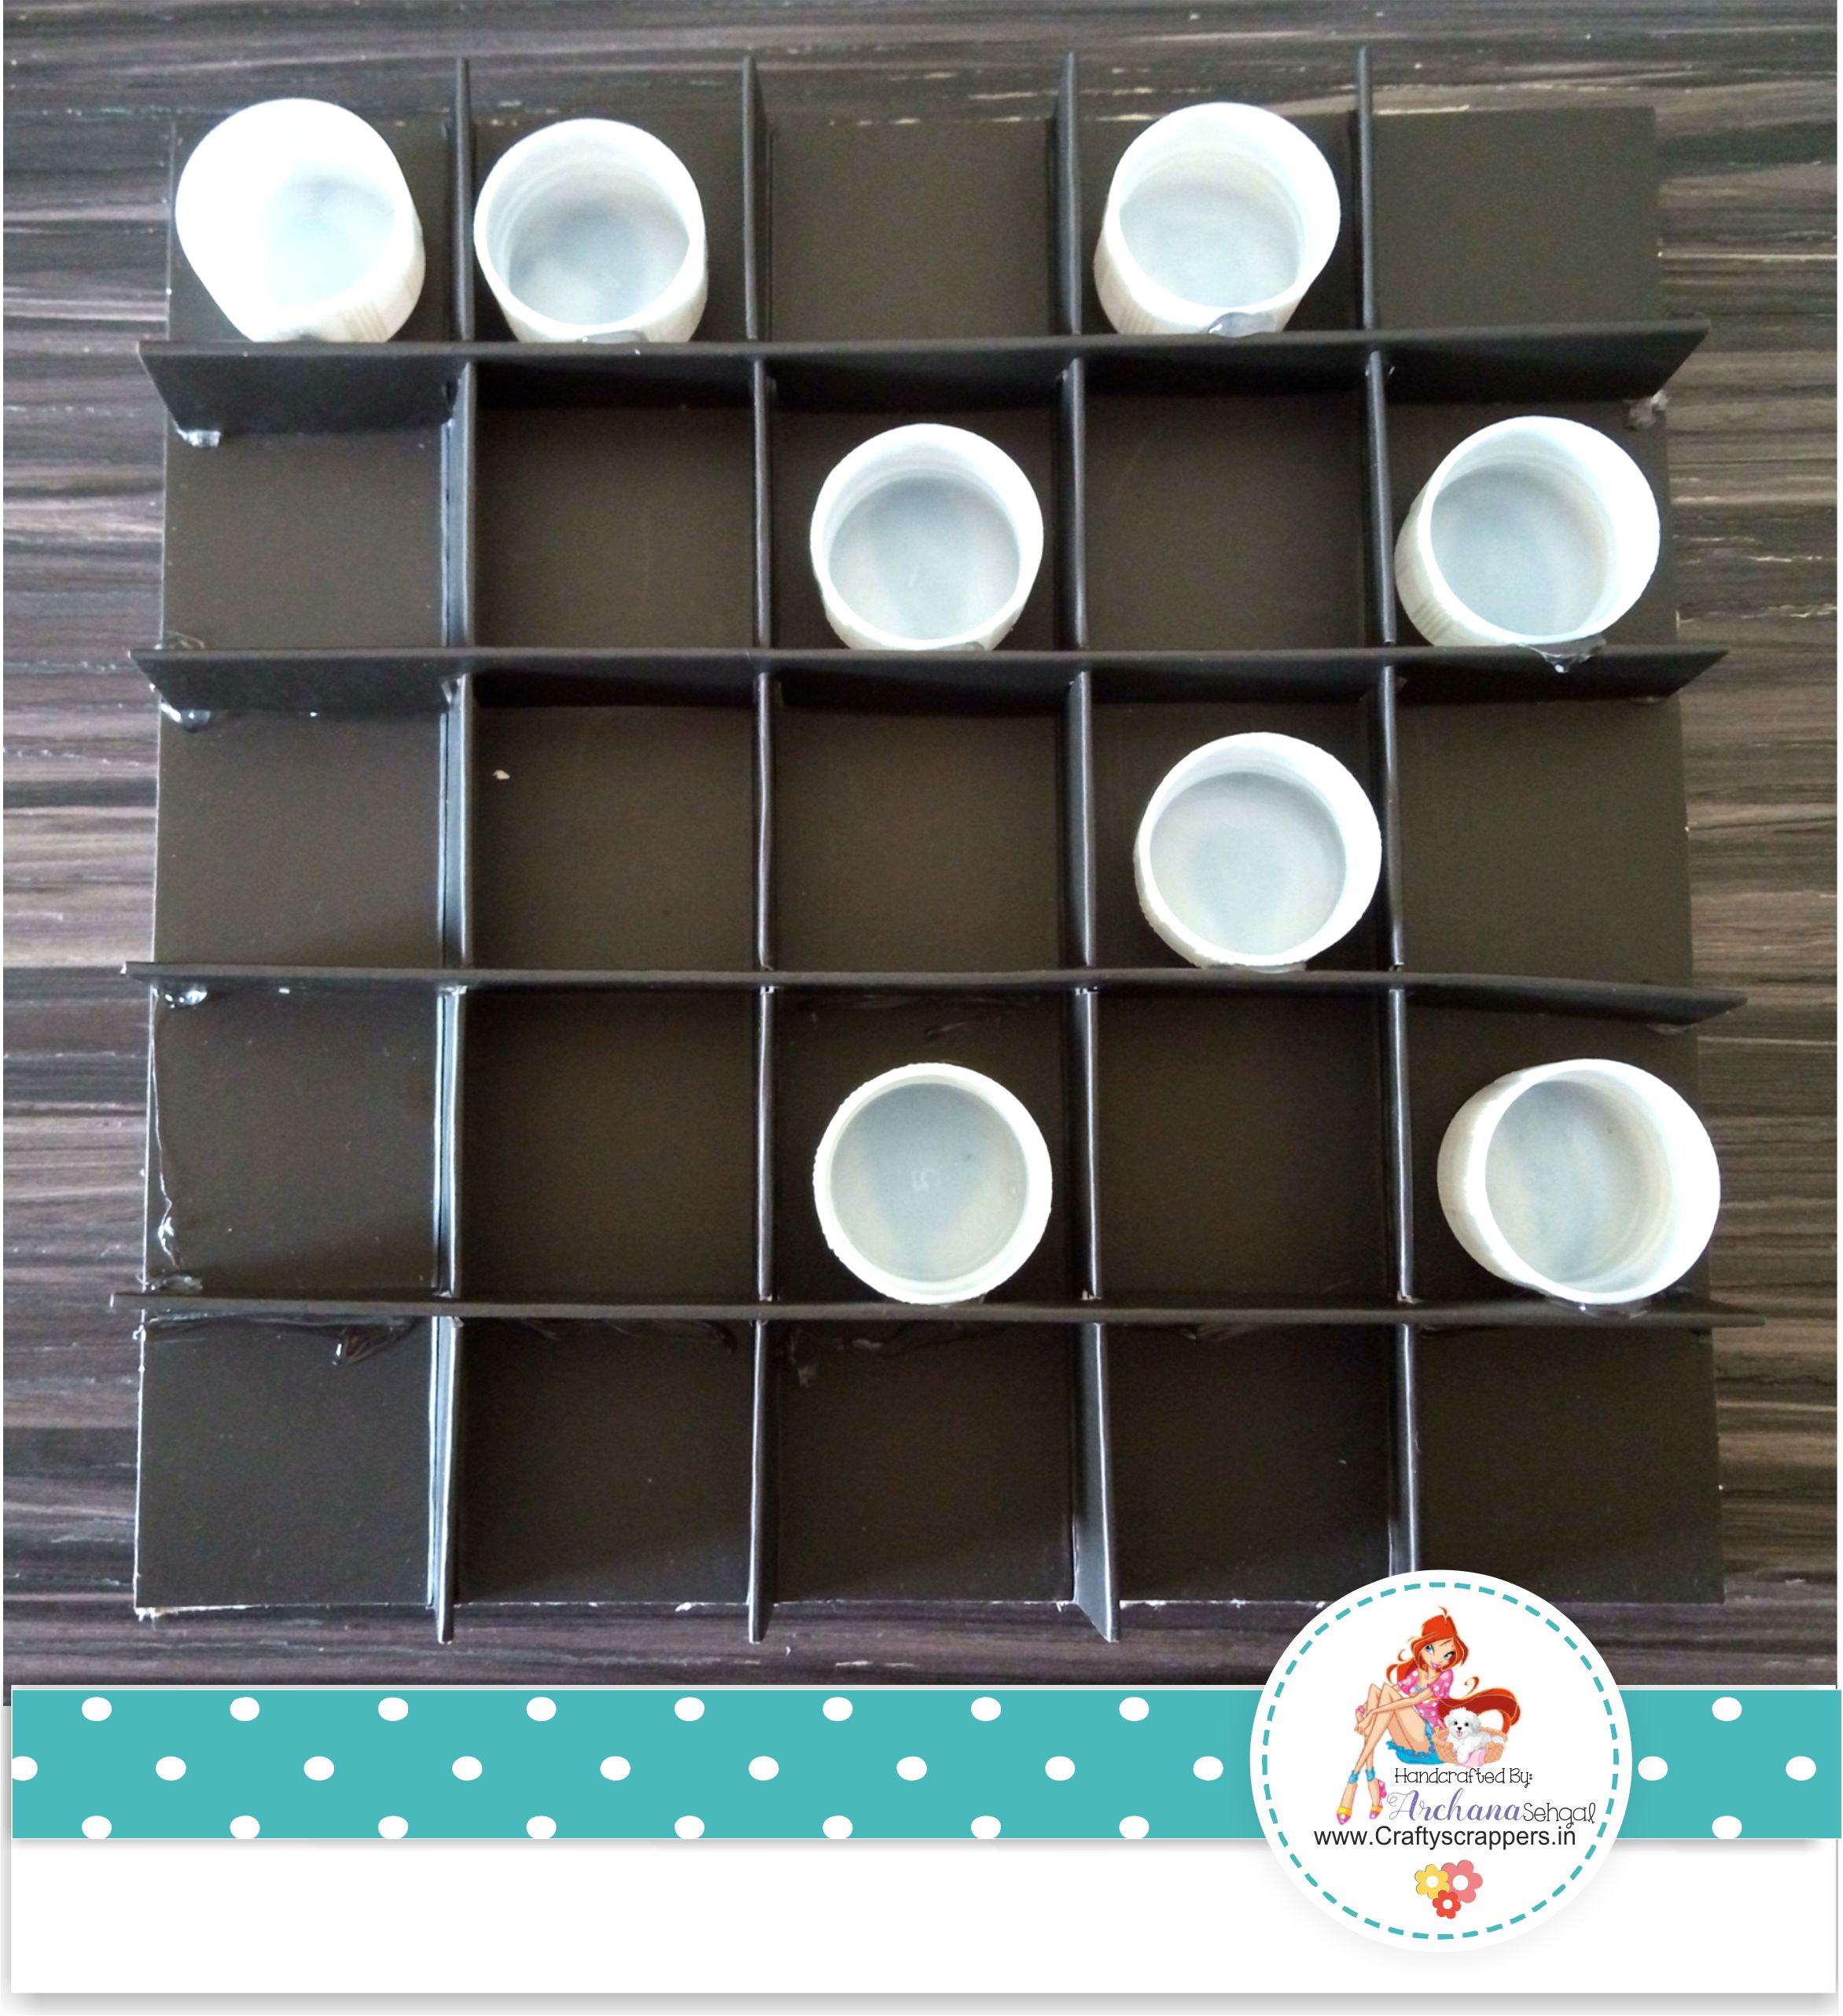
First i took chocolate box dividers and glued it on thick cardboard and also glue down at cross junction in between to have more strength, as you can see here in picture below, (Here you can create this type of layout using thick cardboard as well)

Next I took 8 bottle caps and place them into the slots and fixed with the help of glue gun as shown in picture, but here its all up to you to select the slots as needed and also add few more caps if you want.

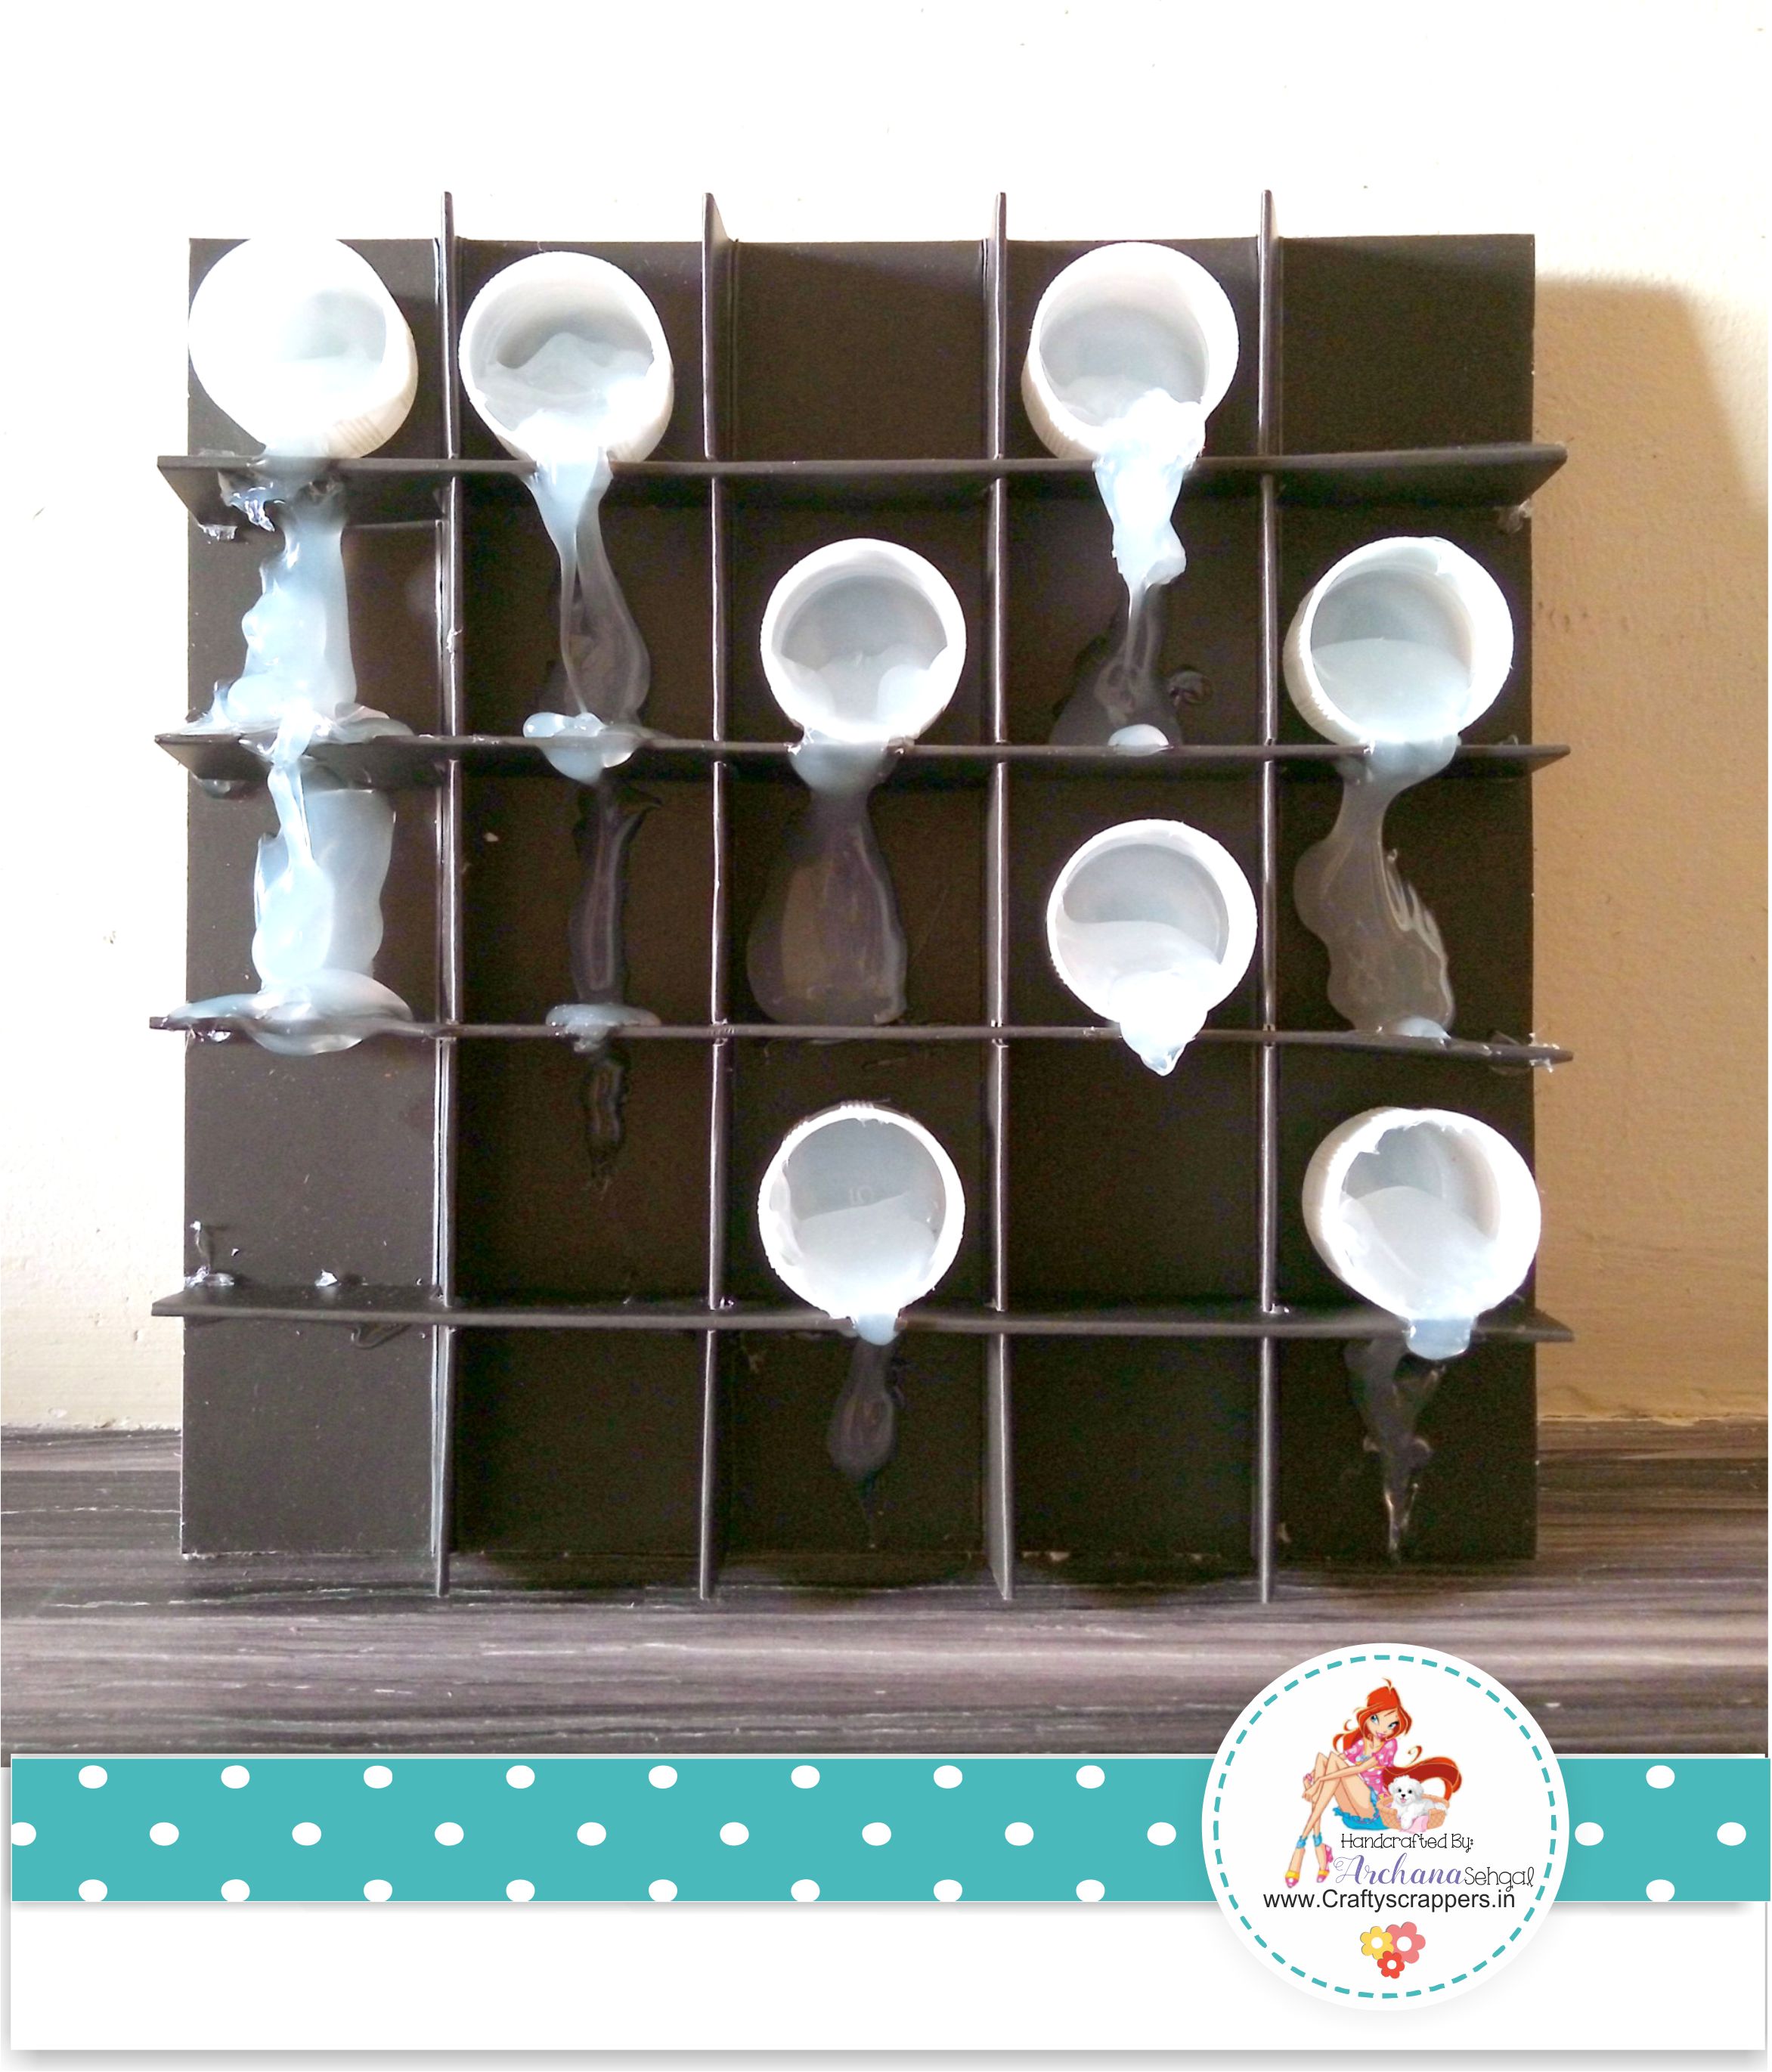
I added melted glue in manner as if its flowing out or dripping out from caps, that’s what my whole concept was, i use hot glue gun to get that effect here, all you have to do is just tilt the project and start adding glue and it will flow down easily….

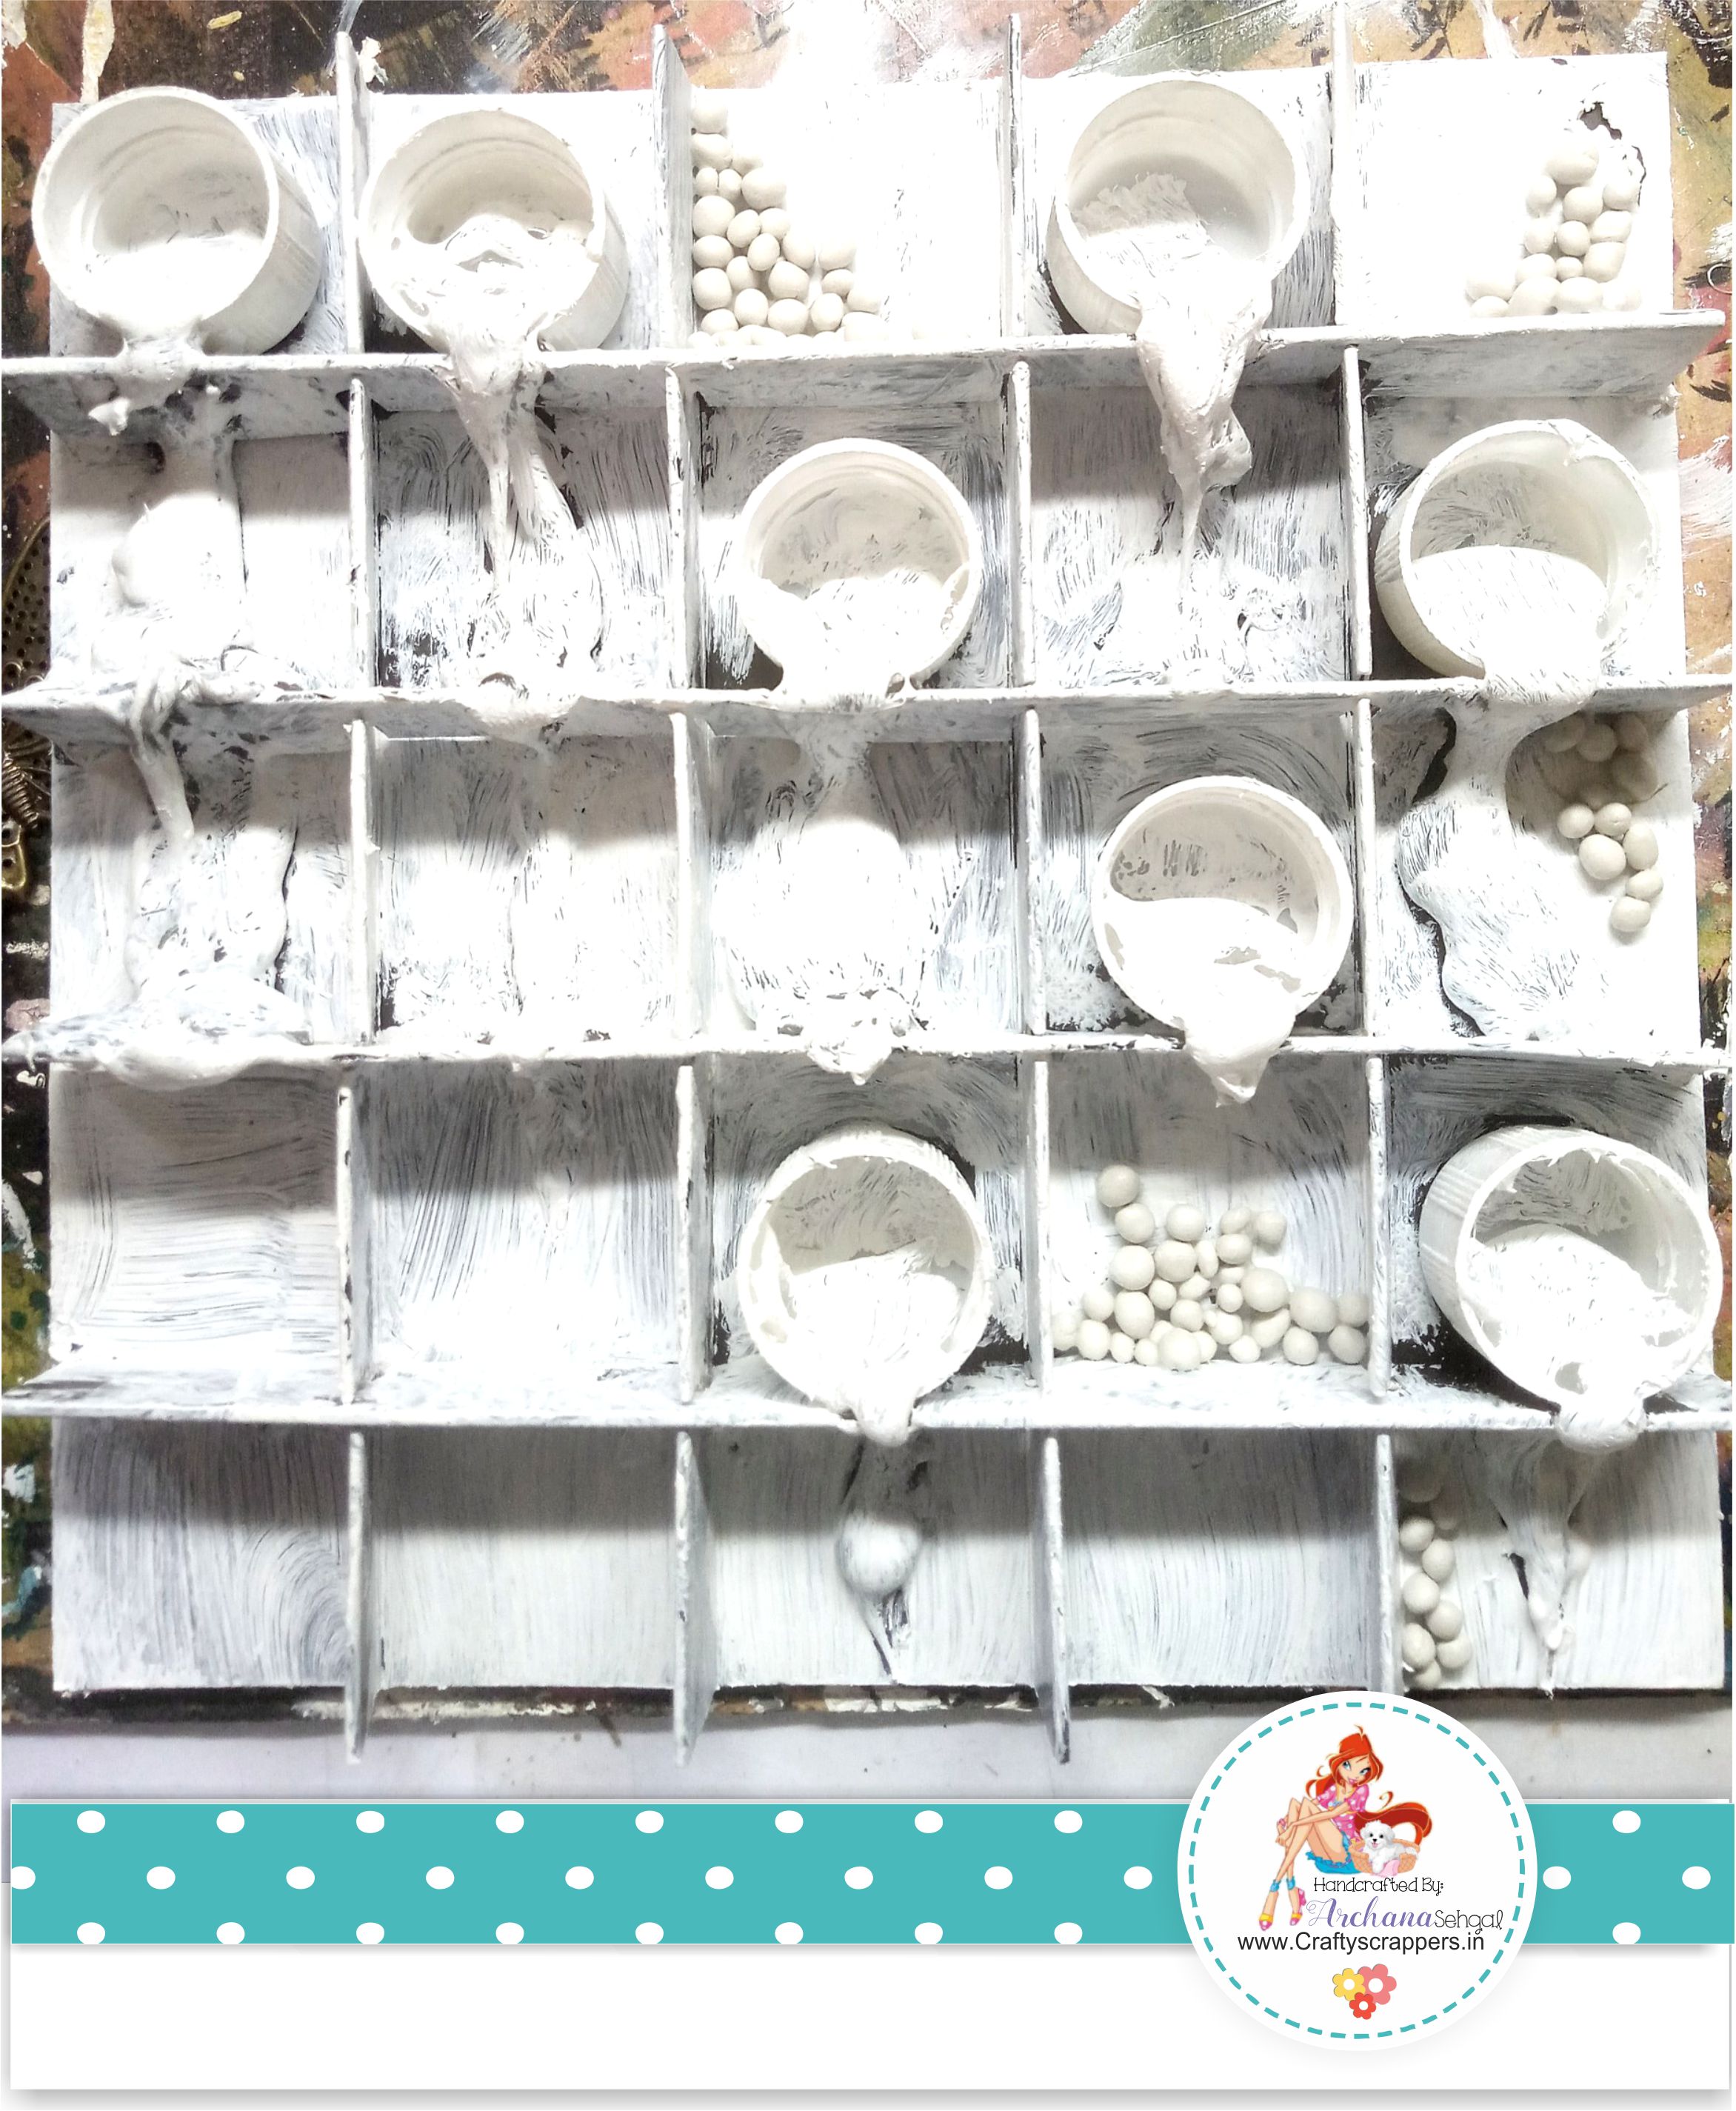
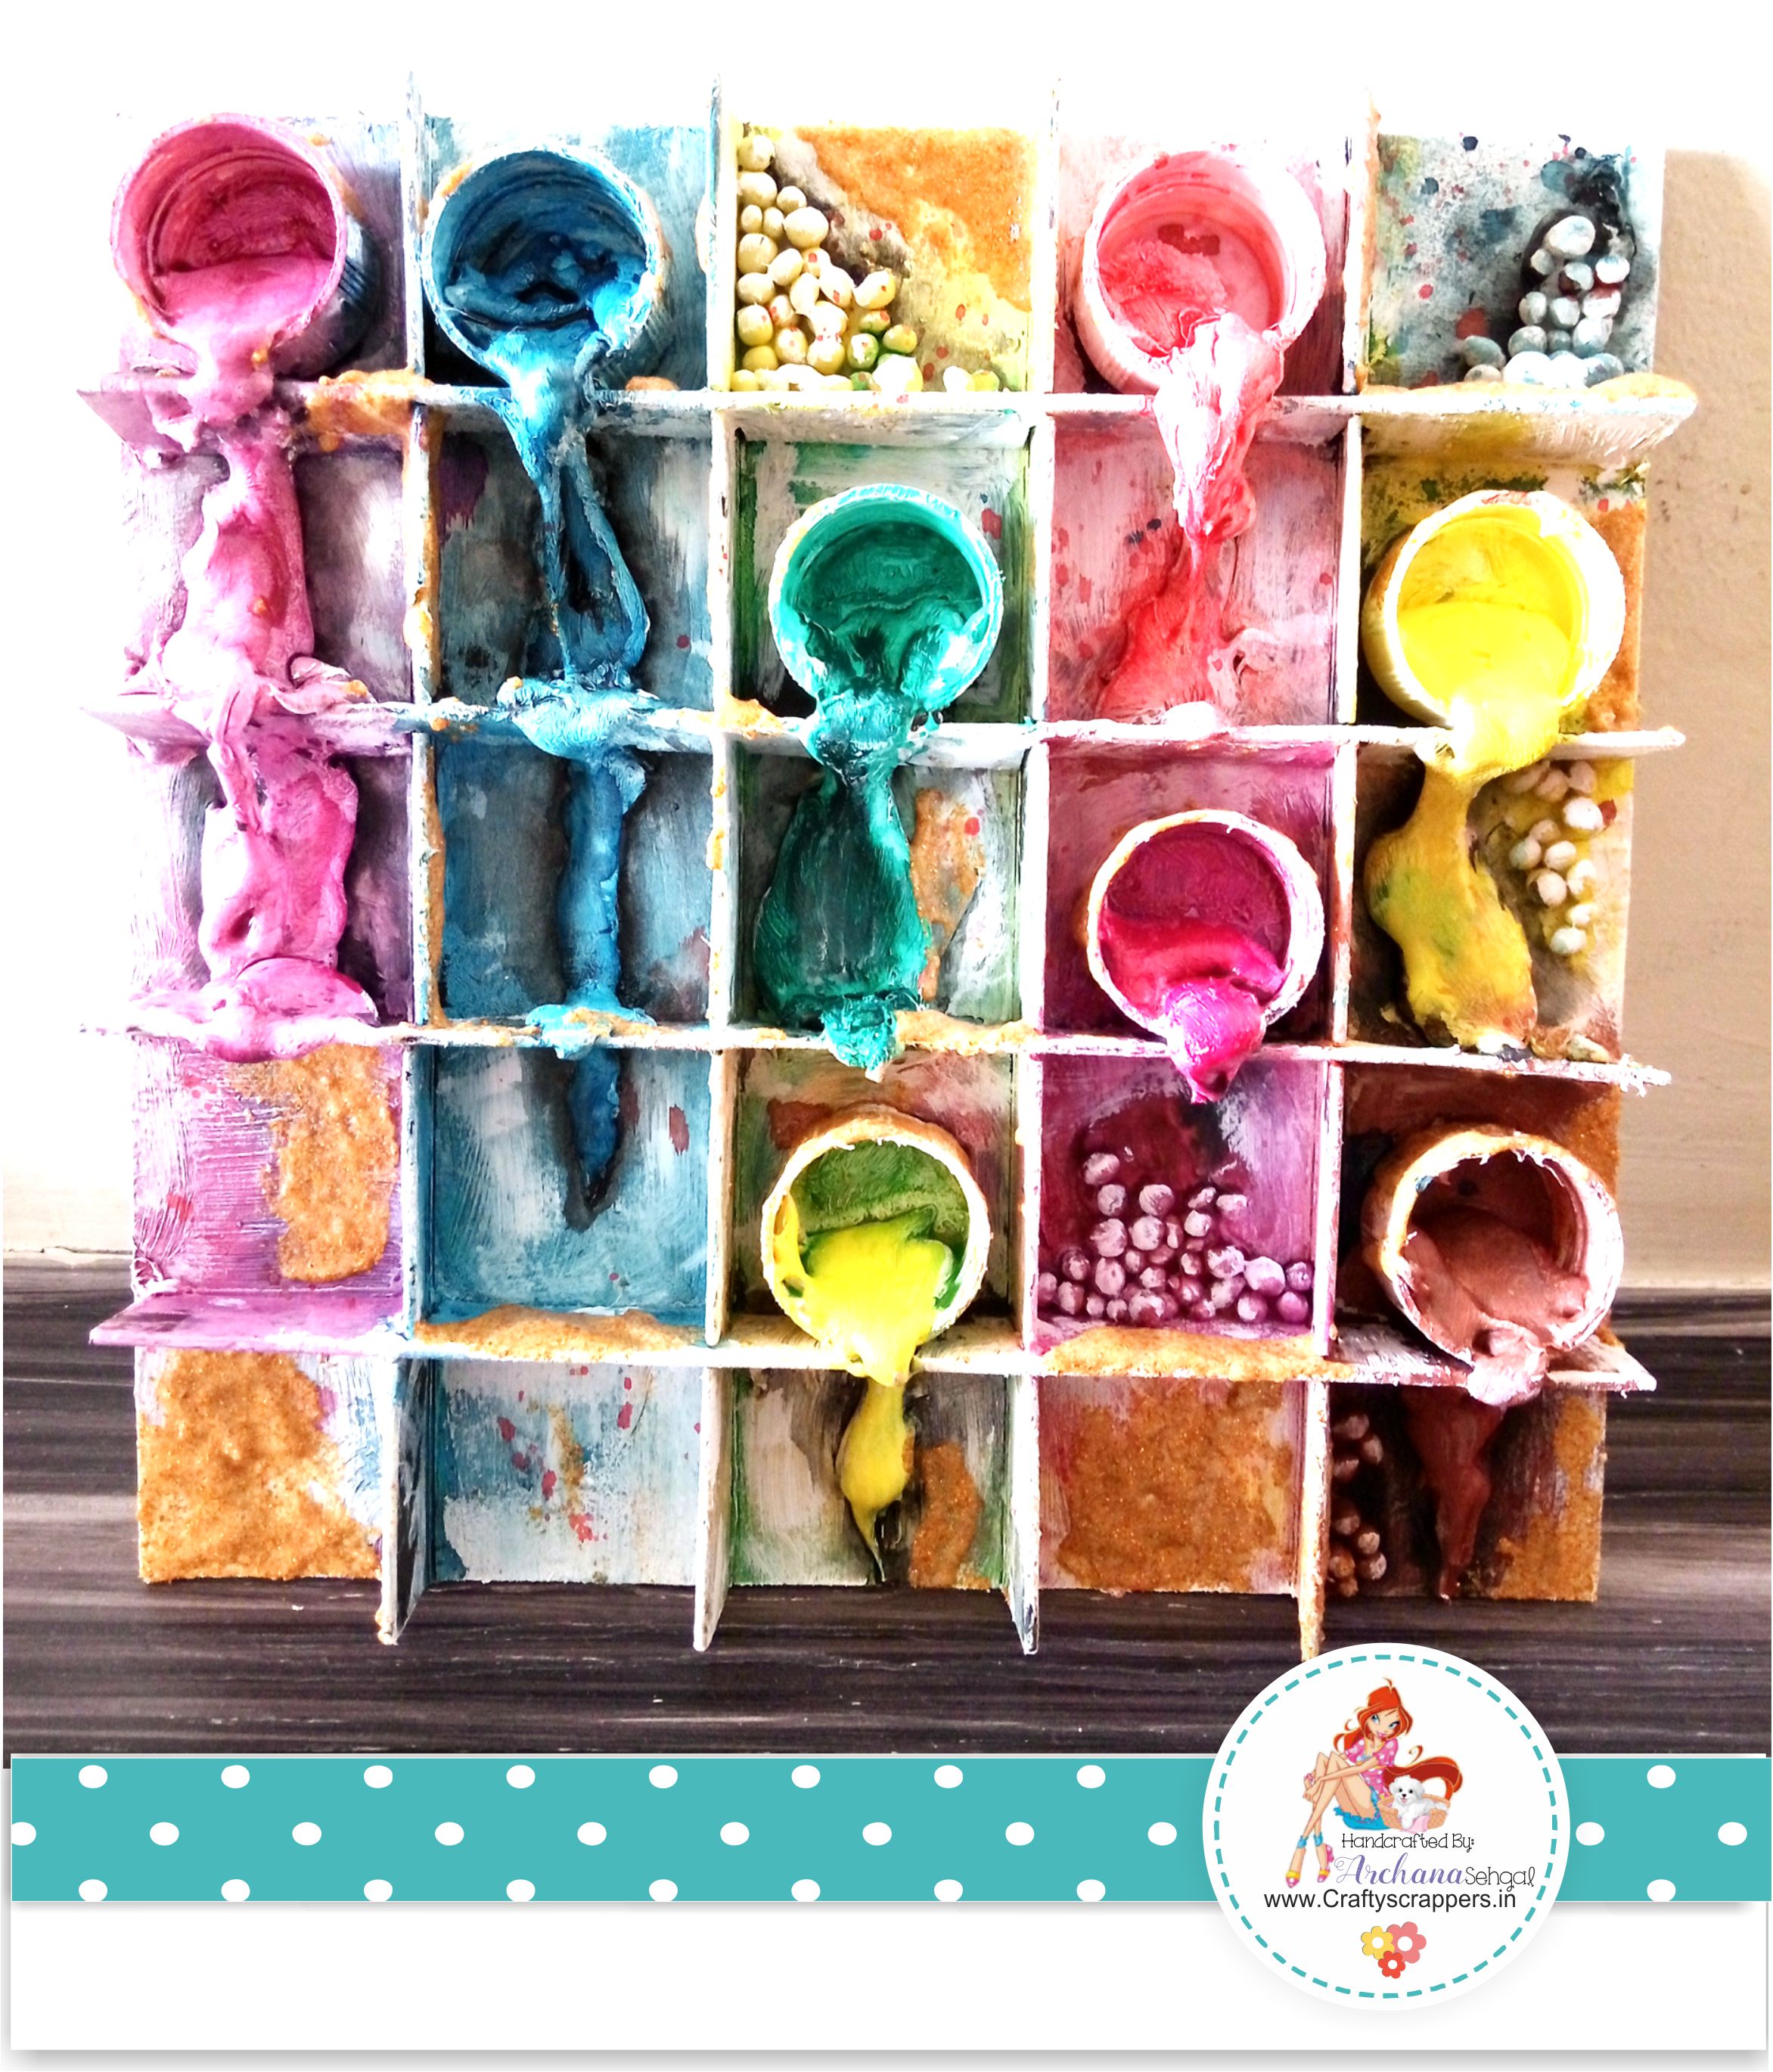
If you are new to mixed media then gesso is first thing you should have in your supplies list because its a primer, and in mixed media when we add different elements we need to prime those for the next step that is coloring so that those elements won’t absorbs colors, okay so moving ahead, after glue dries completely, I cover entire project using gesso and also added art stones..

I colored entire project using different shades of newly launched Shimmer sprays from Craftyscrappers, I used “Grape Juice“, “Rusty Denim“, “Sweet Sunshine“, “Dancing Peacock“, “Juicy Watermelon“, “Tasty Tortilla“, “Muddy Pool”
(Color order is from Left to right), you can do coloring as you like at different slots with wide range of shimmer sprays available in Craftyscrappers Shimmer Sprays list of items.
I used gesso again just to add highlight little bit, in this step I took very little amount of gesso on dry brush and apply here and there as you can see in below snapshot…
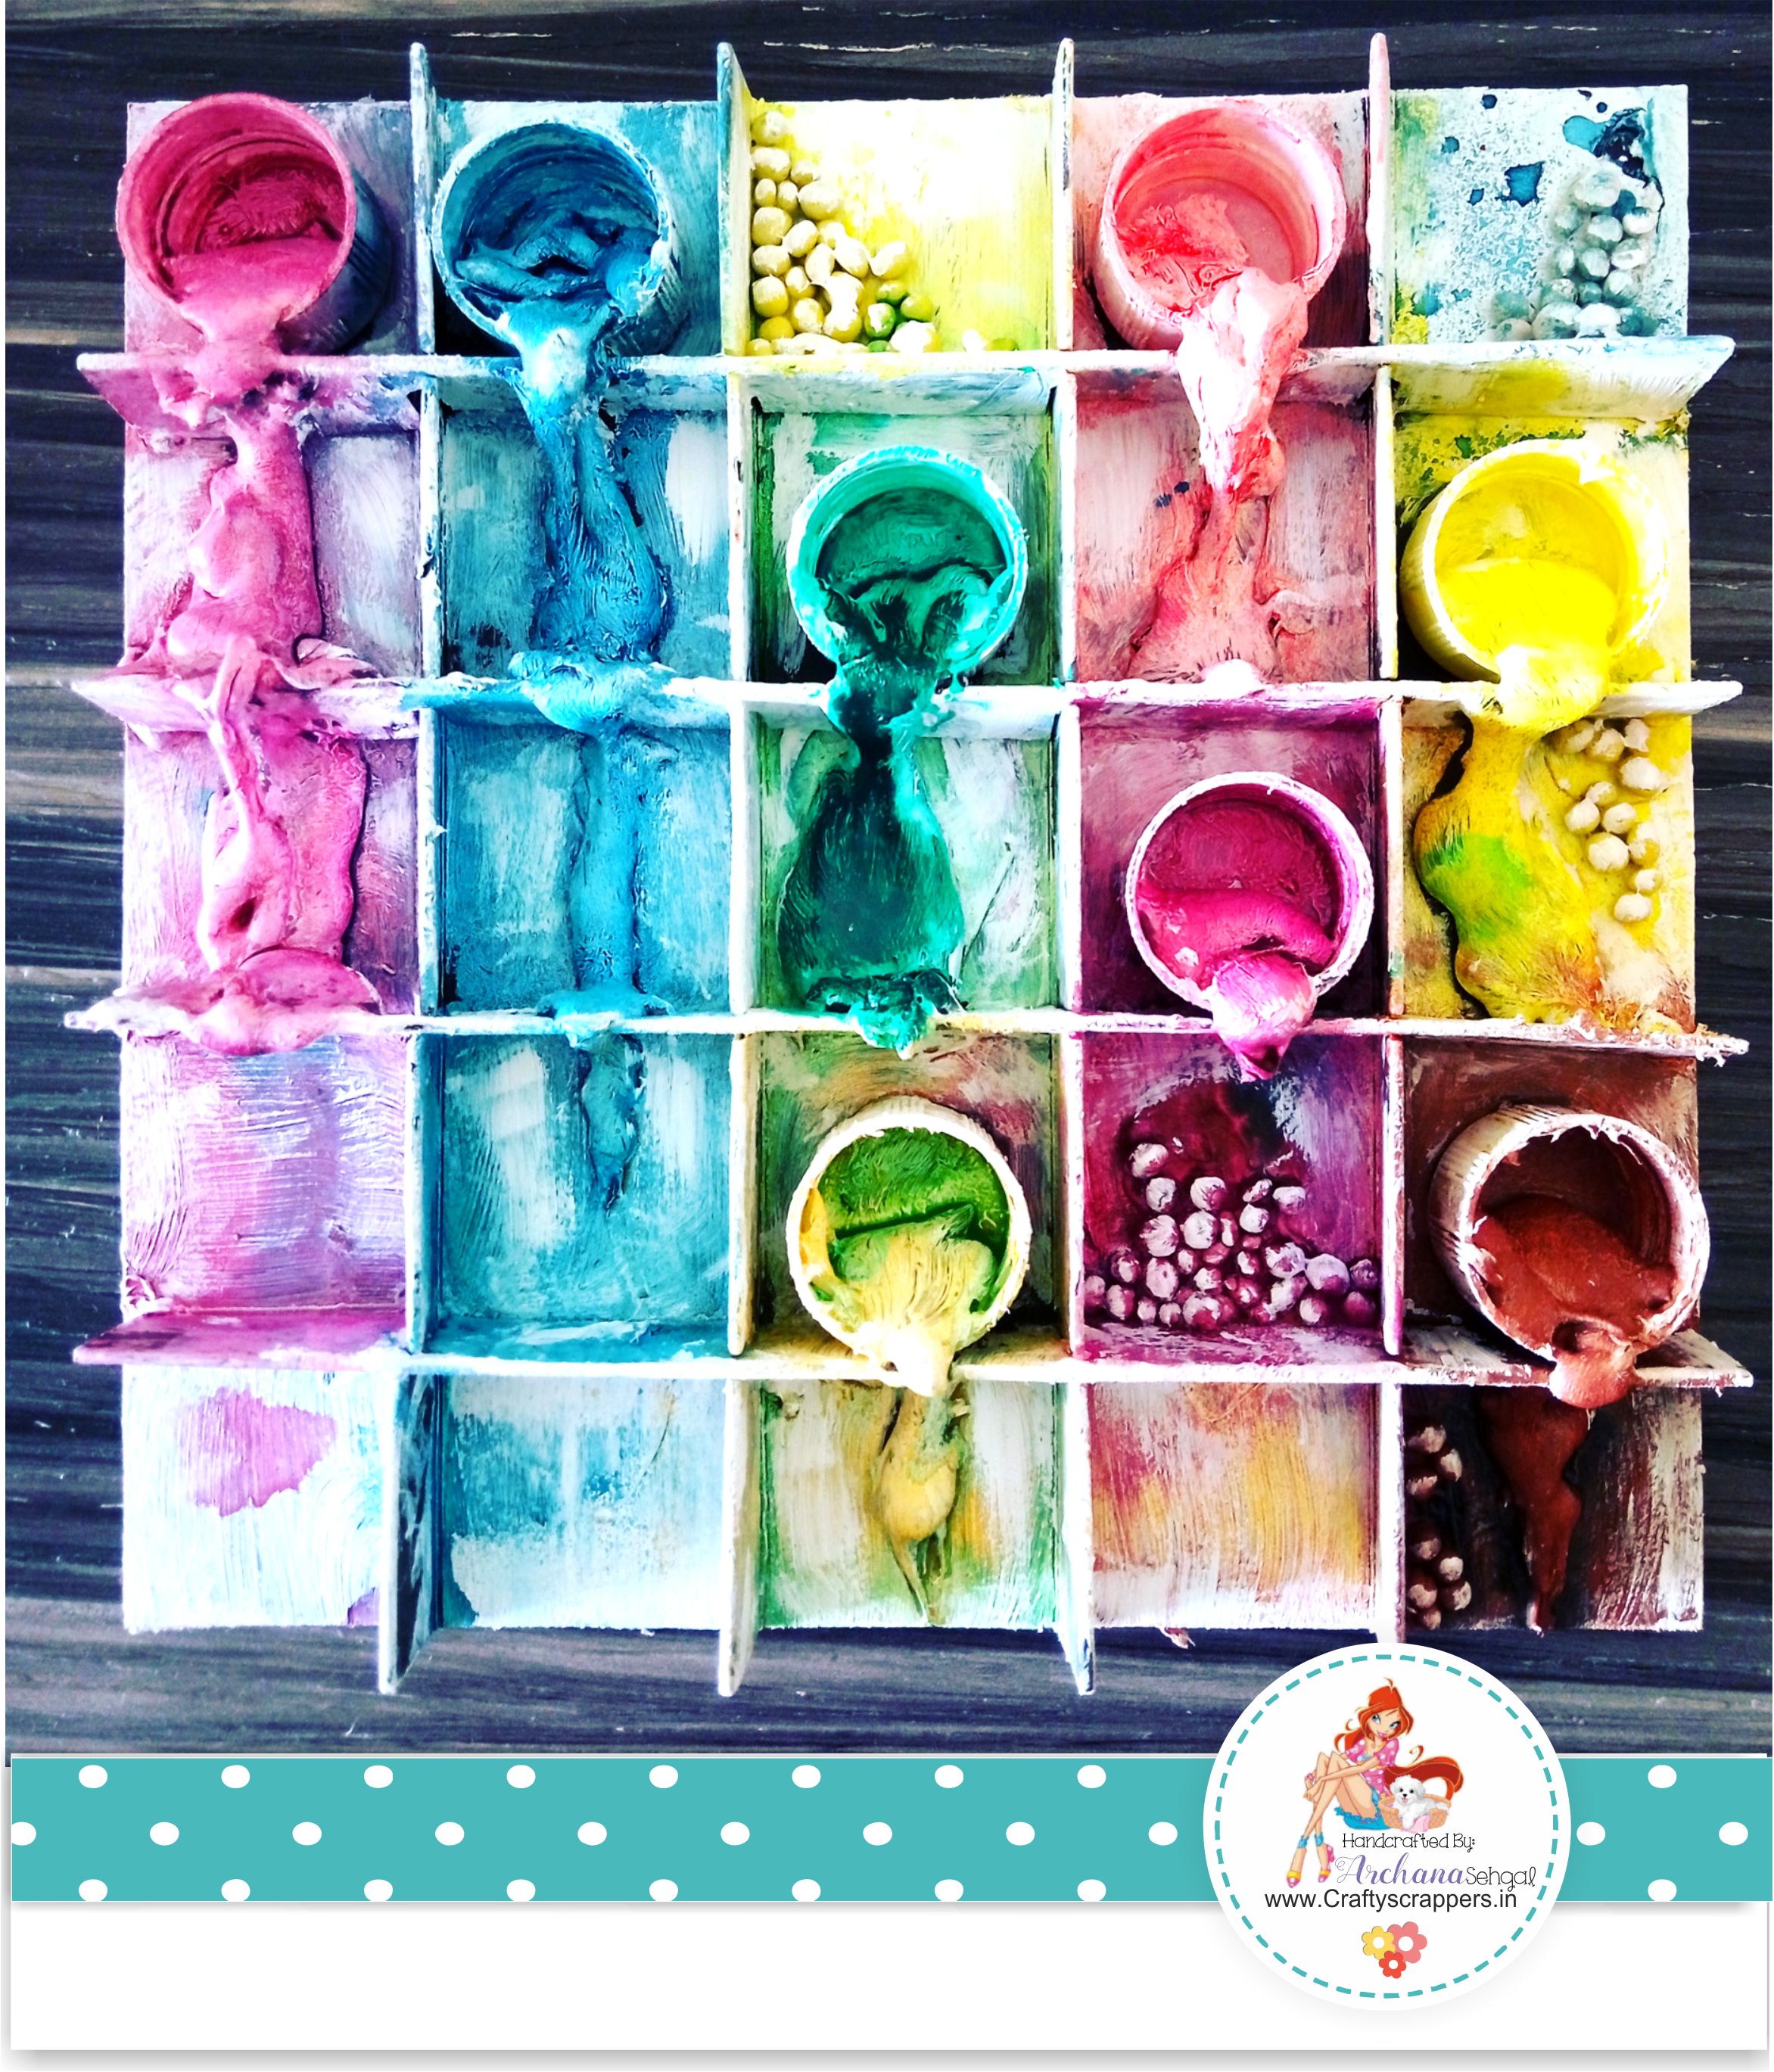

Added black color shading around the dimensional color flow & also to the outside of art stones, and then added Shimmer paste using pallet knife just to add more shine, sparkle to the project, this step will bind the project together.

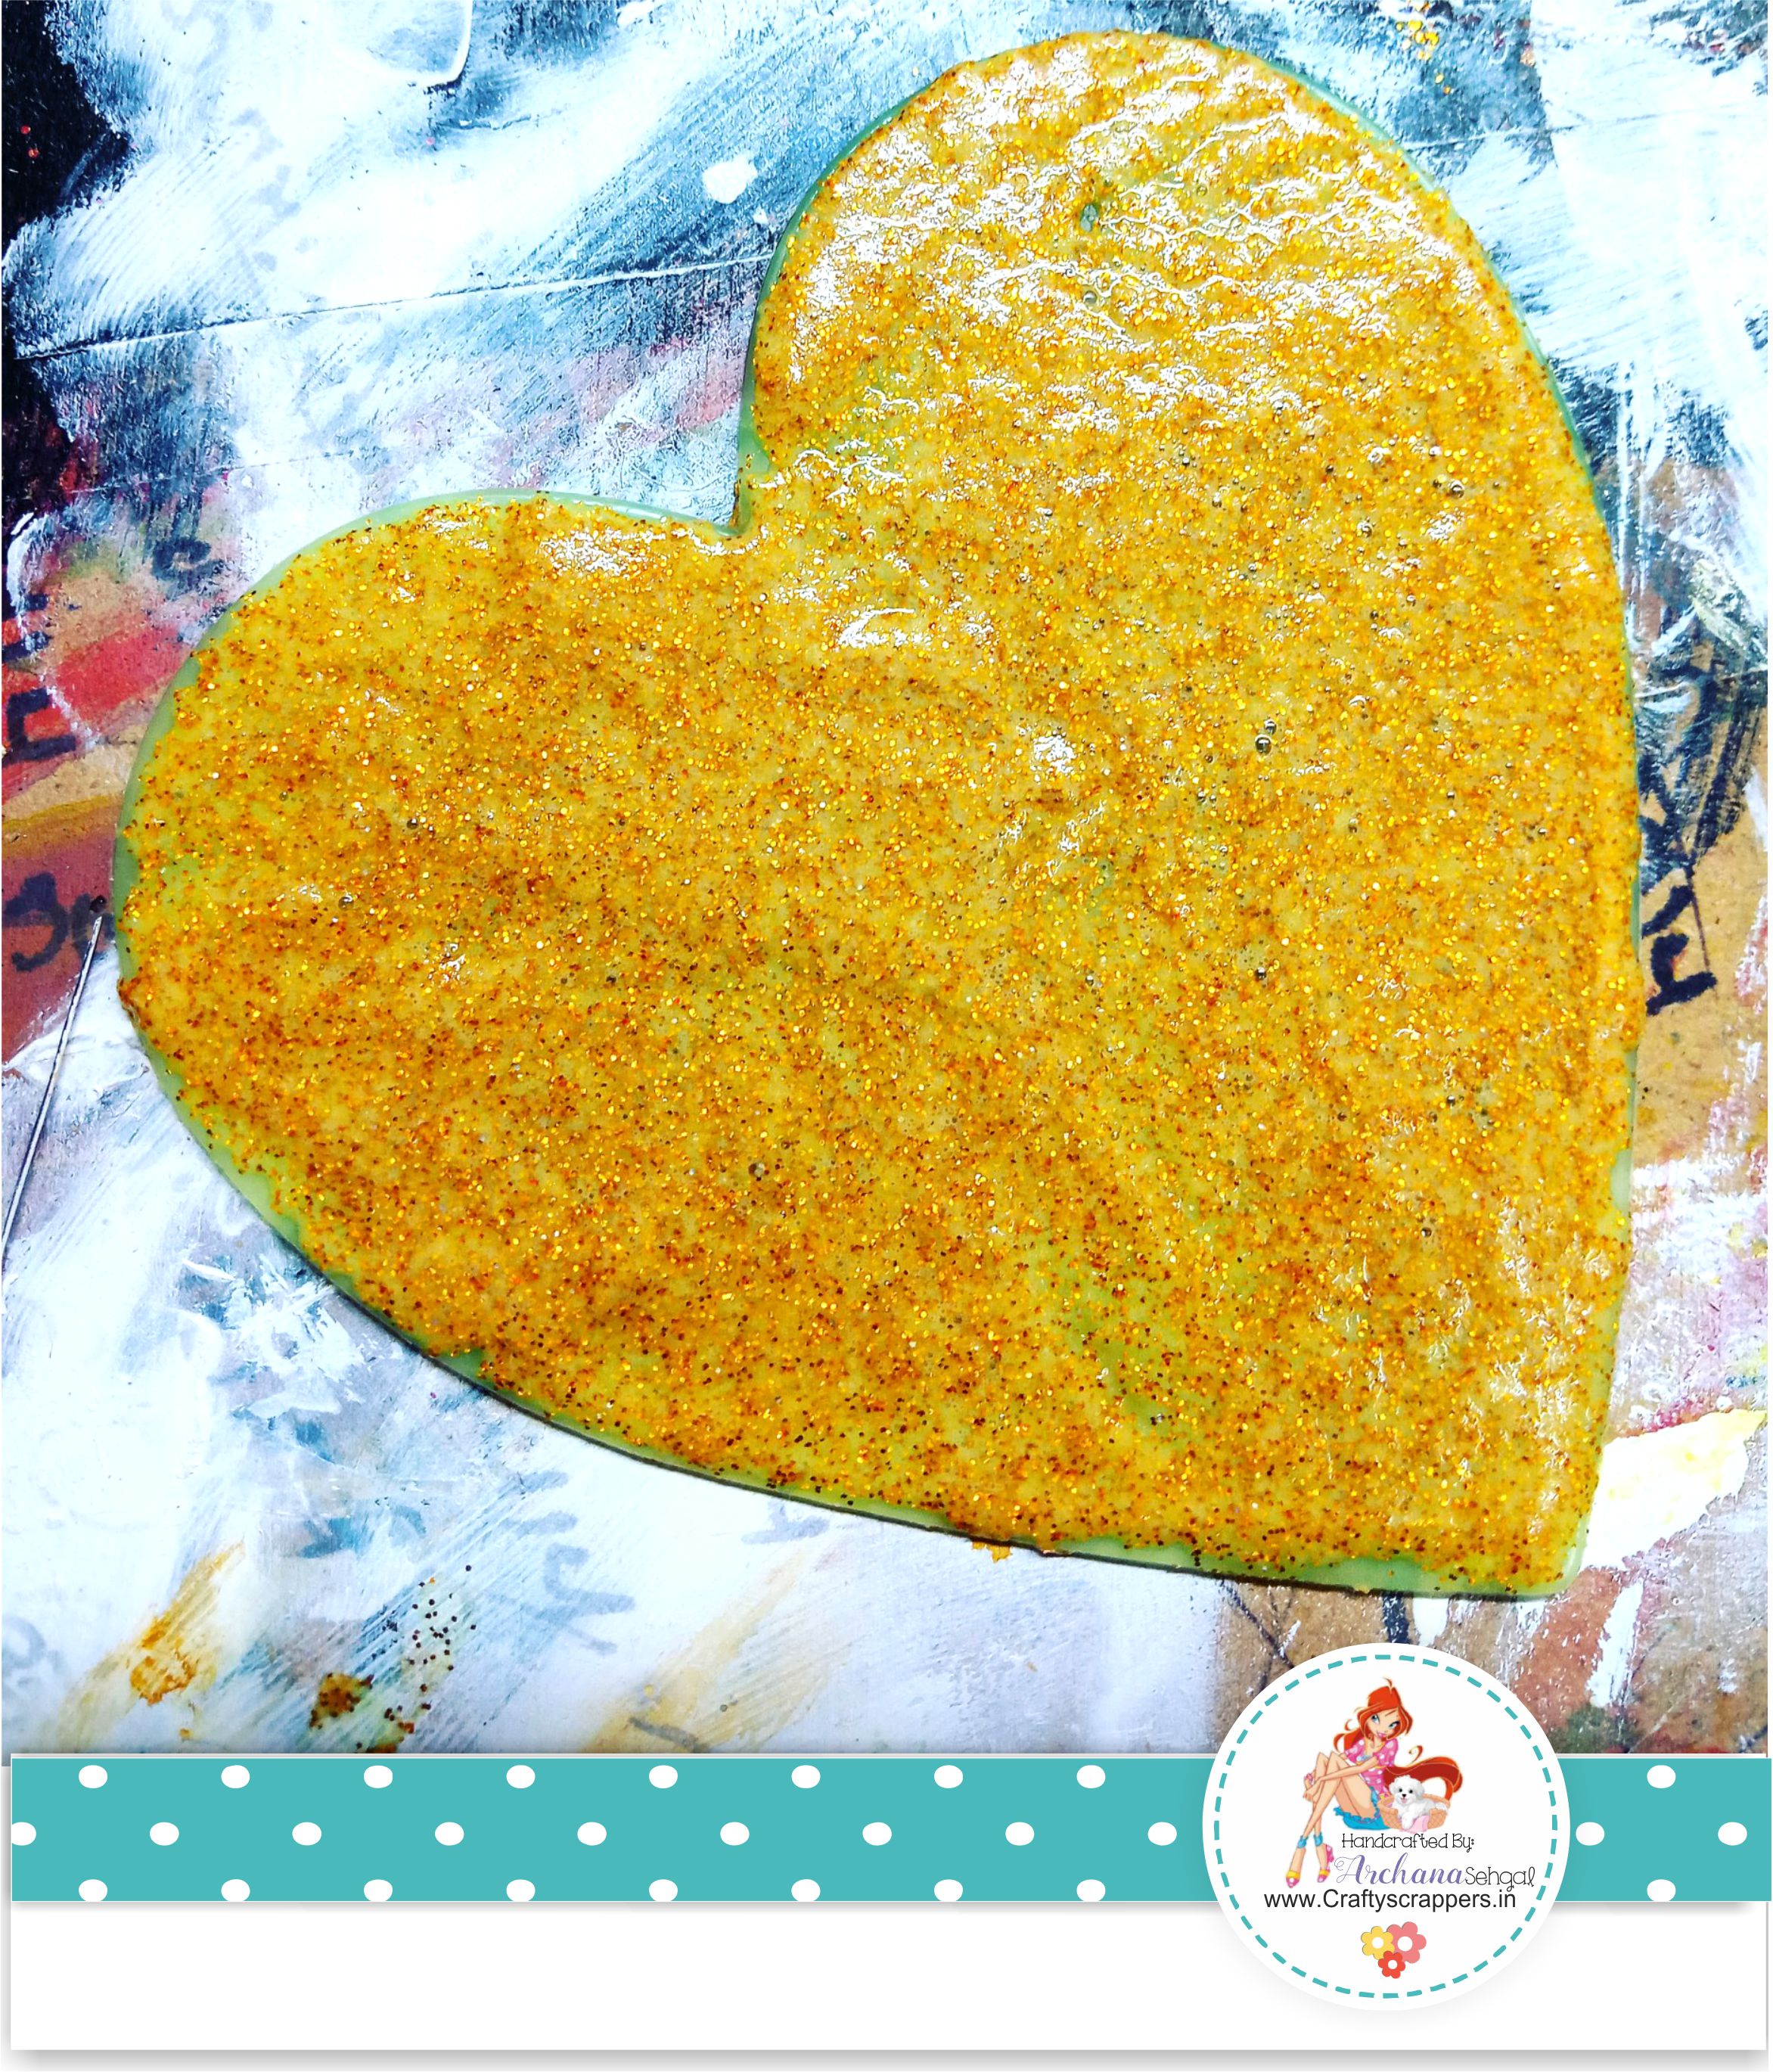
I took heart shape and spread Craftyscappers shimmer paste “Tinted Gold” all over it, Hold for a moment and just look at this beautiful shine and sparkle, Shimmer paste is must have product if you are glitter and sparkle freak like me 😉

In this step I distress the edges of heart shaped and wrapped white thread around it randomly & finish this project by adding sentiment from Craftyscrappers stamp set “Holi Sentiments” and also coated corners of bottle caps with black shade just to add extra depth for dripping color shades…. and boom!! your project is ready.
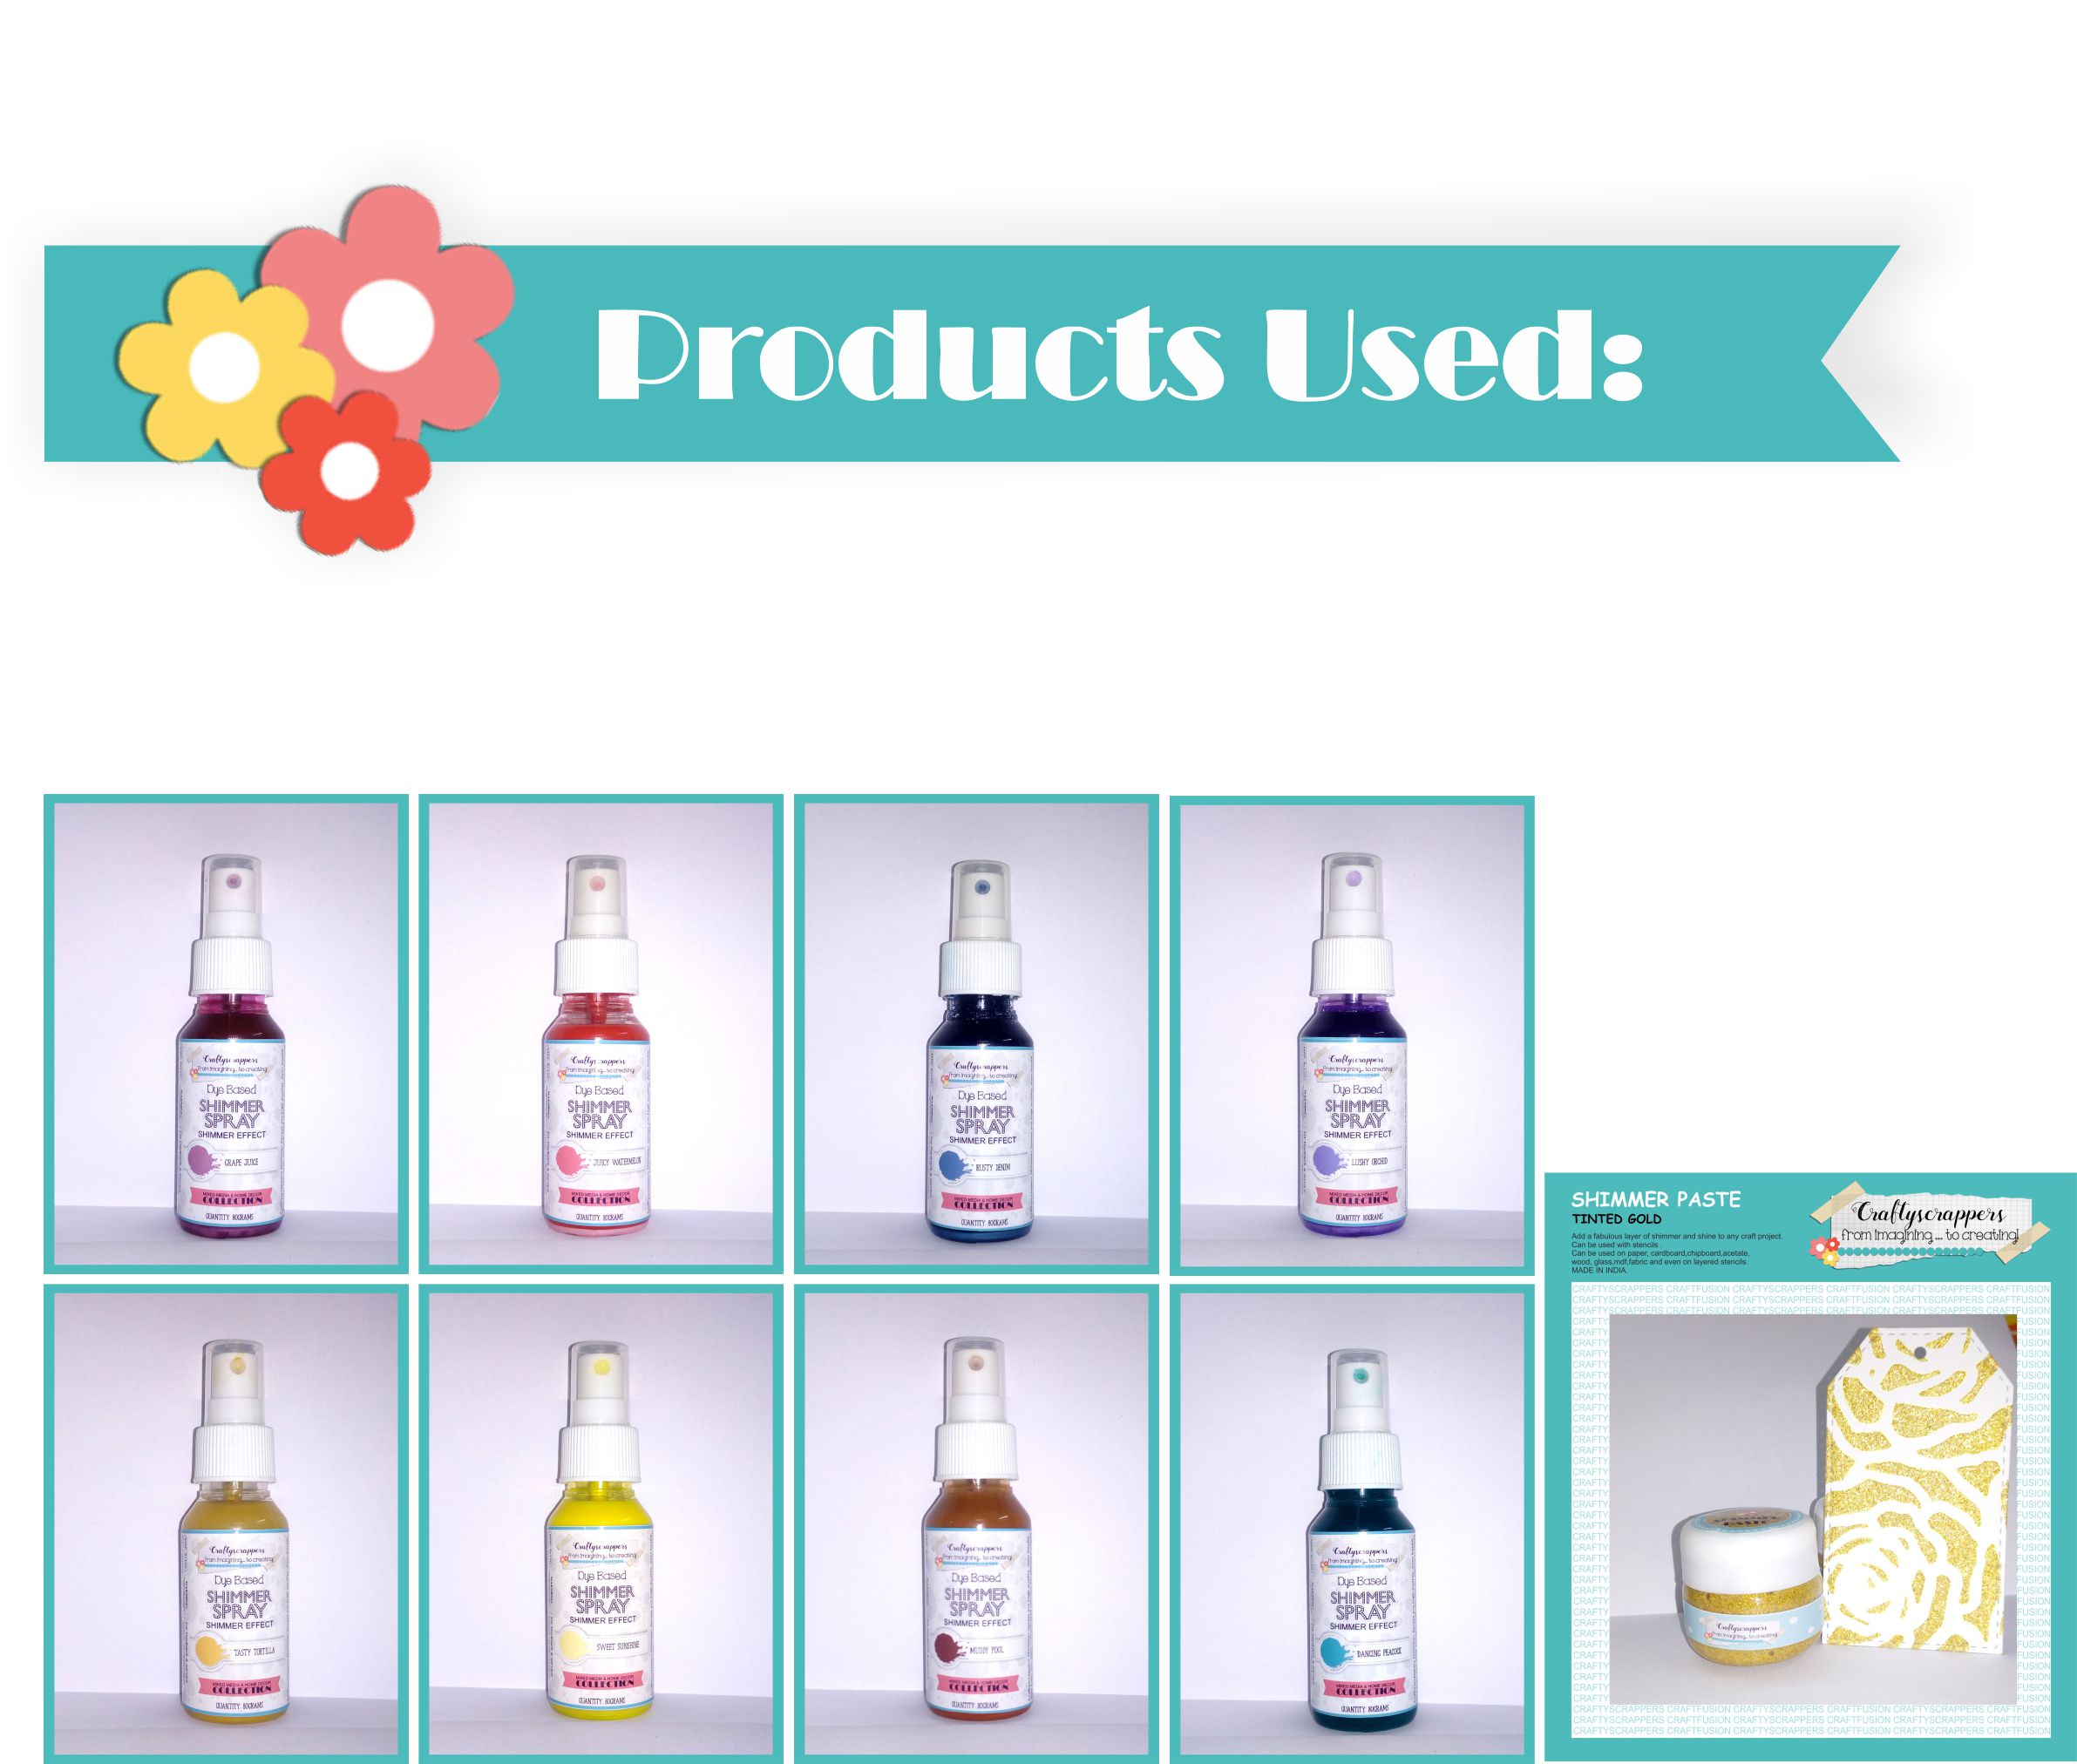
- Craftyscrappers Shimmer Sprays:
GRAPE JUICE
JUICY WATERMELON
RUSTY DENIM
LUSHY ORCHID
TASTY TORTILLA
SWEET SUNSHINE
MUDDY POOL
DANCING PEACOCK - Craftyscrappers Shimmer Paste:
TINTED GOLD
Hope you guys have enjoyed this tutorial, I will be back soon with some new inspirational project and art techniques… Don’t forget to check out our previous blog posts for more inspiration and ideas.
Don’t forget to join in our craft challenges,(details at the beginning of the post!)
You can participate via mr.linky (at the end of the challenge post)or via facebook,Instagram and even via email.
(While sharing your creation post over the social media, ie
Facebook/twitter/instagram
please use #Craftyscrappers challenge21 to qualify for submission,
failing to do so, the entry would be disqualified.)
Have a fabulous Day!
Happy Crafting!

Archana… this project is just fab!!! I loved every bit and shade of it.. Hugs