
Hello friends!
This is Anila and It’s my first DT post for the DT term, with Craftyscrappers and I am super happy to be here. And Today I have Picture tutorials showing, 3 Cute cards plus a BONUS card, using the February released products.

But Before moving on with my video tutorial, let me share with you my
FEBRUARY DT KIT’2018 that i received:


So our this months challenge is ongoing for this lovely month of February,
if you have missed the previous post check it out here:
Challenge#20,”LOVE IS IN THE AIR”.
You can create Cards, layouts, a journal page, Canvases, interactive/3D cards,
mixed media, altered art, Flower Crafts …anything crafty,With the colors of love in it!
But keep in mind, Craftyscrappers products as focus.
- Last date of submission is 27th FEBRUARY,2018

To win the amazing goodie bags !
So moving back to my Pic-torial now…
* PICTURE HEAVY POST*
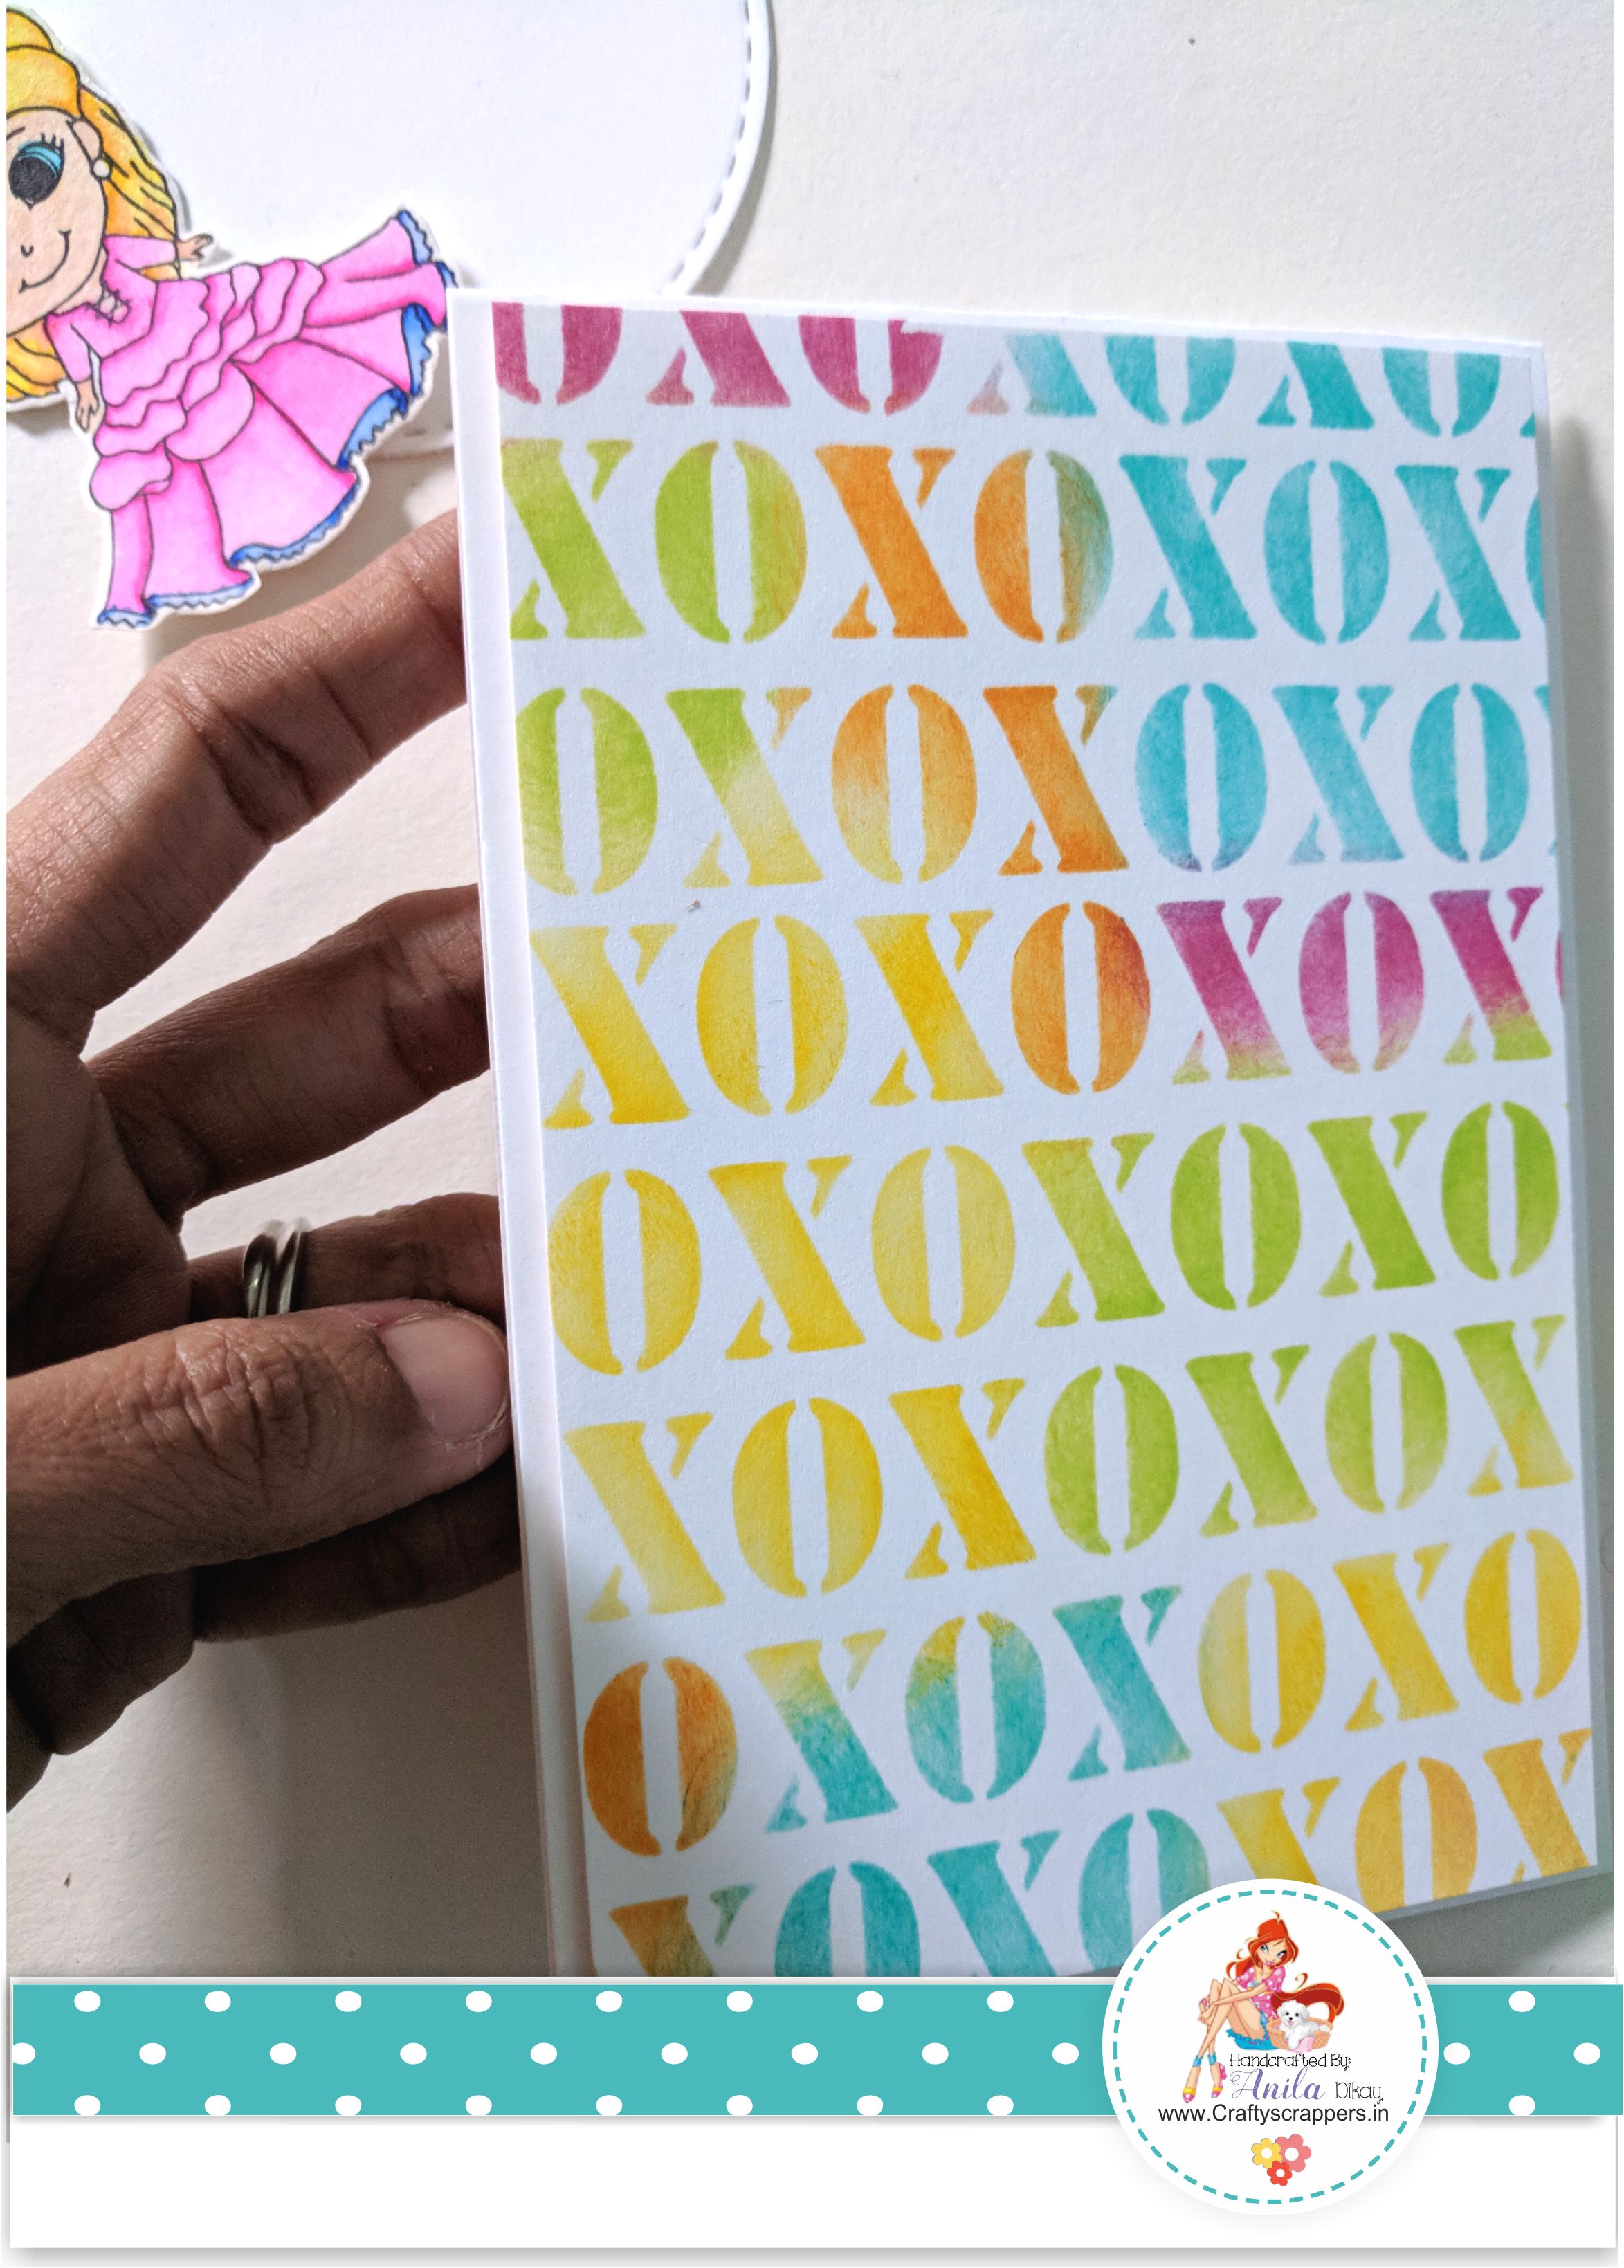
CARD#1

For my first card, I have used the February released stencil,
![cs-stnl-16[xoxo].jpg](https://craftyscrappers.files.wordpress.com/2018/02/cs-stnl-16xoxo1.jpg?w=800)
and the stamp set,
![ST-LOV-24[TALE AS OLD AS TIME].jpg](https://craftyscrappers.files.wordpress.com/2018/02/st-lov-24tale-as-old-as-time.jpg?w=794)


To begin with, I took a 4″x6″ card panel.


to create a colourful background.
Heres how it looks:


On a stitched circle die-cut I stamped the sentiment from the said stamp set. Stamped the image on Canson Montval paper. Coloured the image with zig markers and fussy cut the image.

Adhered the circle die-cut on the card base.


Mounted the image overlapping the circle using foam adhesive.

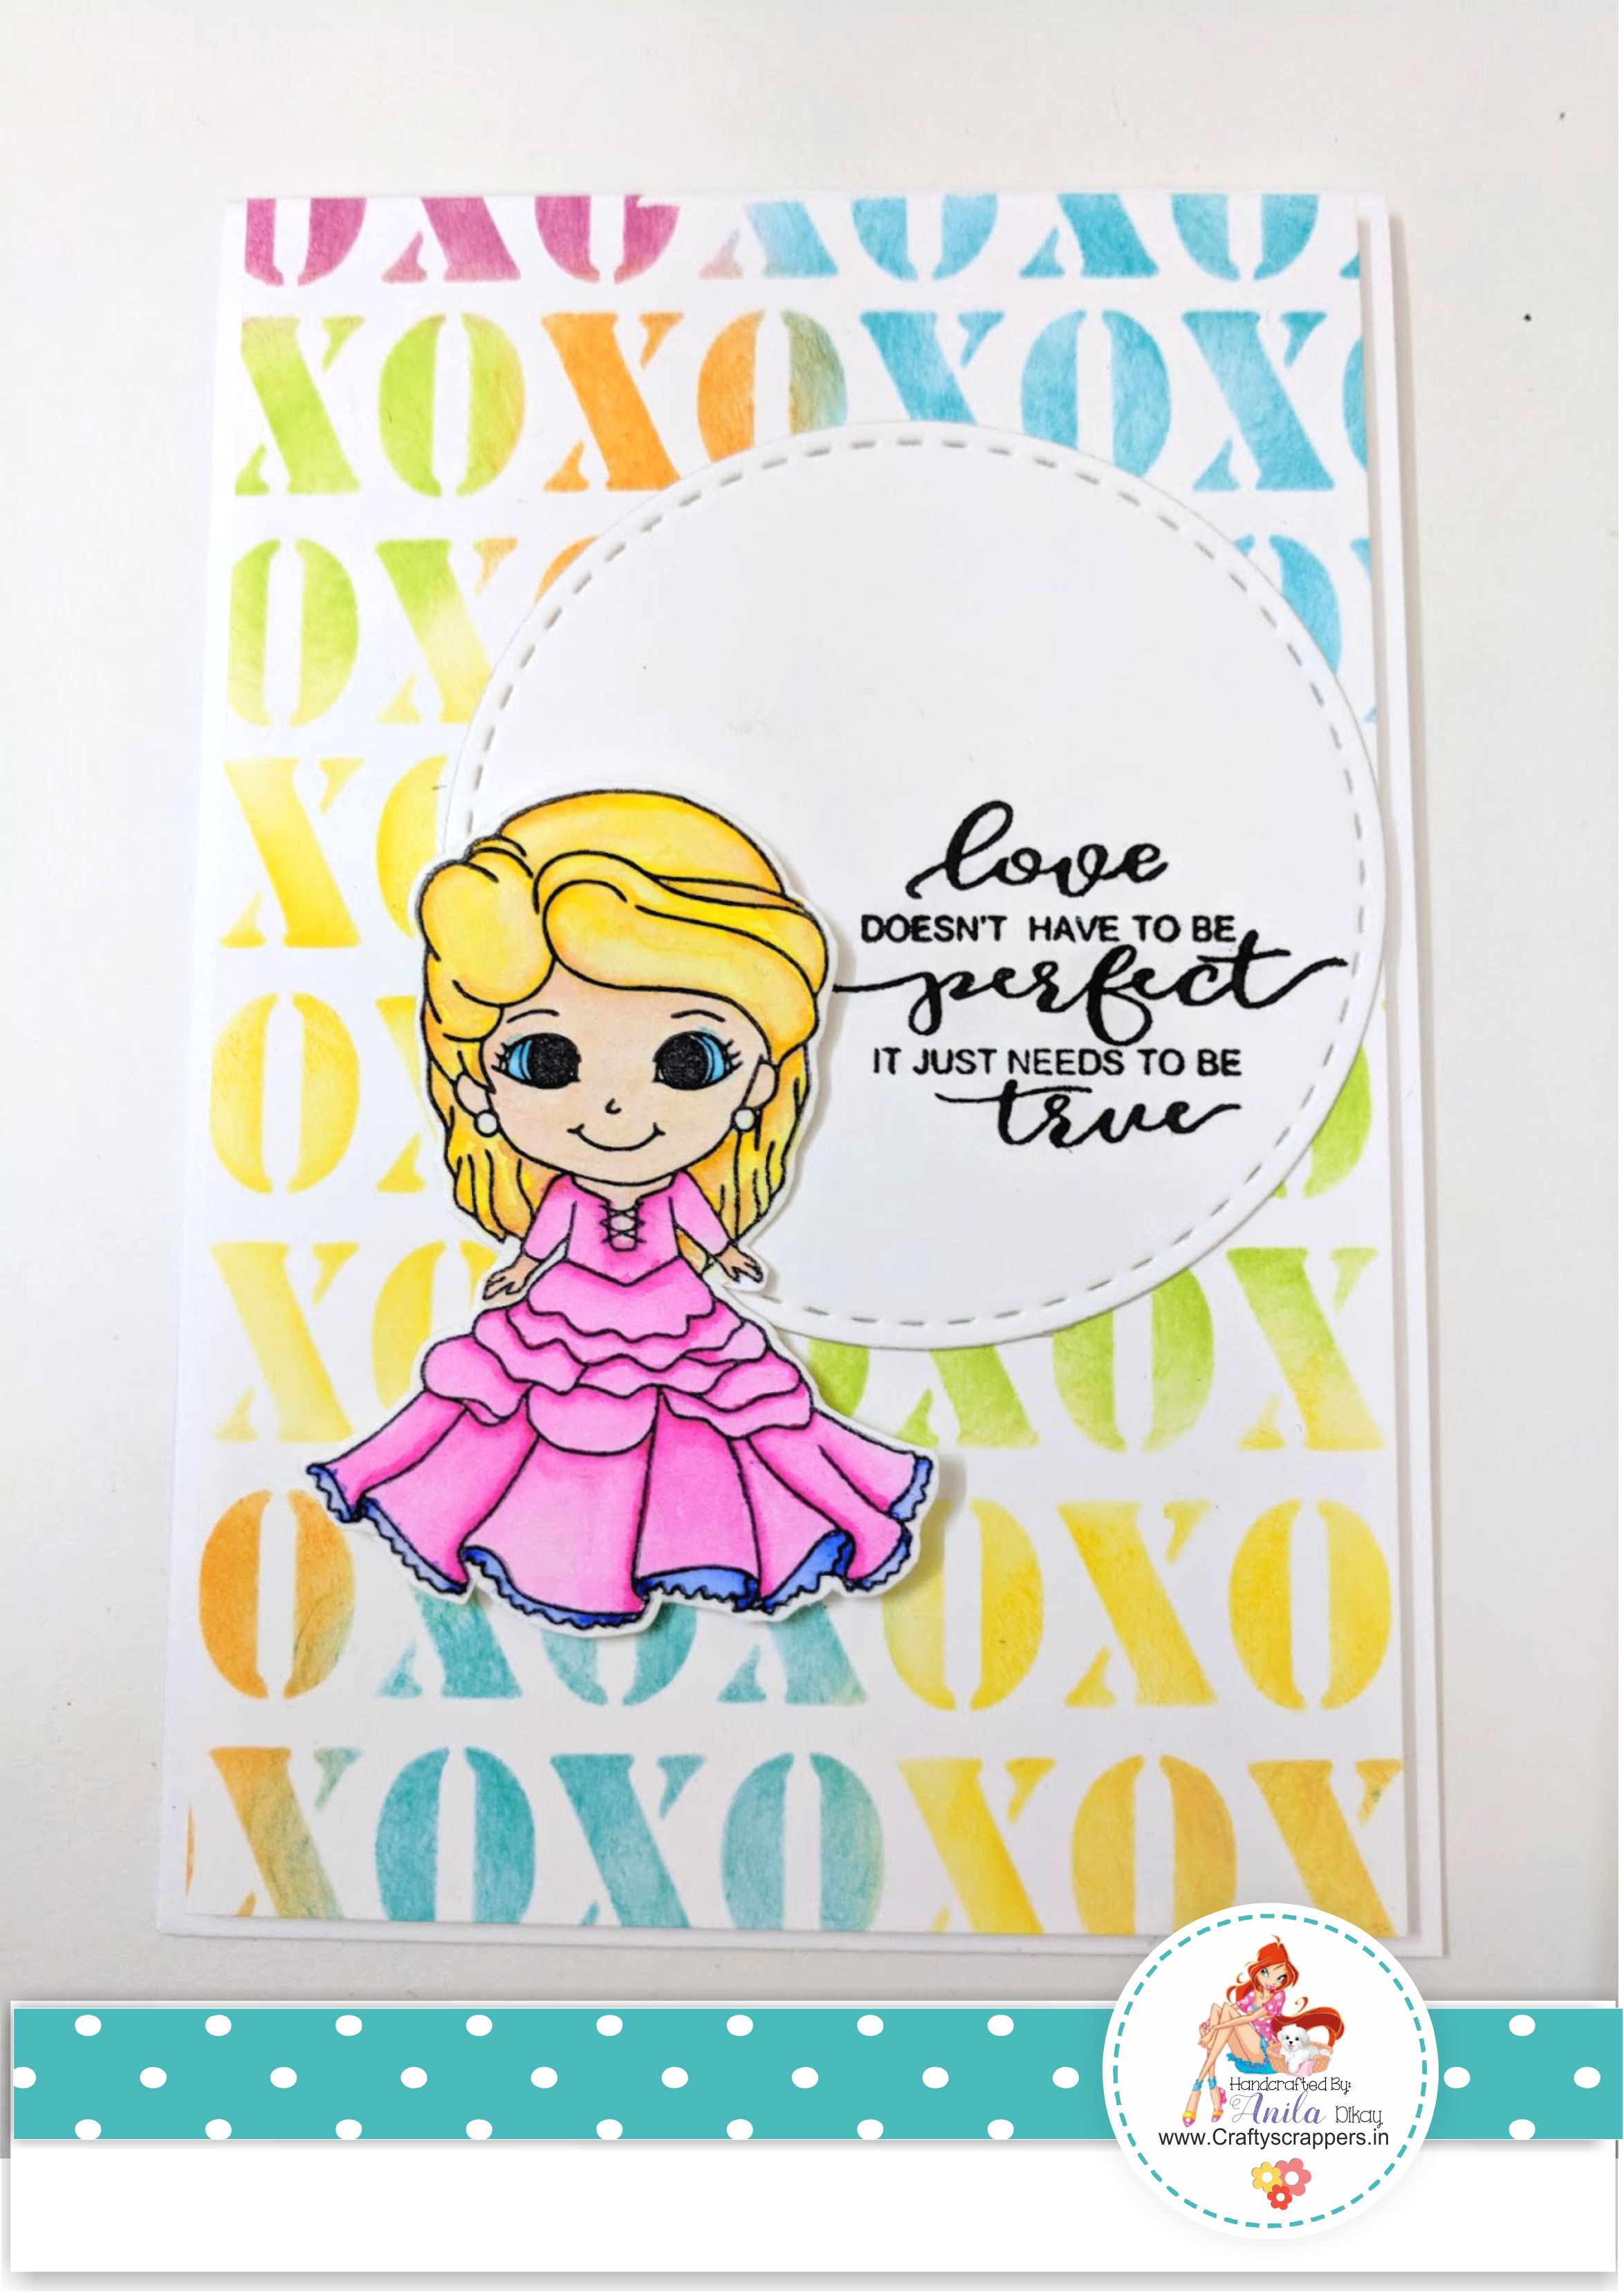

Lastly, added few sequins to complete my card.

Here are some close-ups of my card#1:

Along with the newly launched Mini stencil,

For this card, I took a 4″x6″ card panel.
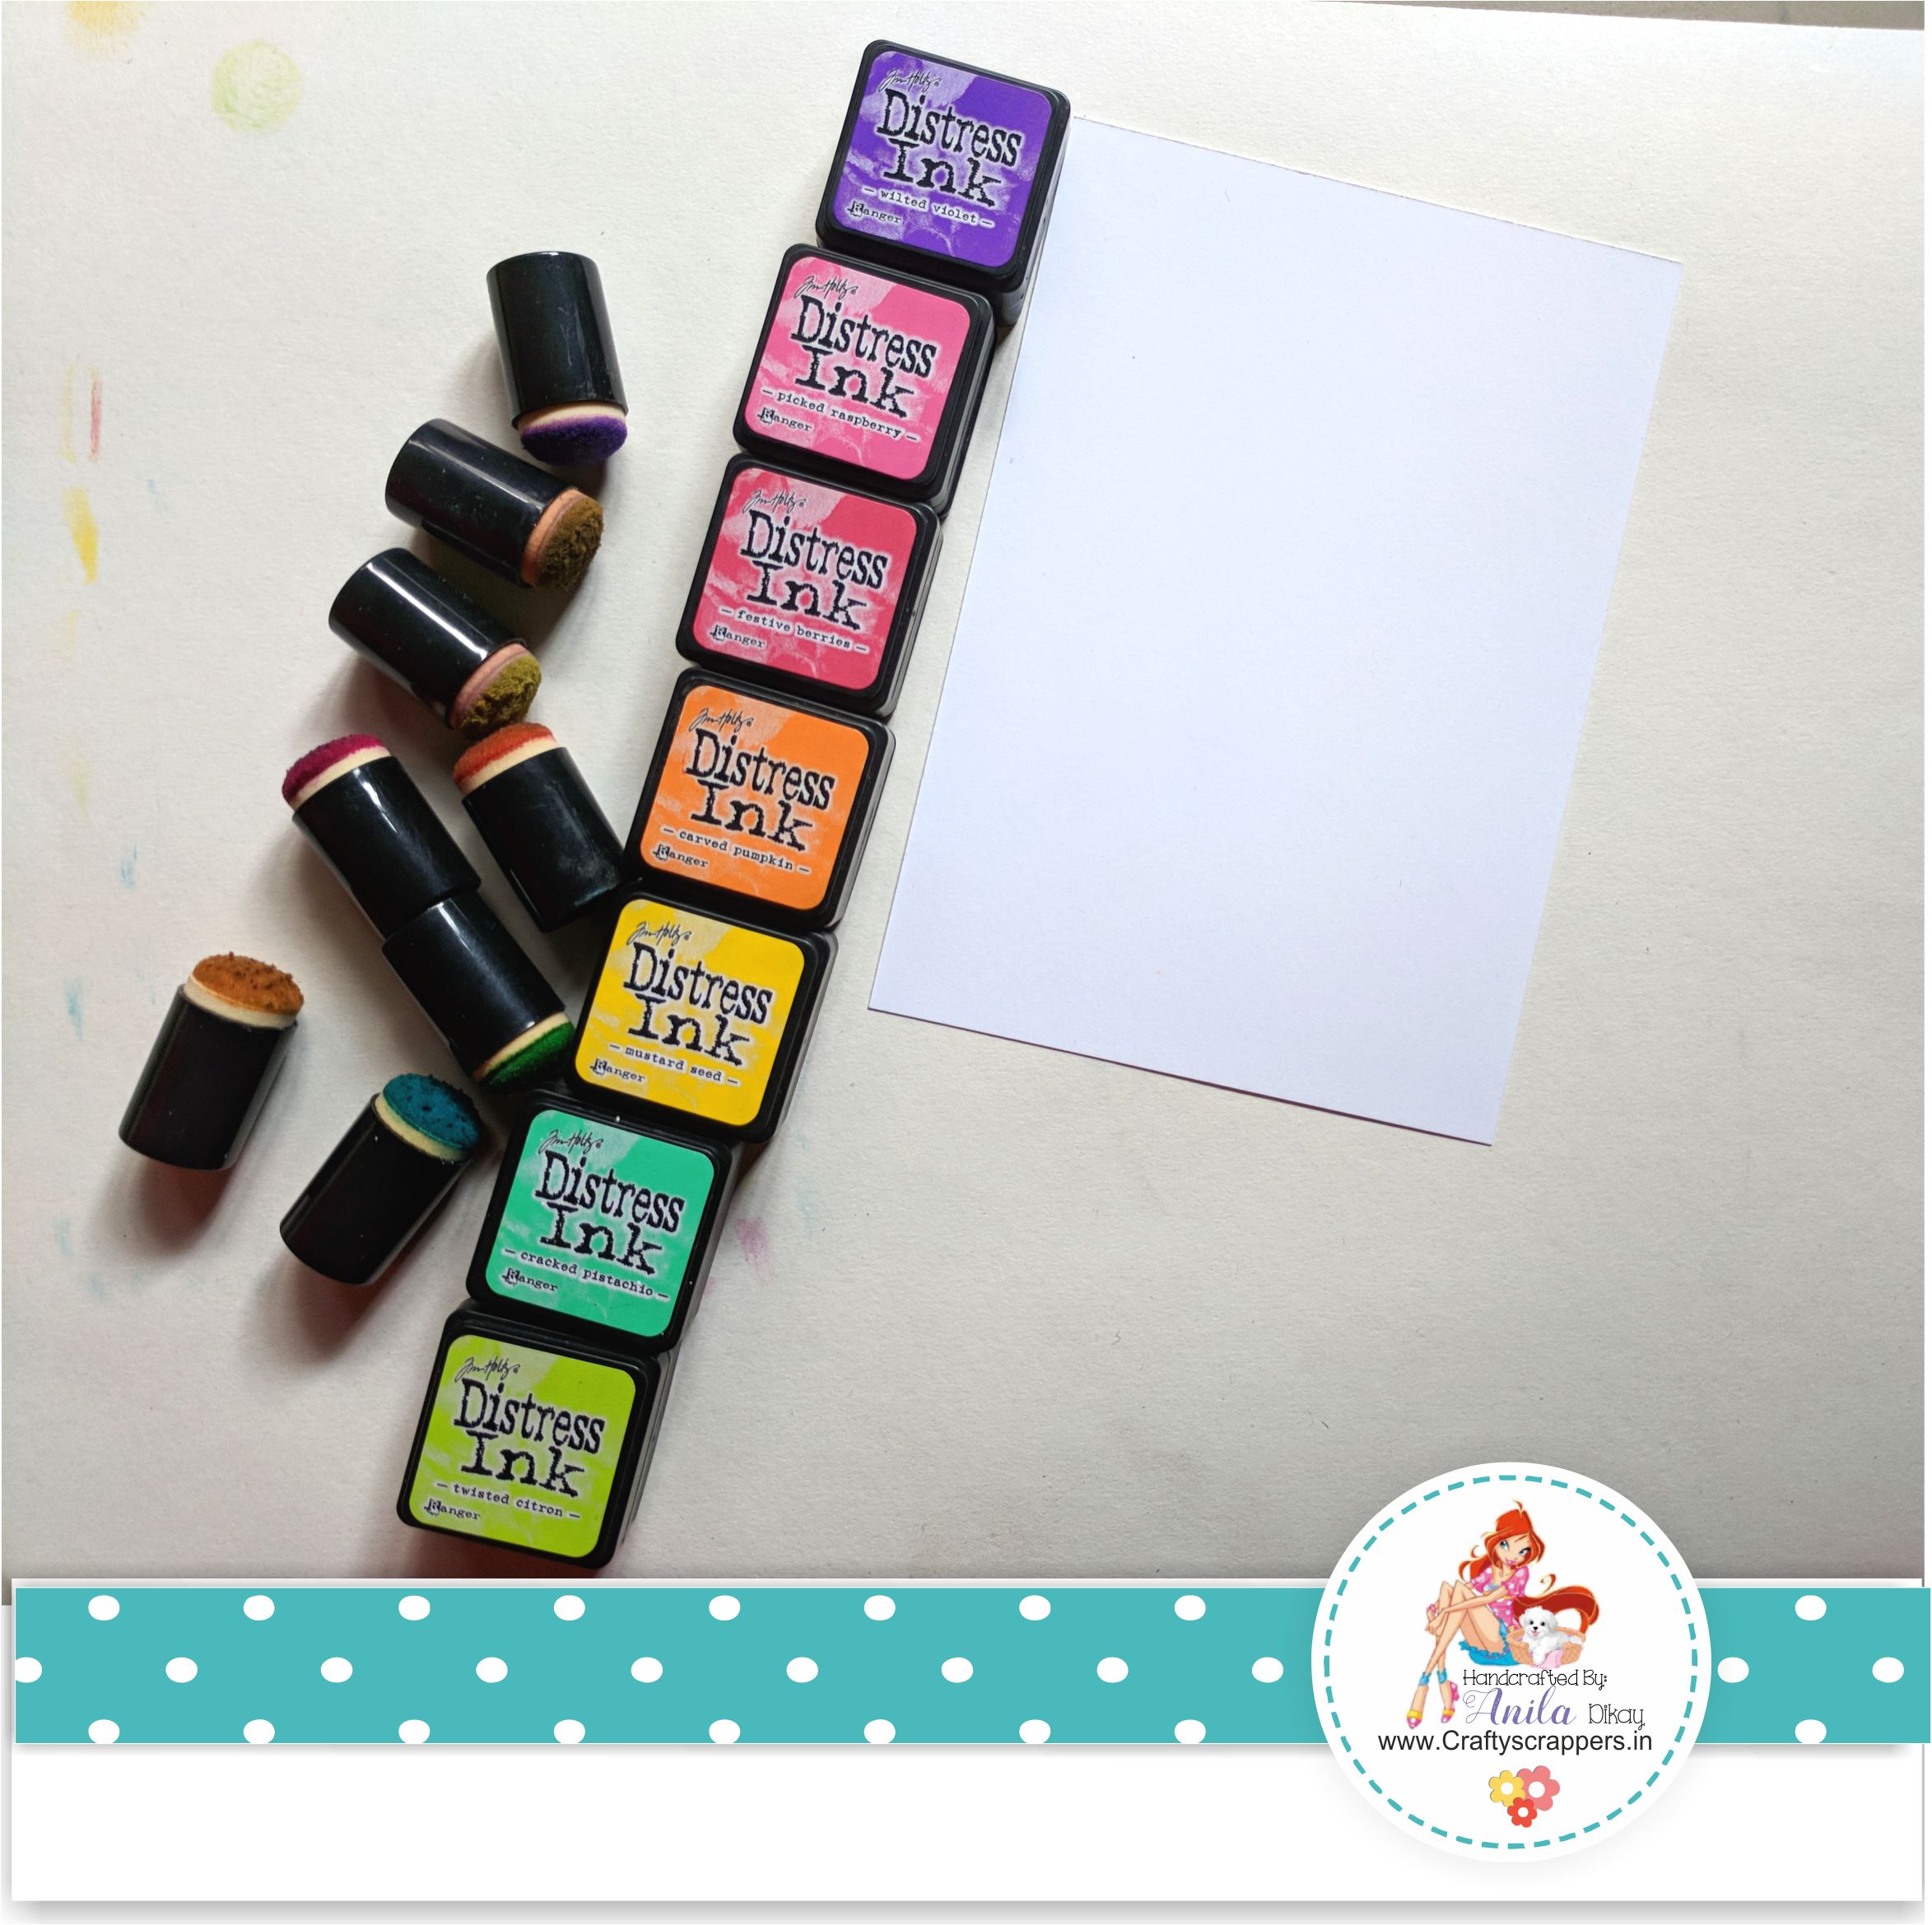
I distressed the entire panel creating a rainbow background,
using multiple distress inks. Let it dry.

Once dry trim the panel to get a 3″x6″ strip.
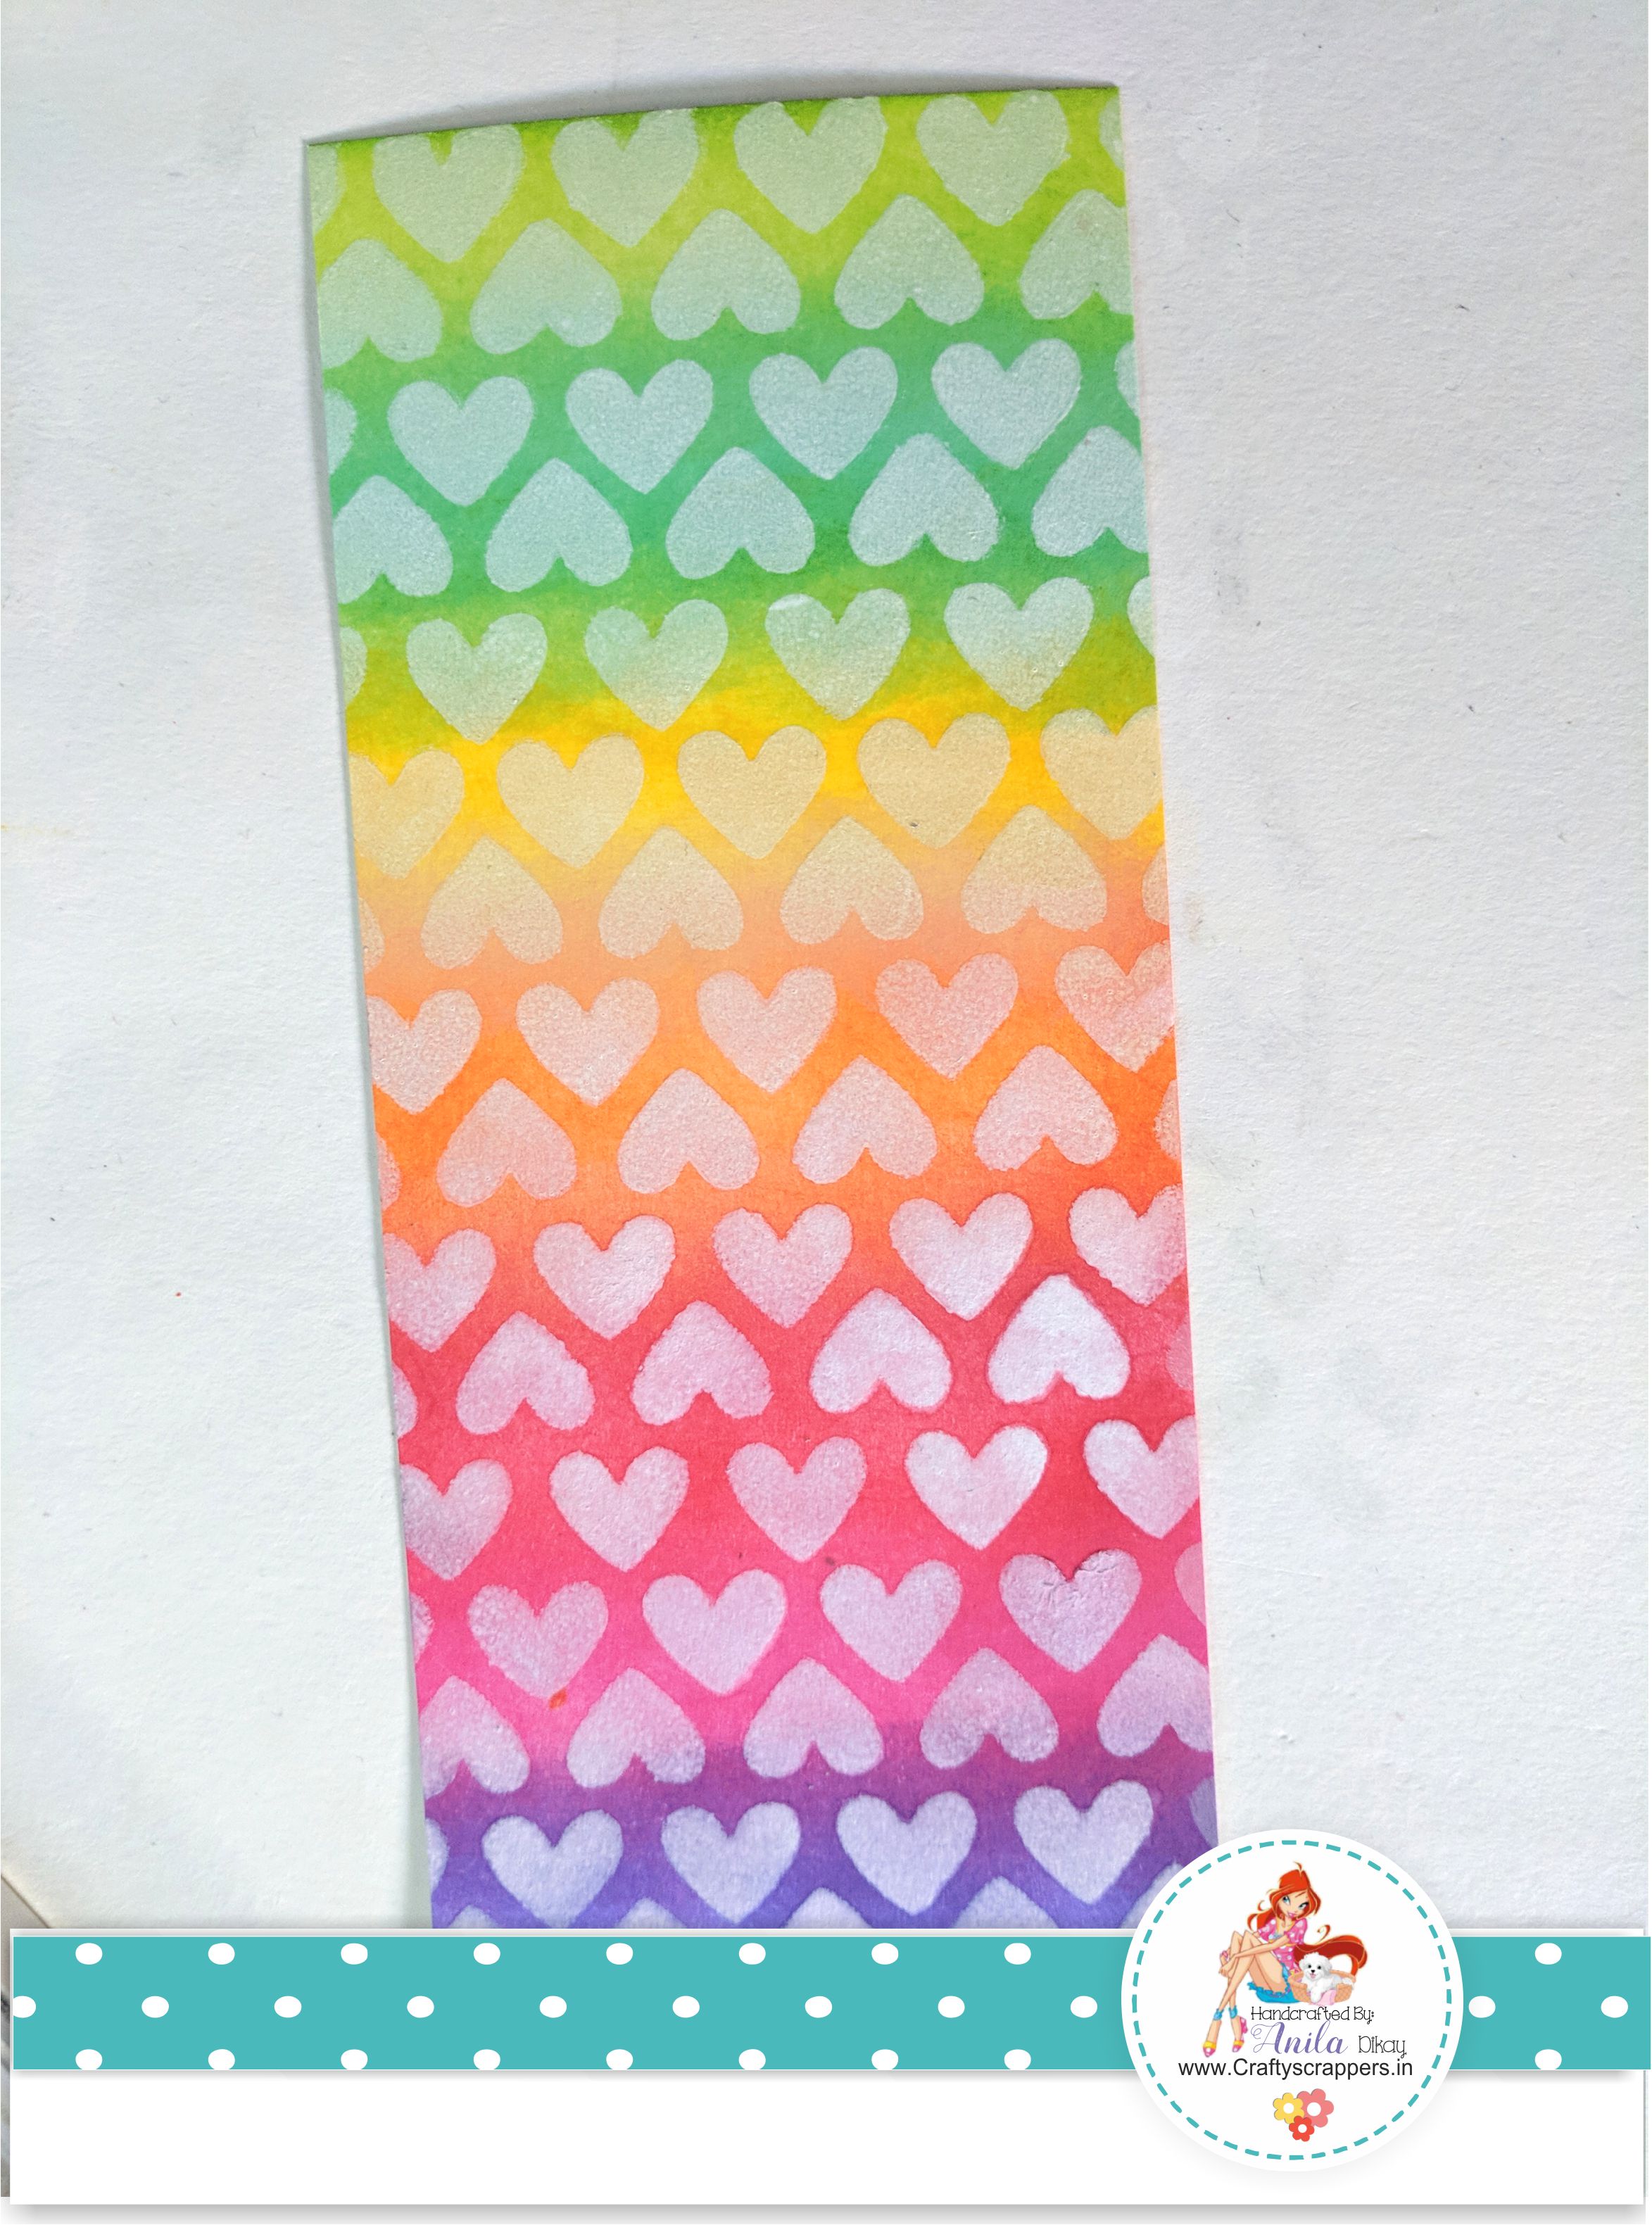
Using Unicorn white pigment ink from Hero arts,
I distressed the entire strip using Craftyscrappers hearts stencil.


Meanwhile, stamped the image, colored with zig markers and fussy cut the image. Stamped the sentiment on a white strip.
Adhered the sentiment and the image to the card.

Lastly, added glossy accents to the heart.
Here is a closeup:

Here are some close-ups of my card#2:


CARD#3
For my third card, I made a shaker card this time.

For my Third card, I have used the February released stamp set,
![ST-LOV-28[to my otter half].jpg](https://craftyscrappers.files.wordpress.com/2018/02/st-lov-28to-my-otter-half1.jpg?w=800)
Along with the newly launched stencil,
I distressed a blue card base using Unicorn white pigment ink from Heroarts,
through the XOXO stencil.

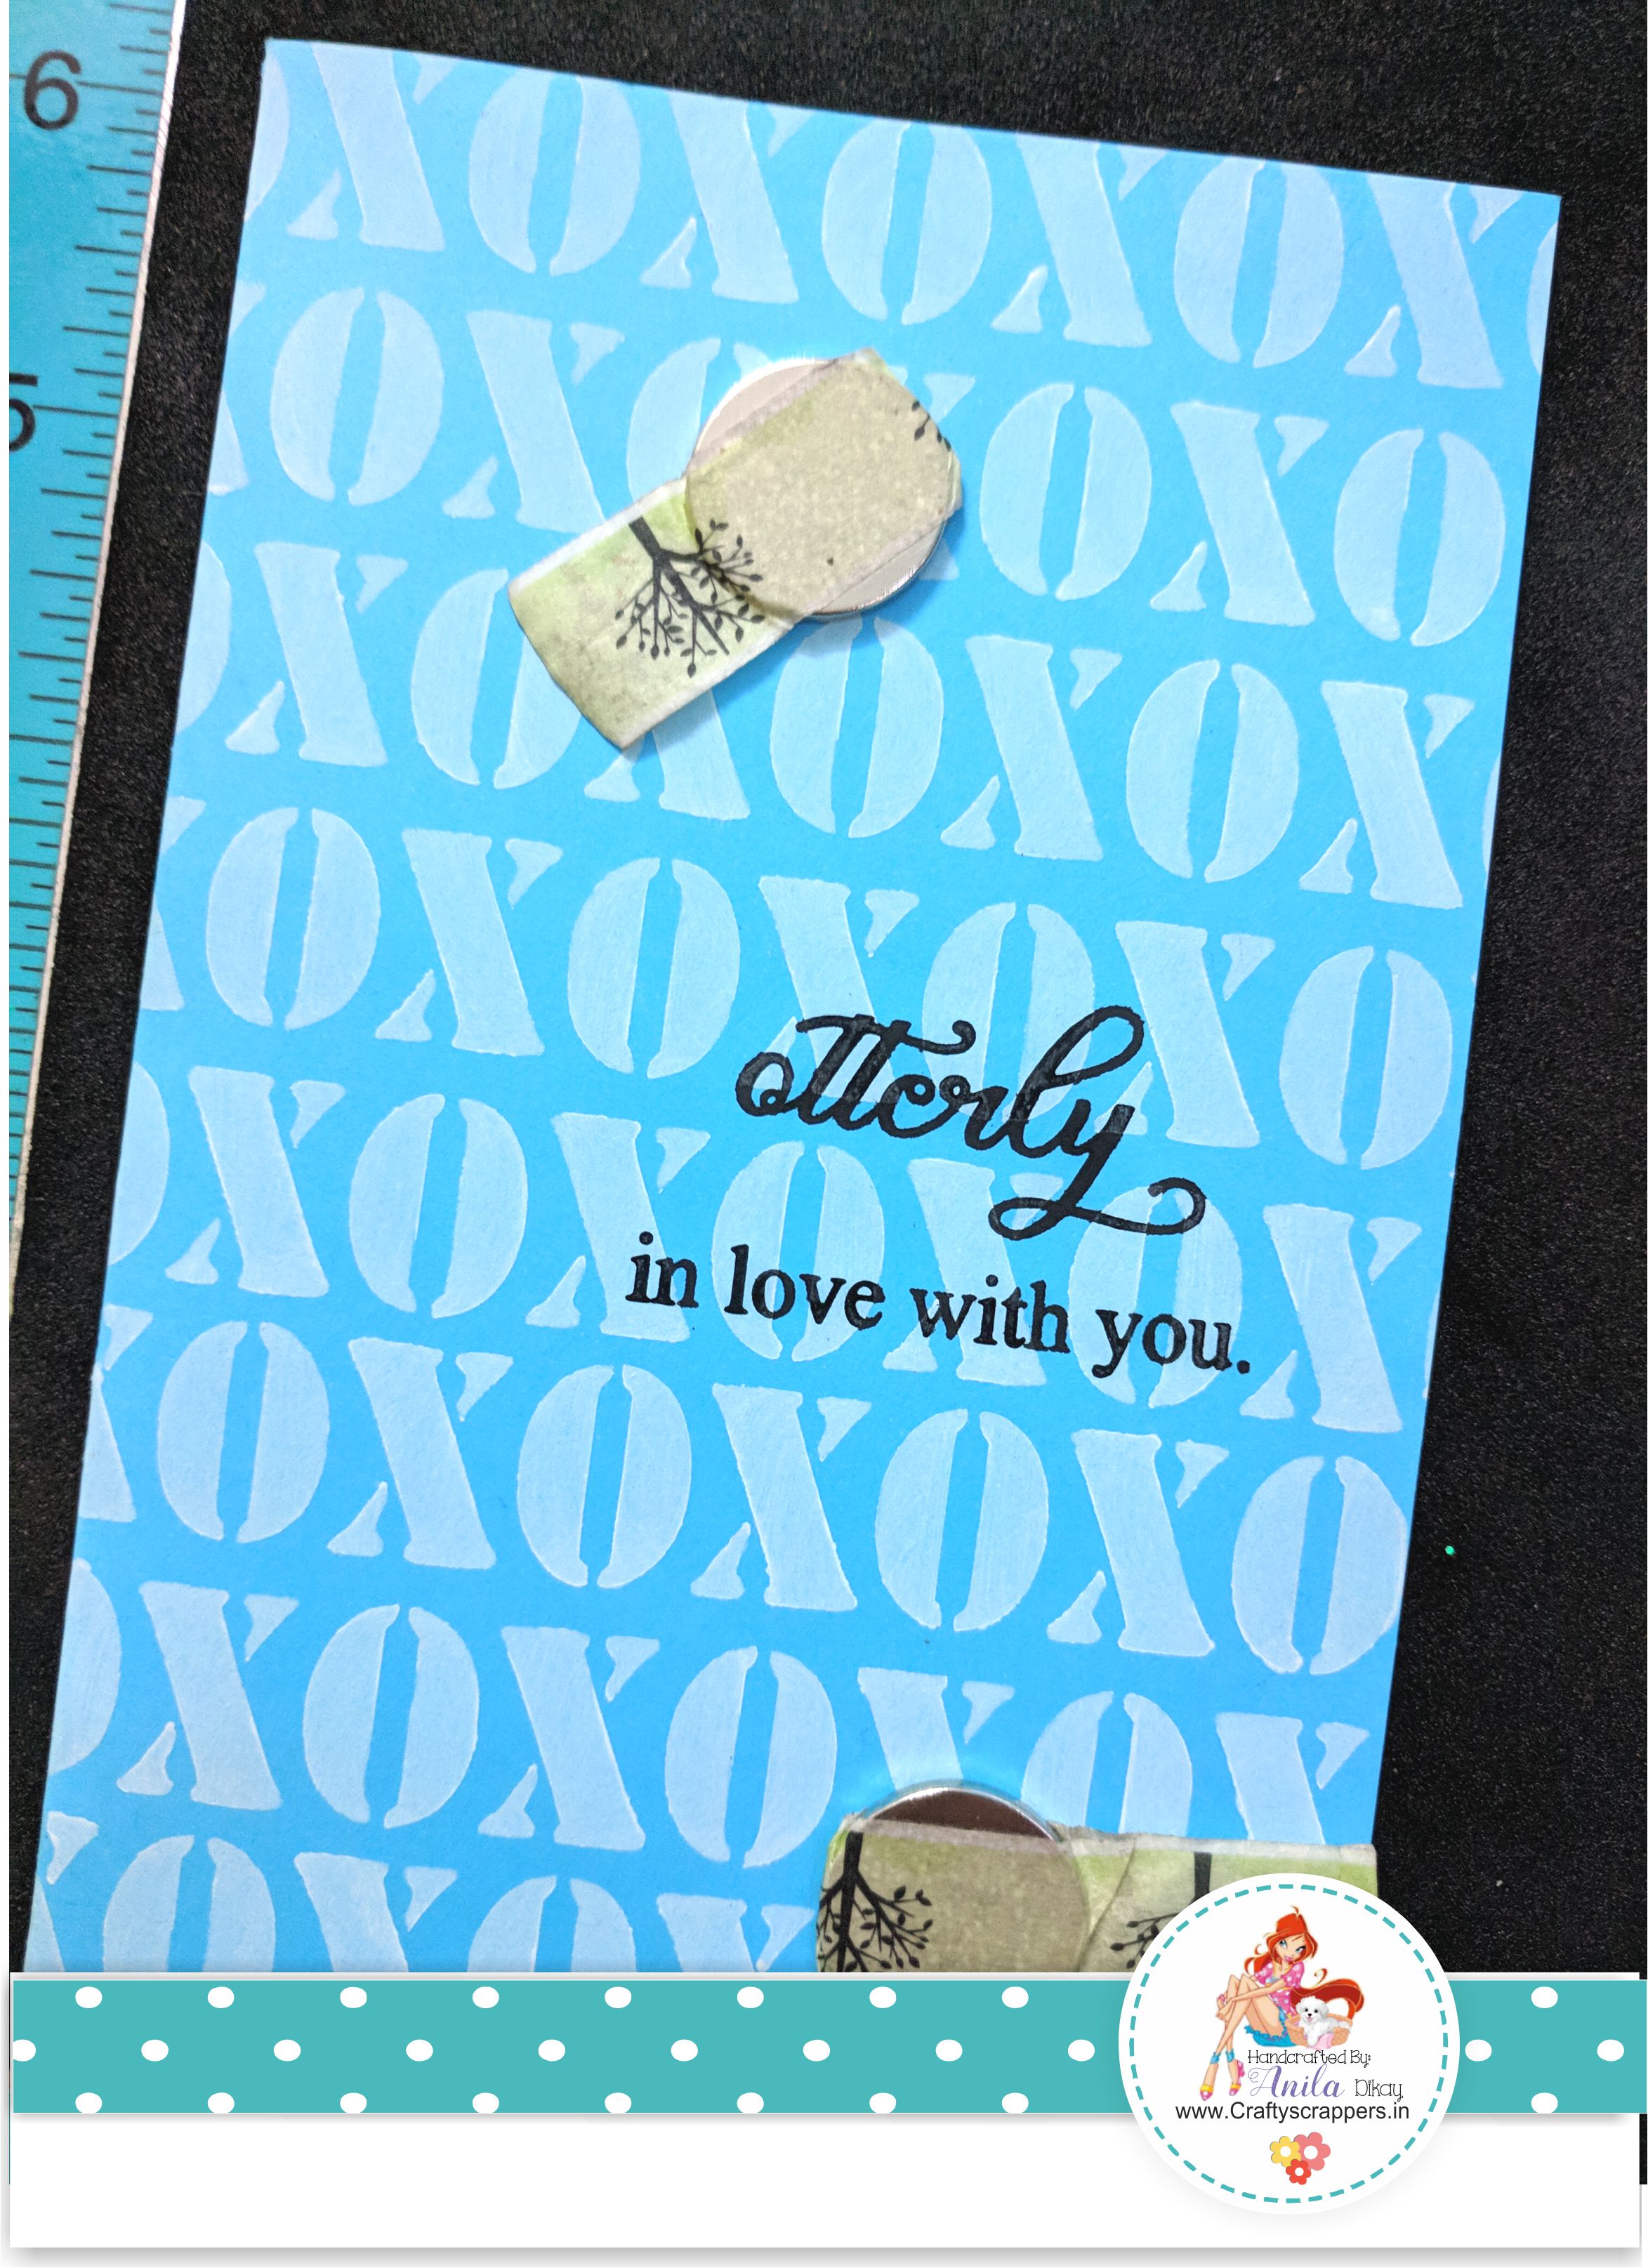
Prepare the shaker window using a circle die-cut ring and acetate sheet. Fill the shaker elements and mounted the ring using foam adhesive.
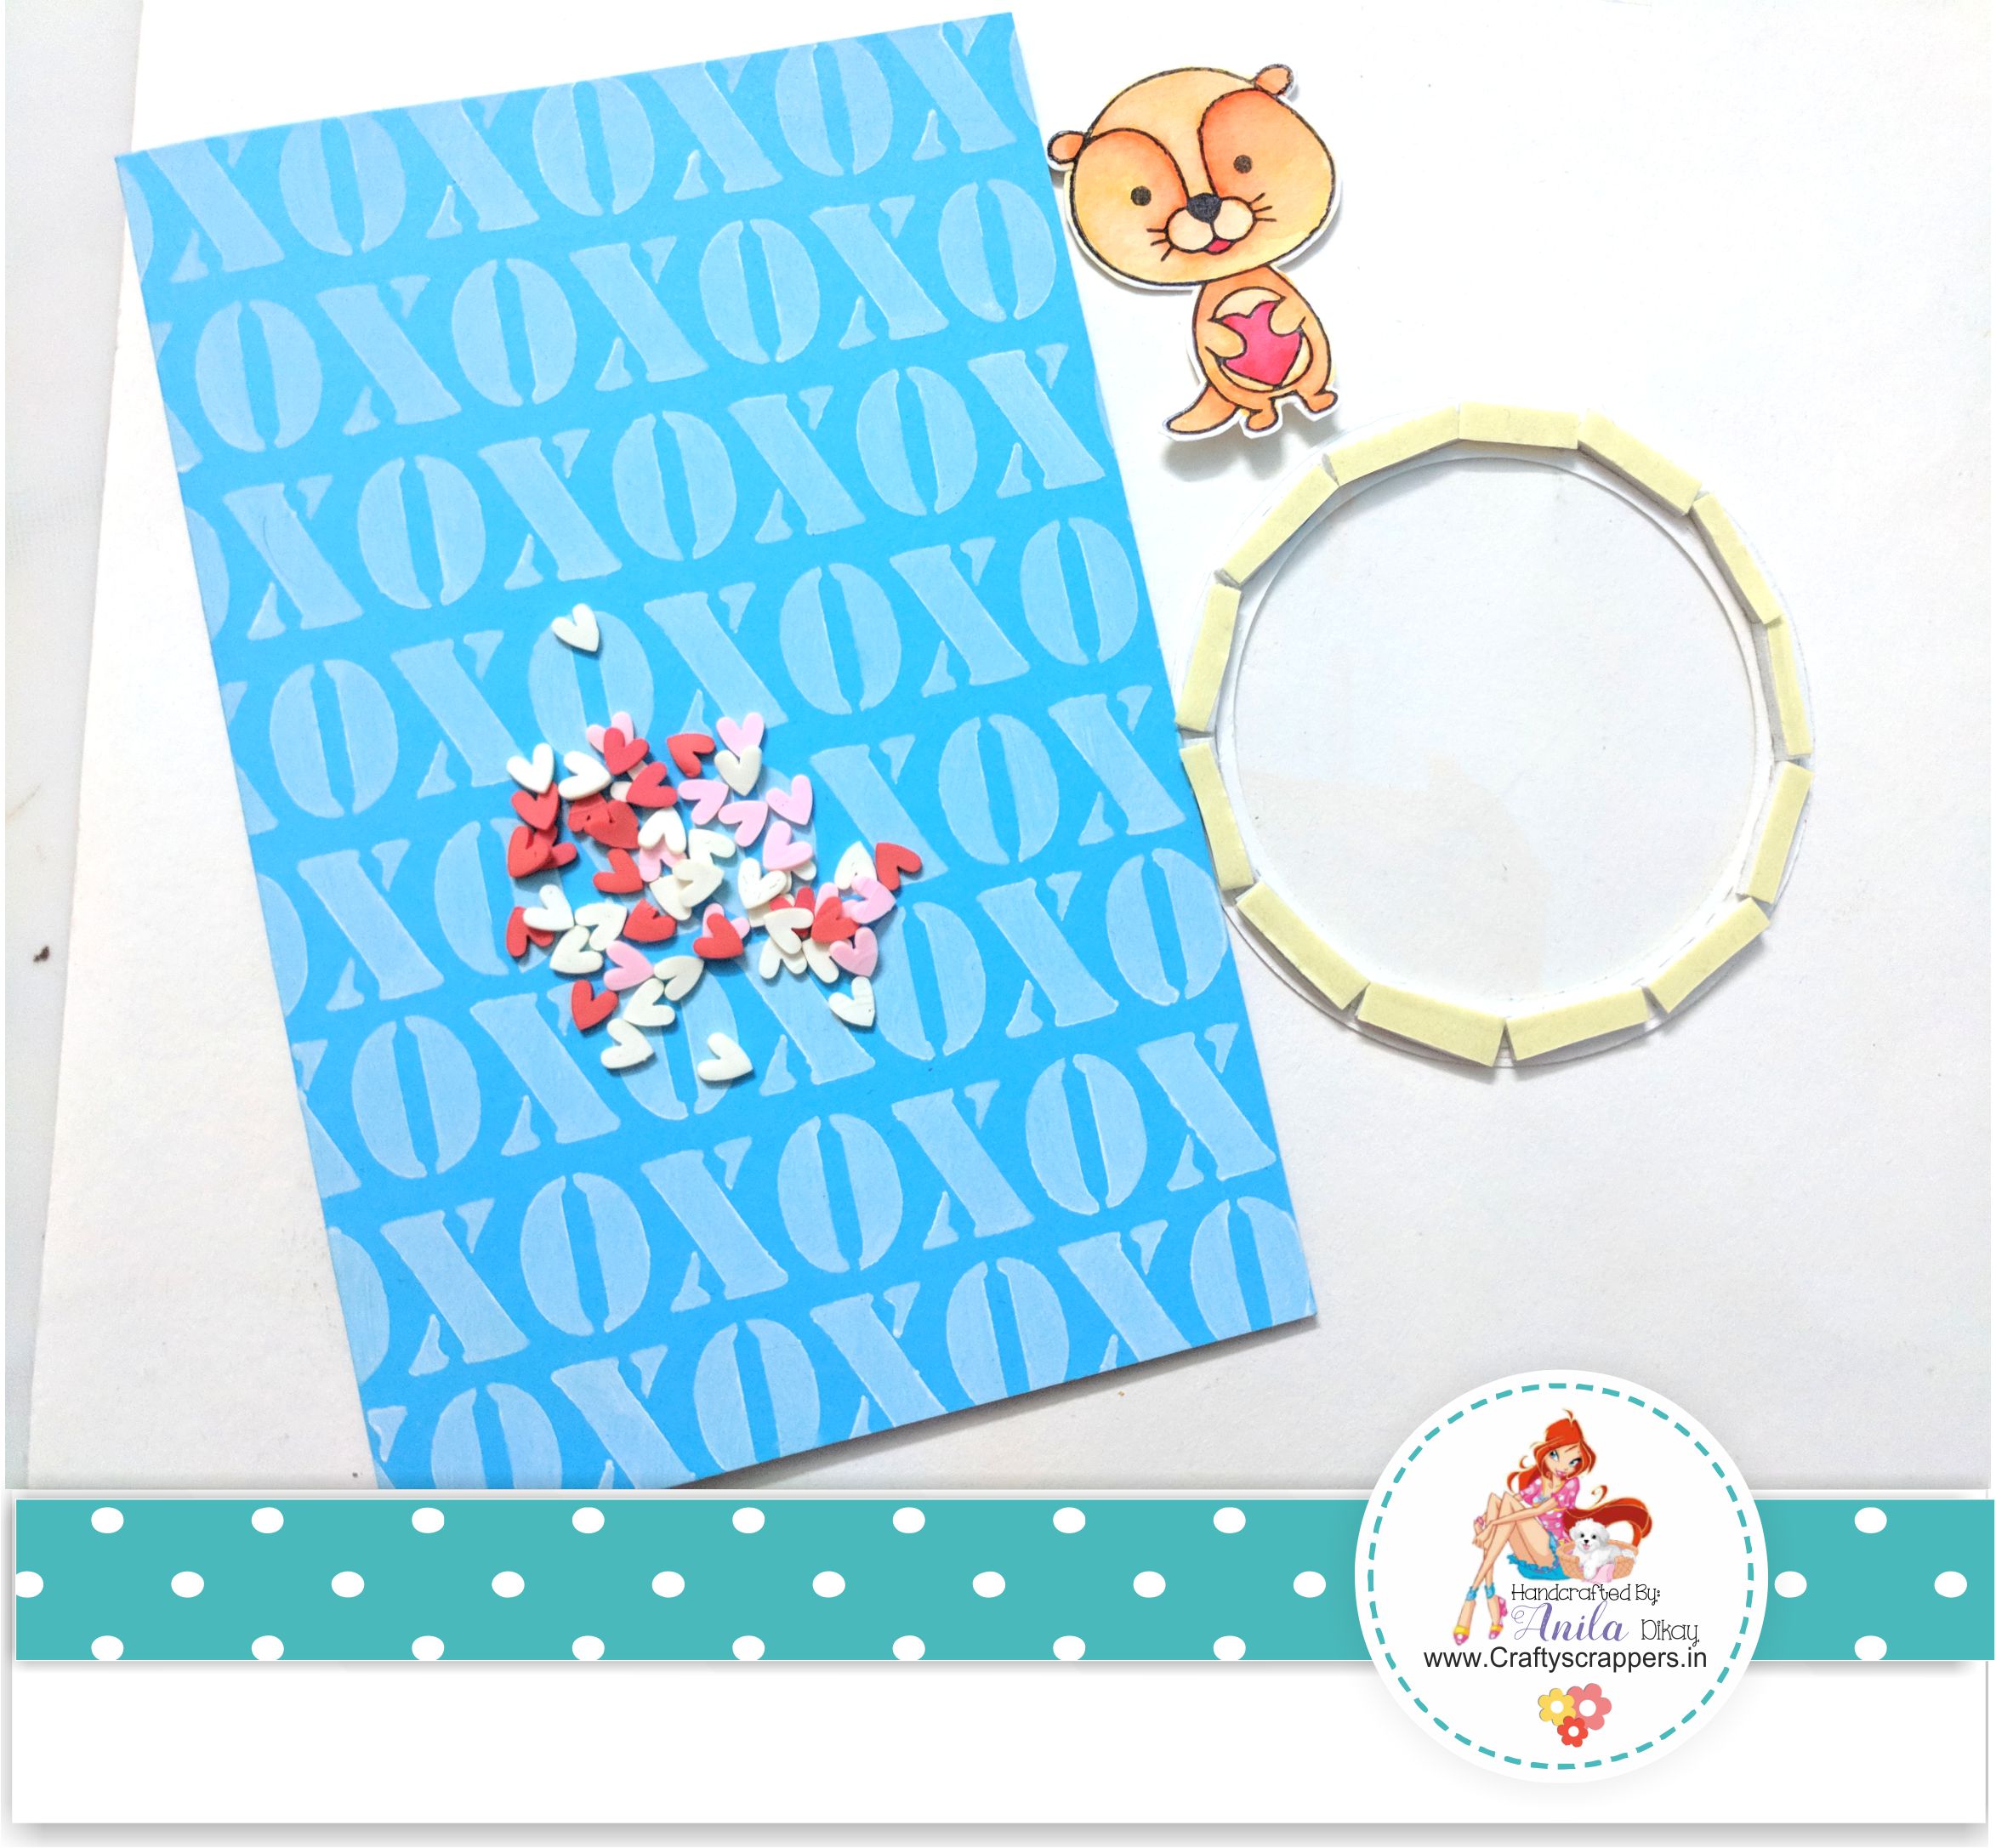
Meanwhile, stamped the image, coloured with zig markers,
fussy cut the image and later mounted it on to the card.
Here is a closeup:

I was so much addicted making these cards, that i created a bonus card at last.
Totally in love with the cute critters of the stamp set, “TO MY OTTER HALF”
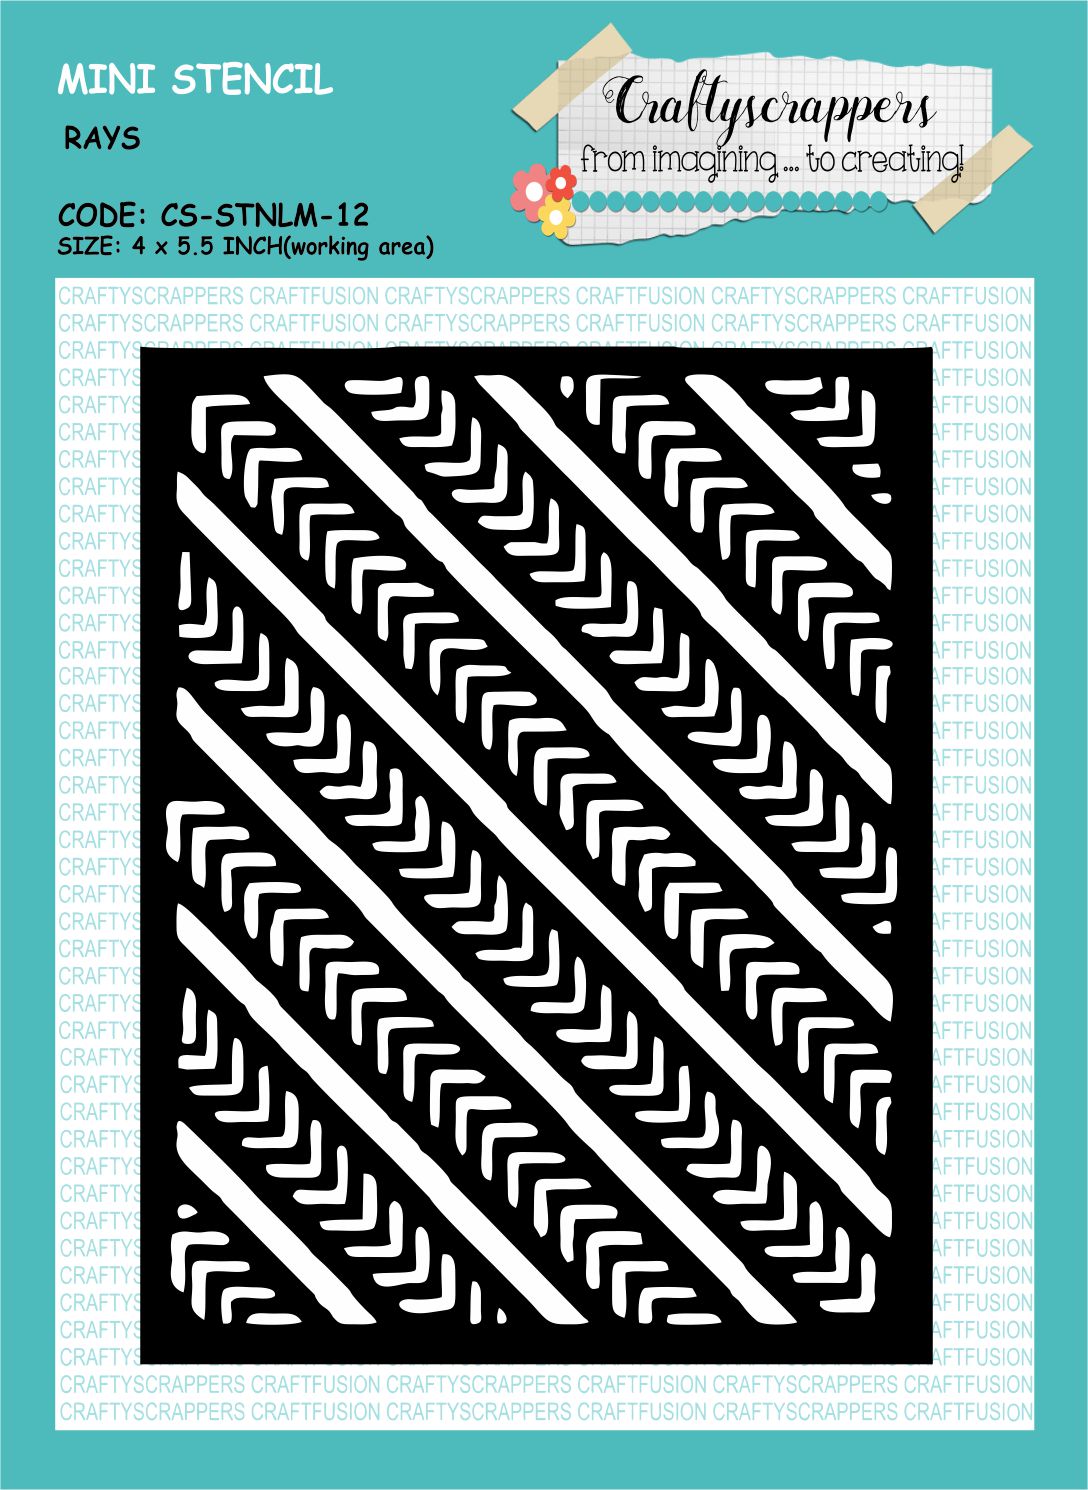
and i have also used the Rays stencil from Craftyscrappers.
Heres how the bonus card looks:
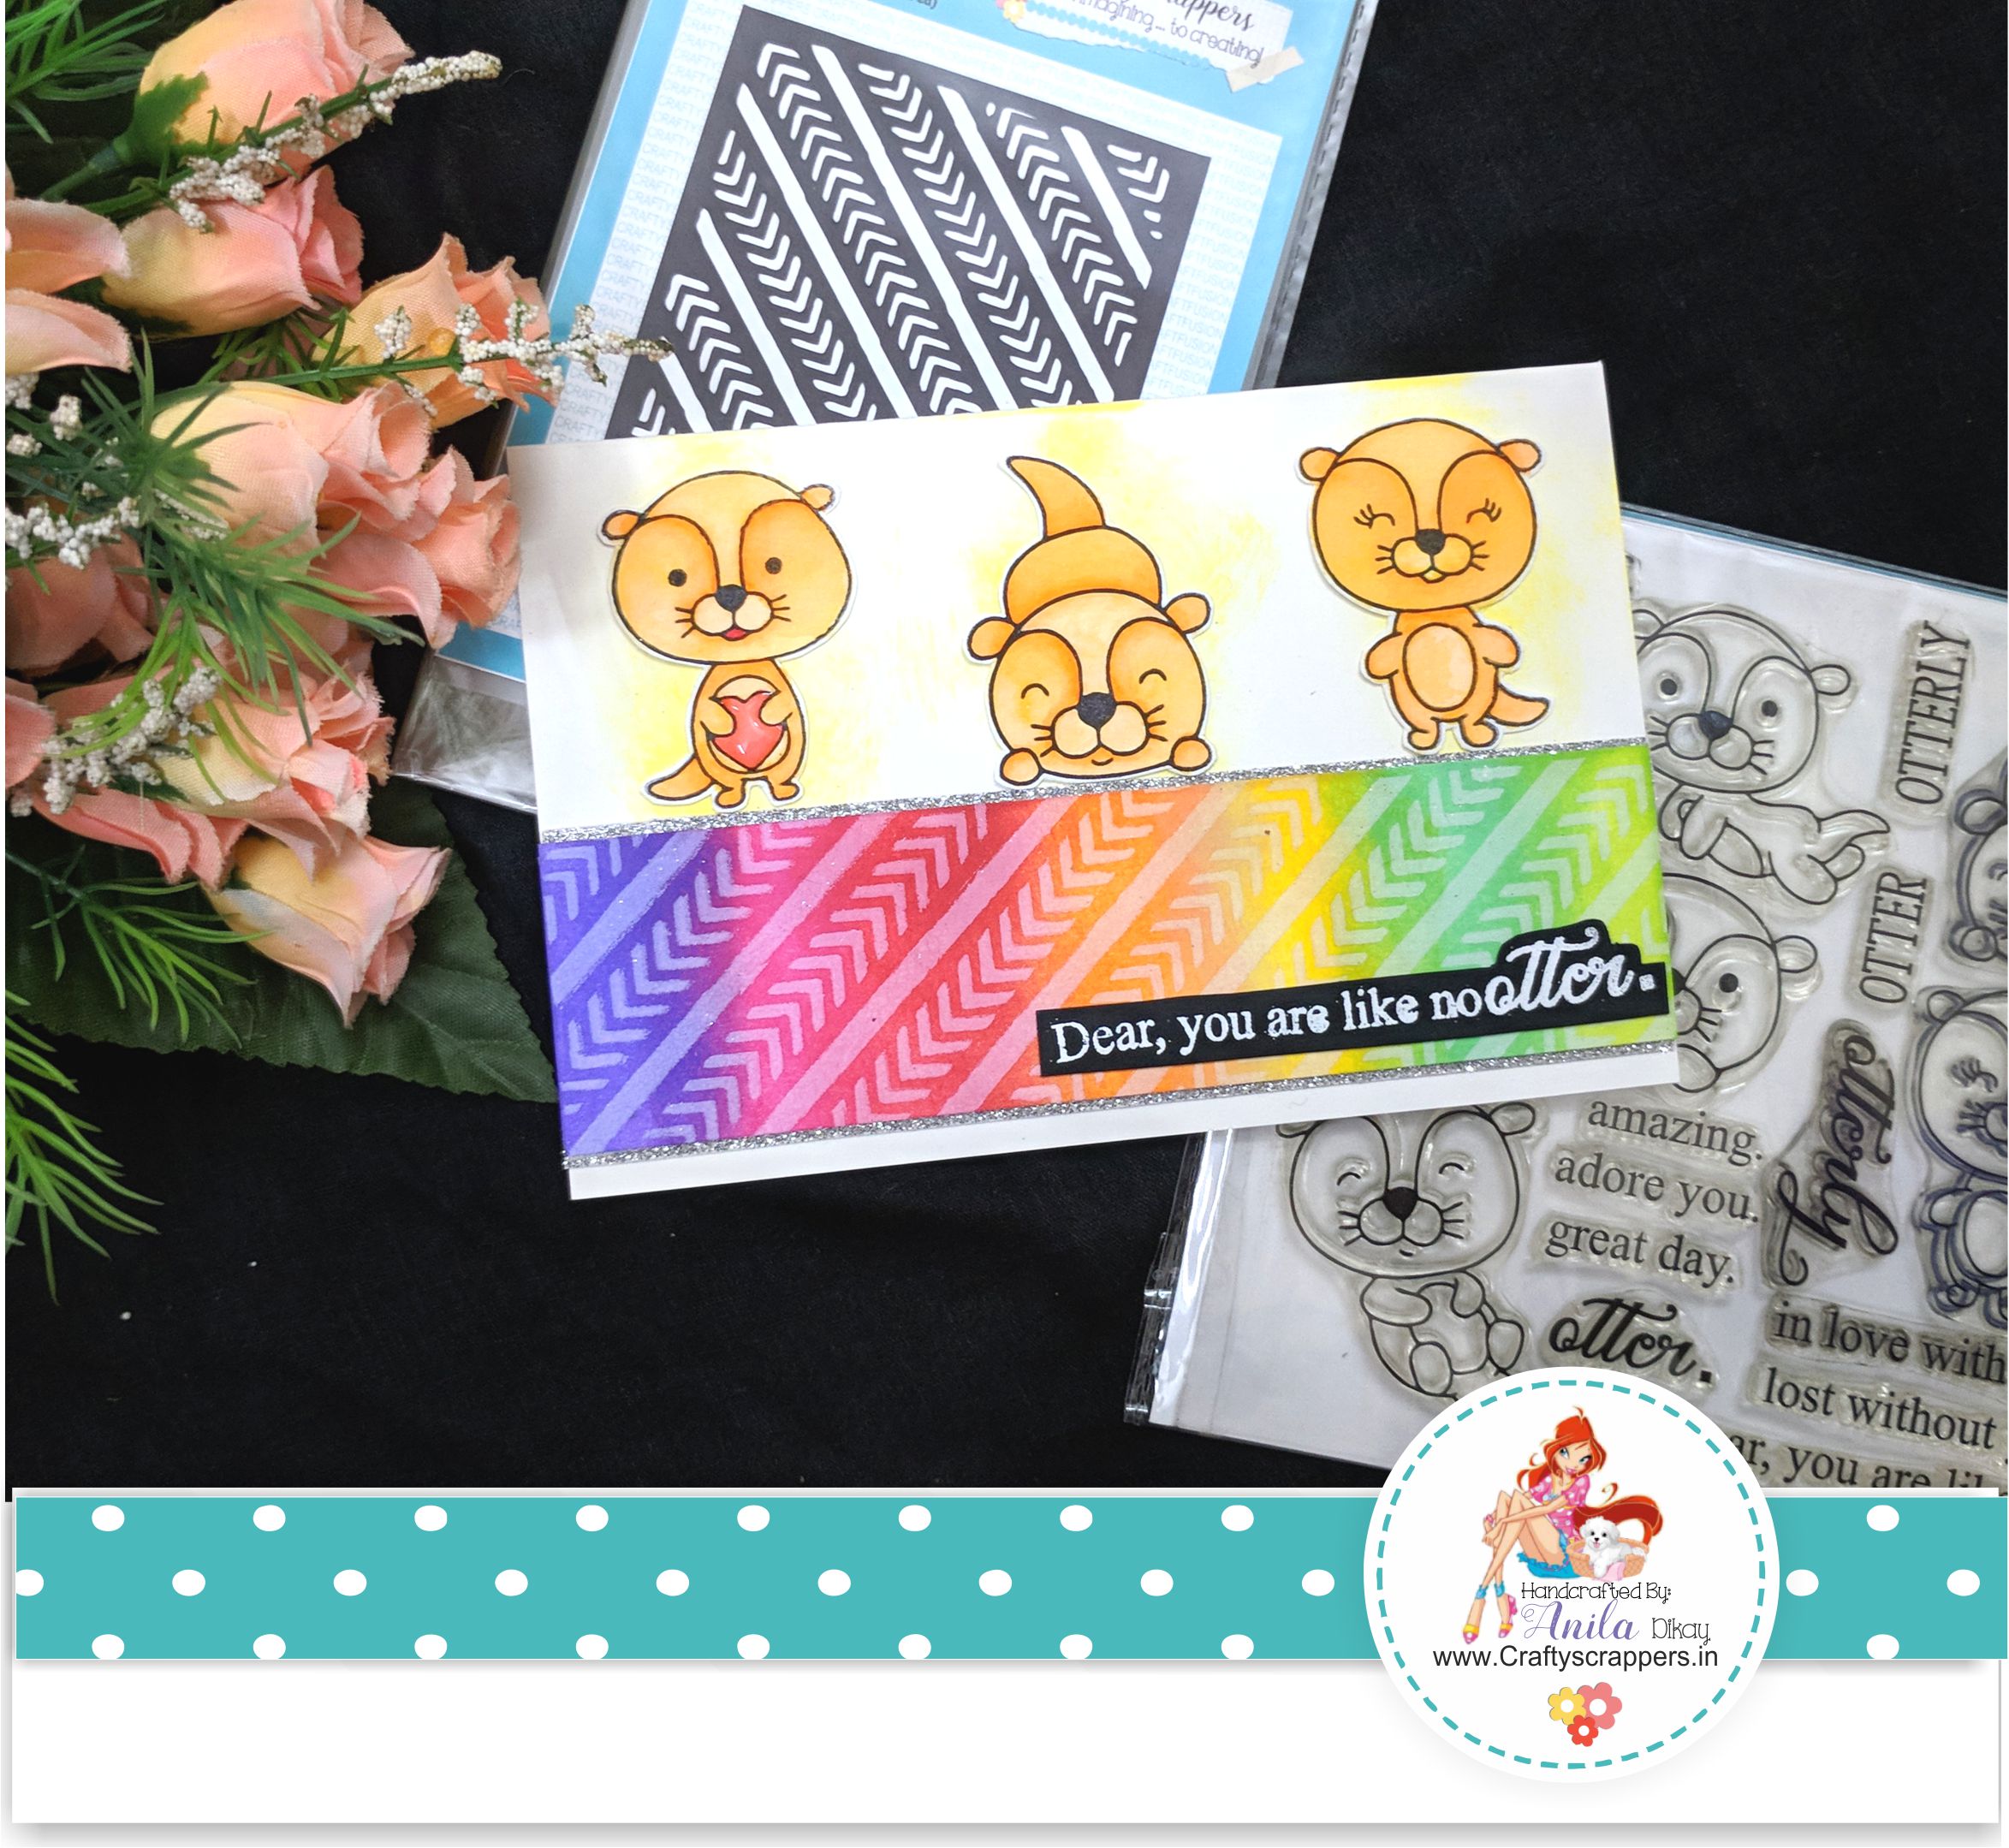
The bonus card, I made using the Rays stencil and To my Otter half stamp set.
This card is made using all the extra supplies that were leftover after finishing the above cards.
A BRIEF TUTORIAL:
- I have used the leftover multi-coloured strip and distressed it with the Rays stencil using white pigment ink.
- Matted this strip with silver glitter paper and adhered it to a card base.
- I have also used all the extra critter images to complete the card.
- Lightly brushed the Background with Squeezed lemonade Distress Ink before adhering the critters.

- Craftyscrappers stamp sets:
TALE AS OLD AS TIME
TO MY OTTER HALF - Craftyscrappers Stencils:
XOXO
HEARTS
RAYS
So That’s all from my end today.I Hope you enjoyed my cards.
Do let me know which one is your favorite.
Do leave some love and feedback below and I will be back soon for more inspirations!
Don’t forget to join in our craft challenges,(details at the beginning of the post!)
You can participate via mr.linky (at the end of the challenge post)or via facebook,Instagram and even via email.
(While sharing your creation post over the social media, ie
Facebook/twitter/instagram
please use #Craftyscrappers challenge20 to qualify for submission,
failing to do so, the entry would be disqualified.)
Have a fabulous Day!
Happy Crafting!
