
This is Anila and i am on the craftyscrappers blog today with a tutorial showing you how to stretch your stamps and use them to decorate your Candles. My tutorial today shows using the available stamps as per the occasion and create these beautiful themed candles.

Our challenge for this month of DECEMBER is ongoing.
If you missed our previous post,check it out here…
You can create any project using embossing technique.
This embossing can be in any form,wet or dry,on stamps,through stencils or pastes.
it can be a layout, a journal page, a simple card, interactive cards,
mixed media canvas or project, altered art, anything crafty!
- Last date of submission is 31st DECEMBER,2017

To win the amazing goodie bag!
(Prize reveal will be up soon!)
Let me share now the procedure, how to make one easily…
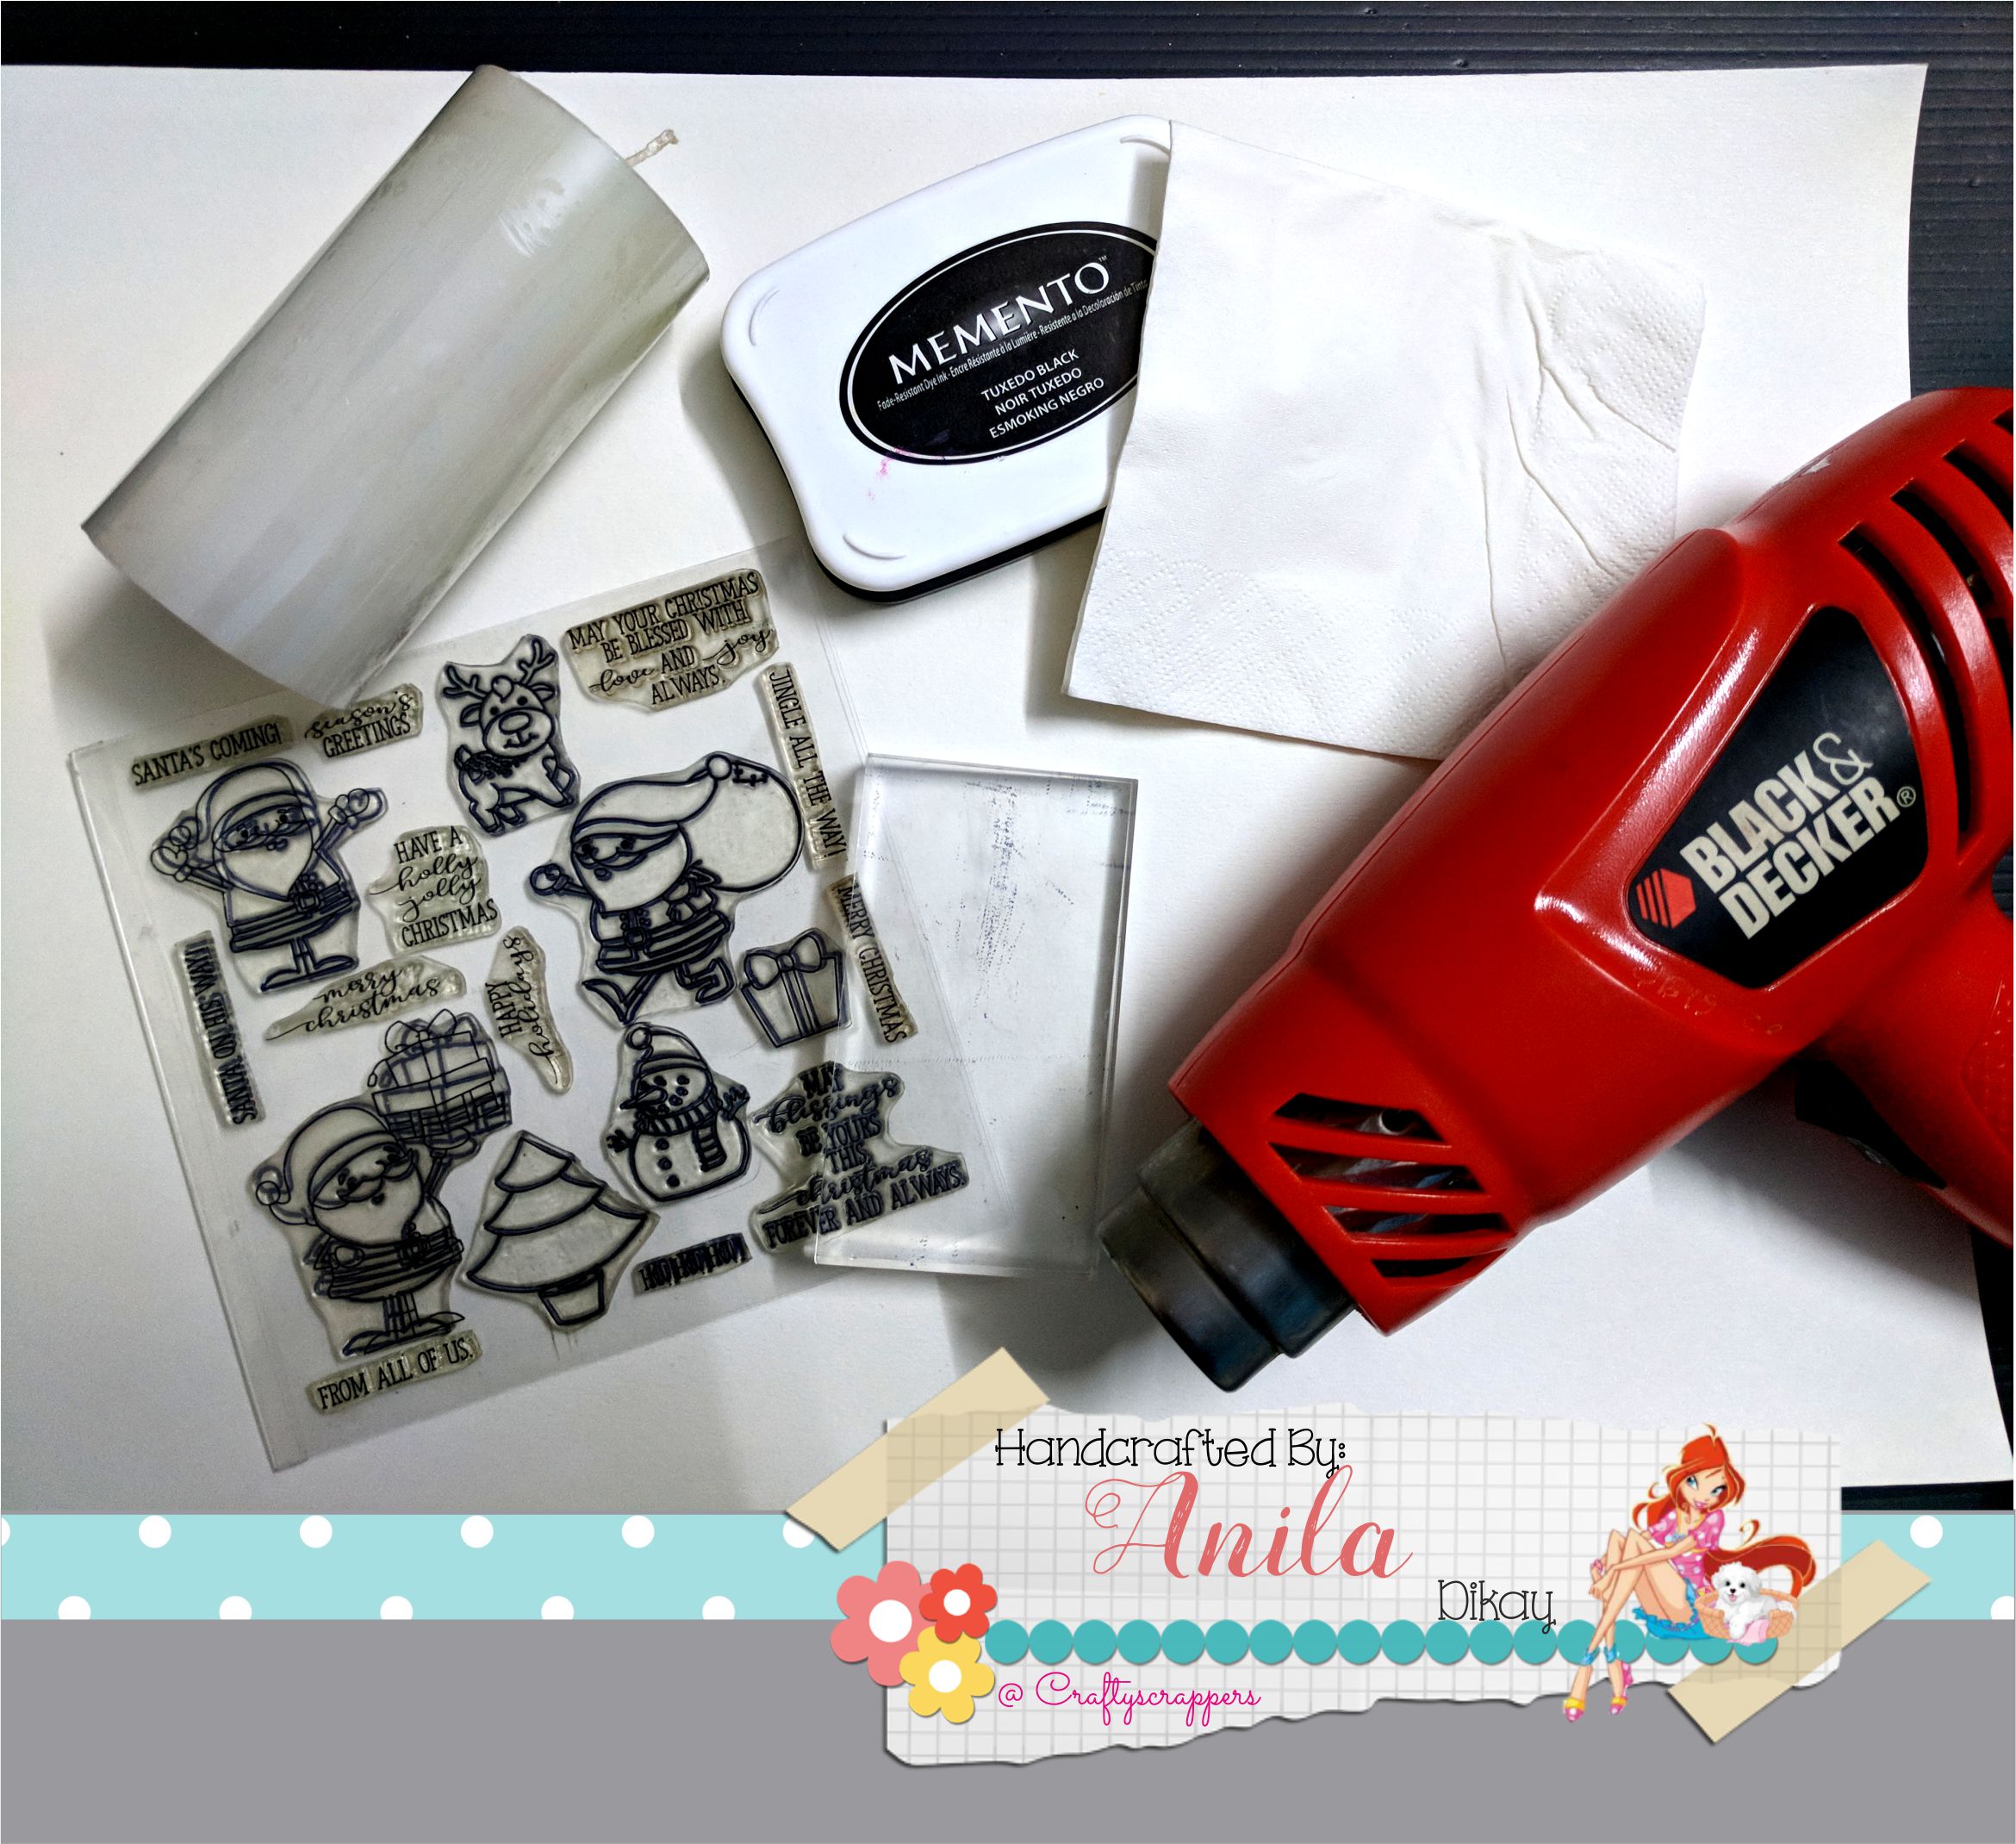
but before that, let me share the products used.

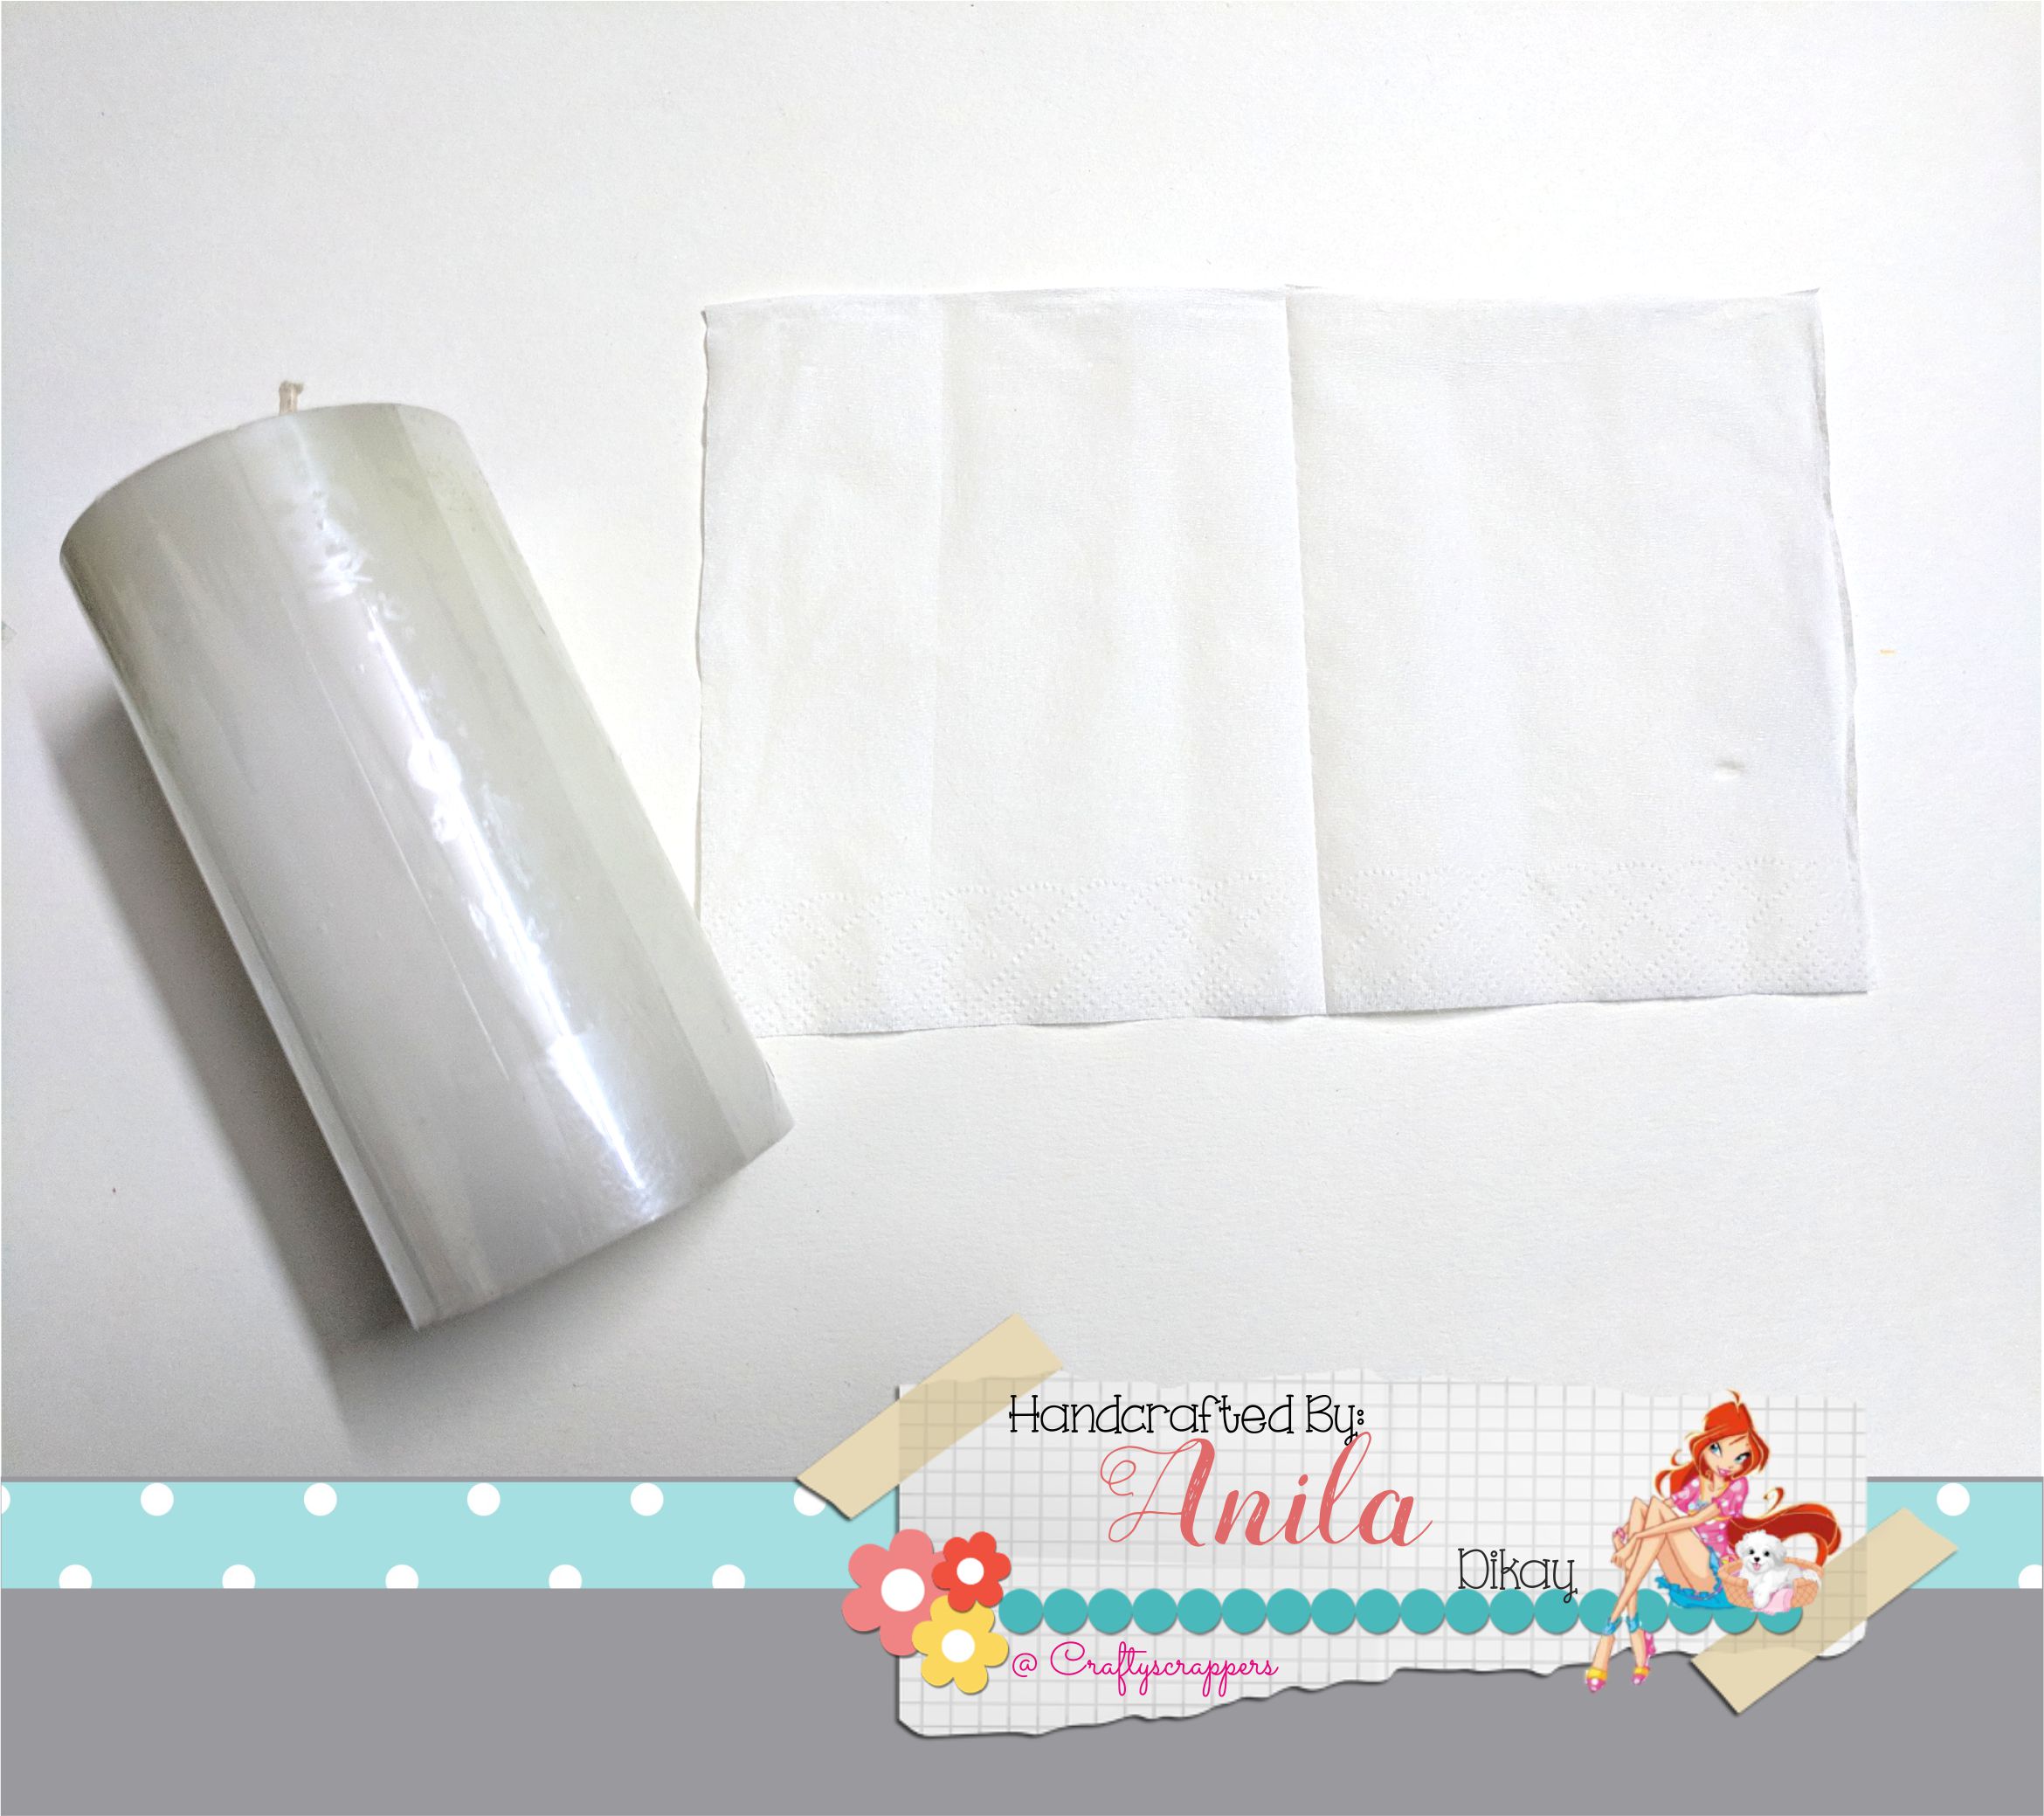
- A pillar candle (white)
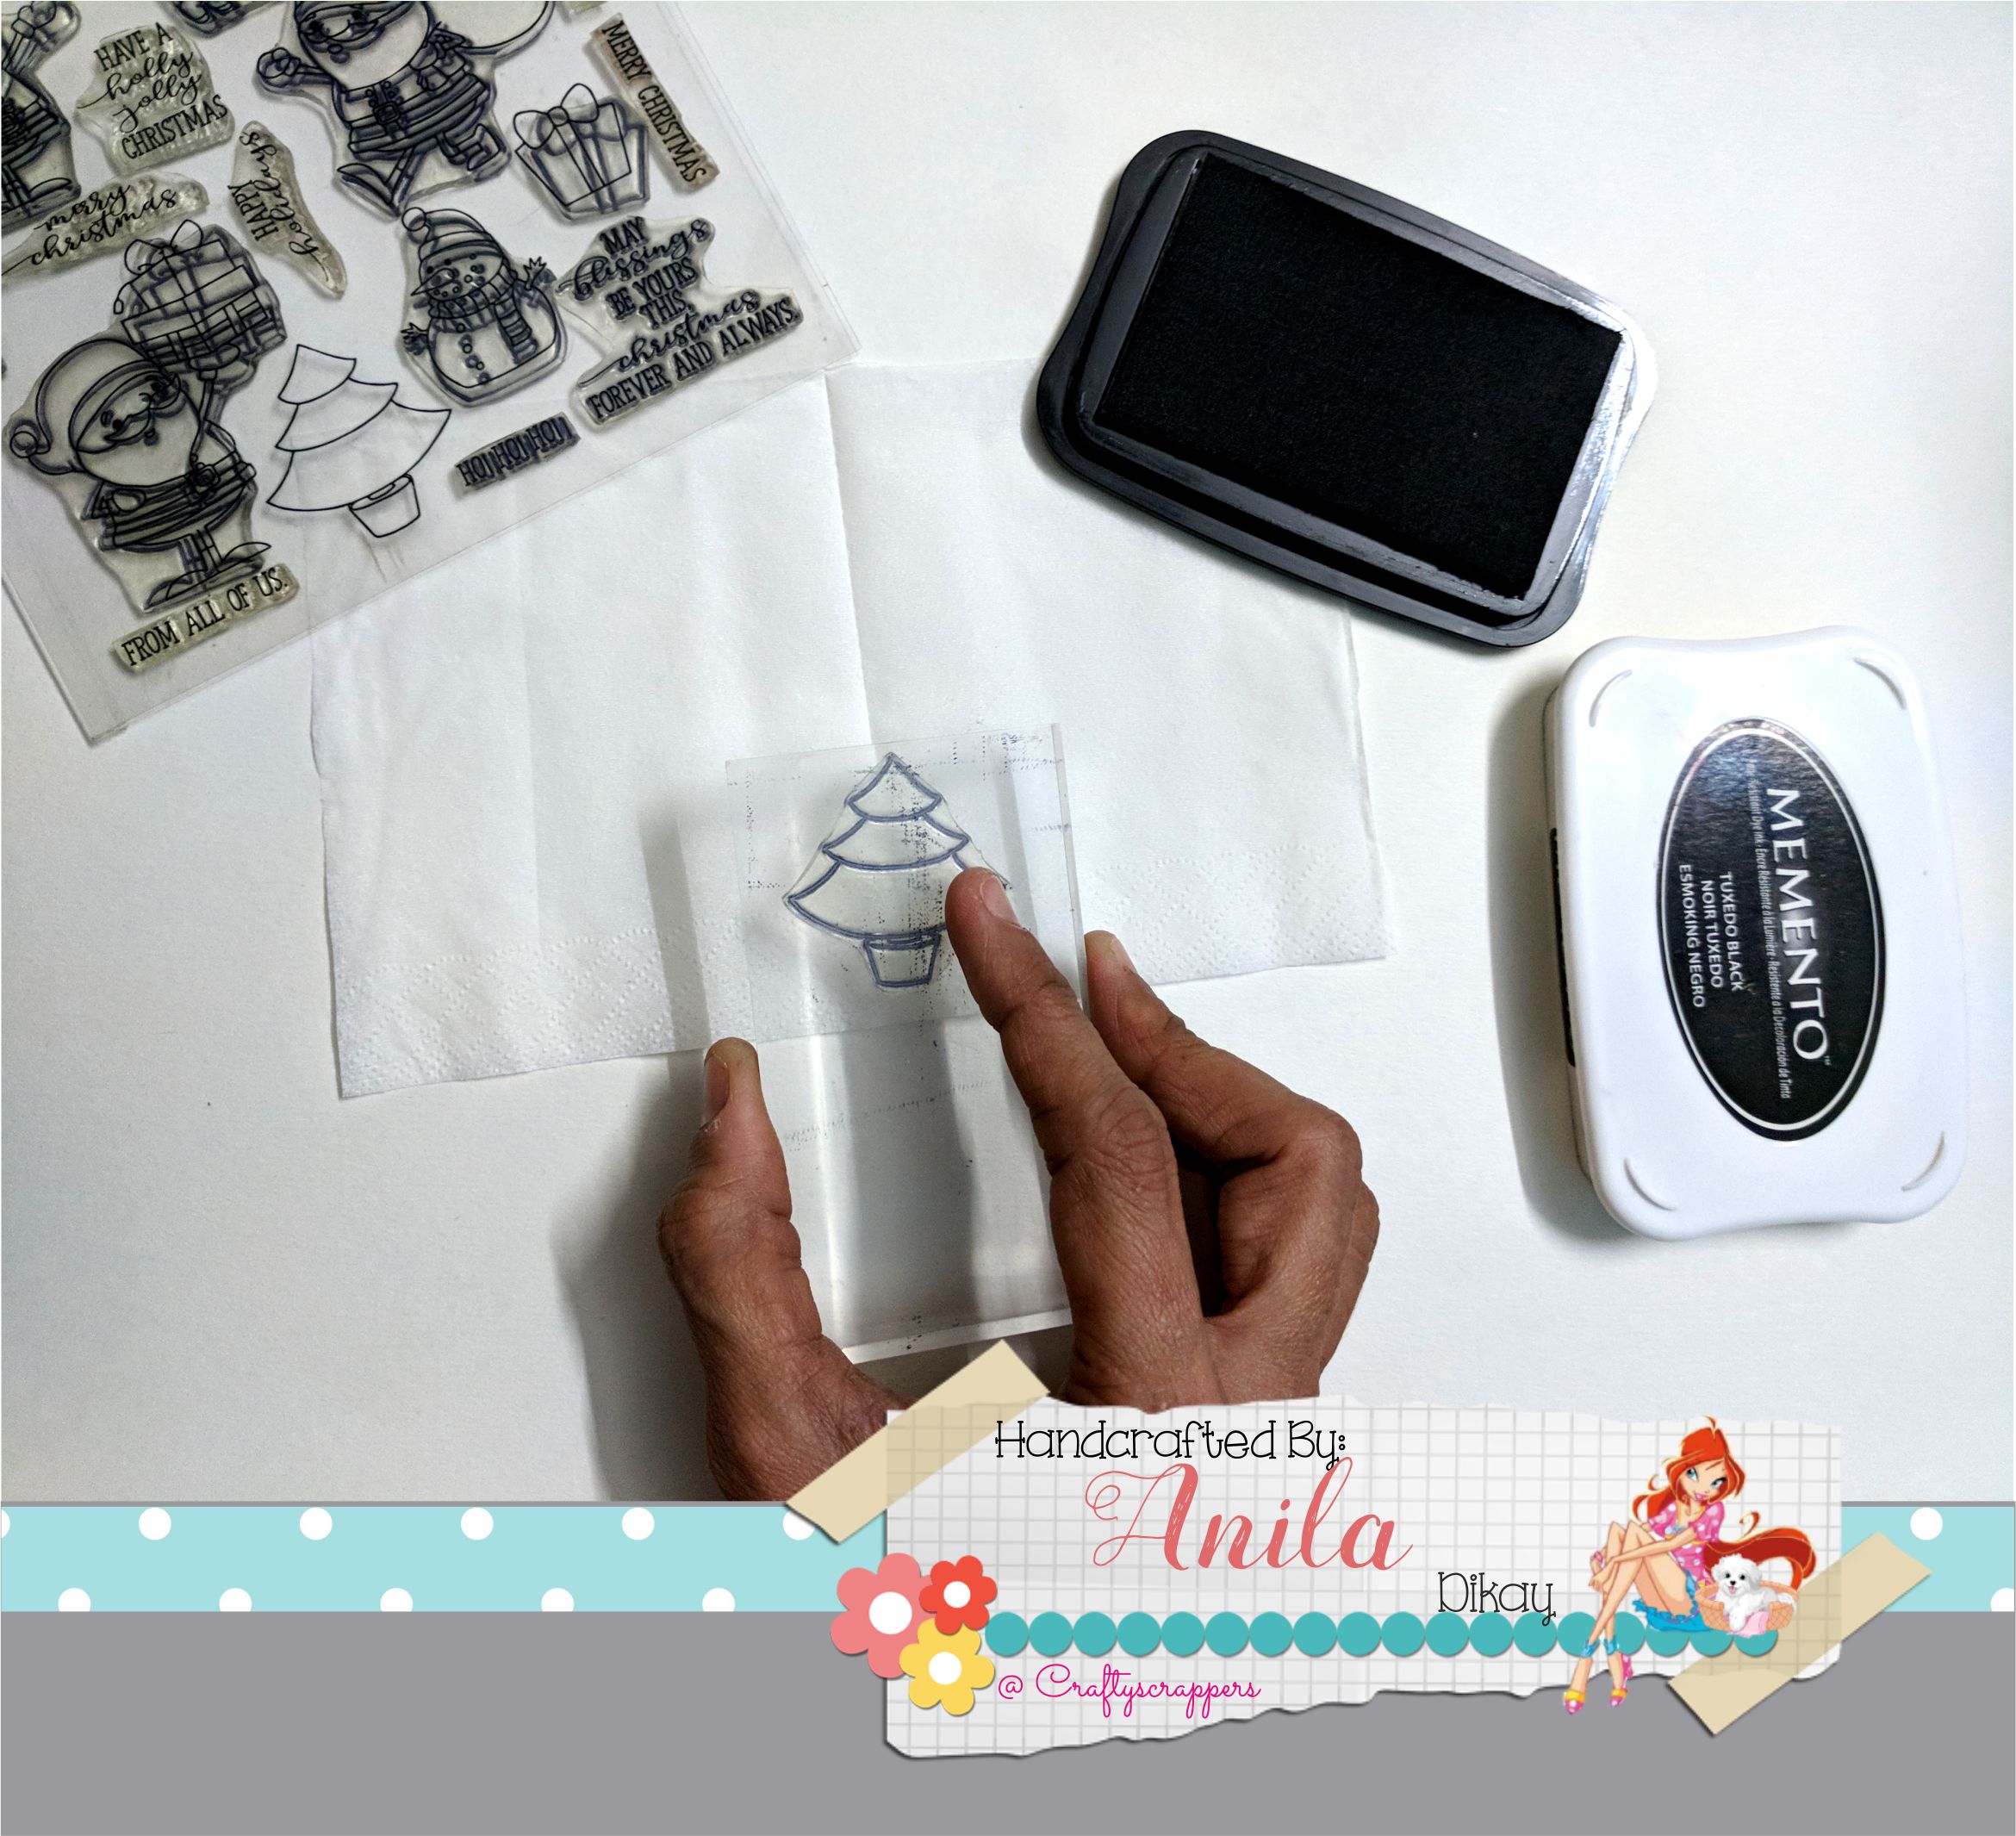
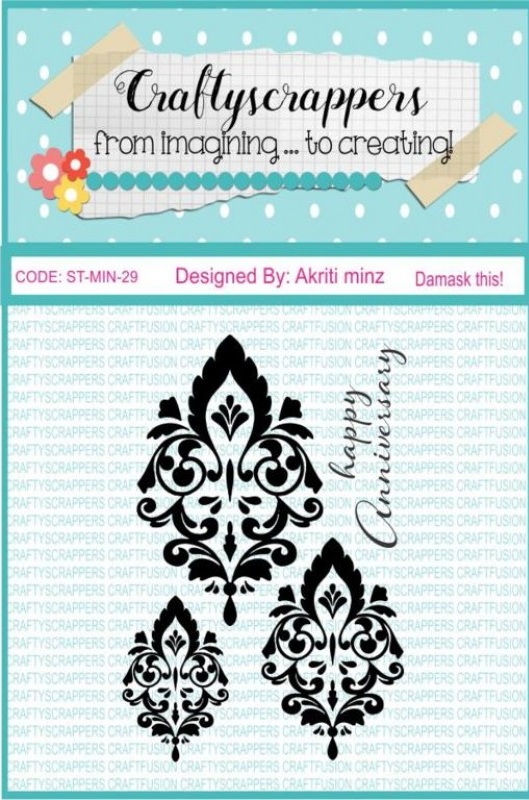
- Santa’s Christmas stamp set (Your choice) & Acrylic block
- Any ink (Memento/Archival)
- Plain white tissue paper
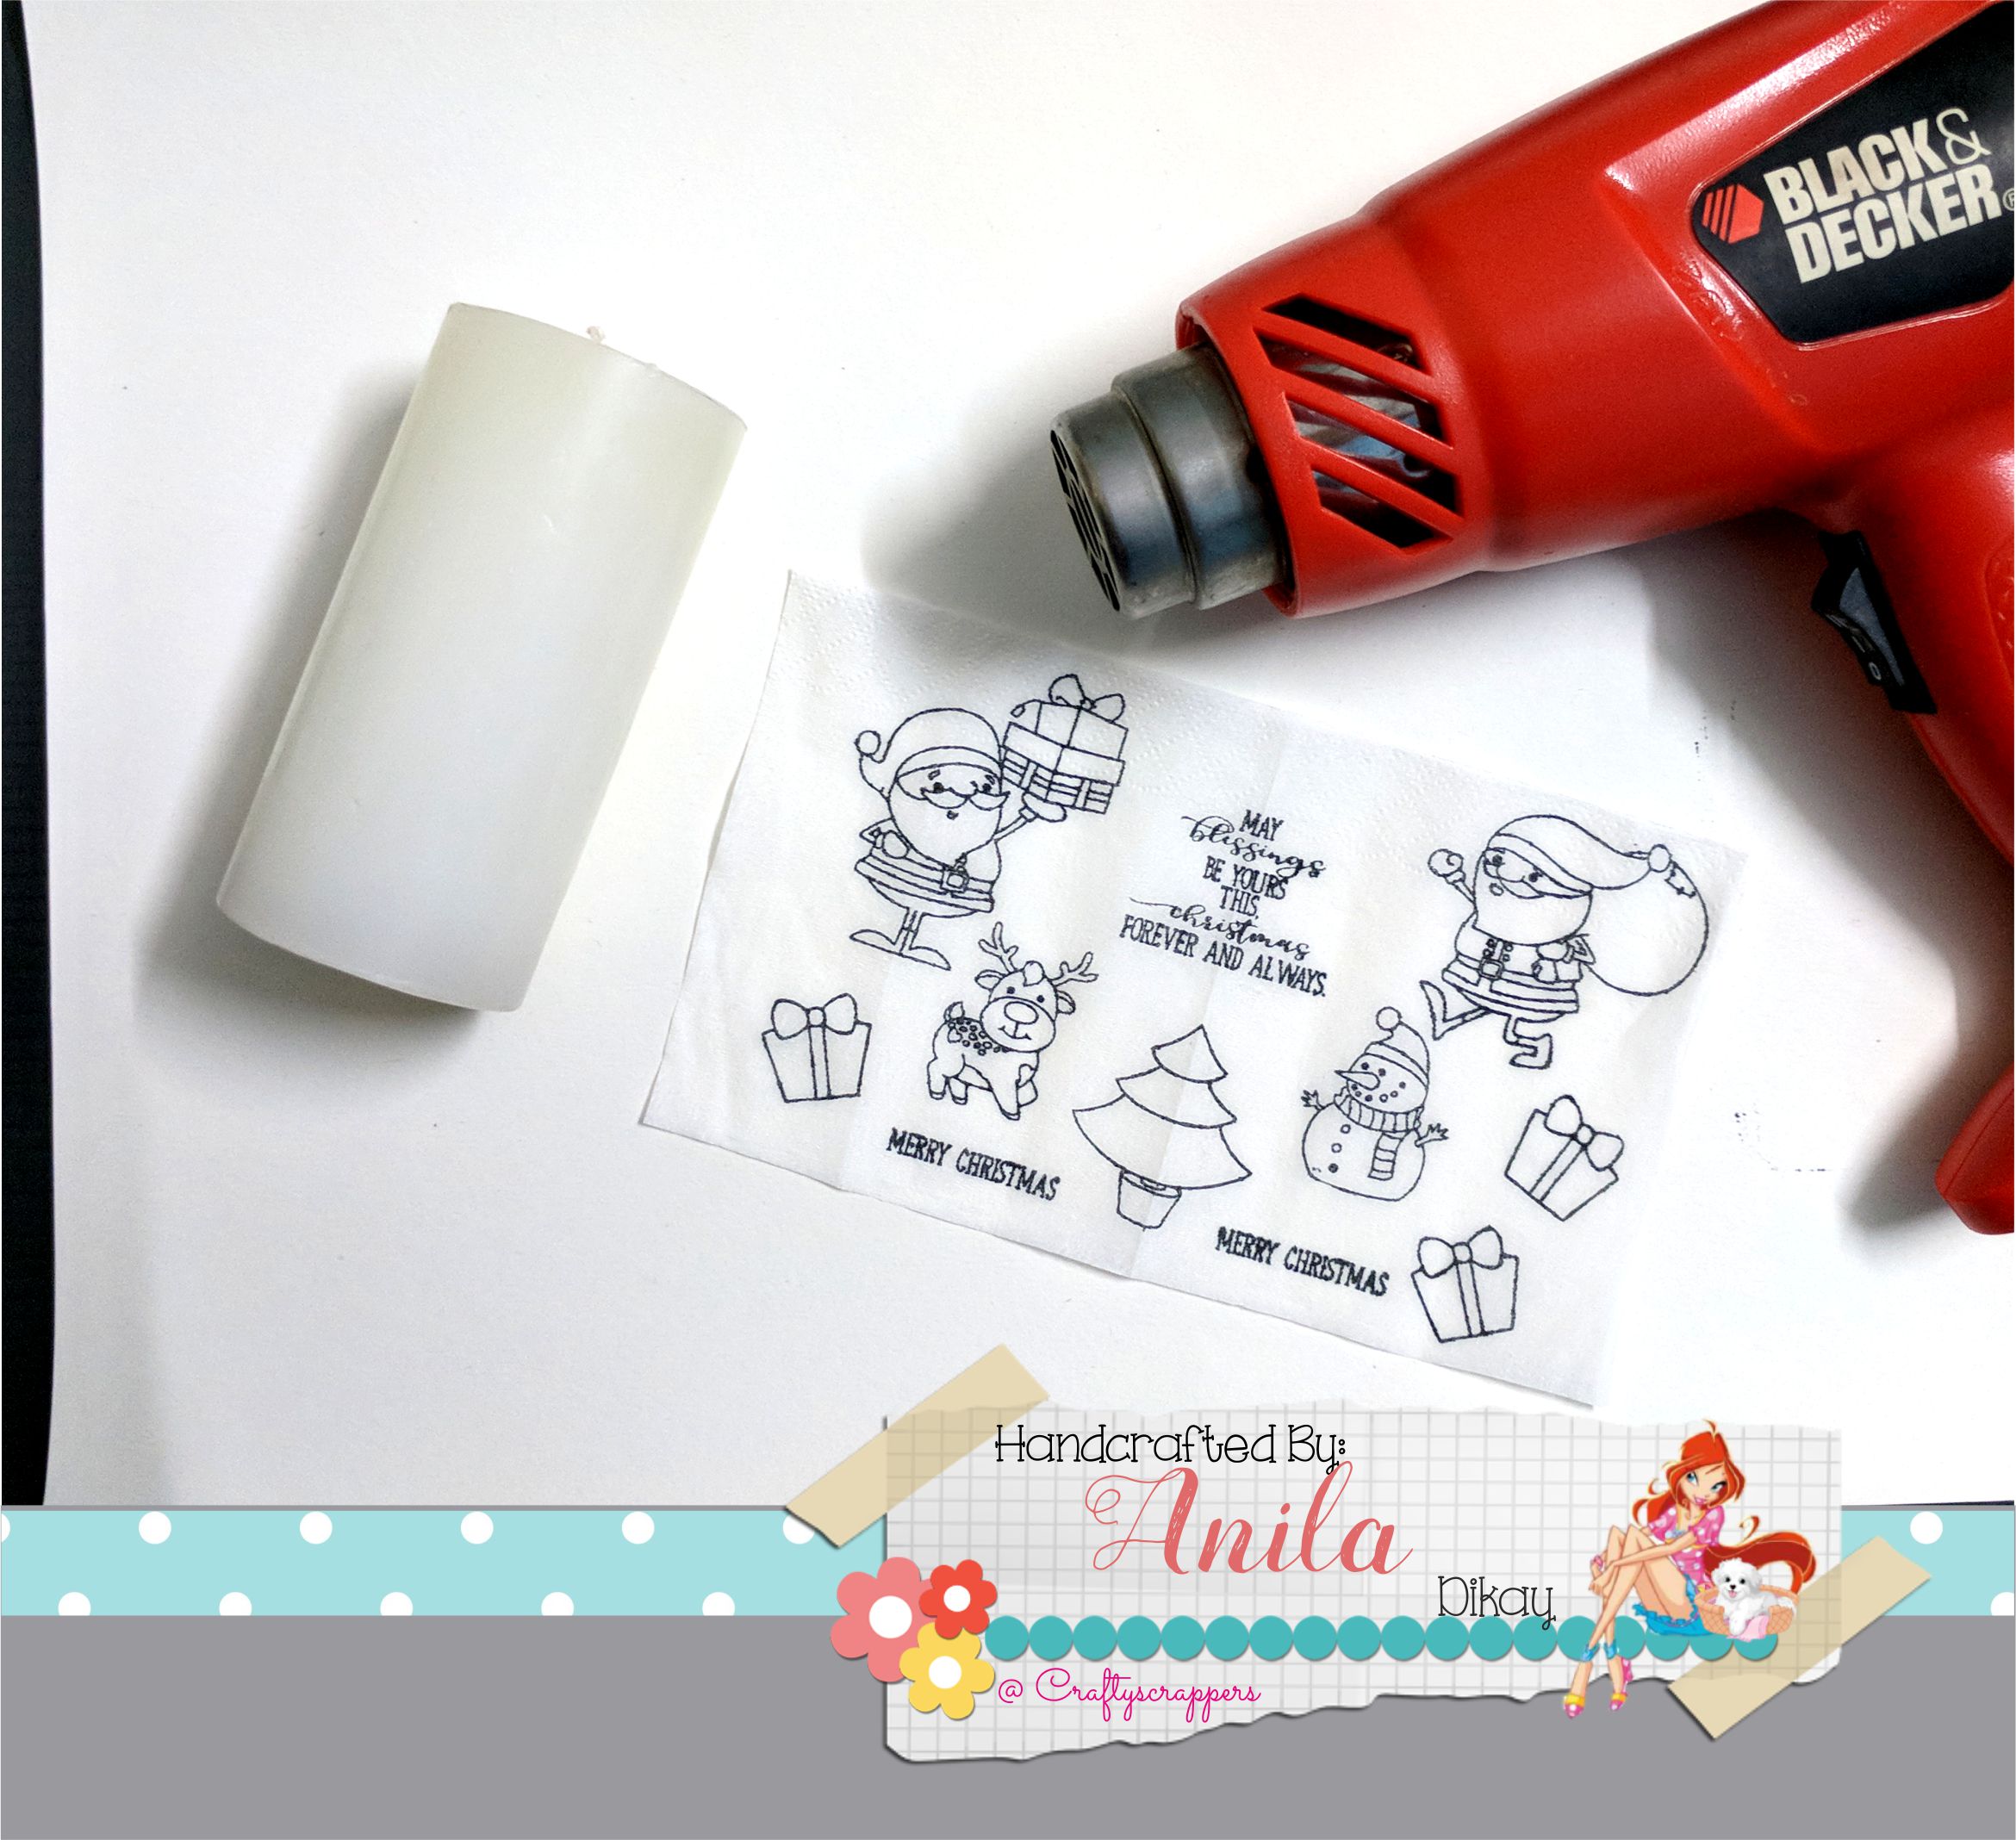
- Heat gun
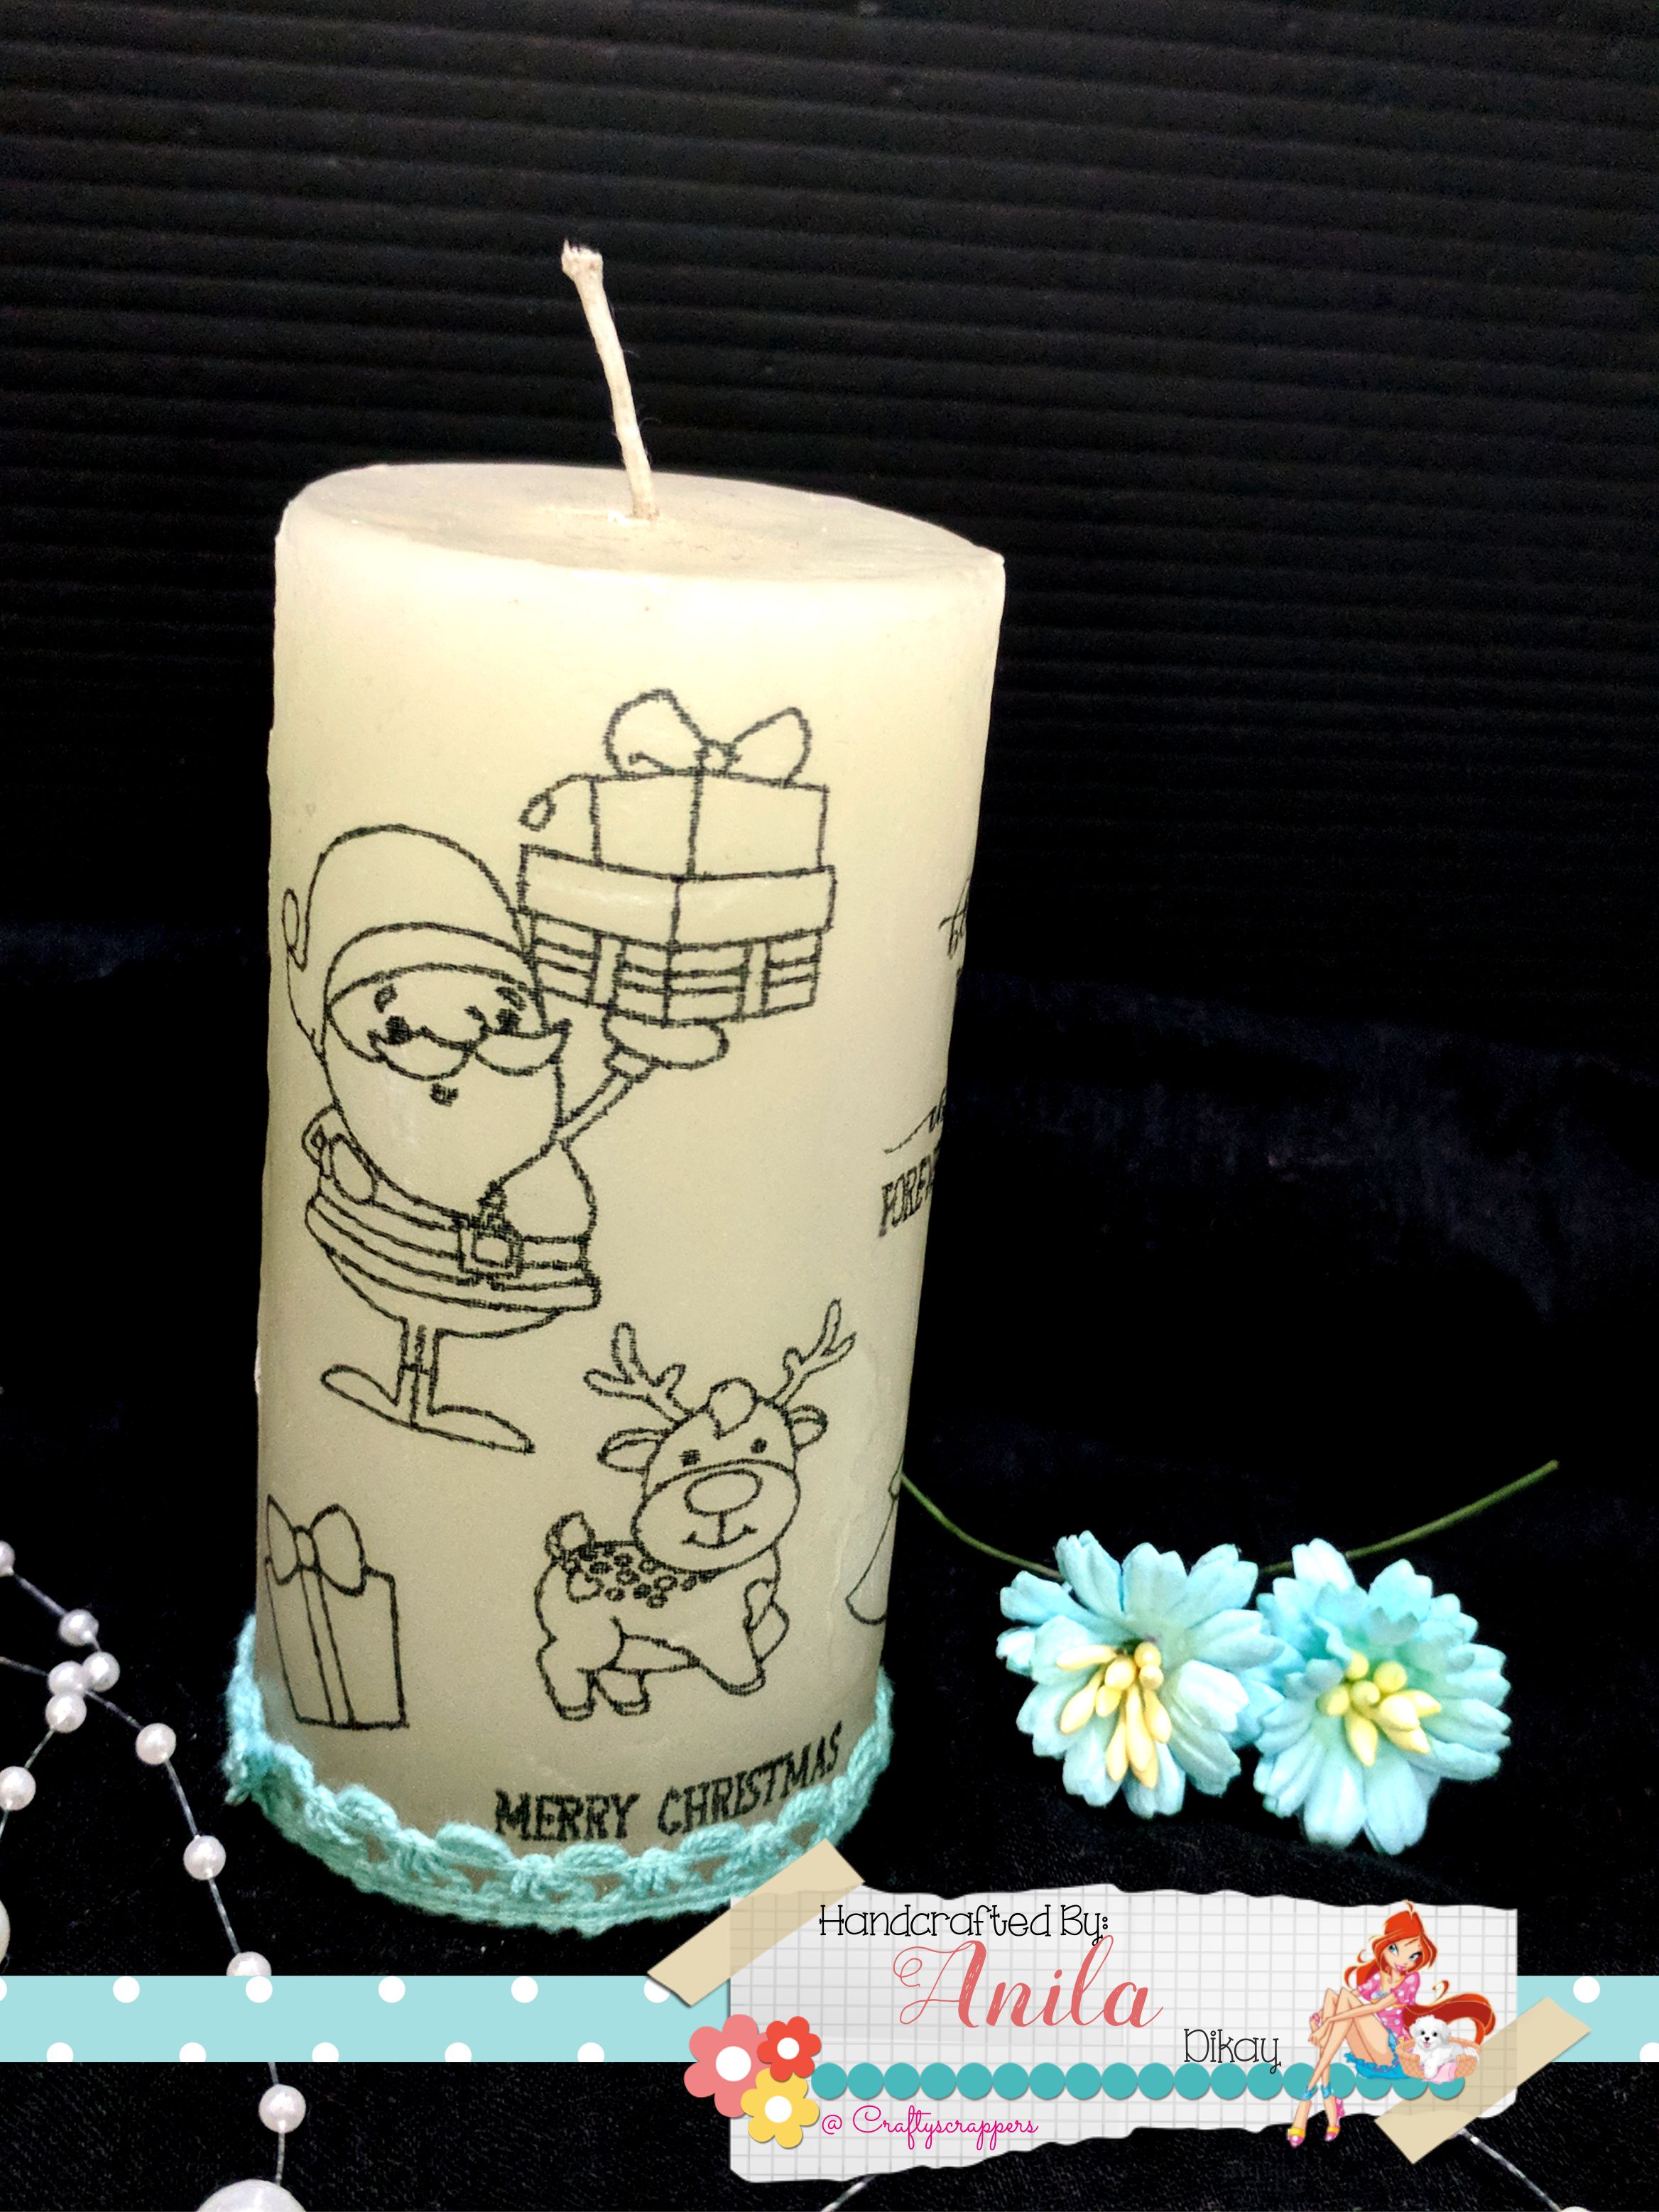
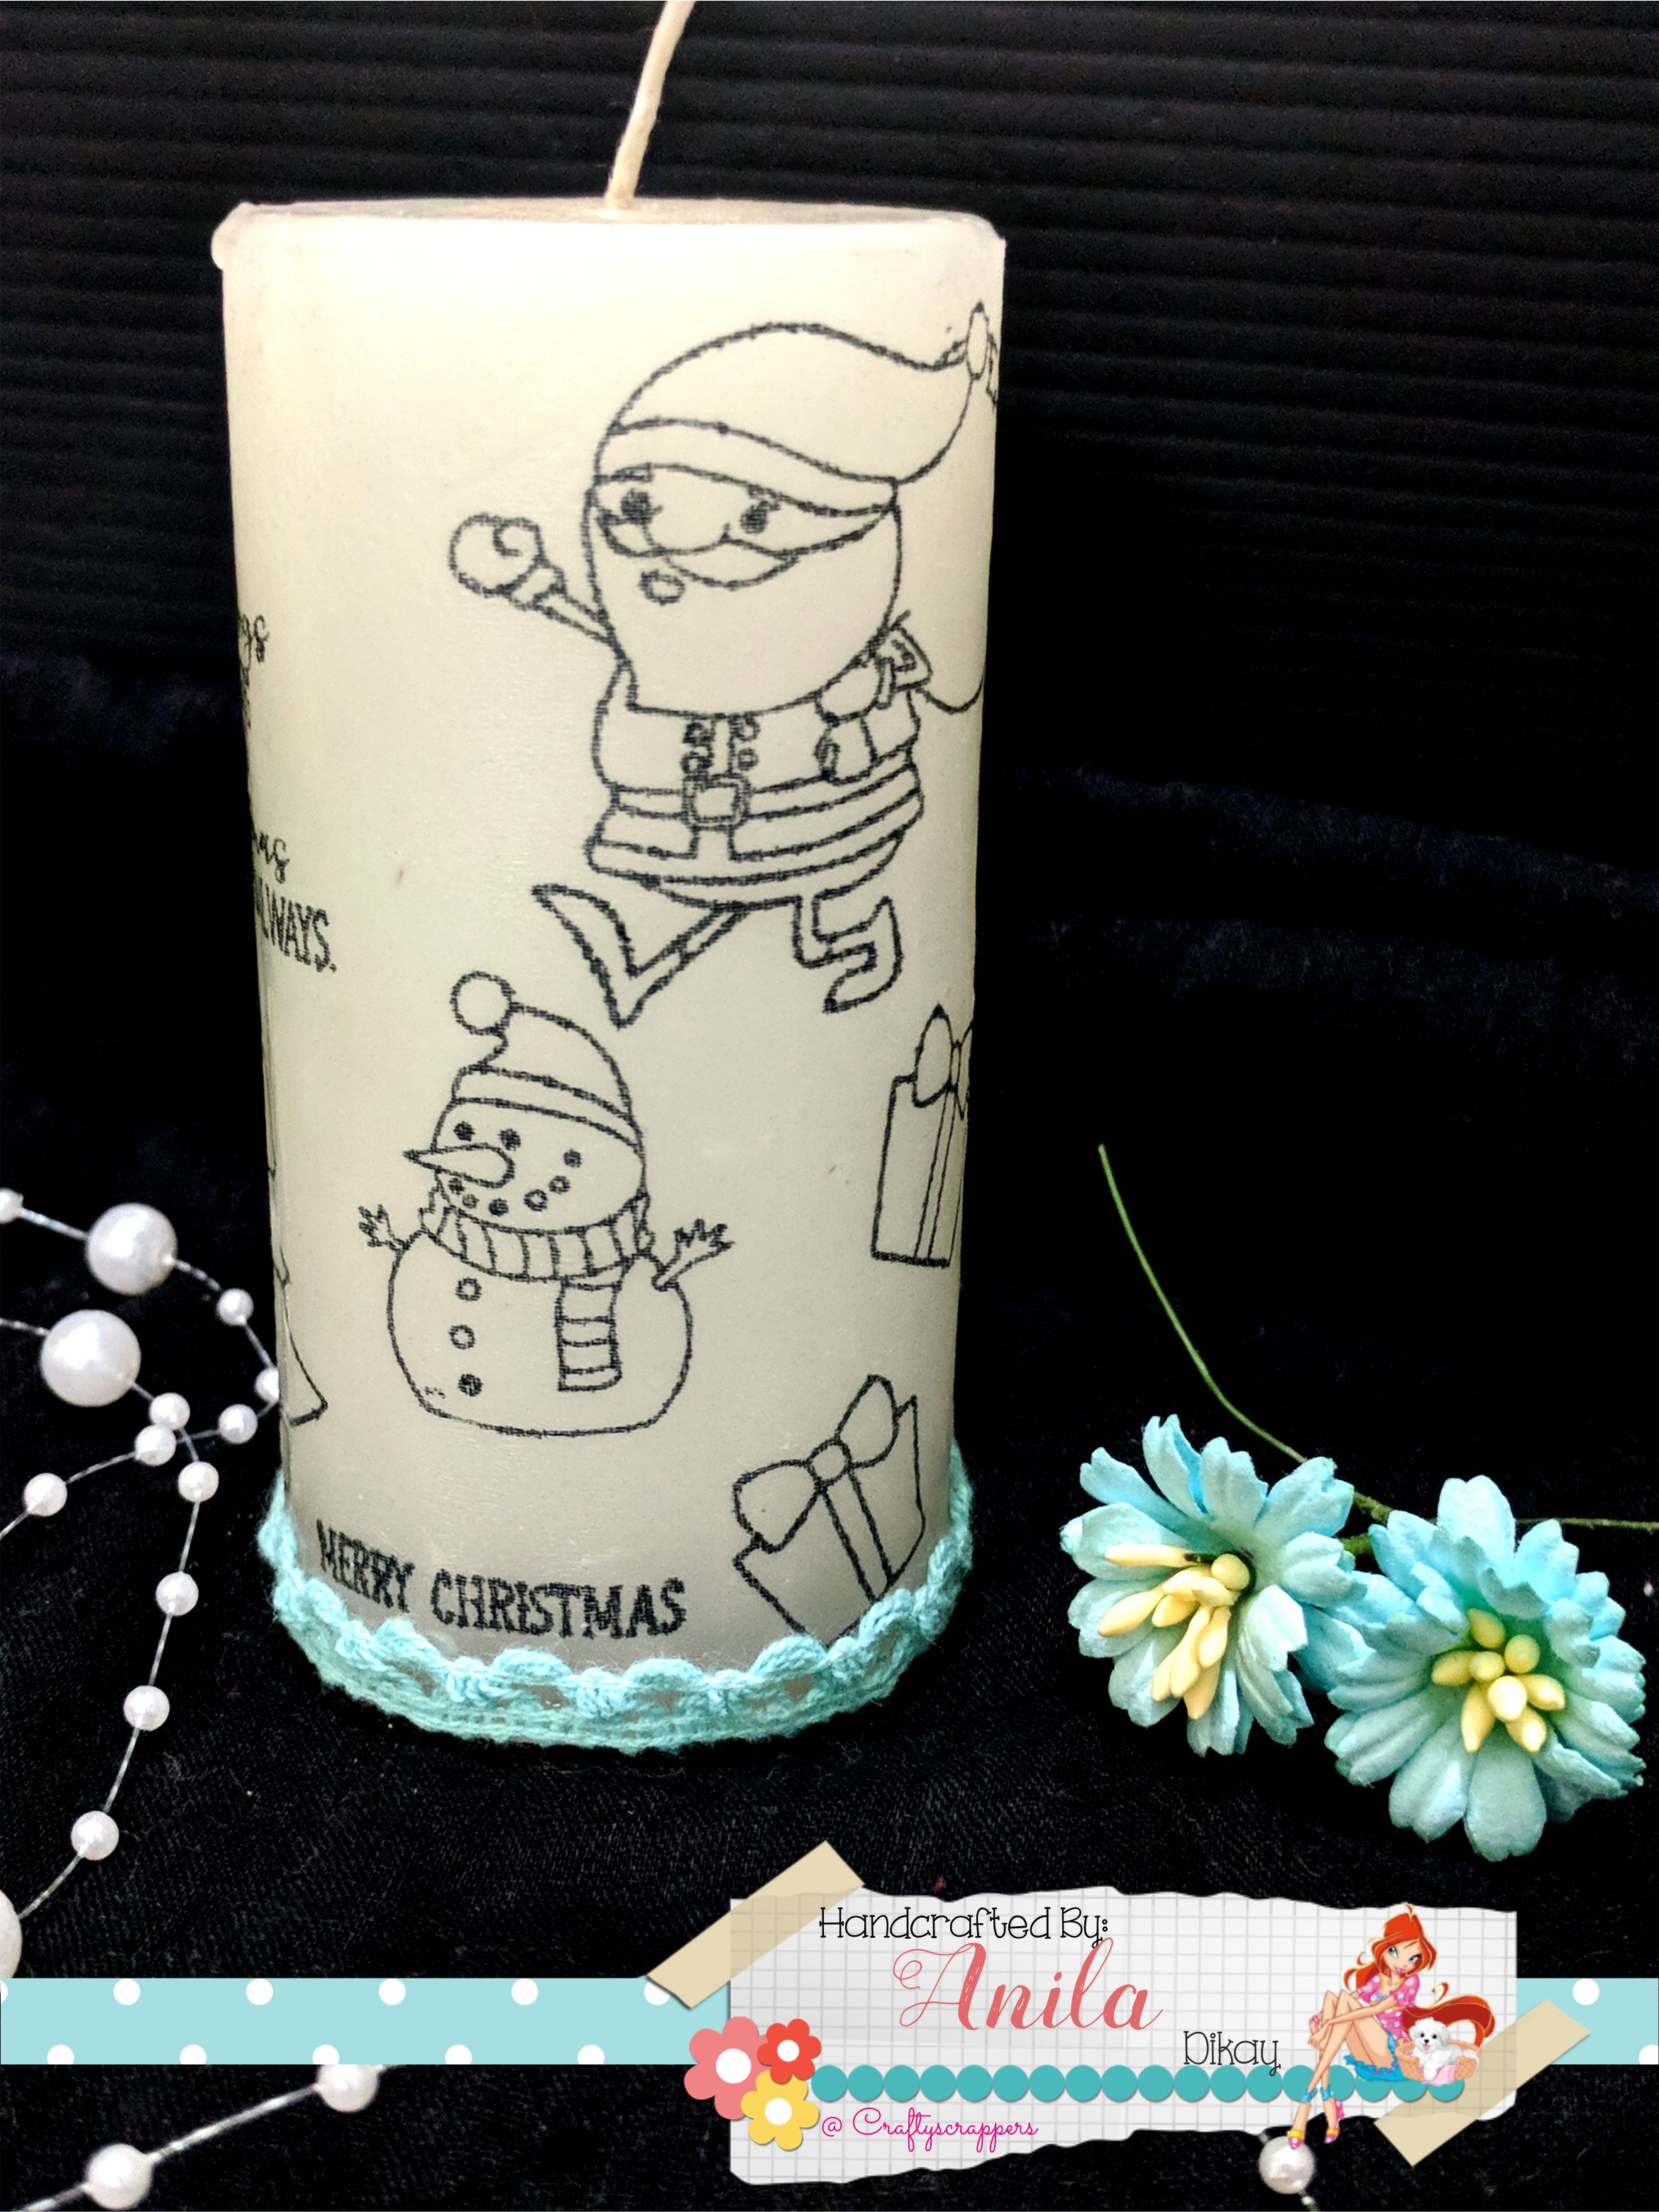
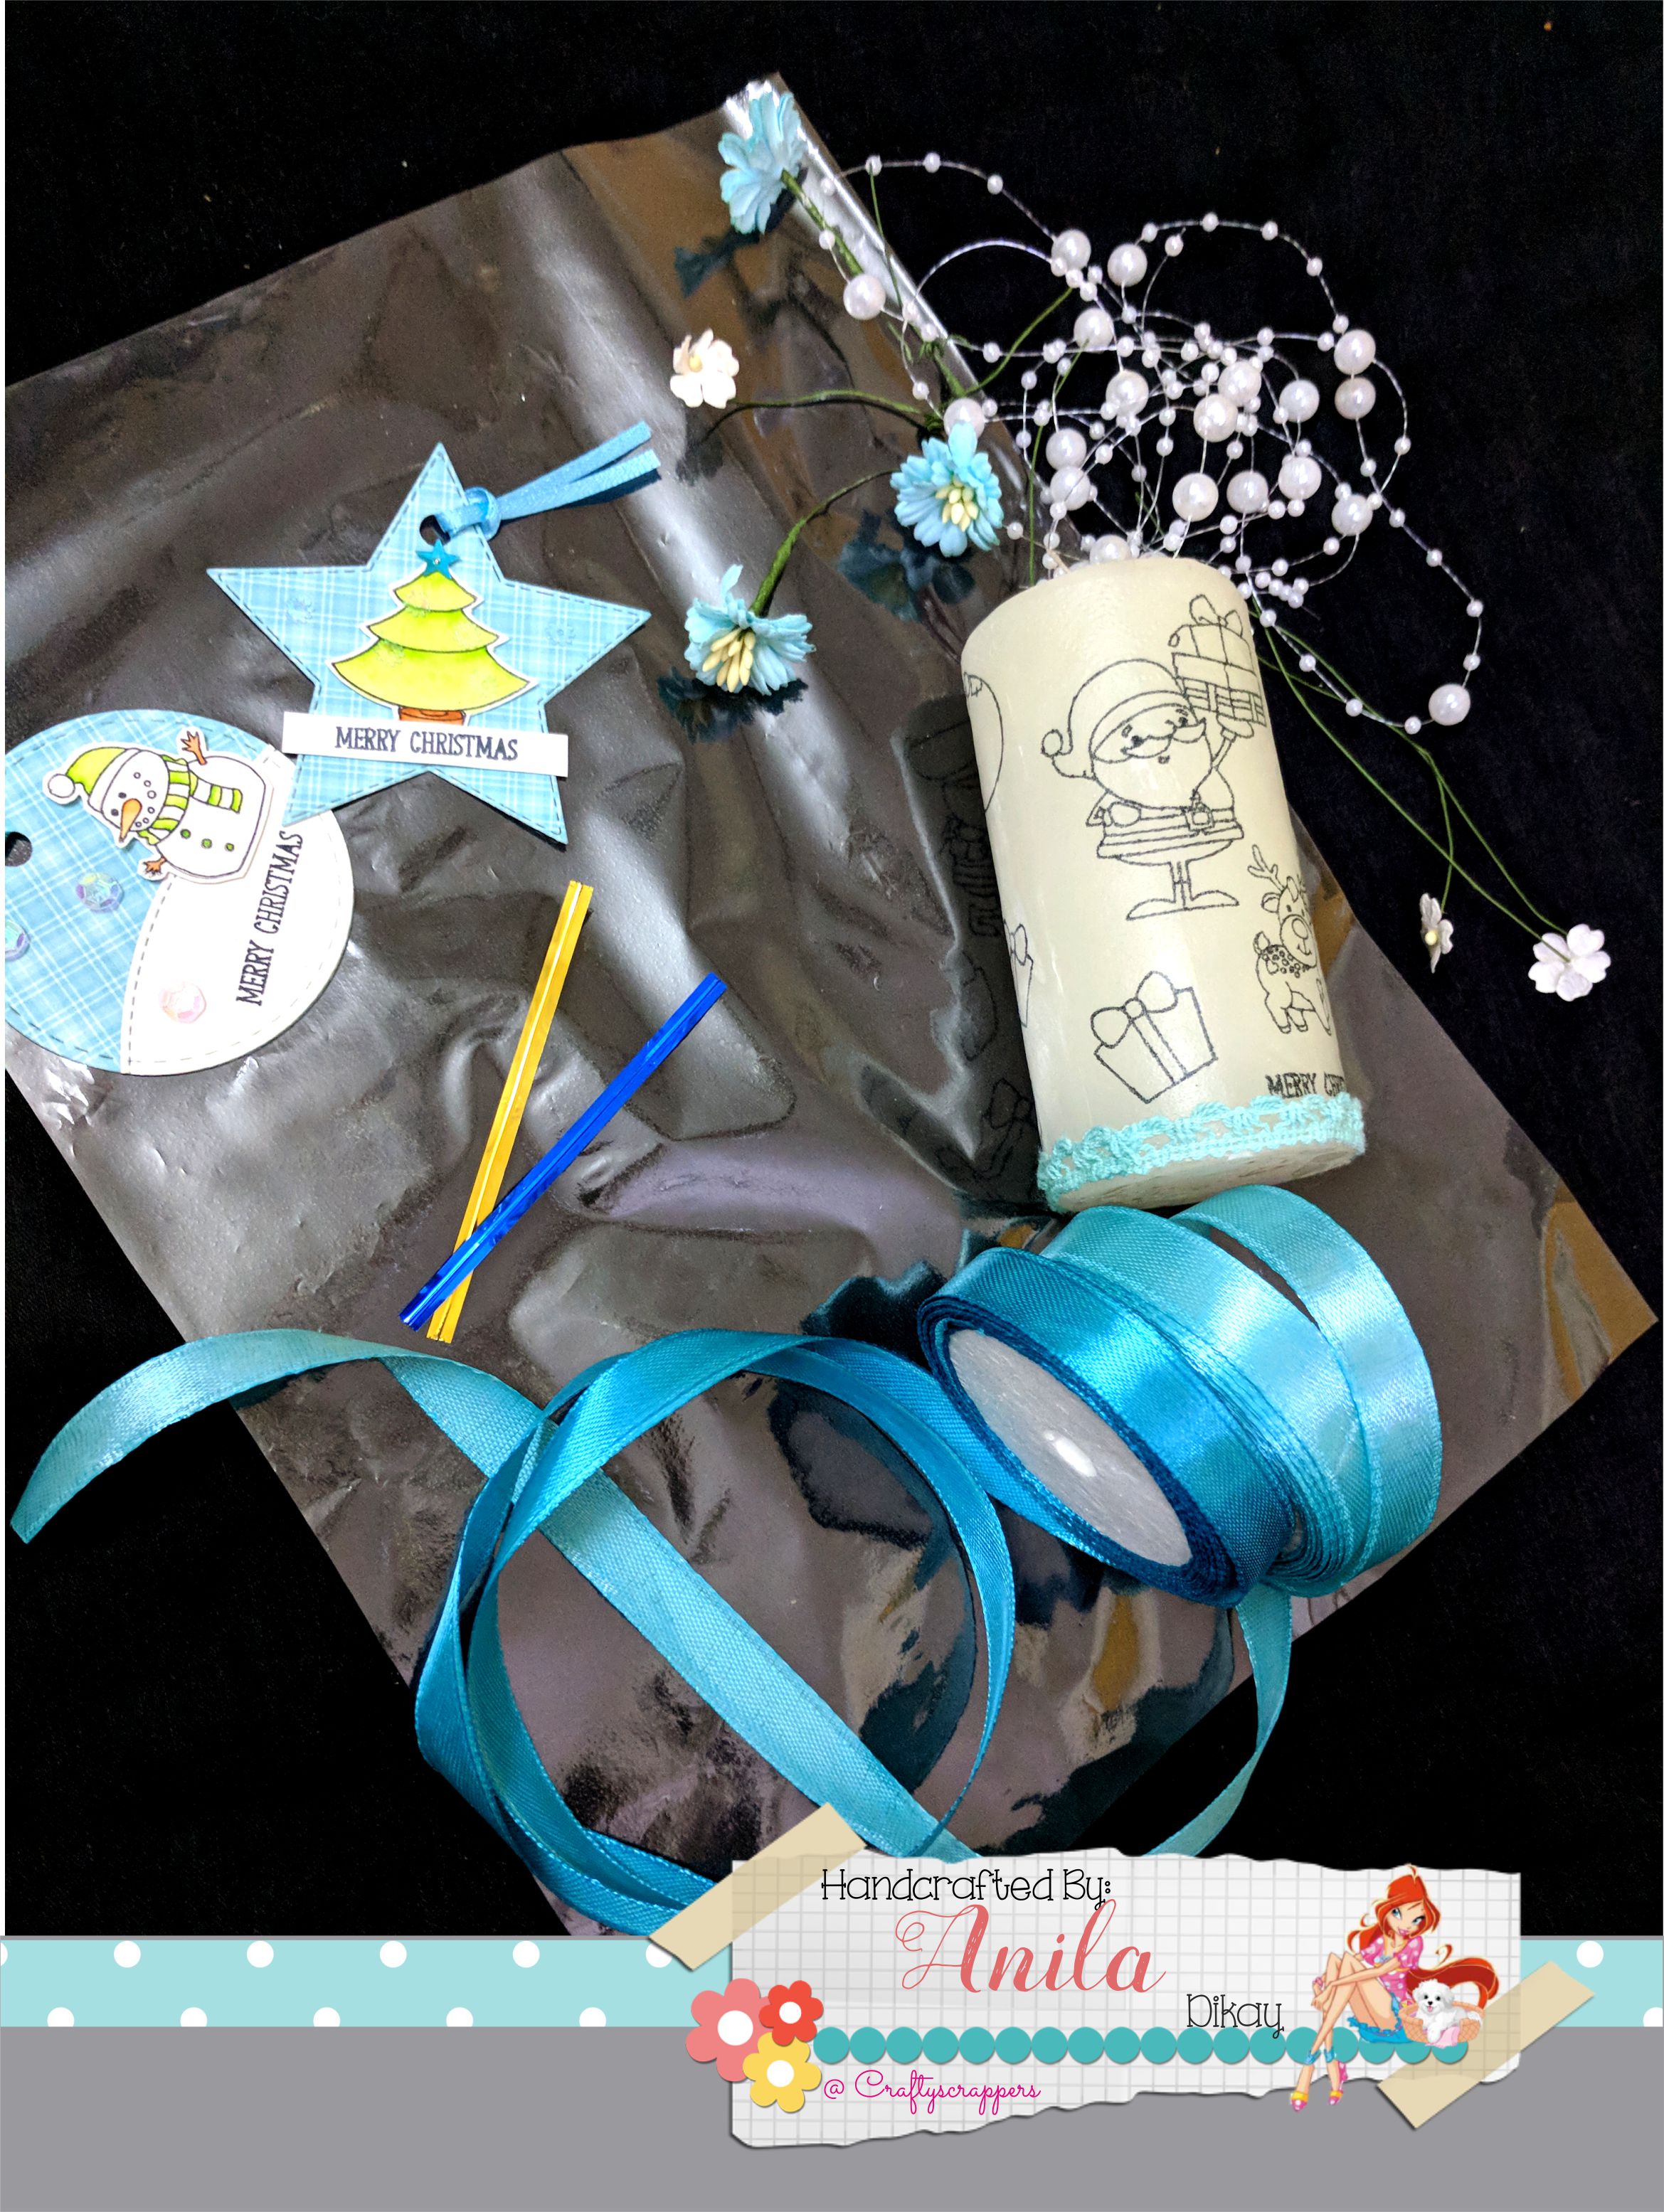
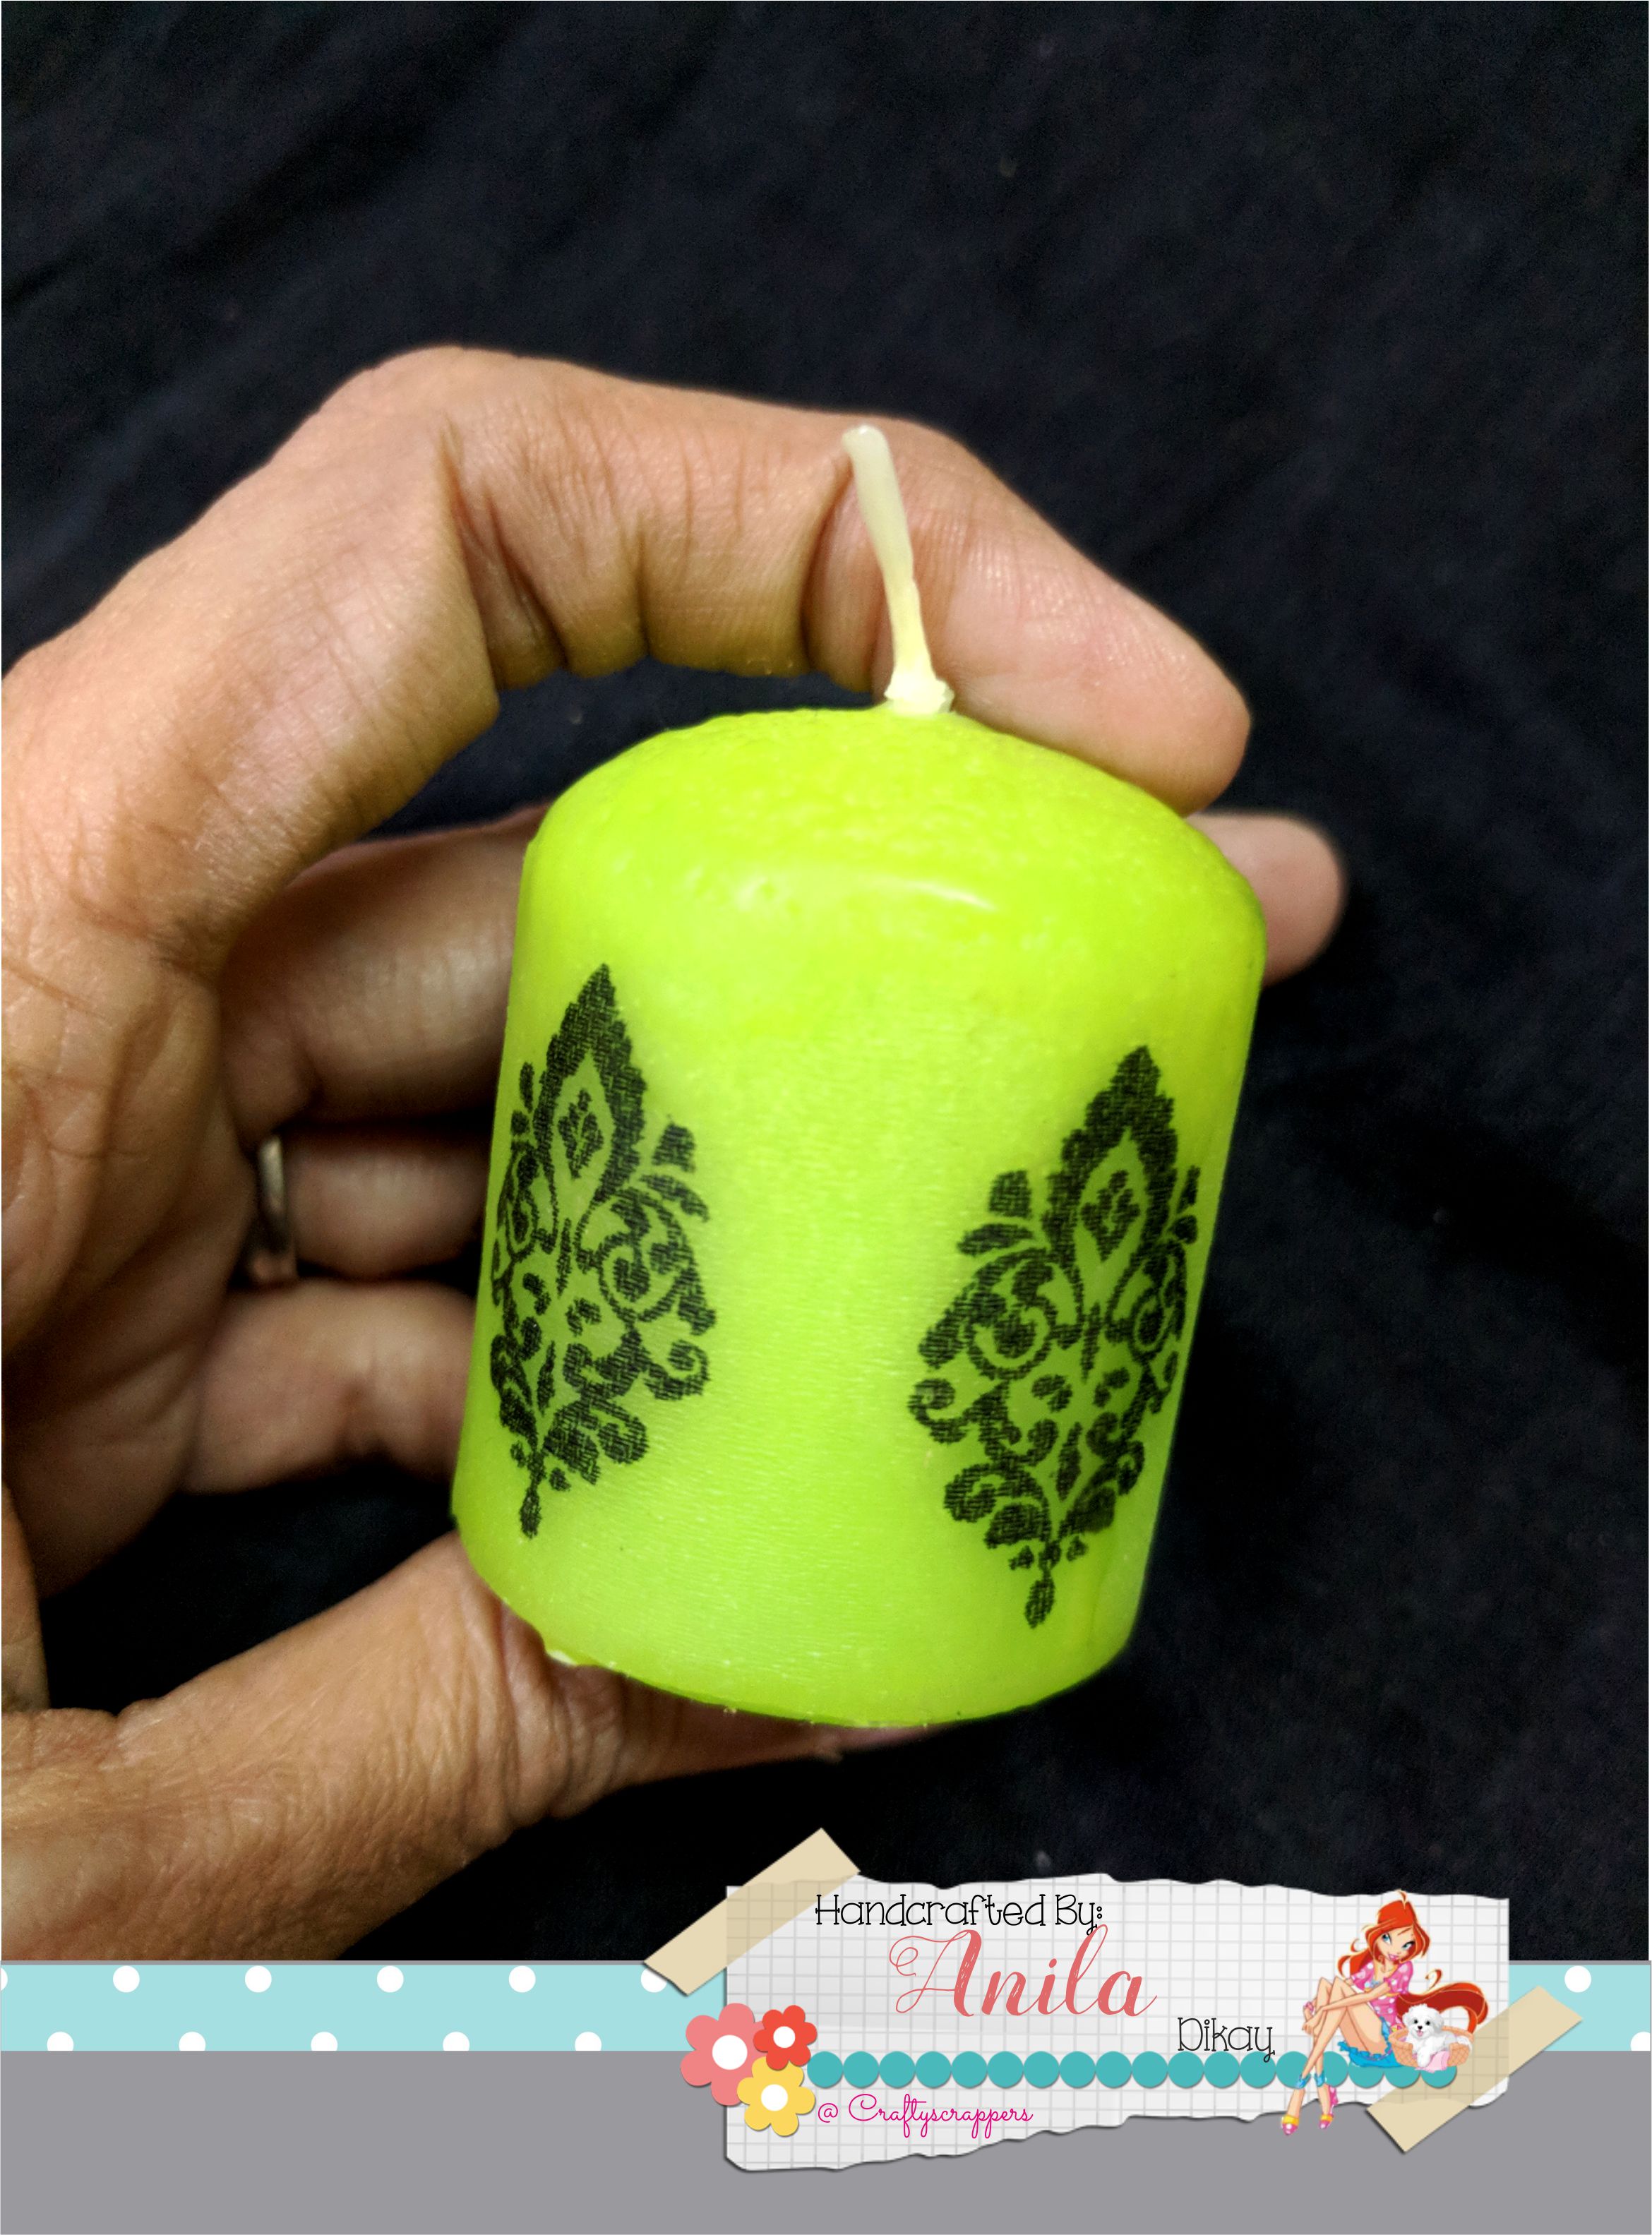
Here’s the completed THEMED CANDLES:


Cut the tissue paper approximately to fit the size of the candle. The tissue should cover the candle only once and should not be overlapped at the ends.

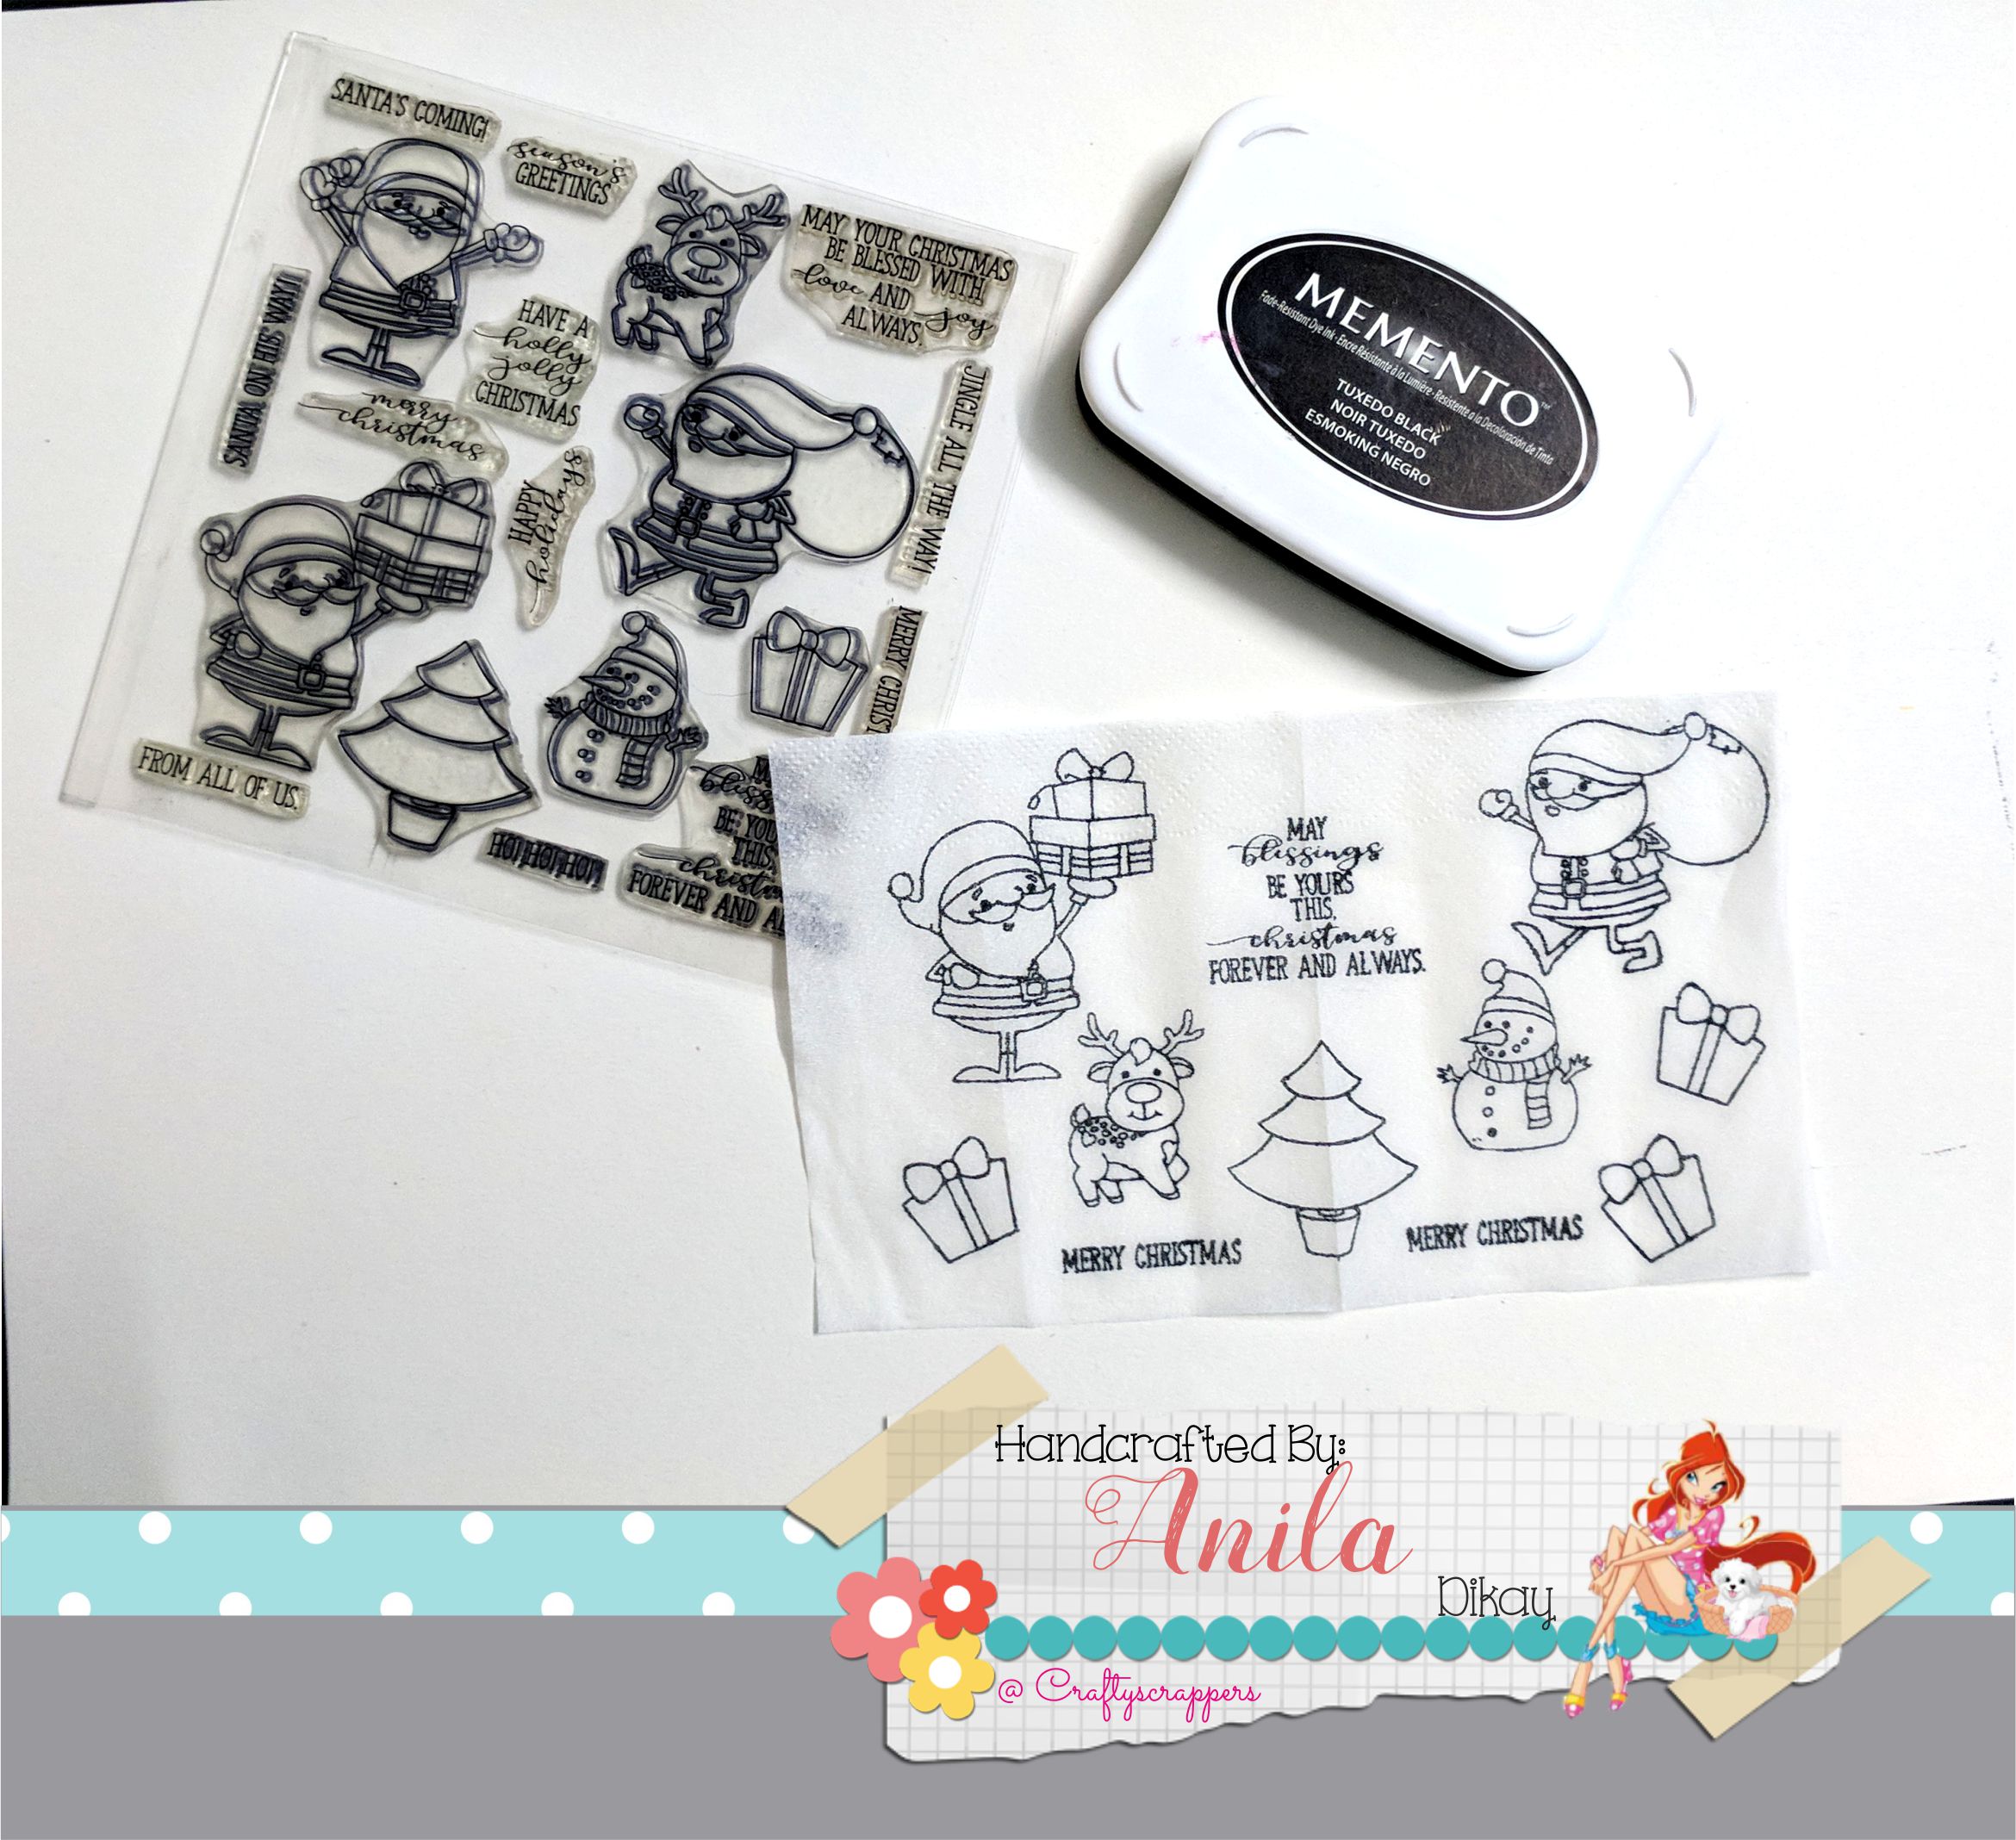
Stamp all the images using the ink and the acrylic blocks randomly so as to cover the entire tissue. Make sure to leave little margins at the ends. This avoids crowing of images when the two end sides meet.

Cover the tissue completely with the images. Once all the images are stamped, separate the layers of tissue and use only the topmost ply of it.

Next, we have to put the tissue on the candle and heat set it.

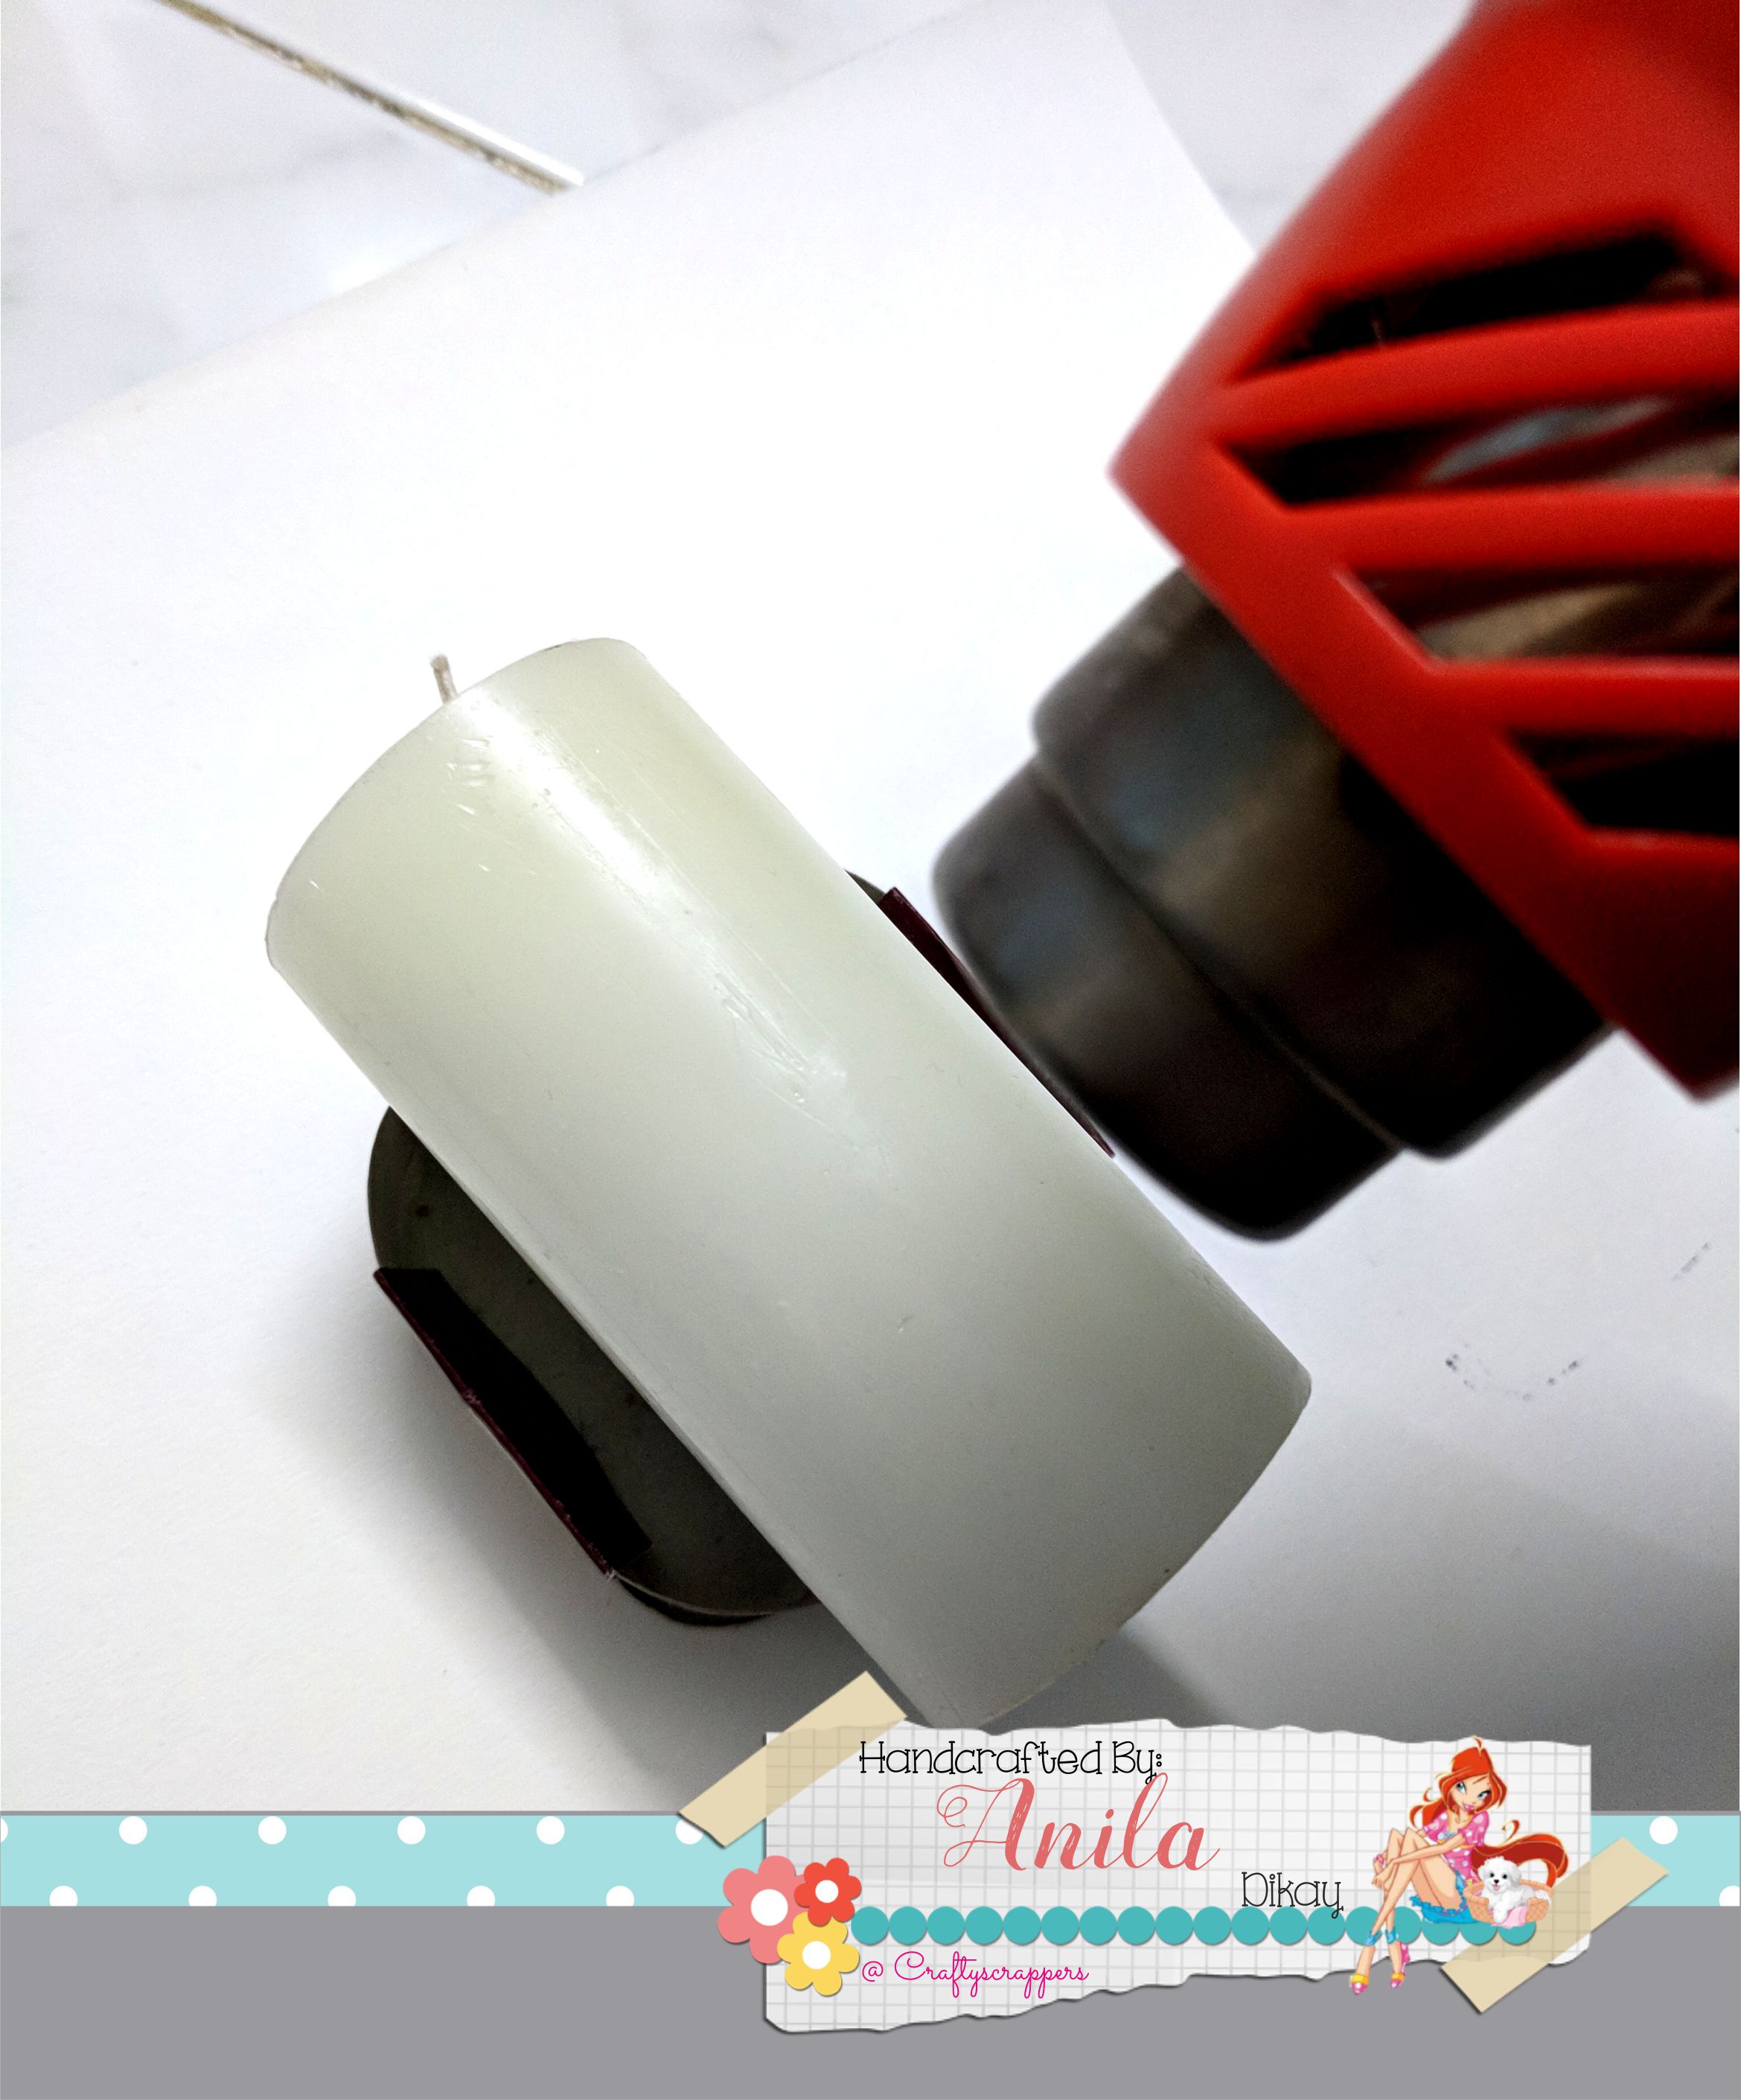


- One can use coloured inks or can colour the images on the tissue before heat setting it.
- This technique can also be done using the stencils and distress inks on the tissue paper and heat setting it once dry.
- The important thing to remember is that the inks/colors should not be very wet as the tissue may tear.
Do leave some love and feedback below.
Don’t forget to join our craft challenges (details at beginning of the post)
You can participate via mr.linky (at the end of the challenge post)
or via facebook, instagram and even via email.
(While sharing your creation post over social media
via Facebook, Twitter, Instagram
please use #Craftyscrappers challenge18 to qualify for submission,
failing to do so entry will be disqualified.)
Happy Crafting!
