


You can create any project using the provided sketch it can be a layout, a journal page, a simple card, interactive cards, mixed media canvas or project, altered art, anything crafty,to participate…
- Last date of submission is 30th November 2017.

To win this amazing goodie bag!
it is so easy to use and you can use it on different surfaces!

- Fun Foil from Craftyscrappers
- Craftyscrappers Shimmer sprays
- Adhesive Foam Sheet
- White cardstock
- Fevicol
- Scissors
- Tissue paper
- OHP sheet or vellum
- Cardboard (to lay tissue paper)
- Embossing powder
- Heat tool
A brief tutorial on all the three creations:
- (PROJECT: fun foiled Tissue background )
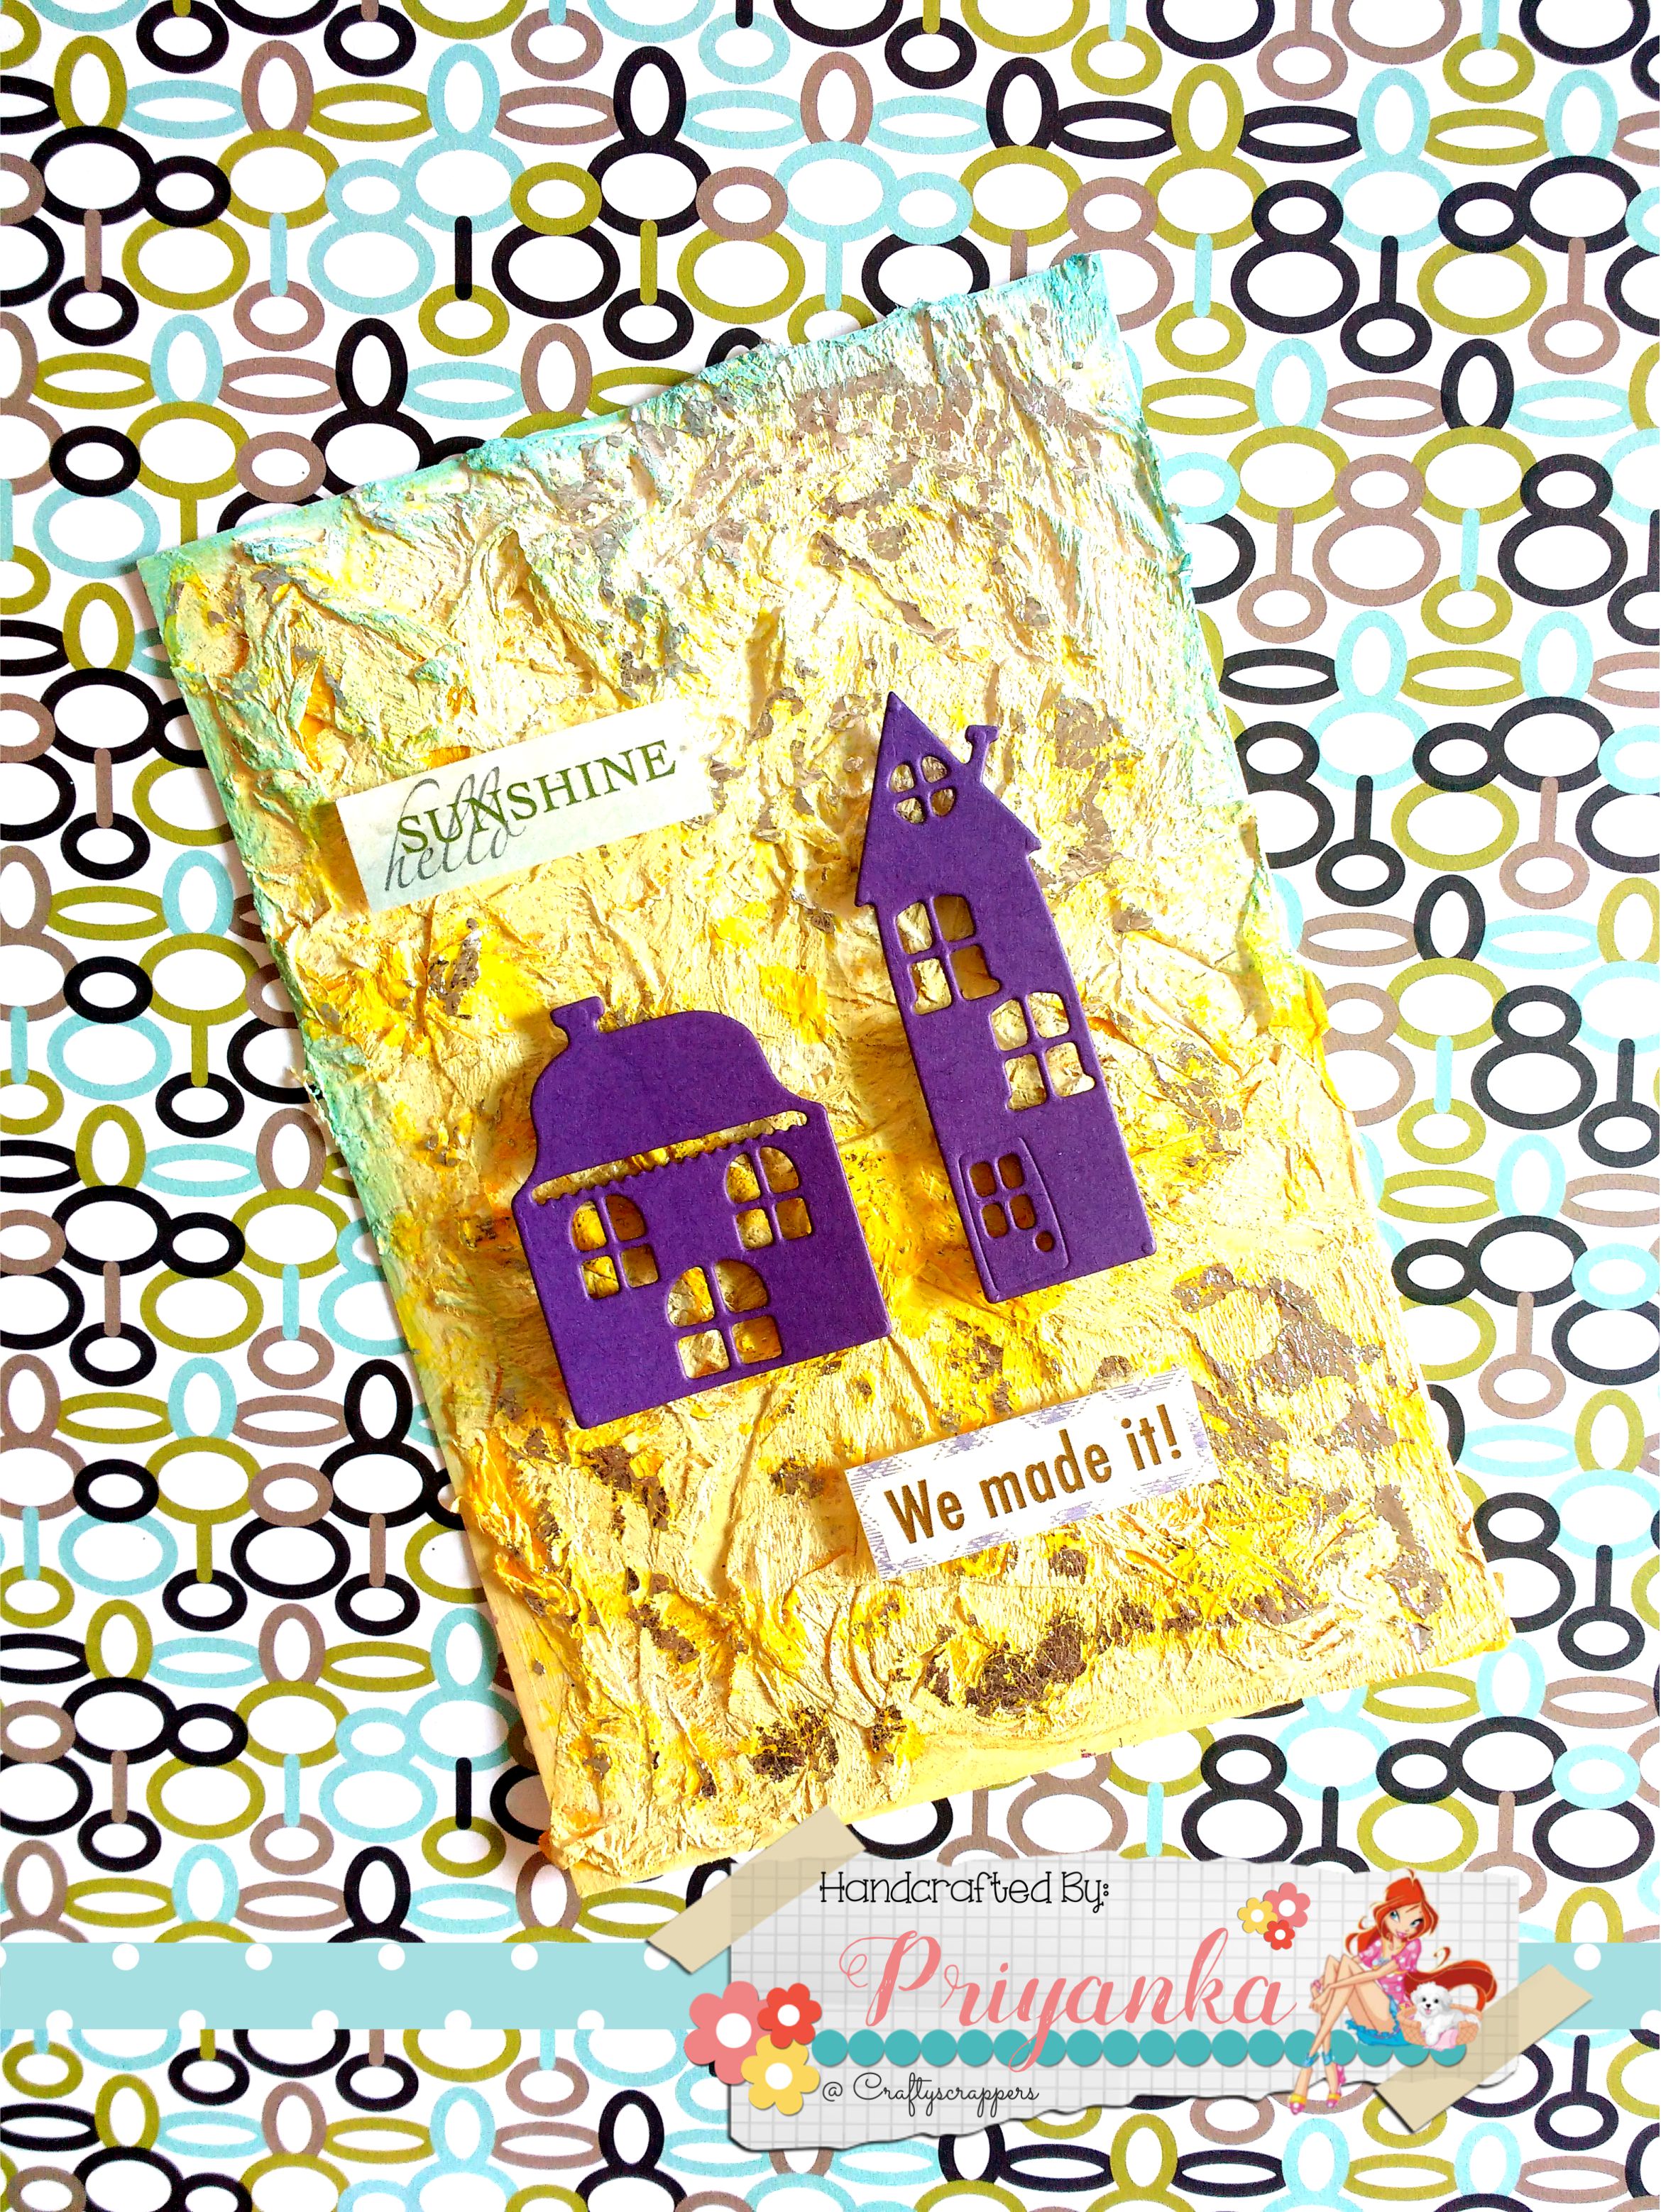
- To create the tissue paper background,
- I took a piece of cardboard and glued tissue paper to it roughly
- Now give it a coat of white gesso…
- And spray it with shimmer spray “Sweet Sunshine” from Craftyscrappers
- Added diecut houses and sentiment tag to complete the look.
2.(PROJECT: fun foiled titled background )
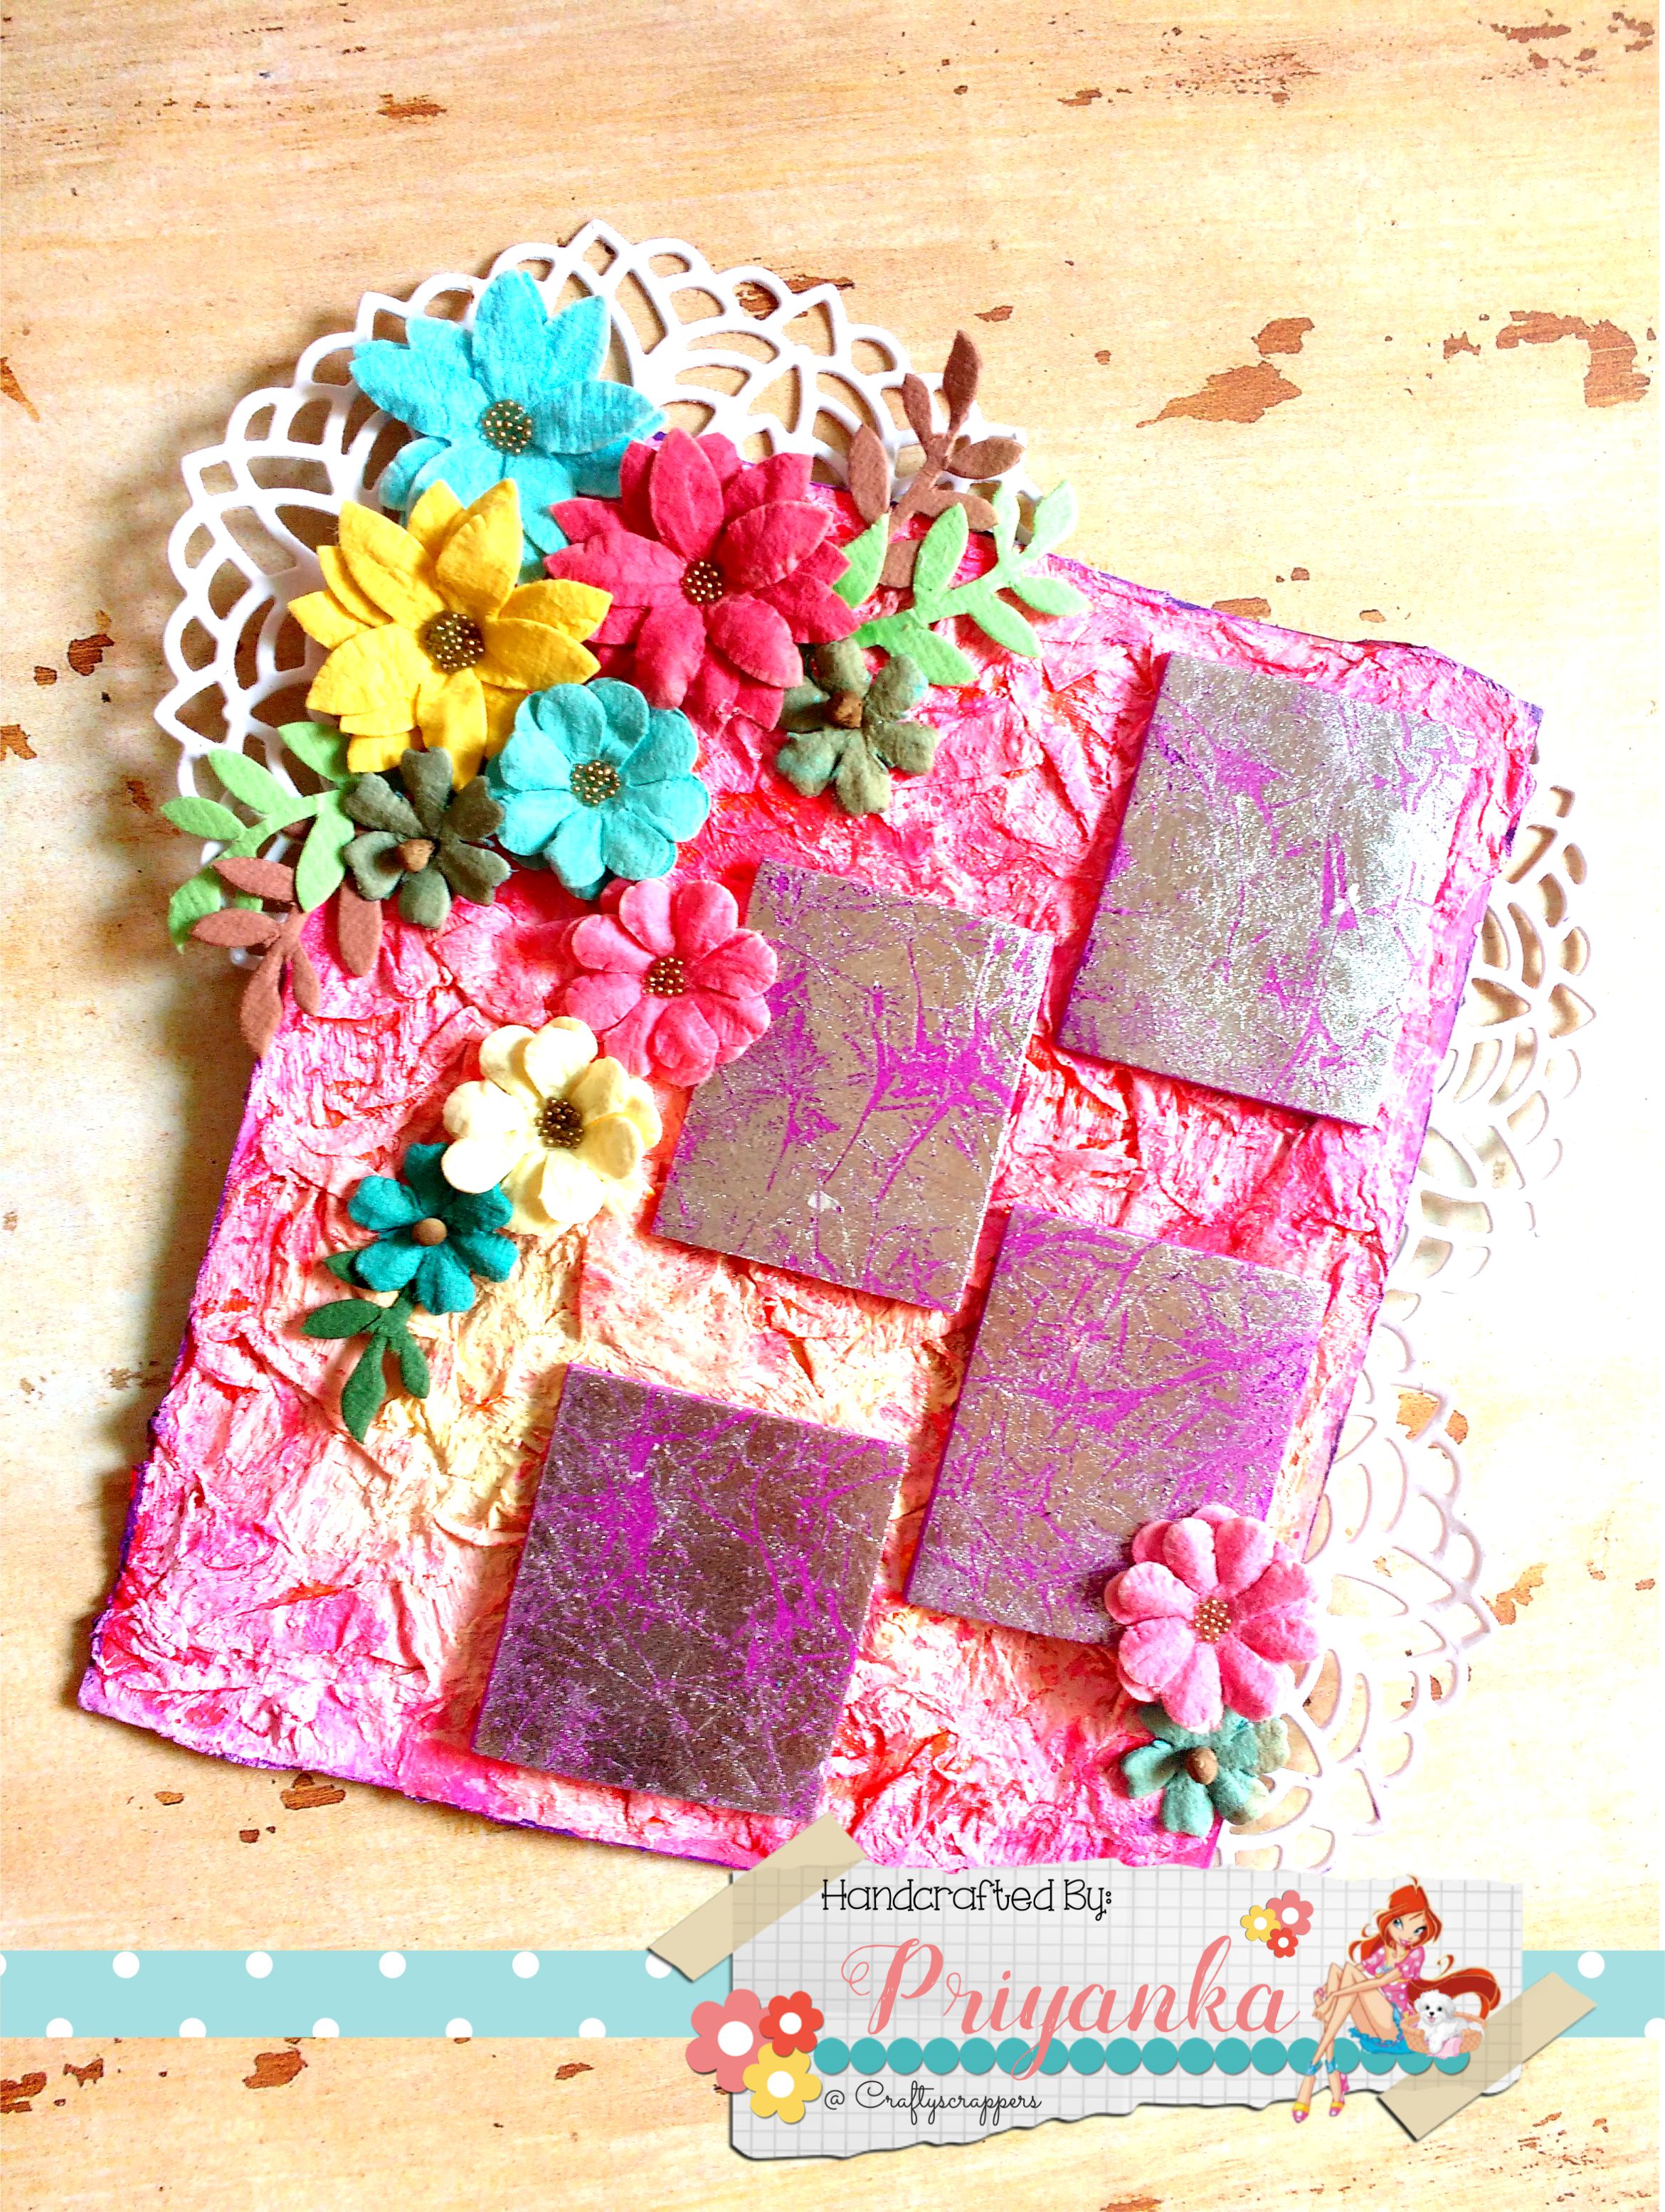
- For this I have created the background using the same technique with tissue paper.
- Then embellished it with flowers and diecuts.
- To create the tiles follow the process in video.
(Further procedure is explained in the video…)
3.(PROJECT: fun foiled distressed background )
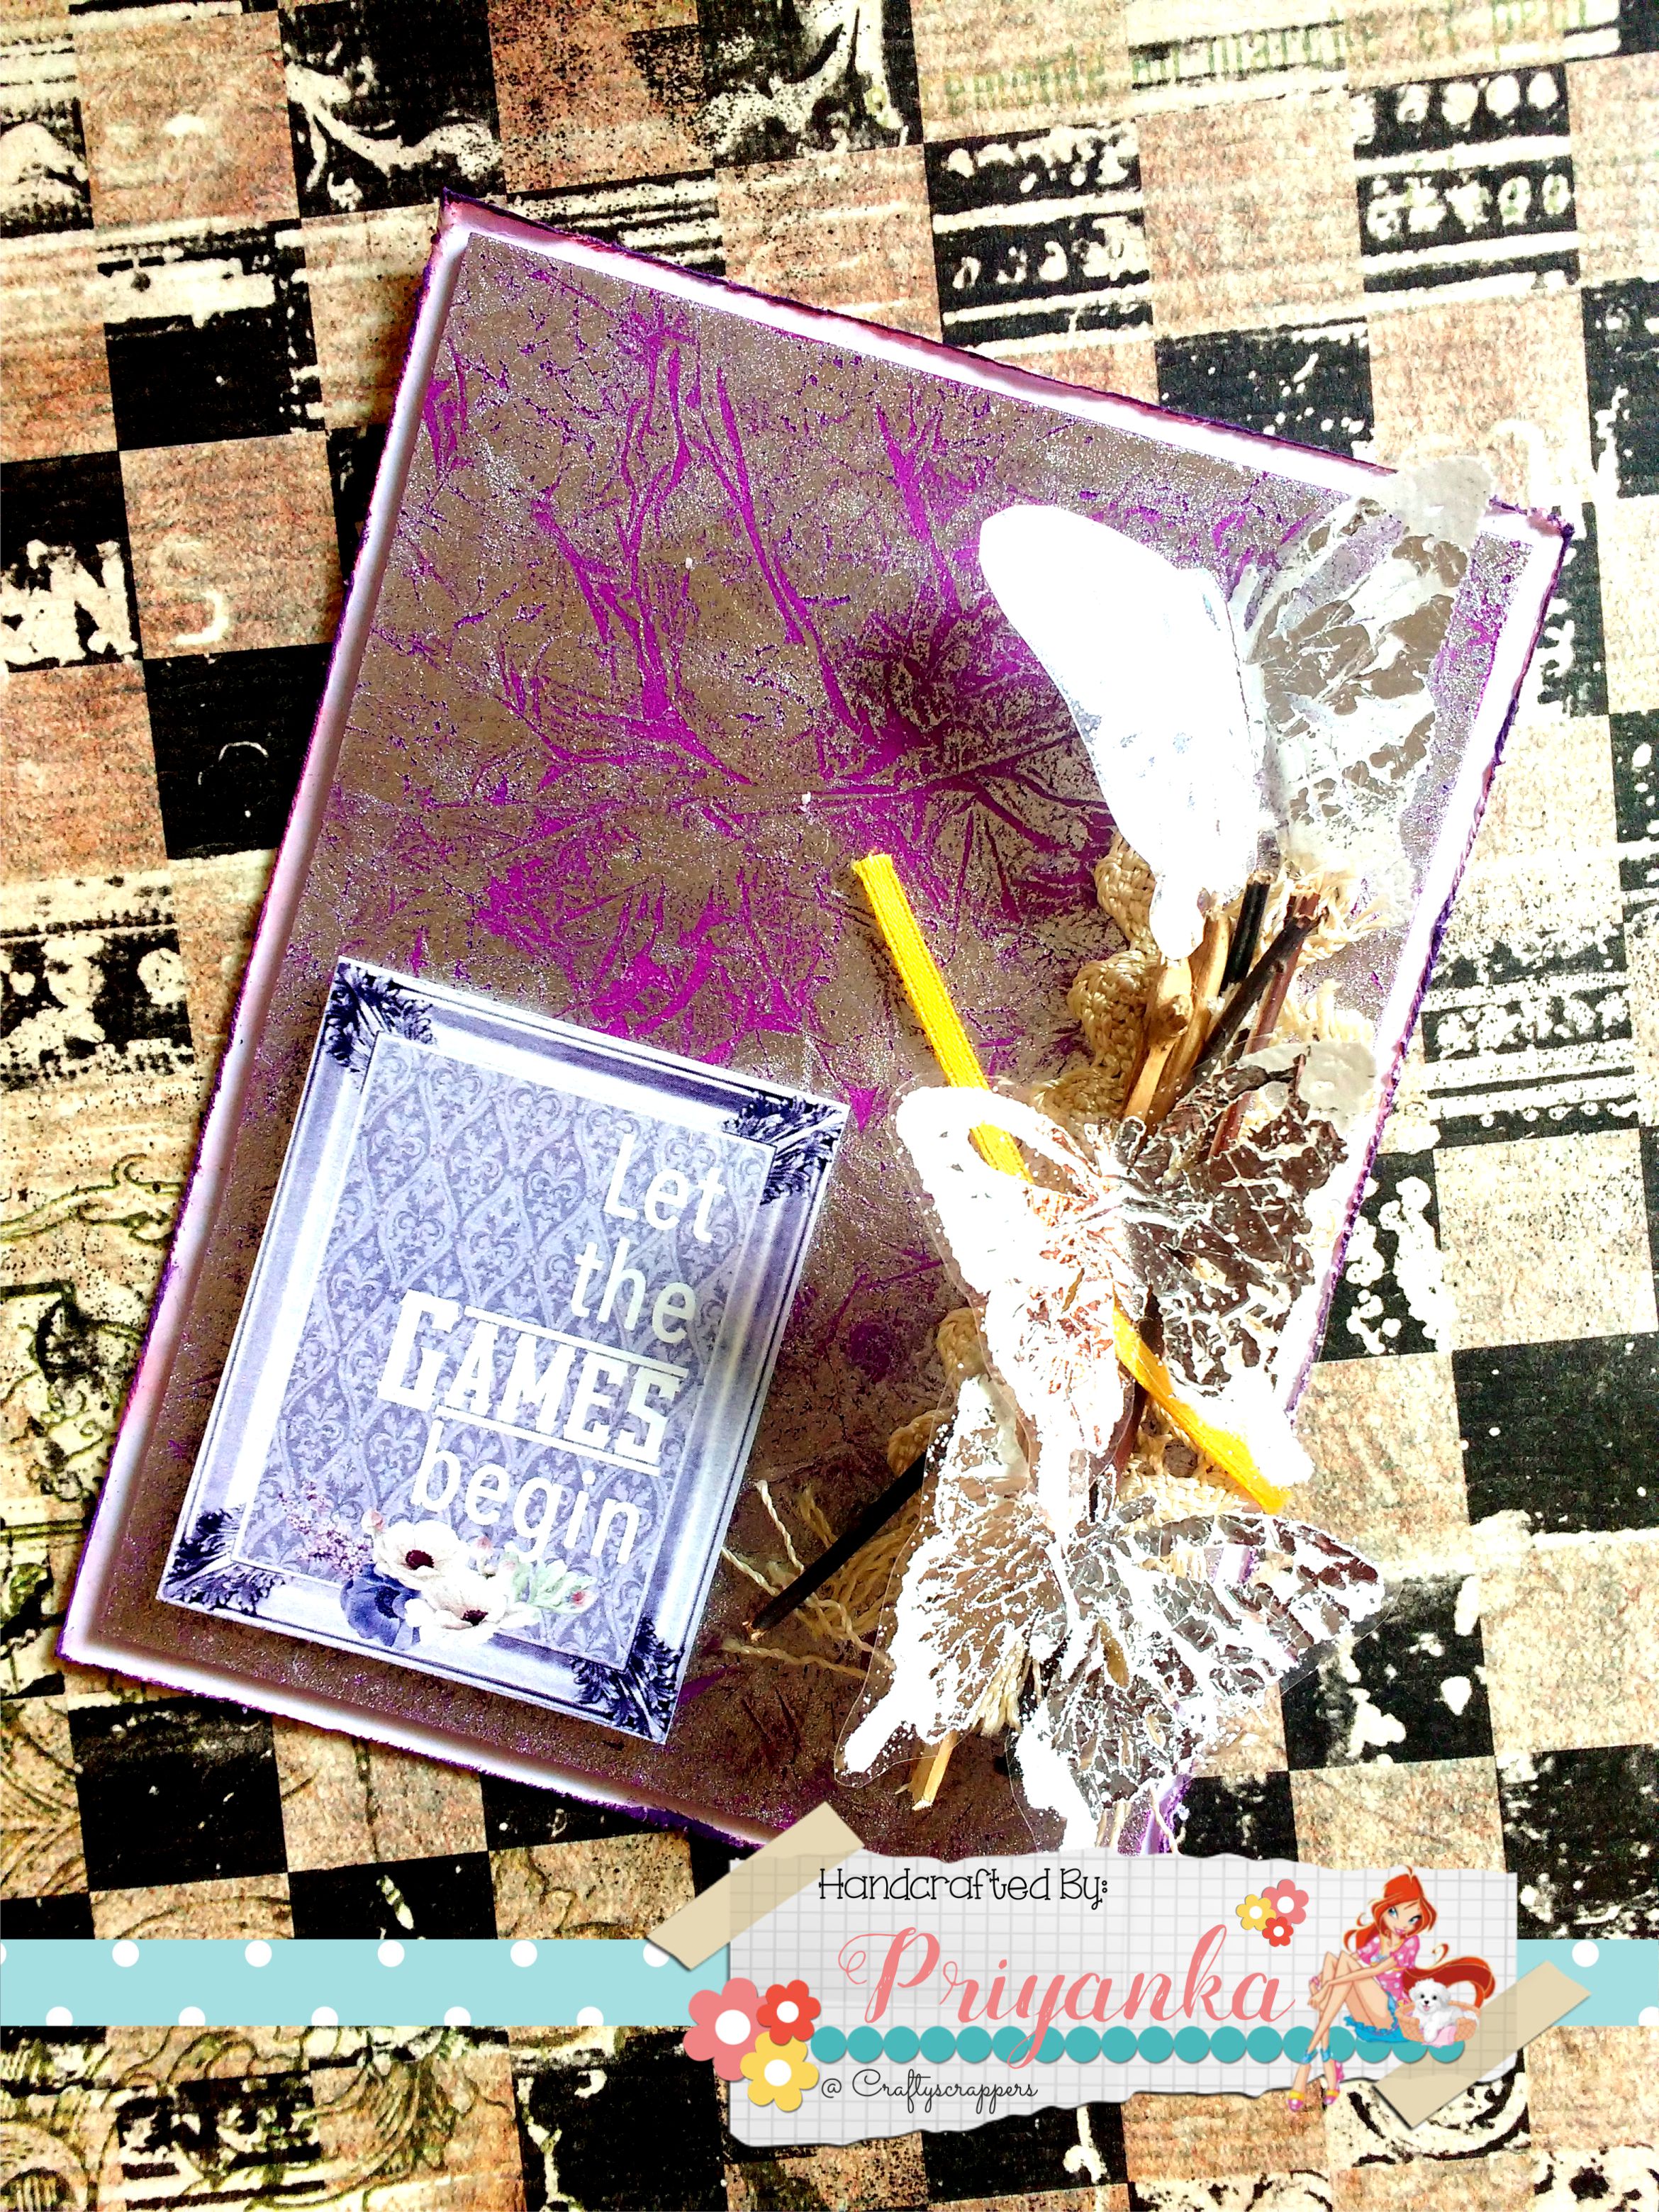
- And for this one I just picked some pieces of lace, natural twigs tied with yellow satin ribbon to create a bed for my butterflies.
- Background & butterfly making process is also mentioned in video.
(Further procedure is explained in the video…)
Heres the complete tutorial video:
Hope you enjoyed the tutorial,
Do leave some love and feedback below.
Don’t forget to join our craft challenges (details at beginning of the post)
You can participate via mr.linky (at the end of the challenge post)
or via facebook, instagram and even via email.
(While sharing your creation post over social media
via Facebook, Twitter, Instagram
please use #Craftyscrappers challenge17 to qualify for submission,
failing to do so entry will be disqualified.)
Happy Crafting!
