This is Aditi and Sunila and We’re back on the blog with a fun tutorial for you all.
But before i get into that, let me tell you…
Our challenge for this month of NOVEMBER is ongoing.
If you missed our previous post,check it out here…
CHALLENGE#17:”Sketch”
You can create any project using the provided sketch it can be a layout, a journal page, a simple card, interactive cards, mixed media canvas or project, altered art, anything crafty,to participate…
- Last date of submission is 30th November 2017.

to win amazing prices!!!

So lets move on to Craftyscrappers November Release stamp sets:
Aren’t they gorgeous!!!
The designs are super cute and mesmerizing.. each complimenting with beautiful sentiments to go along with!!!
We also designed 3 among the above gorgeous stamp sets…
Heres a closer look at the one we designed:
![ST-BGR-17[dotted circles]_605x768.jpg](https://craftyscrappers.files.wordpress.com/2017/11/st-bgr-17dotted-circles_605x768.jpg?w=594)
![ST-BGR-18[dots to liness]_605x768.jpg](https://craftyscrappers.files.wordpress.com/2017/11/st-bgr-18dots-to-liness_605x768.jpg?w=594)
![ST-BGR-19[arrow heads]_605x768.jpg](https://craftyscrappers.files.wordpress.com/2017/11/st-bgr-19arrow-heads_605x768.jpg?w=596)
We will soon come up with some really interesting
inspirations using our designed stamp sets.
These super gorgeous stamp sets,
will soon be up on our store
for you all to grab your favorite one before they are out of stock!!
so keep checking our Facebook/Instagram and Blog for more updates!!!
Okay so without further ado… lets begin the tutorial!

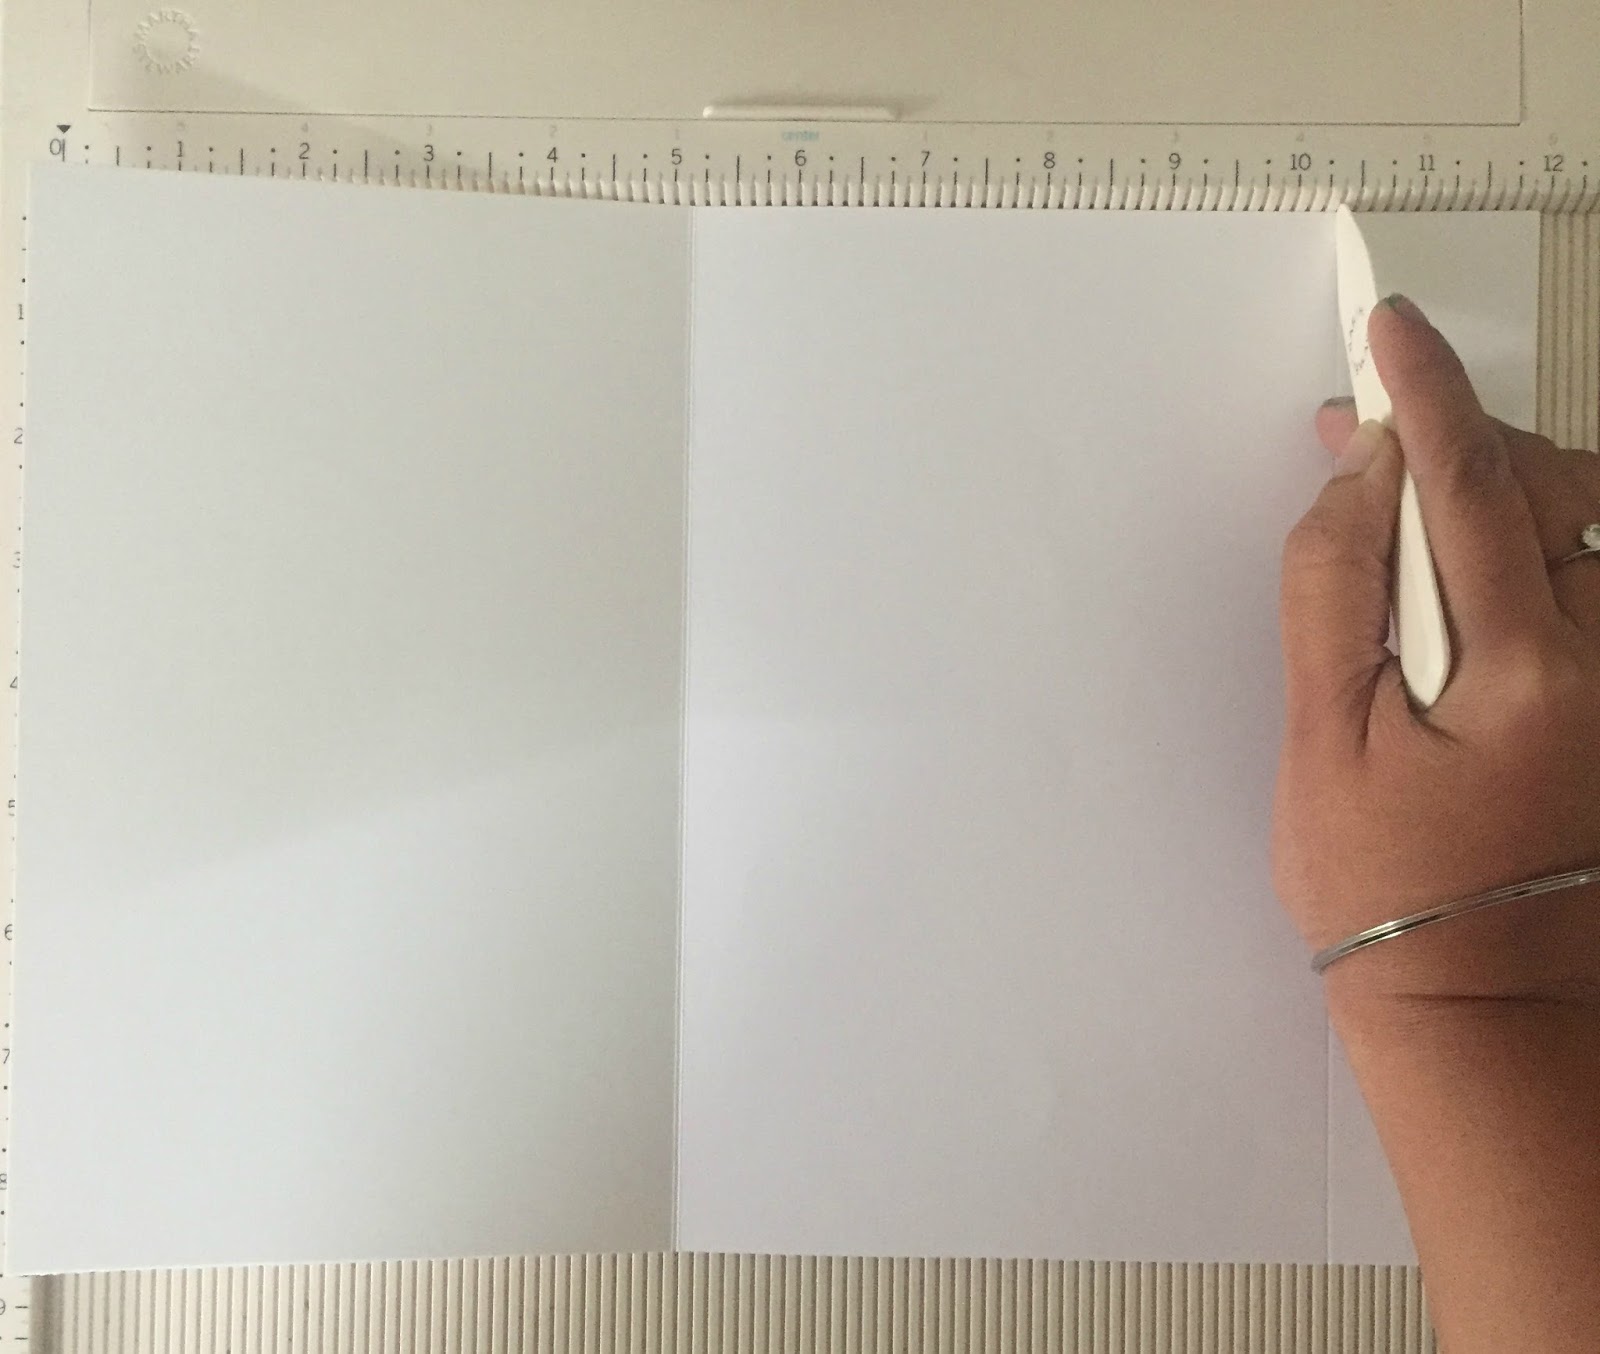
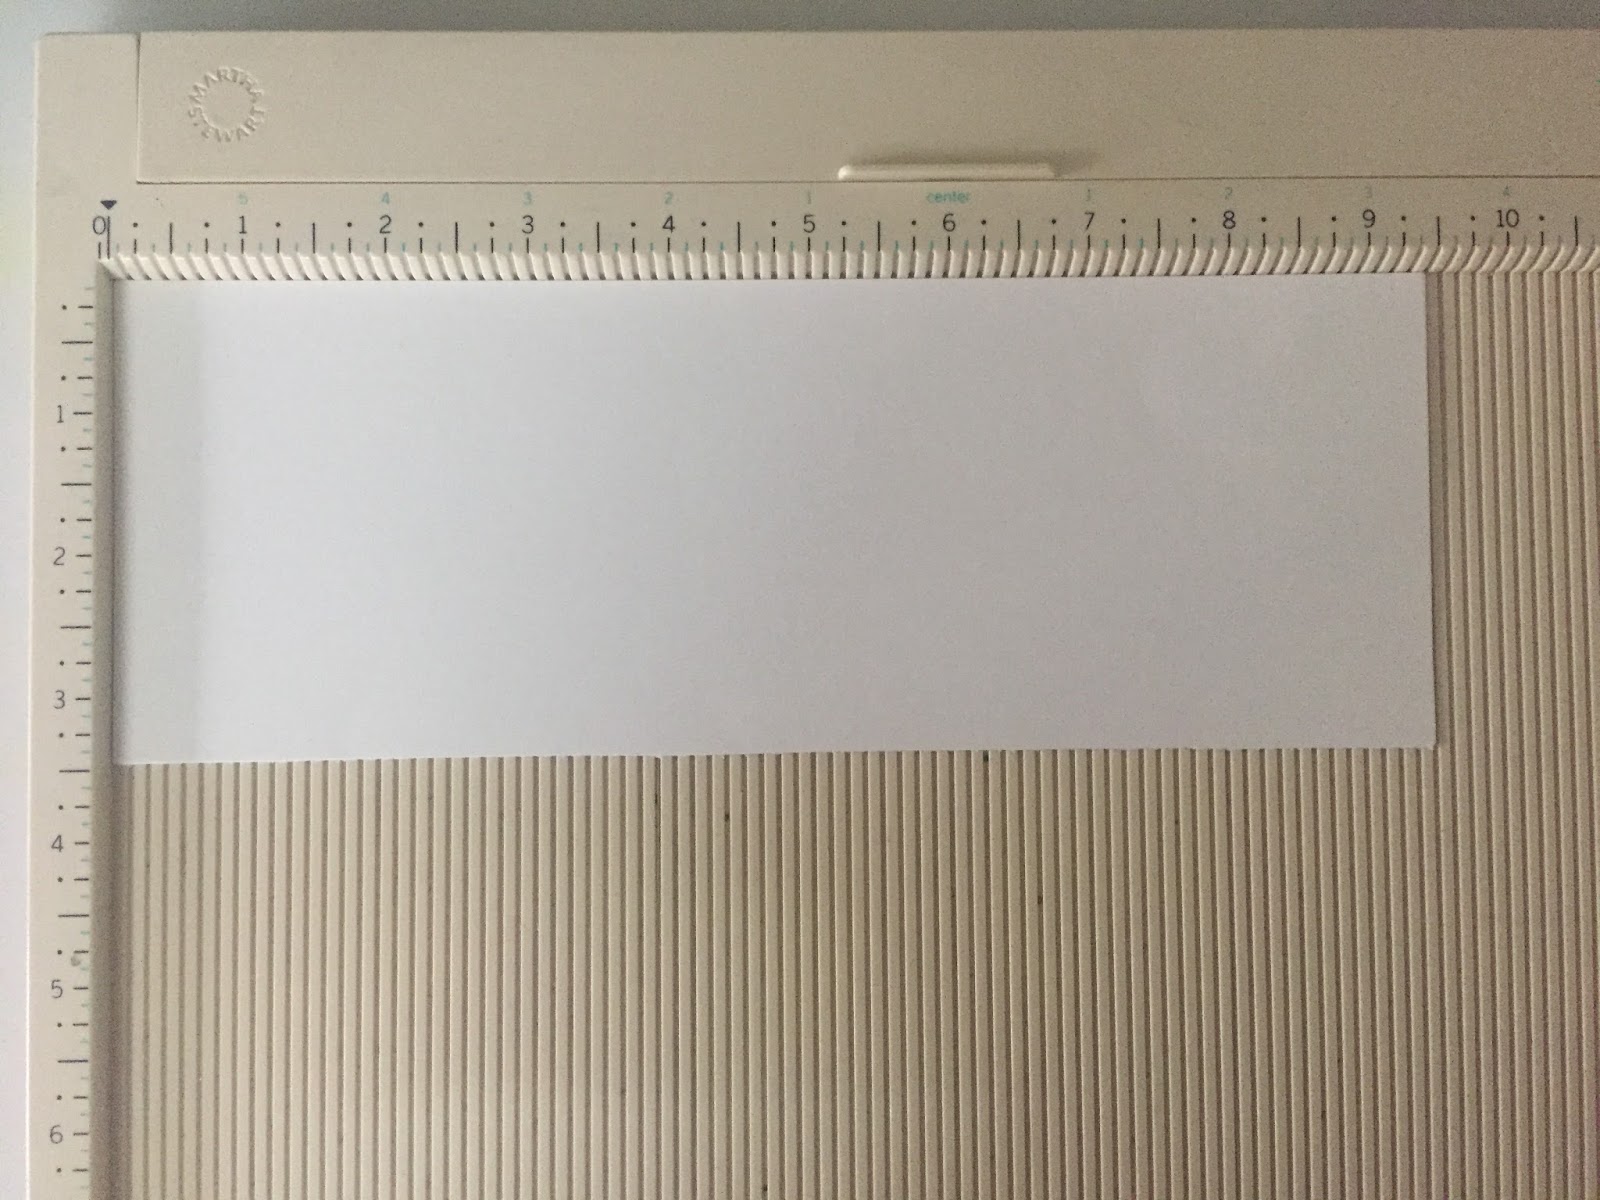
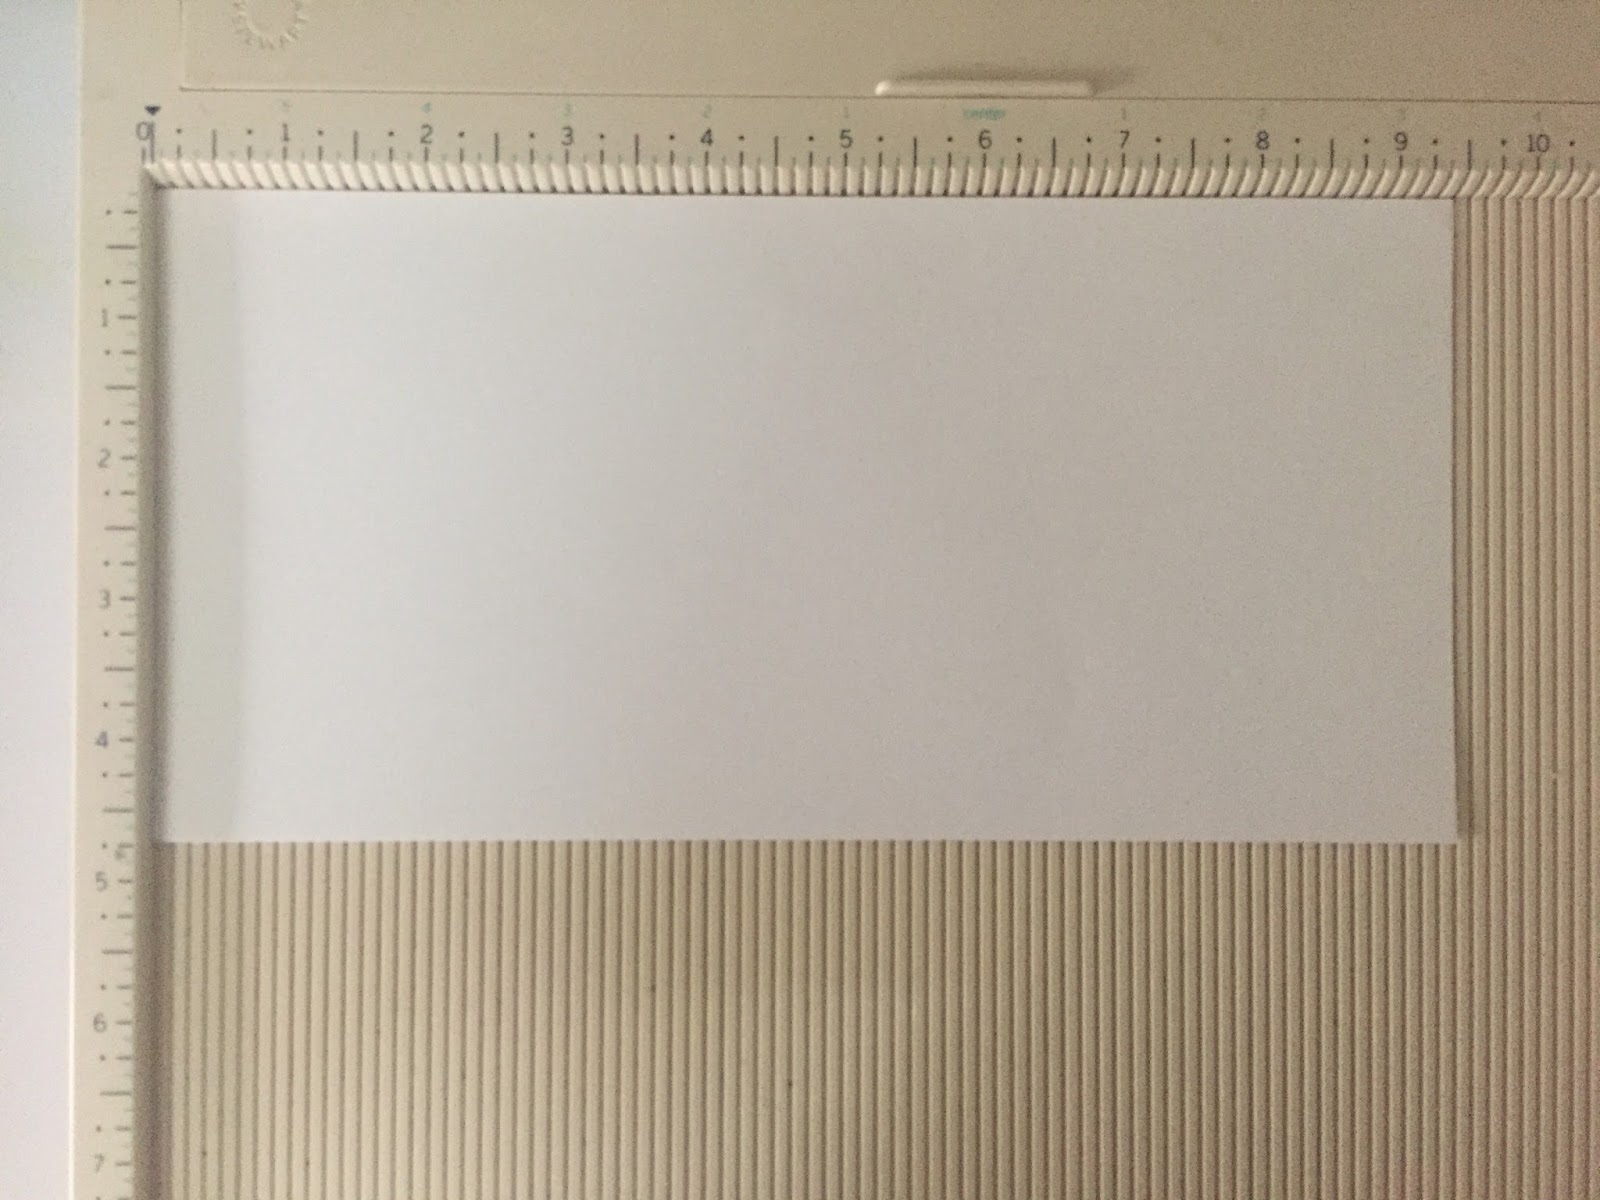
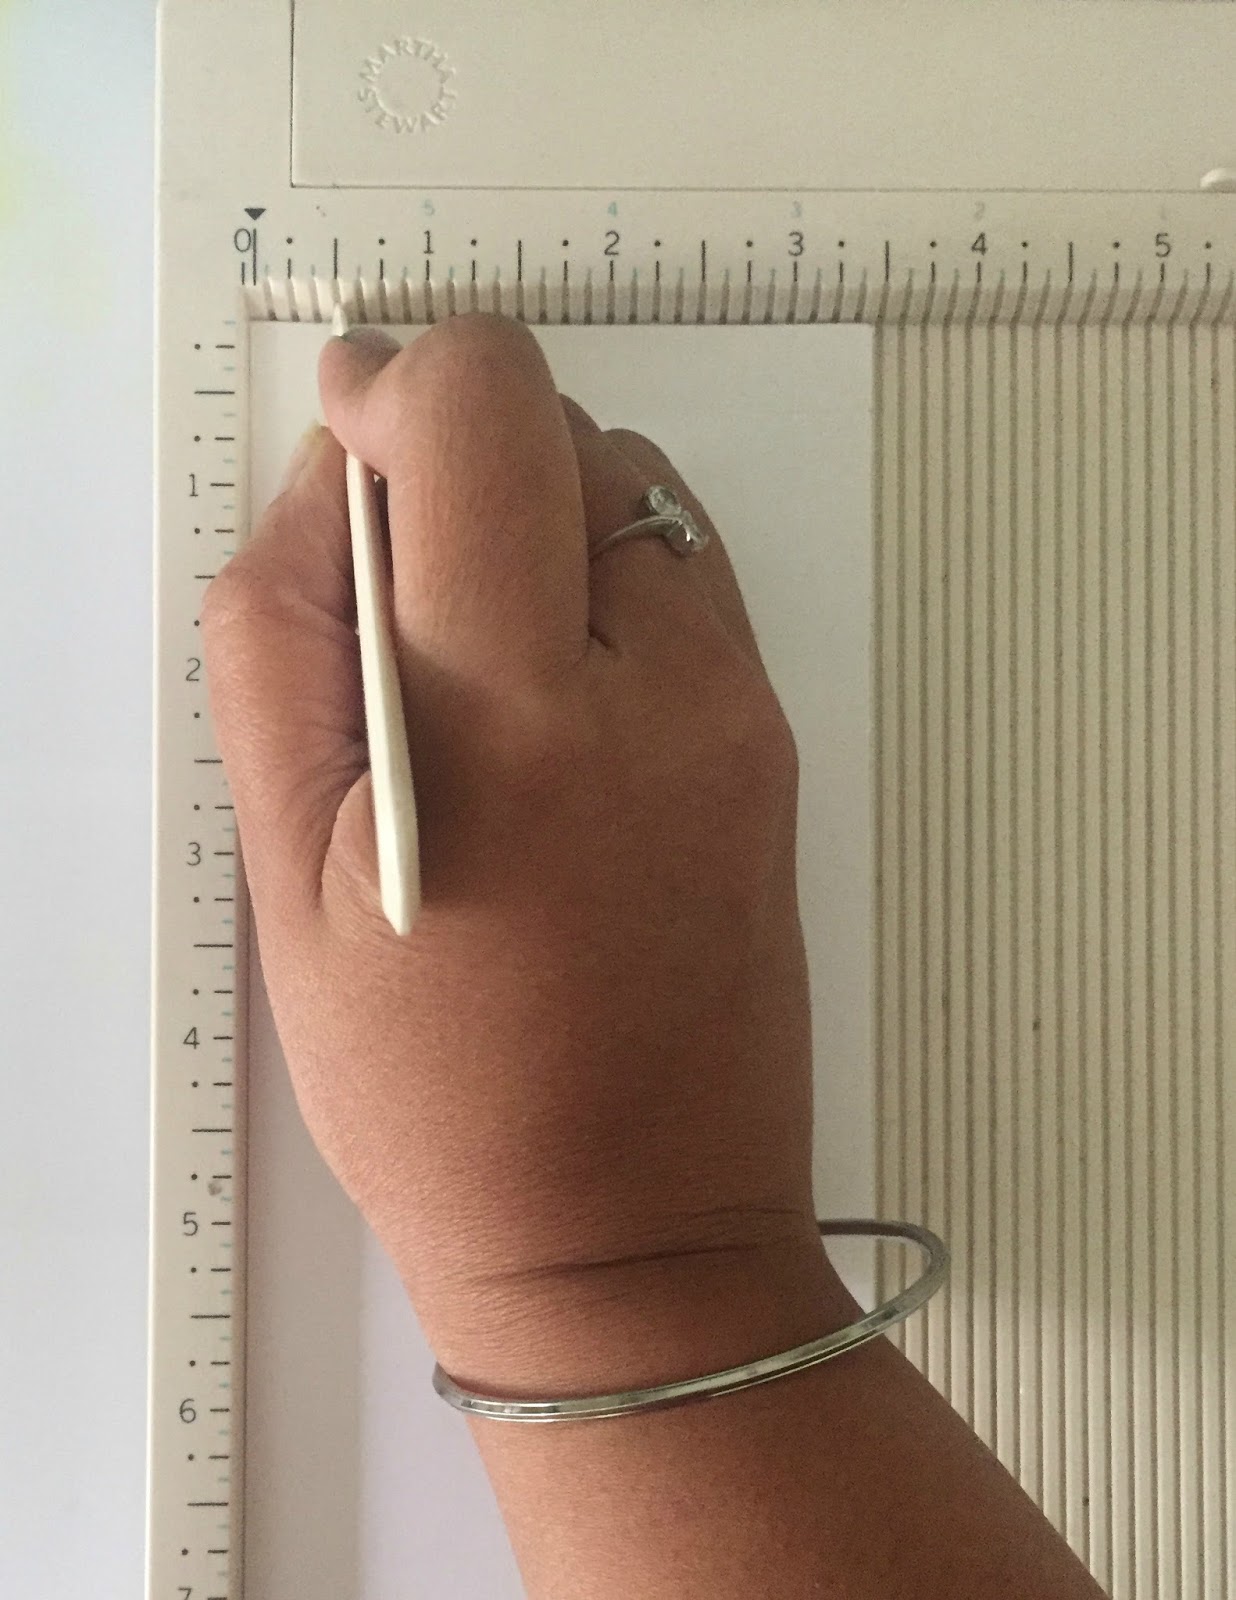
Start with a sheet of White Cardstock- 8.5″ x 12″


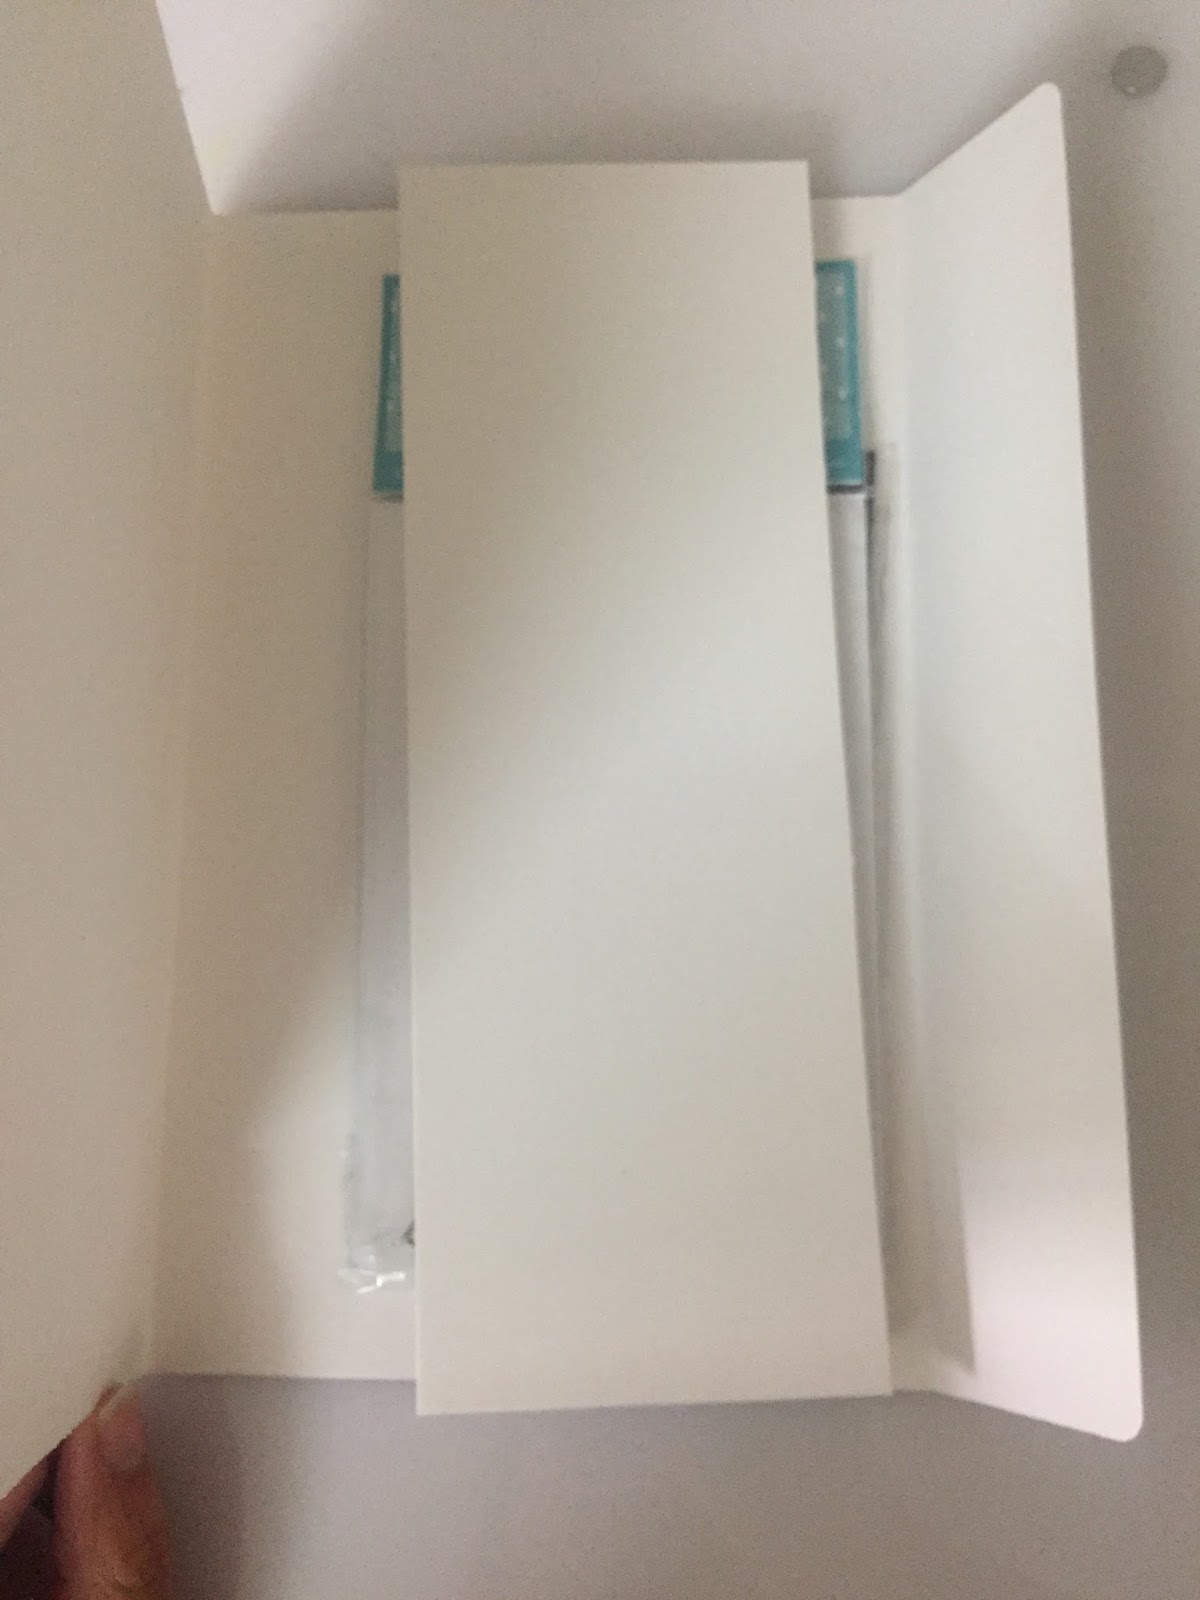
Score the sheet on the 12″ side at 5 1/8″ and 10 3/8″. This will give you the basic shape of the folio with a side flap.

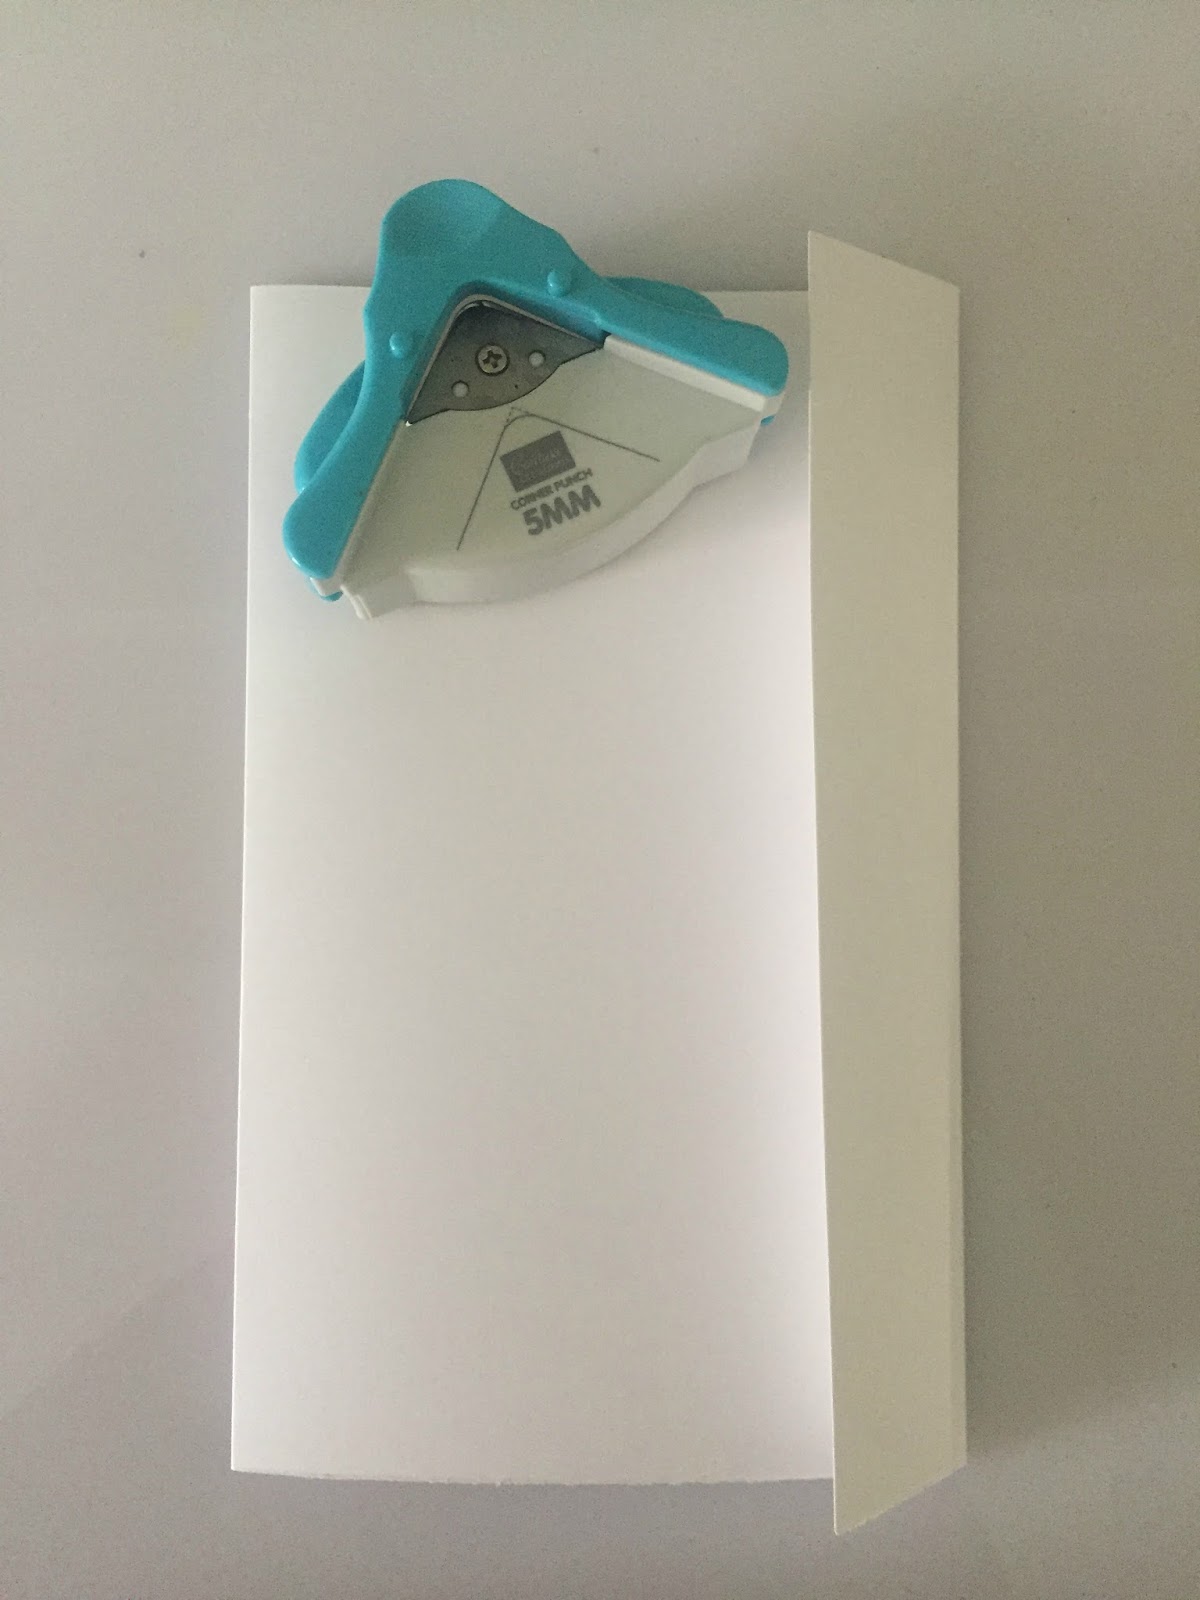
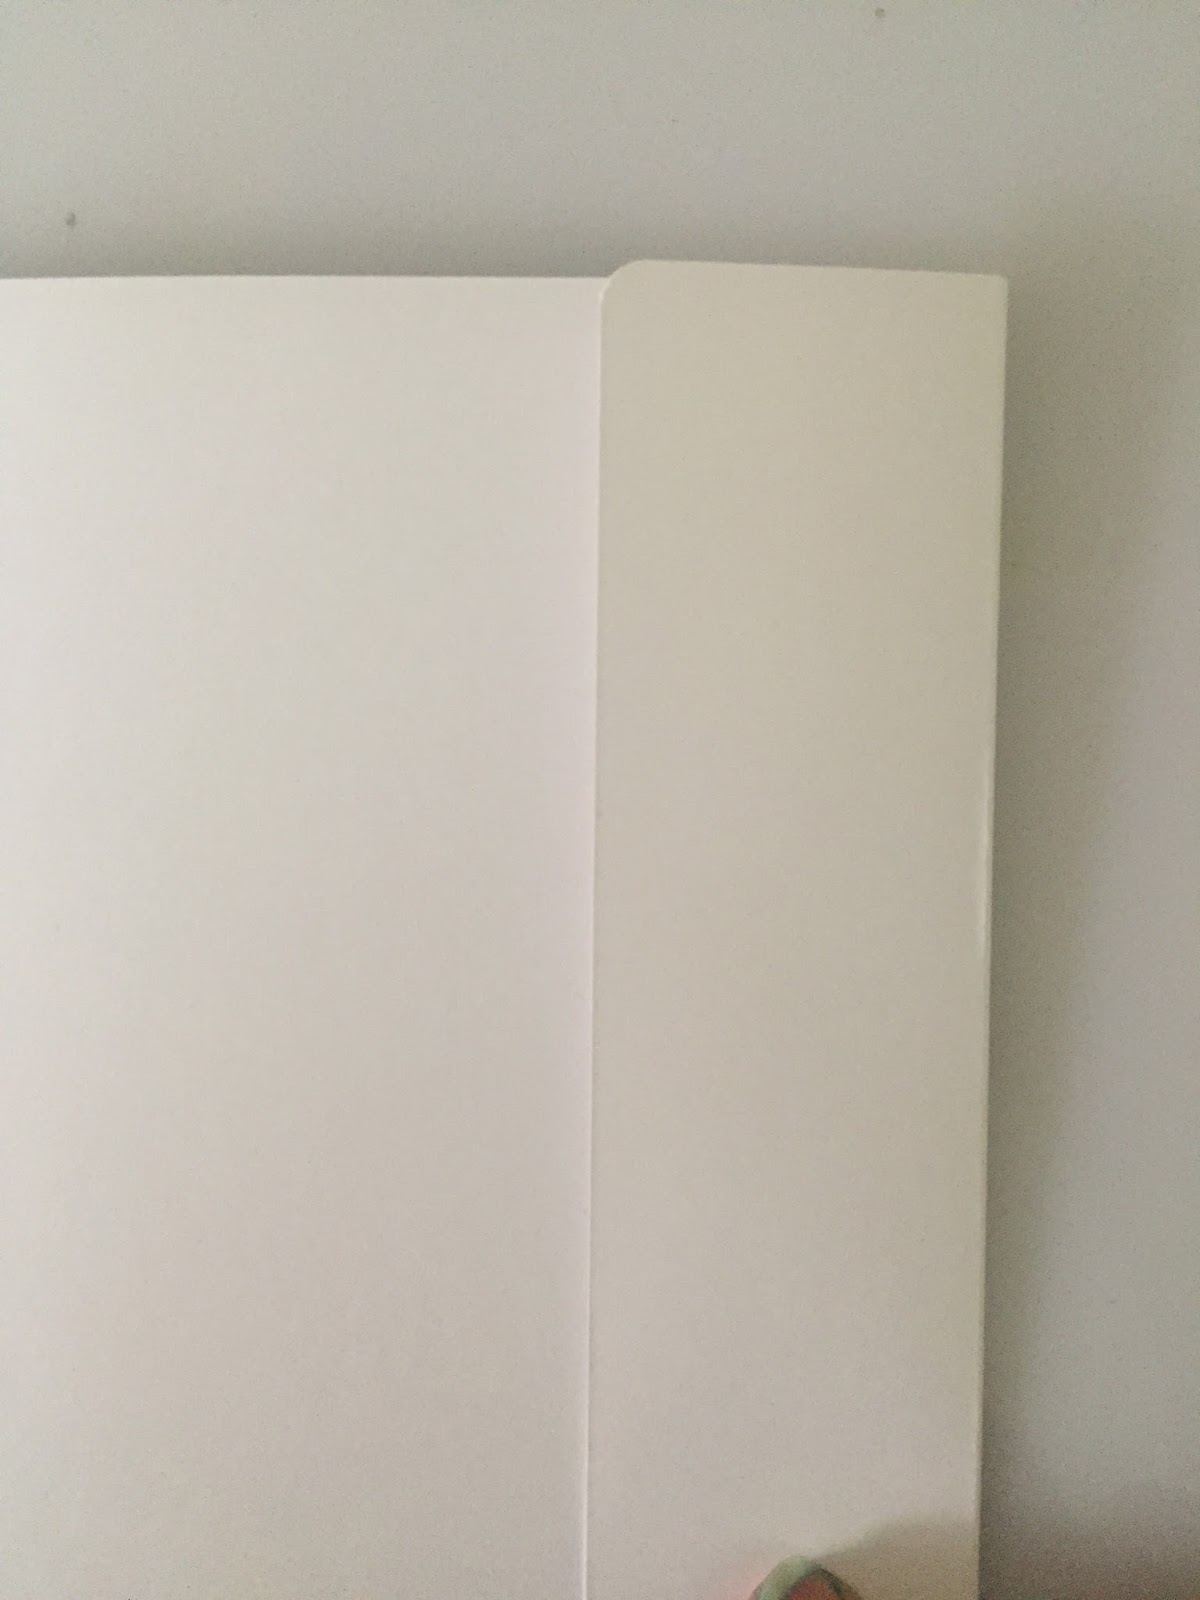
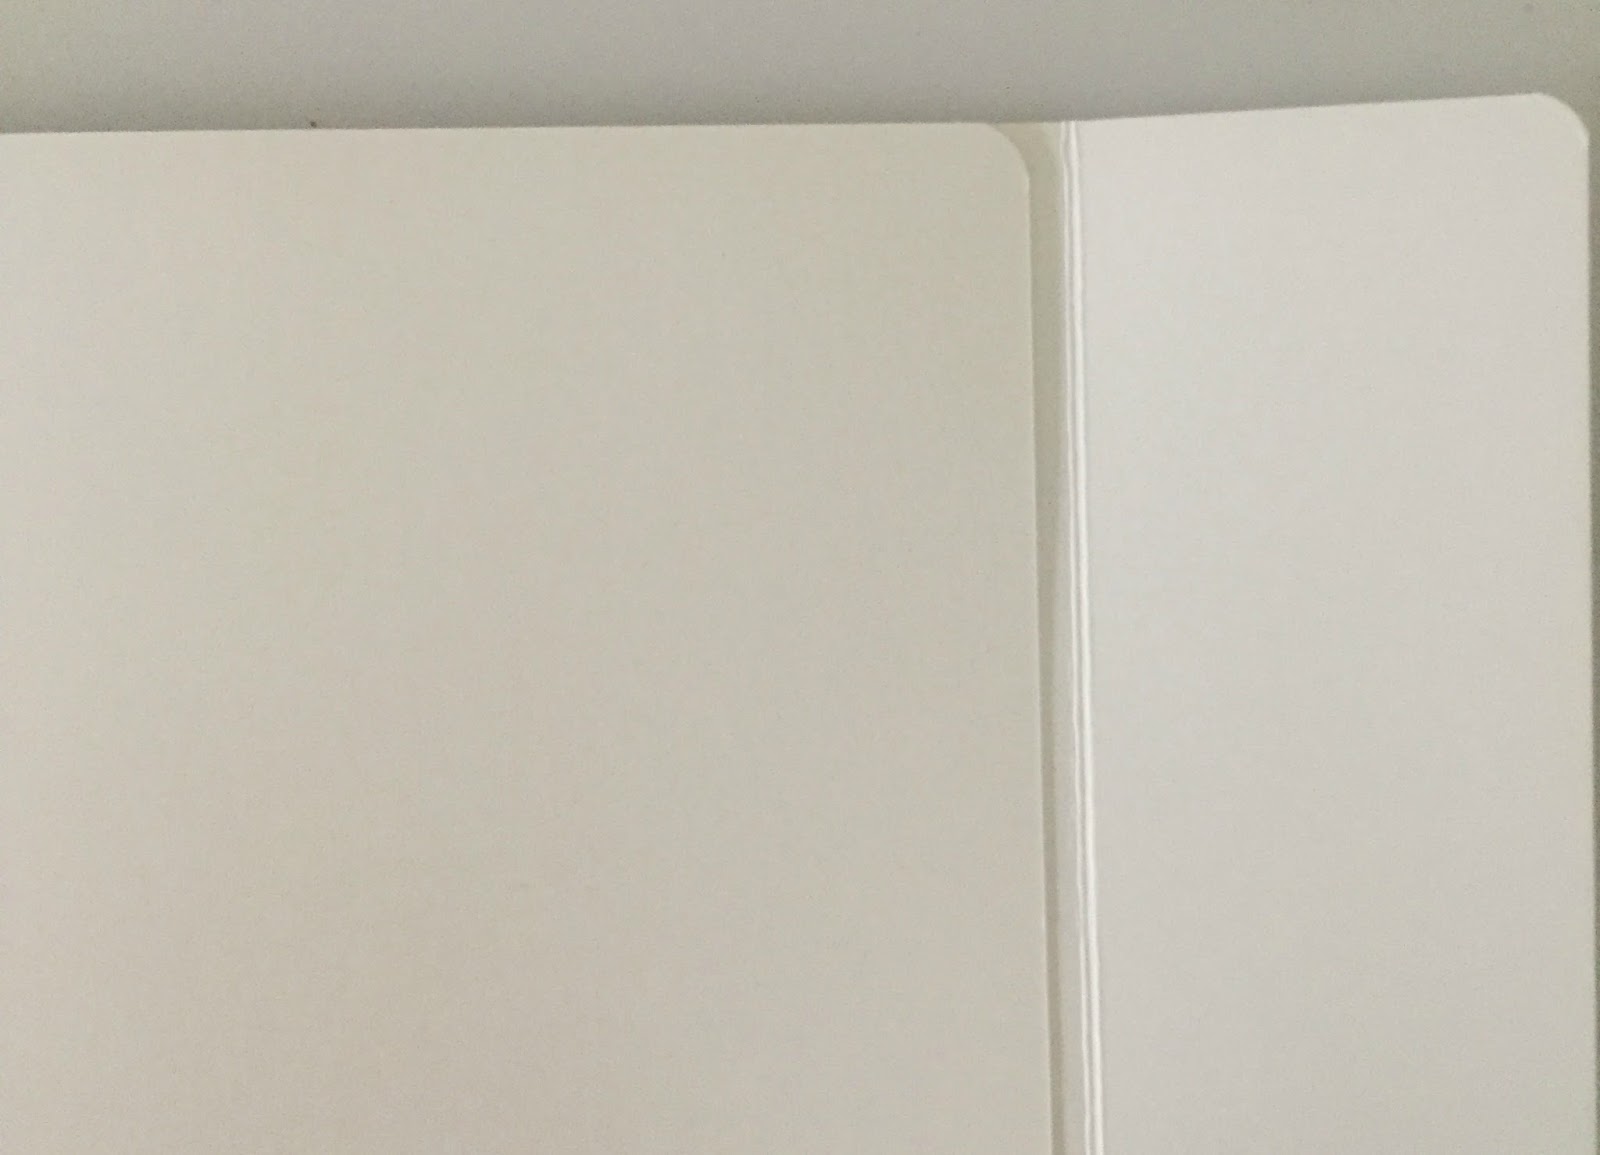
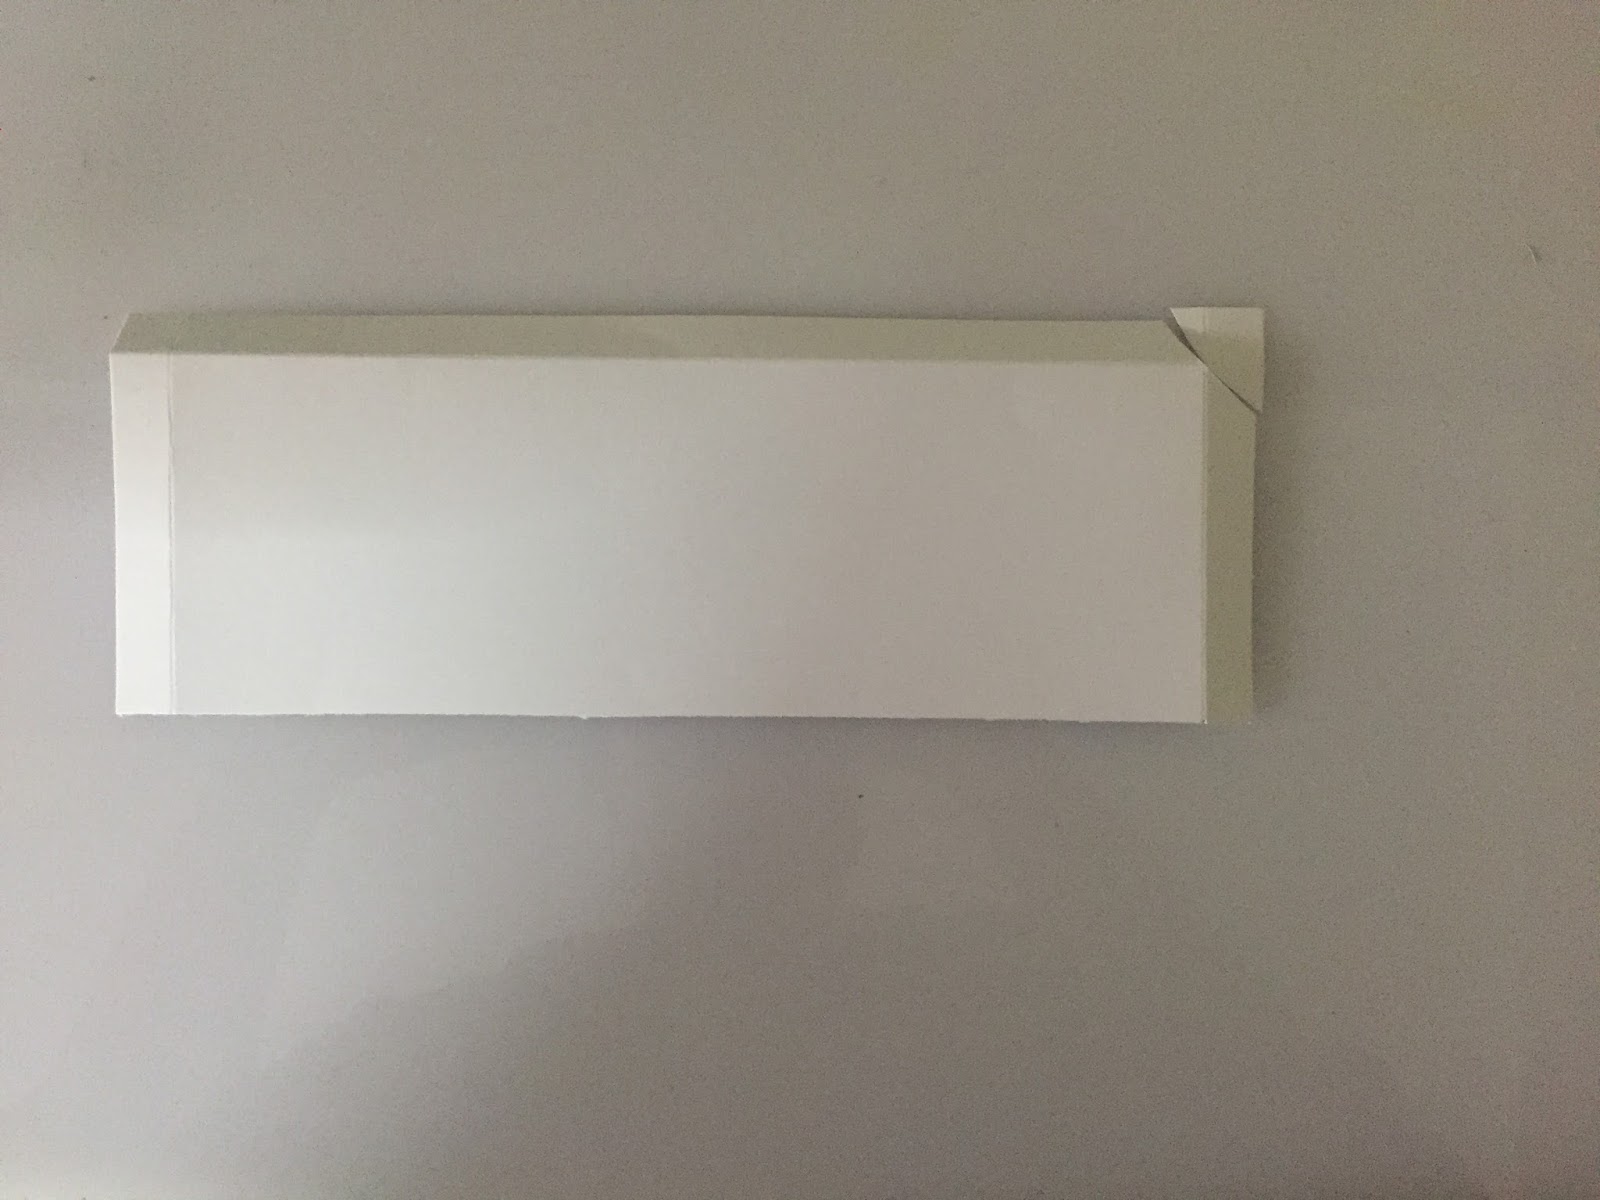
This is optional. You could round the edges of the entire sheet.

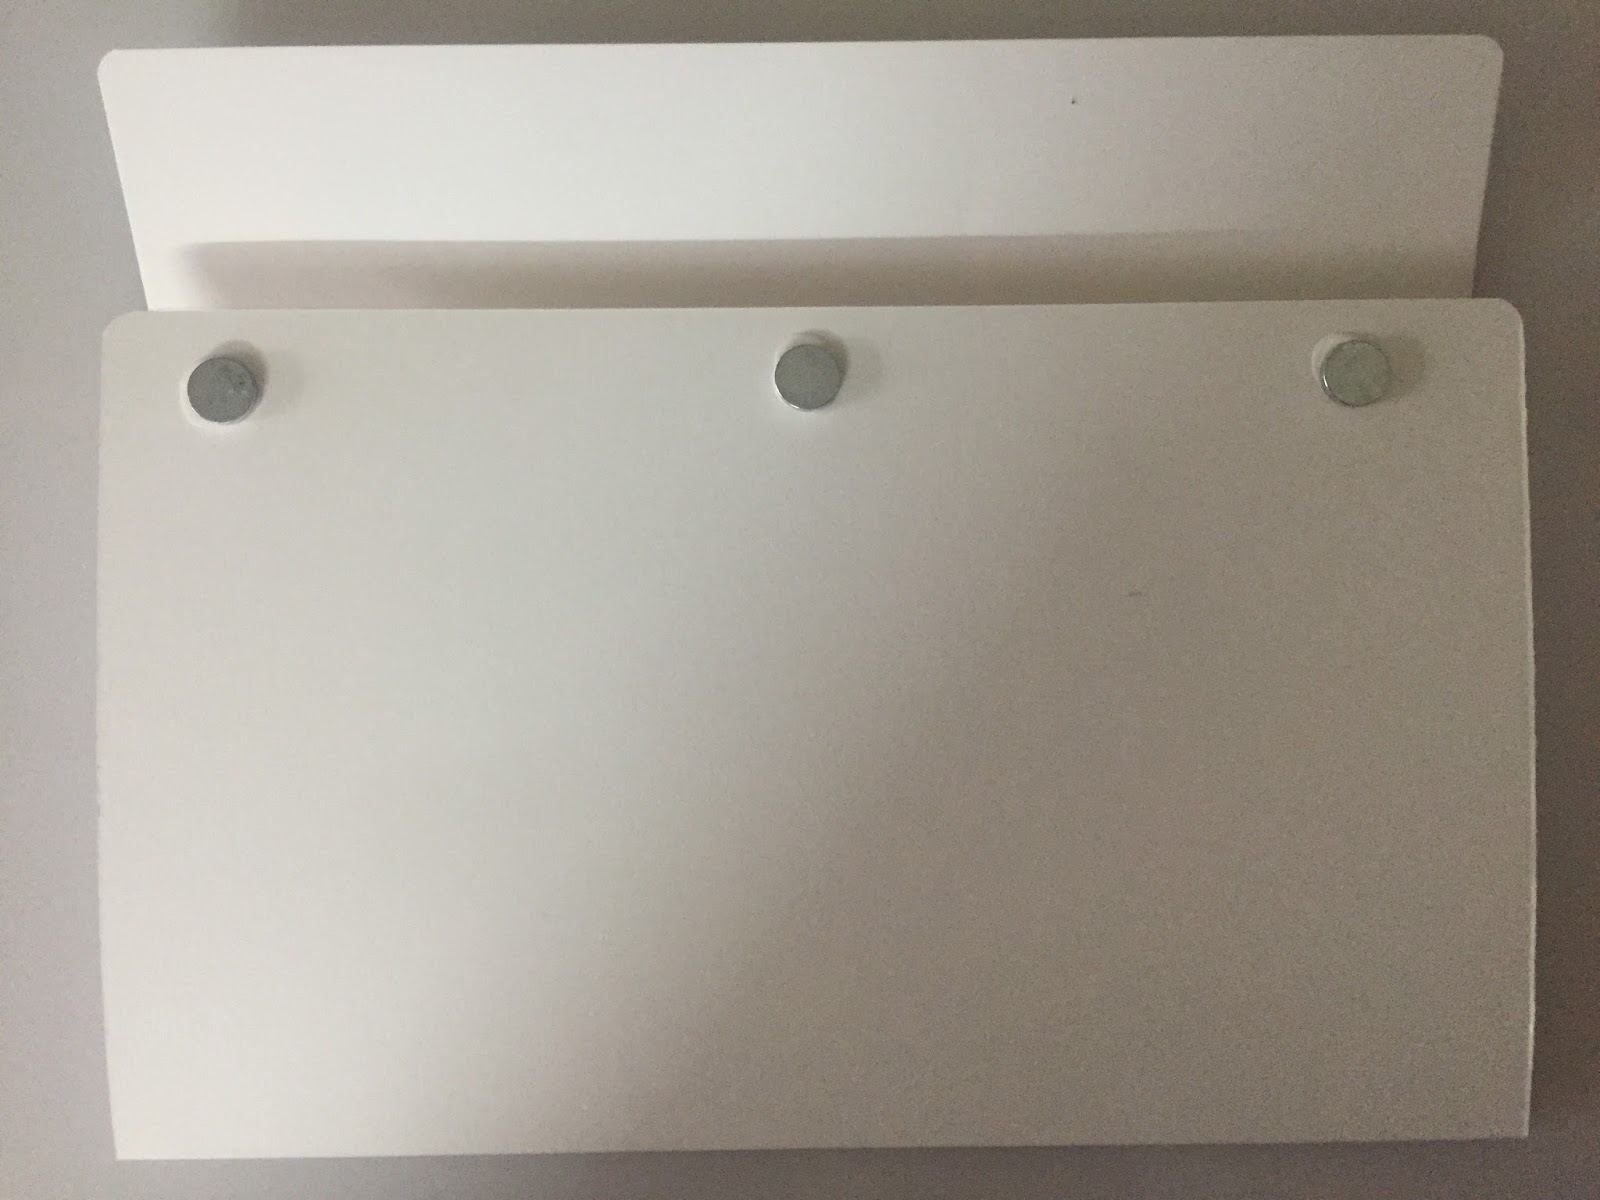
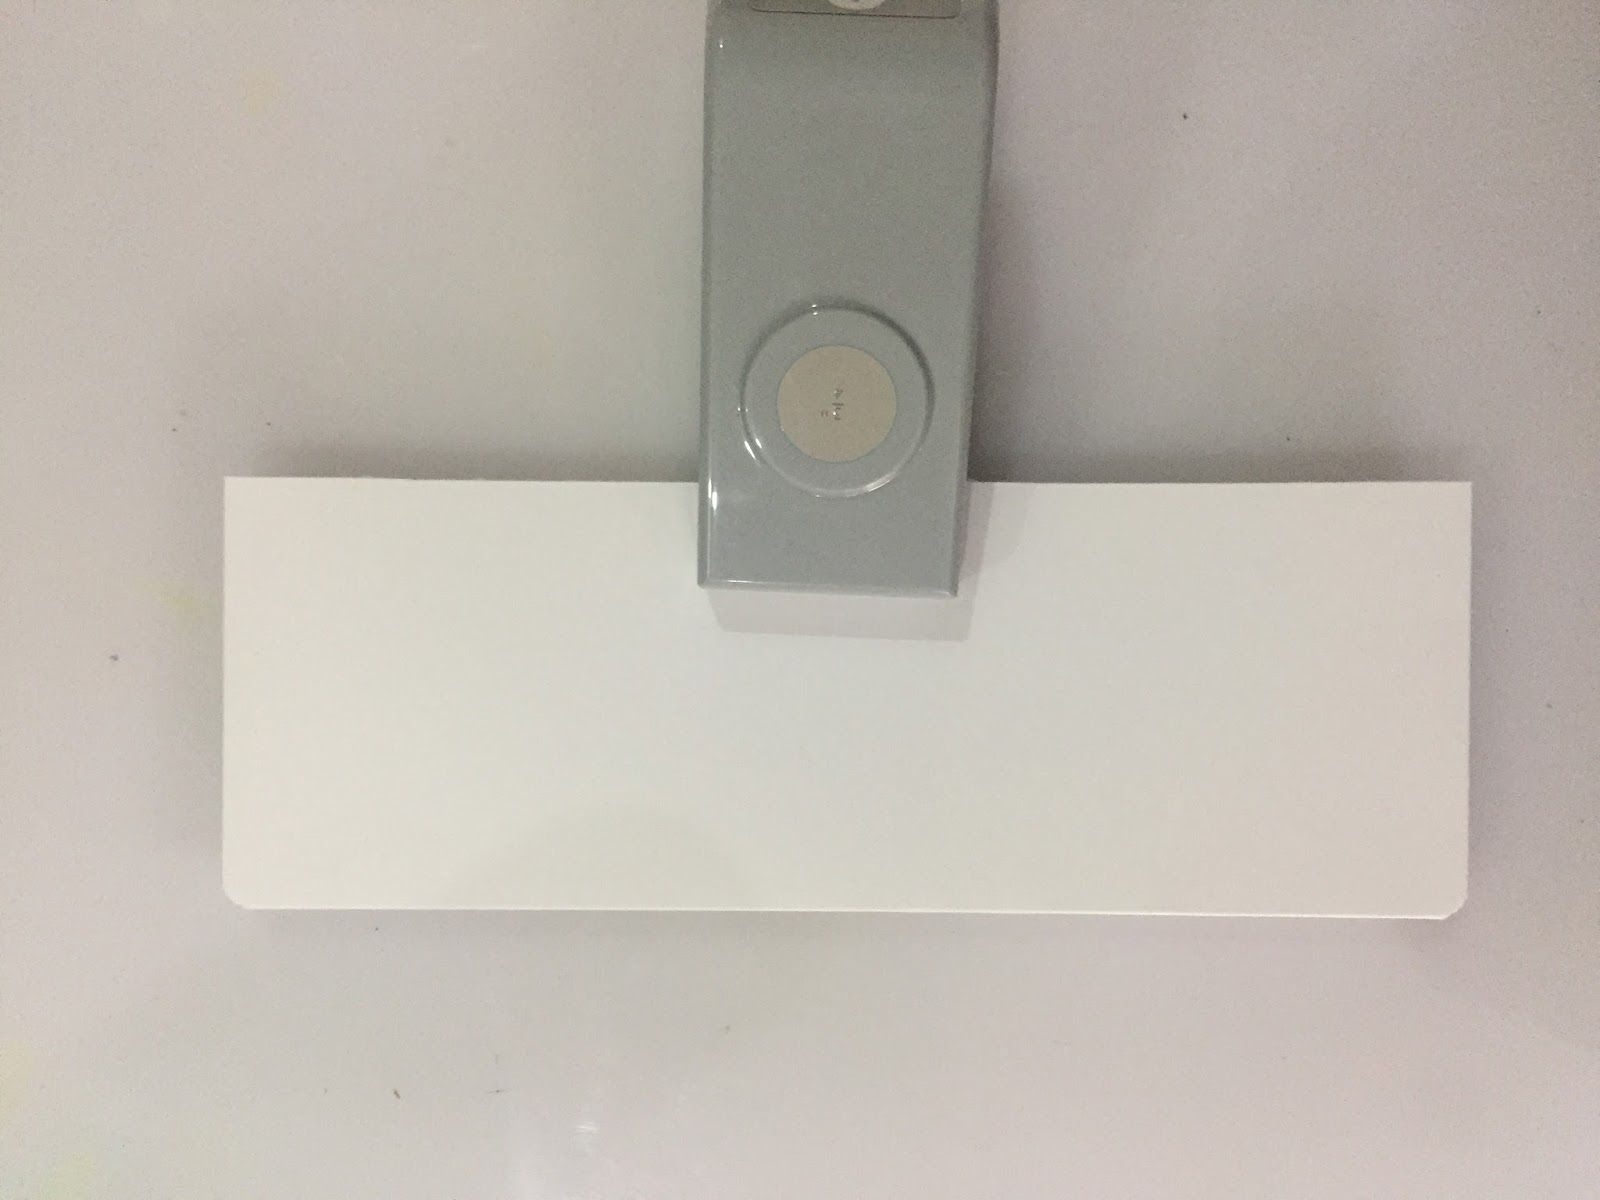
Let’s work on our closure. We are using three magnets to close the flap. You could use velcro or any other mechanism of your choice. First glue down the three magnets on the page that closes inside to the left.
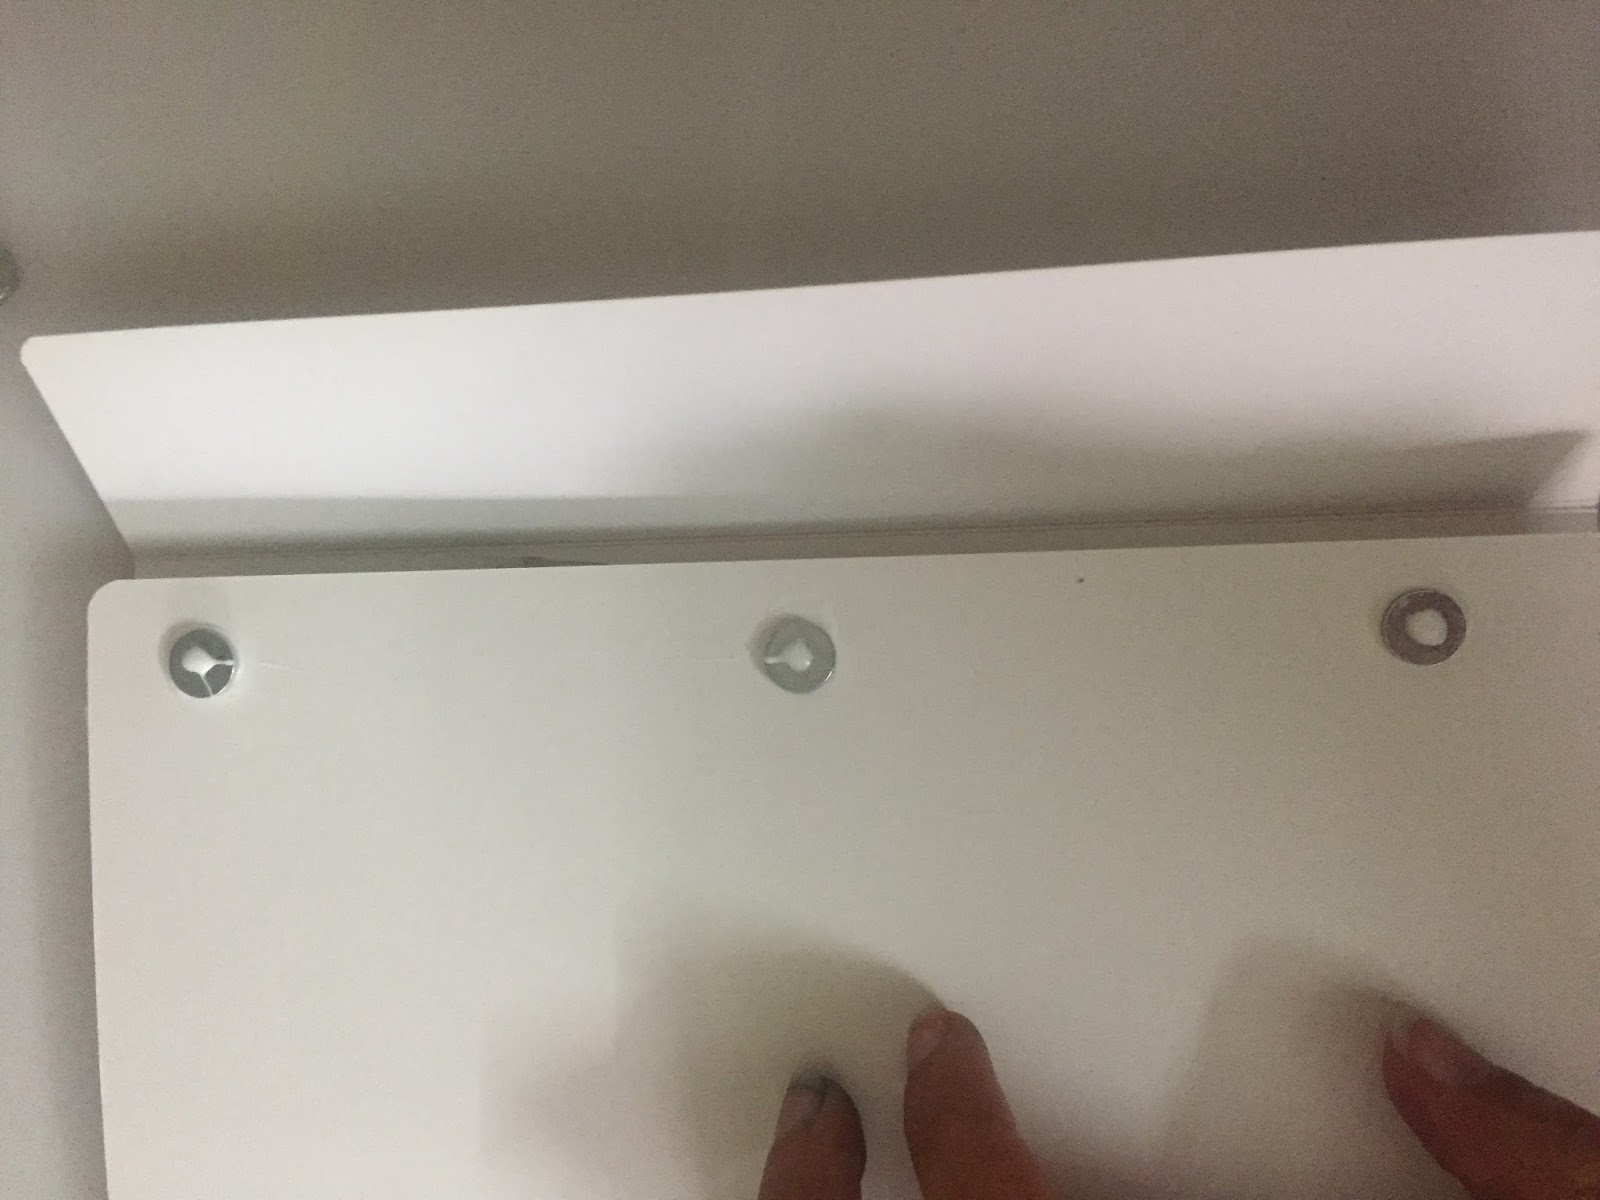
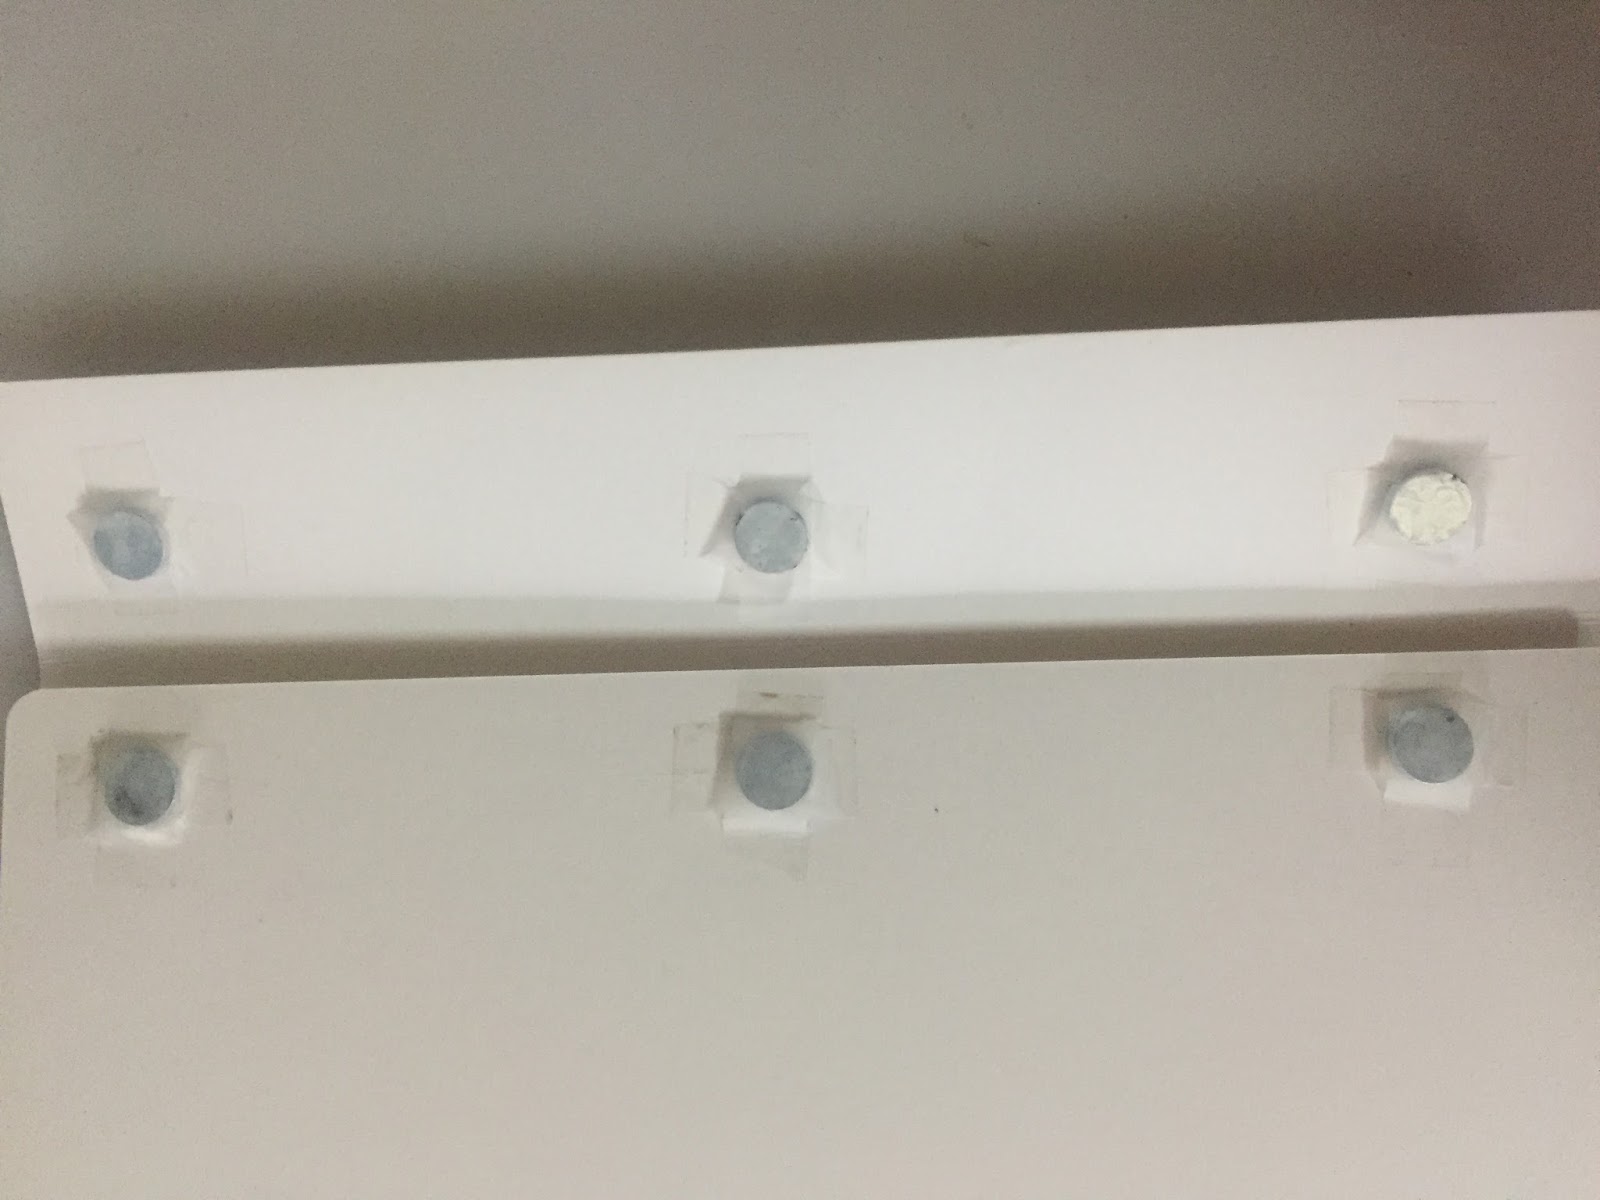
Place a few things inside the folio to make it a little bulky. Add drops of glue on top of the magnet, and close the flap. This way the glue gets transferred onto the flap and you will know where to place your opposite magnets. Seal your magnets with tape.

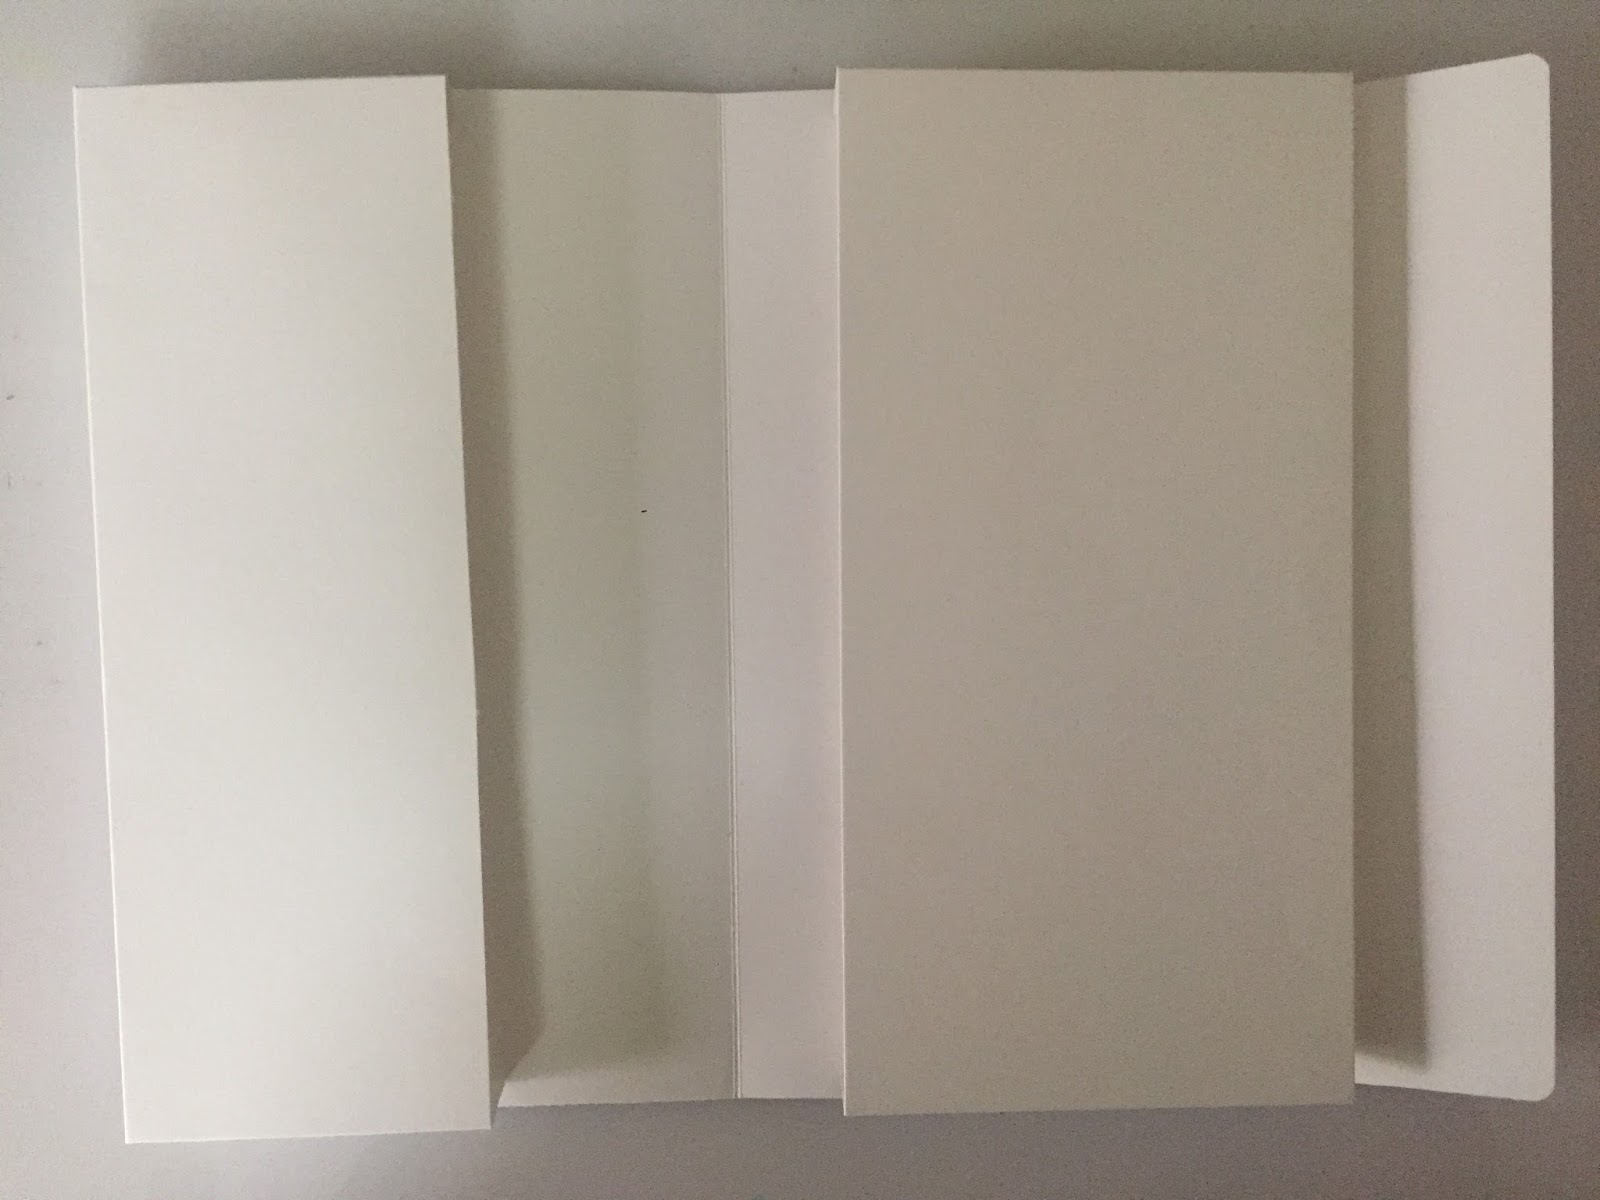
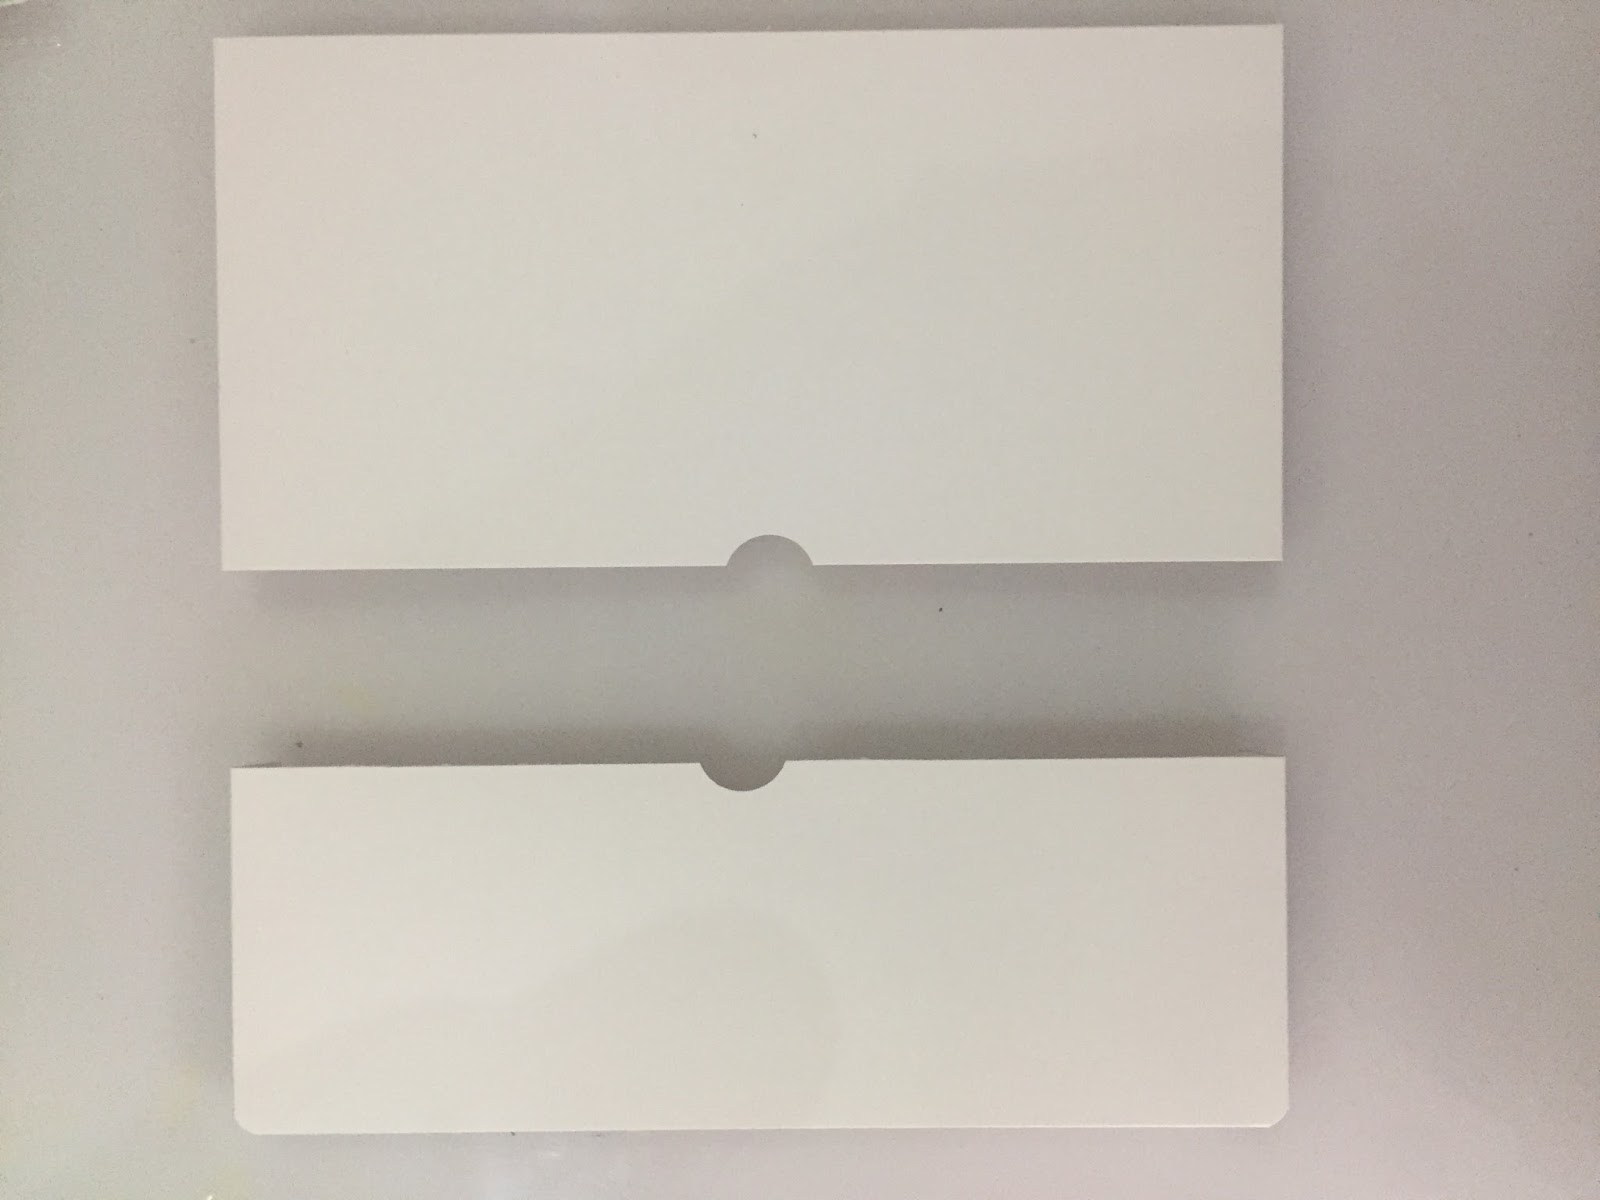
Let’s make our pockets. For this cut white cardstock pieces of the following measurements- 3.5″ x 9.5″ (1piece- left pocket); 4 3/3″ x 9.5″ (1piece- right pocket); 2 3/4″ x 4 3/4″ (2 pieces right overlapping pockets)
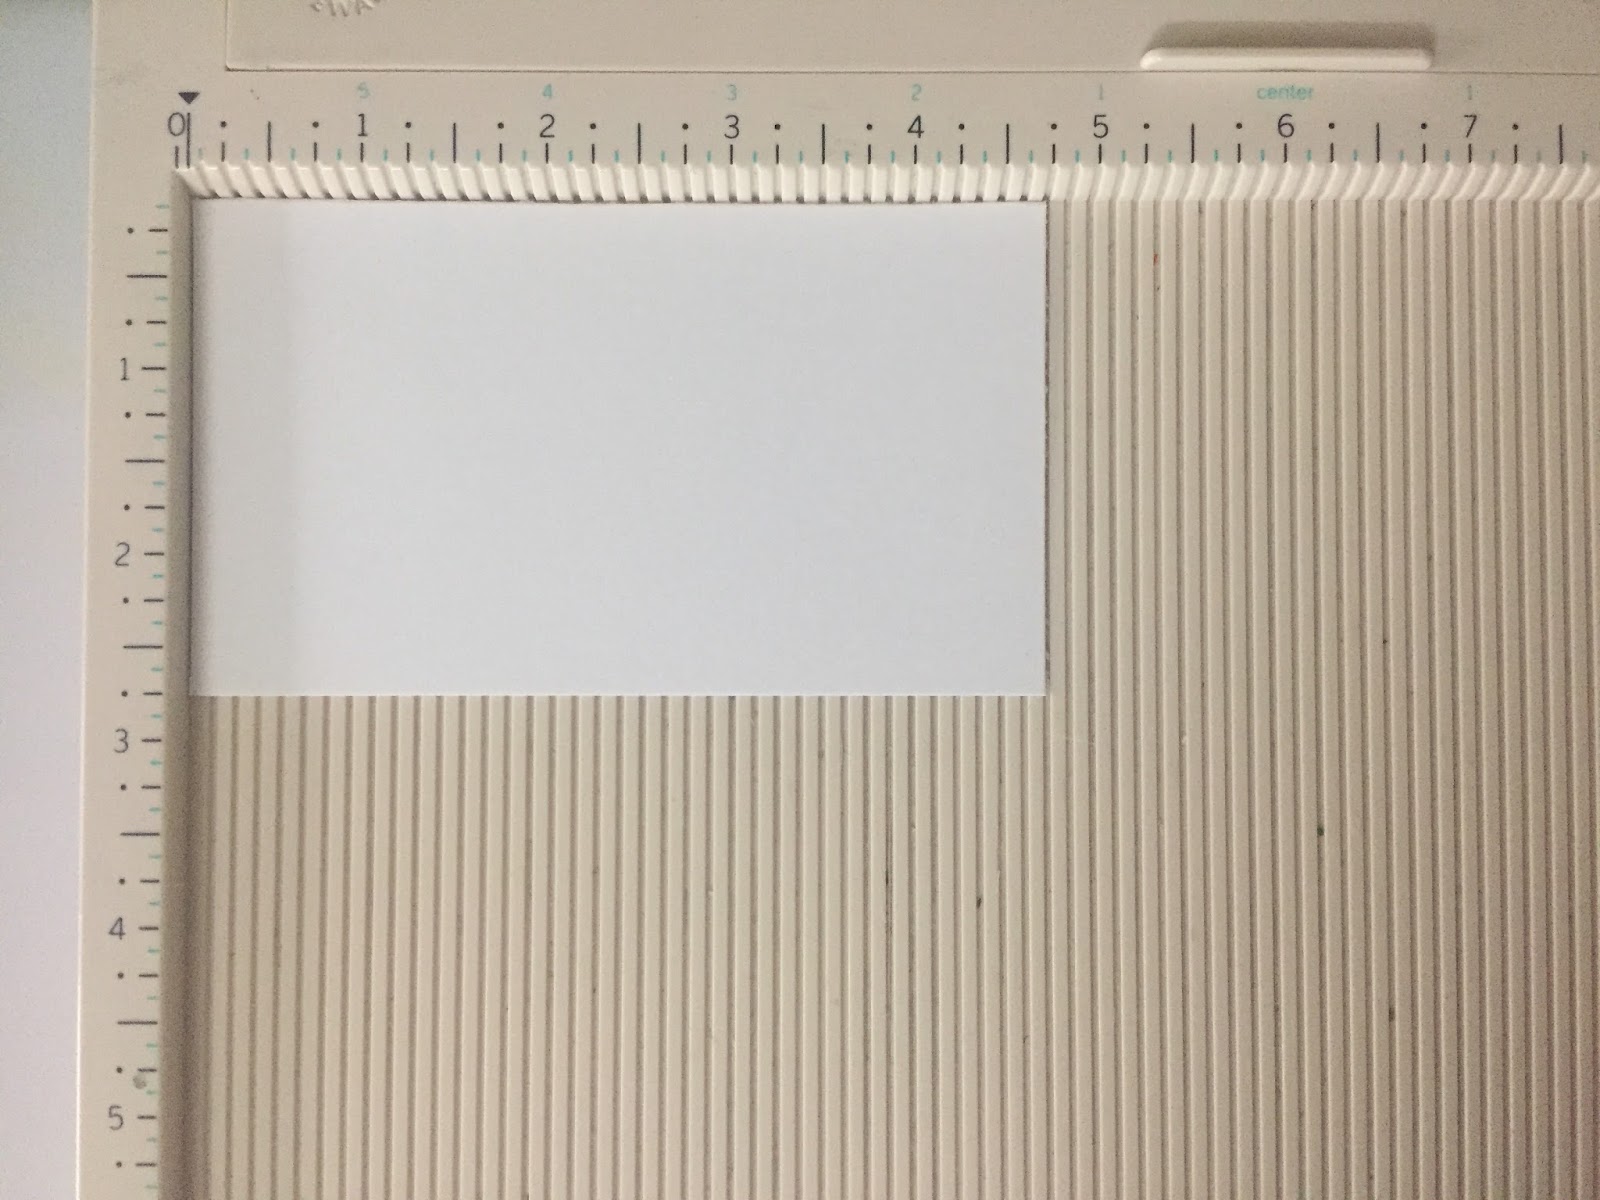

Score the bigger pieces at 1/2″ on three sides and the smaller pieces at 1/4″ on three sides.
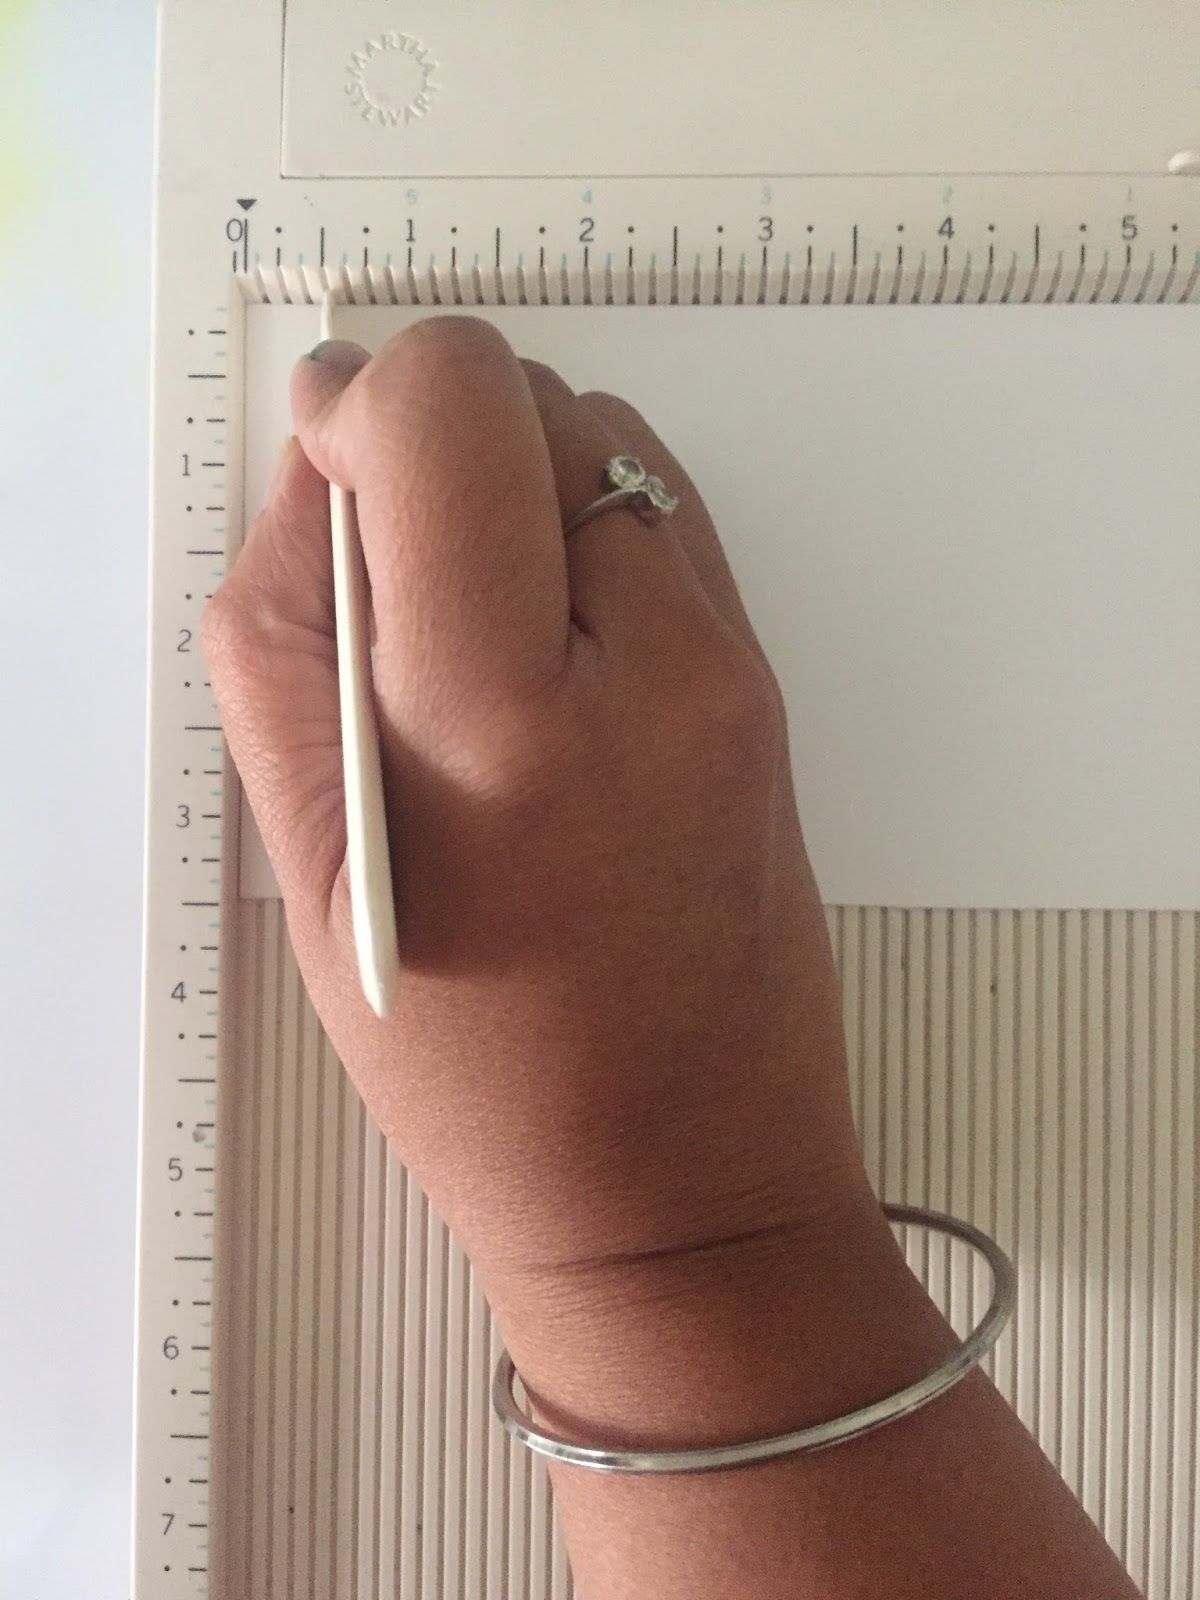


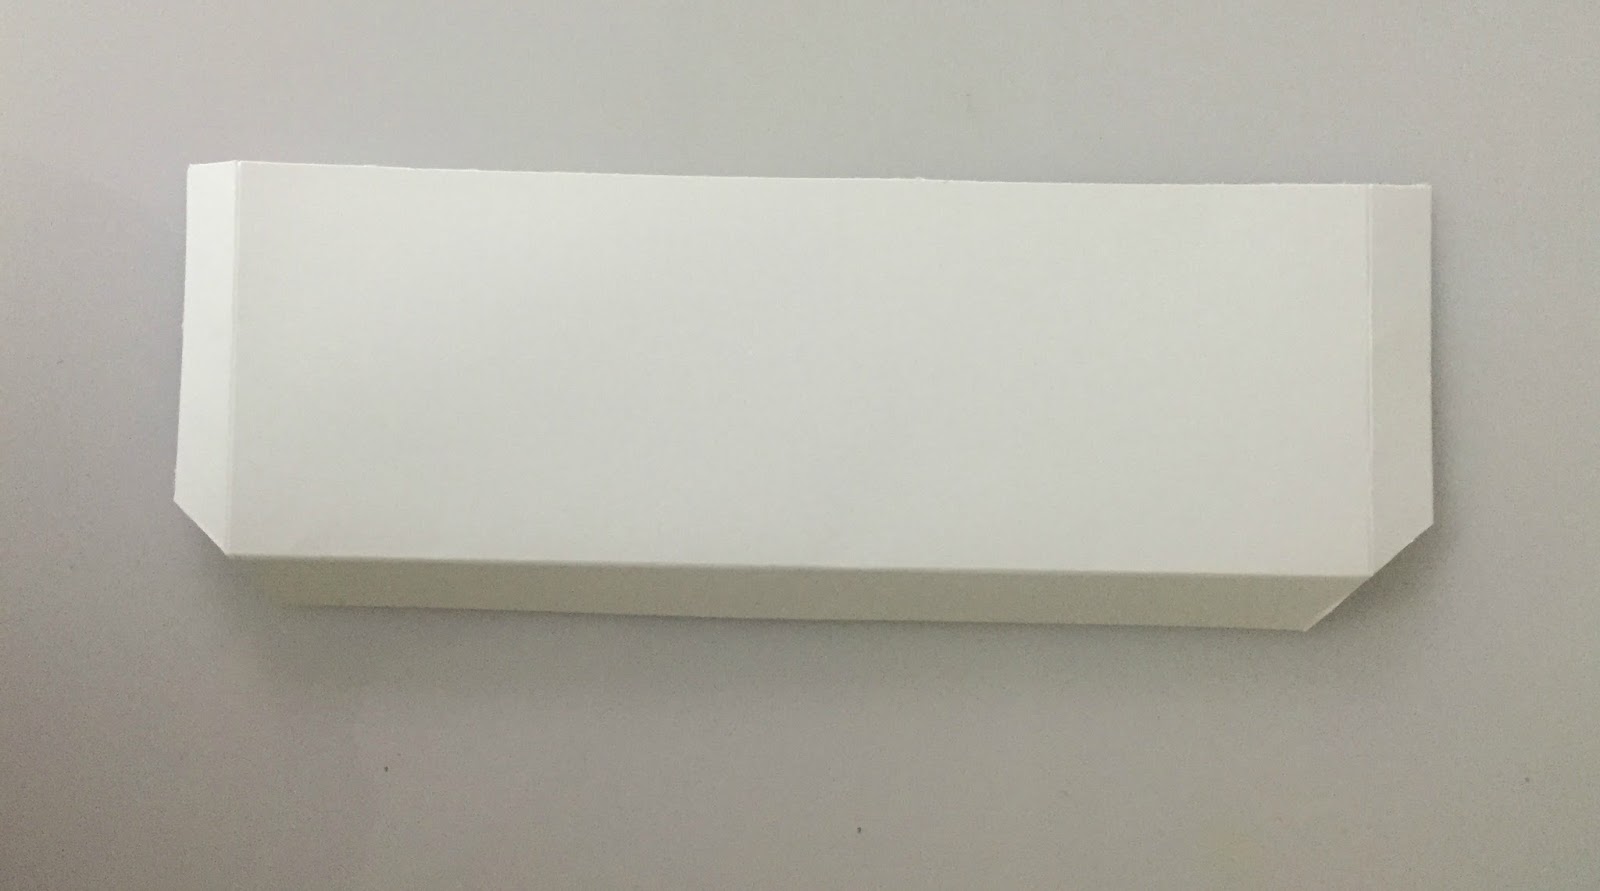
Fold along the score lines. And cut the corners at an angle.
Here’s a look at the pockets for inside of the folio.

Using a circle punch, cut a semi-circle at the centre of each pocket.

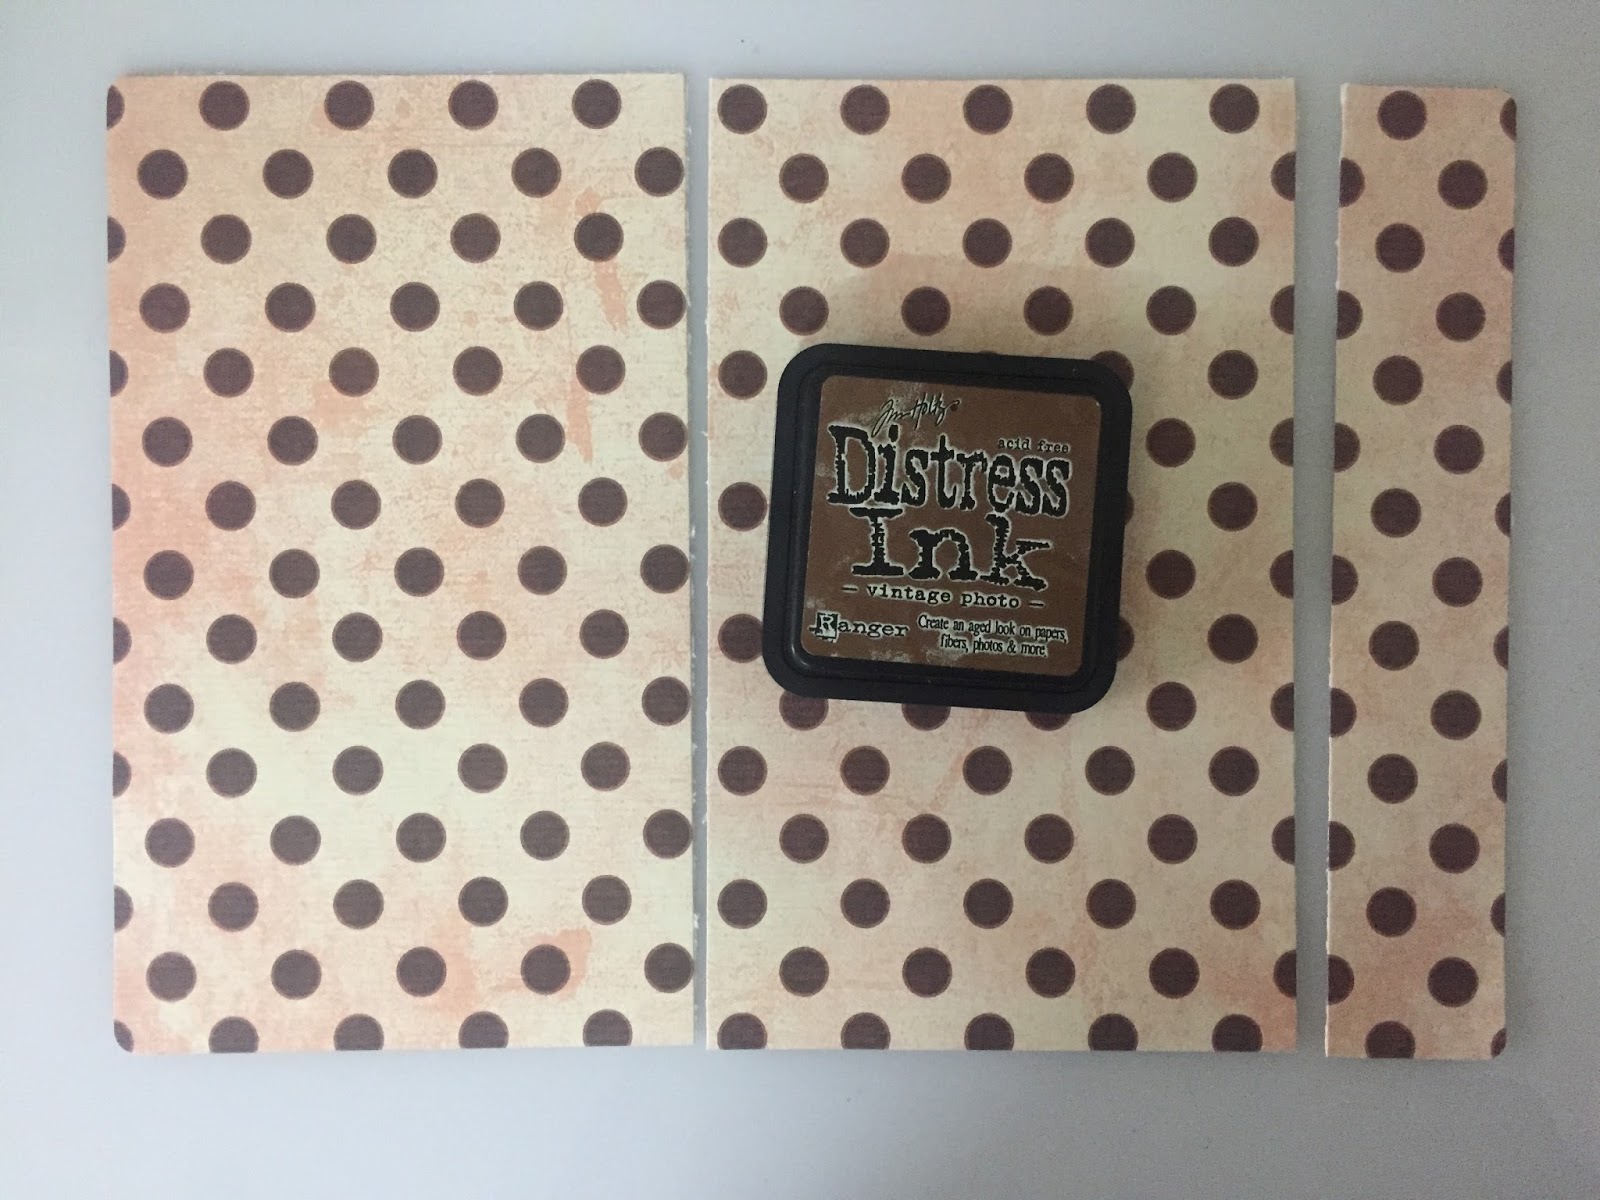


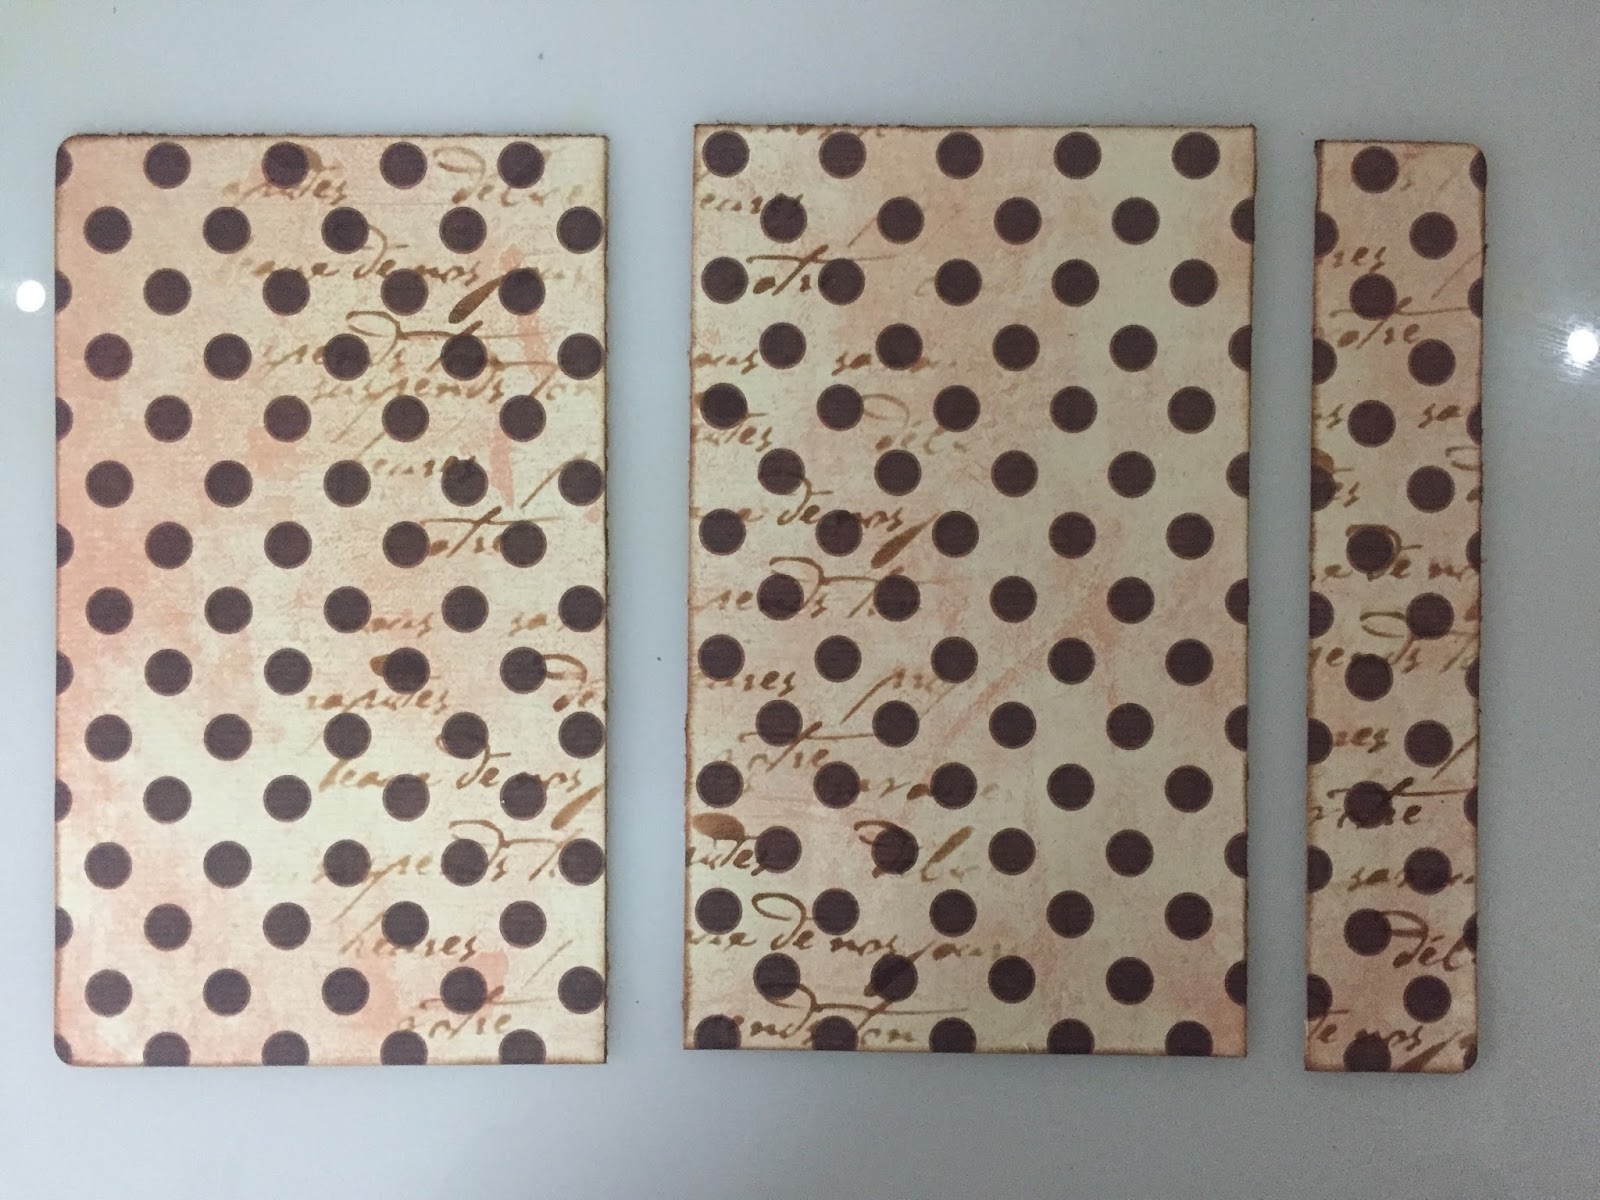

Distress the edges of these papers with the same ink as above. Begin gluing your pieces. Glue the pattern paper onto the pockets first. While that dries, glue the paper inside the folio and then the pockets.
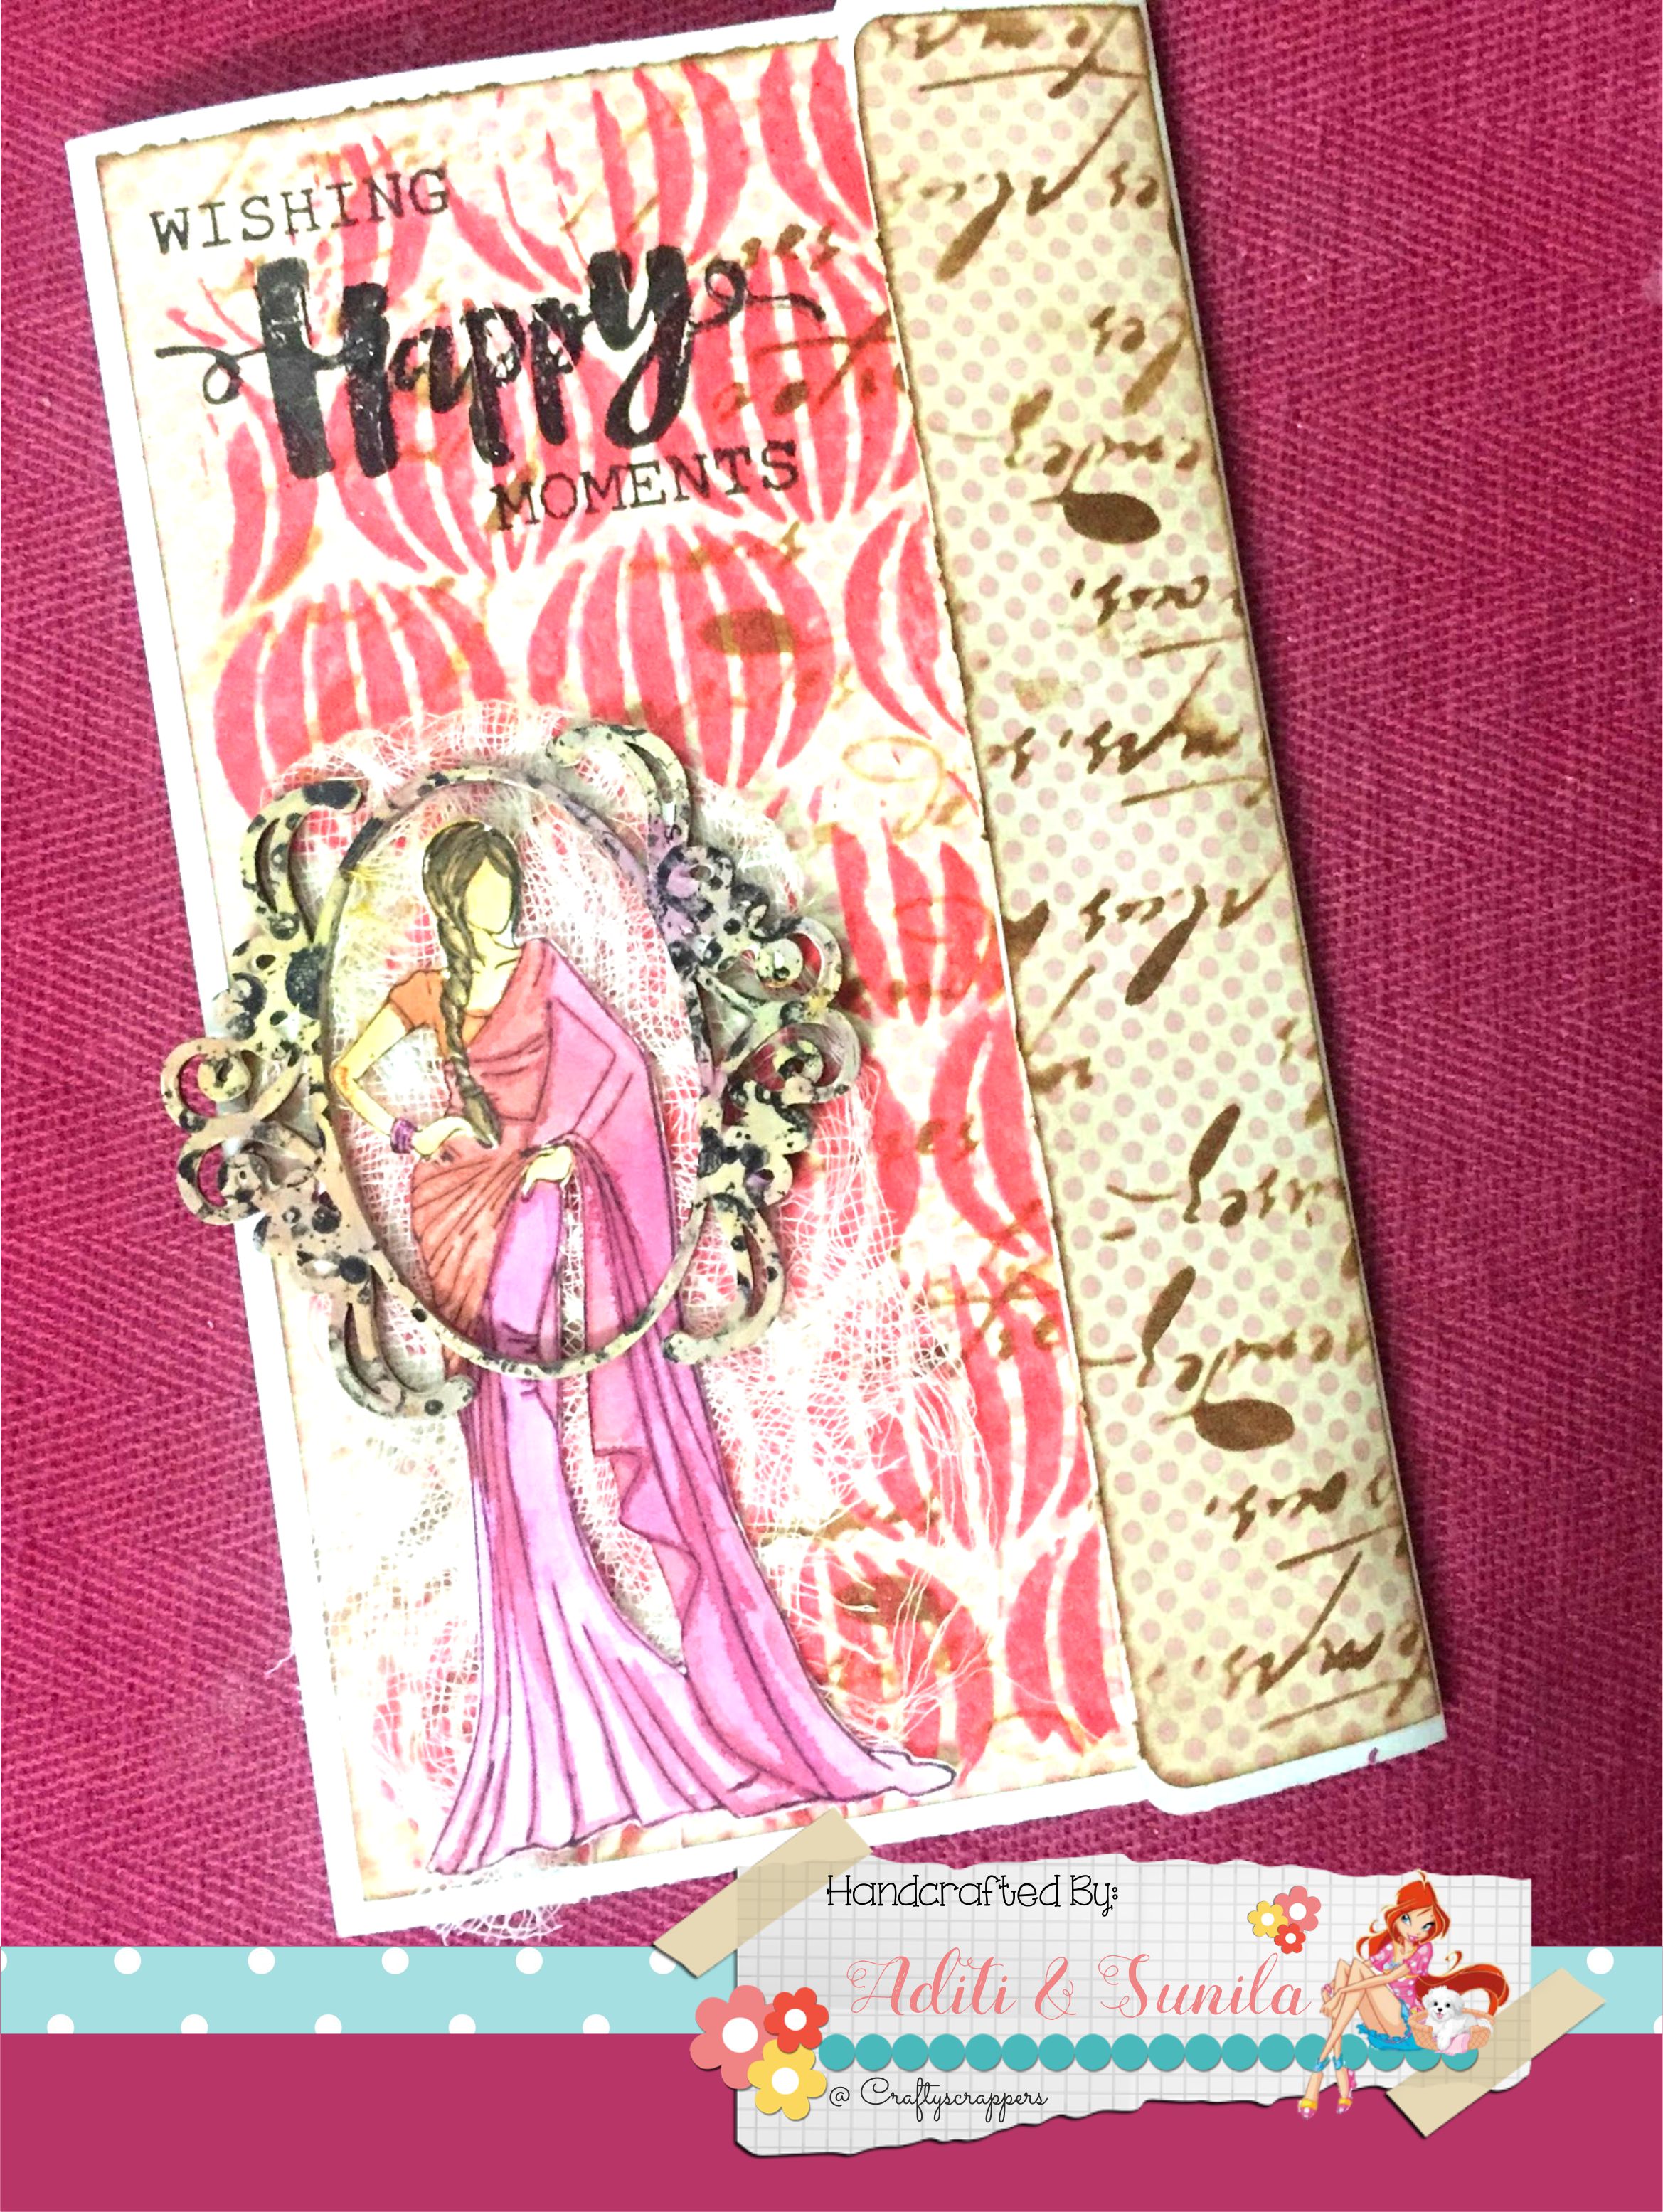
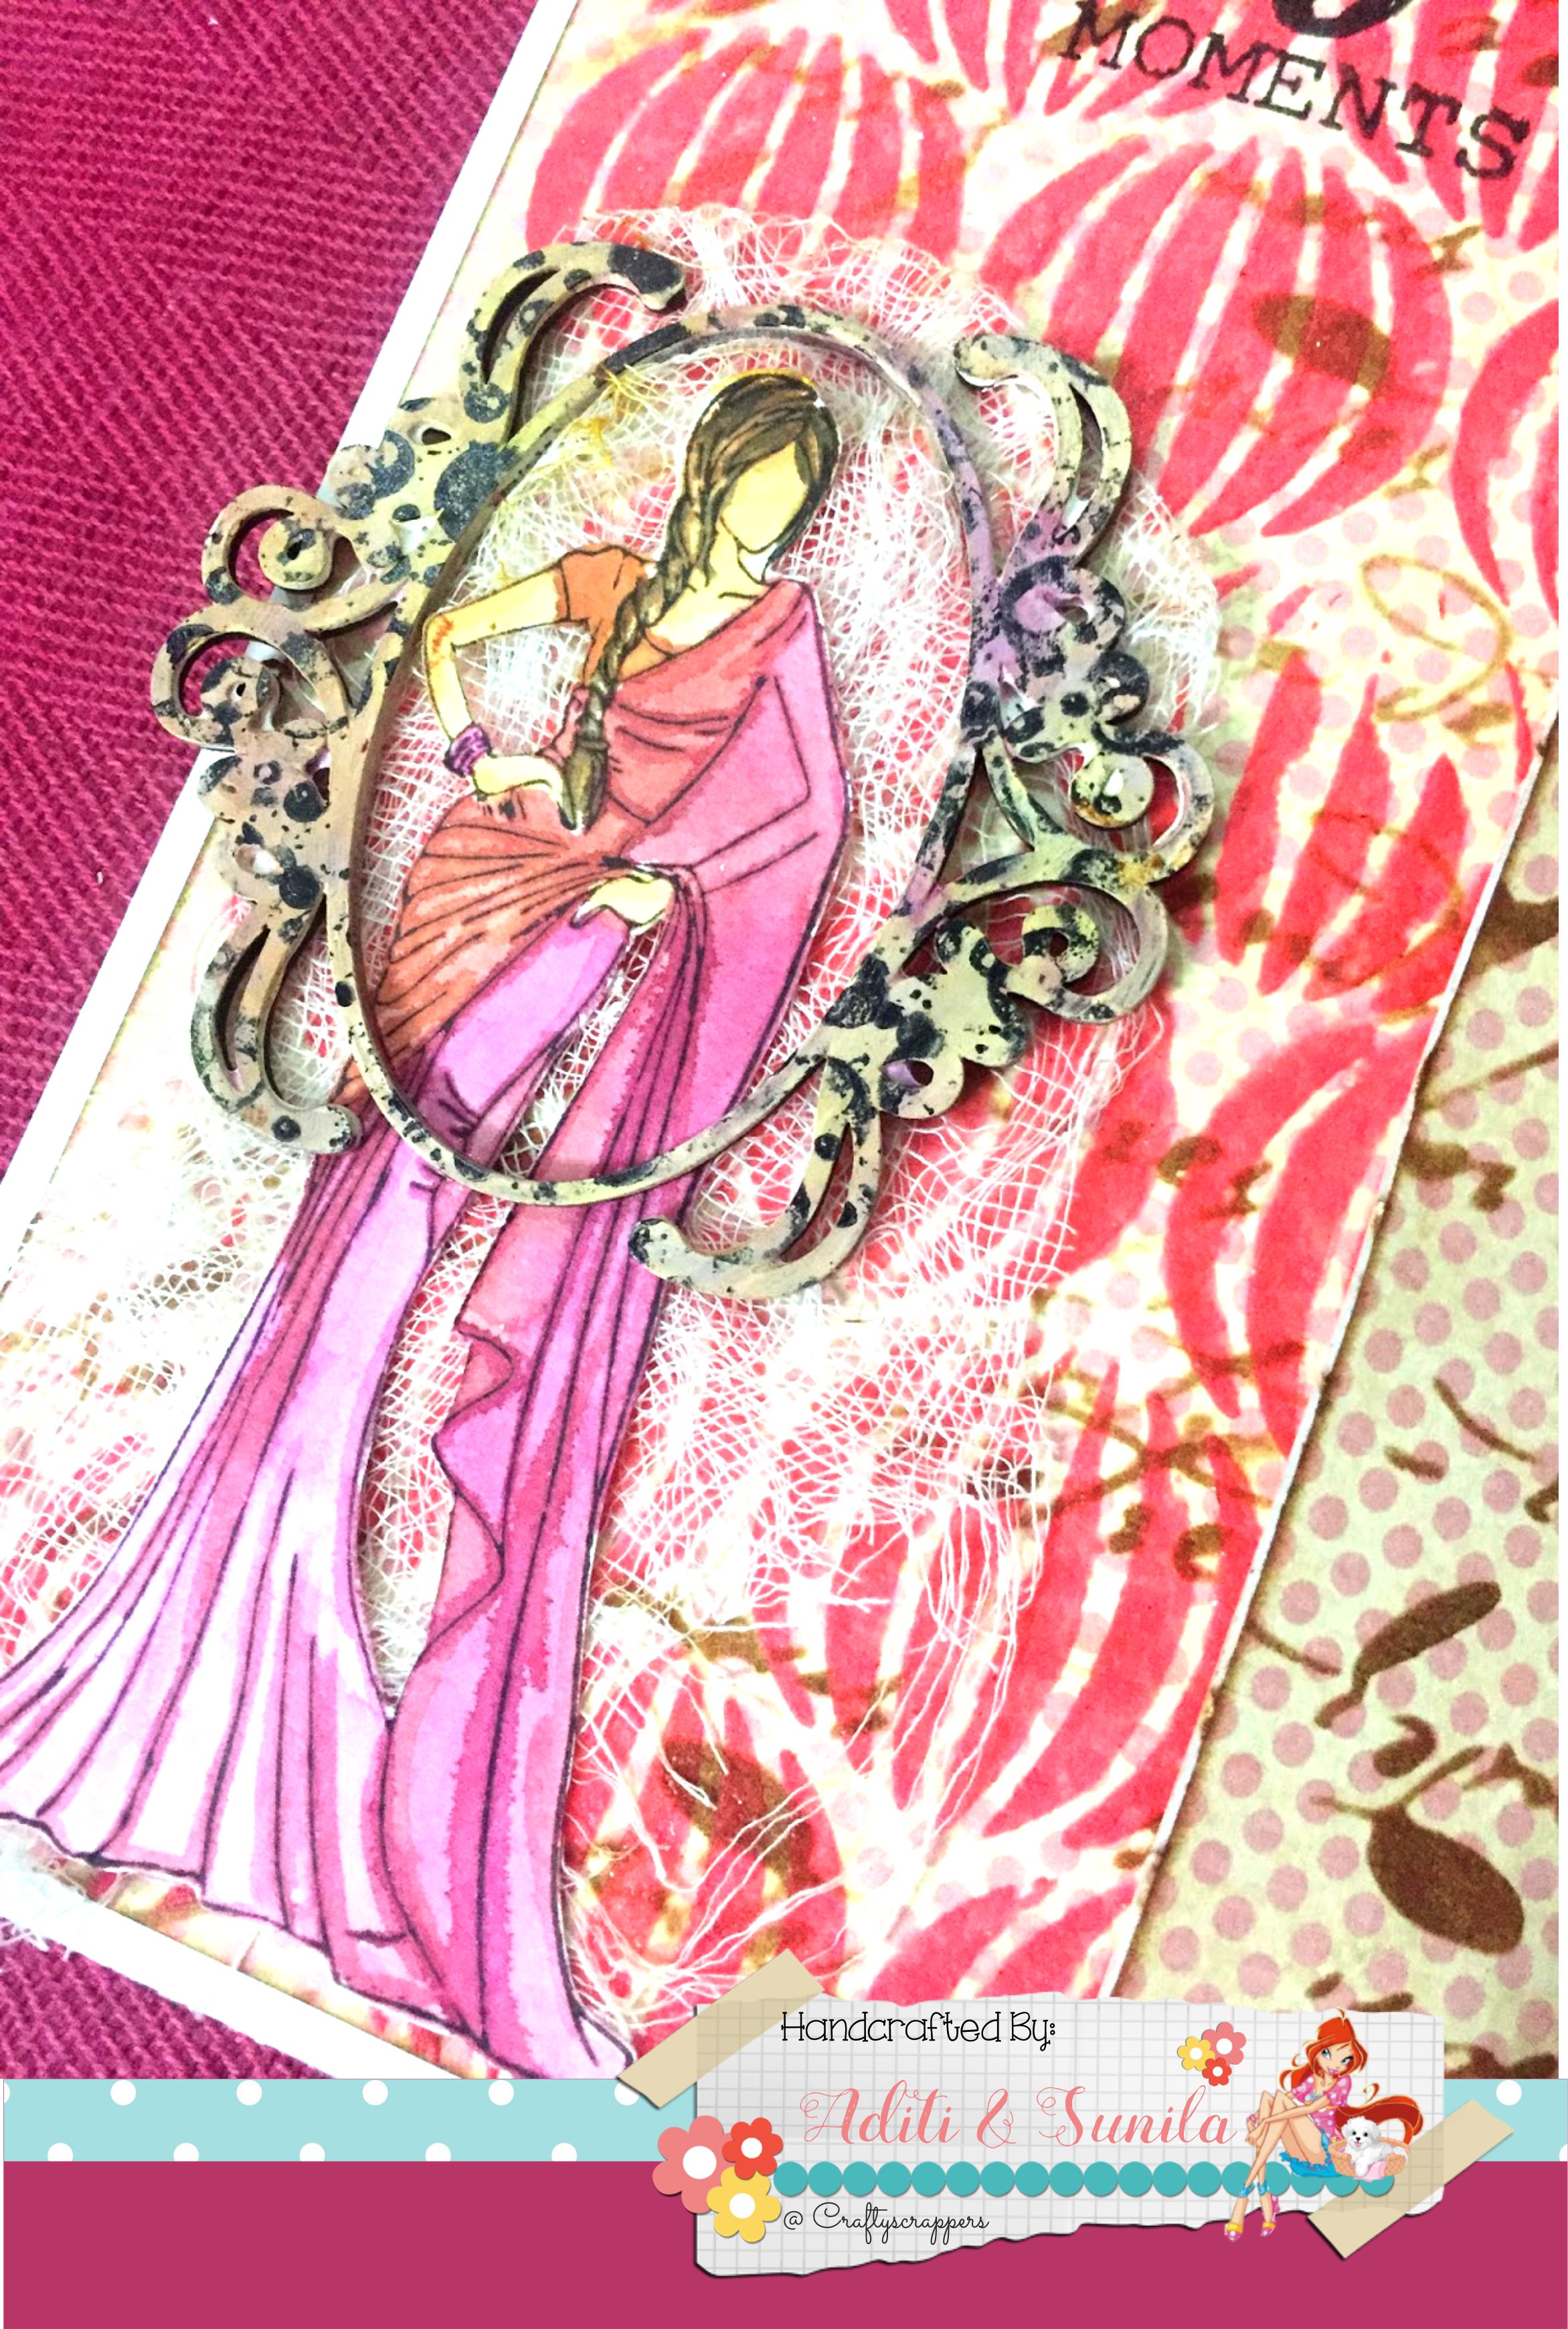
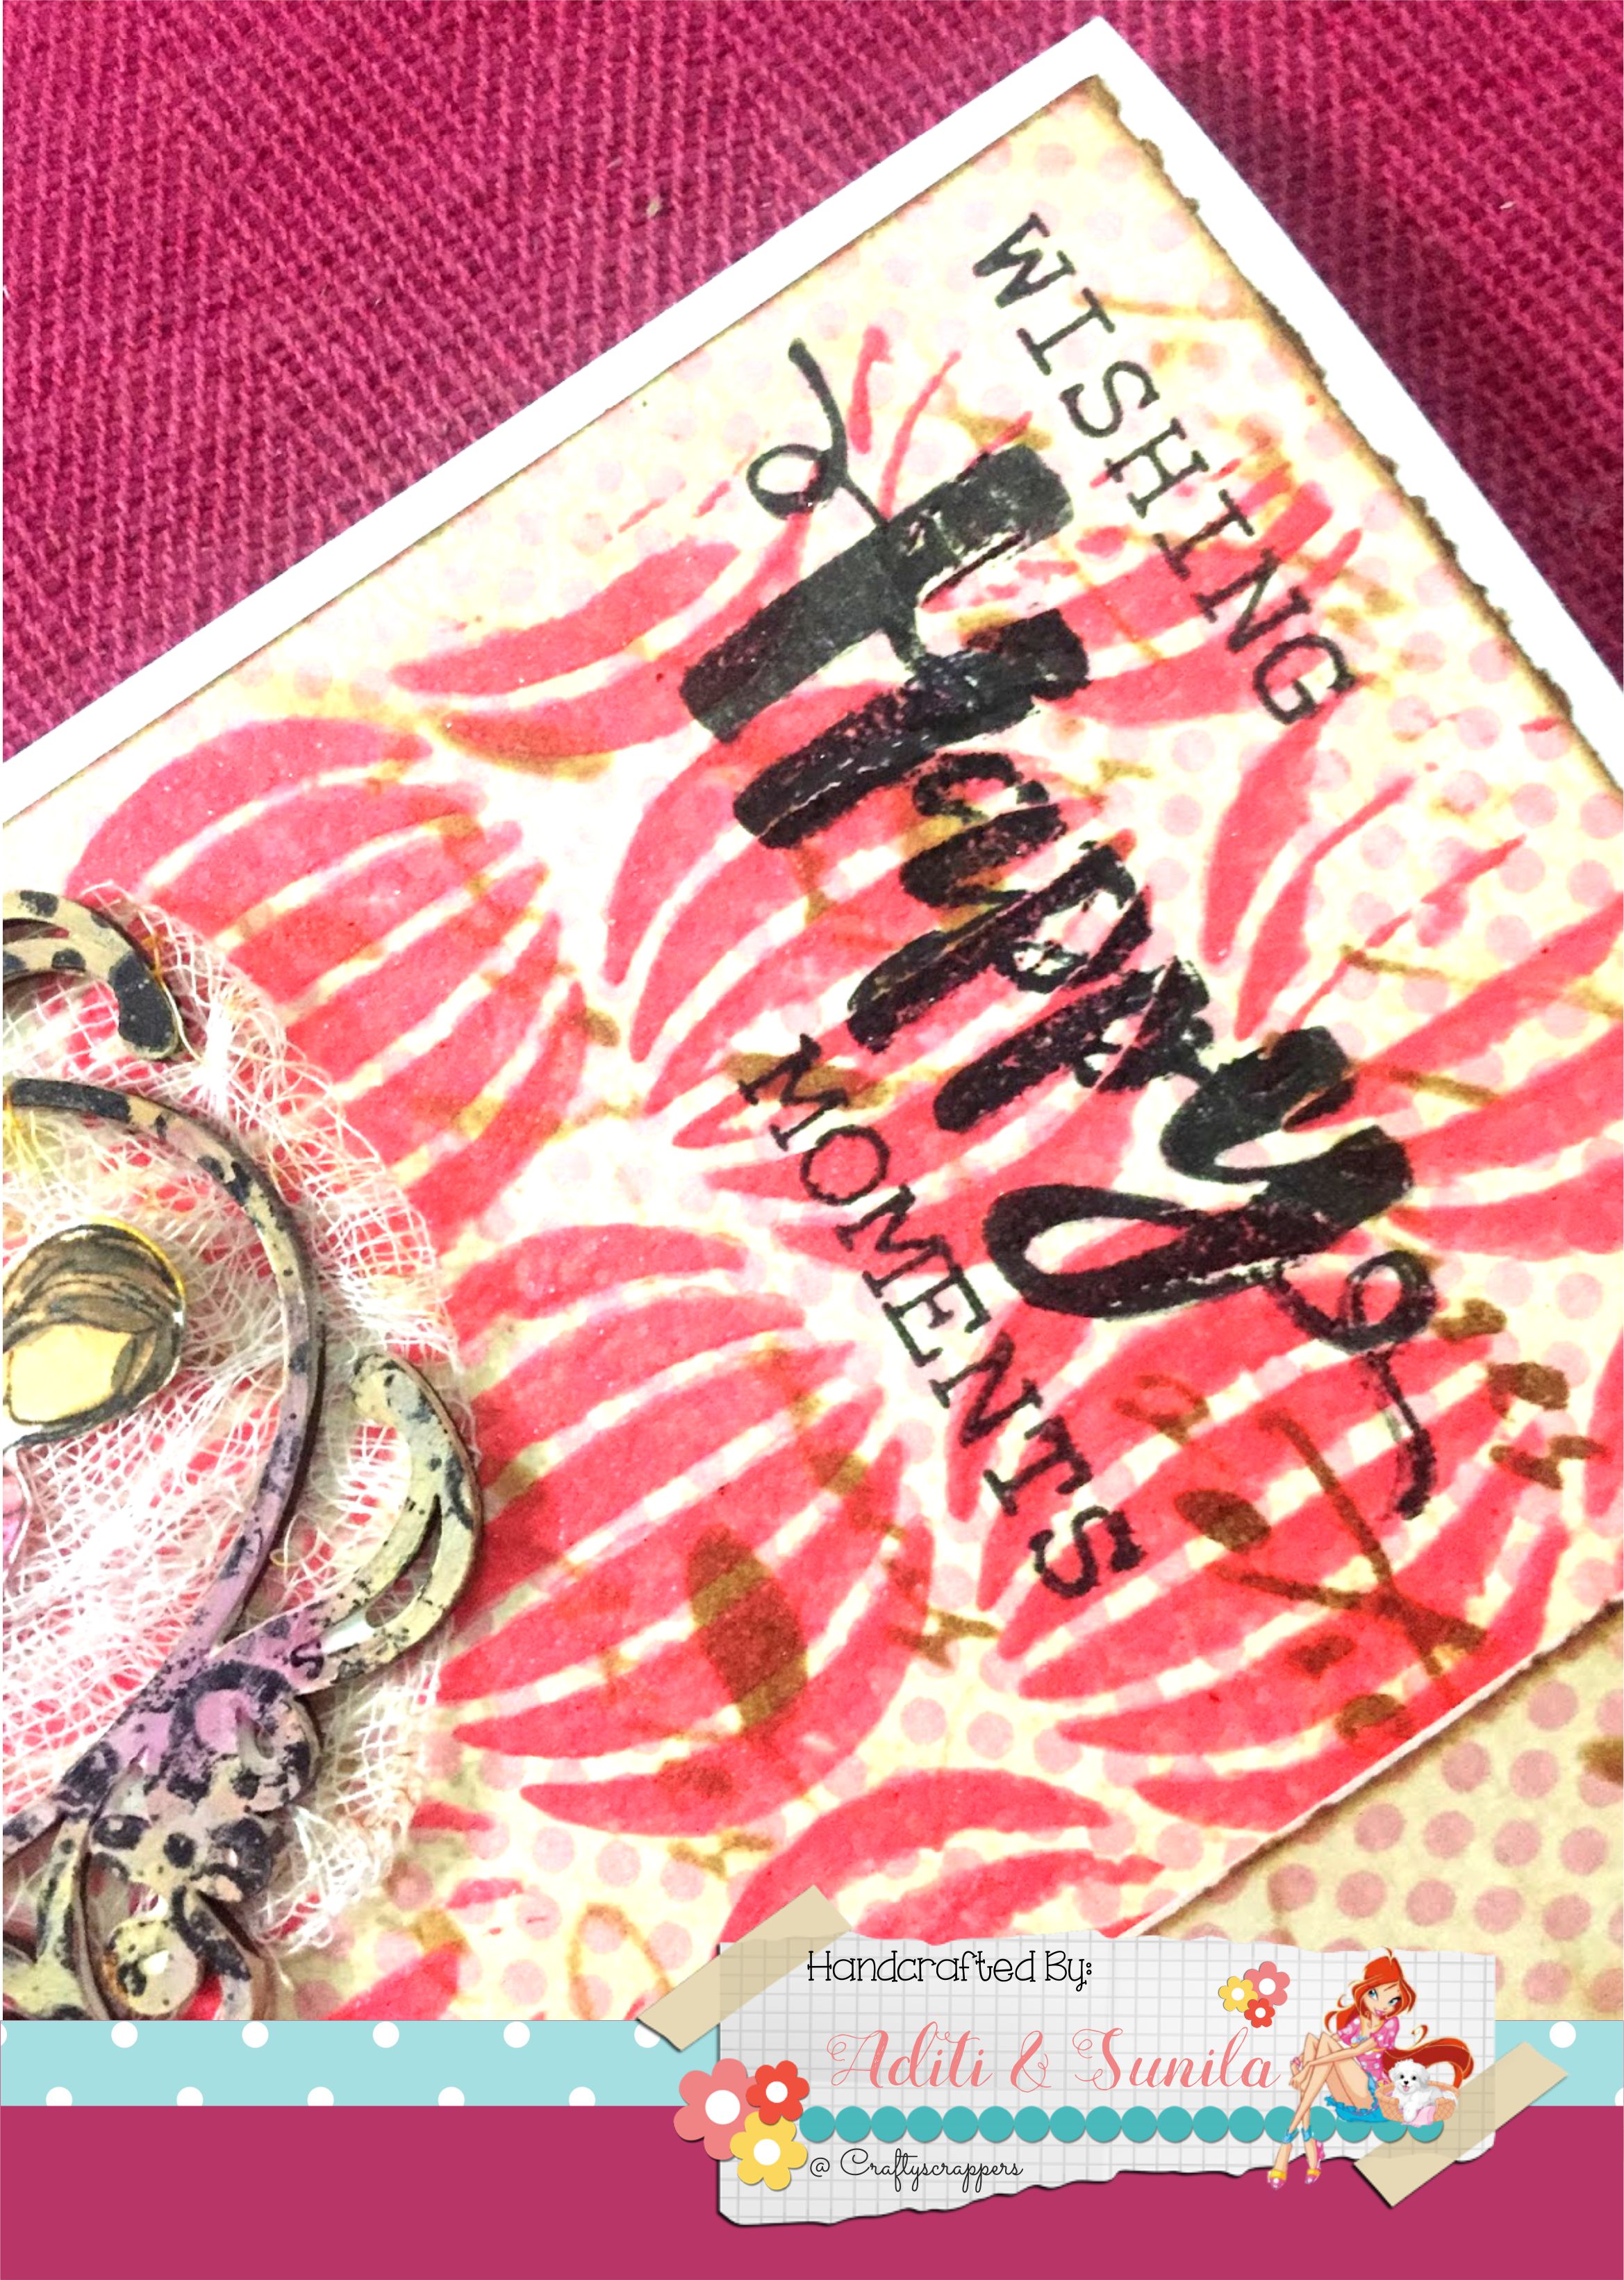
Lastly, For our front cover, we added some Salmon Shimmer Paste with the Sliced Dots Stencil for texture. Stamp the ‘Being Traditional’ lady stamp on a piece of cardstock and colour it. We used the same spray inks and fussy cut it. We used a MDF Frame, coloured it with the same inks, and added some design with a background stamp and black ink. Assemble these onto your cover. We used a piece of gauge behind our layering. We also added ‘Wishing Happy Moments’ on the cover using the ‘Happy’ stamp set directly on the cover. To embellish our pockets, we stamped some flowers and leaves from the ‘Sending Smiles’ Stamp set and coloured them with Zig markers. Fussy cut and stuck them.

Do leave some love and feedback below.Don’t forget to join in our craft challenges,(details at the beginning of the post!)
You can participate via mr.linky (at the end of the challenge post)or via facebook,Instagram and even via email.
please use #Craftyscrappers challenge17 to qualify for submission,
failing to do so, the entry would be disqualified.)
Happy Crafting!!