Hello Wonderful people!
Hope you all had a wonderful and fun-filled Diwali!!!
Well today I, Konica… am here to reveal the winner prize for our current challenge for the month of October, which is still ongoing ….
If you missed our previous post,check it out here…
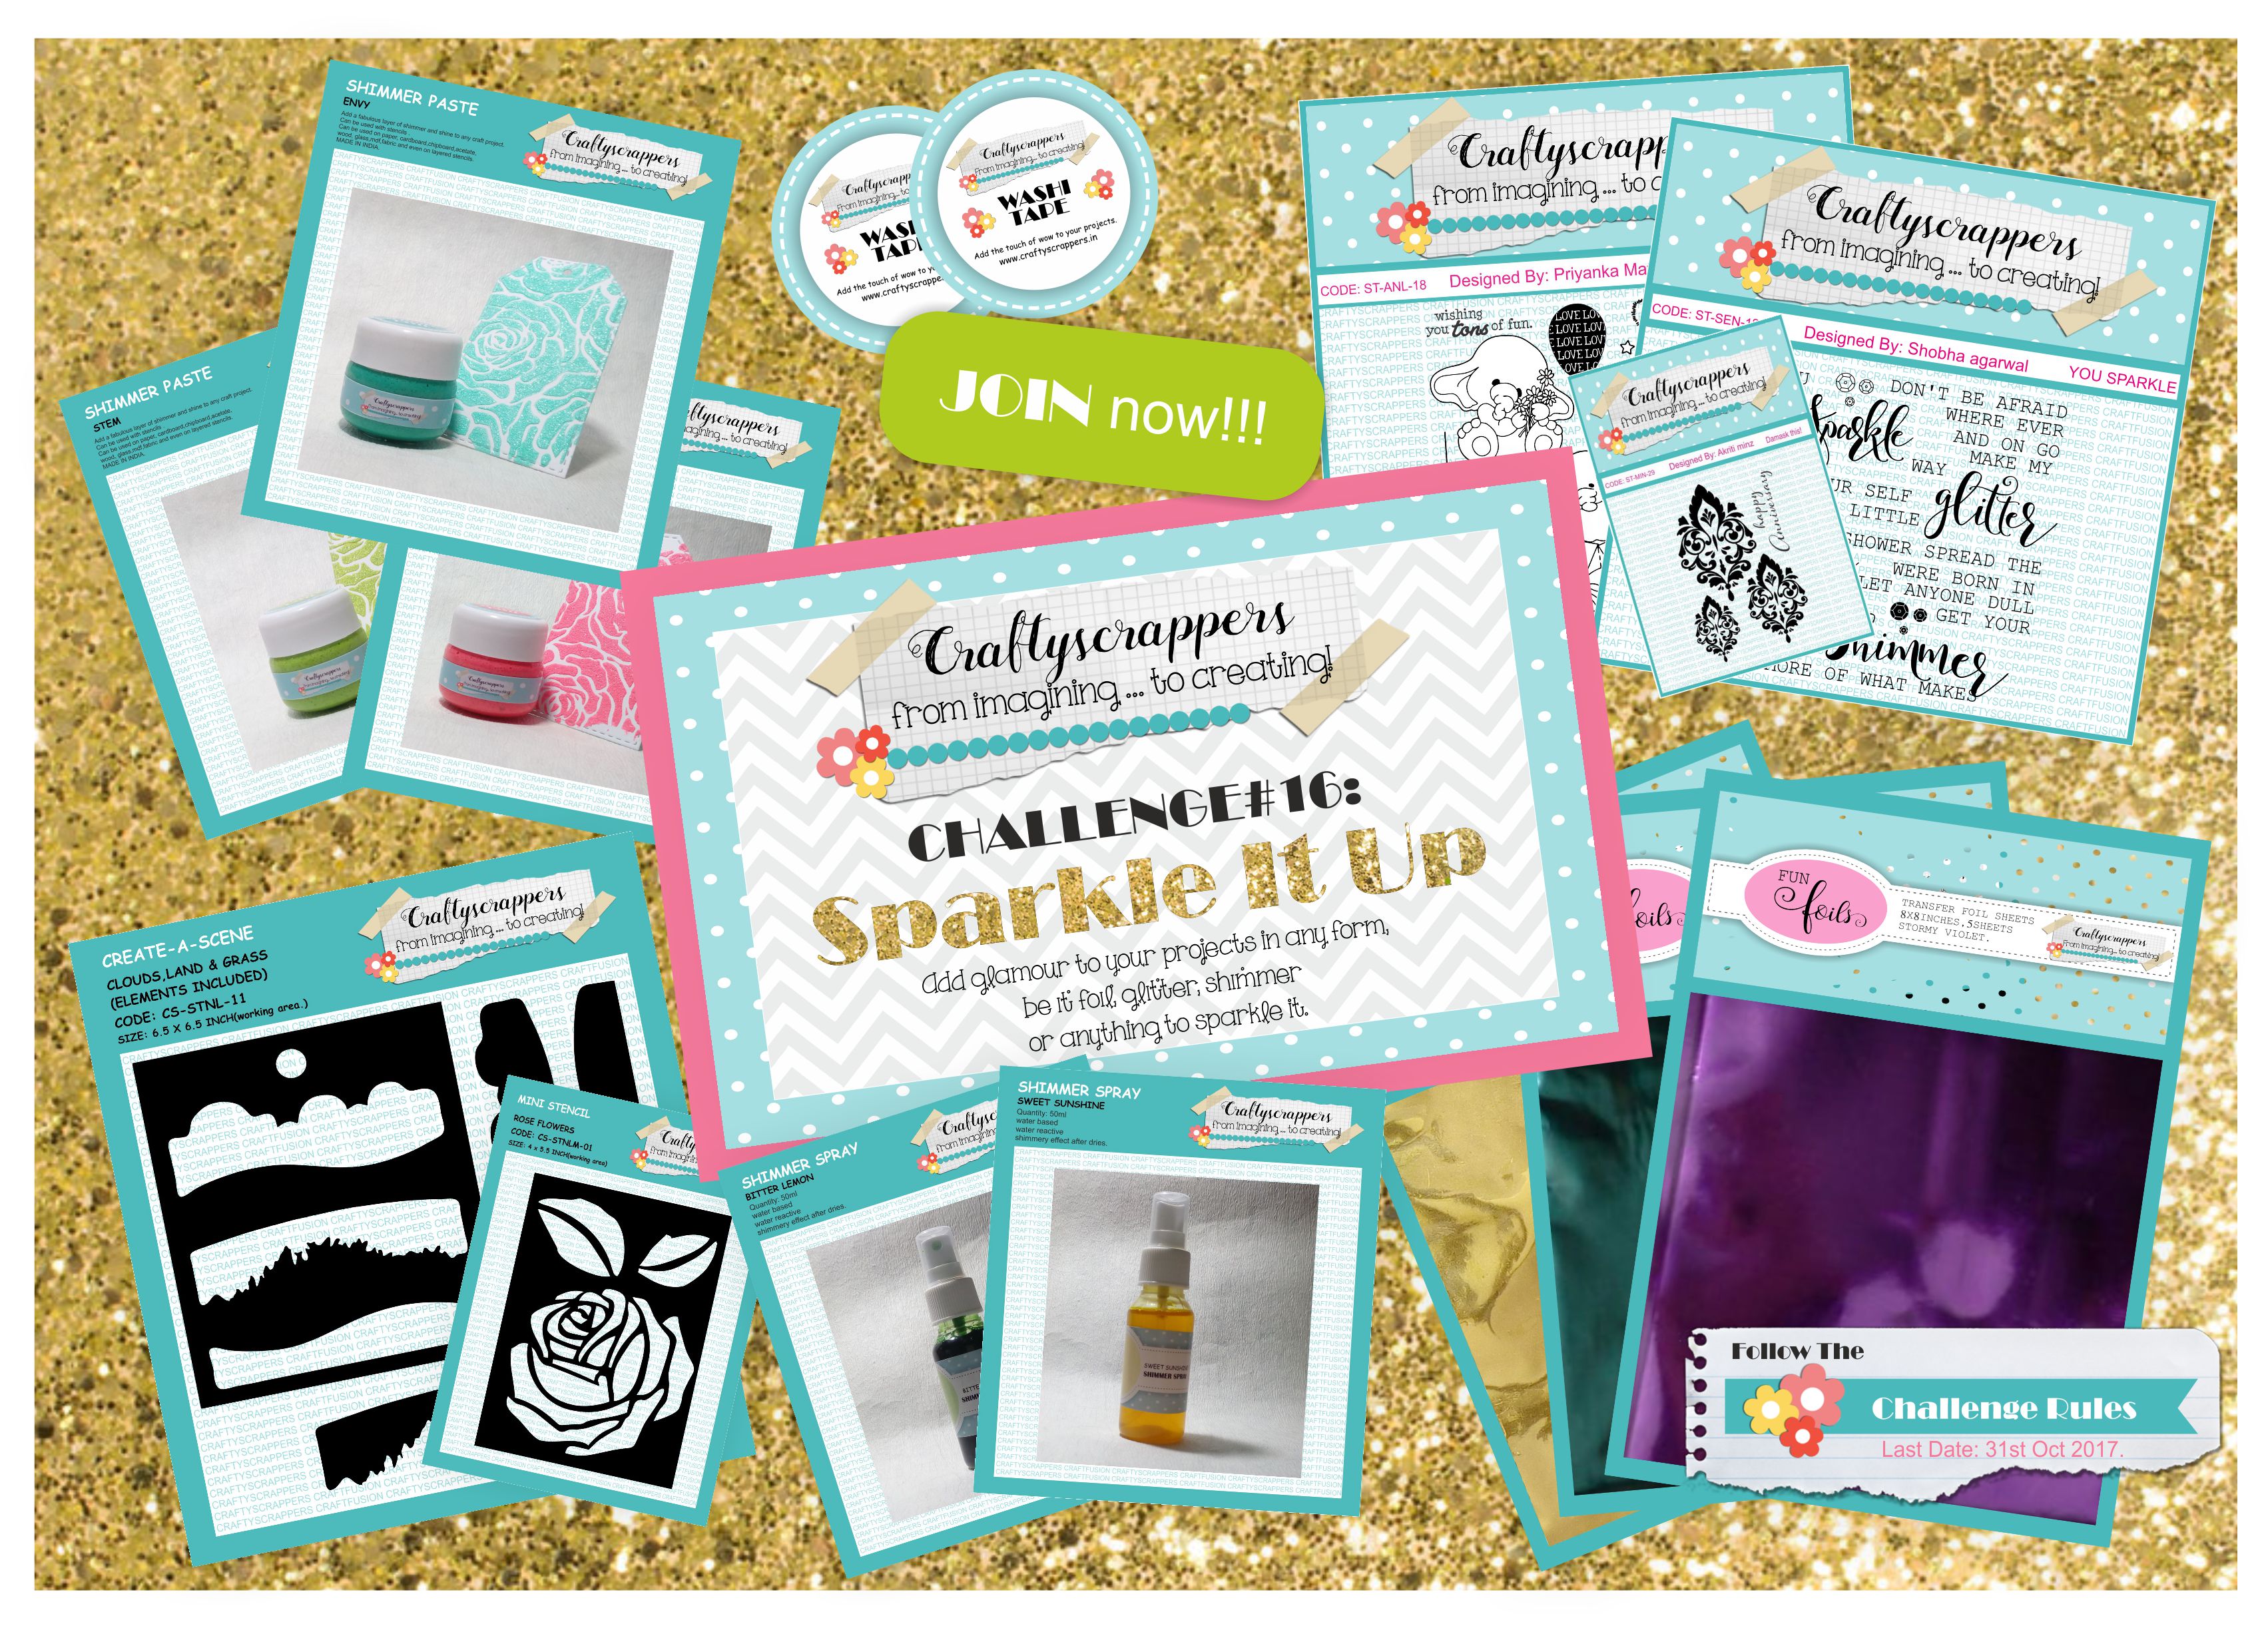
CHALLENGE#16:”Sparkle It Up”
You can create cards, layouts, journal pages, altered art, MDF items, anything crafty and add glamour to your projects in any form, be it foil, glitter, shimmer or anything to sparkle it,to participate…
Last date of submission is 31st Oct 2017.

But before i reveal the Winner prize,
let me share with you a quick and easy Festive Card tutorial.
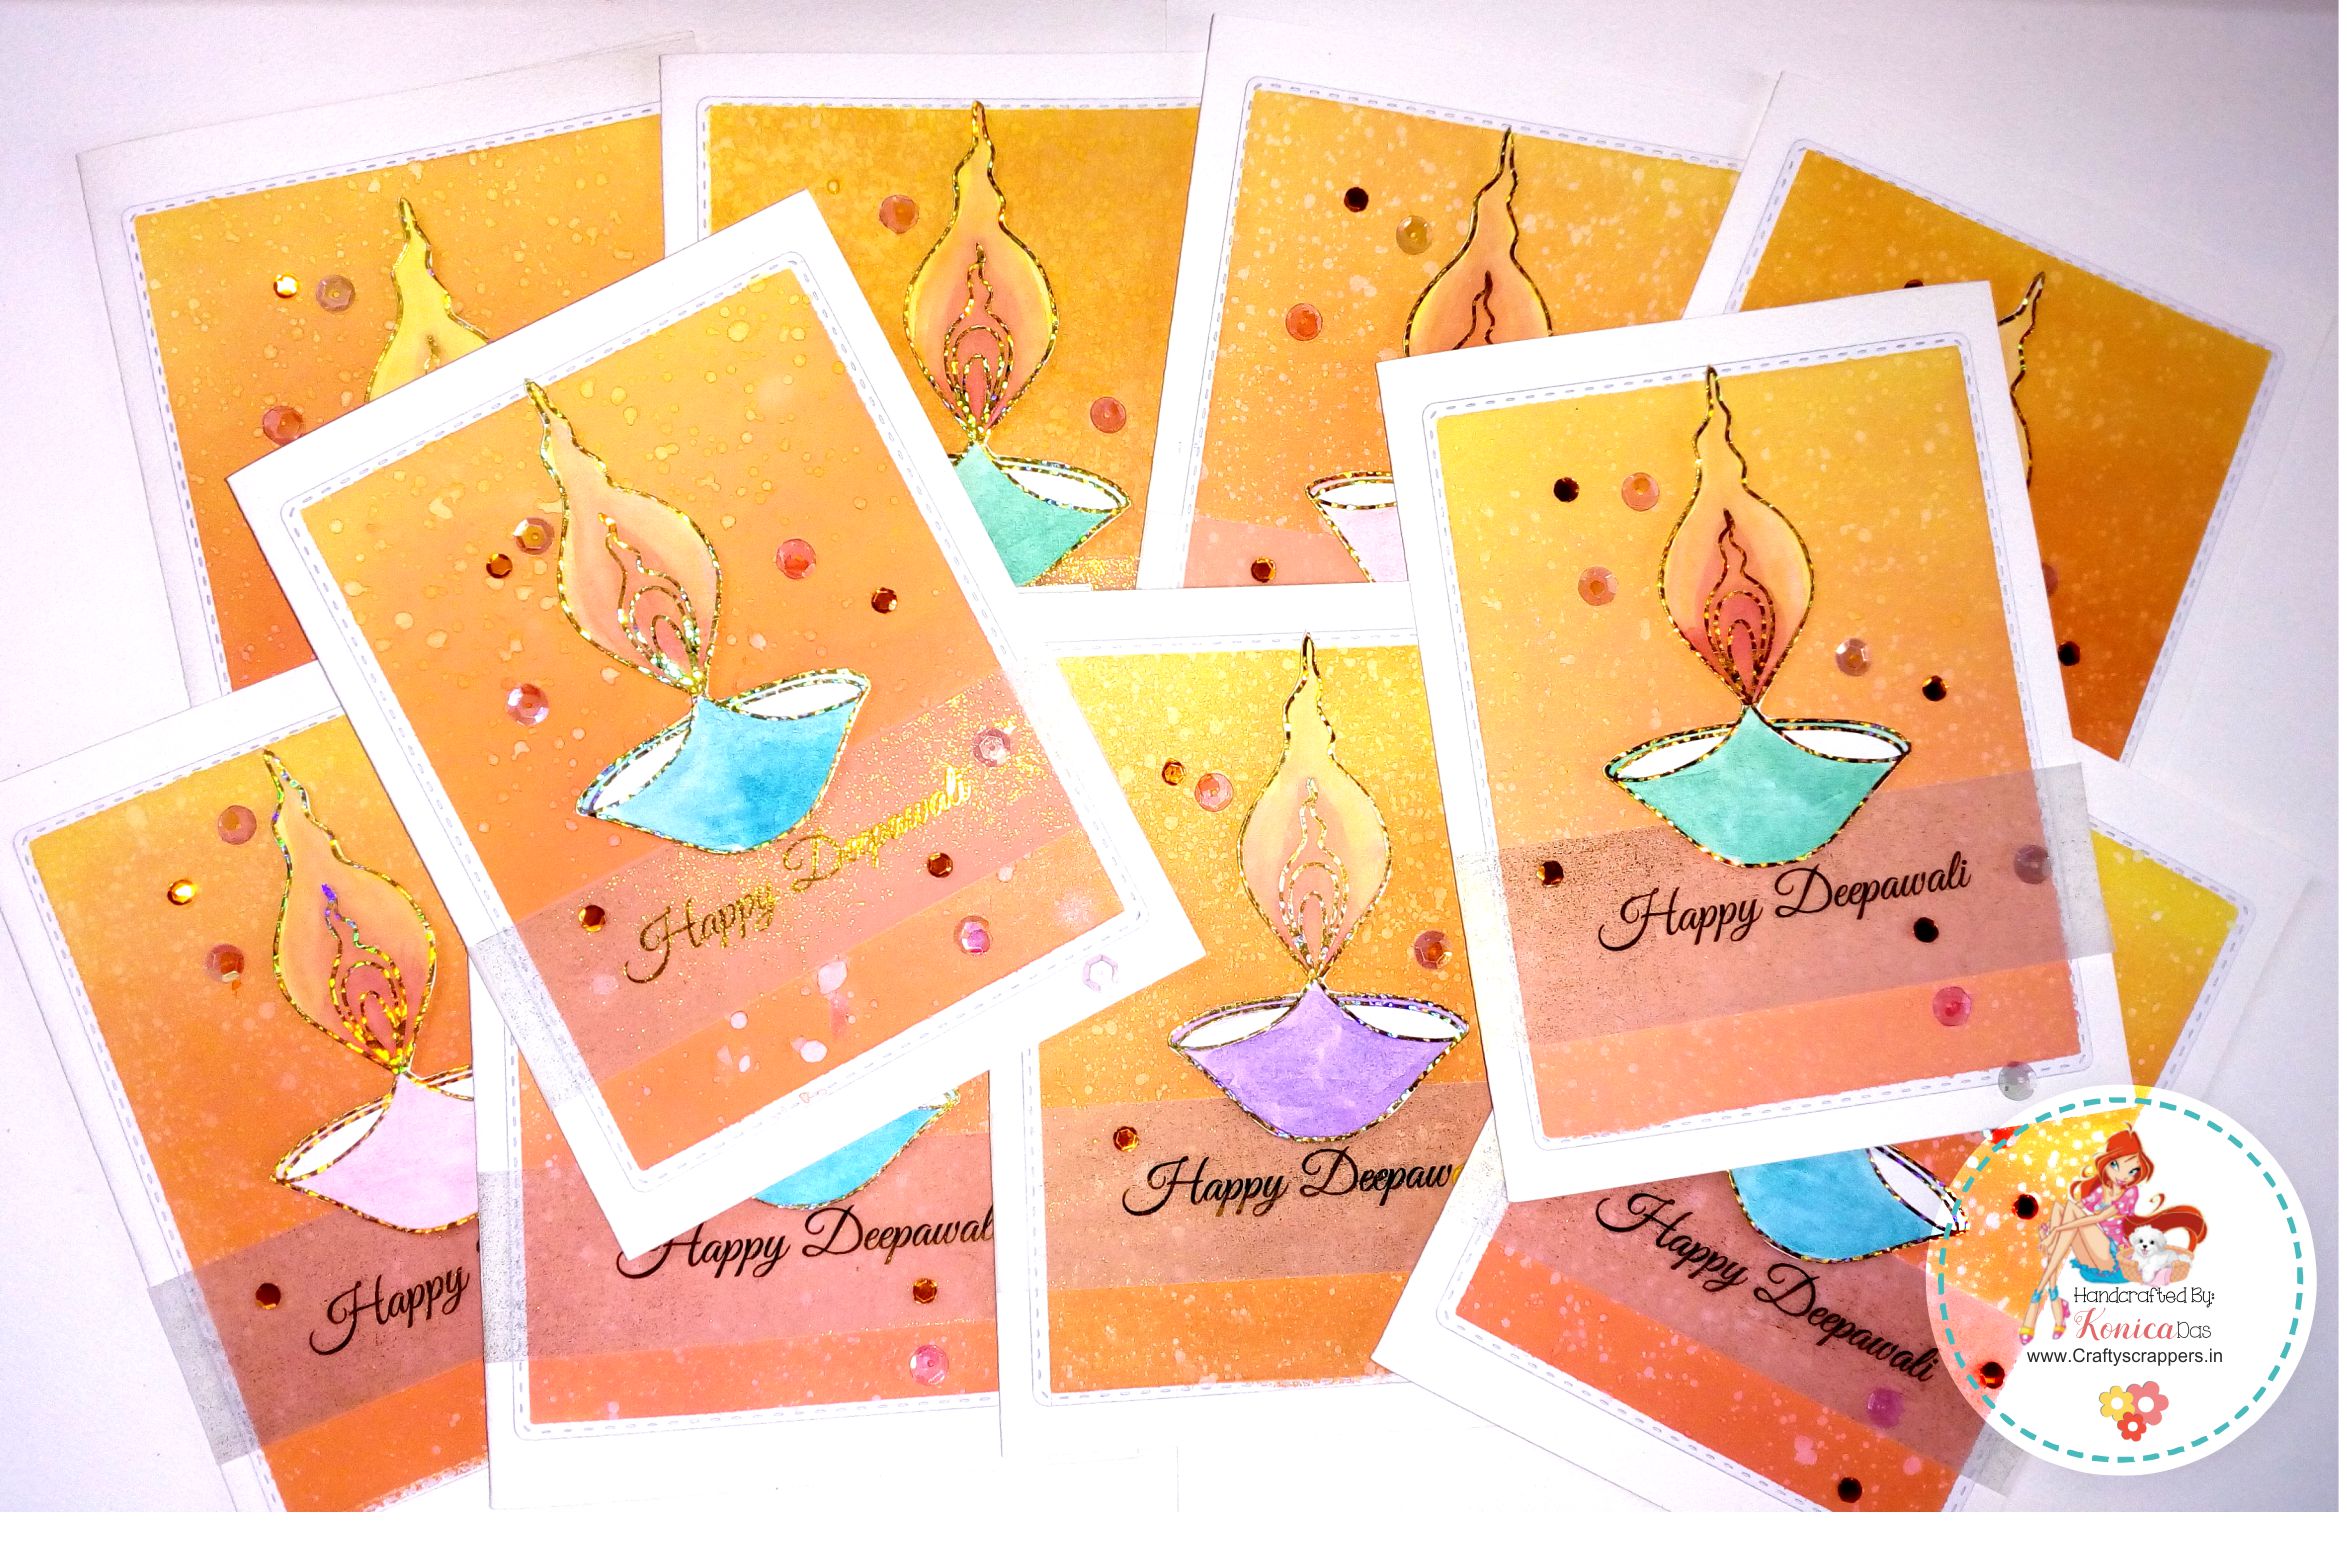
I made these easy festive cards for my family and friends on Diwali.
Diwali, or Deepawali, is a Sanskrit word meaning “rows of lighted lamps,” is a Hindu-originated festival celebrated in India and worldwide.
During the five-day celebration which is also known as the “festival of lights”,clay lamps known as diyas are lit to signify the destruction, through knowledge of all negative qualities — be it violence, anger, jealousy, greed, fear or suffering… in other words, the victory of good over evil.
As per tradition, Diwali is celebrated with grand splendor, where every home is lit with diyas, leaving no room for darkness to enter, sweet and savory snacks are prepared throughout the day, every doorstep is decorated with rangoli to welcome guests with great honor, one fashions new clothing to thank Goddess Lakshmi for providing prosperity and good fortune, when the sun sets, firecrackers light up the streets… and it is the perfect time, for sending some love as gifts to your family and friends.

Moving on to the Tutorial, On how i created these…

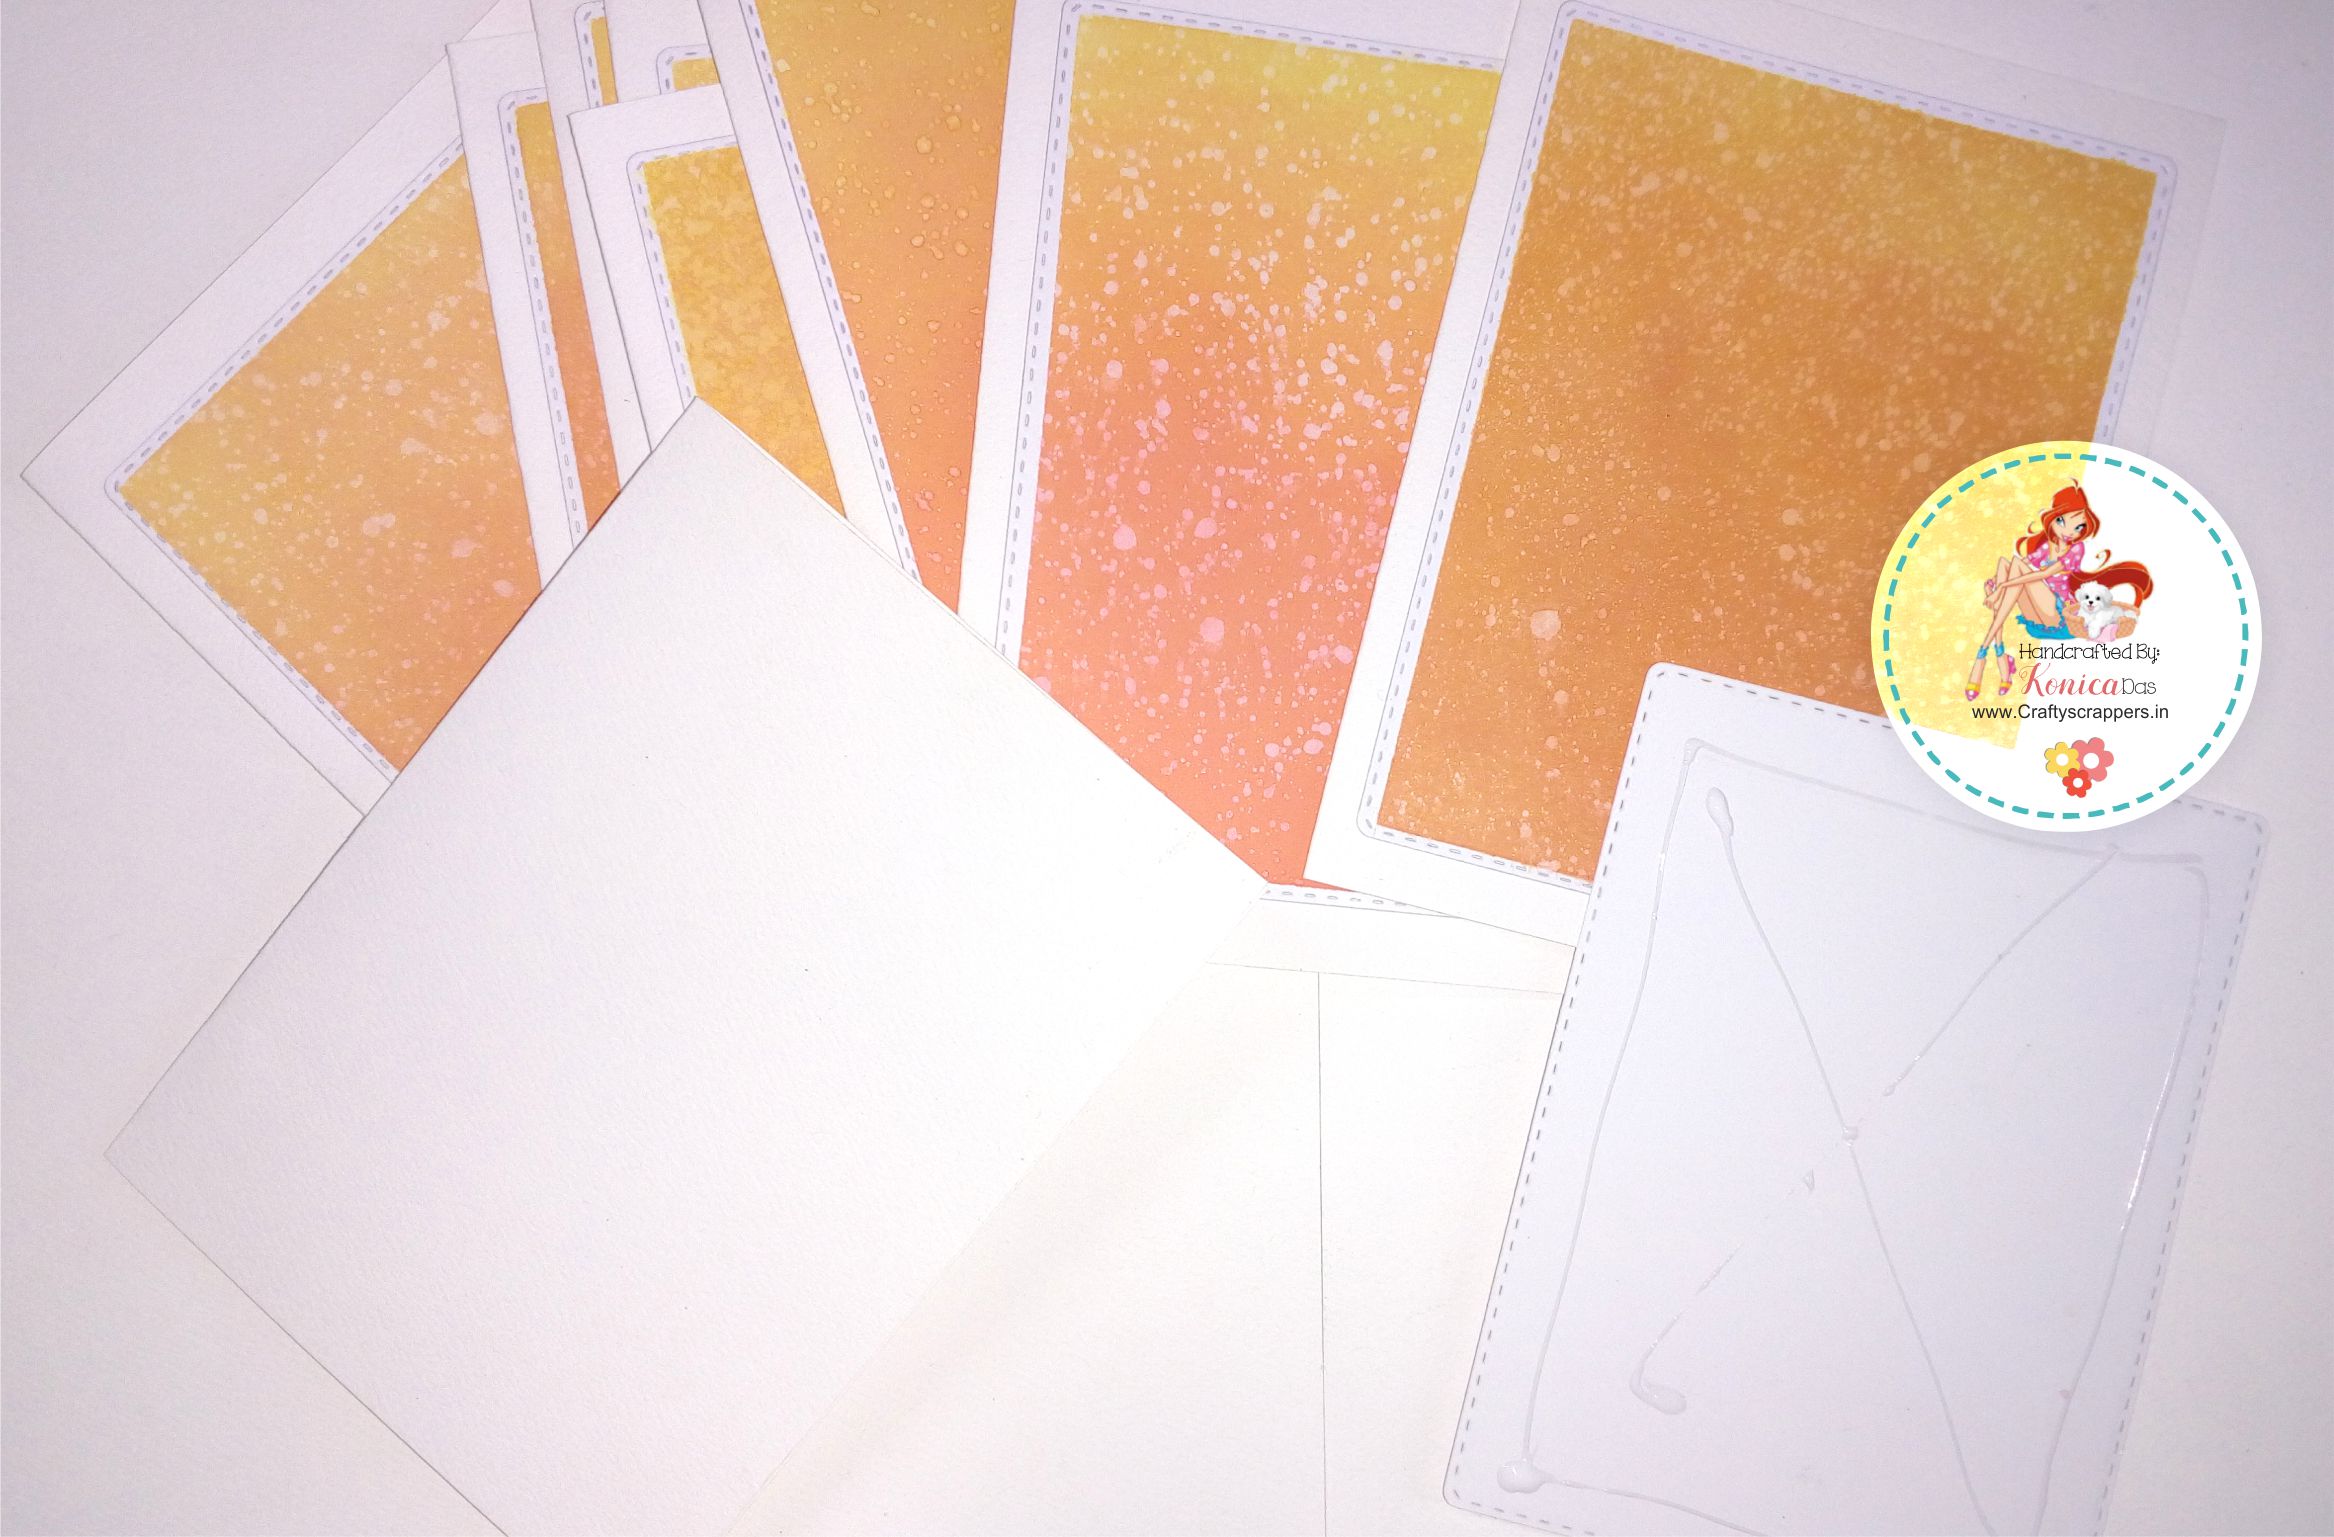
I took the Craftyscrappers Premiun cardstock (white) and Die cut 10 pieces, using Madrasbazaar stitched rectangle die and created my first layer for my cards.
(I later on ended up making 30-50 card bases.. for a total of 50cards 🙂 )


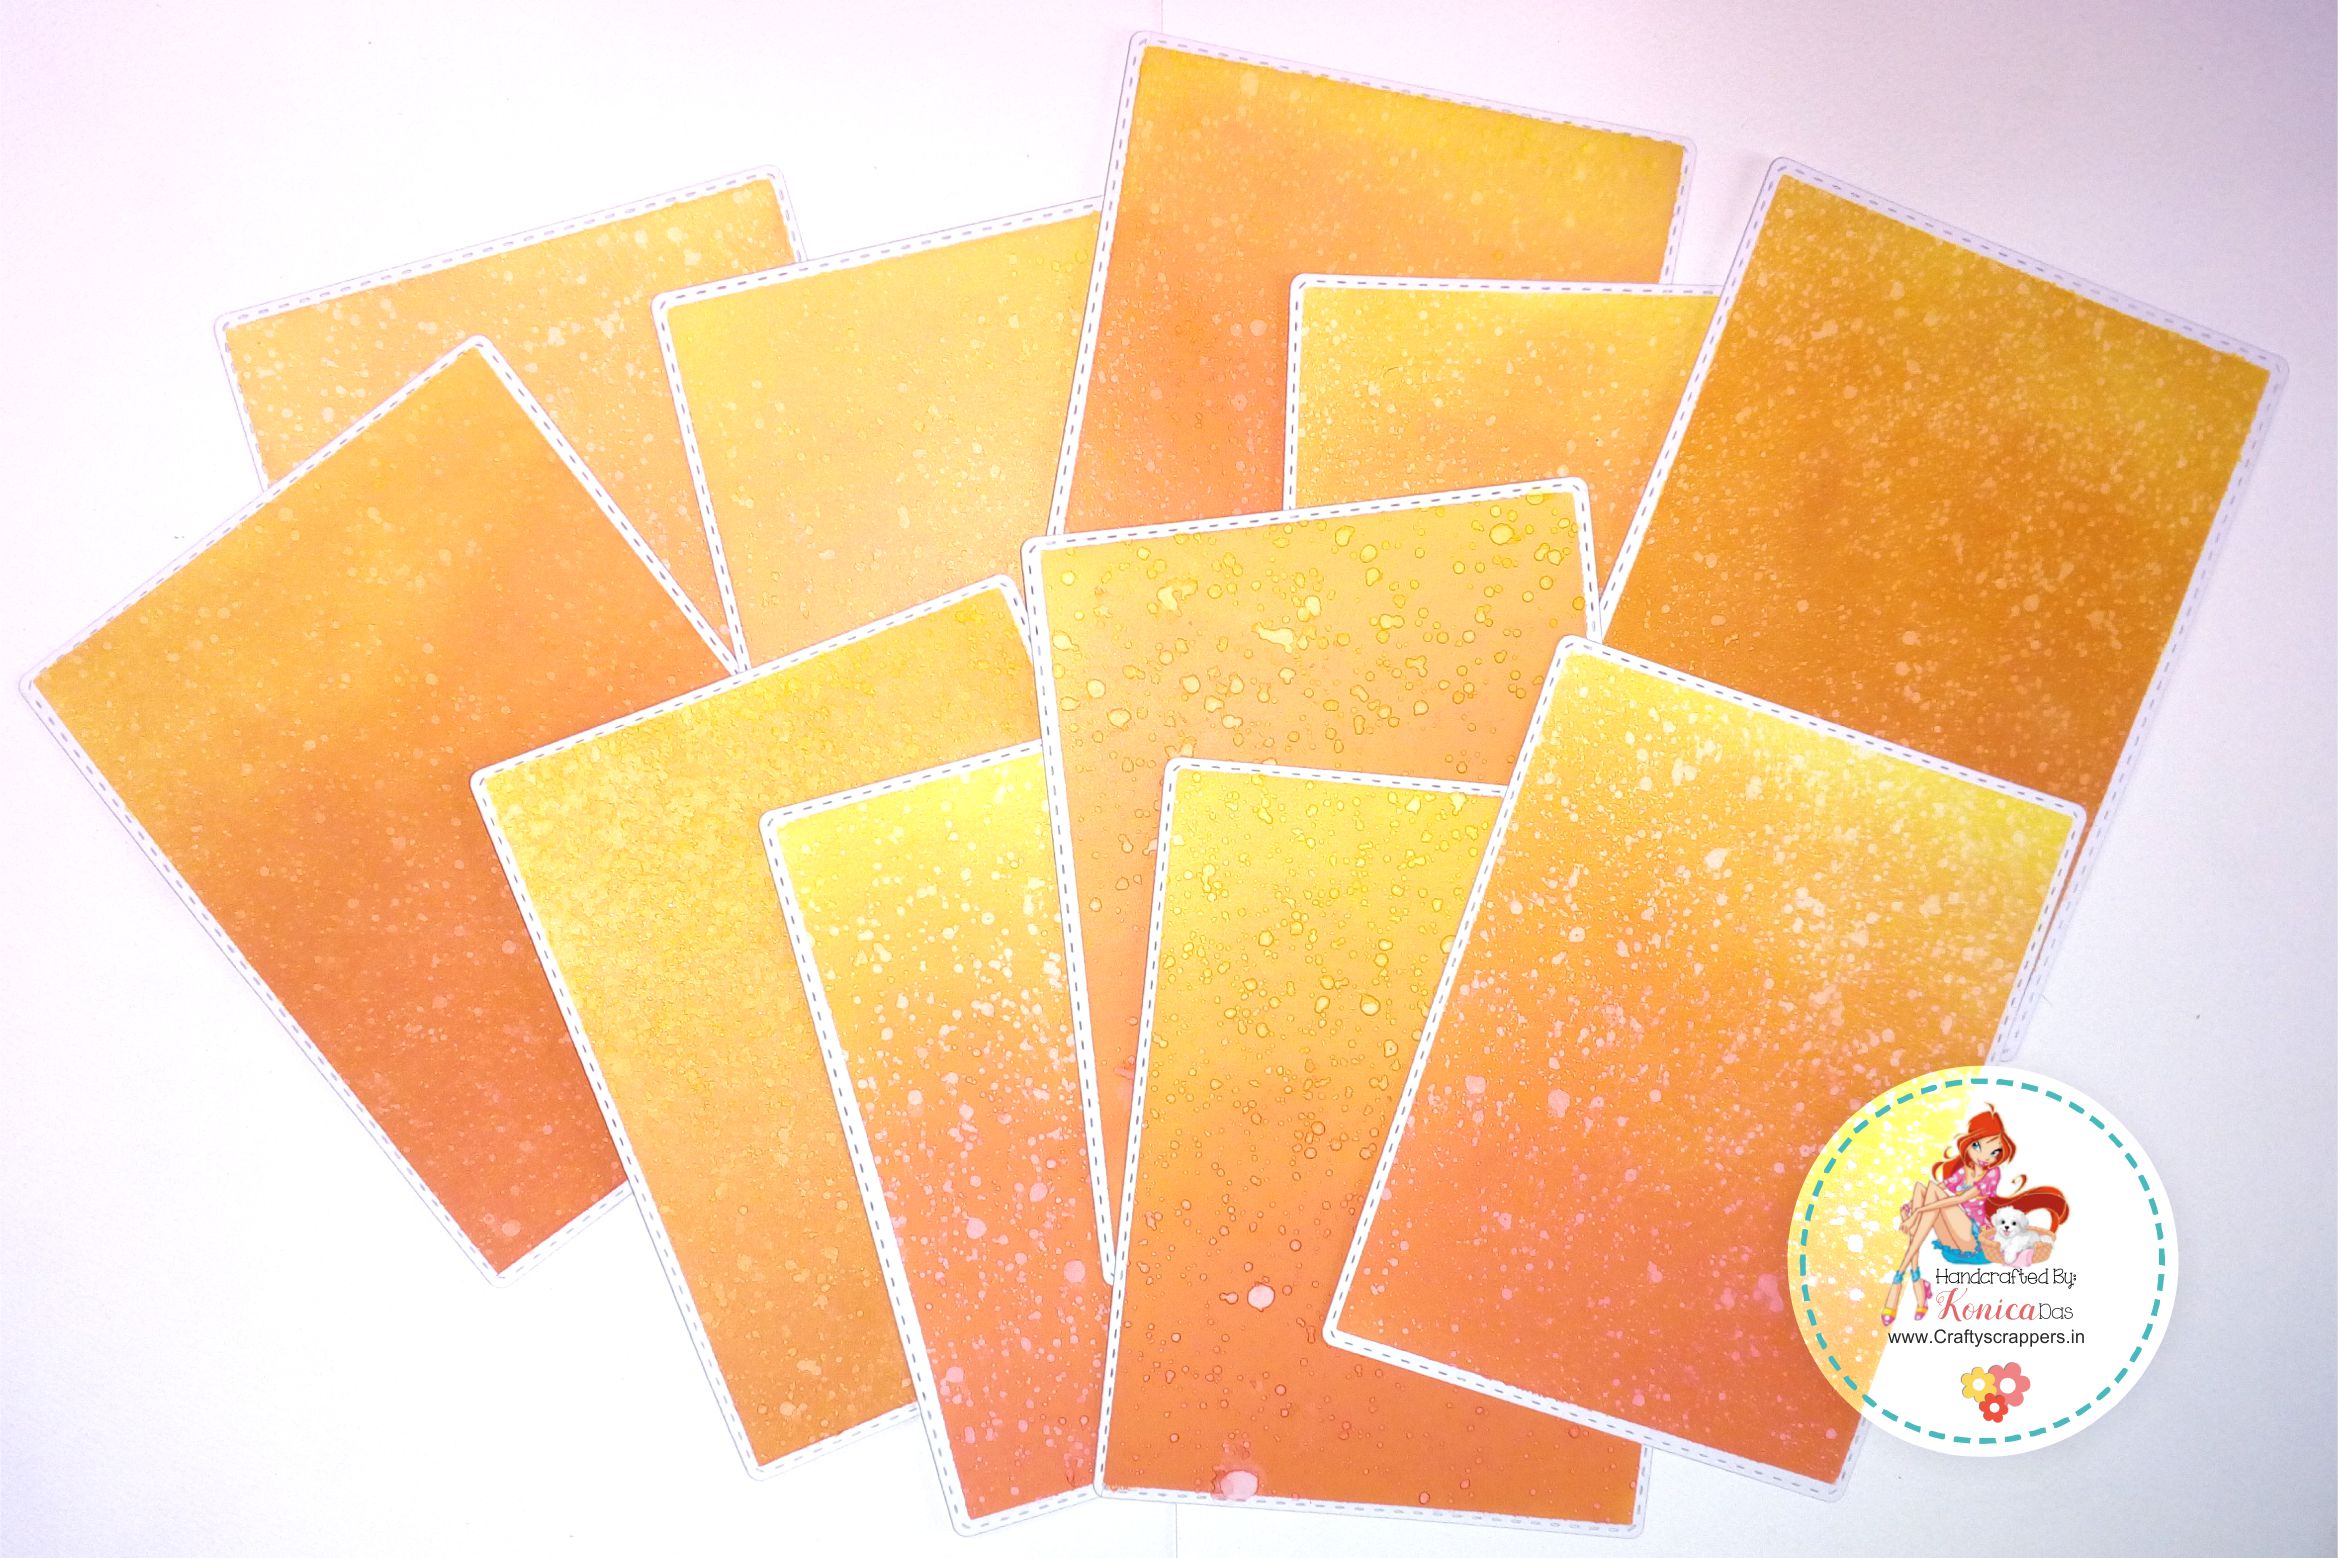
Then i took Fried brick, spiced marmalade and wild honey distressing inks and started blending them together to create a background.
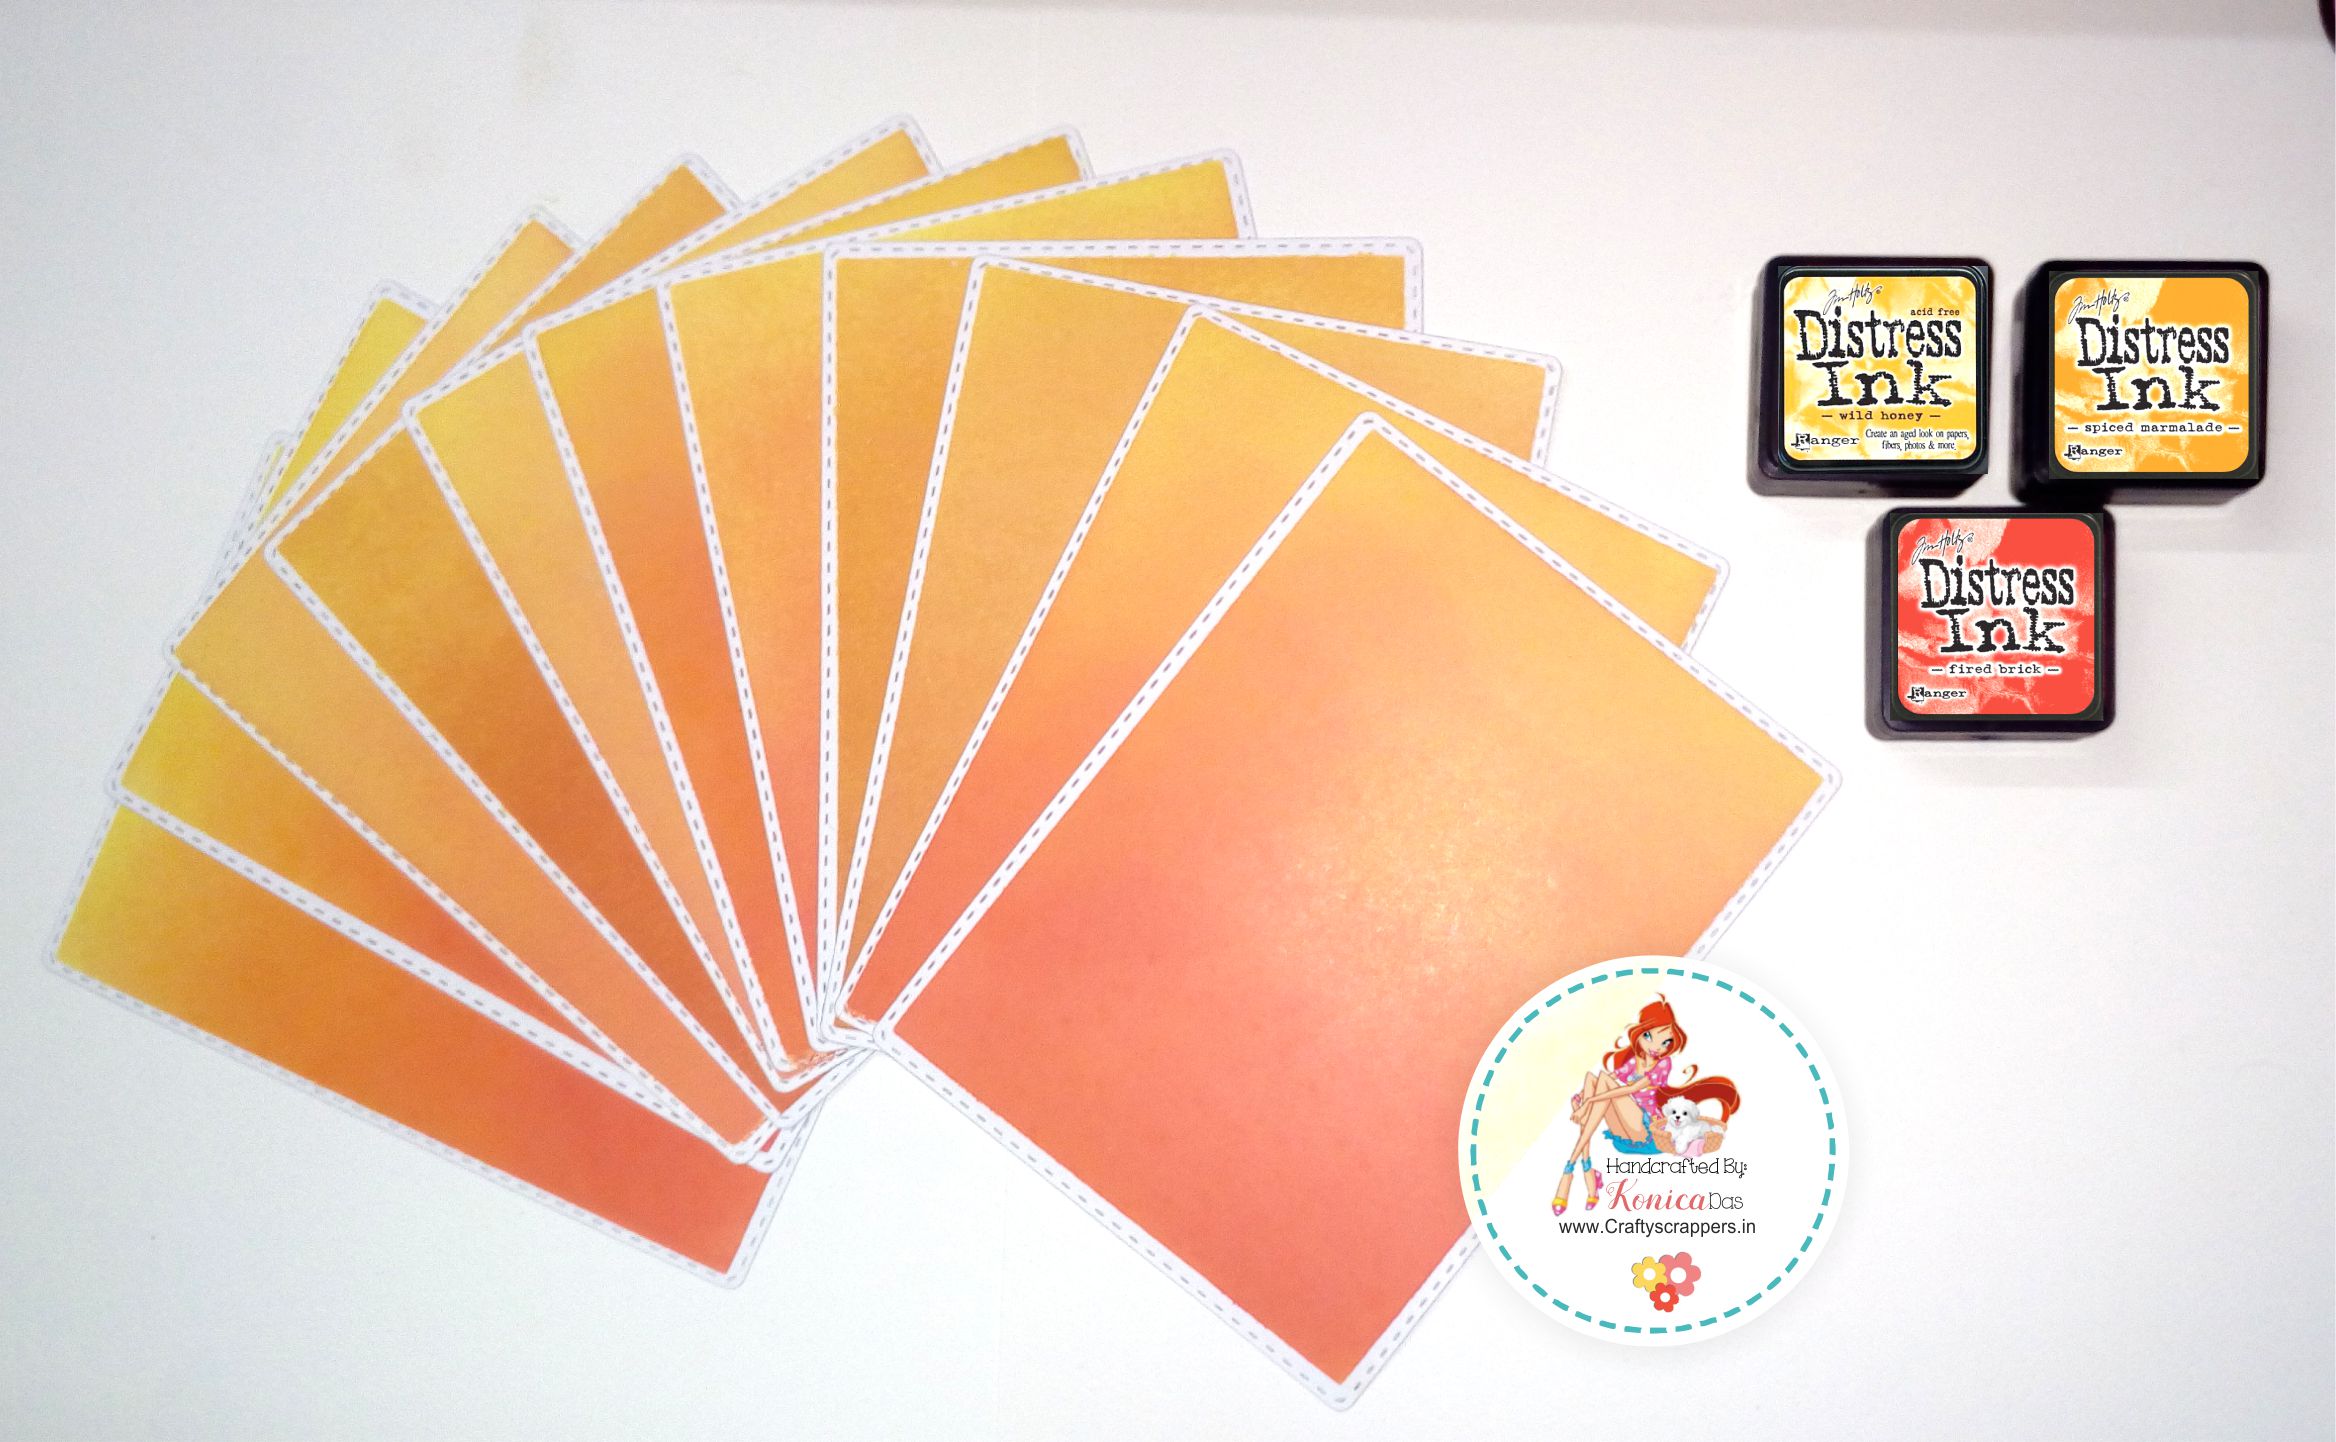

Once the inks were nicely blended, I sprayed mist over the distress background that allowed the ink to wick and spread out, traveling across the paper and created a beautiful effect.Then i let it dry over night.
(Many thanks to Niharika Gupta for teaching me this technique!)
This is how the backgrounds looks after they are dried:
Next, i started working on the focal point of the card.
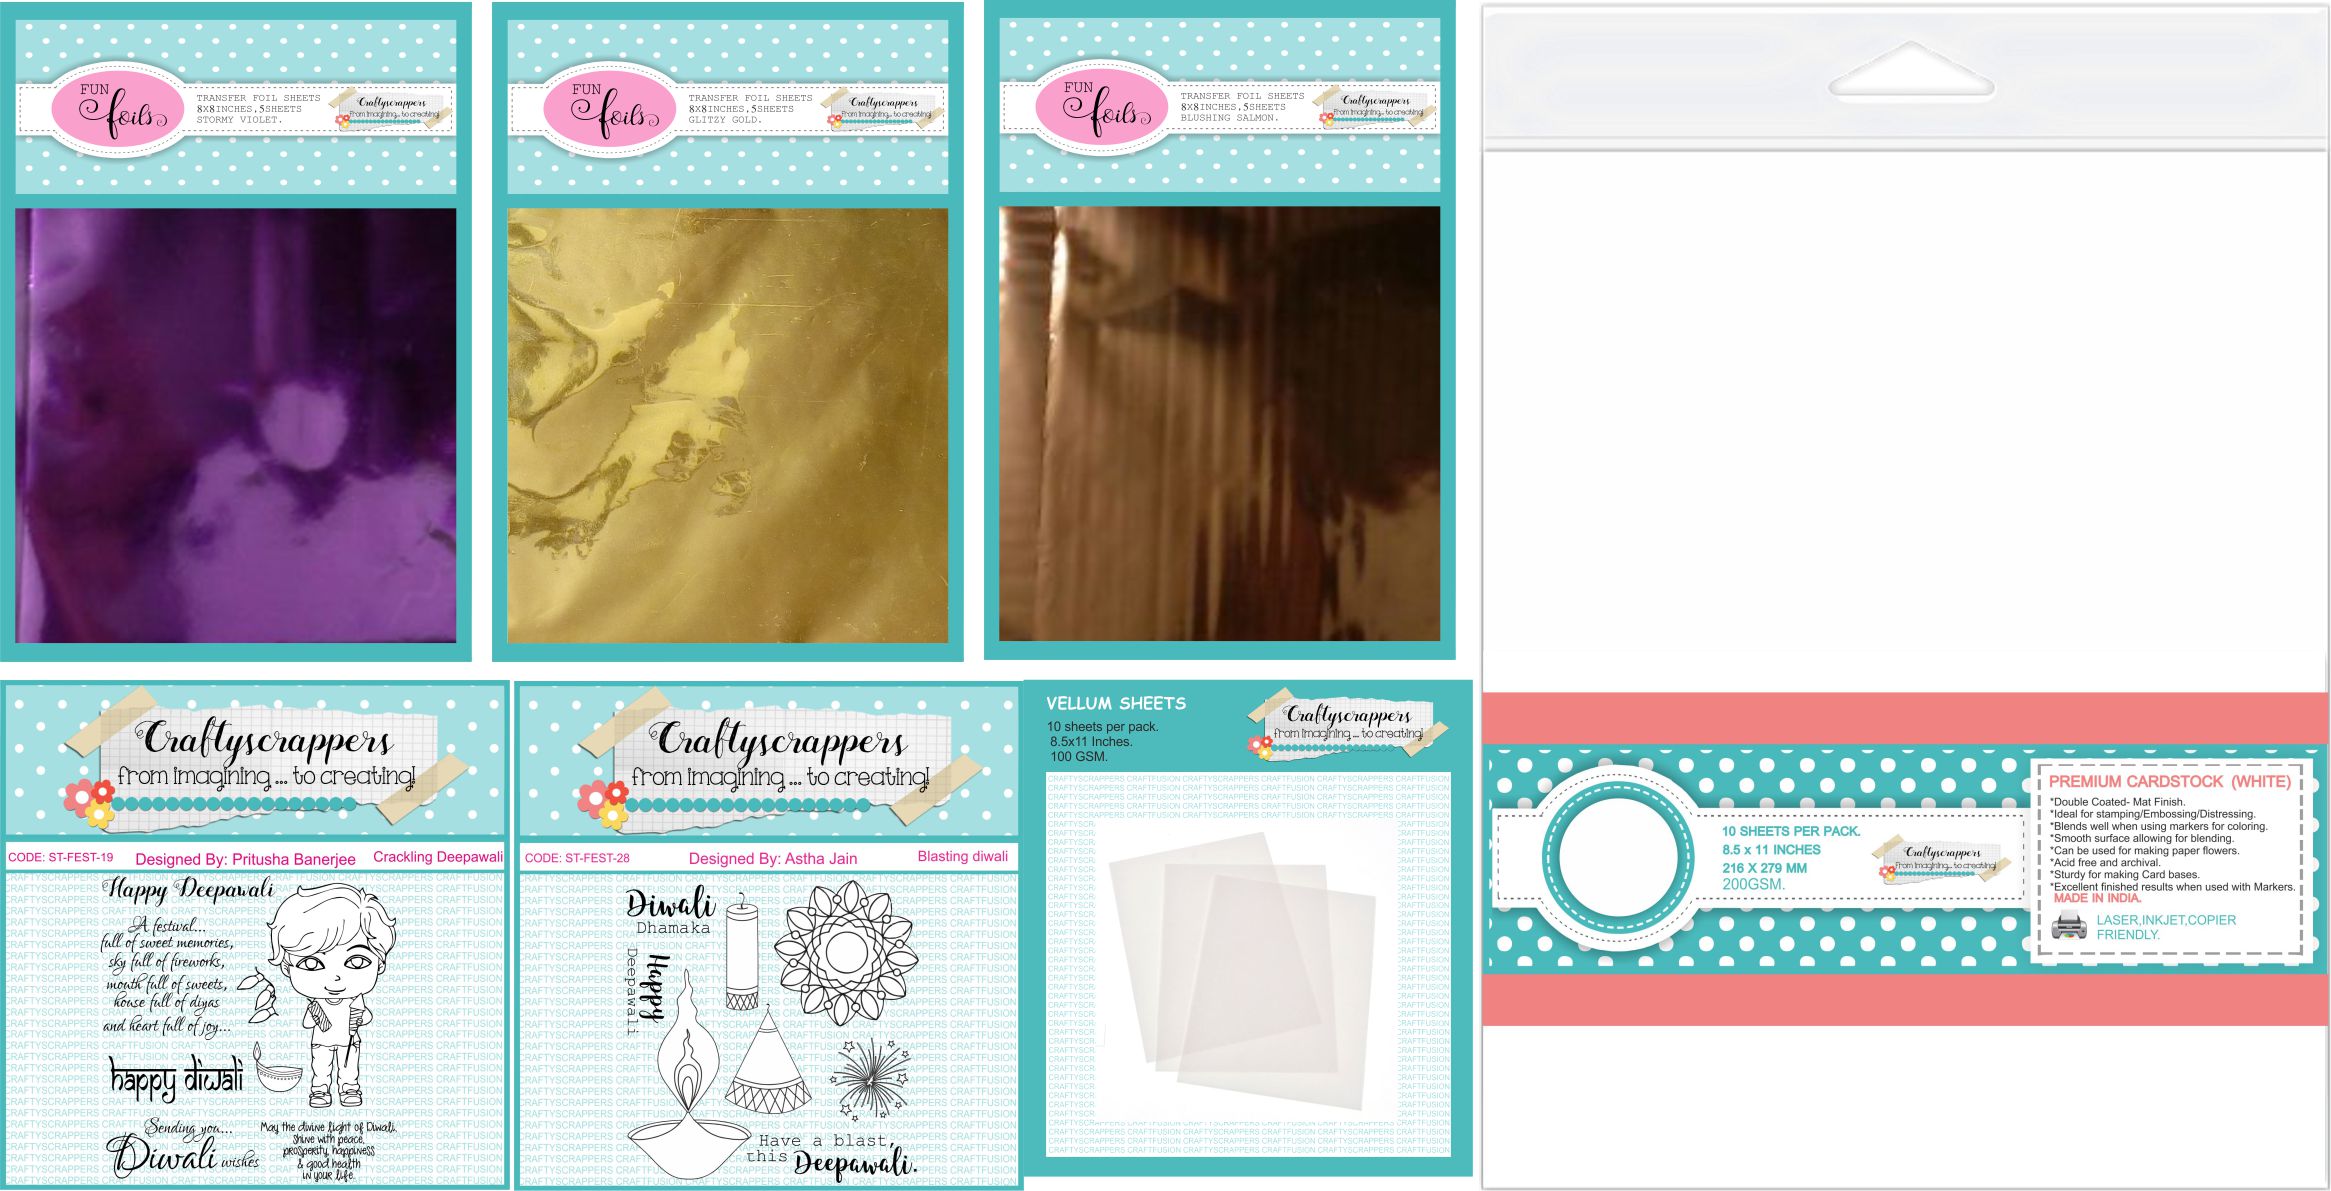
For this, i decided to use the beautiful image from Craftyscrappers festival (diwali) stamp set, “Blasting Diwali” designed by Aastha Jain.
![ST-FEST-28[blasting diwali]cover.jpg](https://craftyscrappers.files.wordpress.com/2017/10/st-fest-28blasting-diwalicover.jpg?w=984)
It has some really nice sentiments and images that is just perfect for the occasion!
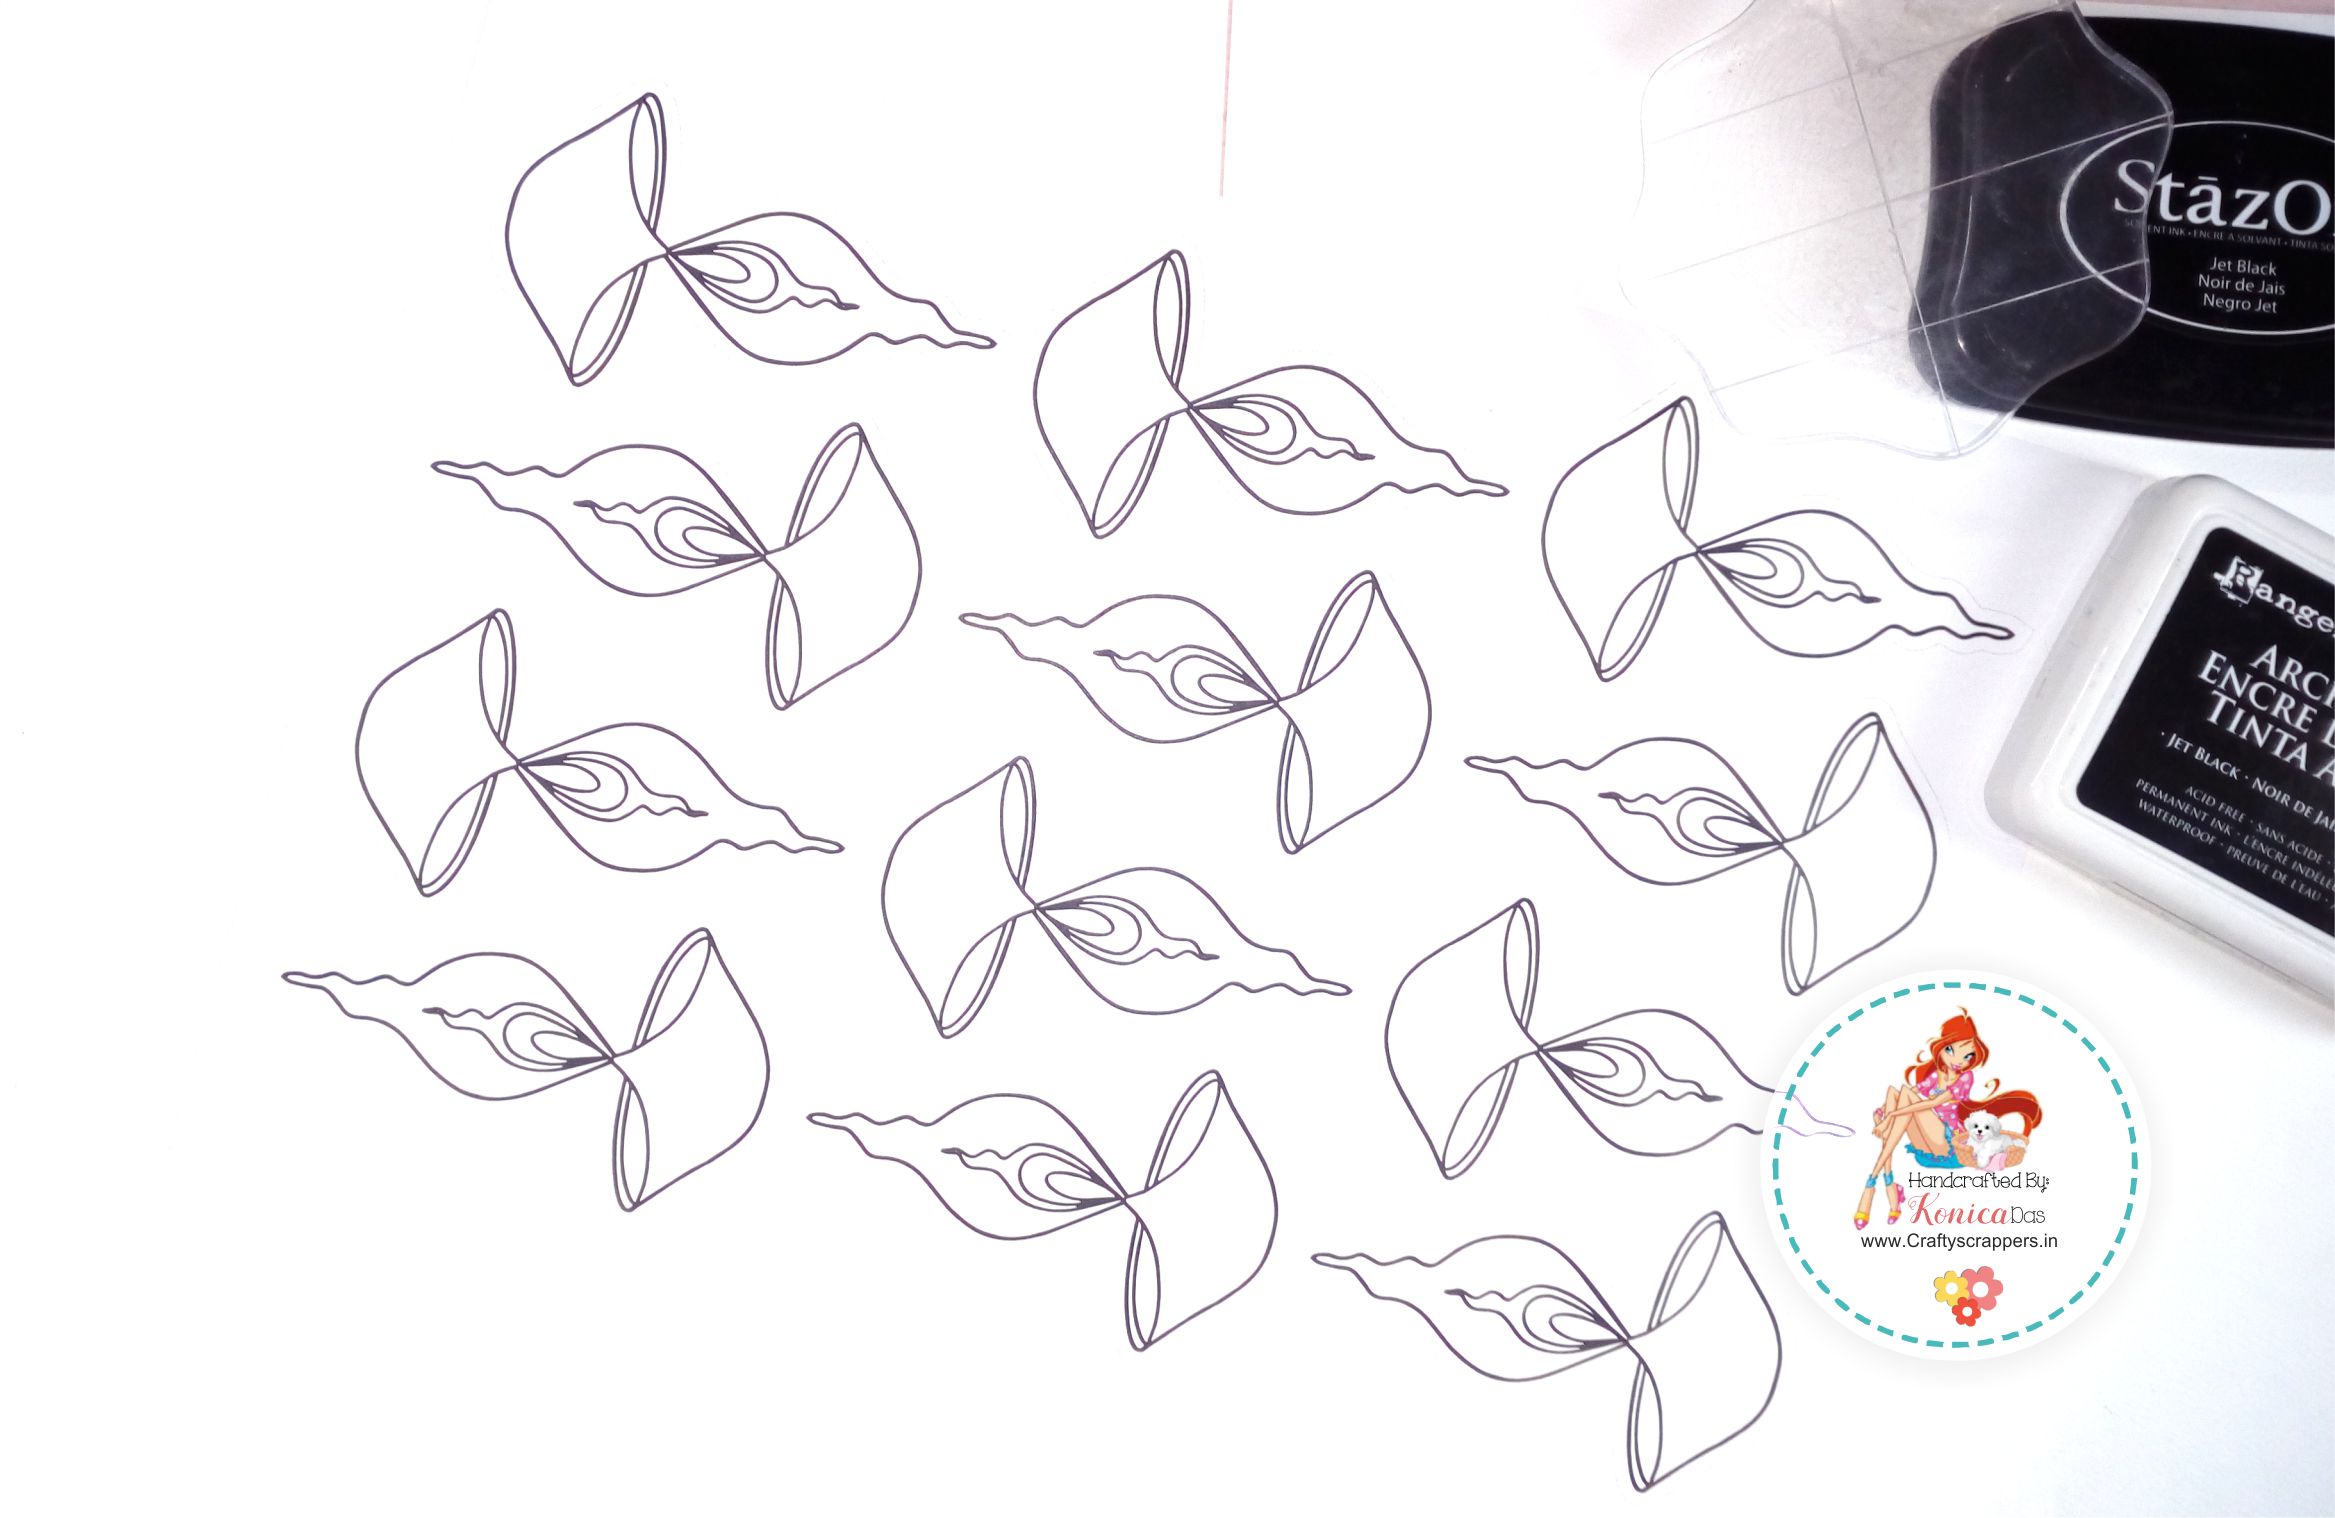
I stamped a bunch of the beautiful diya from the stamp set, using Staz-on Black ink.

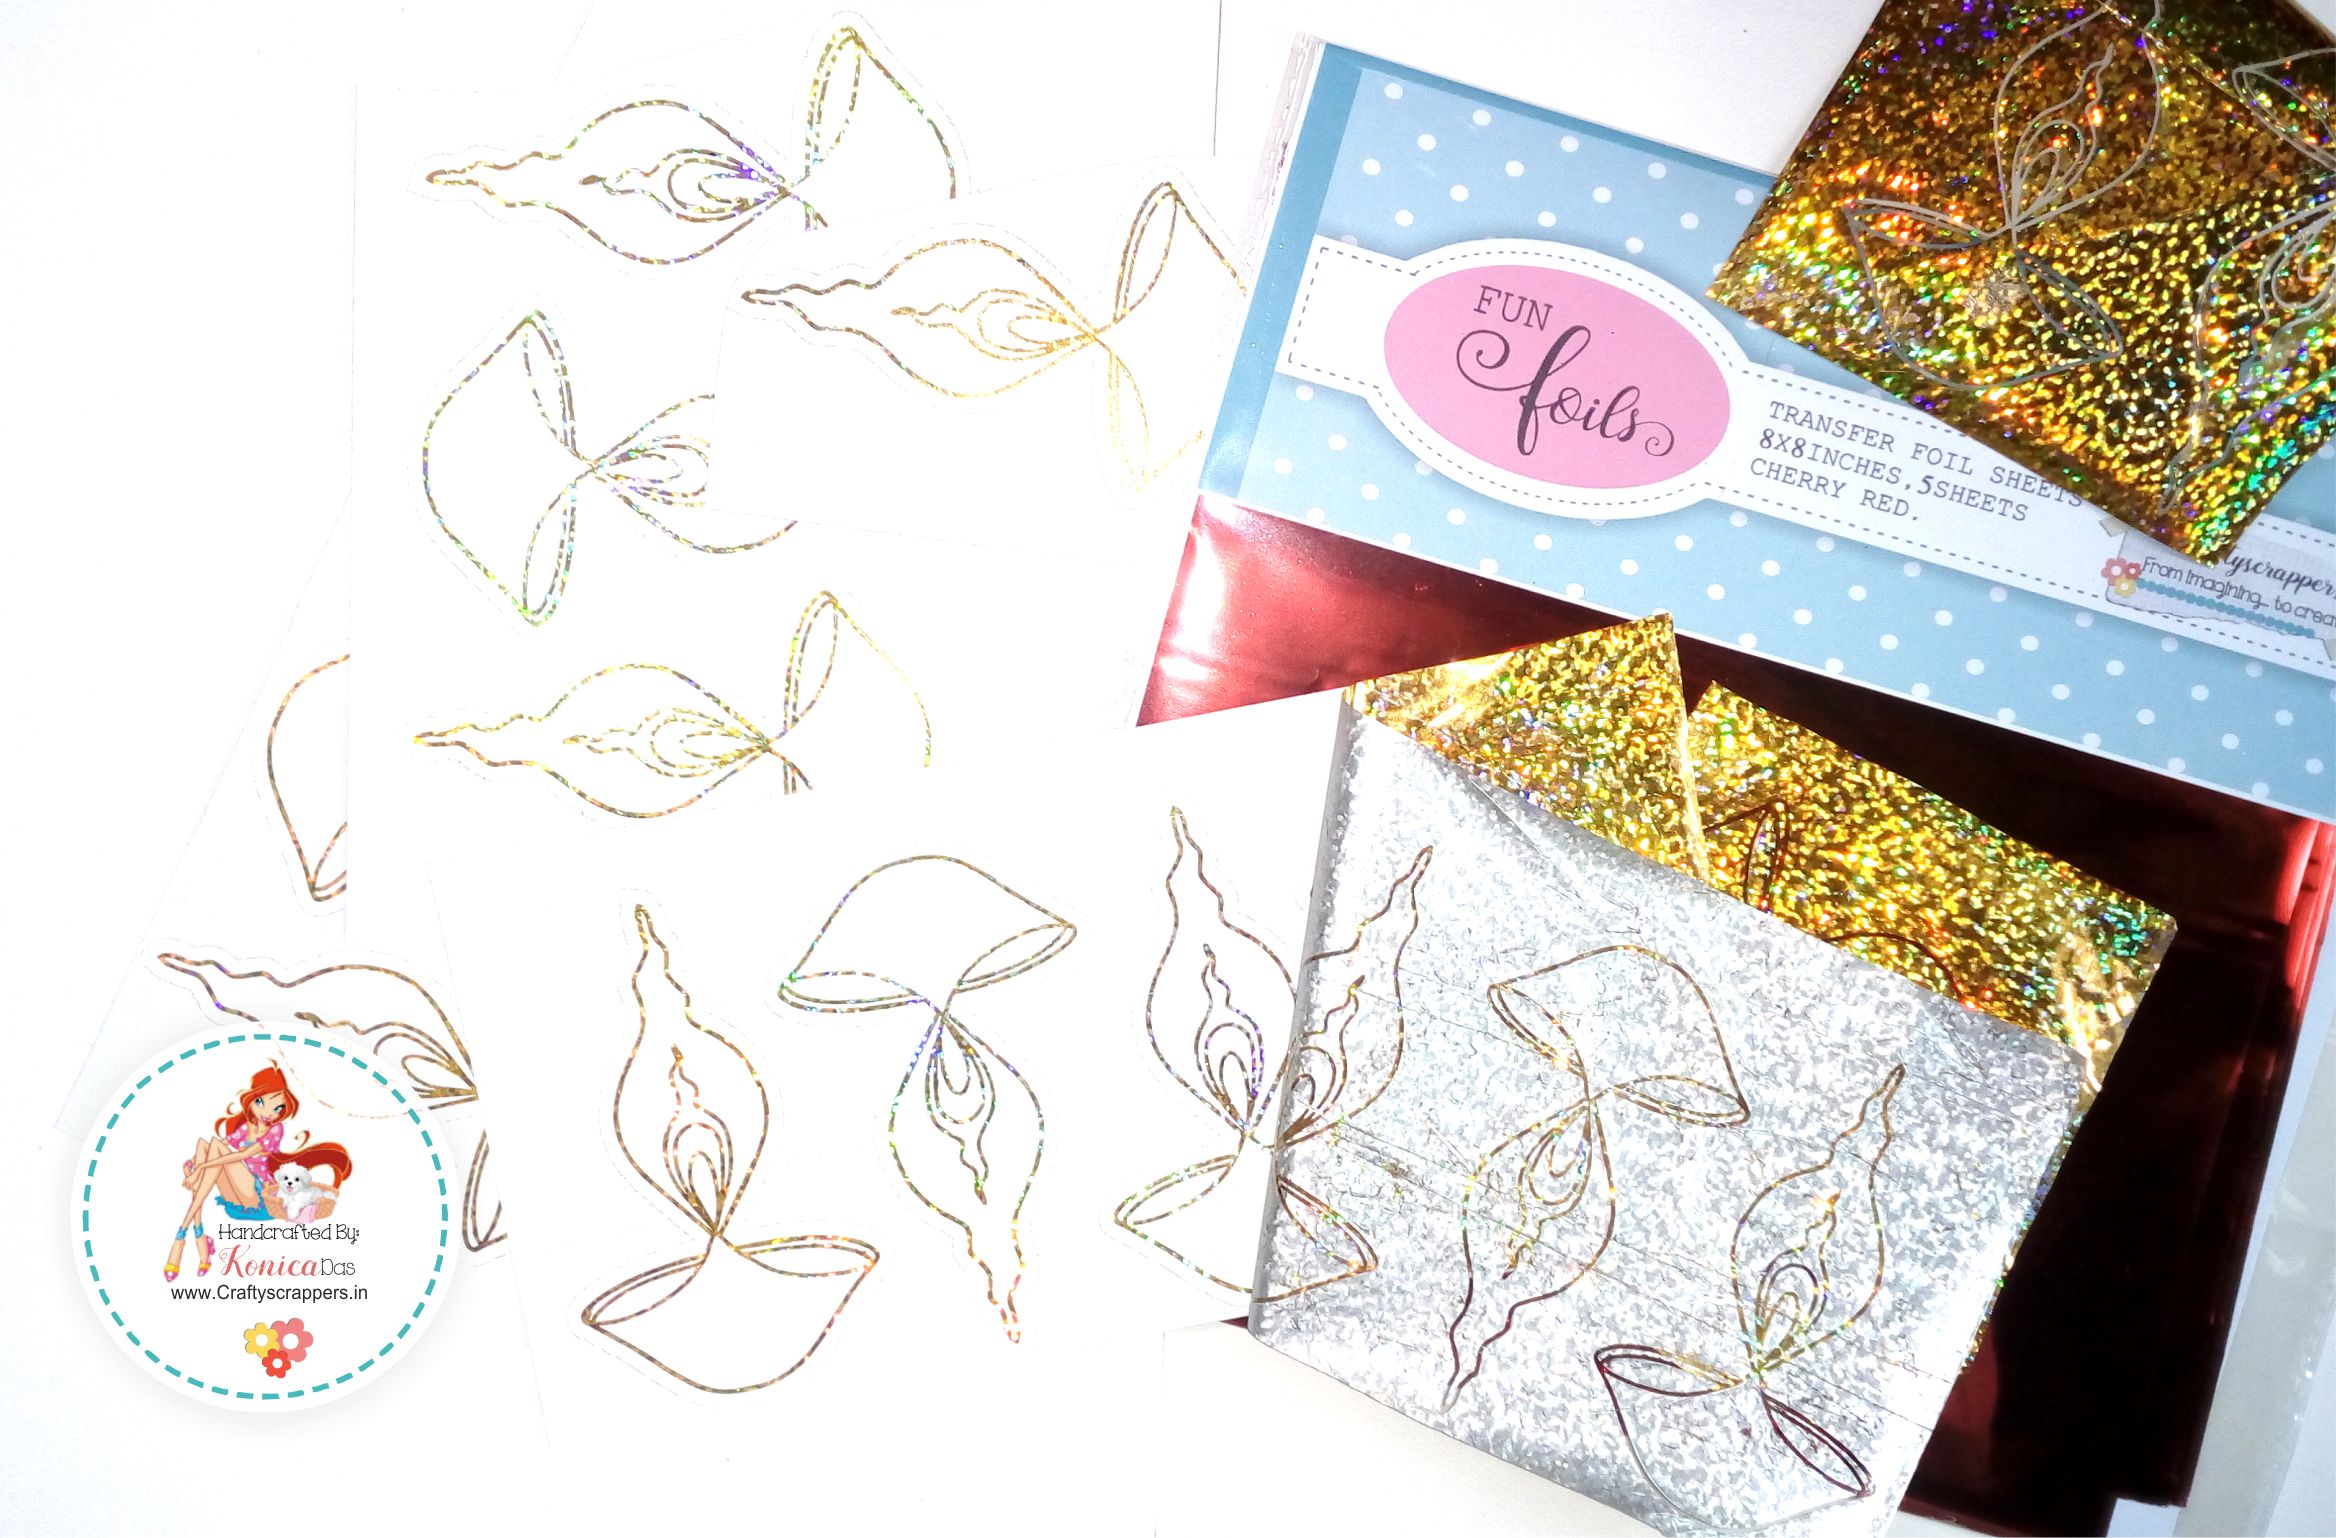
After i stamped the diyas with the staz-on black ink, i started stamping them again using Craftyscrappers Fun foil glue, (You can use any glue for this technique, but do make sure that the glue is sticky and transparent once it dries.)
so that i could use Craftyscrappers Fun-foils without any lamination machine.
You may check my video tutorial here, where i have demonstrated an easy way of foiling using the bigshot machine, if you do not have a laminator machine or a heat tool.
(Sorry about the poor quality of the pic!!!
It was very difficult to capture the shine on the foils due to the lights reflection!)
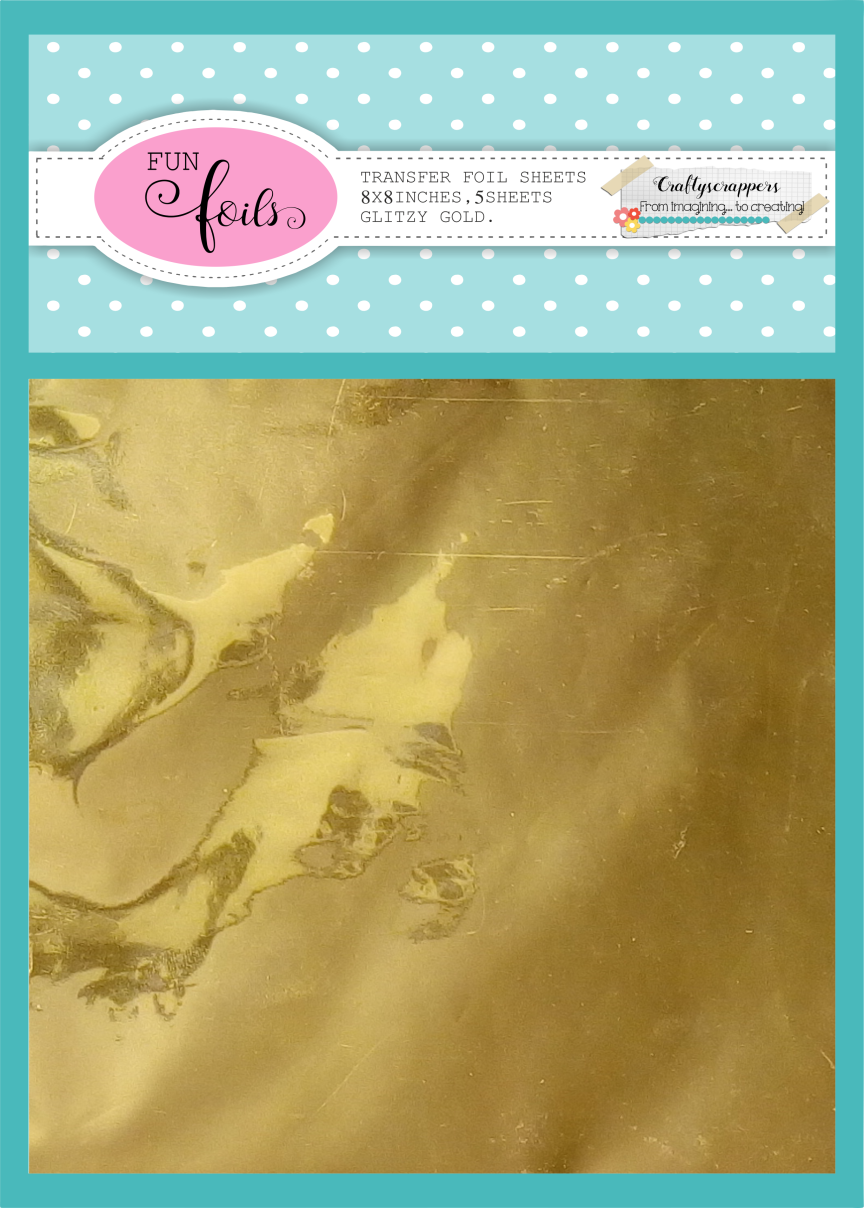
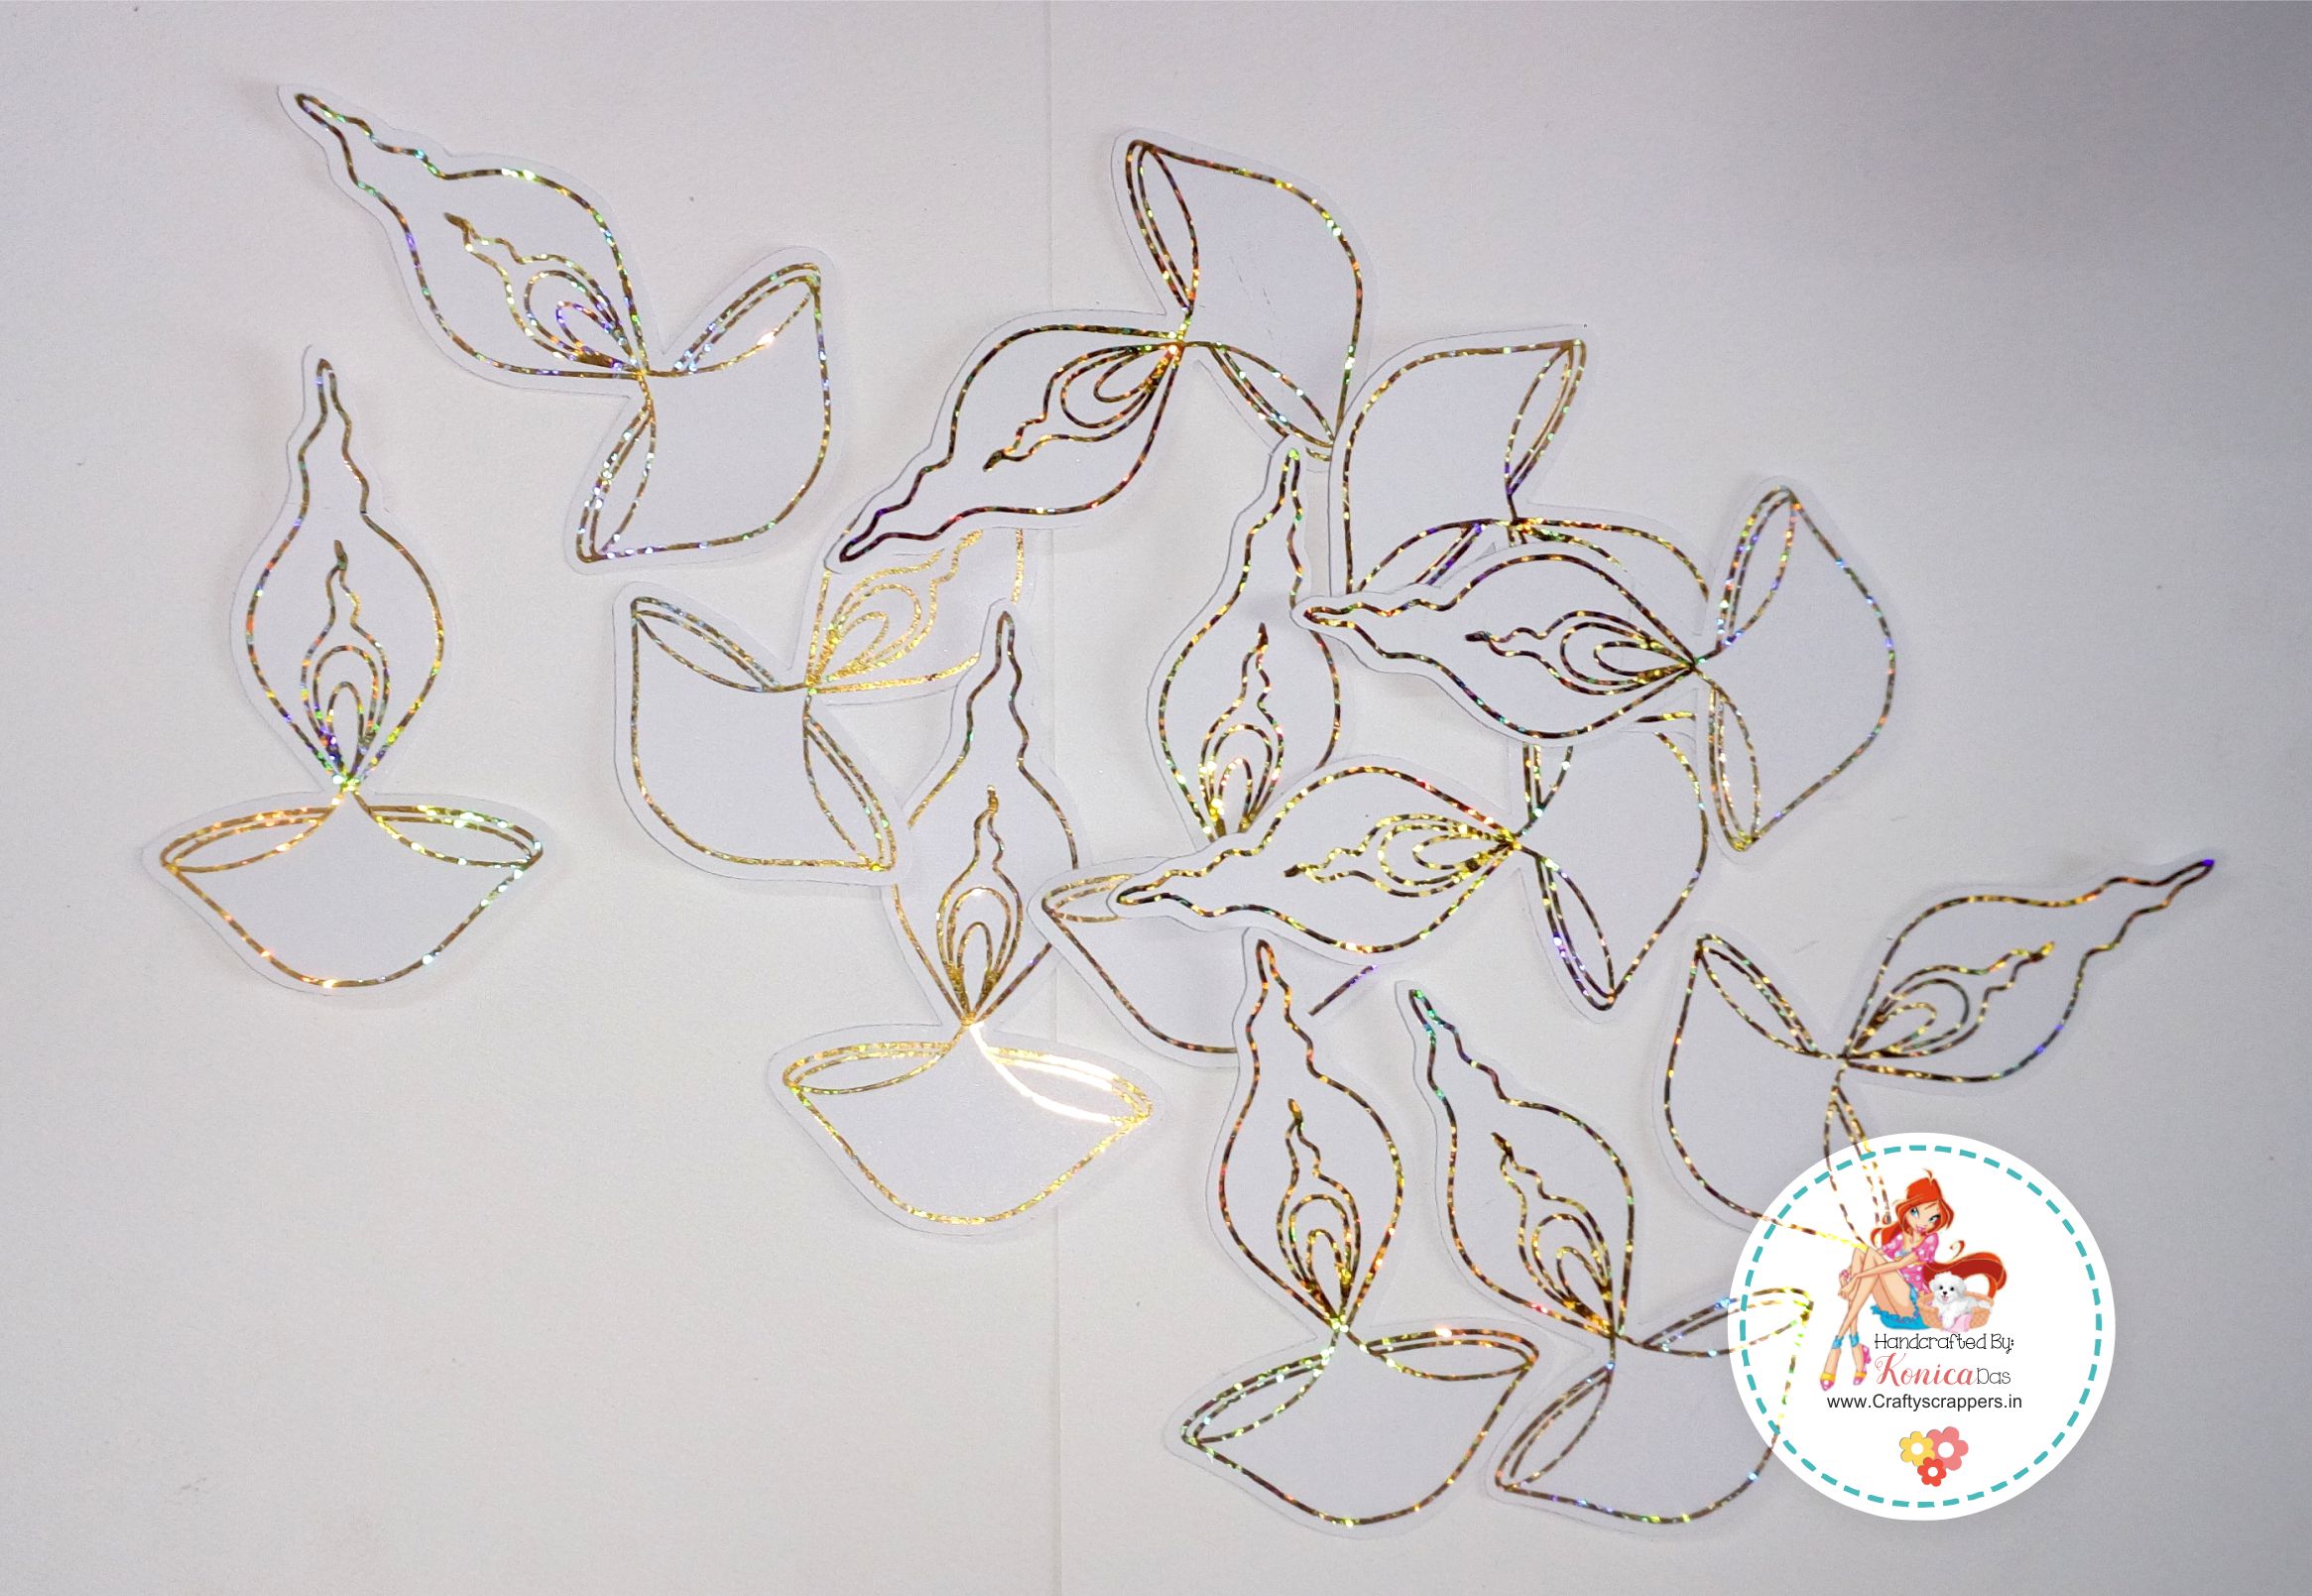
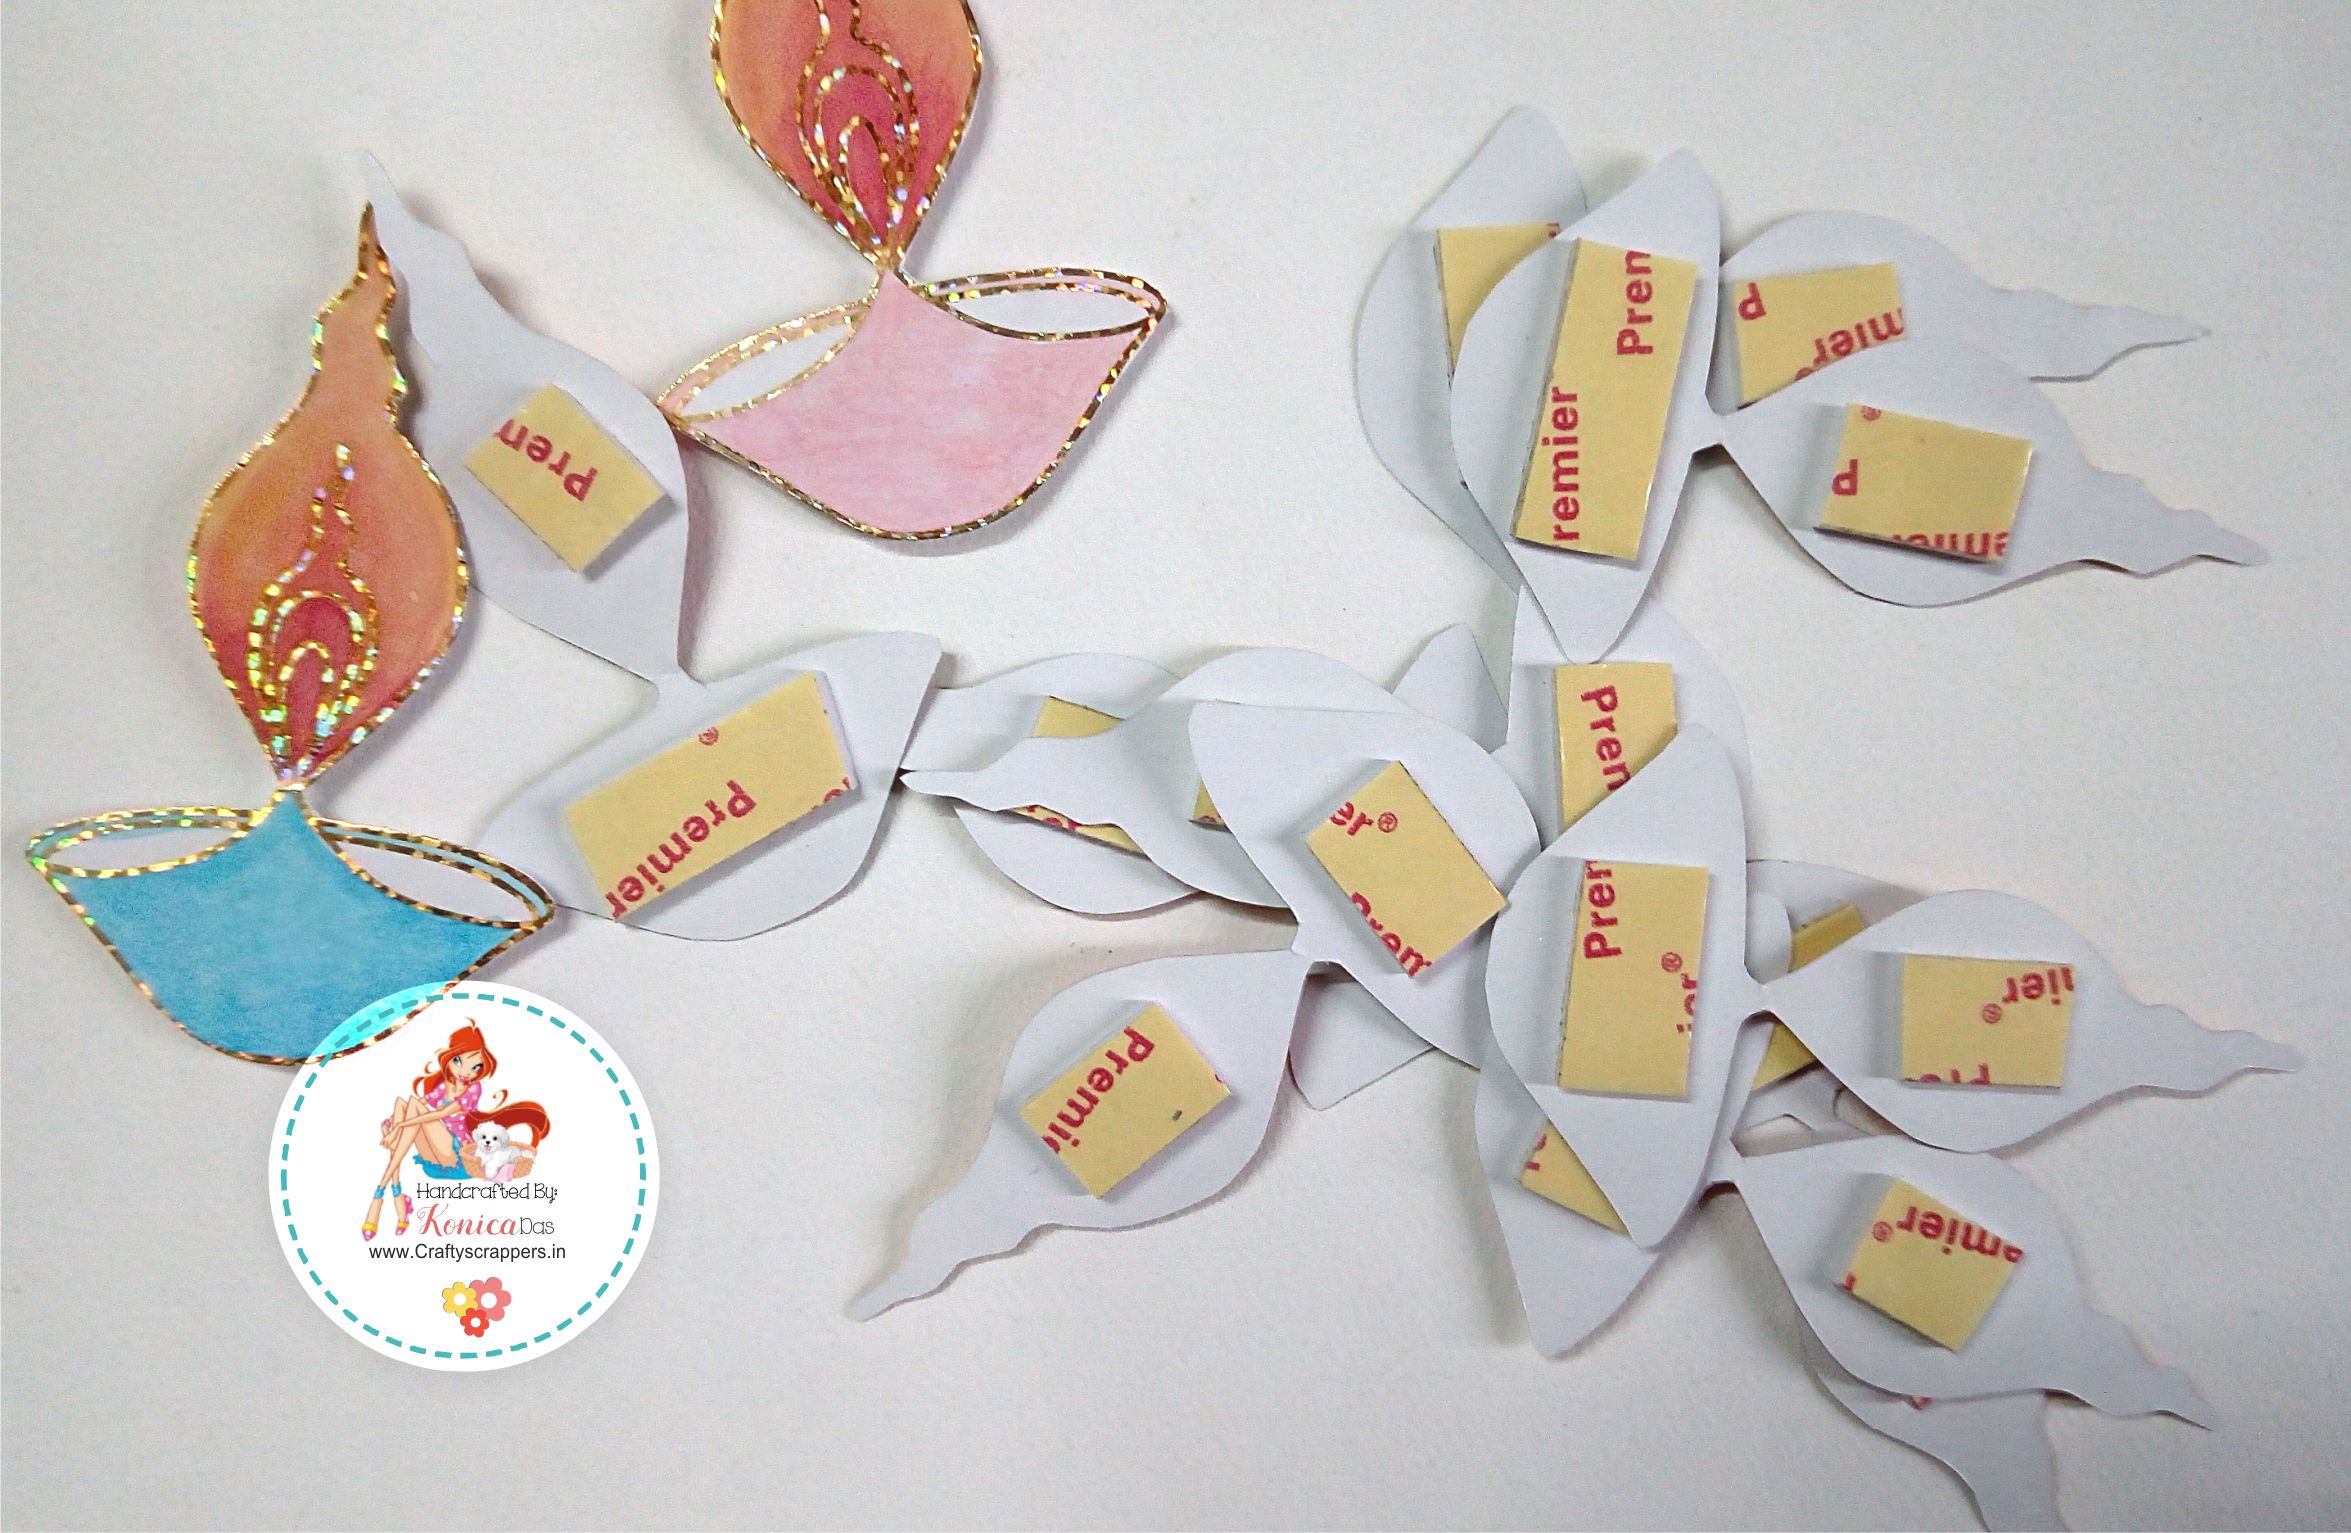
I used Craftyscrappers Fun foils-glitzy gold, to create these diyas and fussy cut them.
This is how they look, once foils applied:
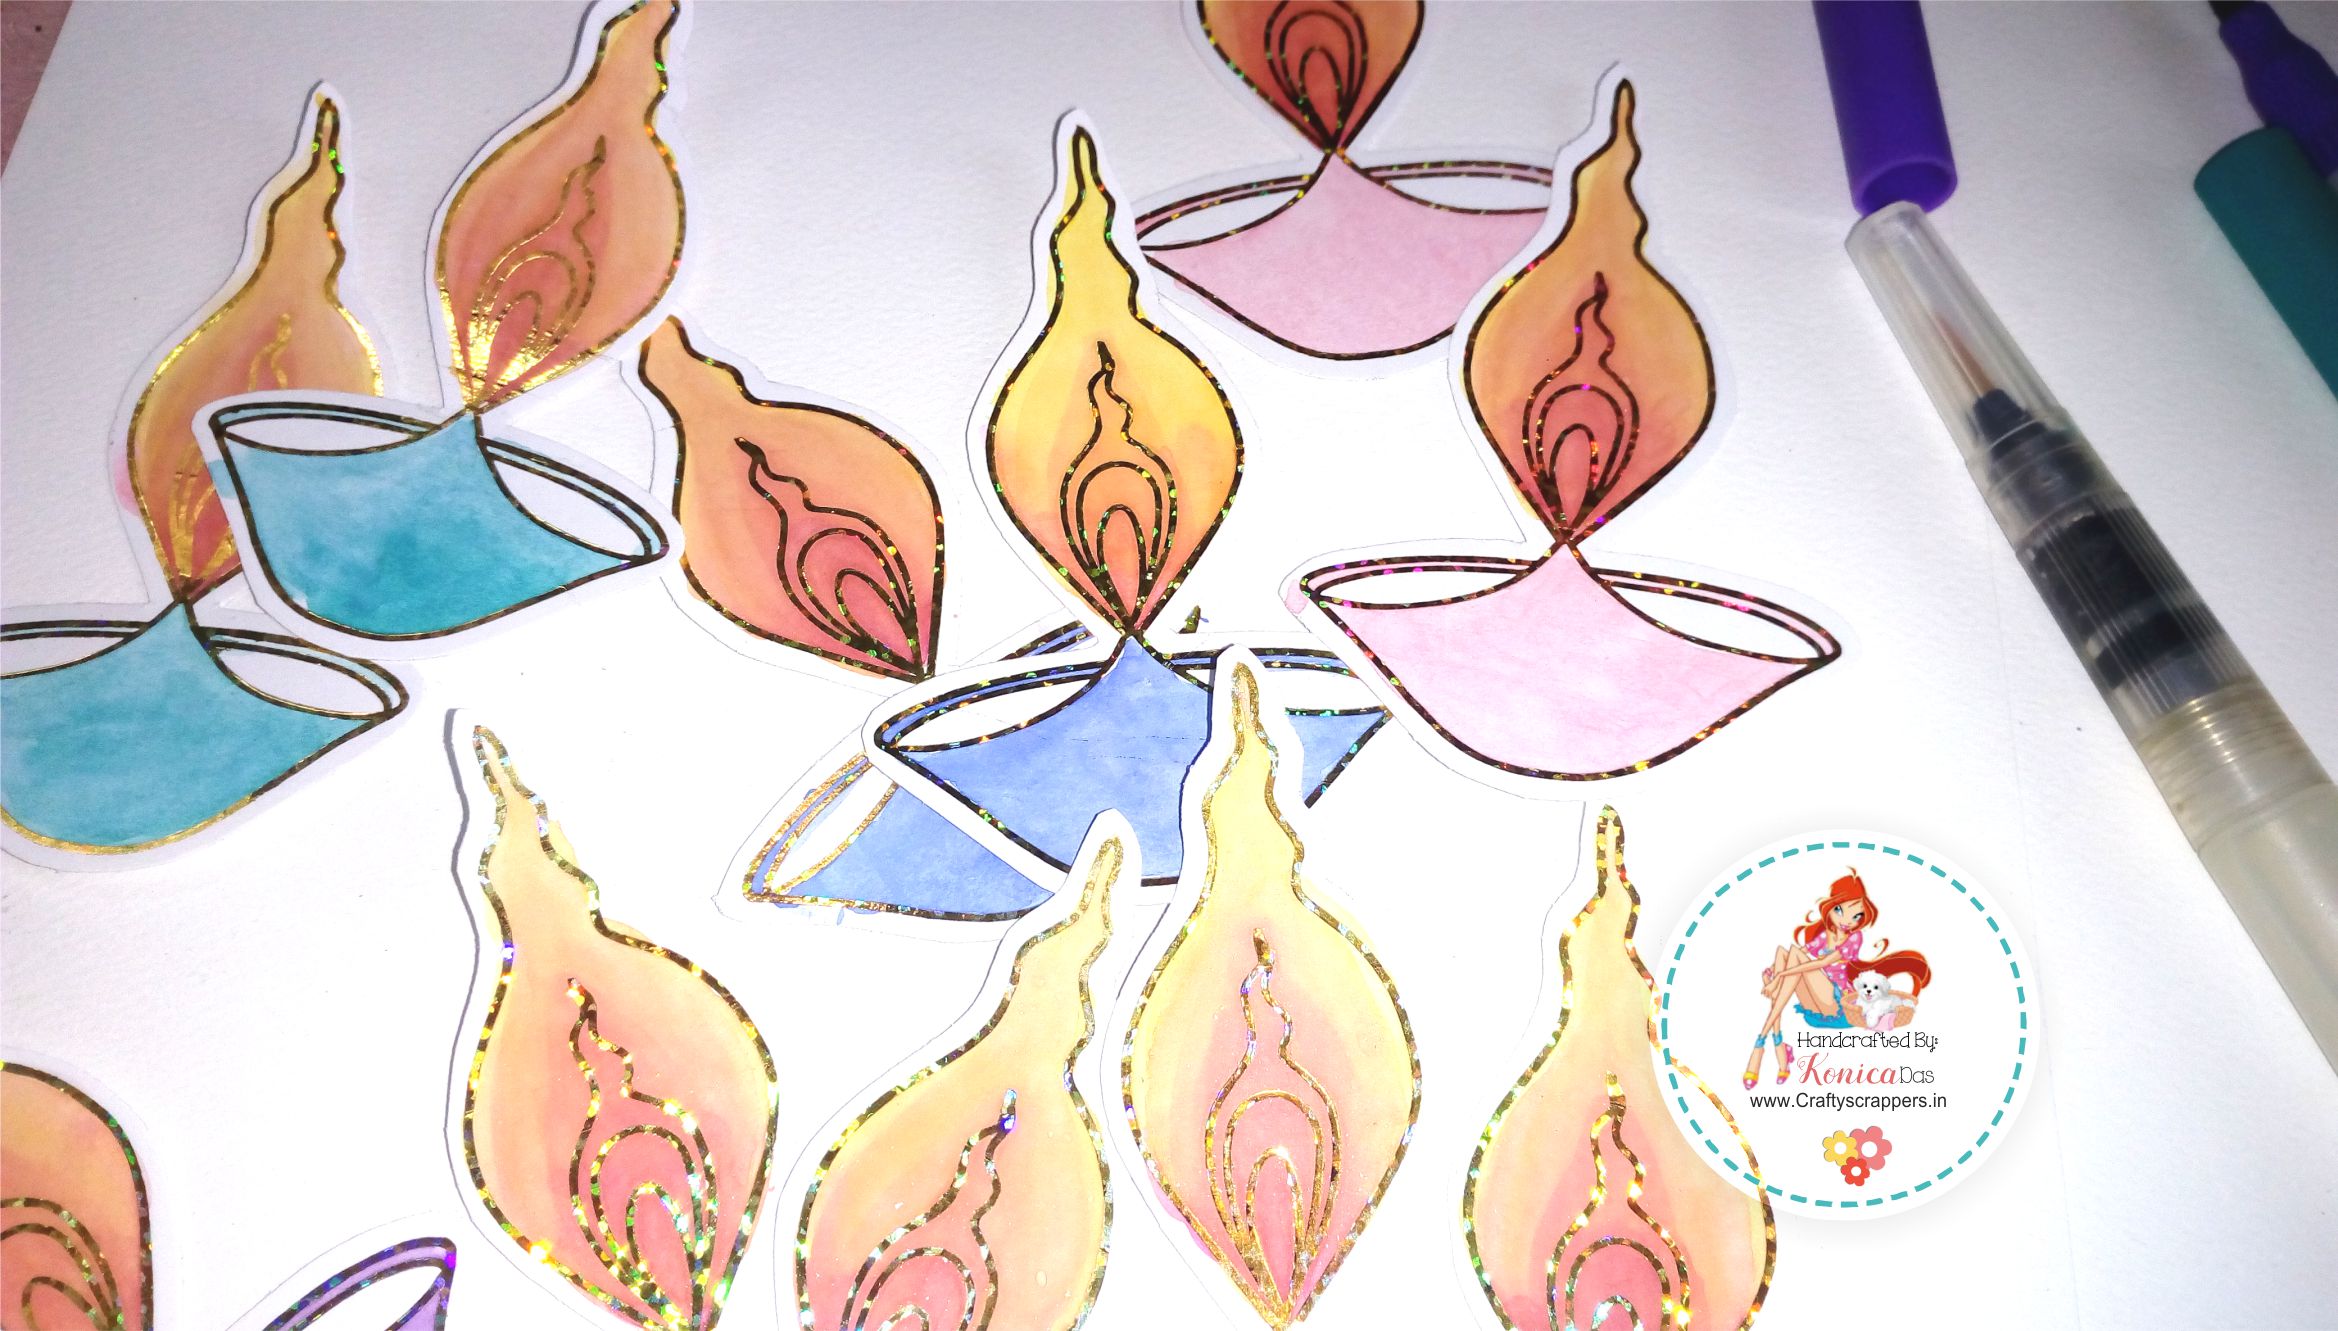
After foiling the Diya’s i started coloring them using Smart color watercolor markers and water brush.I pastel shaded for the diya’s so that i could create a contrast with the background.
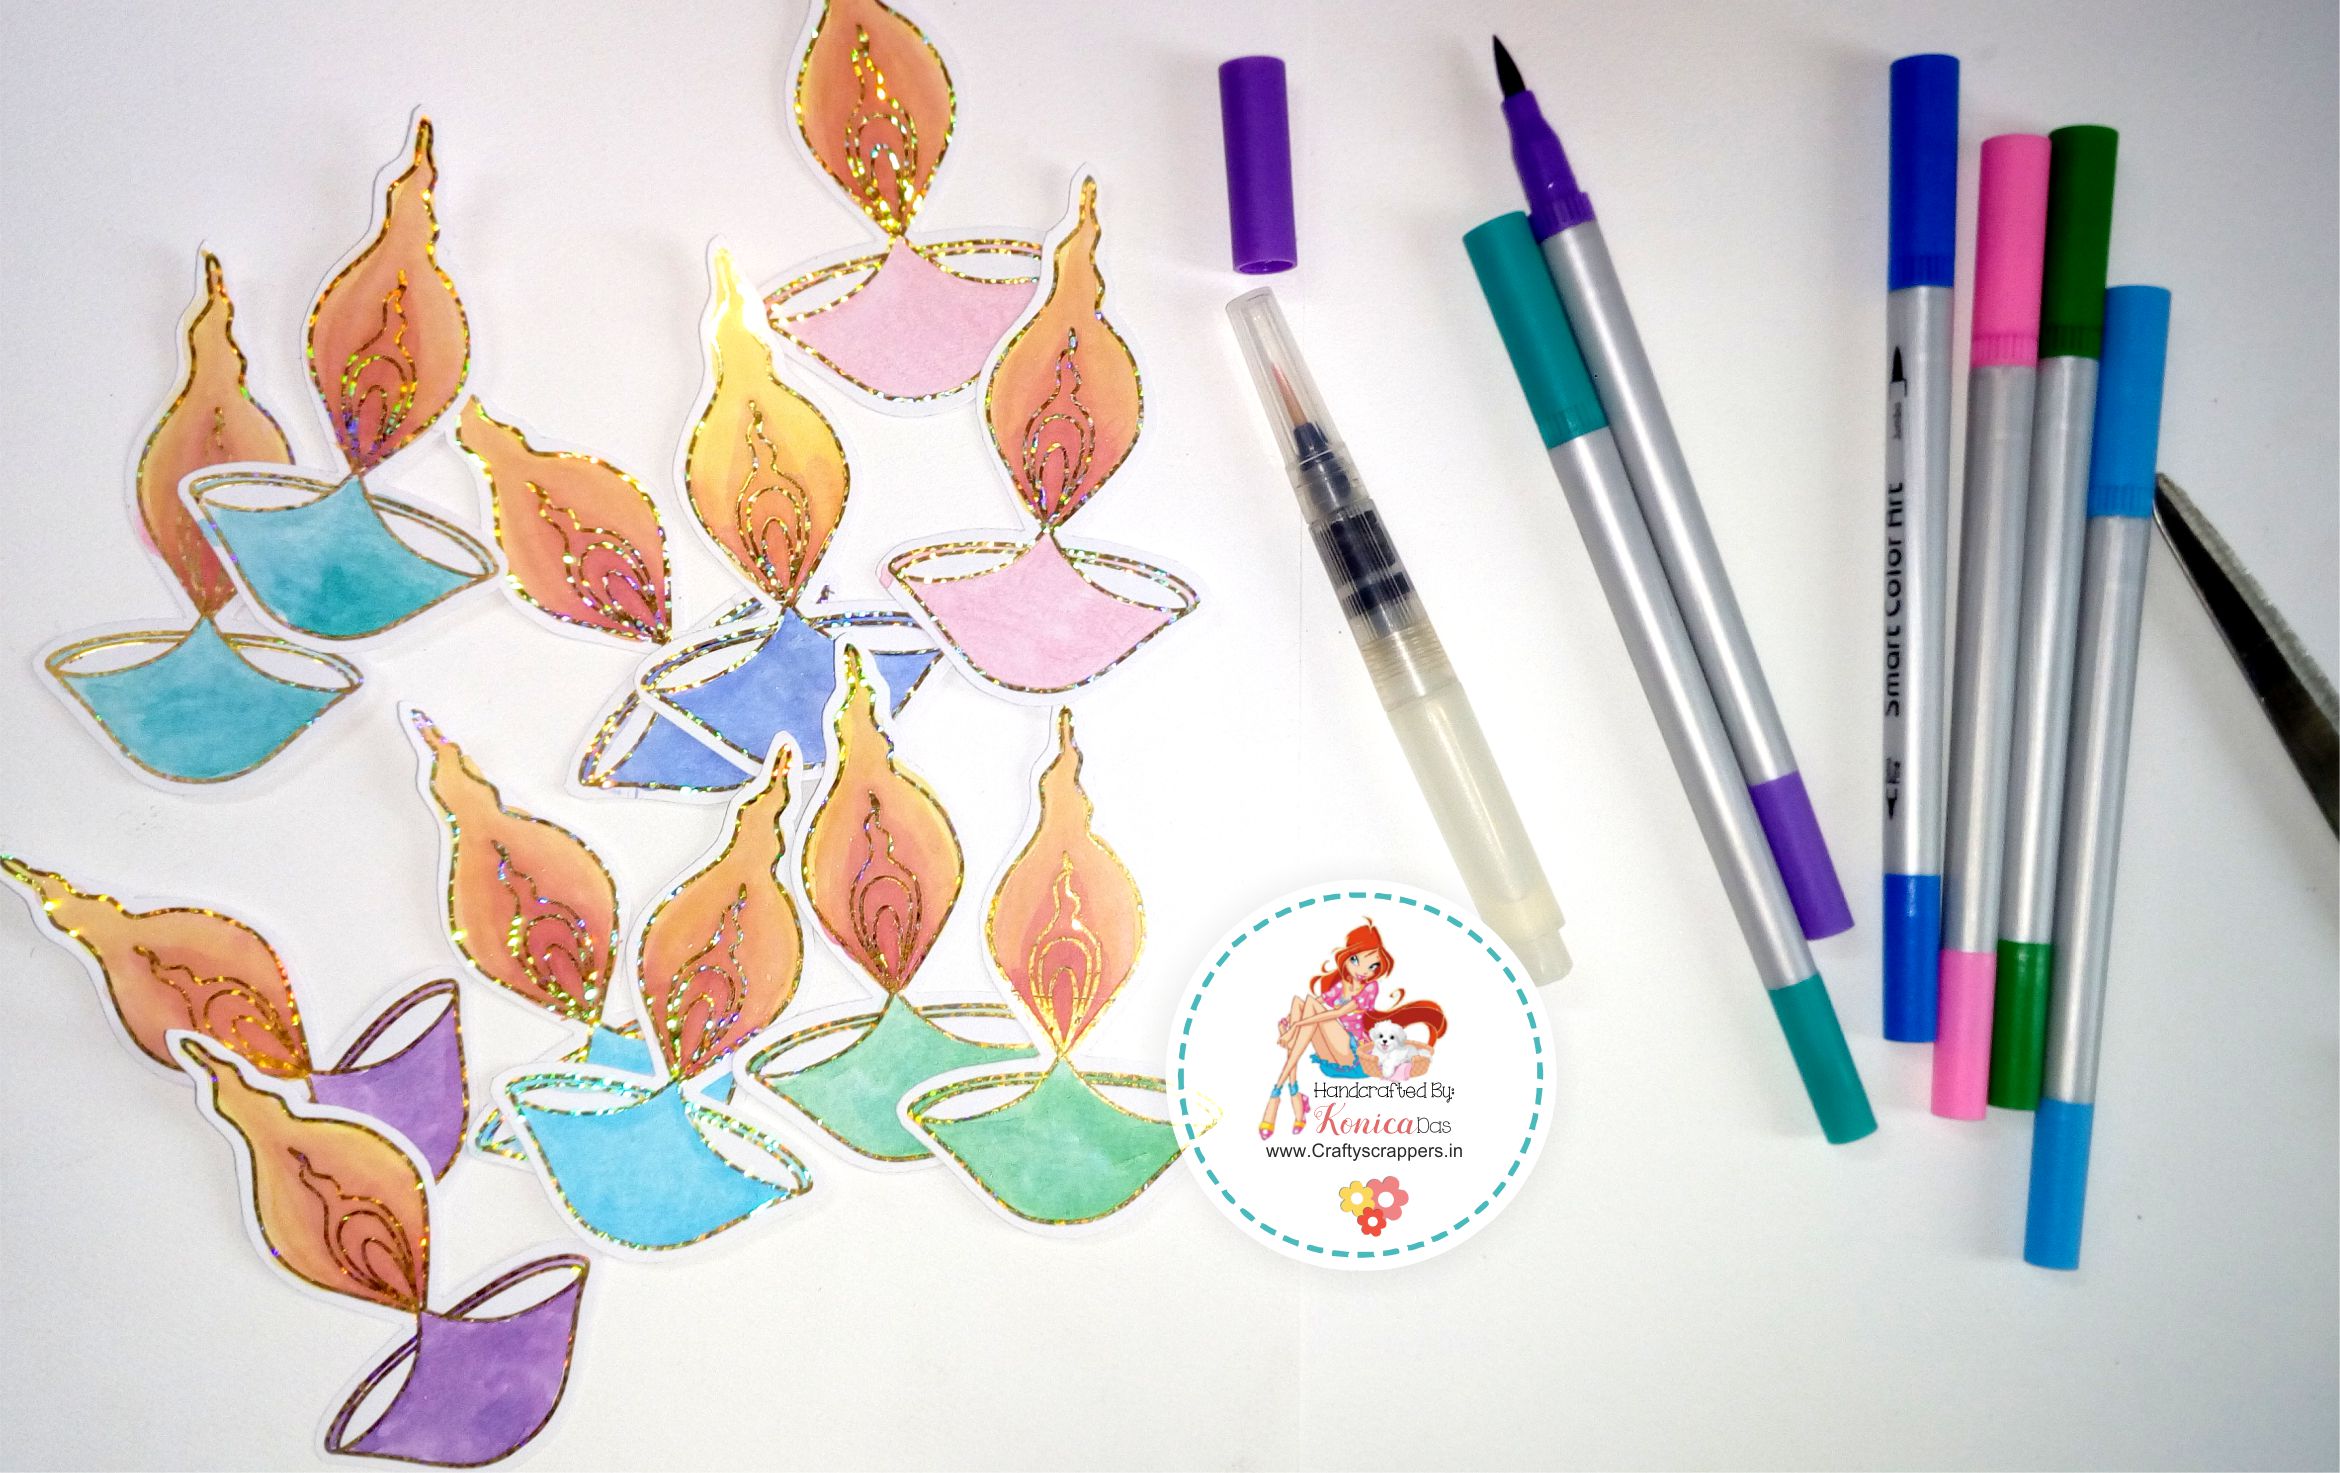
This is how they look, Up close:
I added the Double sided dimensional adhesive from oddy and kept it aside.

Next i started working on the inside sentiment, for the card.
For this, i decided to go with the beautiful sentiment from Craftyscrappers stamp set, “Crackling Diwali”, designed by Pritusha Banerjee. this stamp set too has many sentiments and images that are ideal for creating Diwali cards.
![ST-FEST-19[crackling deepawali].jpg](https://craftyscrappers.files.wordpress.com/2017/10/st-fest-19crackling-deepawali.jpg)
I stamped the sentiment on a piece of Craftyscrappers Premium white cardstock and repeated the process, that i did with the Diyas.
For Foiling the inside sentiments, i used Craftyscrappers fun foil- Stormy Violet.

(Stamping with staz-0n black ink, then stamping with the Craftyscrappers Fun foil glue, placing a piece of foil- shiny side up and running it through the bigshot machine.)
This is how the inside sentiments looks once Fun foils applied:
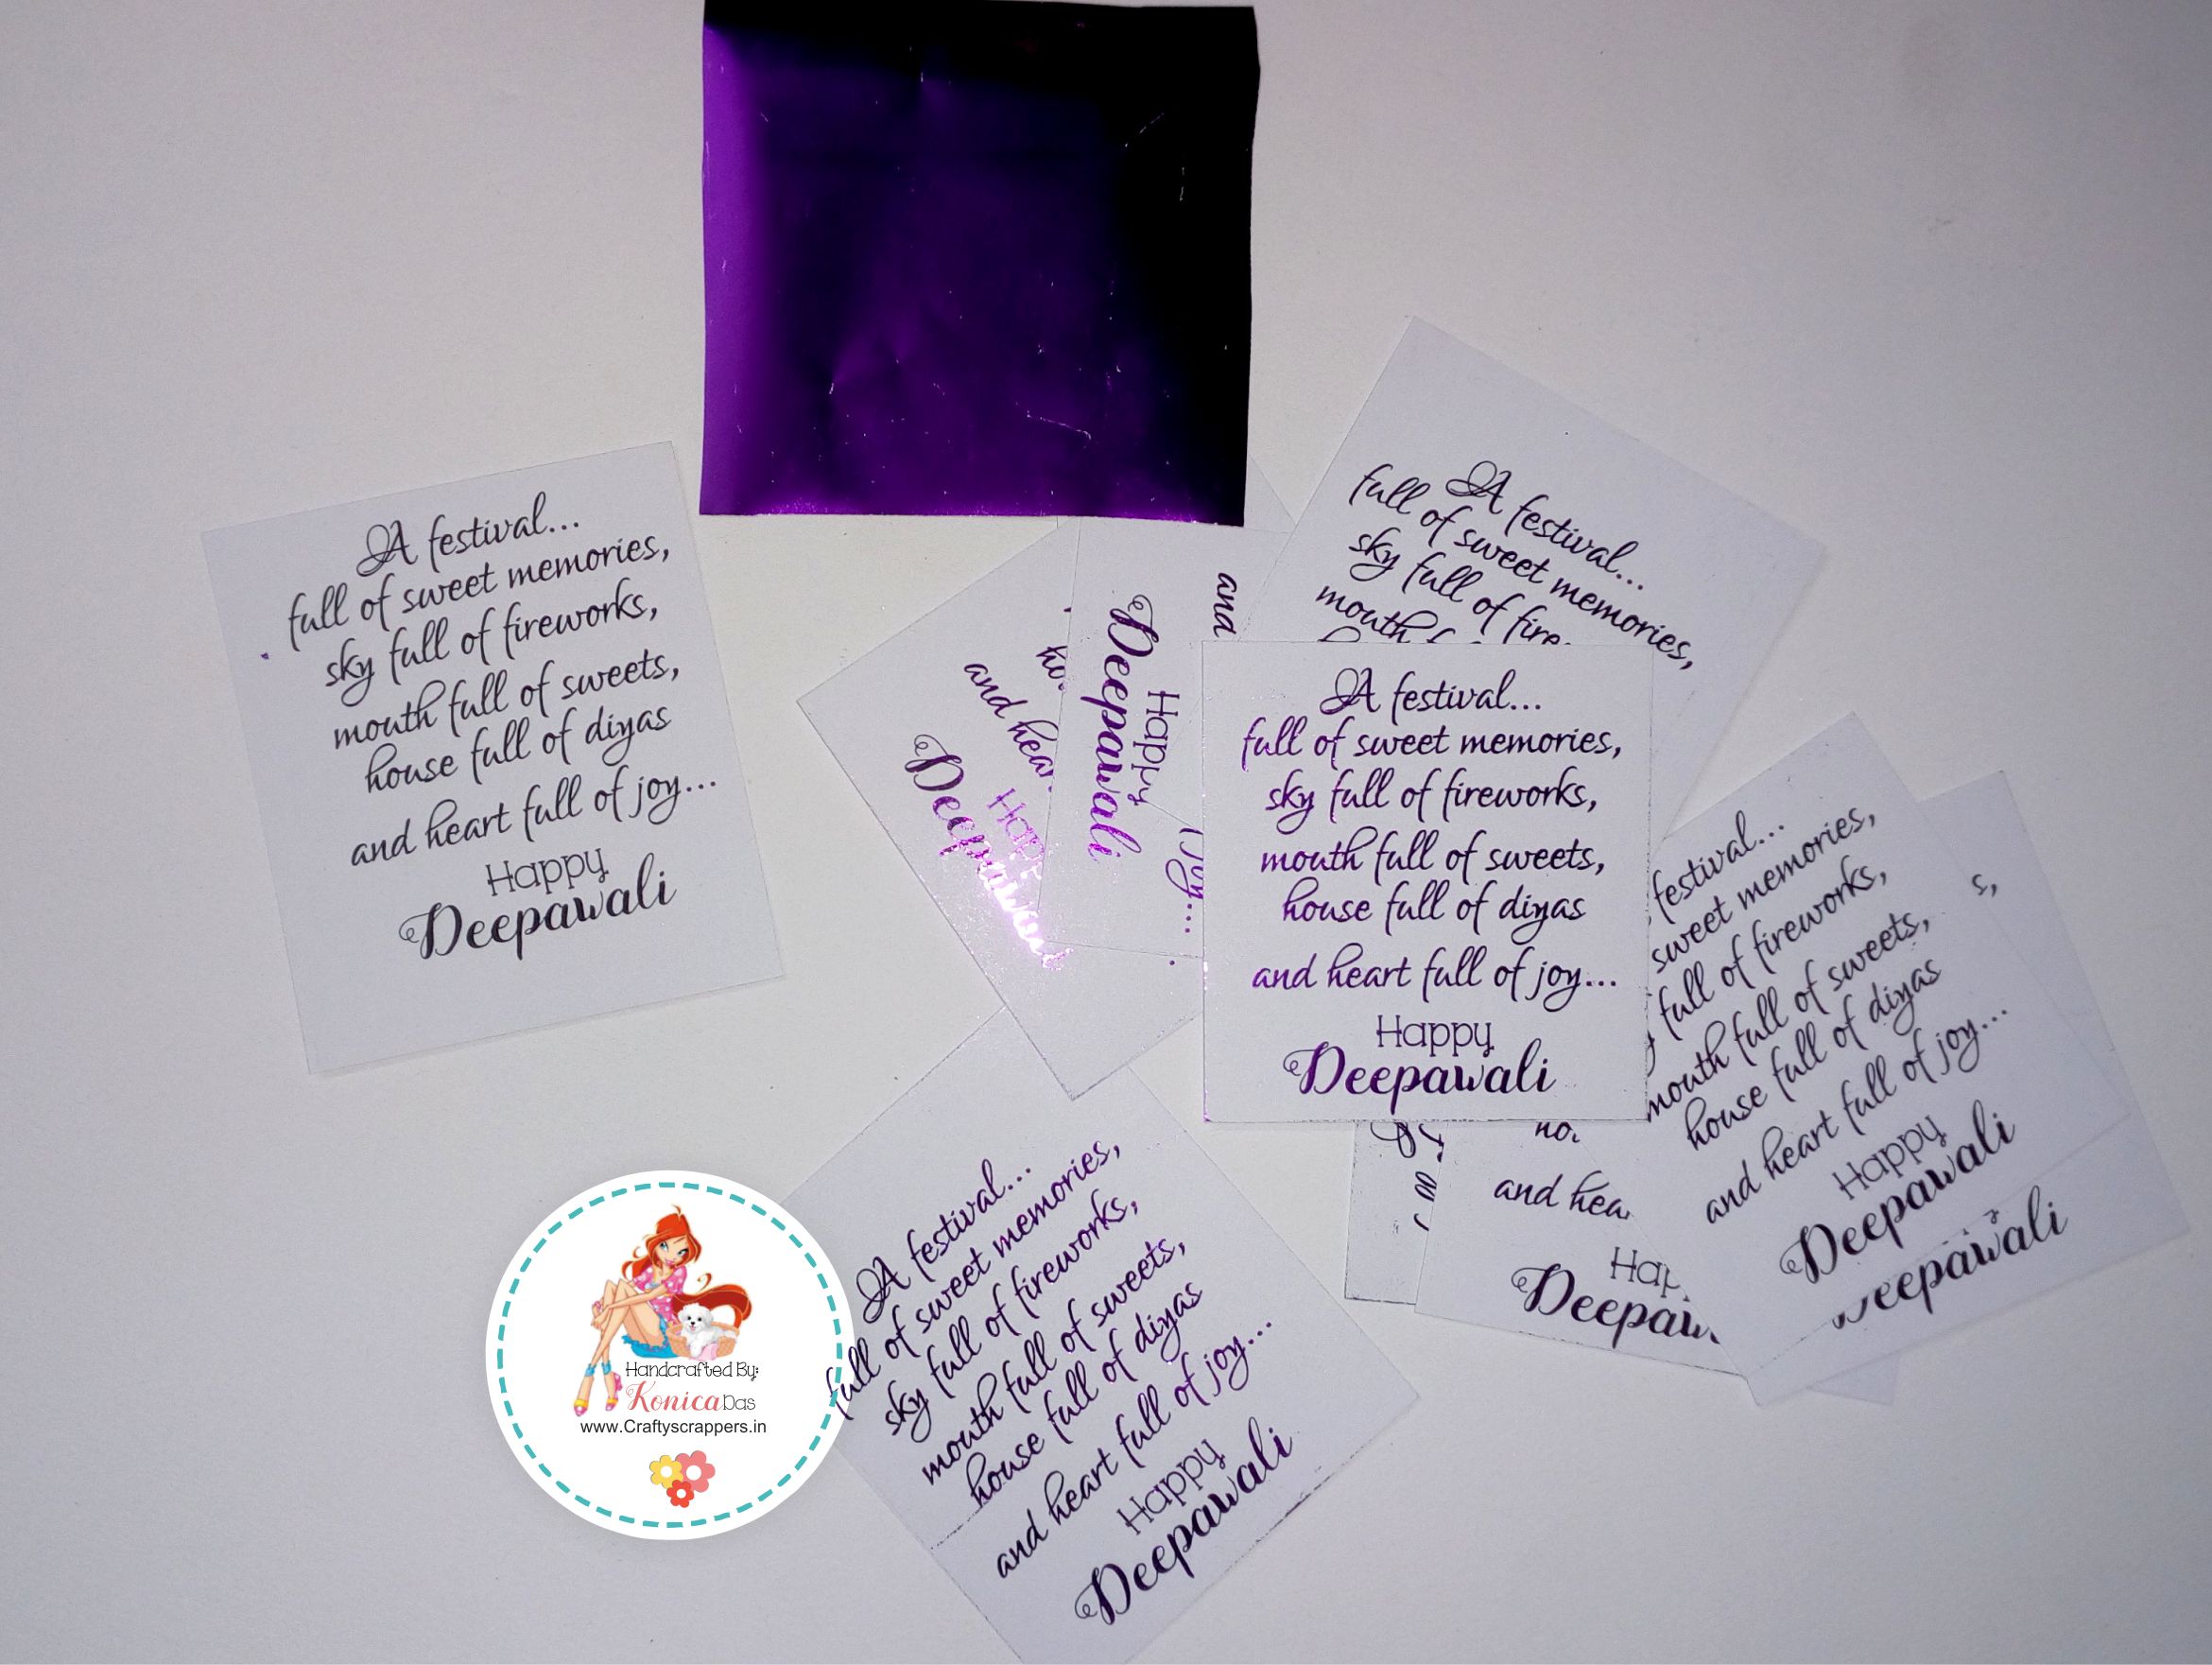

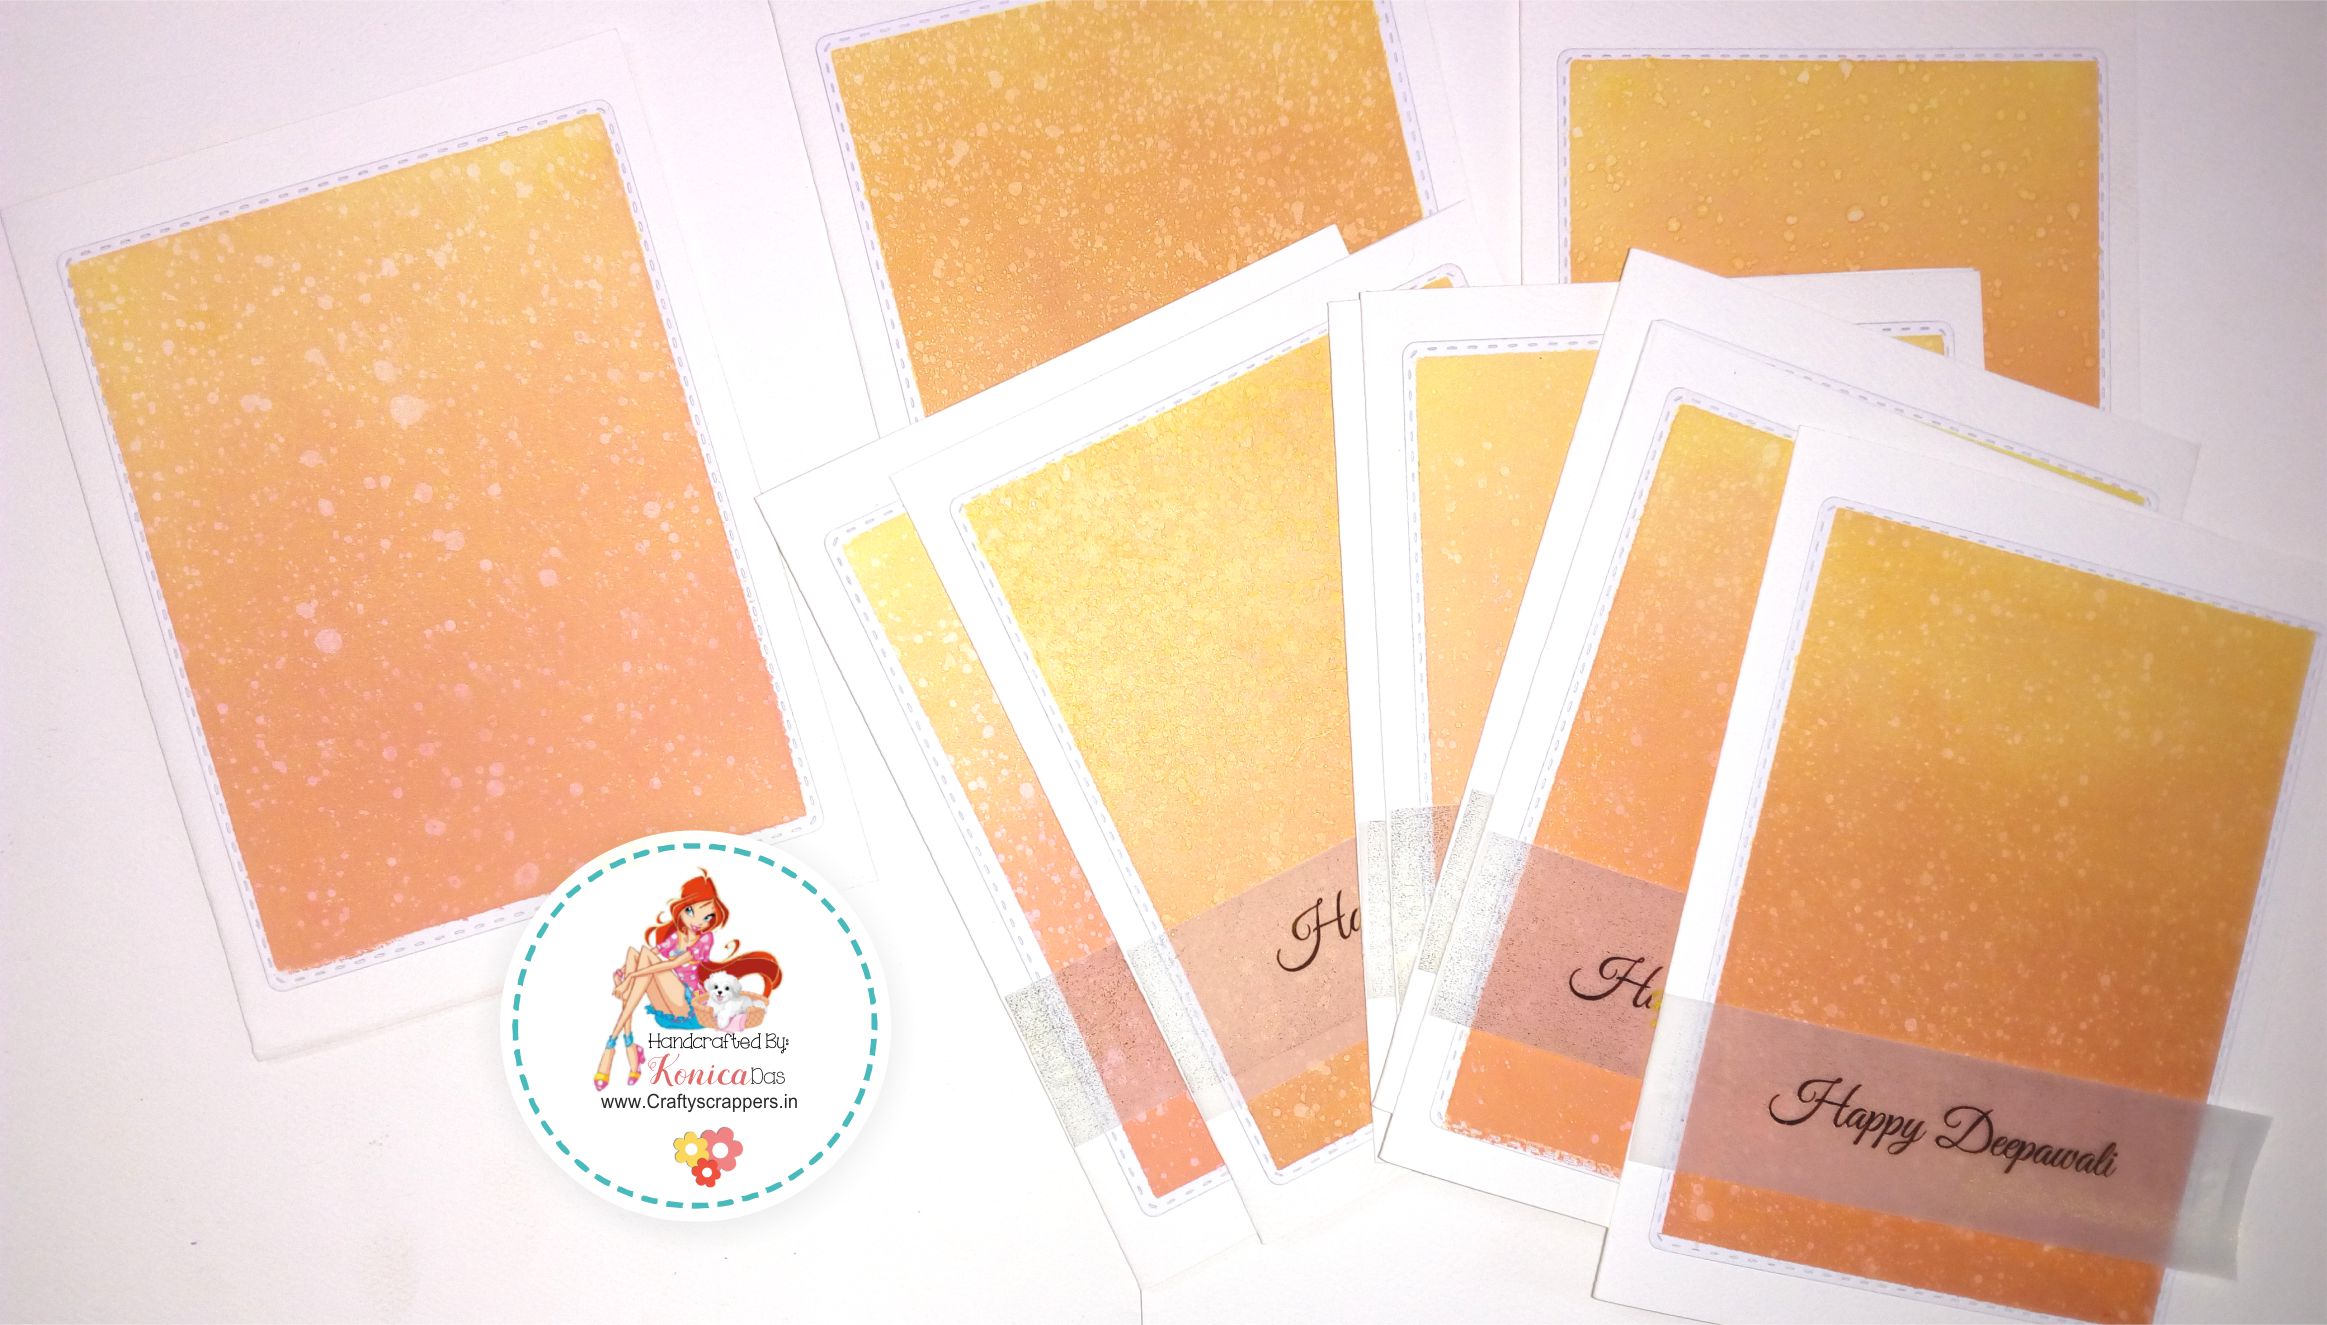
I also foiled some Diwali wishes for the front of my card, the same way i did before.
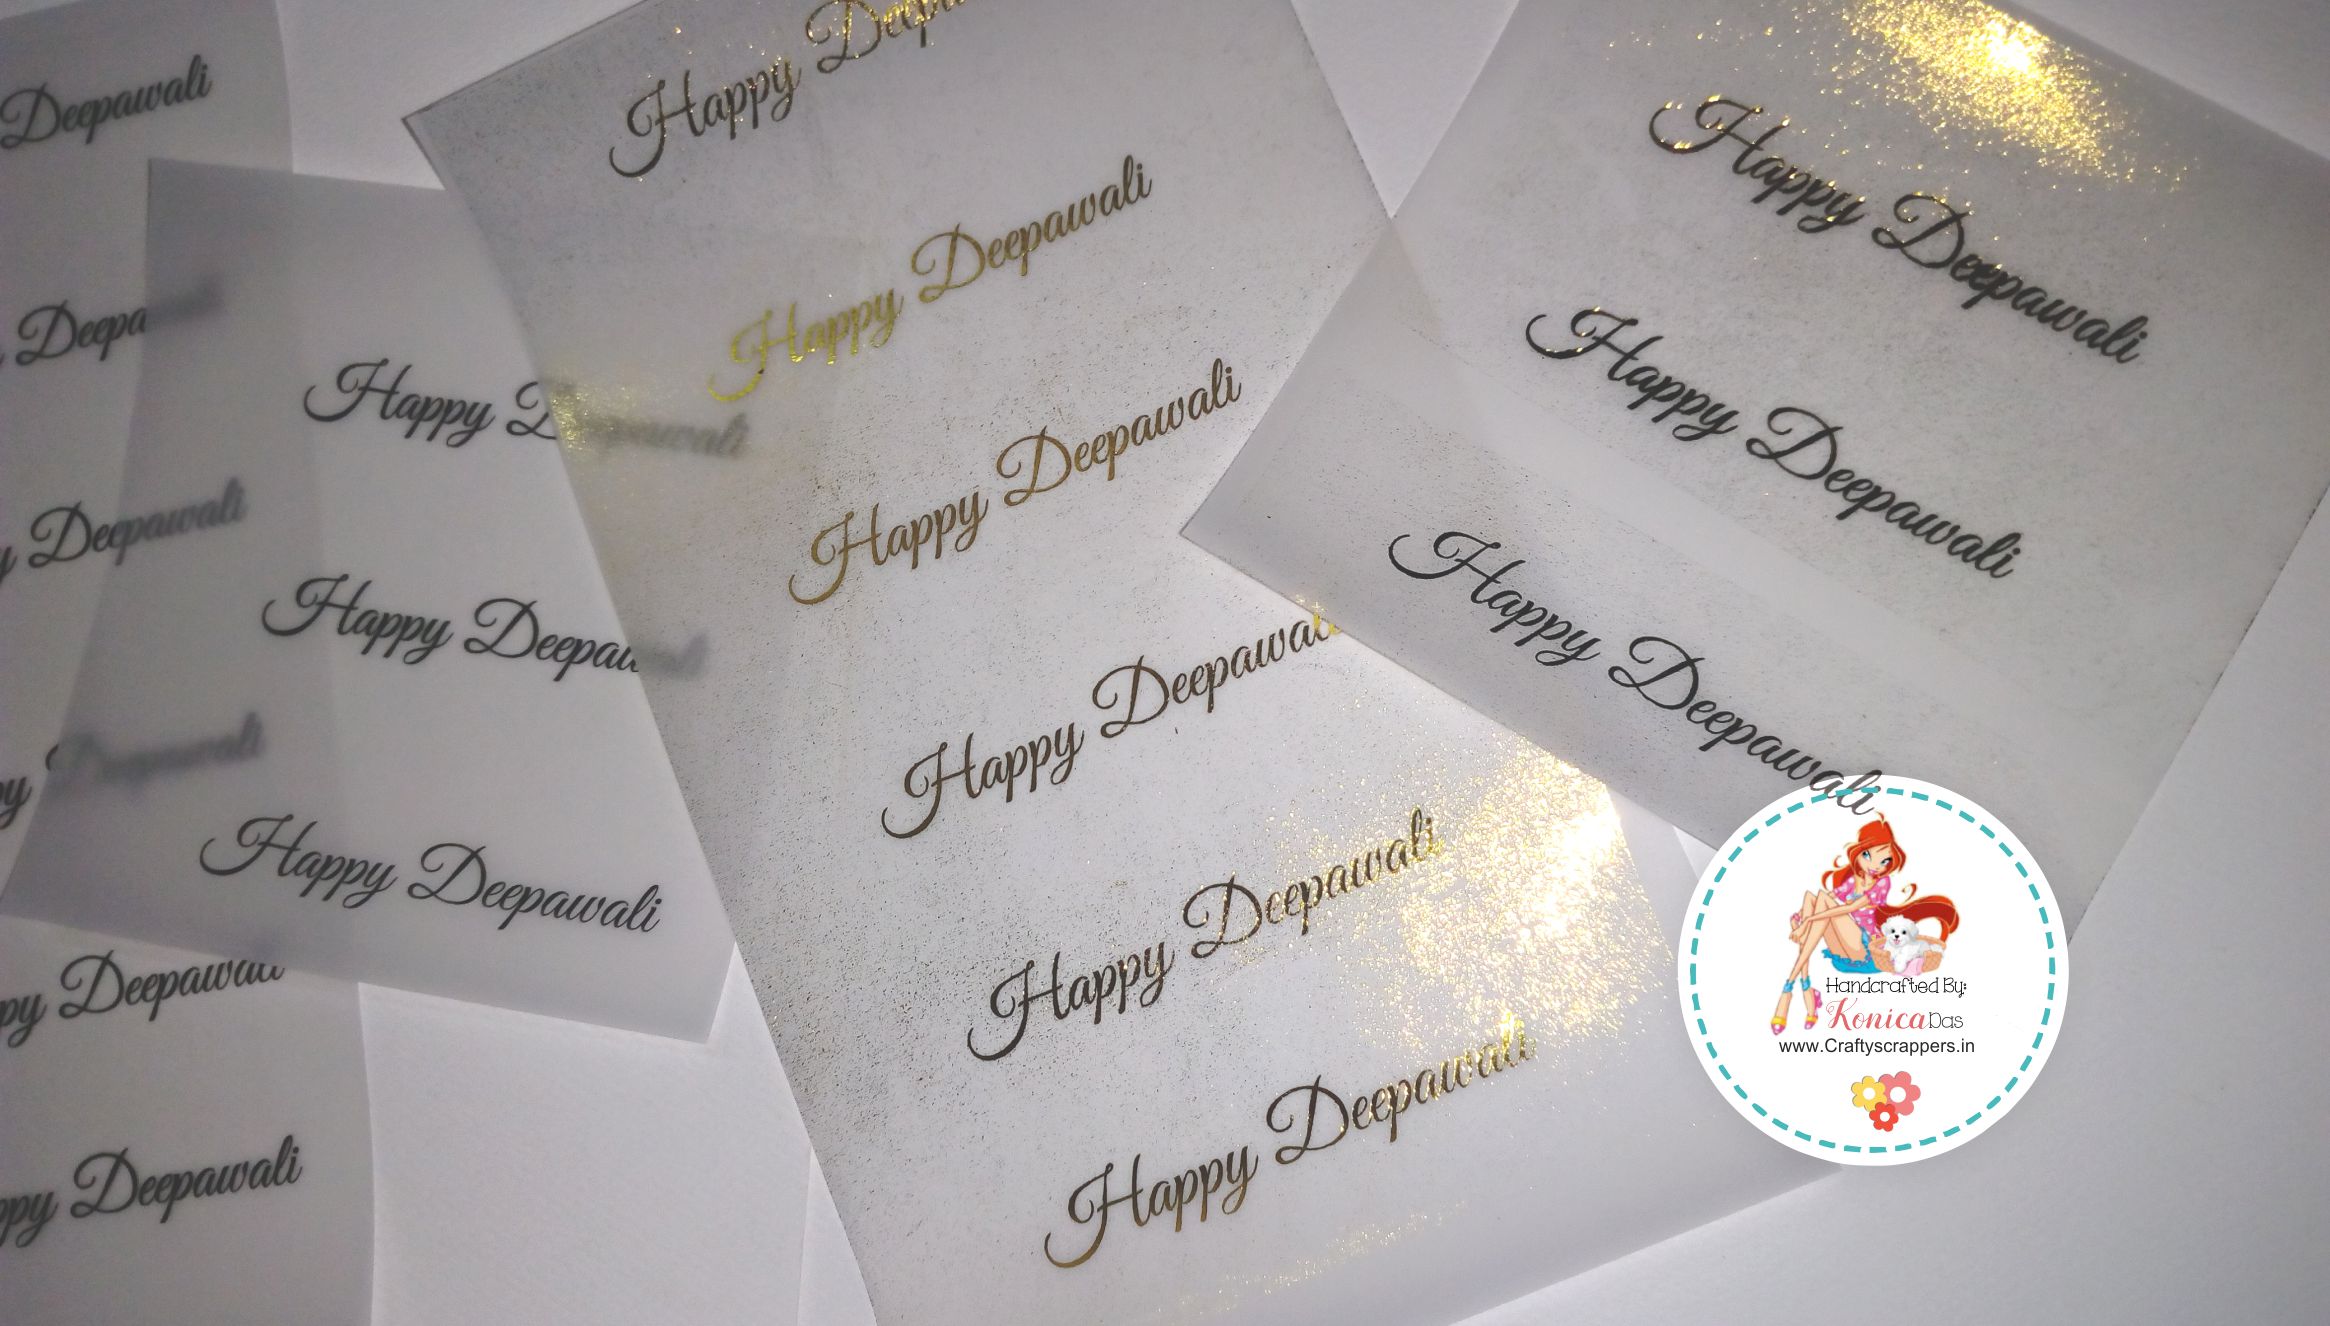
I used Craftyscrappers Vellum sheets for this and used Craftyscrappers Fun-foils-Blushing salmon for this.
I used Craftyscrappers Vellum sheets and stamped the diwali sentiment and foiled them.
This is how they look, once foils applied:

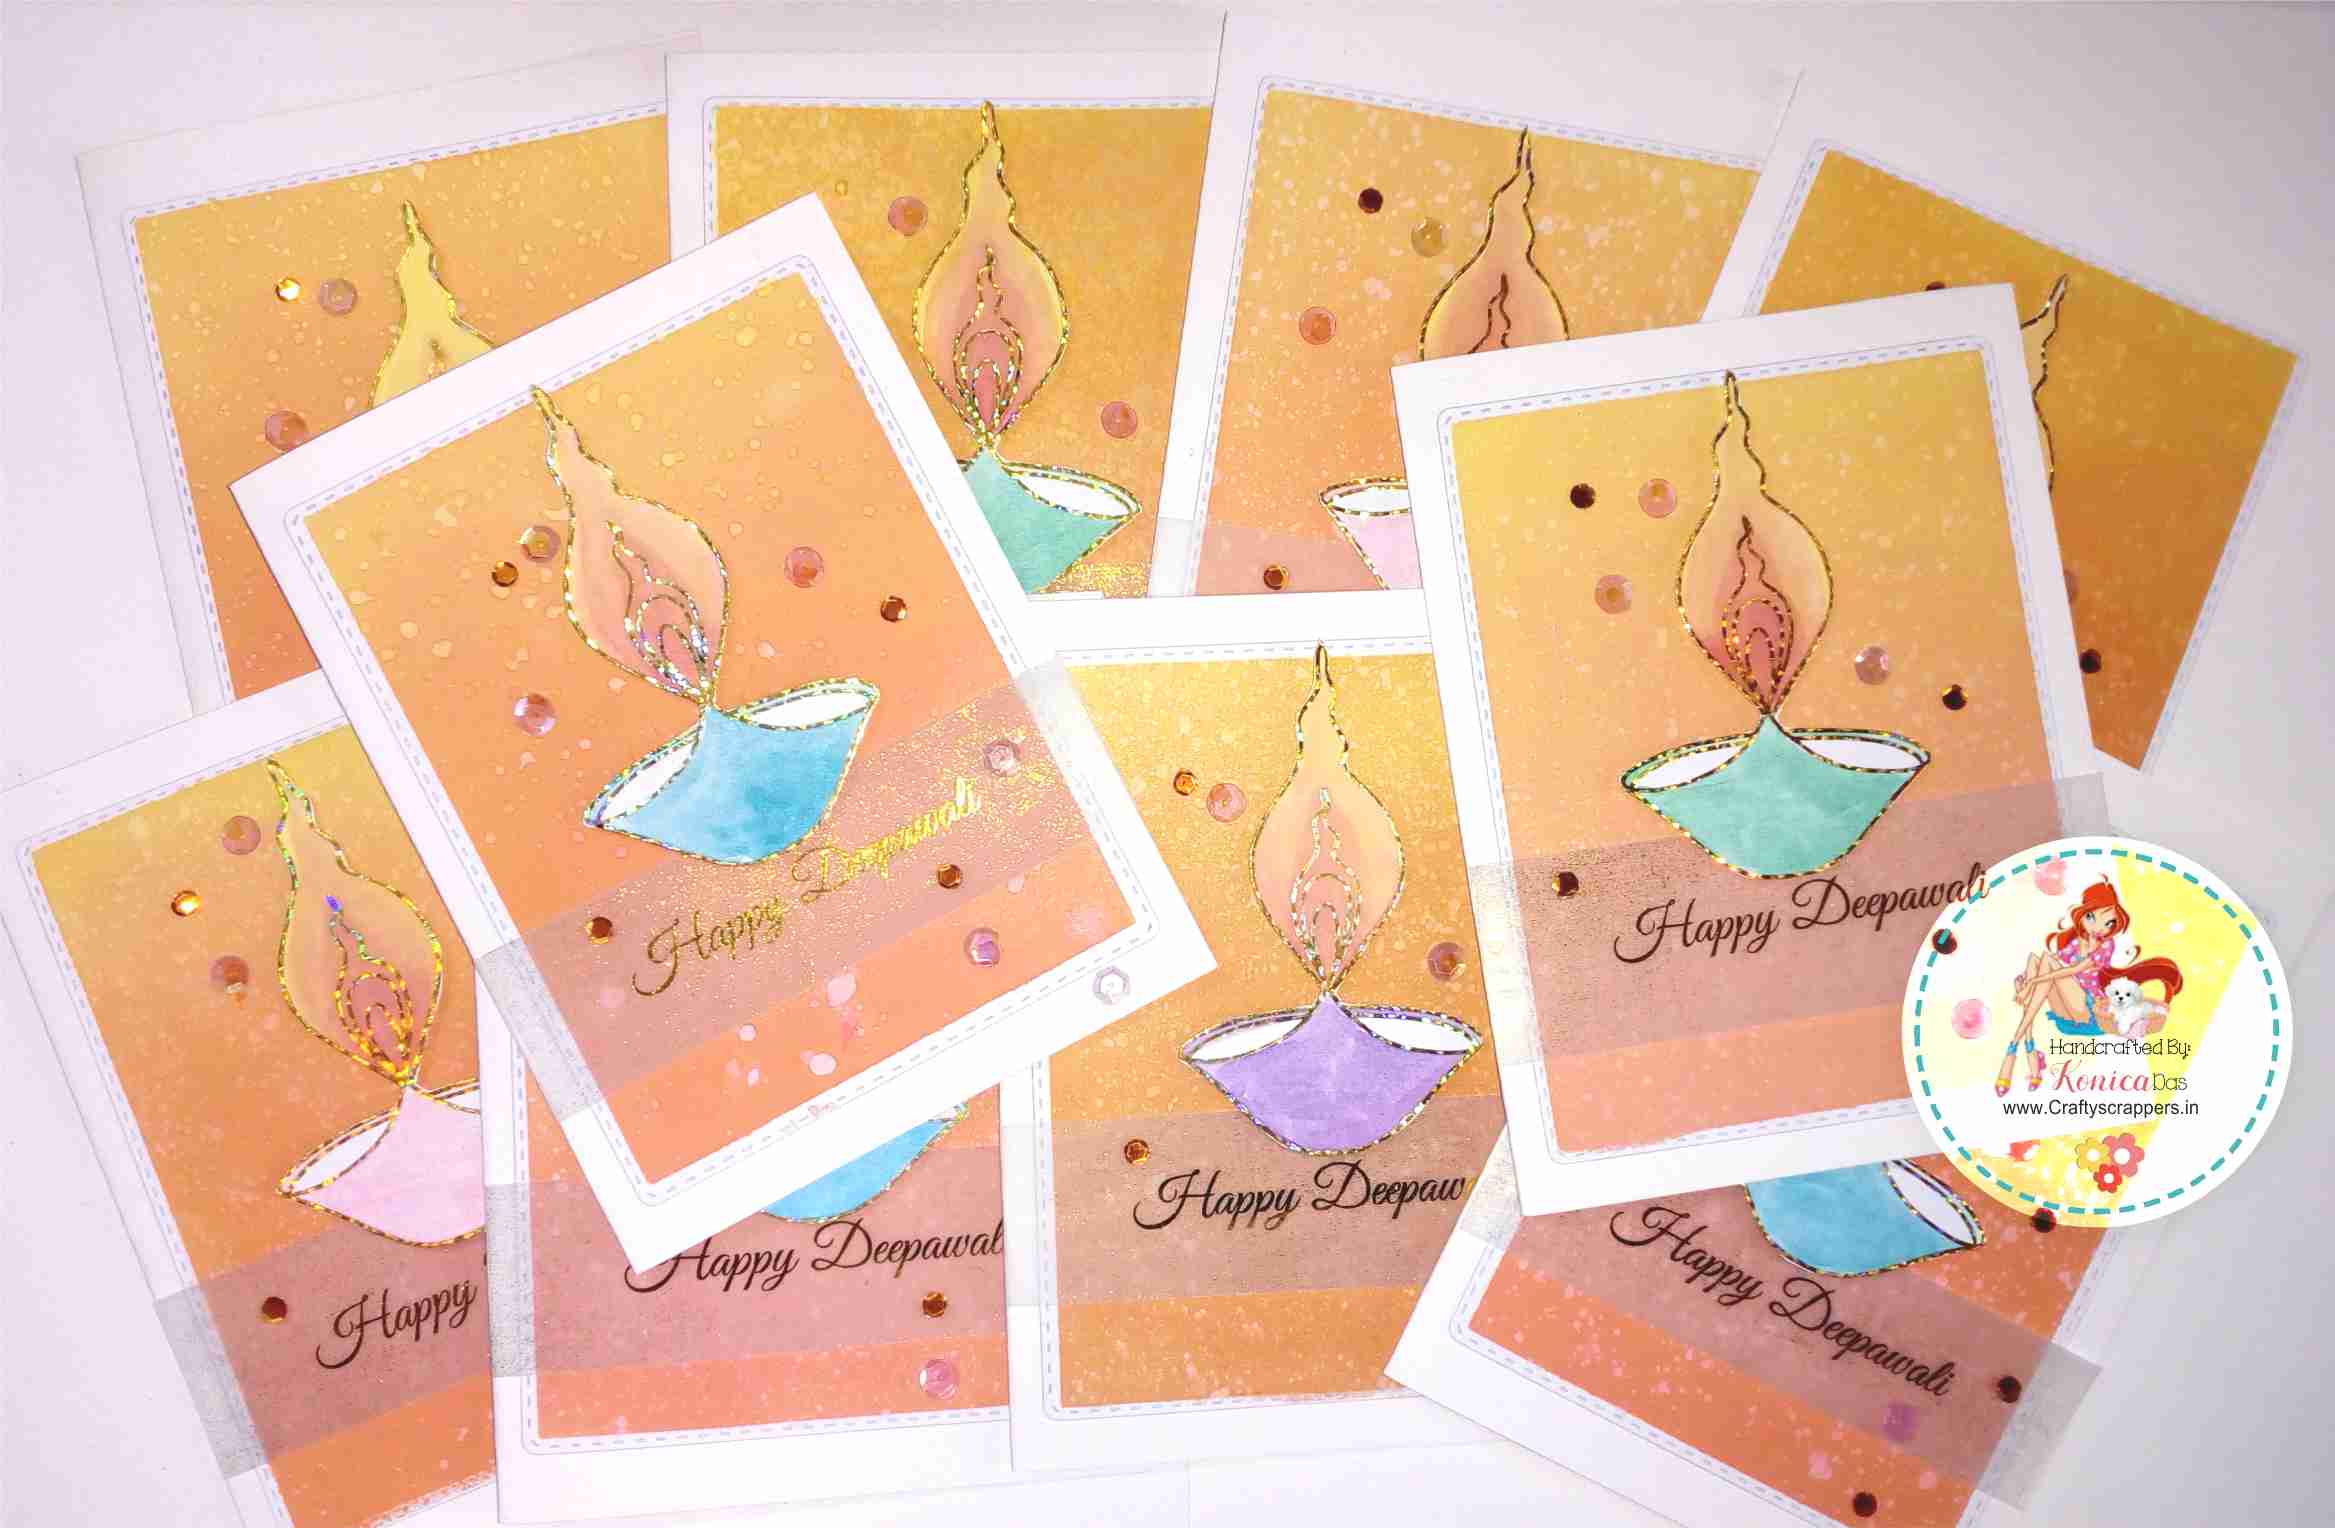
Next, i started assembling everything to create my Diwali cards.
First i adhered the distressed background to an A2 Card size.

Then added the foiled and colored diyas and front sentiment on top of it using some double sided dimensional tape.
and lastly added the foiled sentiment on the front and the diwali wishes on the inside of the cards.
I wanted to keep the card simple so embellished them using some coordinating shaker elements from Madrasbazaar.
And thus finished with the Diwali cards.

I hope you like my handmade diwali cards and that they inspired you for our ongoing challenge, “sparkle it up!”
Do Join our ongoing challenge, and submit your best Creations to us to win our Goodie bag!
Here’s the Reveal of the Goodie Bag that the winner will receive:
Do read the challenge rules at the beginning of the post, the link will take you straight to the challenge post, where you can enter via Mr.linky.
So thats all for today!
Wishing you all good luck for the challenge!
We will soon come up with some more creative tutorials to share with you all, so keep checking this space!
Thank you for stopping by.
Happy Crafting!