
Hello everyone,
This is Priyanka here on the blog today and I am super excited
to share my first DT post for Craftyscrappers!
to share my first DT post for Craftyscrappers!
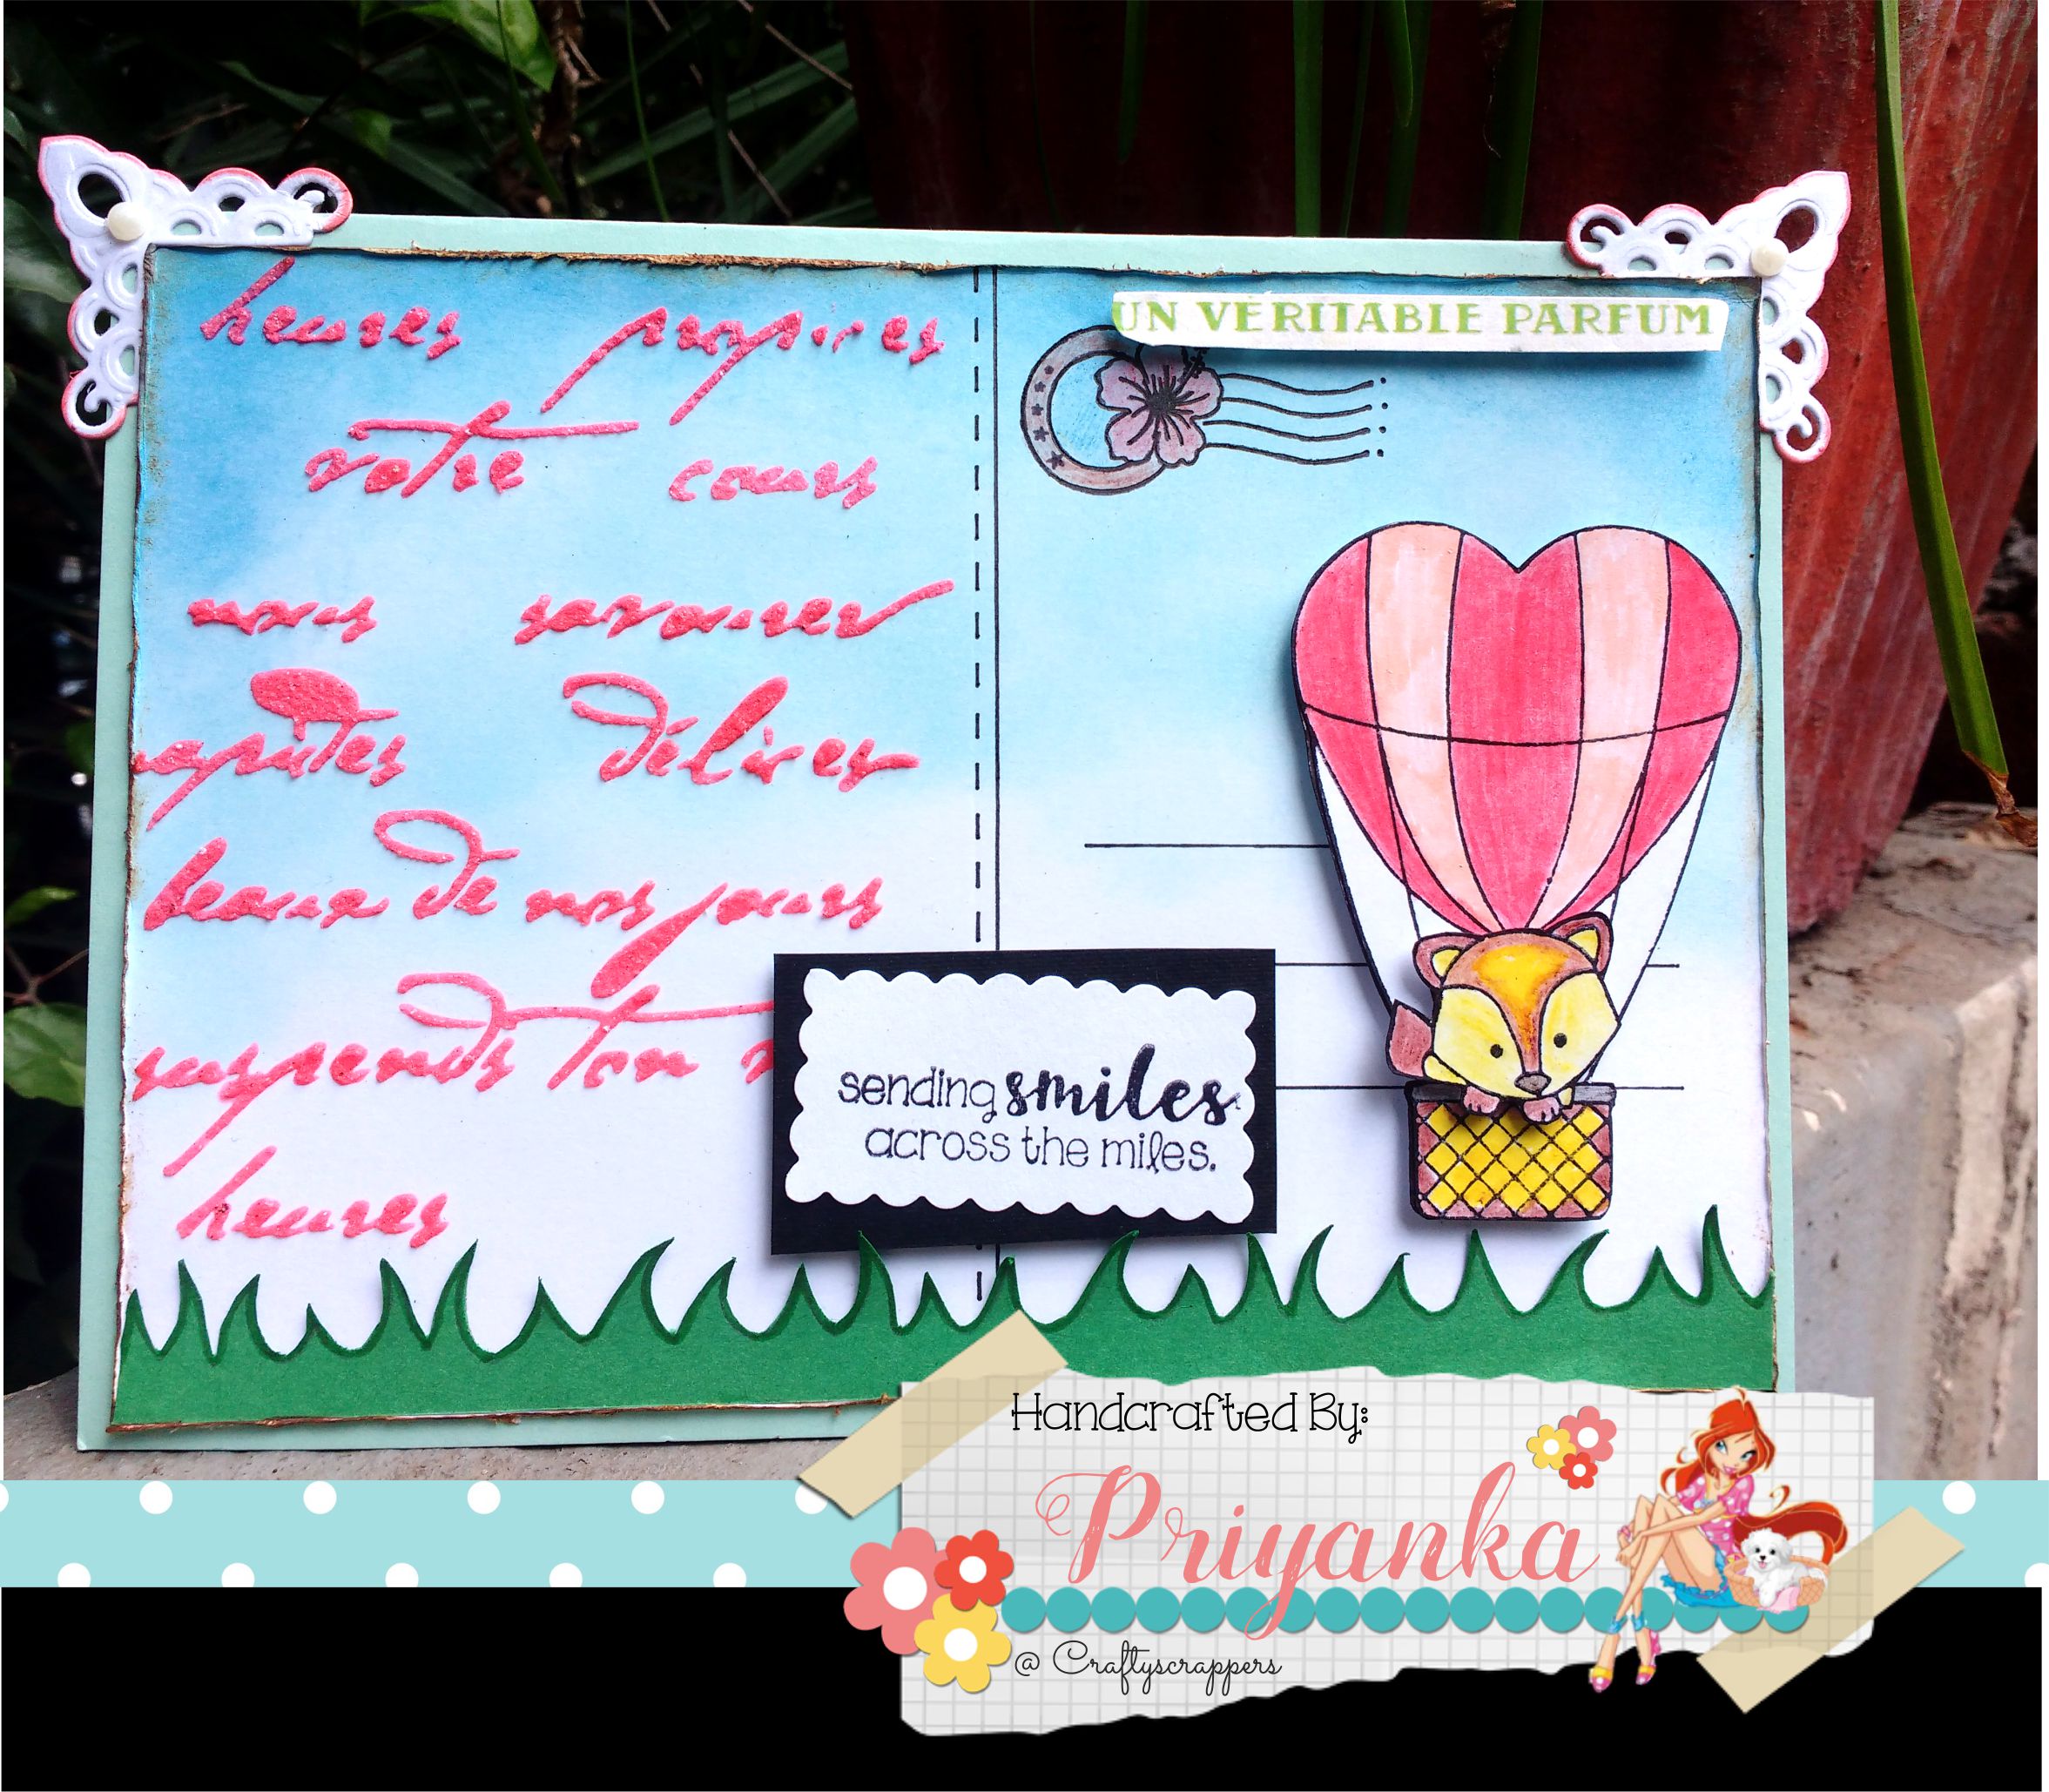
It’s a card made in design of a postcard, I have used Craftyscrappers cute stamp set, “U LIFT ME UP” and a very special product from the store so roll over to find out what is it…

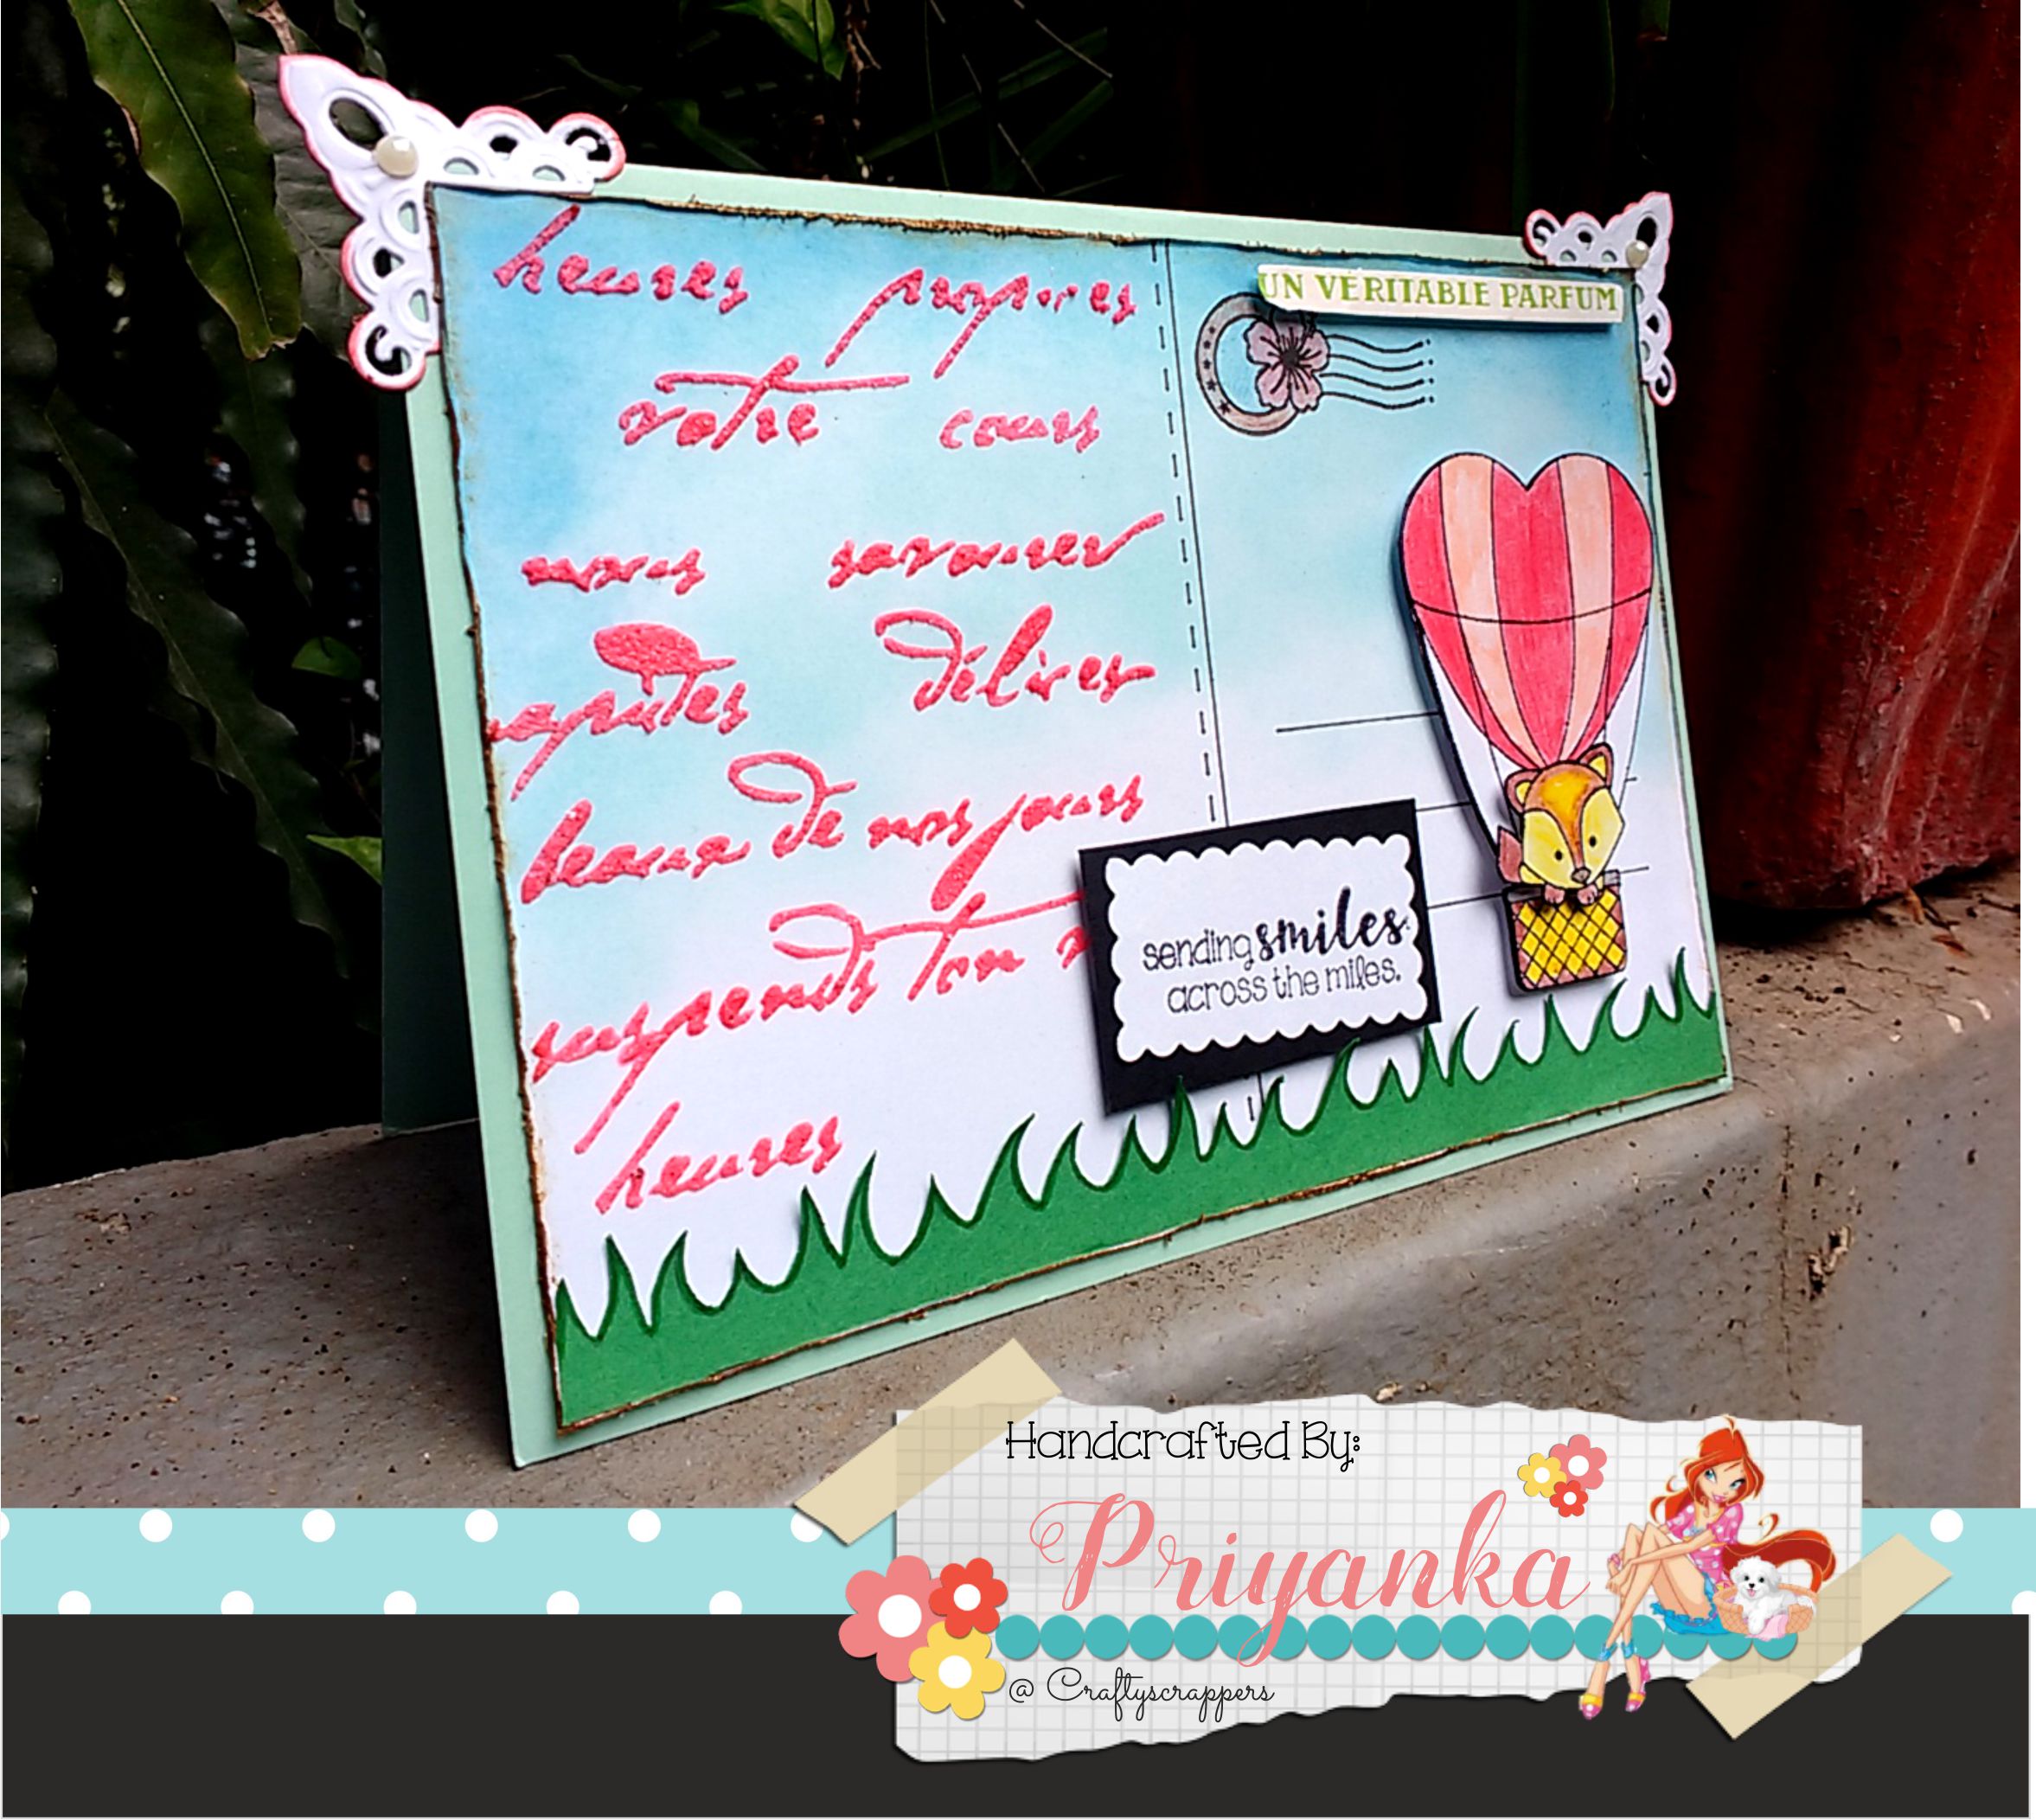
Here’s how the complete Postcard looks:
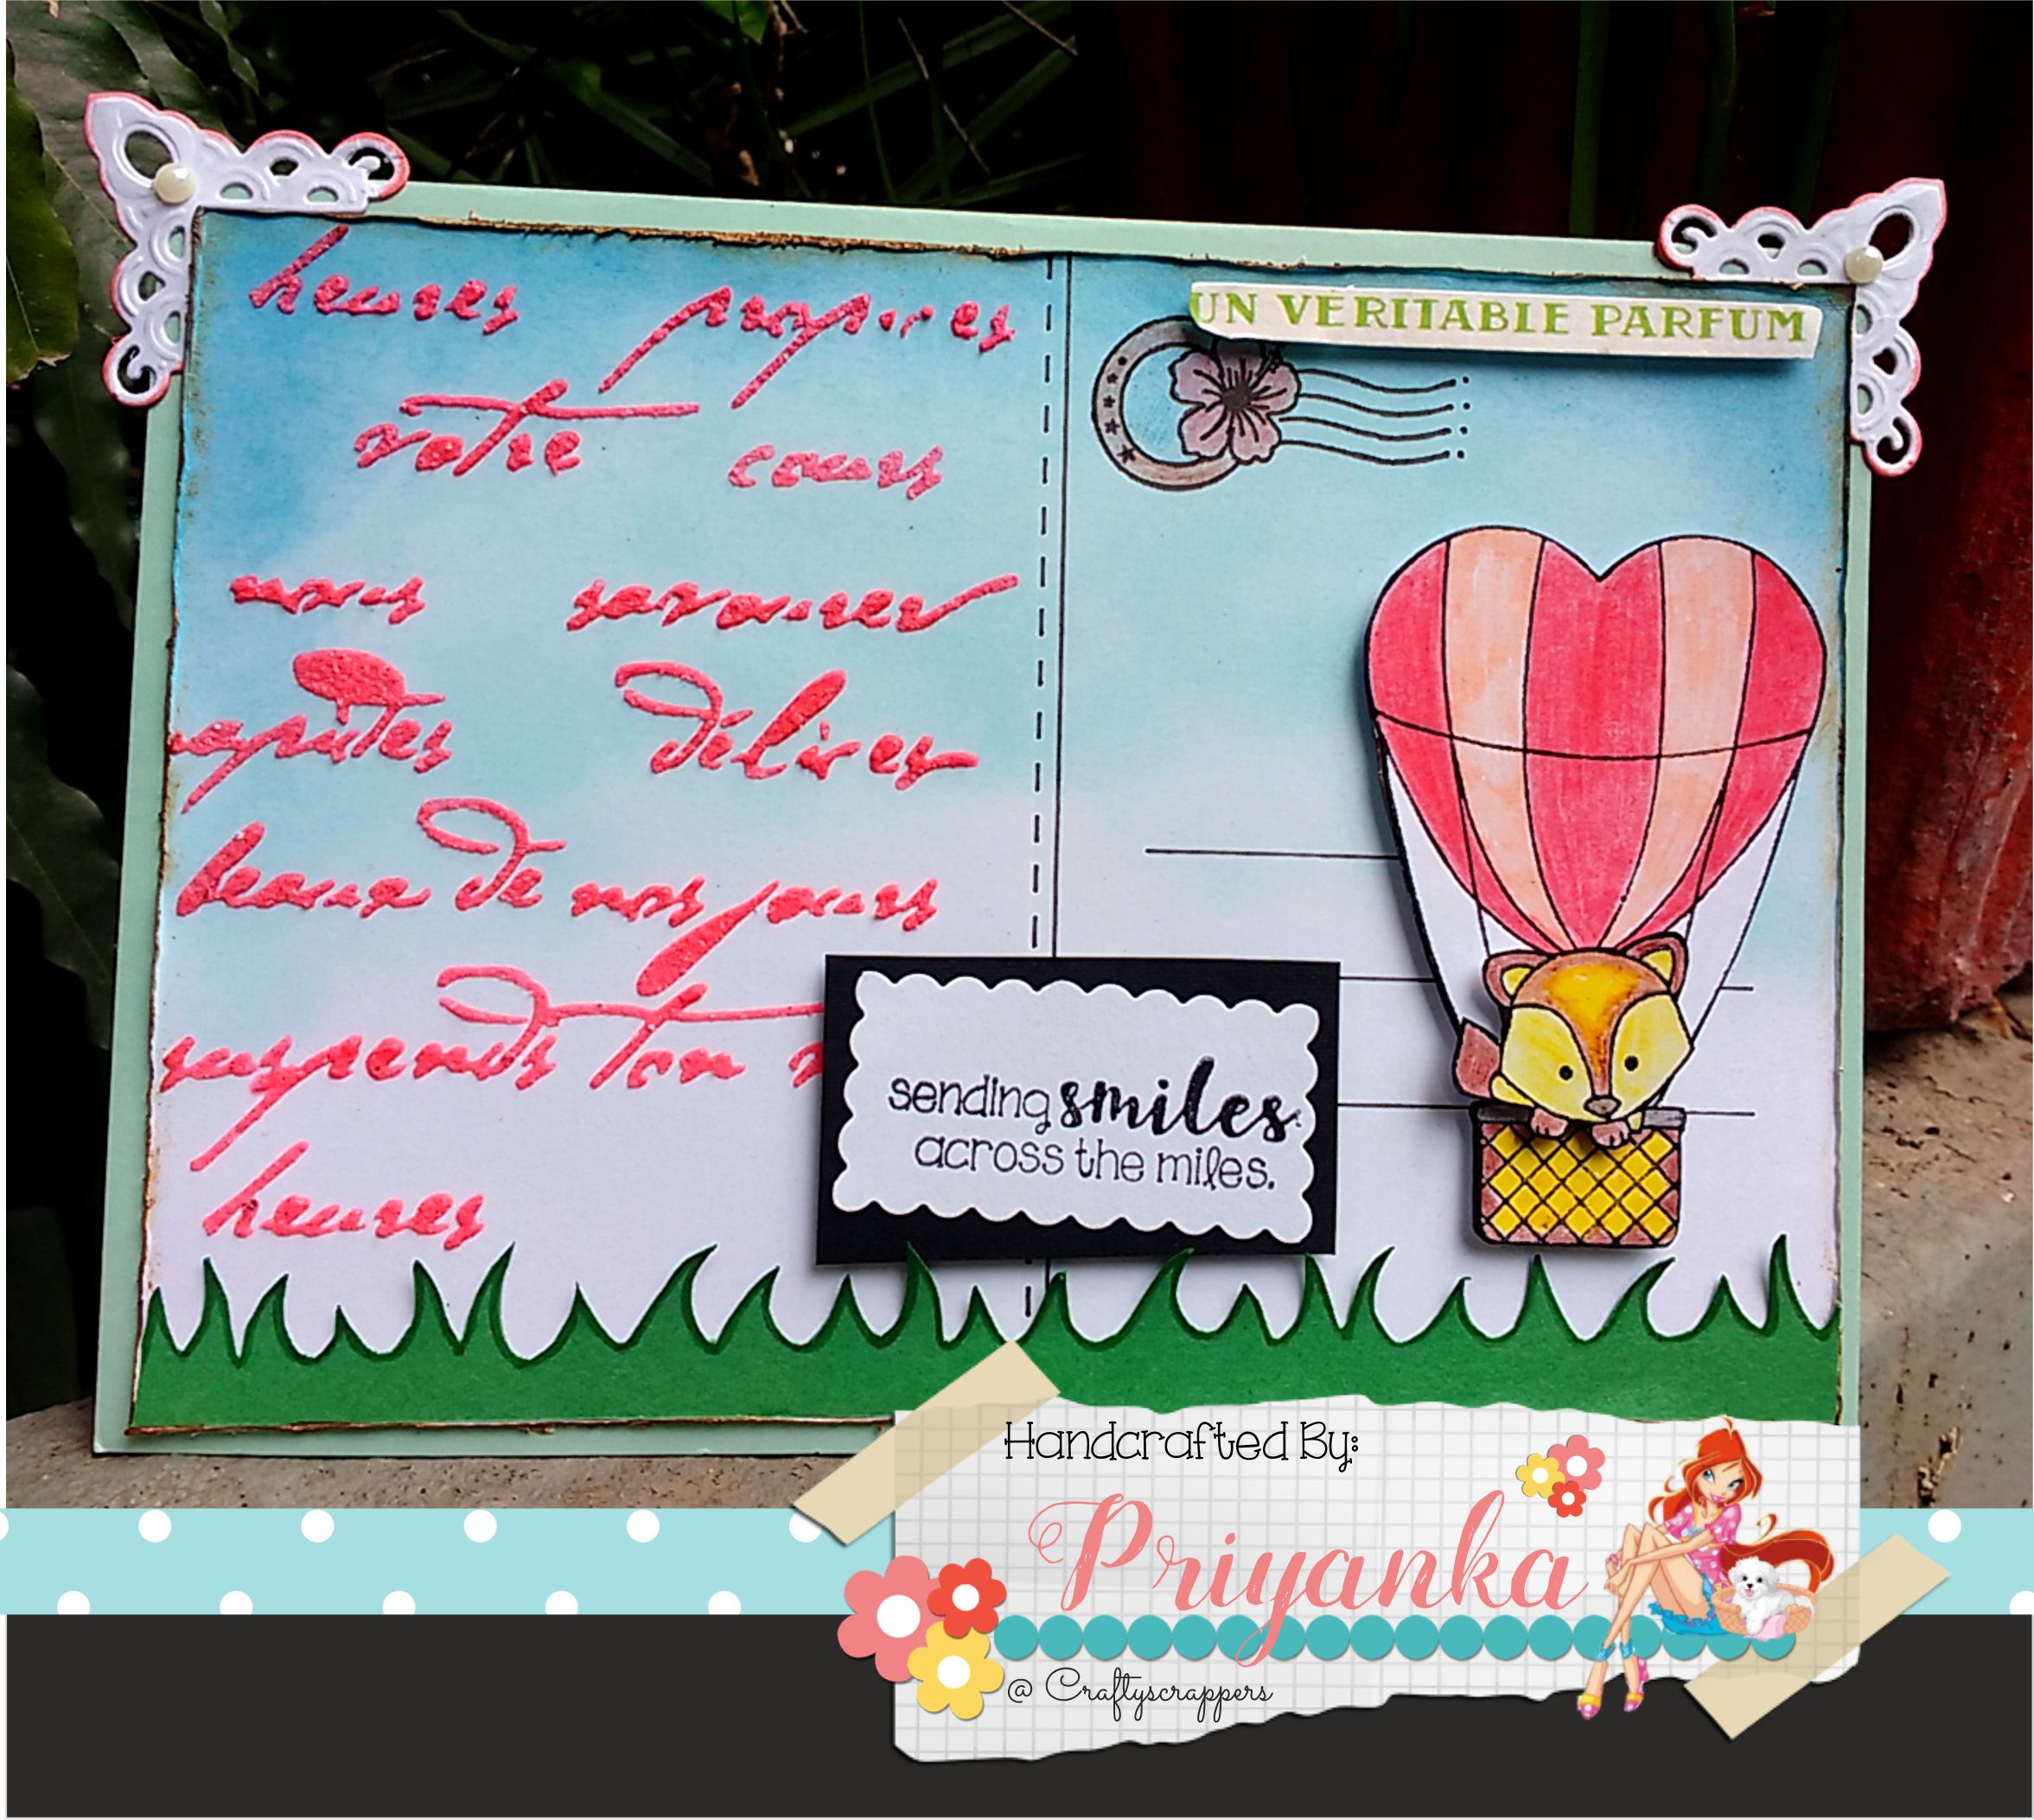
Did you noticed the special product??
Well… It’s the newly launched shimmer paste, you can even use it to make simple cards. Isn’t it pretty? And look at the finish & crisp image obtained using the gorgeous “FRENCH SCRIPT” stencil from Craftyscrappers.
Let me explain the card making process briefly along with the products that i used to create this…
A BRIEF TUTORIAL:

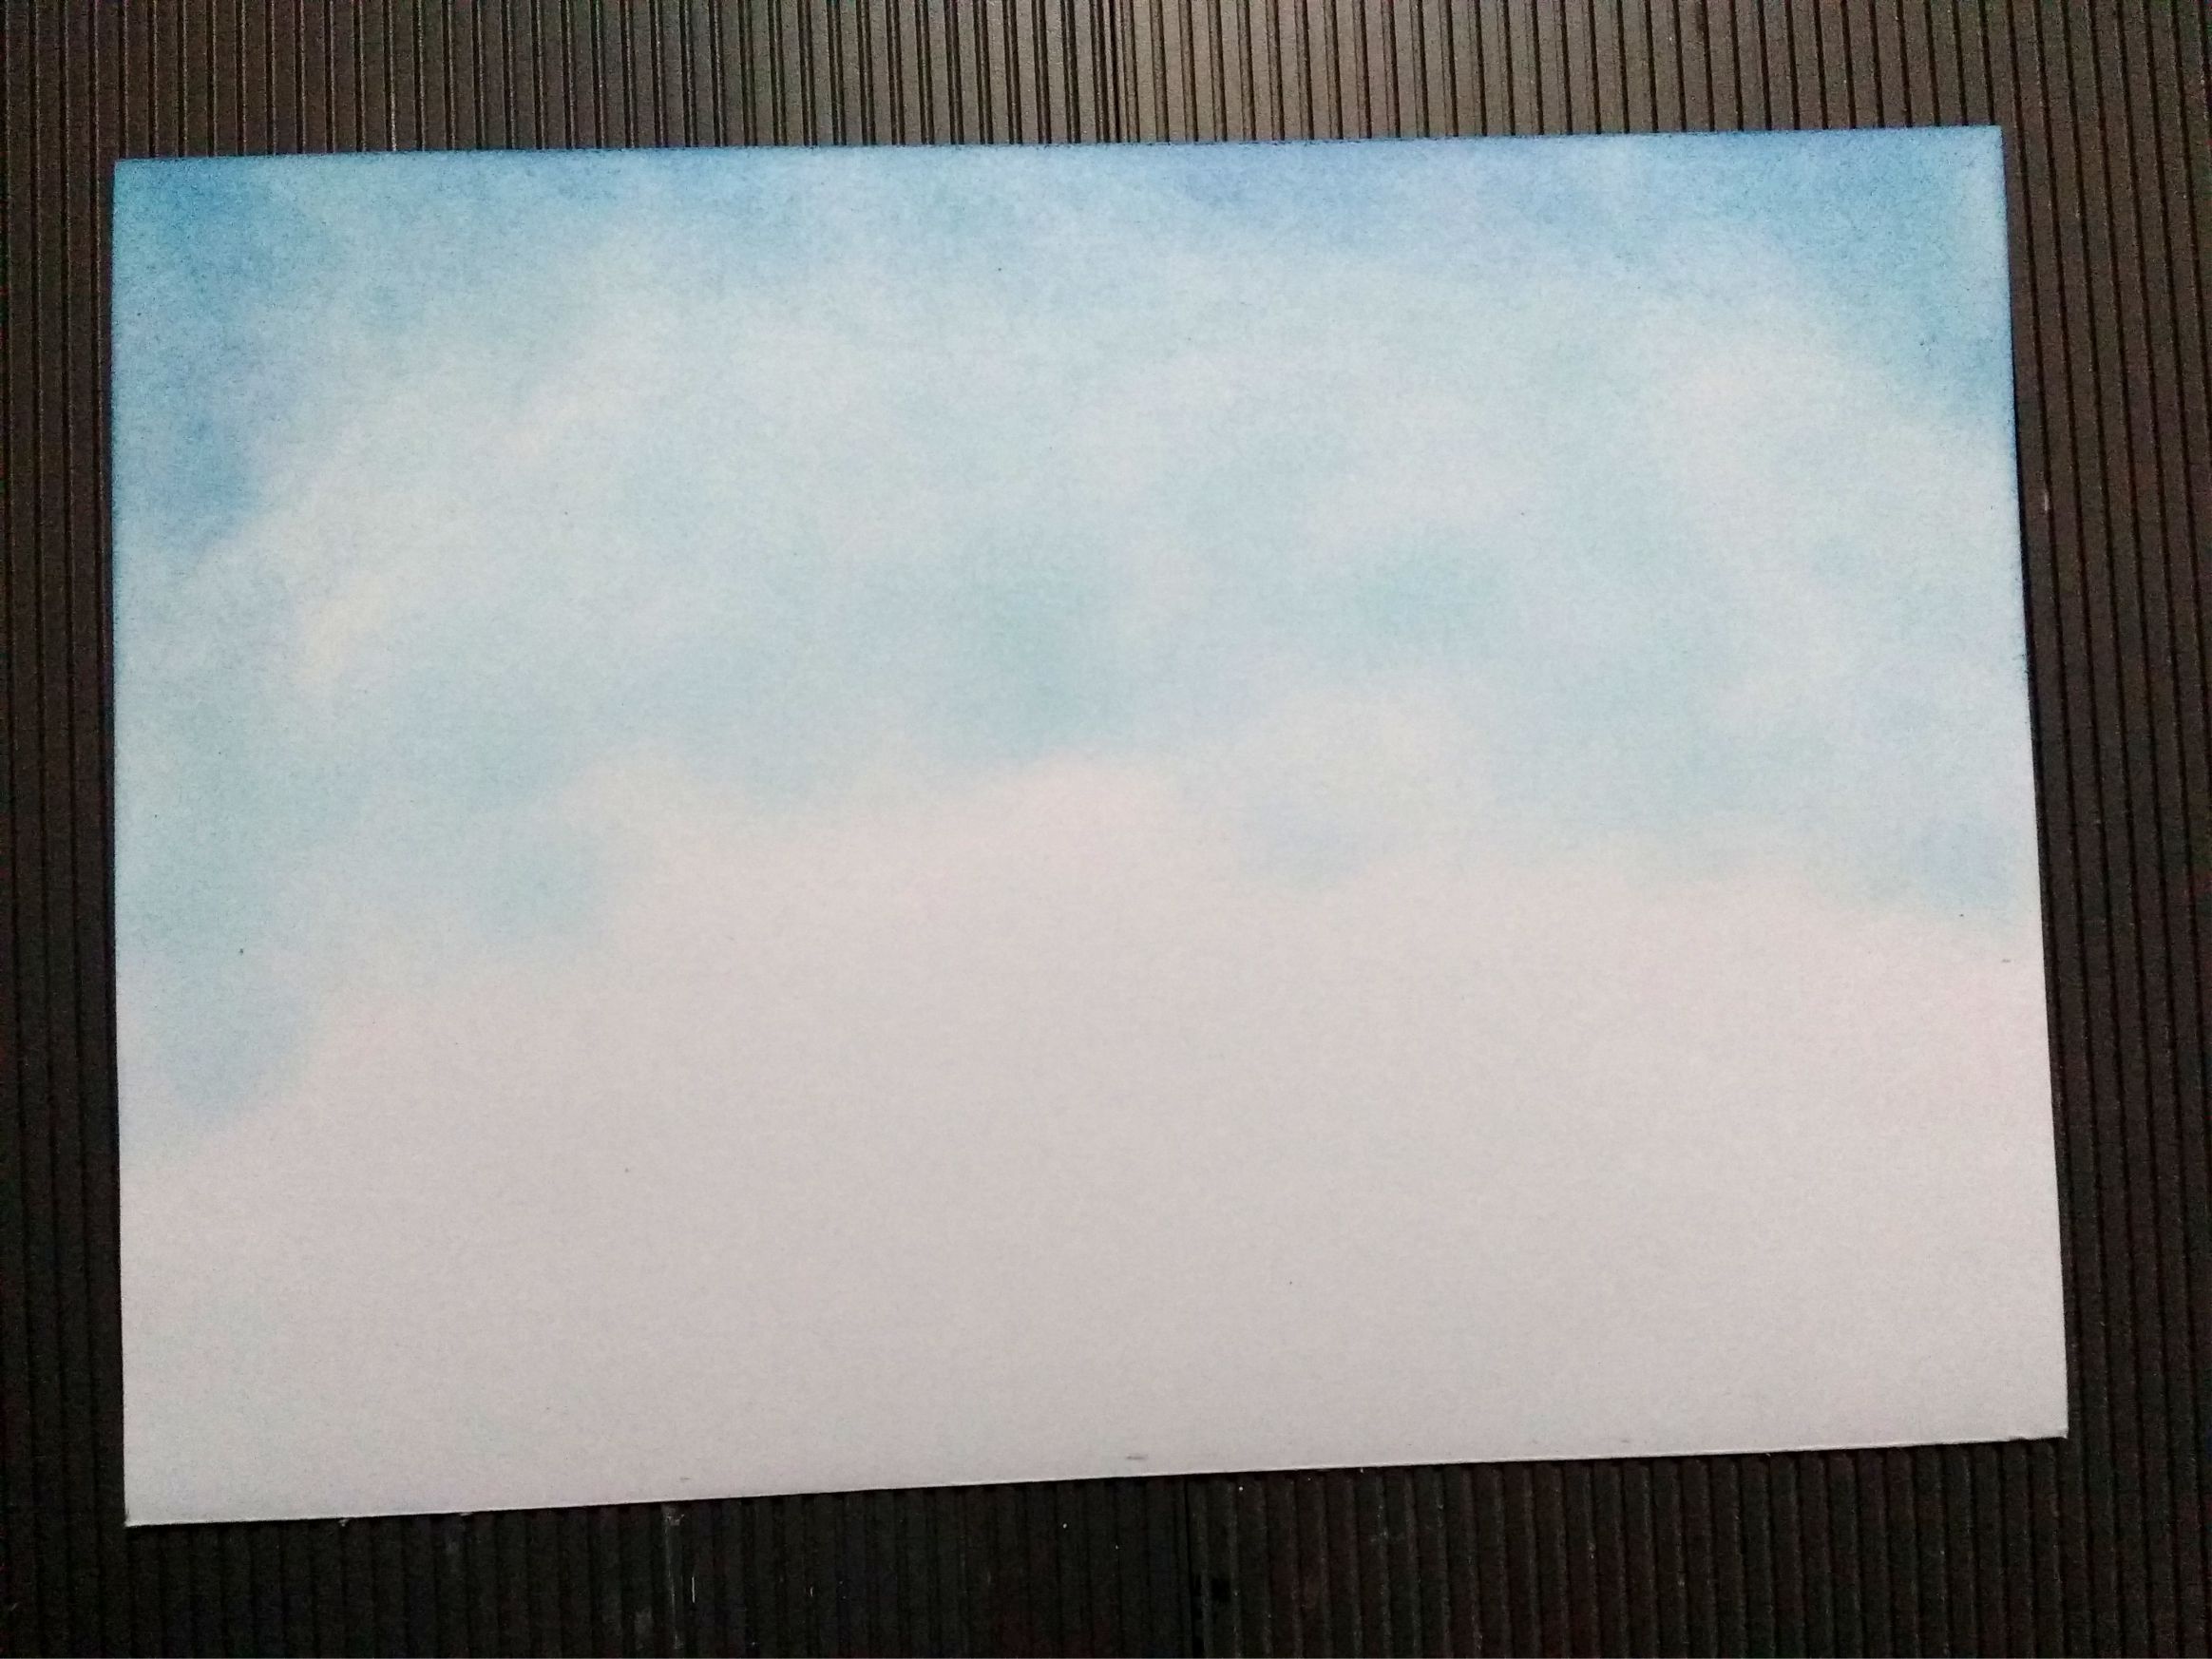
At first I started with a white thick card stock measuring 8 x 5.5 inches.
Inked the top area to create a cloudy effect.
Inked the top area to create a cloudy effect.

Then using black pen and ruler created a line vertically at the center of the page to divide the area into two equal parts.
Using the Shimmer paste “Salmon” and French Script stencil, gently spread the paste using the spatula.
Lift the stencil gently and voila you get this amazing design!
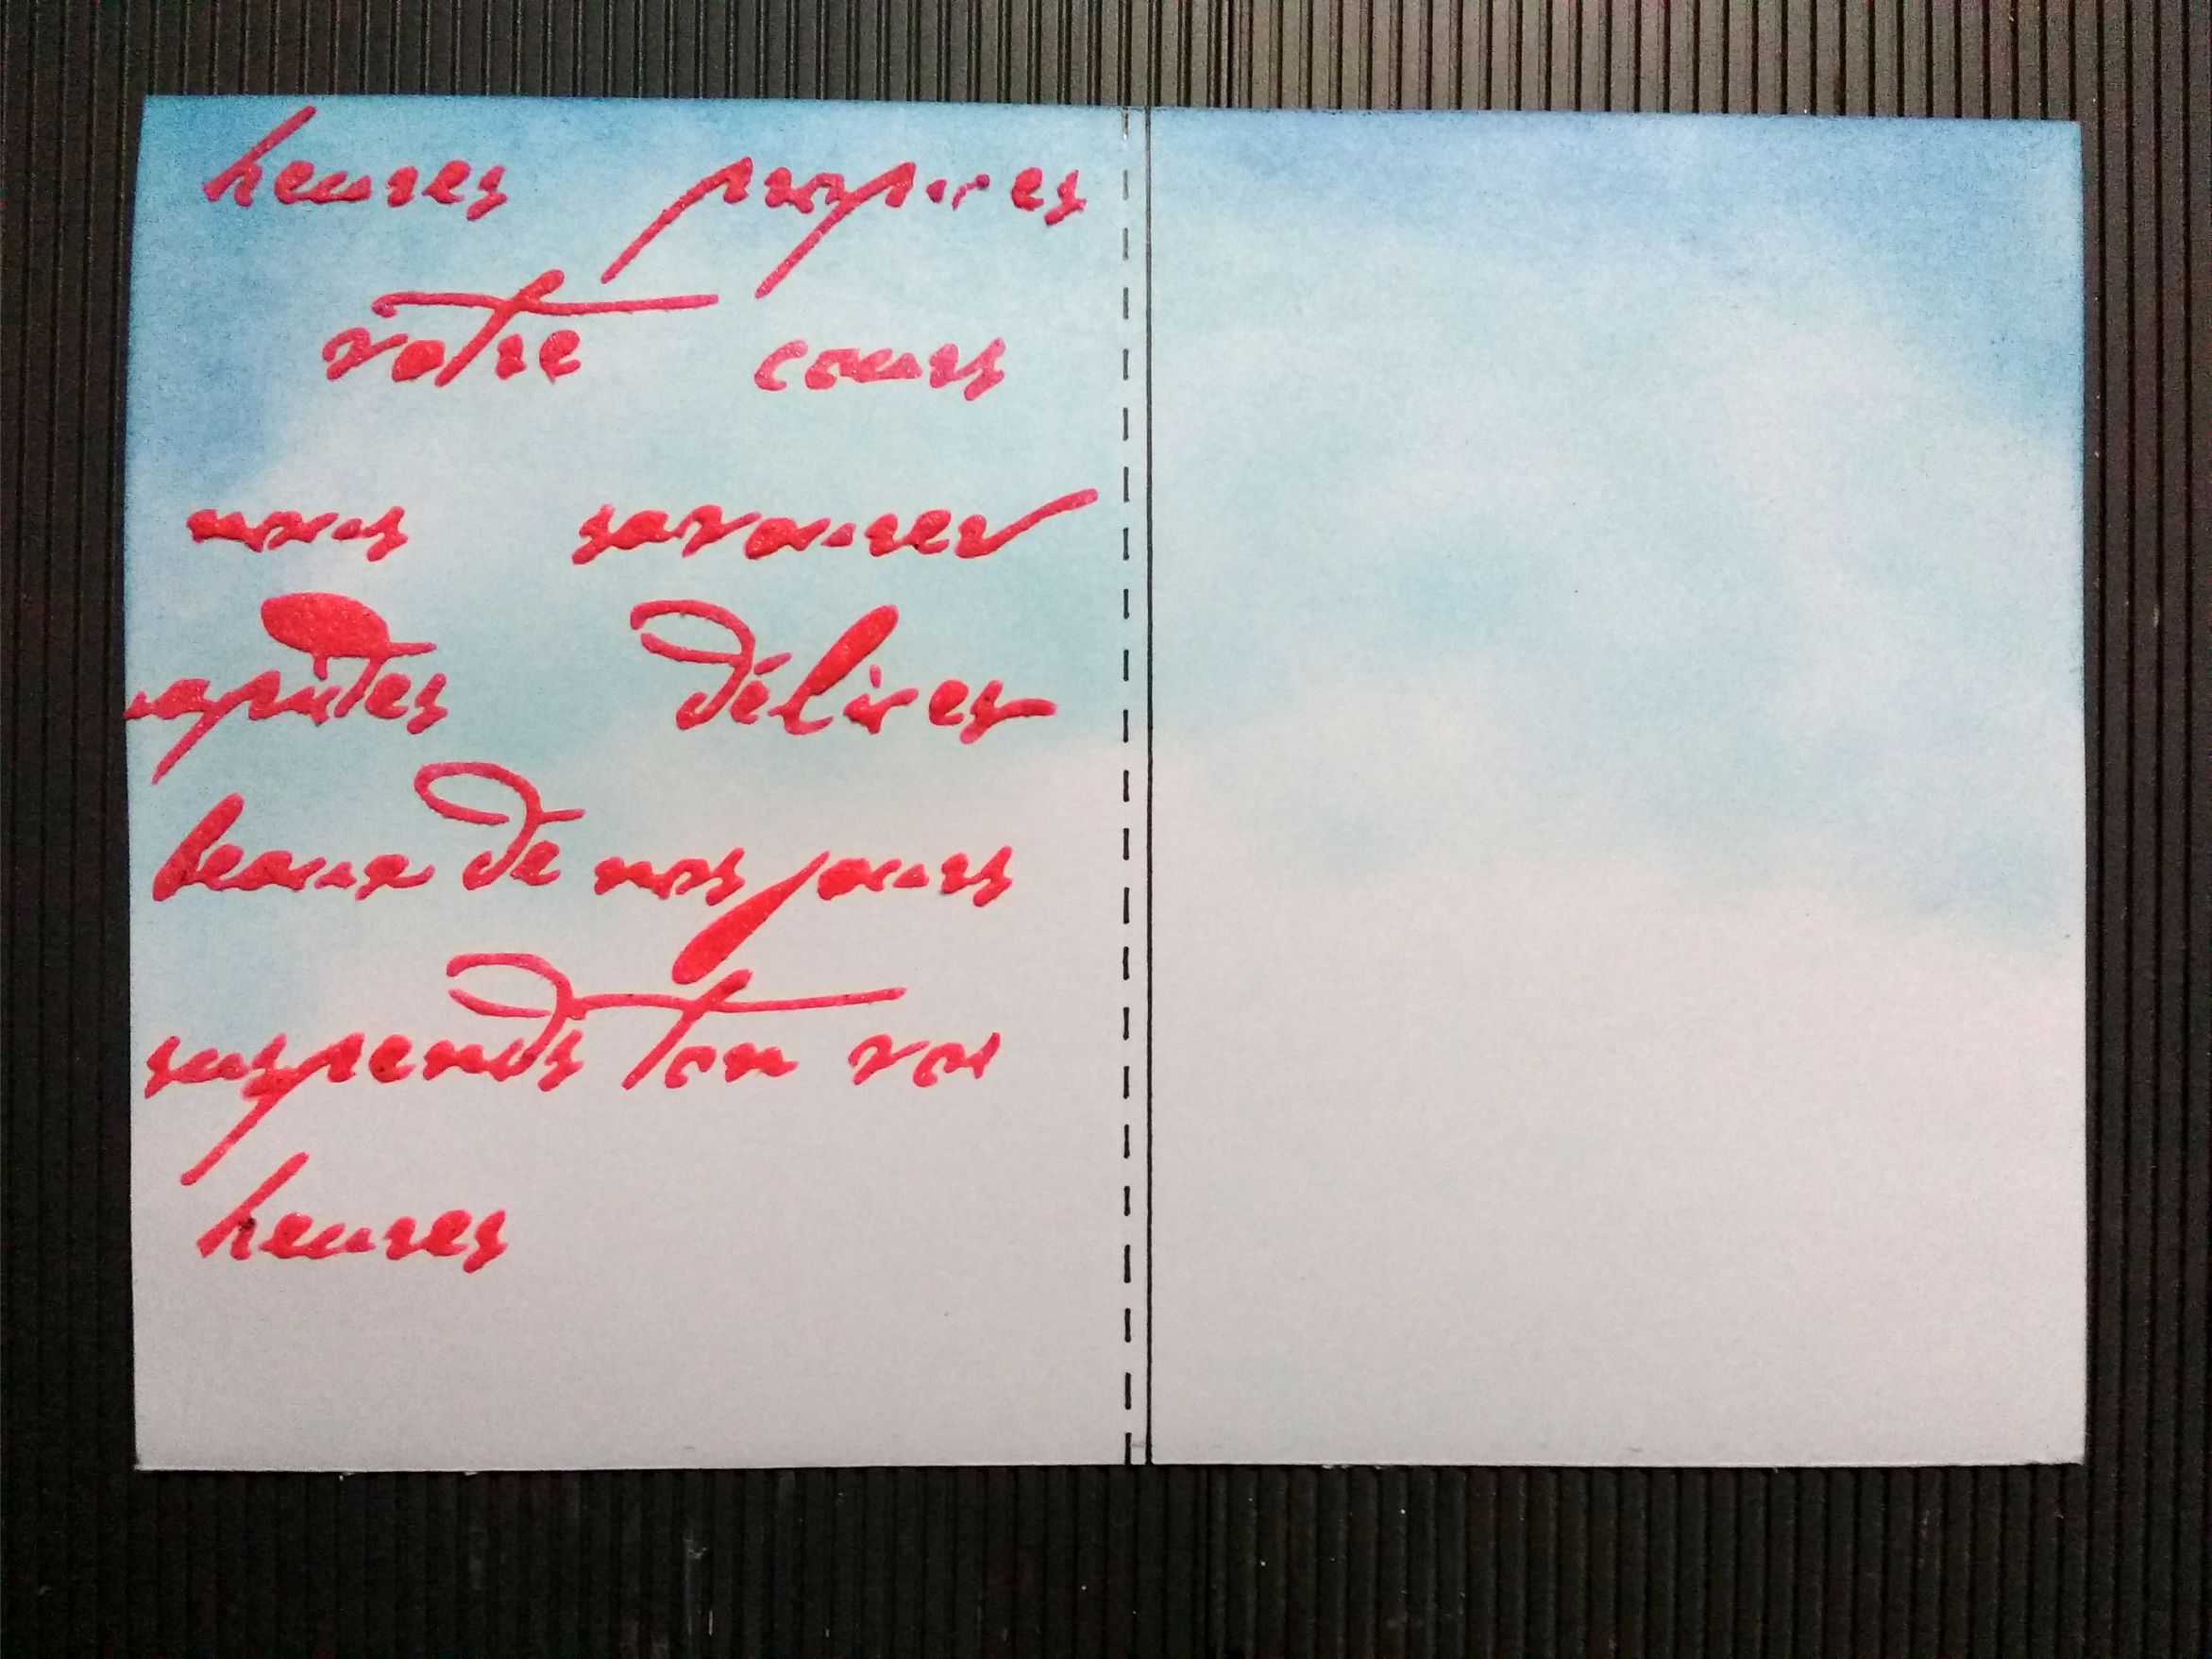
Look at this clear, crisp design with shimmer!
Also remember after using the stencil with shimmer paste, place the stencil on another rough surface and get the excess paste removed with the help of spatula to store it back to the bottle.
This way it will prevent wastage. Here’s the Close-up as how the shimmer pastes looks:
Also remember after using the stencil with shimmer paste, place the stencil on another rough surface and get the excess paste removed with the help of spatula to store it back to the bottle.
This way it will prevent wastage. Here’s the Close-up as how the shimmer pastes looks:

Next, I stamped these lovely images using “U Lift Me Up” stamp set from the store. My stamp size is 5 by 5 inches. Colored them using pencil colors and Faber Castell connector pens from the store.


Next i arranged the stamped images to my card using foam tape.
Stamped the sentiment, “Sending smiles across the miles” on another piece of tag and glued it with black cardstock to my card.
Stamped a small seal to the left and added some script die cut from pattern papers.
Lastly added the die cuts to the top corners and added sticker pearls to them, which are again from the store.
And my card was complete.
I hope you would definitely get inspired in some way with my card.
Here are some of the Close-Ups:
Don’t forget to share your thoughts with me.
Thanks for stopping by!
Here is the list of complete Supplies used from the store:

Shimmer paste “Salmon”

Stamp Set “U Lift Me Up”

French Script Stencil
We will be back with many more interesting projects
& tutorials by our team, so stay tuned!
Thank you!

A cute..post card Priyanka..
thankyou so much 🙂