Hi everyone this is Vani here on the blog today
and i m so excited with my first DT post for crafty scrappers
I m sure u must have watched the DT KIT REVEAL video…
showing all the amazing things Konica sent me.
if not! you can check it here.

So today I m here to share with you all,
my first tutorial post where I”ll teach u a pregnancy album,
from start to finish!!
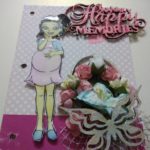
Here’s a quick look at the completed album.

So lets begin!
***(PICTURE HEAVY POST)
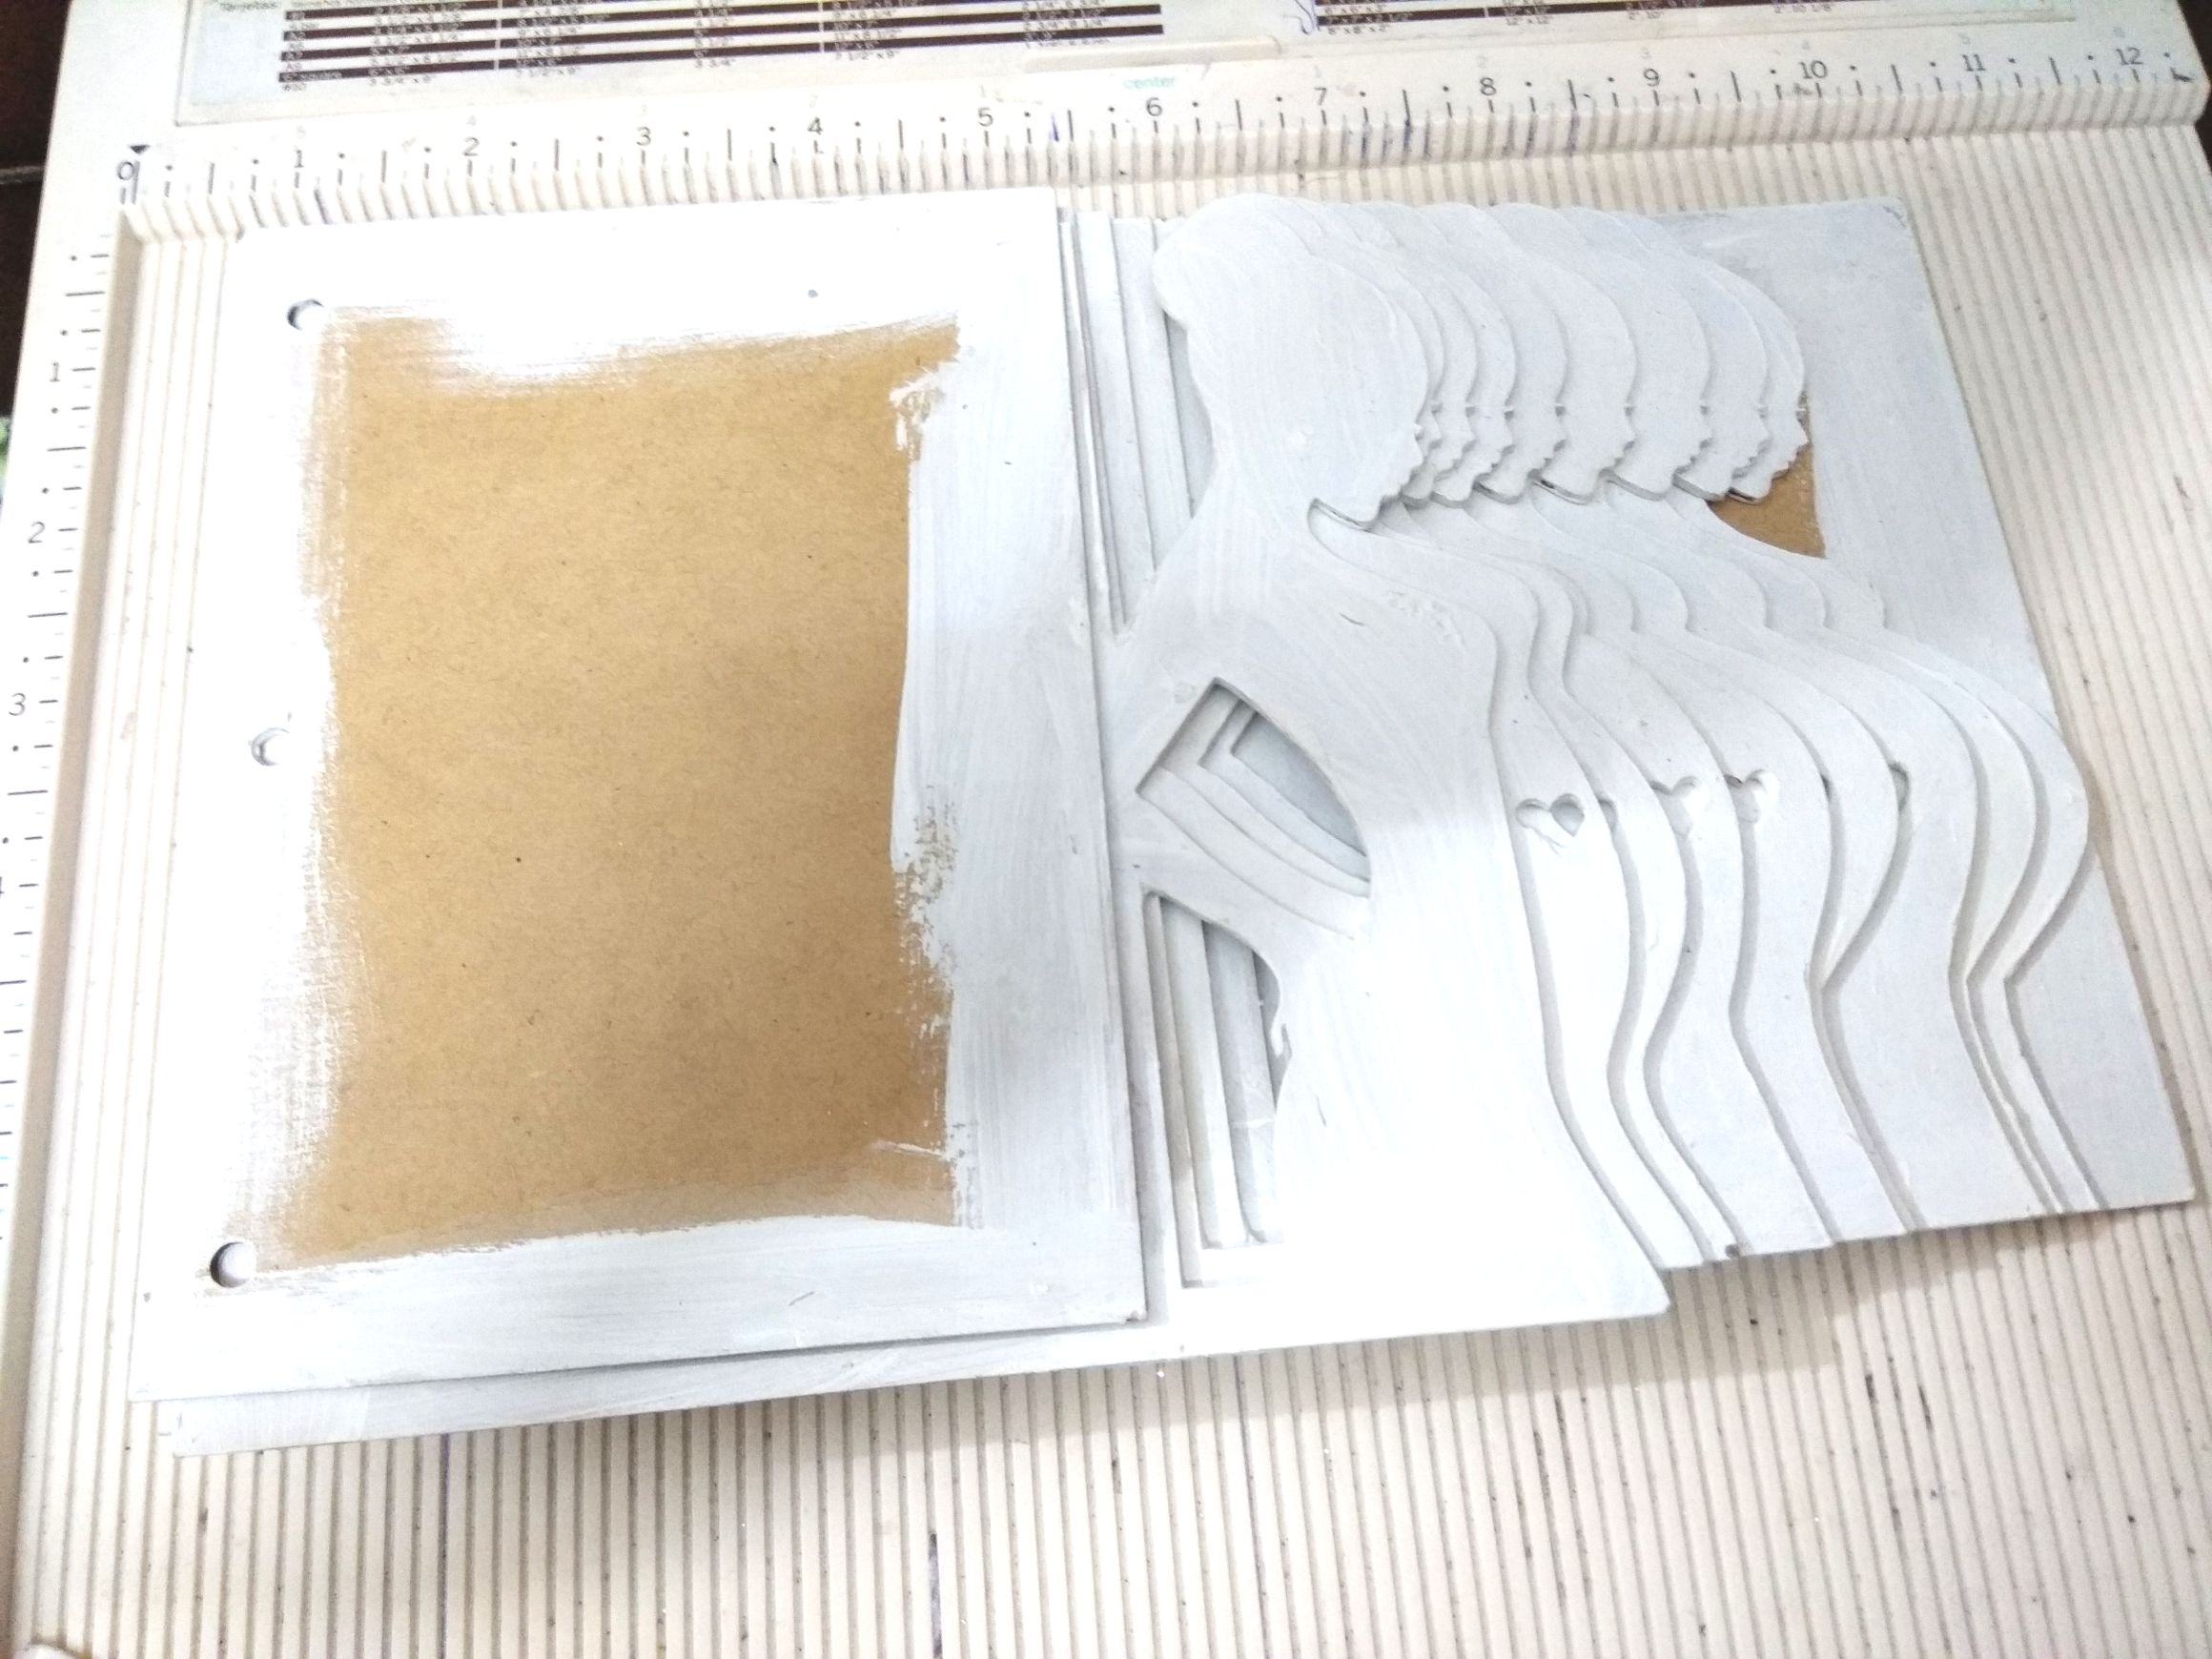
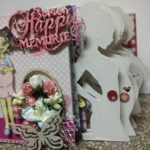
I have Started with the mdf pregnancy album first which I bought from rakhi Mittal
and applied acrylic paint on the lady and the corners too.
(This is how it will look…)

Then, after the paint dried, I have cut the pattern papers according to the measurements of the mdf album pages.
Then I covered the whole album and its pages with the pattern papers.
(This is how they look…)
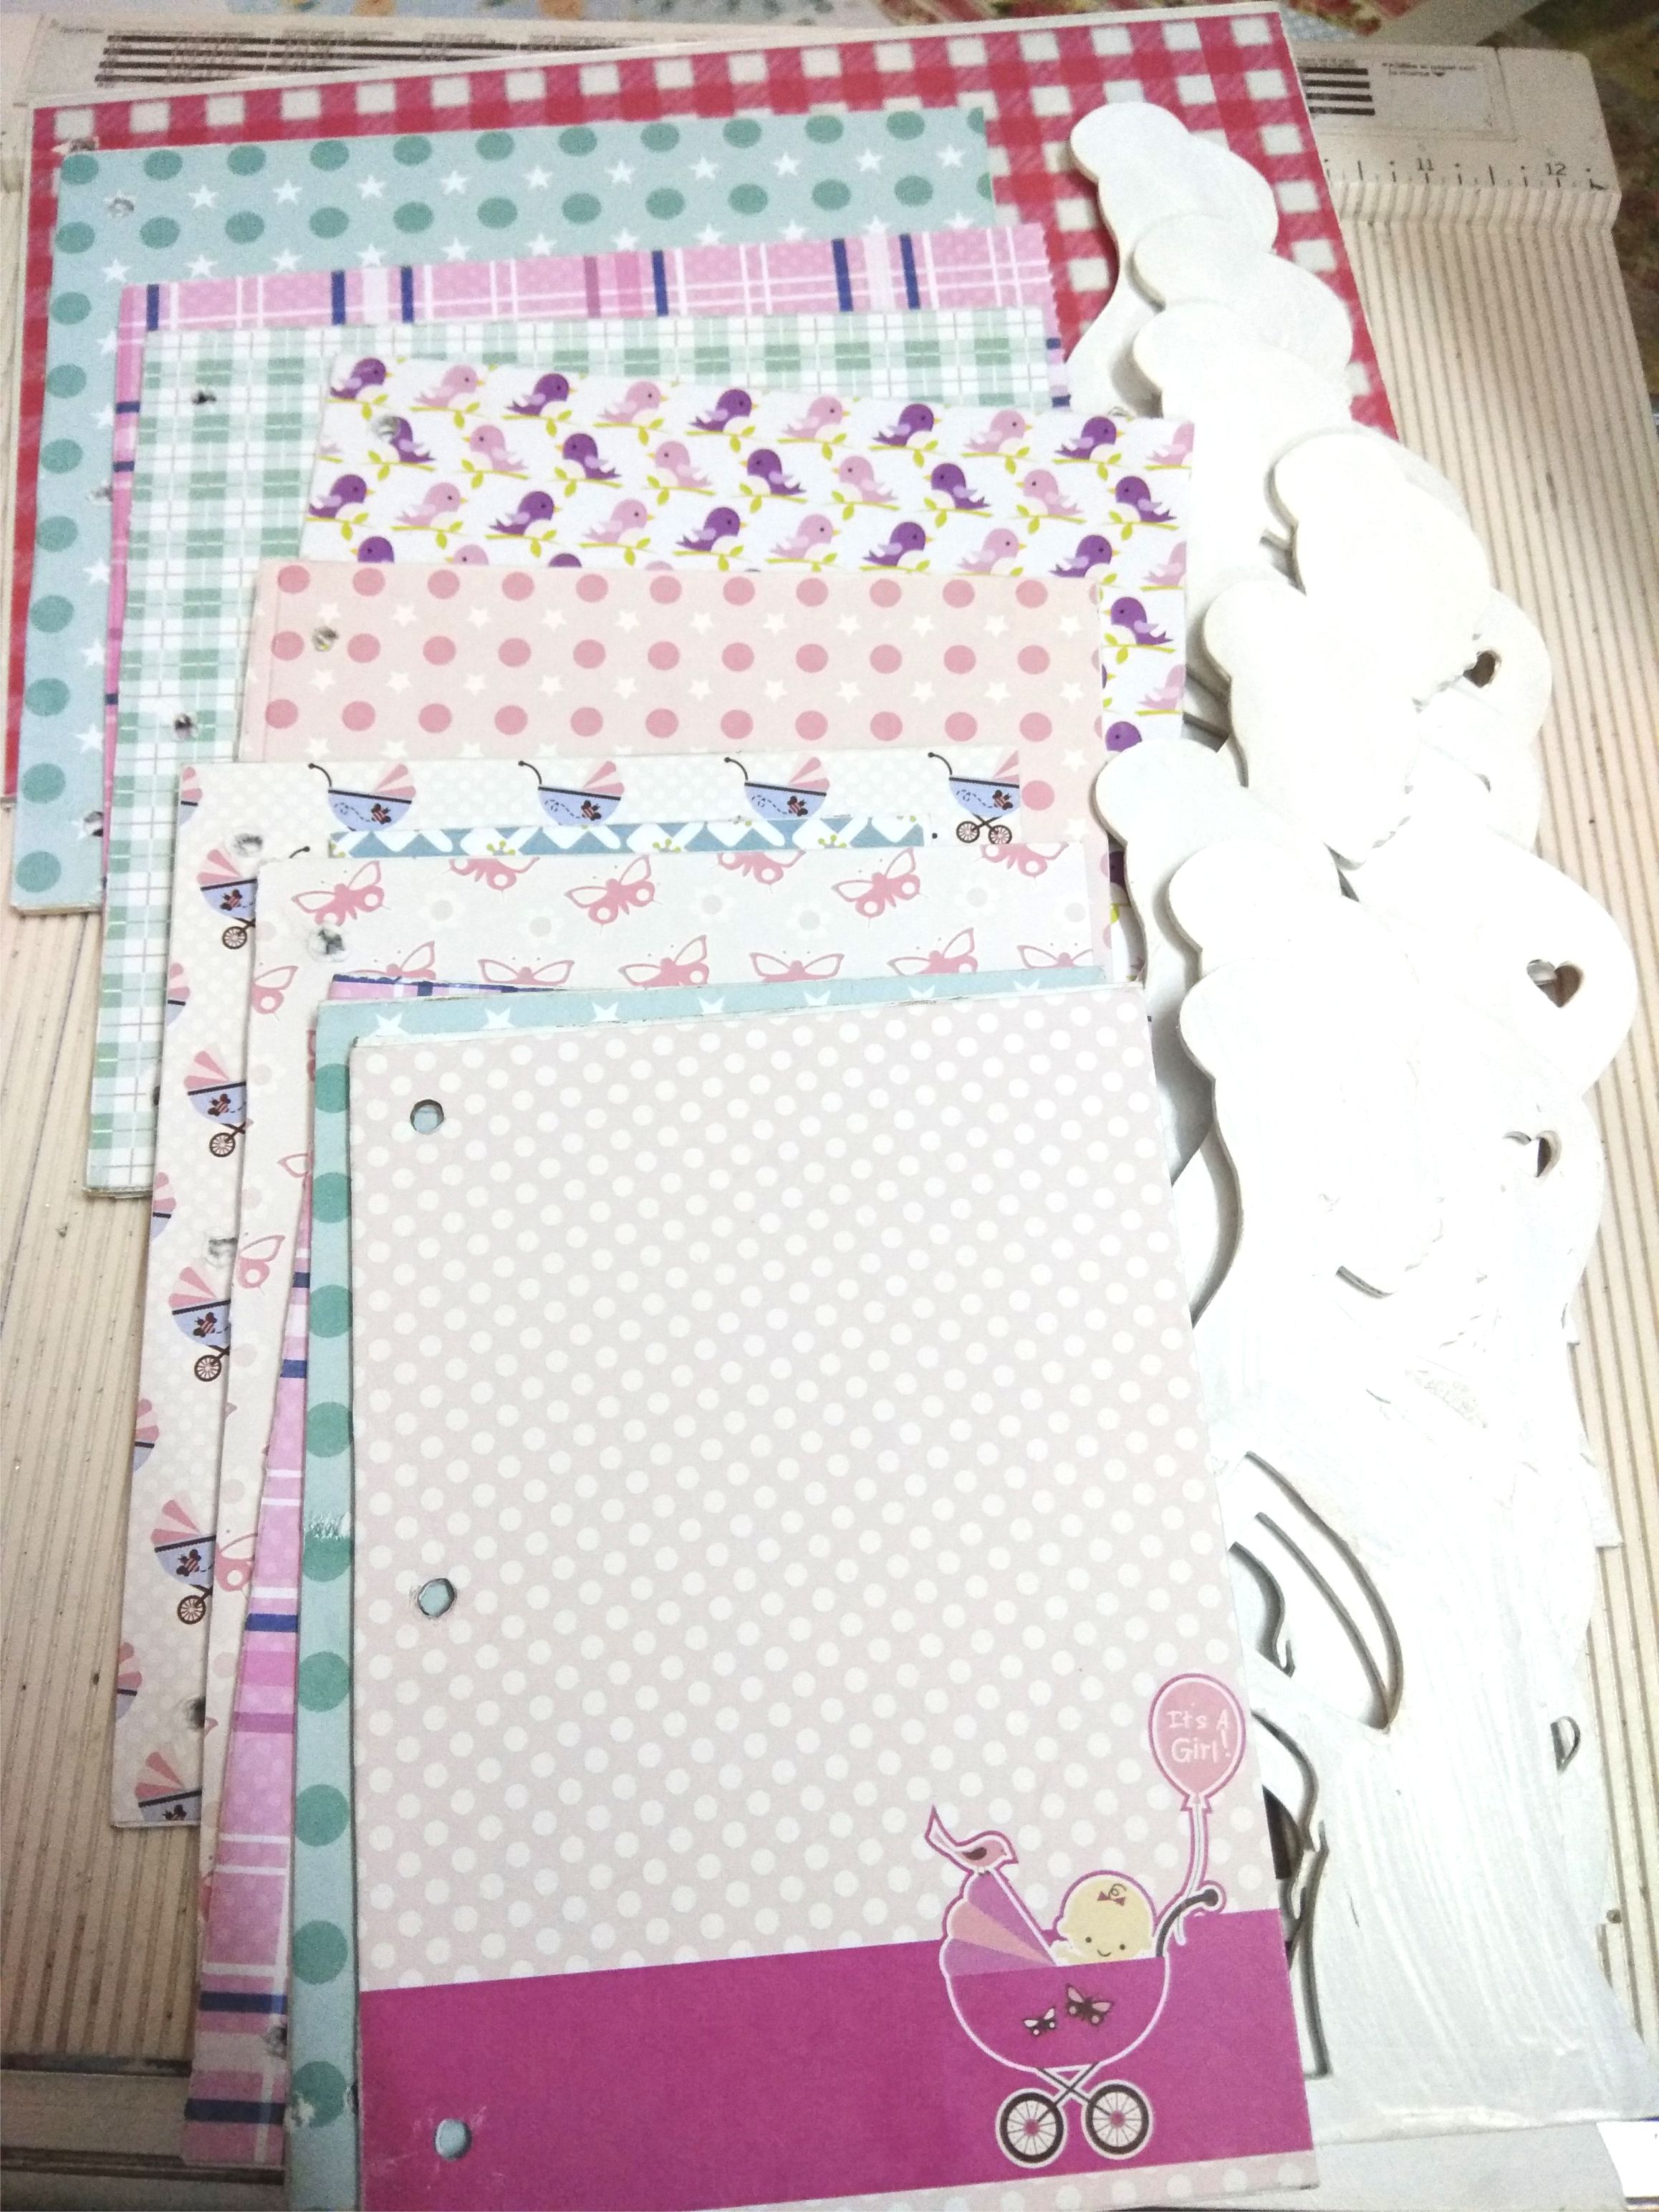

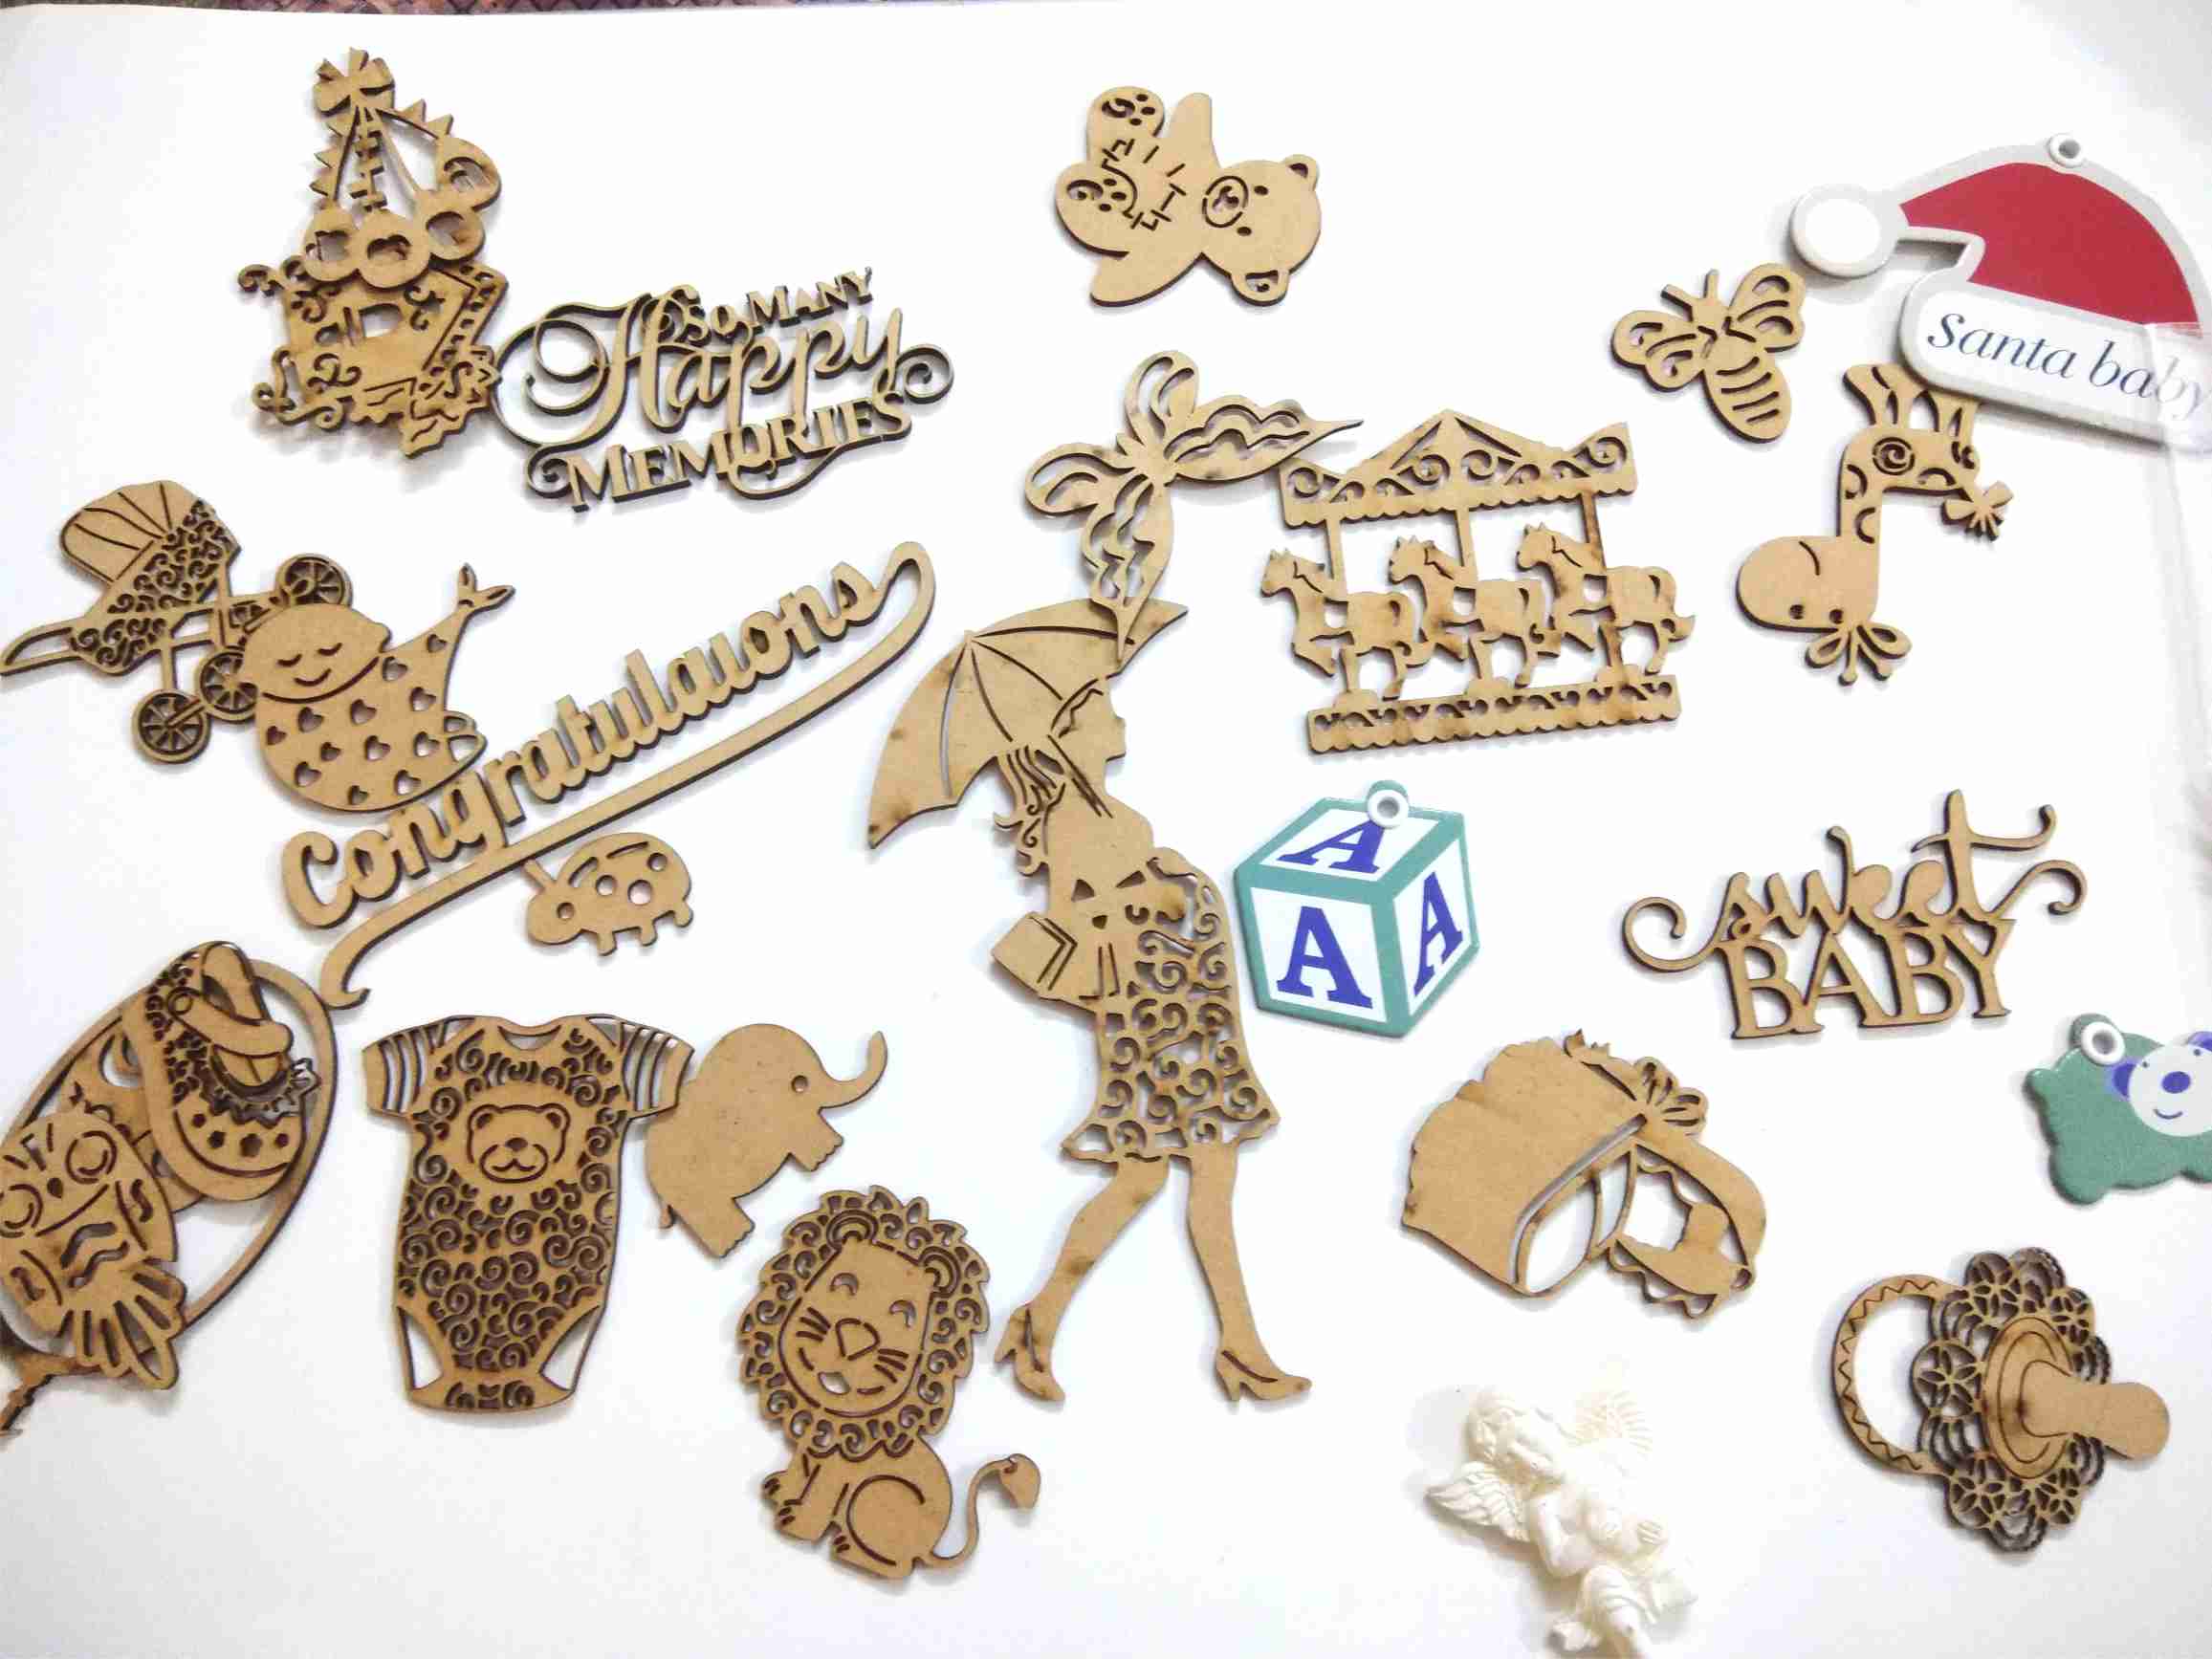
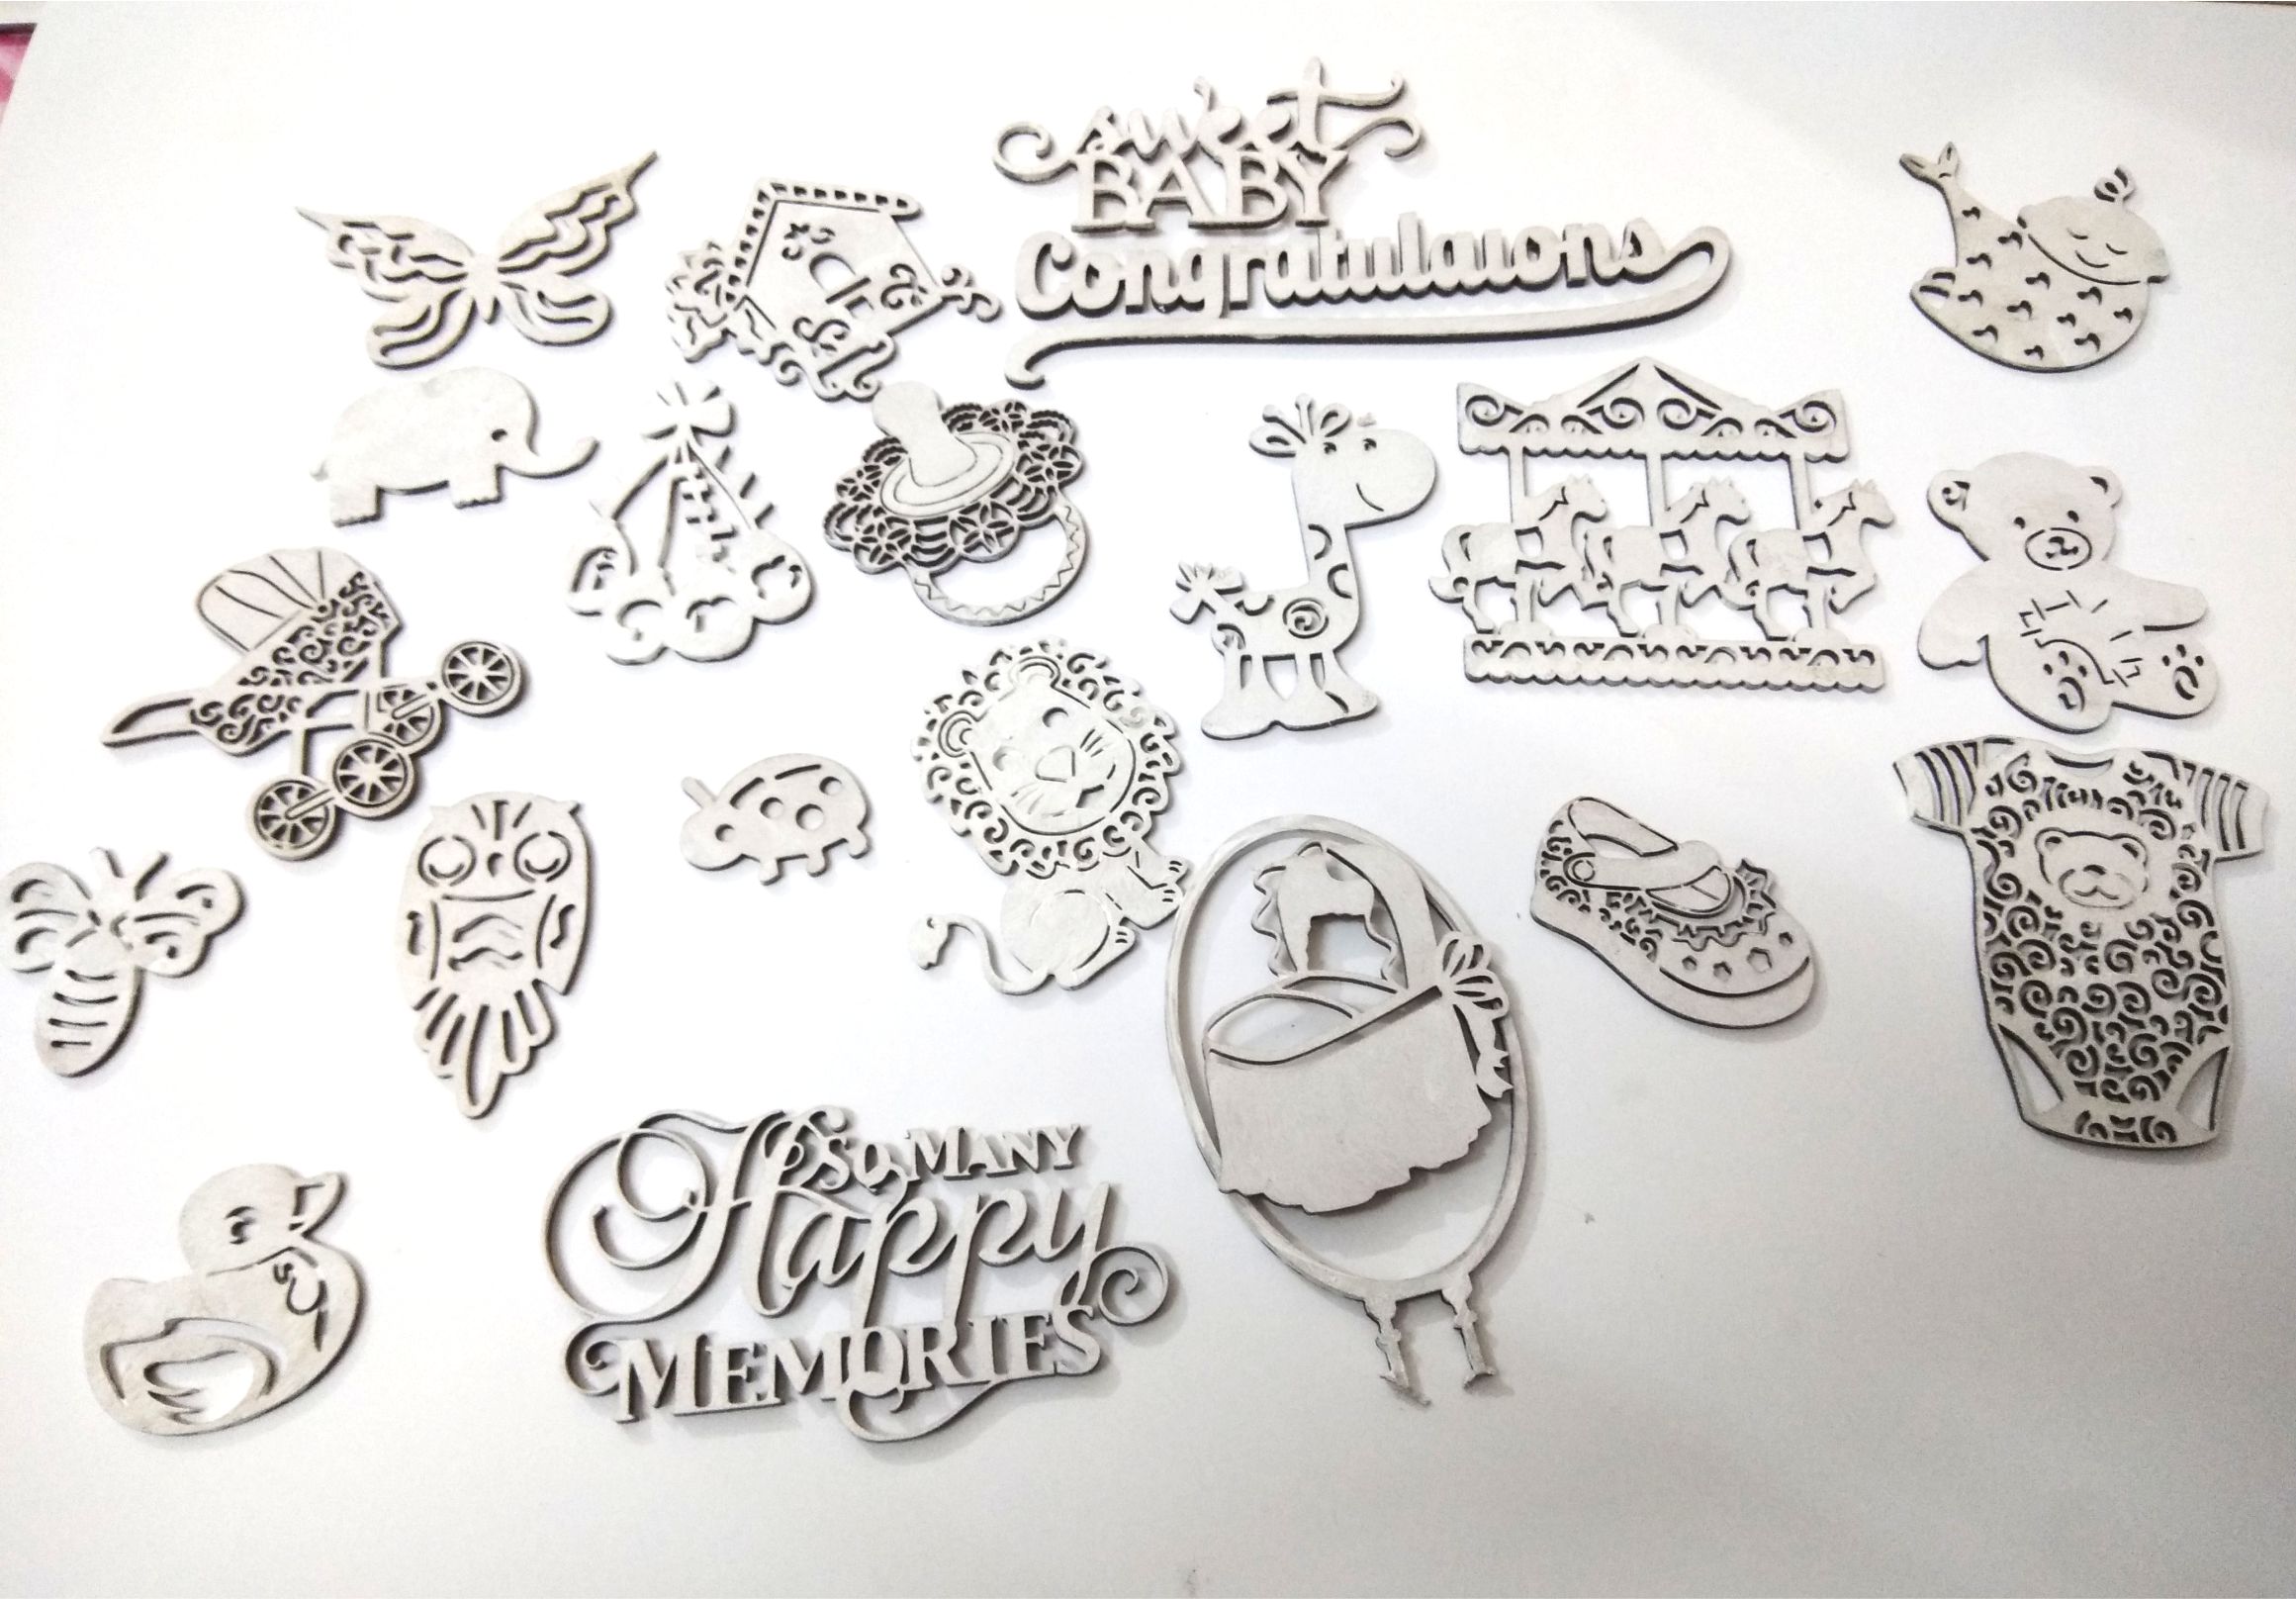
After I finished covering the pages with the pattern papers, I took some baby mdf embellishments and applied a thick layer of gesso on all mdf cutouts.
(This is how they look…)
After I finished with the gesso,
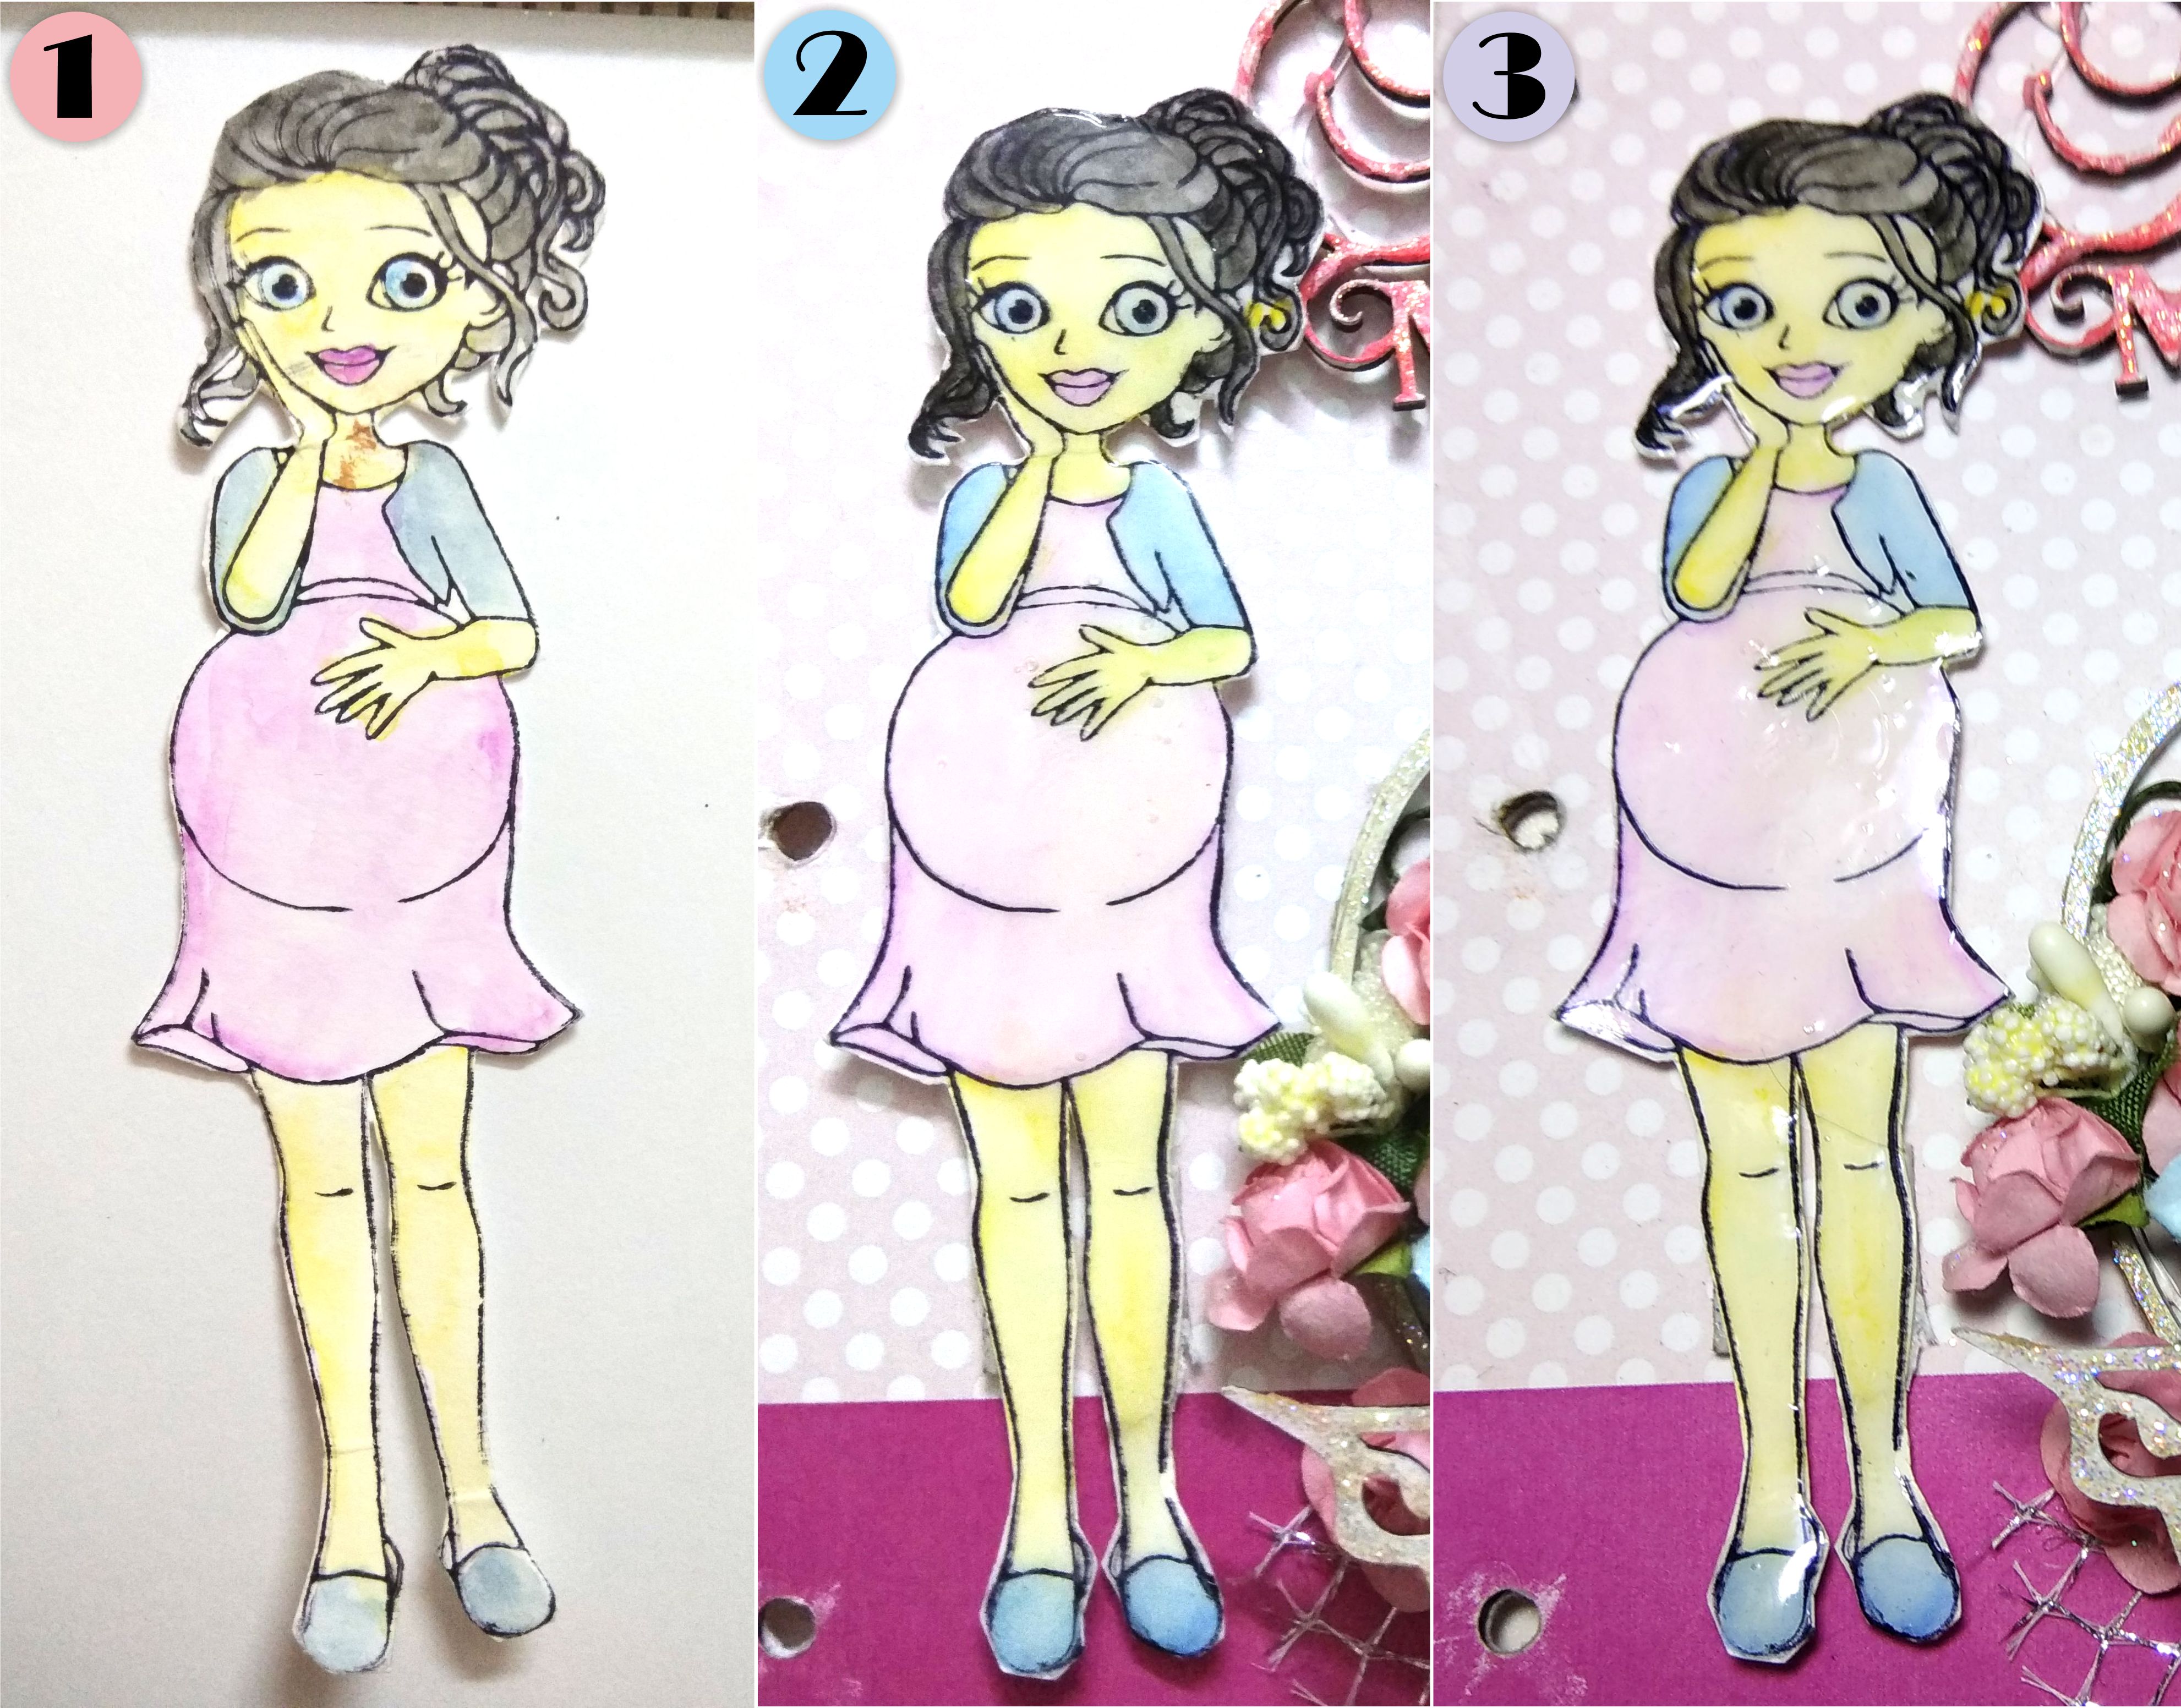
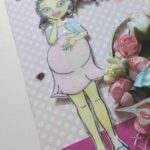
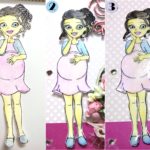
I took a white card stock and the beautiful pregnancy themed stamp,
“GREAT ADVENTURE” from Craftyscrappers and stamped the image,
colored and fussy cut them.
(this is how it looks…)
-
- GREAT ADVENTURE

After I fussy cut the image , i then applied a layer of glossy accent on to it, to add dimension and shine to the image and left it to dry.
(this is how it looks…)
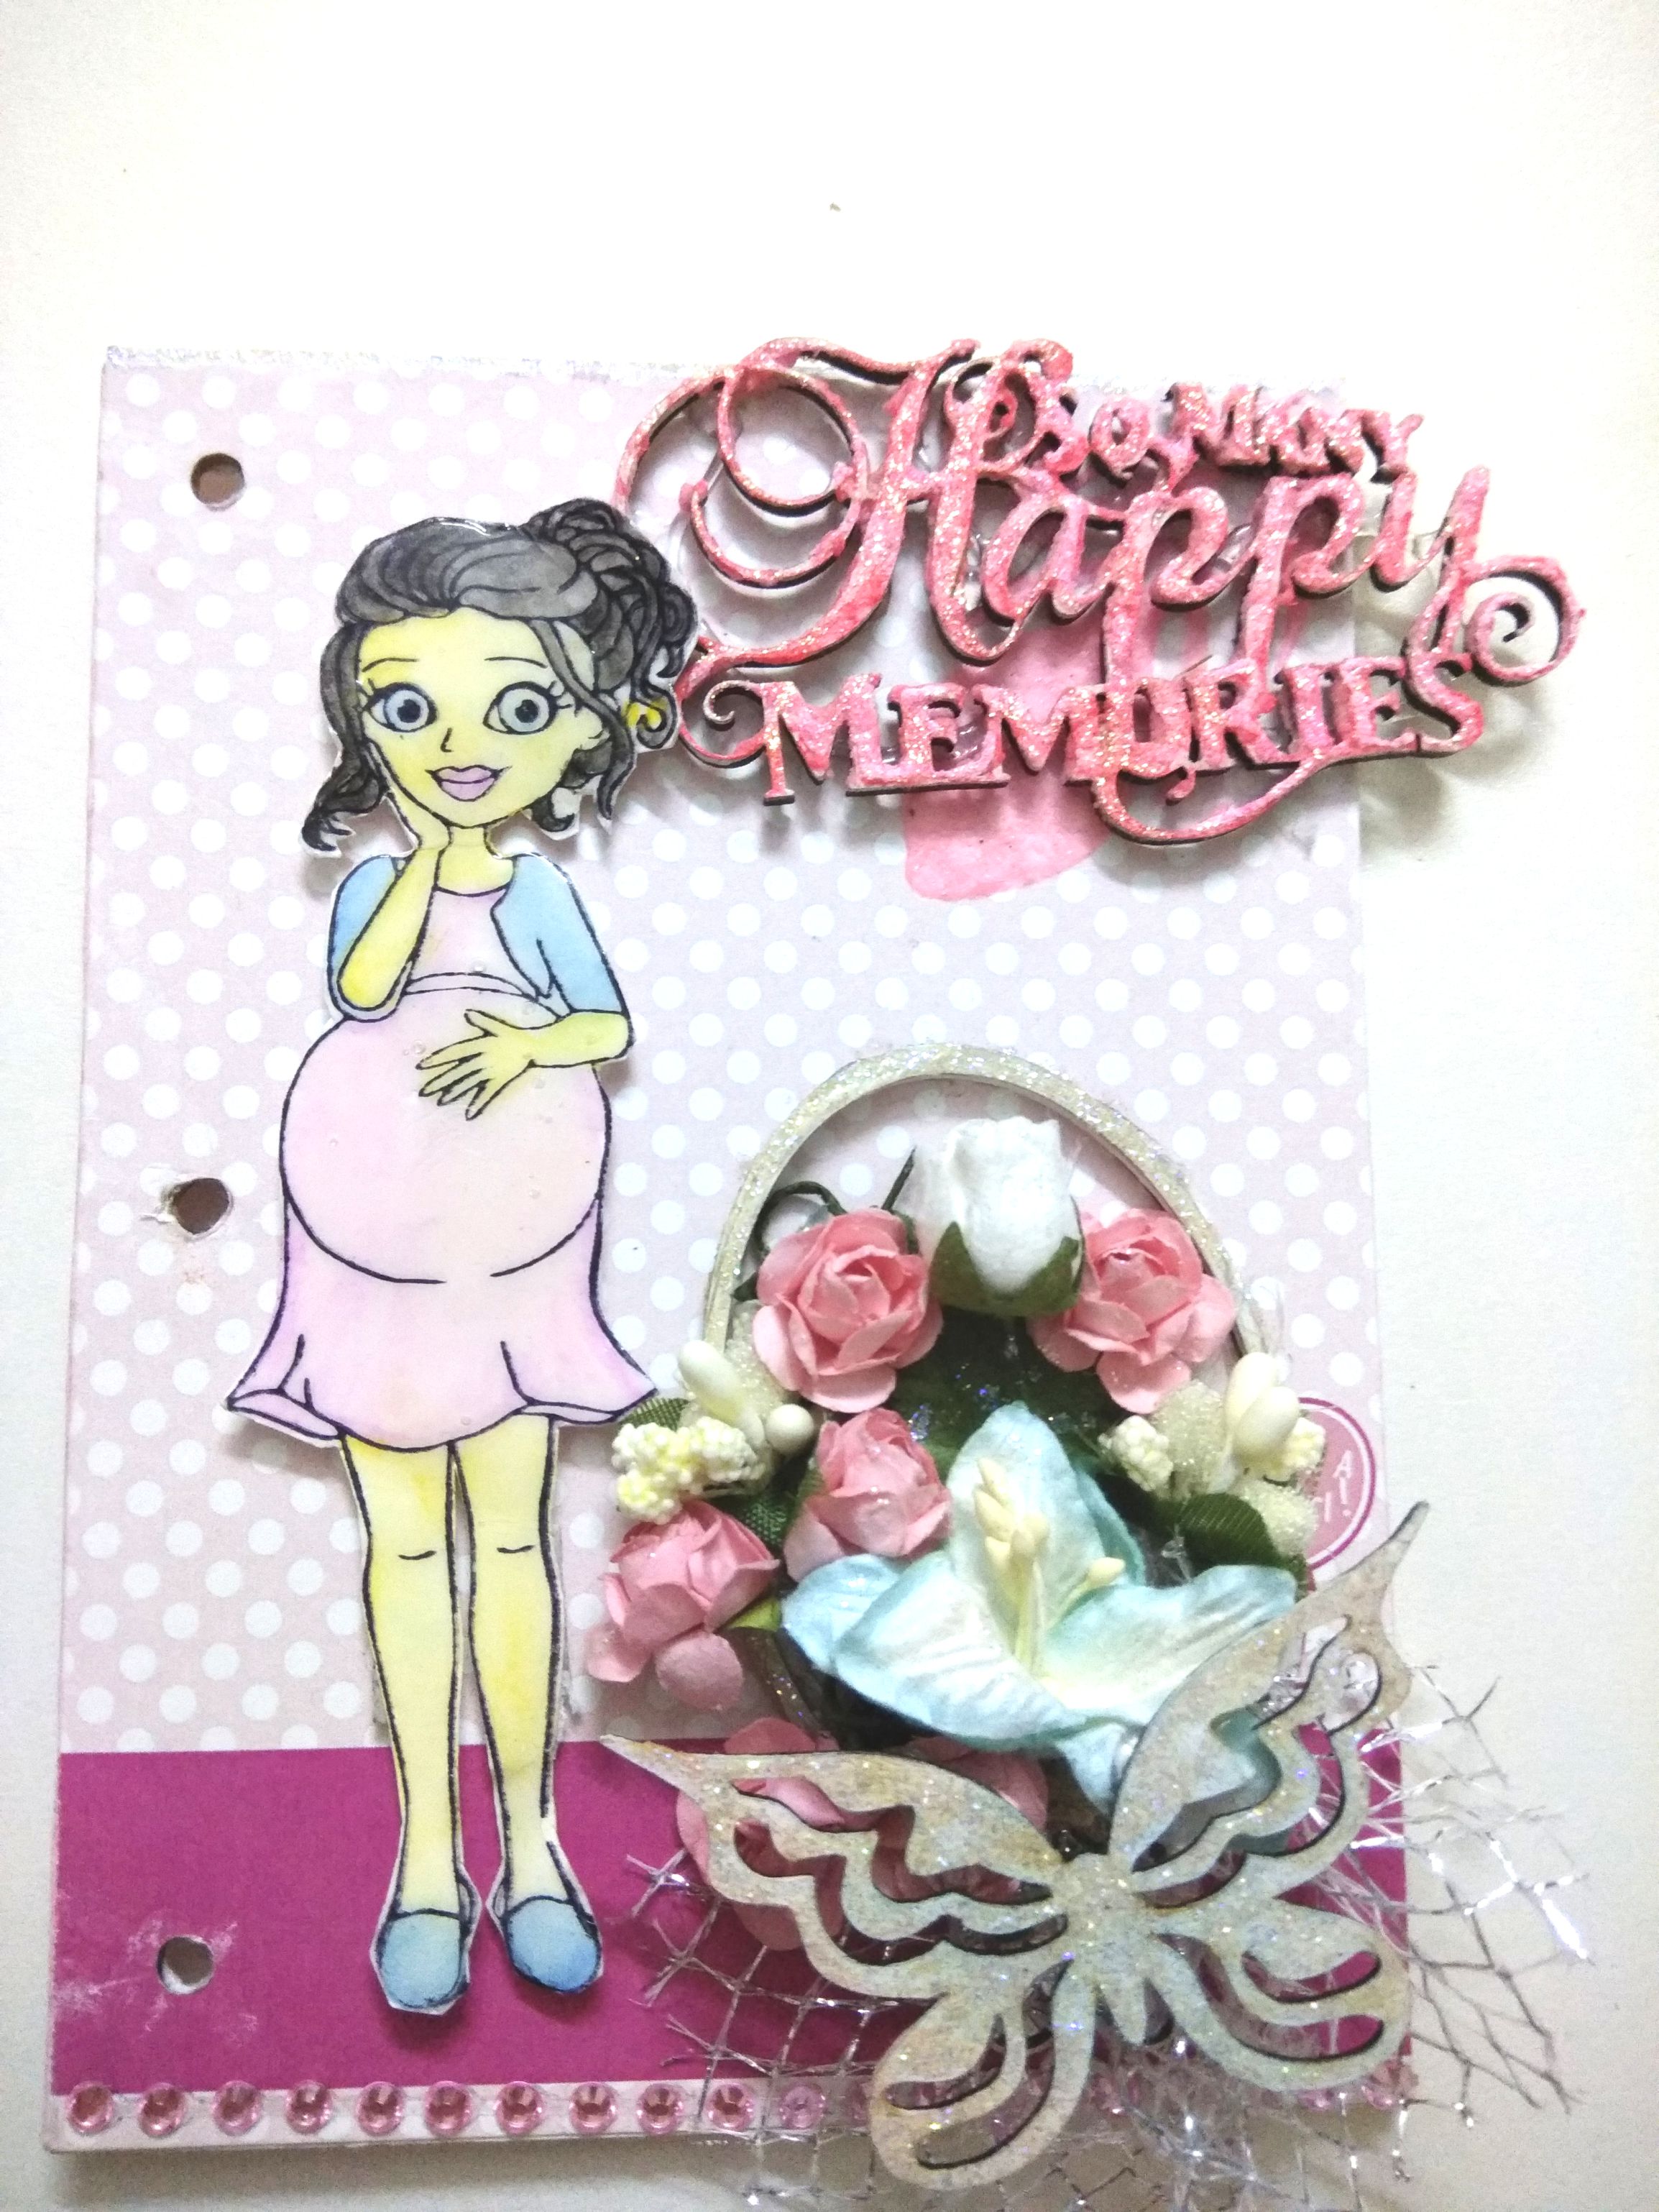
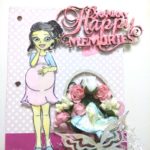
After i finished with the stamped image, I started decorating the front cover of the album.
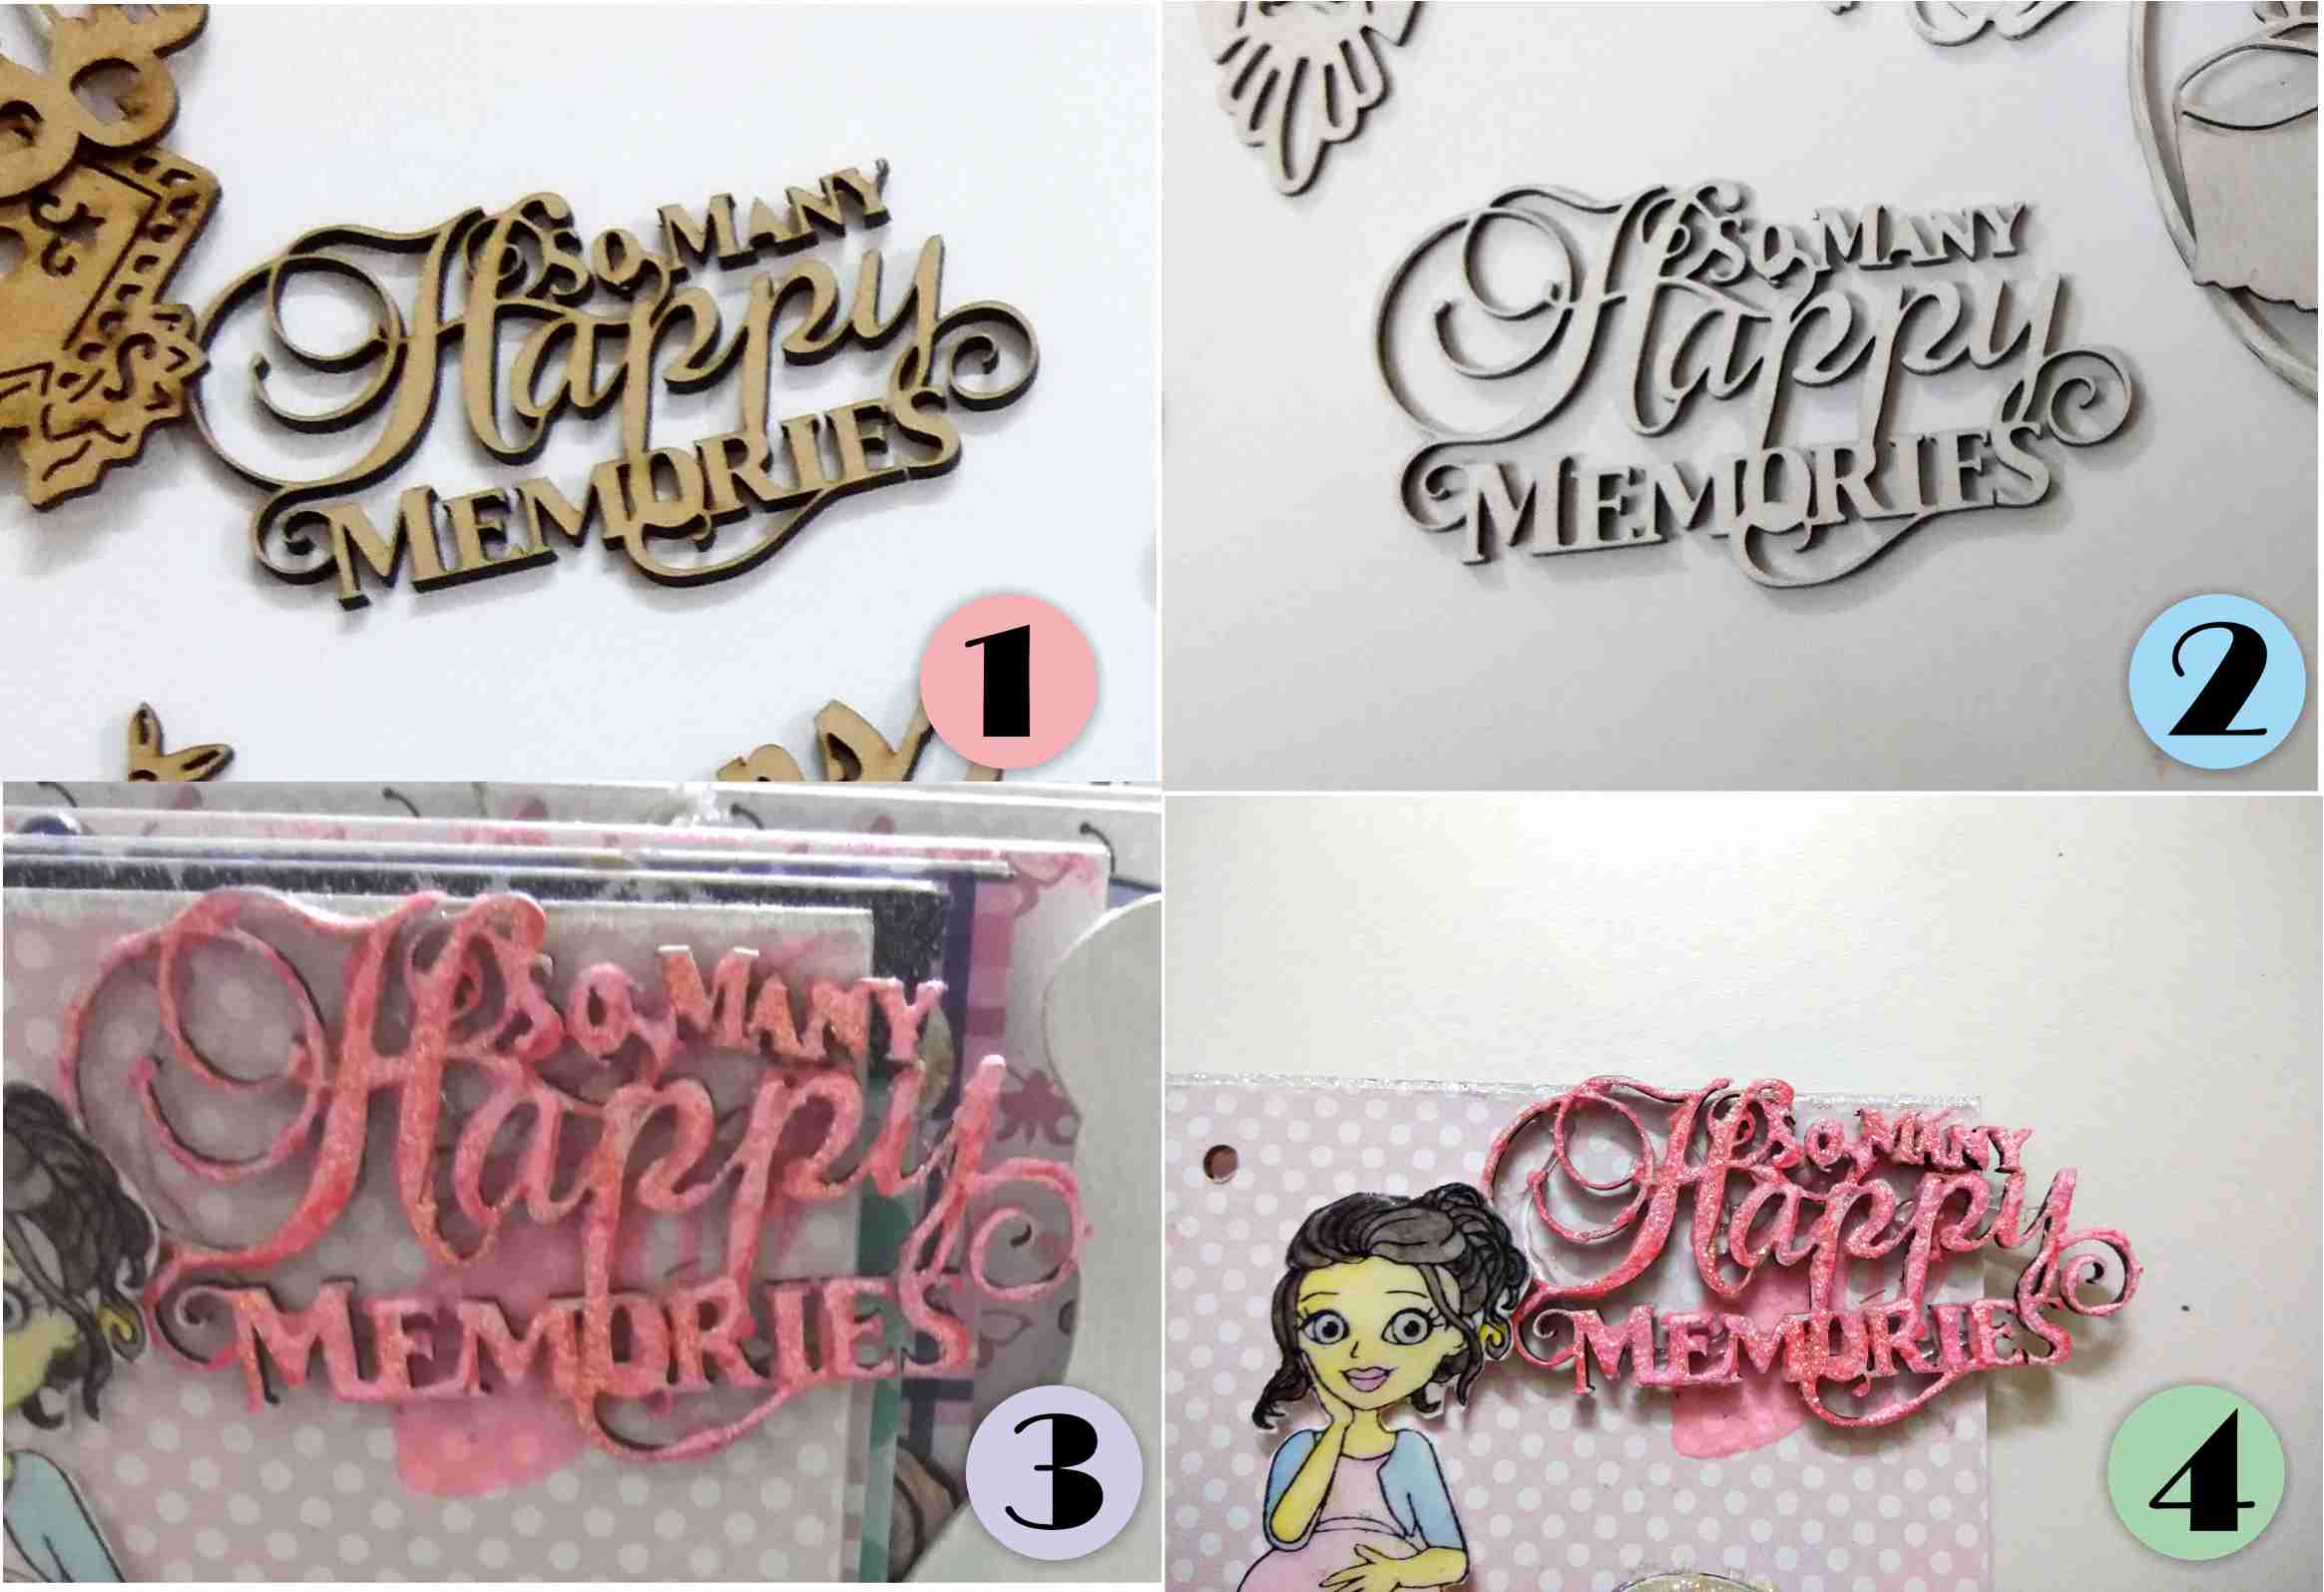
I took the mdf sentiment “so many happy memories” and coated it with gesso.
I used the distress inks, spun sugar to add the color to the sentiment and applied a thin coat of the shimmer paste, “TICKLED” by craftyscrappers on to it.
The shimmer paste r superb as it gives really nice dimensional effects!
(this is how they looks…)
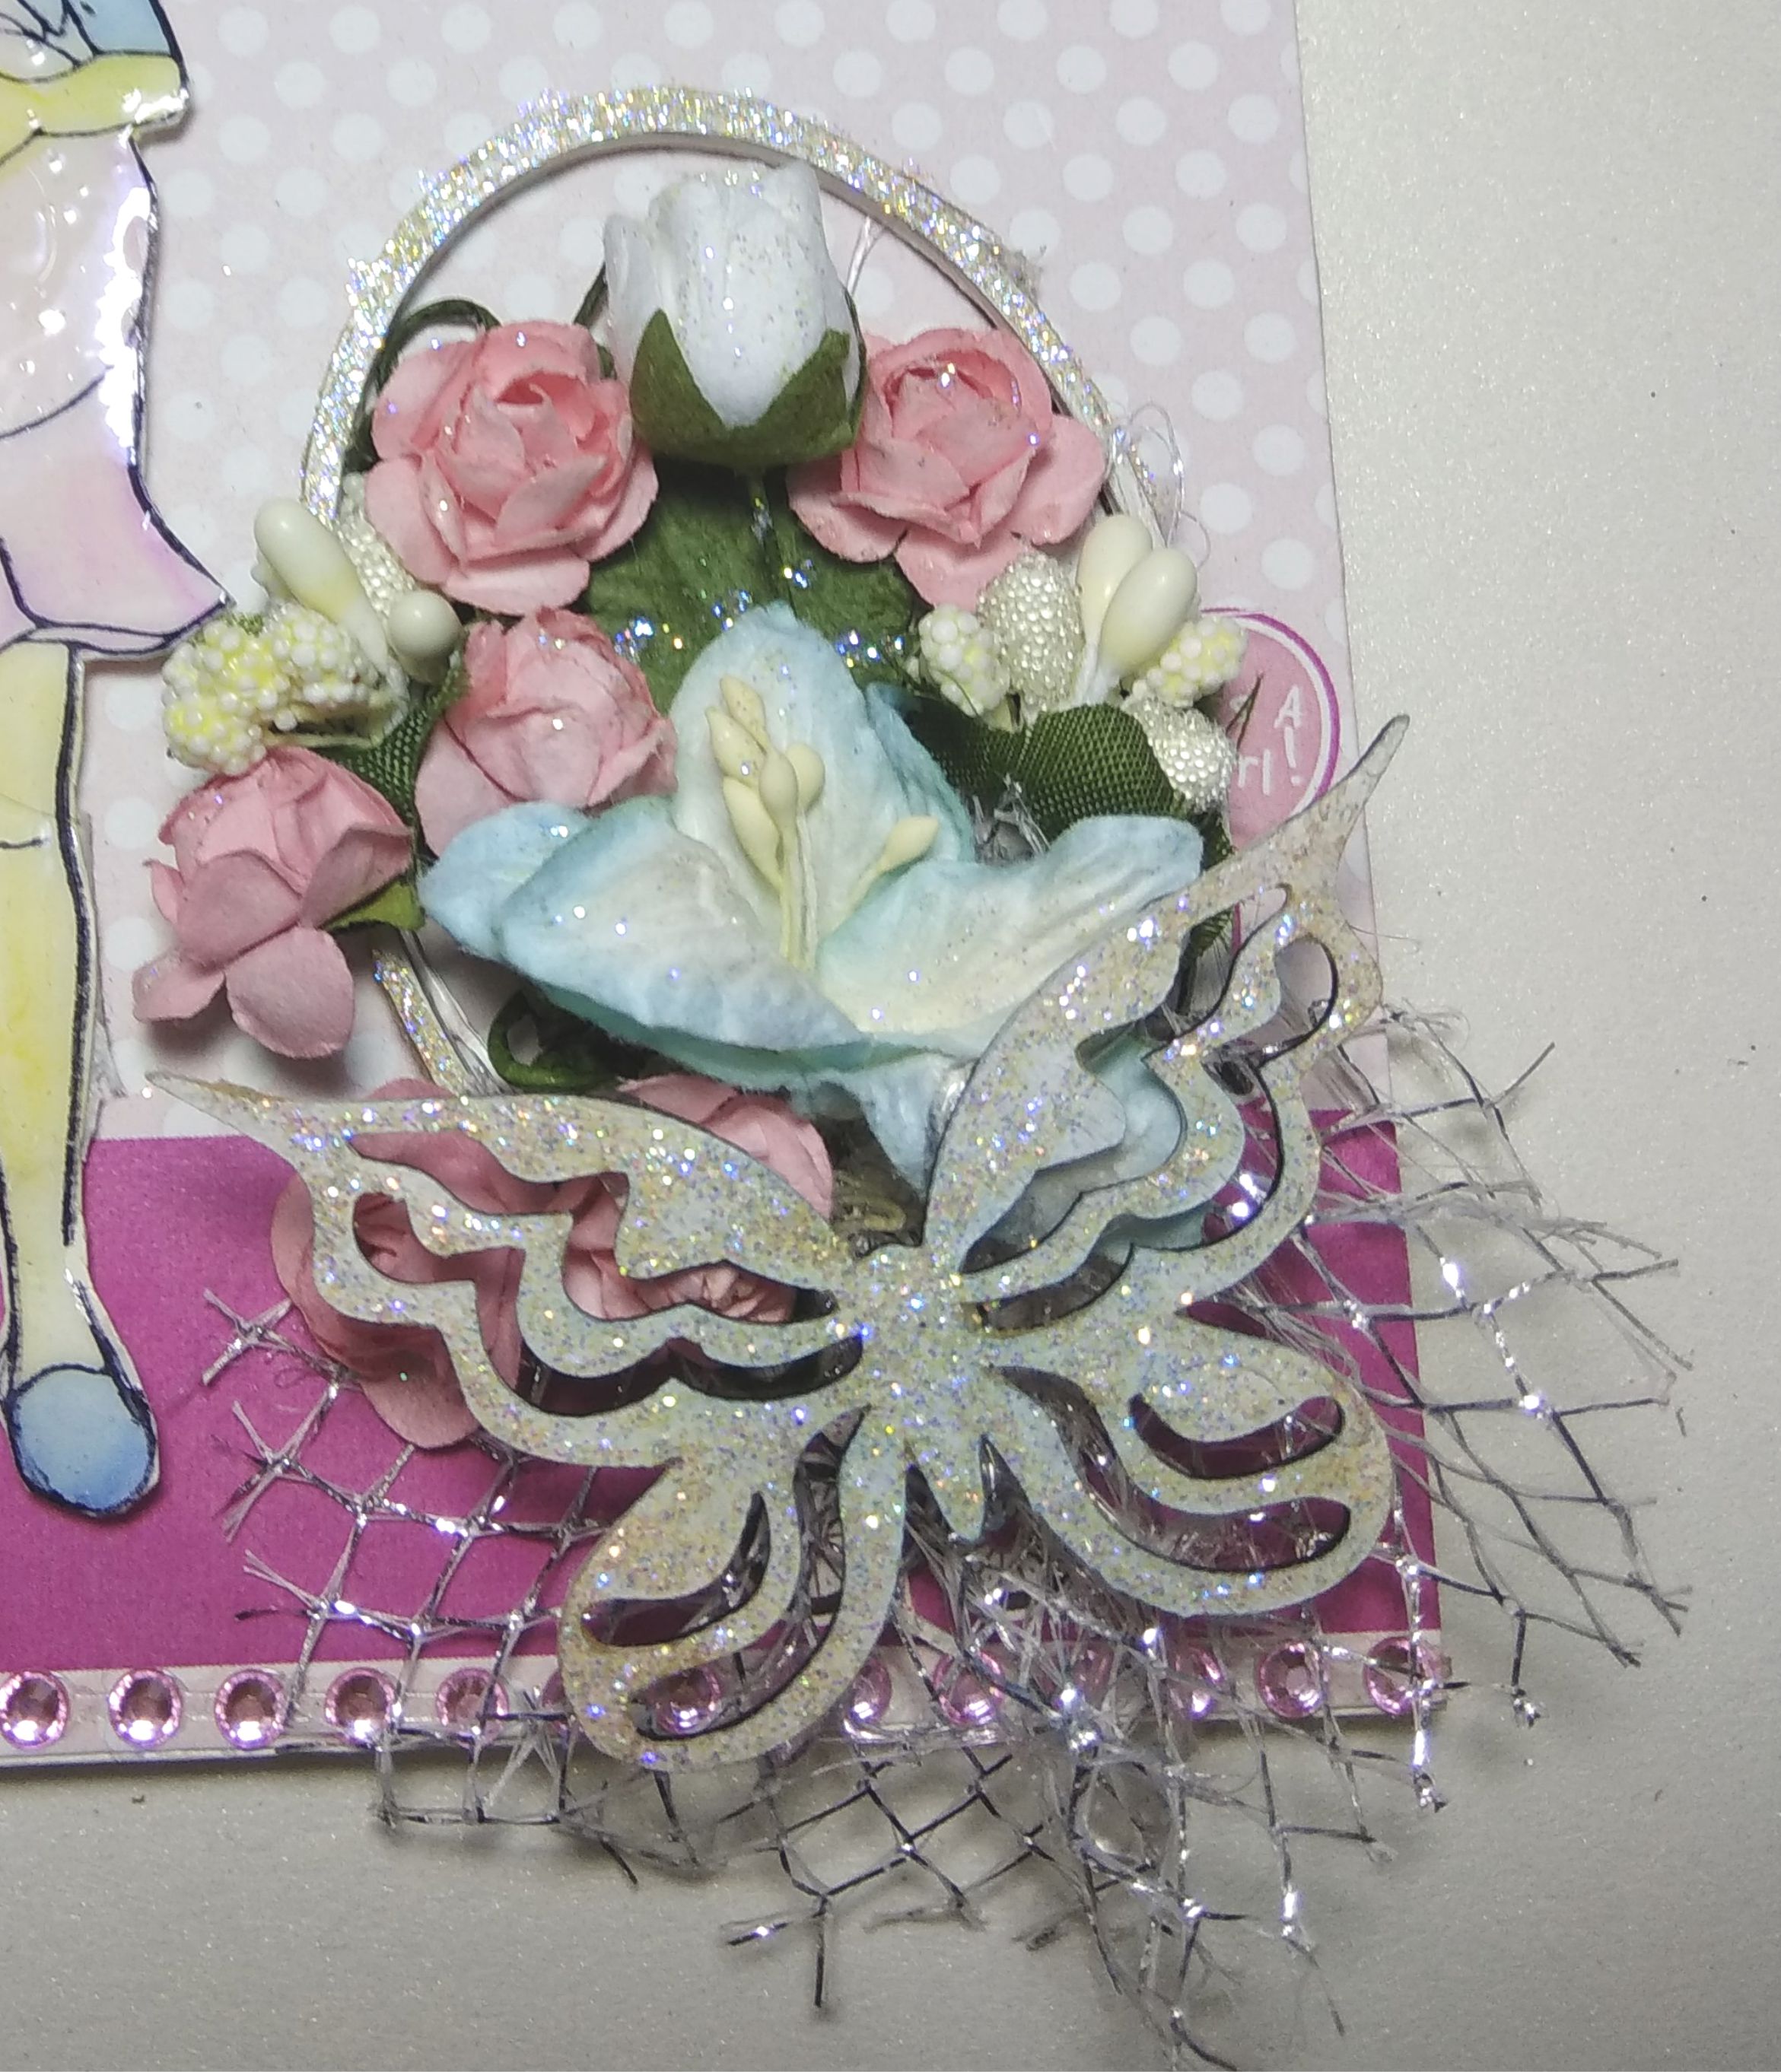
I then attached the “pregnant lady” that i previously stamped,colored and fussy cut, using some double sided foam tape,next to the mdf sentiment.
And positioned it to the left side of the album.
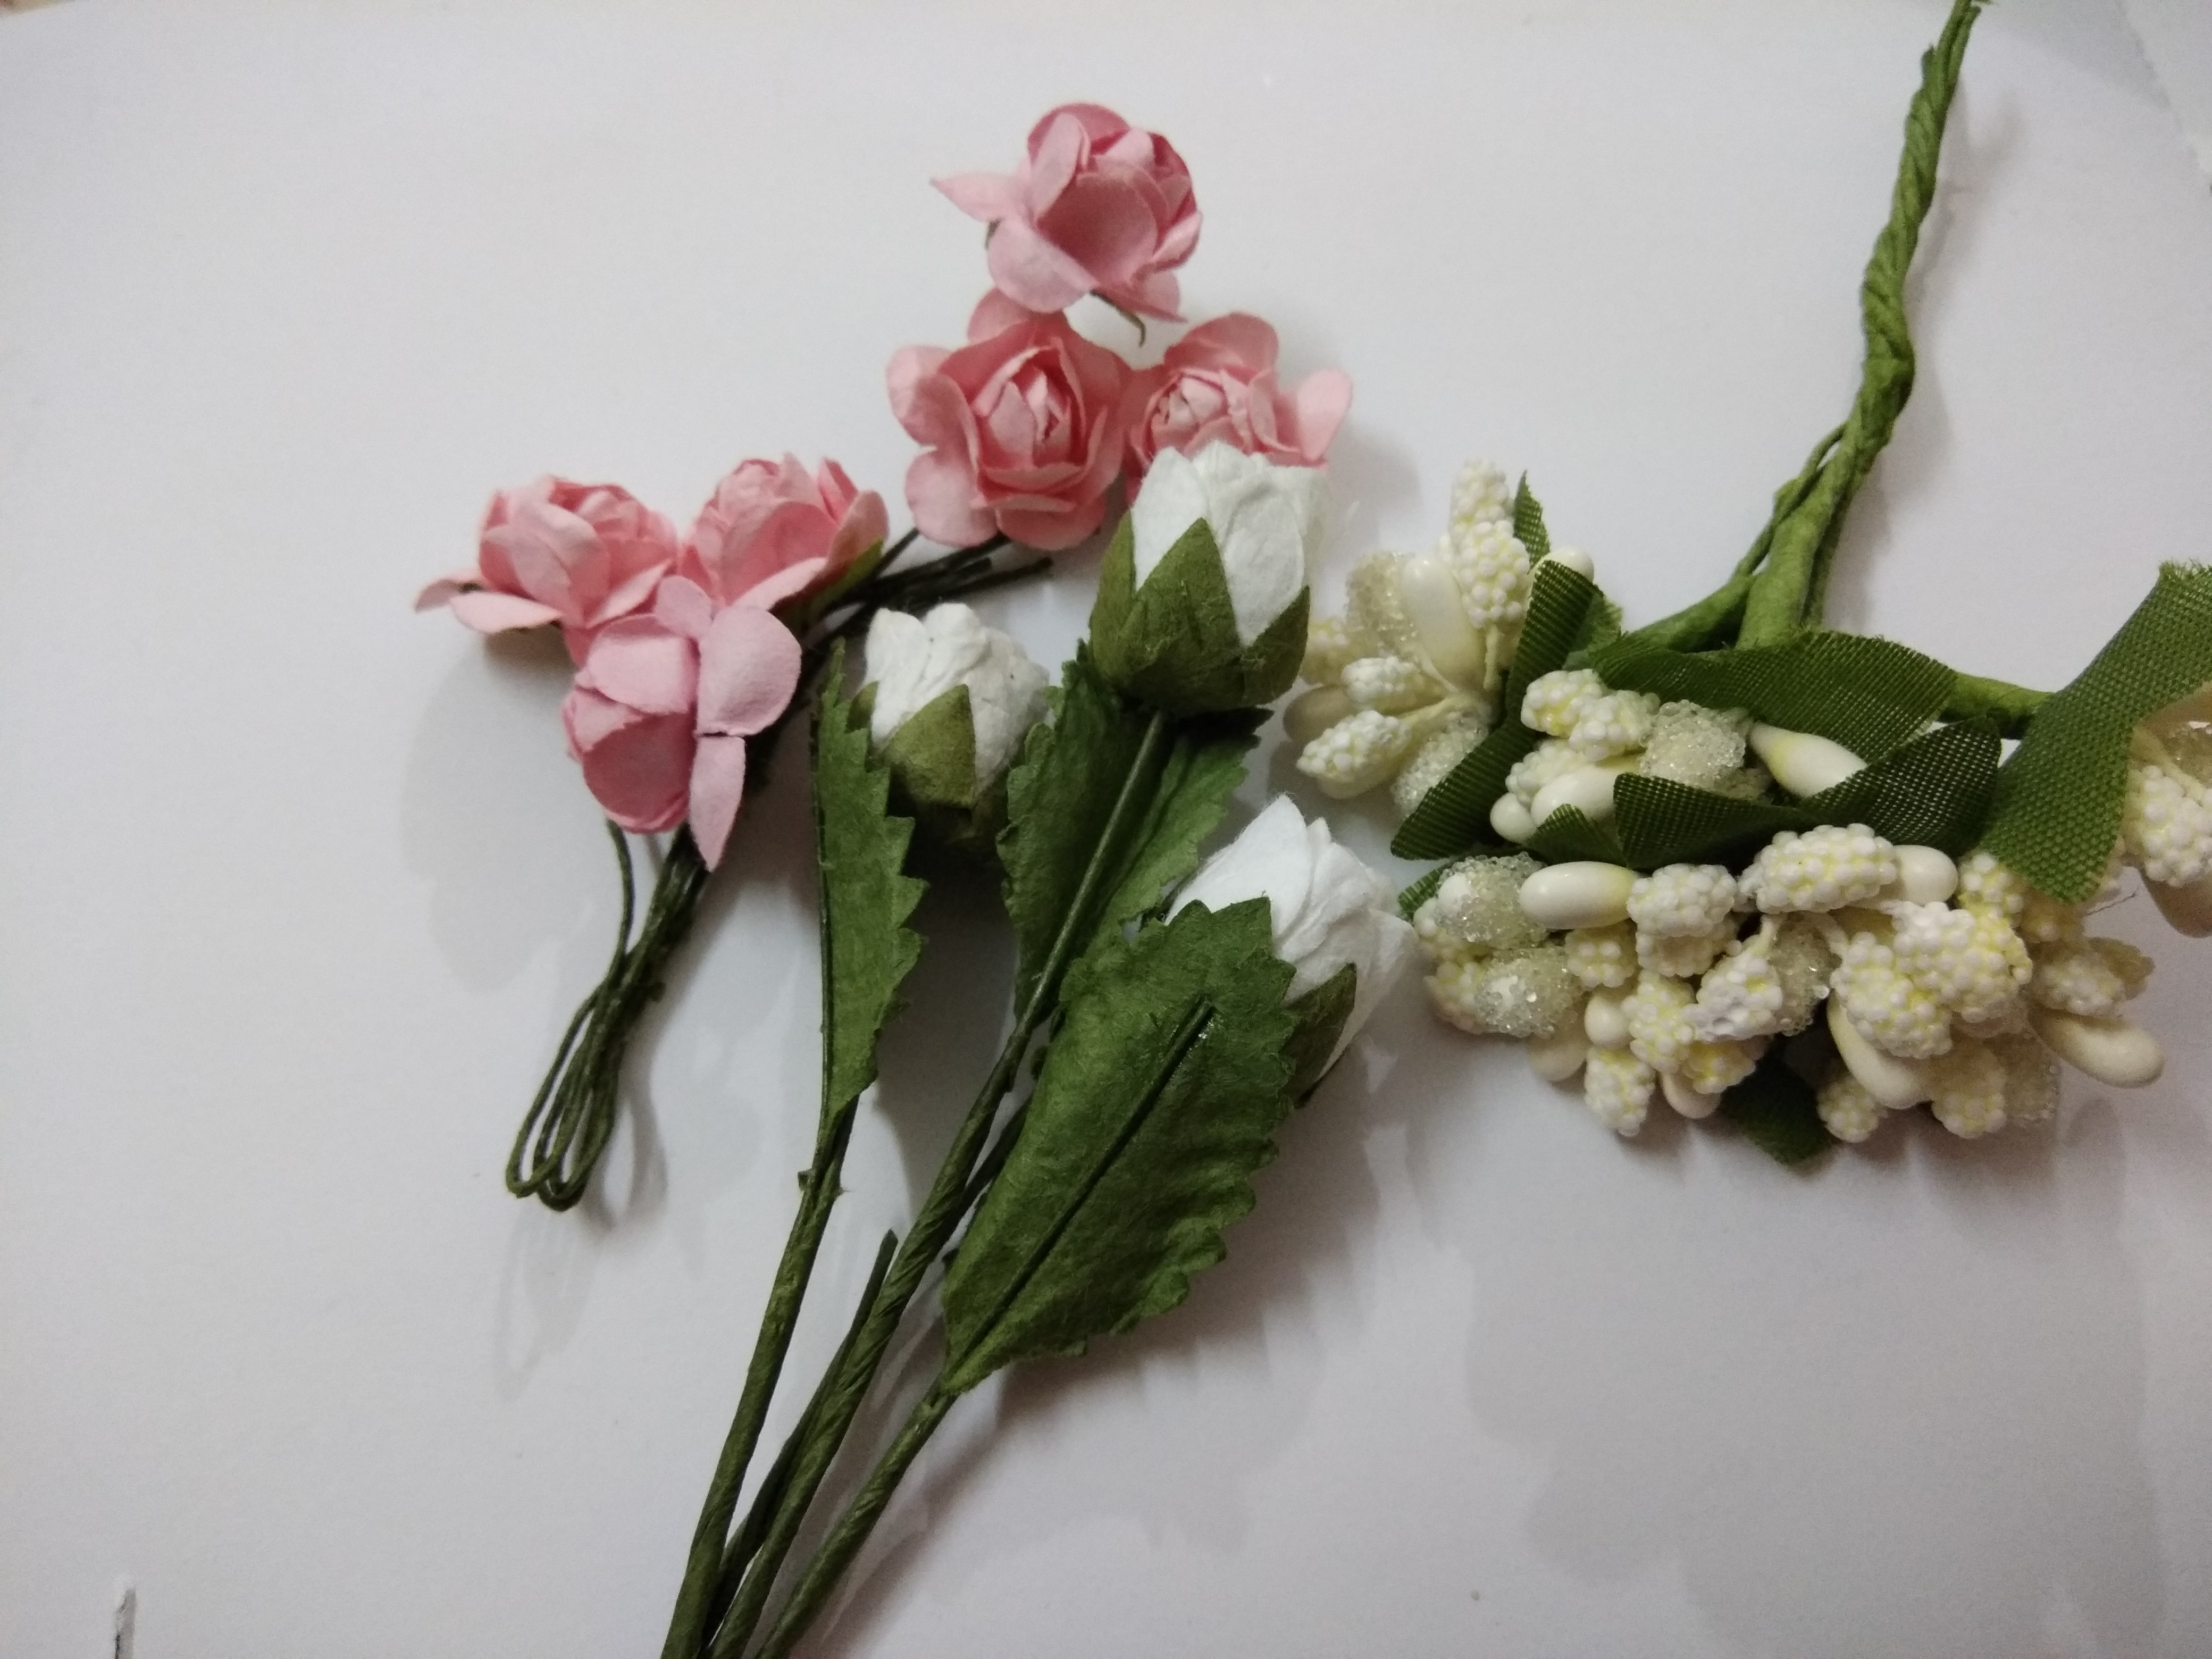
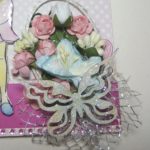
I then,took an oval shaped frame and decorated it with Craftyscrappers Mix mulberry flowers pack that i received in my DT KIT and stuck it on the side of the corner, creating a beautiful bunch of flowers.
I also attached a butterfly on it, after applying a coat of distress ink and ranger stickles to make it a bit shinny and also adhered a small piece of net under the flowers.
I also added some mix embellishments (blings and pearls) and finished the page.
(this is how they look…)


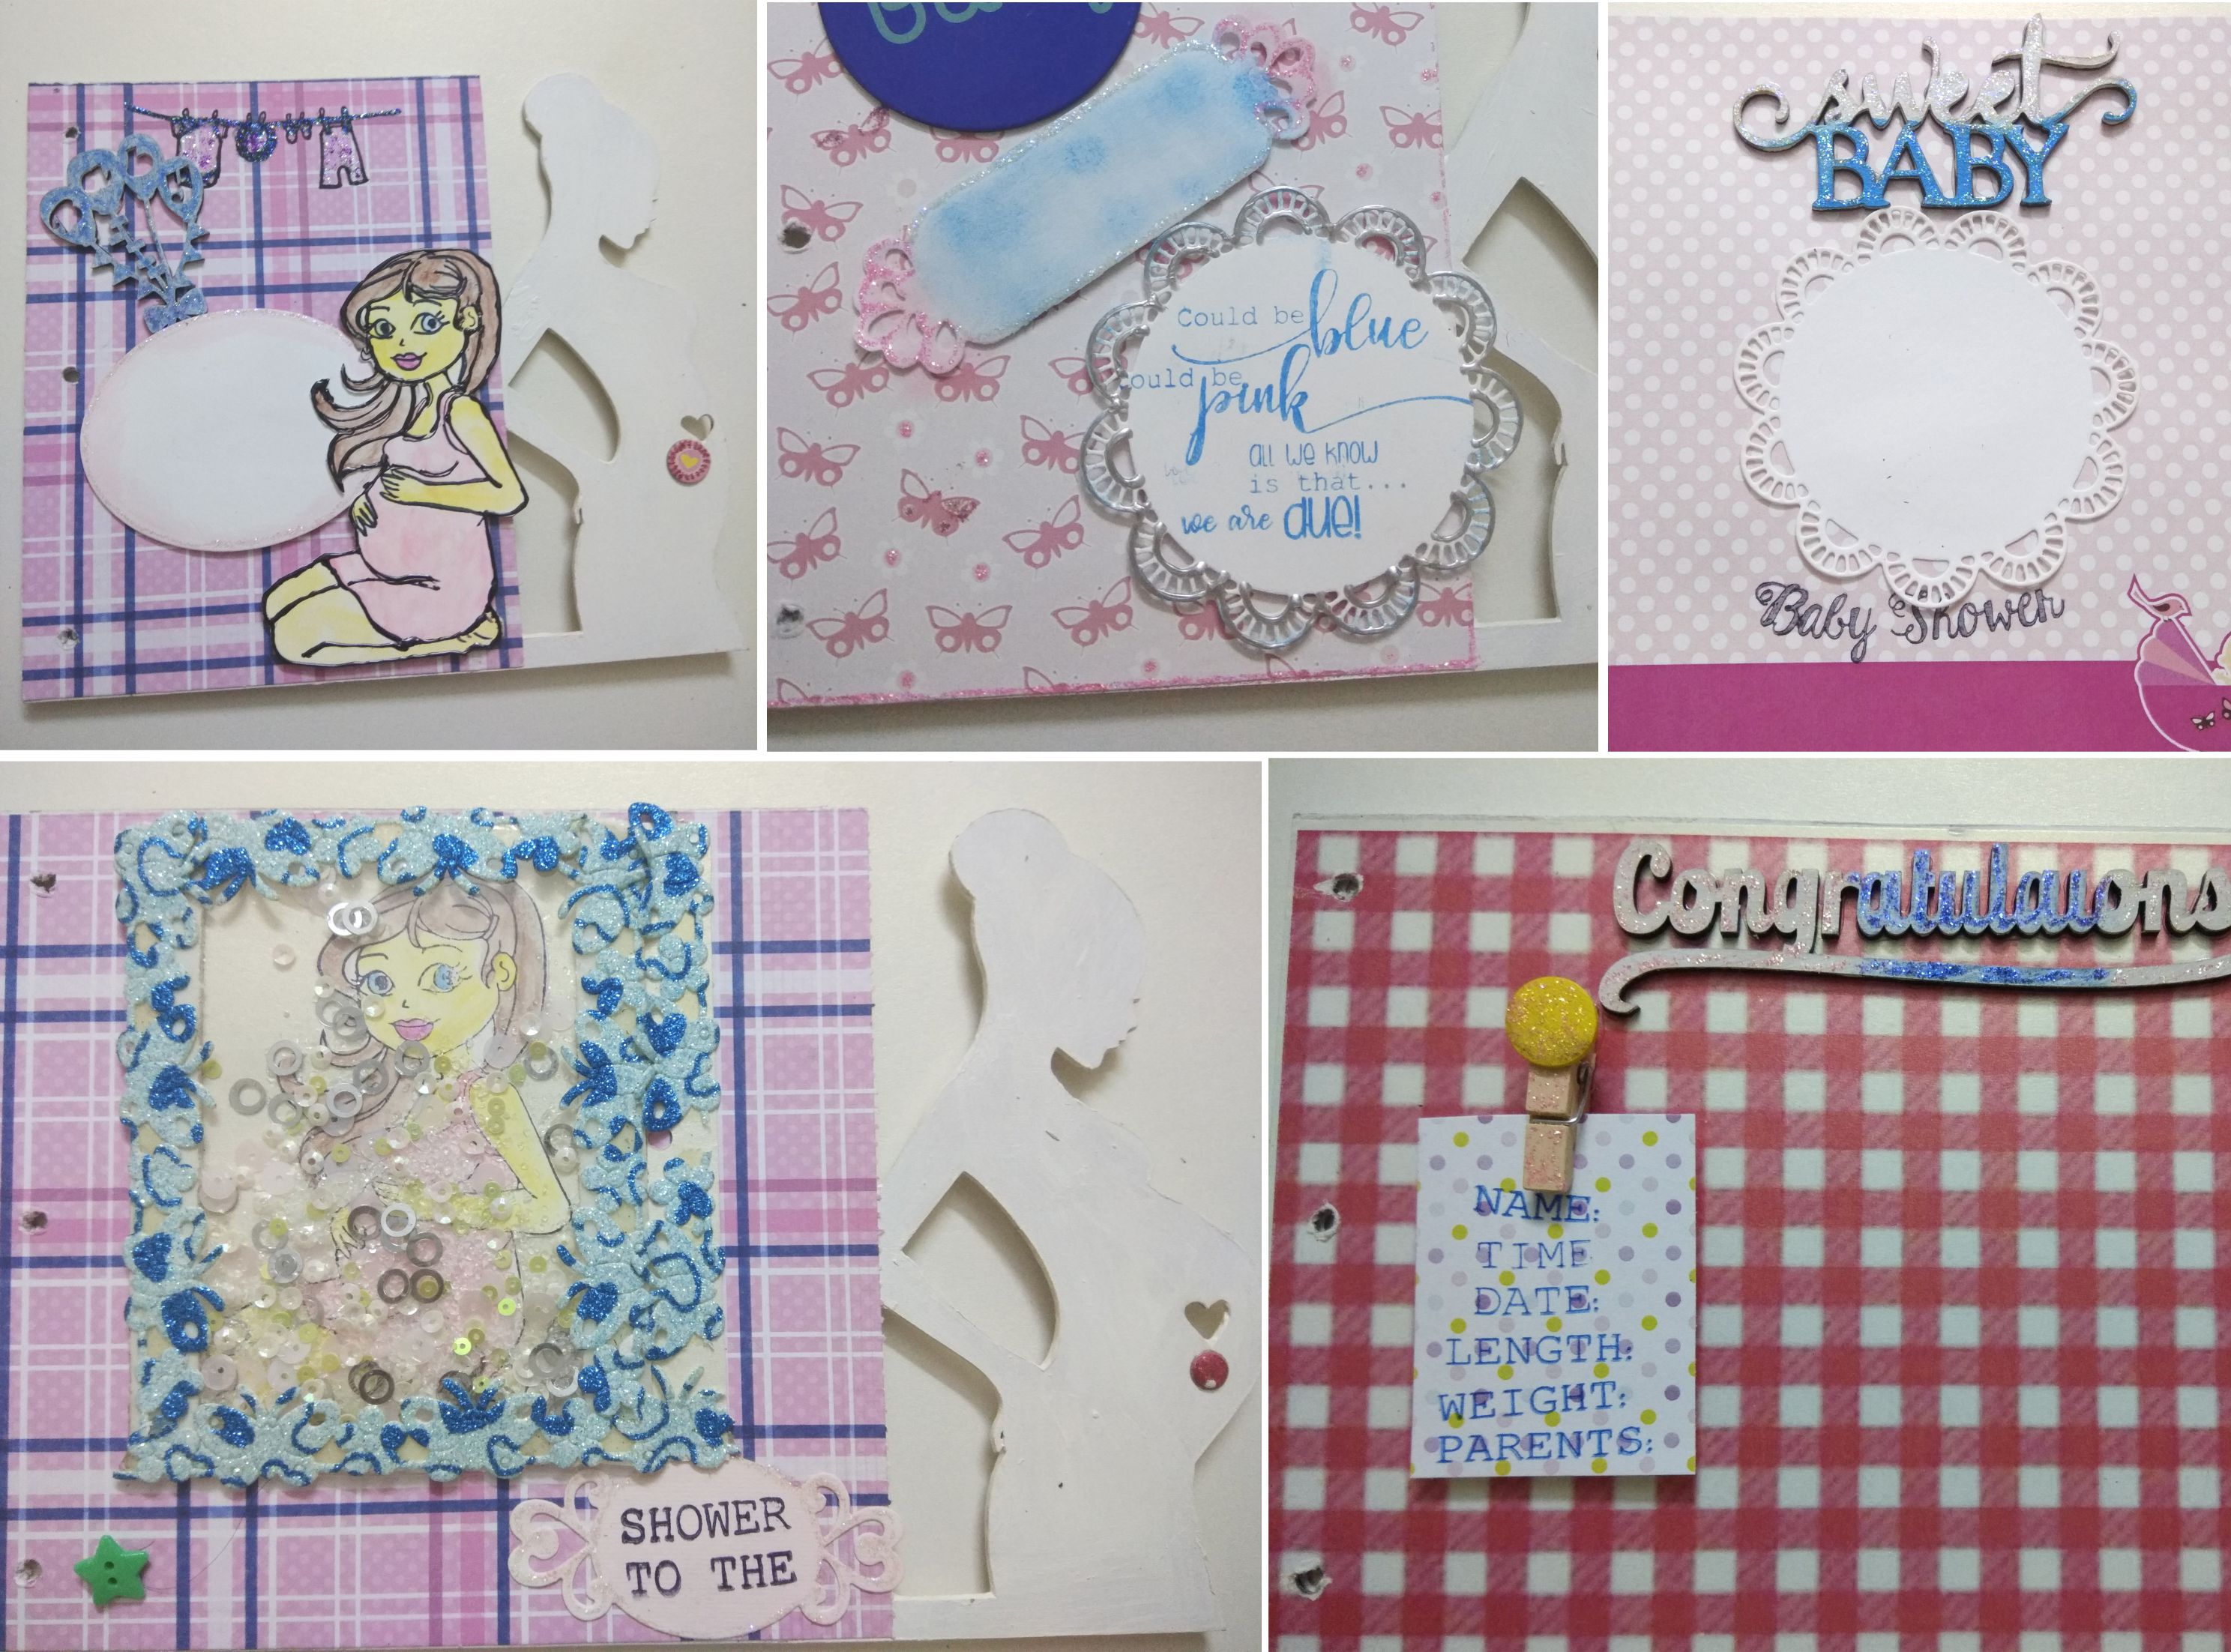
Next, I decorate whole Album in a similar manner as i did before, i decorated all the pages with the pattern papers and embellishments.
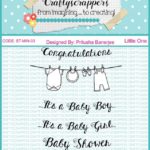
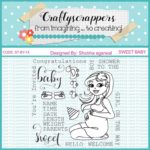
In few pages i have also used another lovely stamp sets from craftyscrappers,
“SWEET BABY” and “LITTLE ONE” that has some really cool sentiments that is very useful when creating pregnancy or baby related albums.
(this is how they look…)
-
- LITTLE ONE
-
- SWEET BABY
-
- GREAT ADVENTURE
After finishing the whole album I finally put some rings and decorated the albums with ribbons and charms.
Here are some close ups:


So that’s all for today, i hope you enjoyed the tutorial as i had so much fun creating it.
released stamps sets and Transfer Fun-Foils too.
And as always, keep checking the blog as we are coming up with lots of fun inspirations and tutorials for you all!!!
Stay Healthy and keep Crafting.
Love n Regards,