

with my first DT post for Craftyscrappers.
showing all the amazing things Konica sent me.
If not yet… do,check it out here.

with the super cute stamp sets from craftyscrappers sent to me in my DT KIT.
it has these beautiful critters along with some really nice sentiments, like…” a little piggy loves you” or “sending hogs n kisses” that will make fun cards to share with friends…
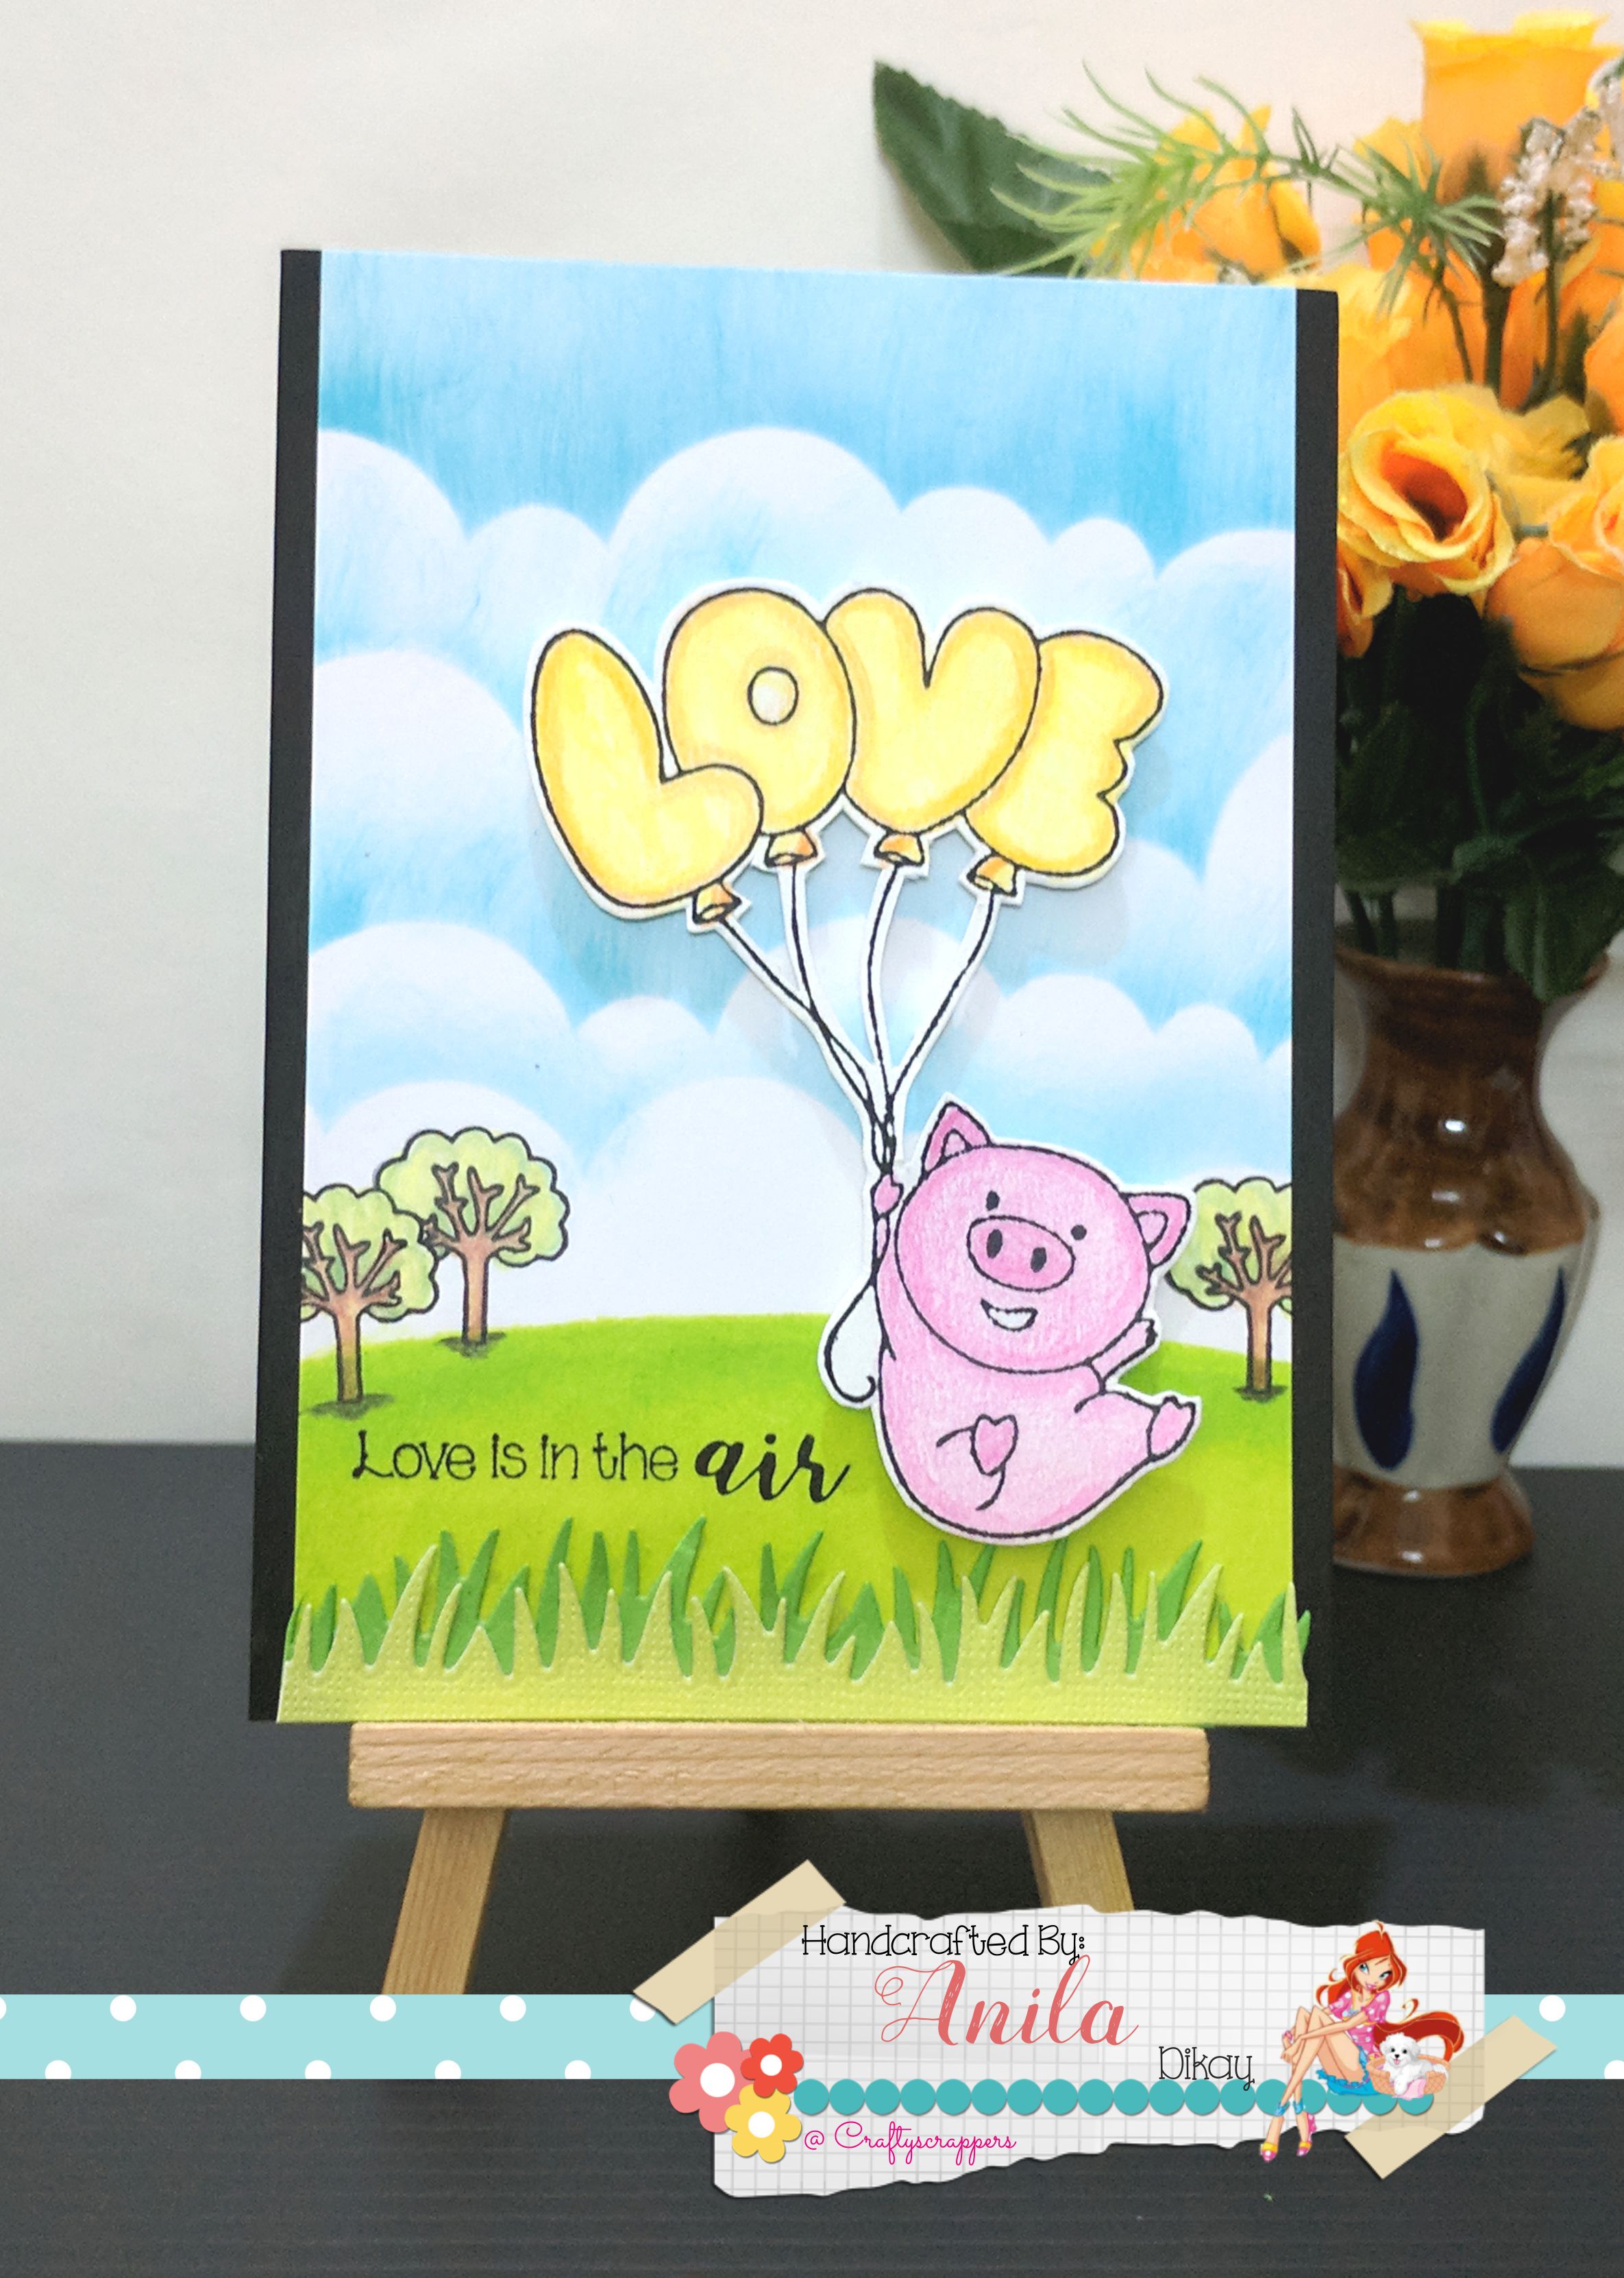
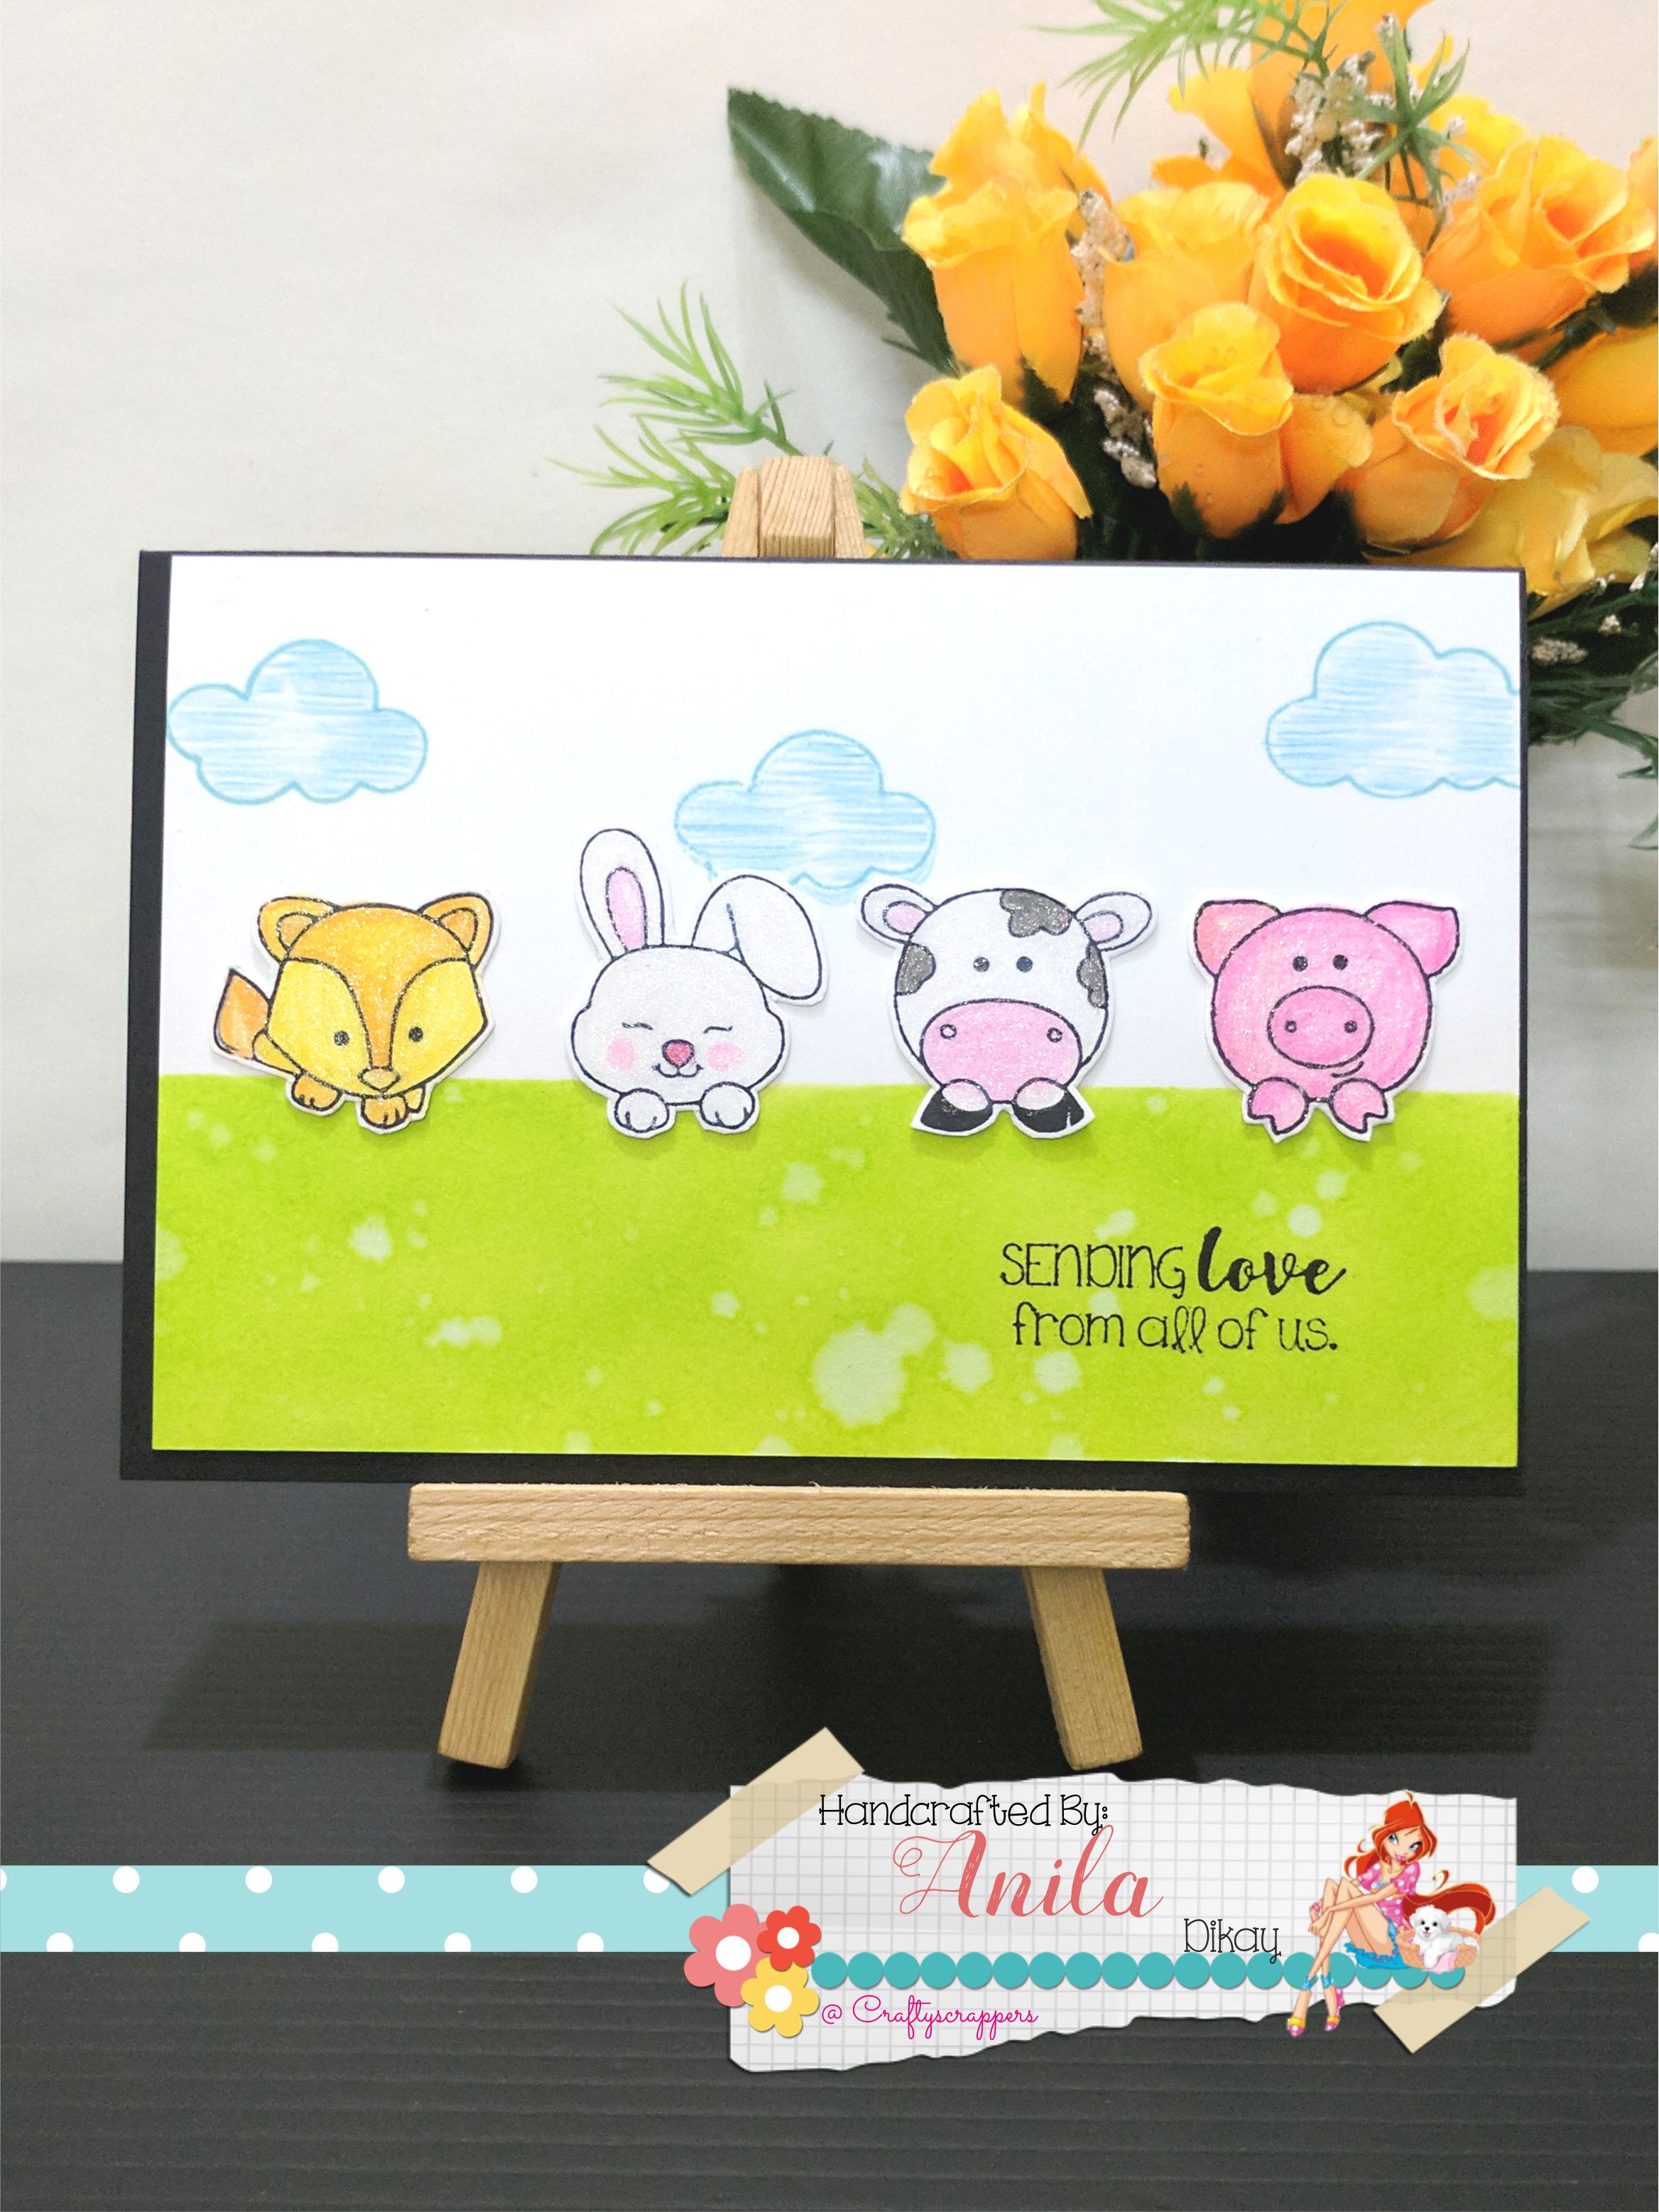
First I took a white card panel and distressed it with green ink at the bottom.
Then at the top,I created the clouds using blue distress ink and
Craftyscrappers stencil, “CREATE -A-SCENE “(clouds, land and grass.)
These stencils are high quality stencils,which will help you to create amazing backgrounds
or highlights on your projects.
These stencils comes in a trendy package and are 6.5×6.5INCH in size,
which makes it easier for you to twist and turn the stencils according to your working surface.
The ” CREATE -A-SCENE “(clouds, land and grass.) also comes with masking elements,
which makes them versatile and easy to use!
Then I stamped the small trees from the stamp set,“U LIFT ME UP”
and colored them to create more interest in the scene.
Then i die-cut two toned grass and attached it at the bottom of the panel.
Then stamped the sentiment,”love is in the air” in place and mounted this panel on a black side folding card.
I then stamped the image of the piggy with the LOVE balloon,colored it using my pencil colors and fussy cut them.
Lastly,i mounted the piggy with balloons on the card using some foam adhesives.
And that’s it, easy quick and simple!!!
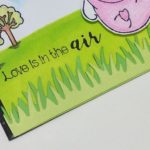
Here are some CLOSE-UPS:


A BRIEF TUTORIAL:
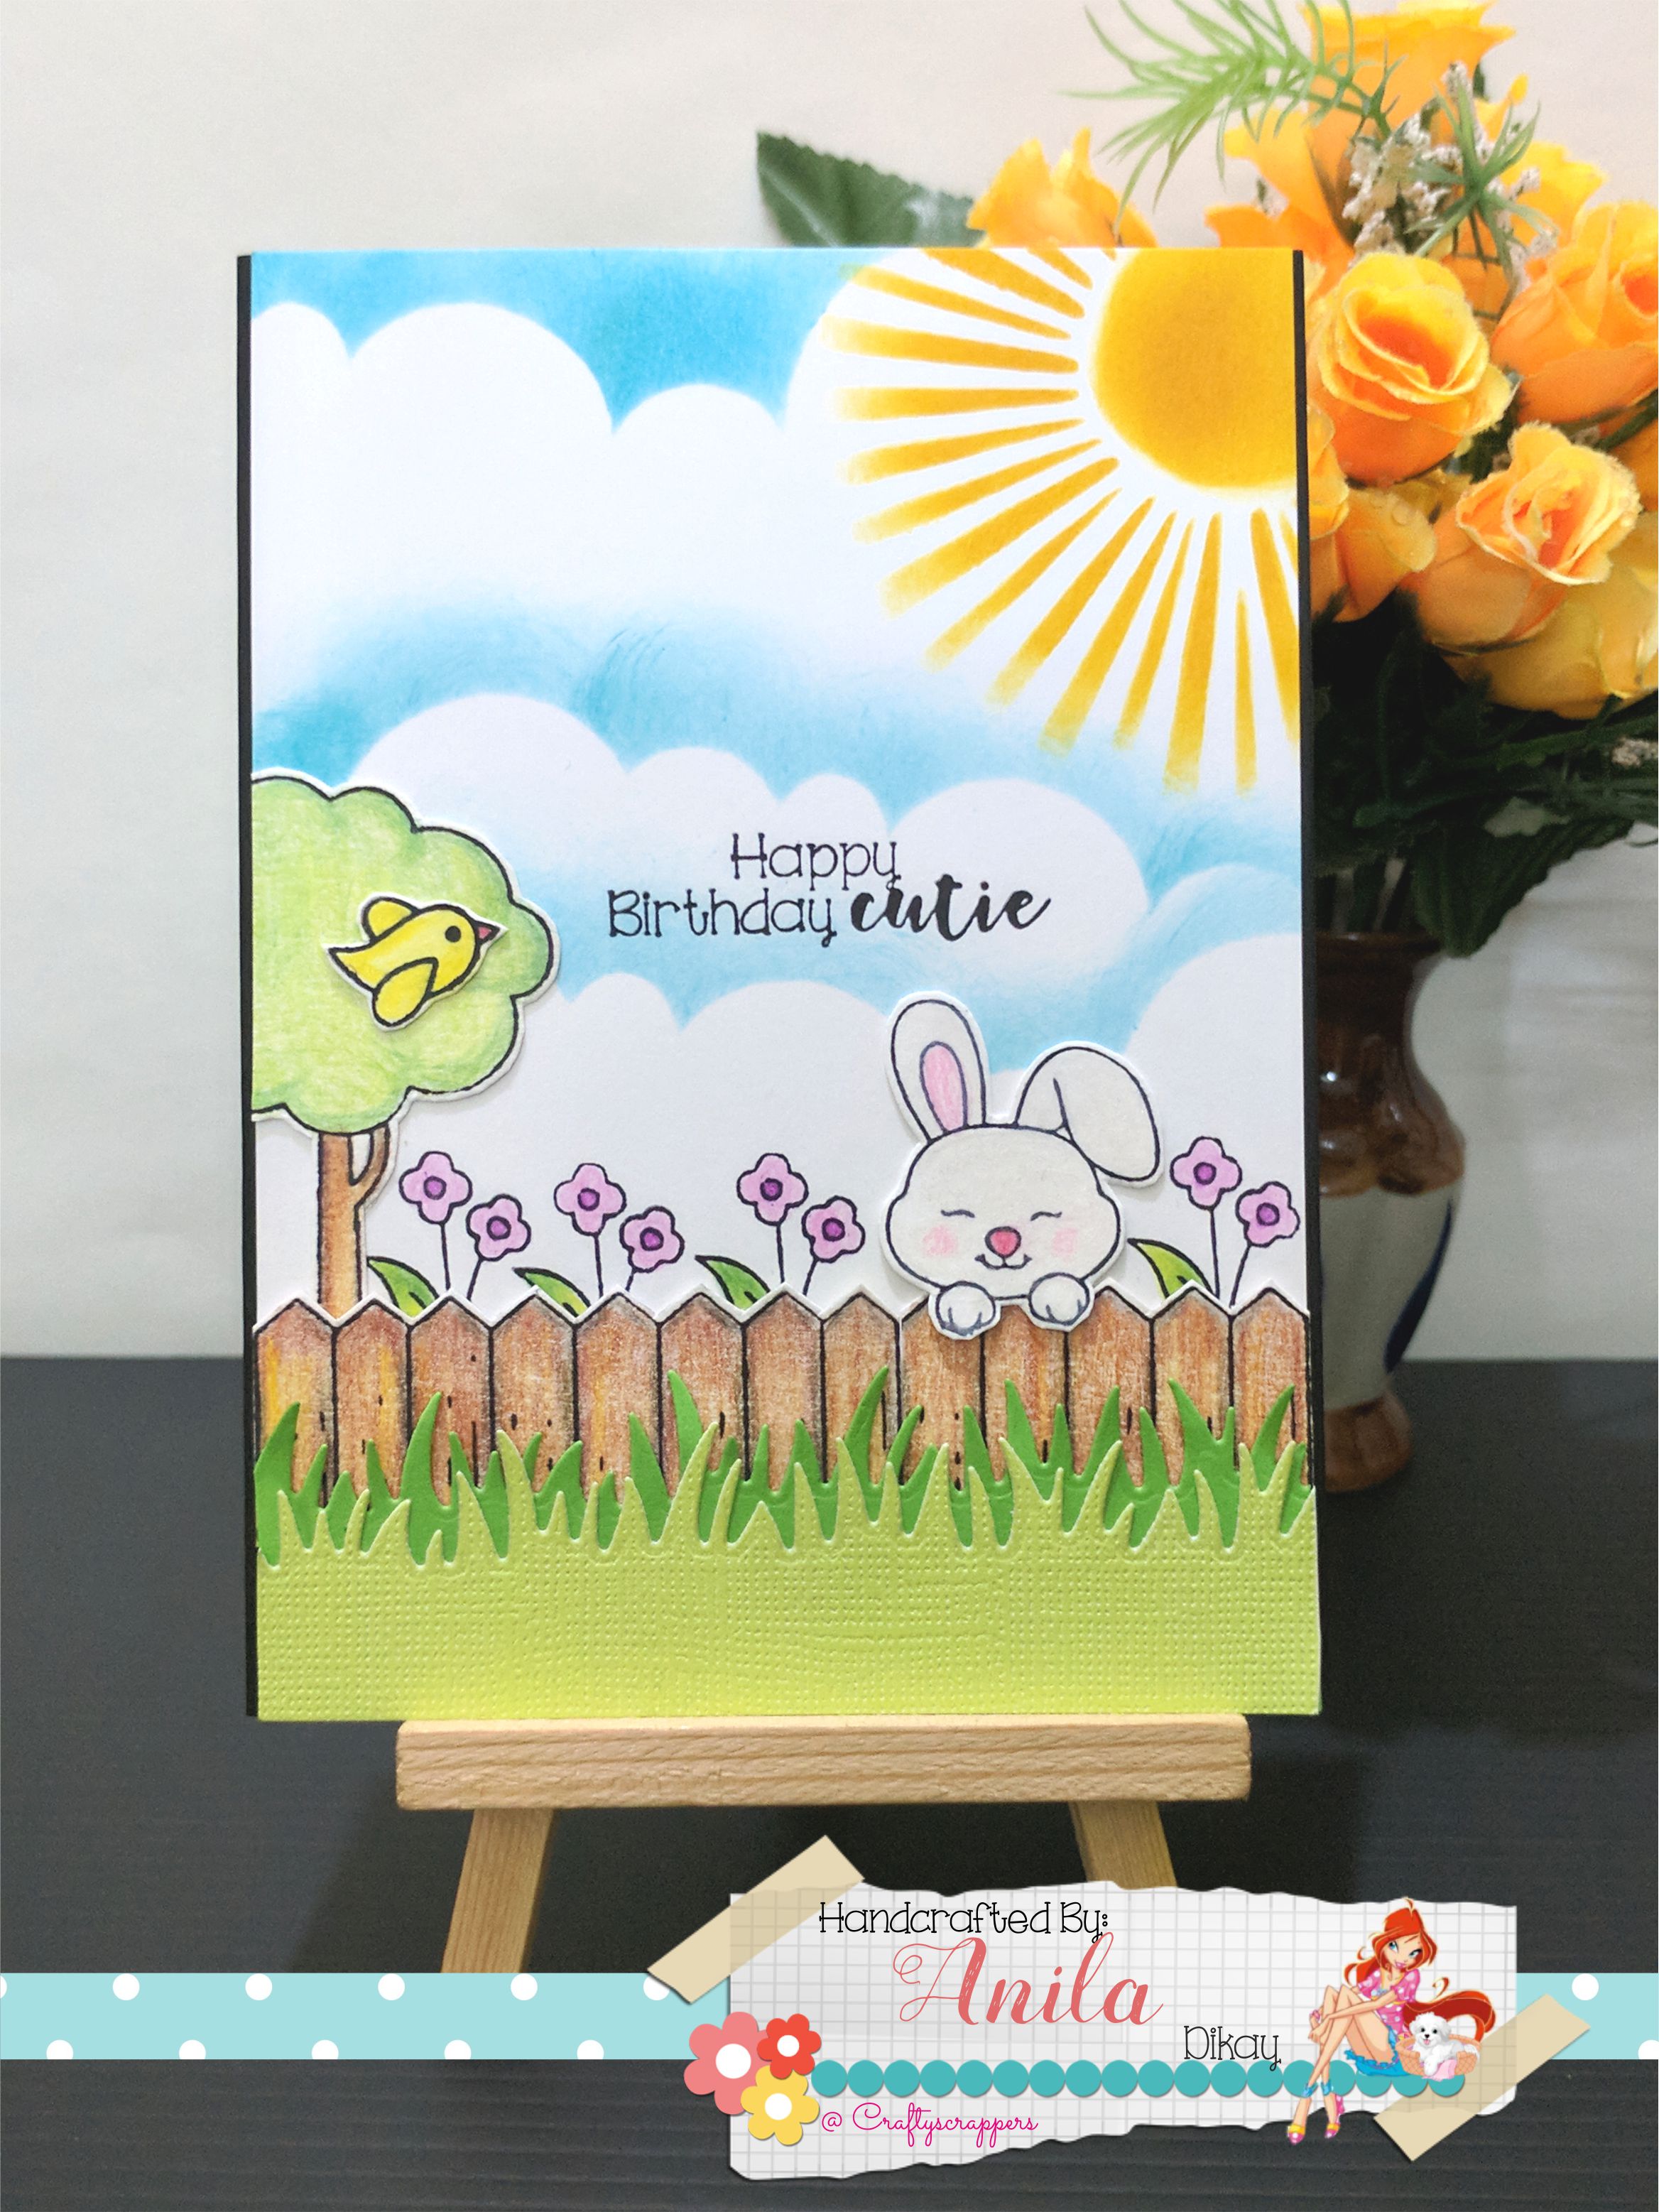
First,I stencilled the clouds and sun using distress inks and Craftyscrappers stencil, “CREATE- A- SCENE”(SUNBURST) on a white card panel.
(This stencil too comes with the masking elements, so its great and fun to use with!)
I, then Stamped the sentiment,”Happy birthday cutie”, from the stamp set,
“Fuzzy wishes”…in the center of the card panel.
Mounted this panel on a black side-folding card.and then stamped, colored and fussy cut the fence,the cute bunny,the adorable mini trees and the tiny little birdie.
Then I Die-cut two-toned grass.
Mounted the tree in place.
Stamped the beautiful little flowers around the tree and the bunny (roughly placed… 🙂 ) and colored them.
Adhered the fence,and covered the fence partially with the die-cut grass.
Lastly adhered the bunny and the little birdie.
Coloured the bunny with the Wink of Stella clear shimmer… to add addition beauty to the stamped image.
And i was done… !!!
isn’t that simple!
Here are some CLOSE-UPS:
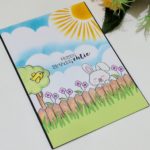


“fuzzy wishes” and “u lift me up”.
A BRIEF TUTORIAL:
Then, splattered a few drops of water over the distressed area.
Stamped the sentiment,“Sending Love from all of us”, from the stamp set,
“Fuzzy wishes”.
On the top part of the card,I stamped the clouds from the stamp set, “U lift me up” and roughly colored them with color pencils.
Then adhered the card panel on a side-folding black card.
Stamped, colored and fussy cut the images and mounted them on the card.
Used the Wink of Stella clear shimmer to add shine to the images.
And that’s all!!!


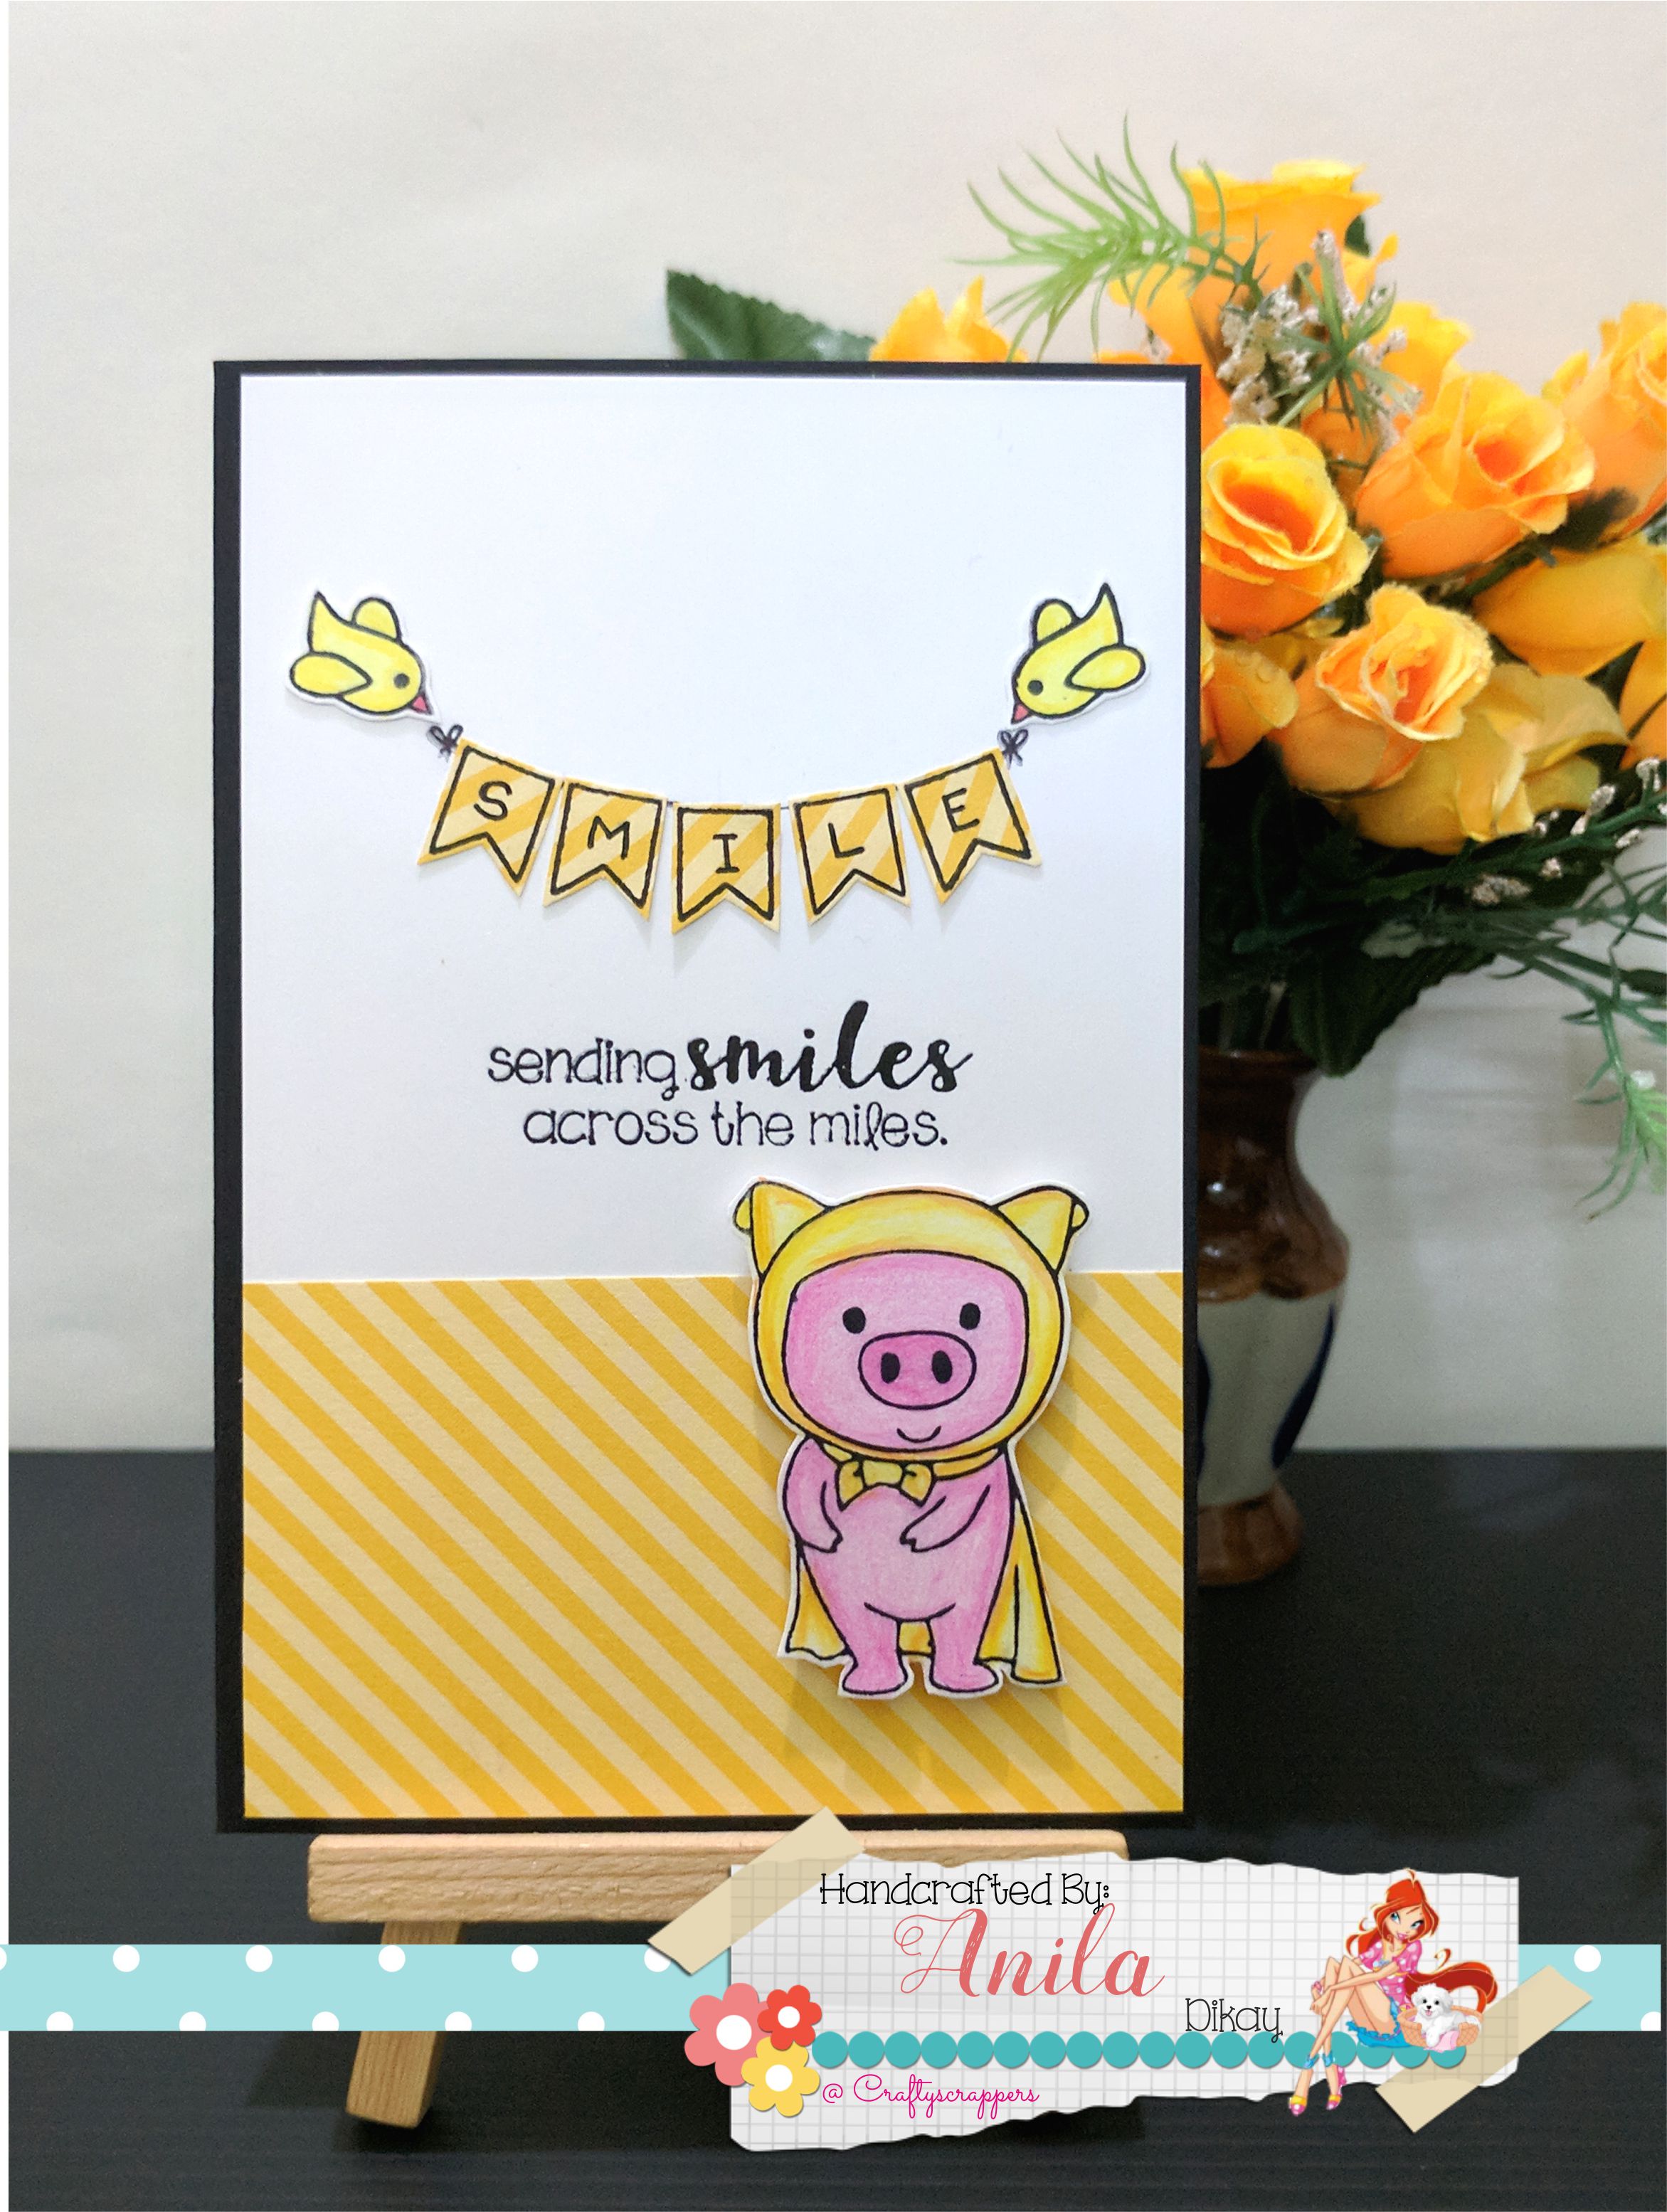
I stamped the banner shape, from the stamp set,“U LIFT ME UP” multiple times on a pattern paper and fussy cut them all.
Then on a white card panel,i stamped the strip of the banner.
Stuck the banner shapes on the string.
Wrote the word “SMILE” on them and adhered the same pattern paper at the bottom of the panel.
Next I stamped the sentiment, “sending smiles across the miles”, in between.
And then mounted this card panel on a side-folding black card.
Stamped, colored and fussy cut the cute little birdie and the piggy.
The cute “Piggy” is from the stamp set, “hogs n kisses”.
Then i mounted everything and the (Piggy with foam adhesive) onto the card in place.That’s all and i was done with a super fun card!
Here are some CLOSE-UPS:


that i used to create my cards.
1.STAMP SETS:
![U LIFT ME UP[ST-ANL-16]r_768x768-800x800](https://craftyscrappers.files.wordpress.com/2017/06/u-lift-me-upst-anl-16r_768x768-800x800.jpg)
U LIFT ME UP
![fuzzy wishes[ST-ANL-15]_768x768-800x800](https://craftyscrappers.files.wordpress.com/2017/06/fuzzy-wishesst-anl-15_768x768-800x800.jpg)
FUZZY WISHES
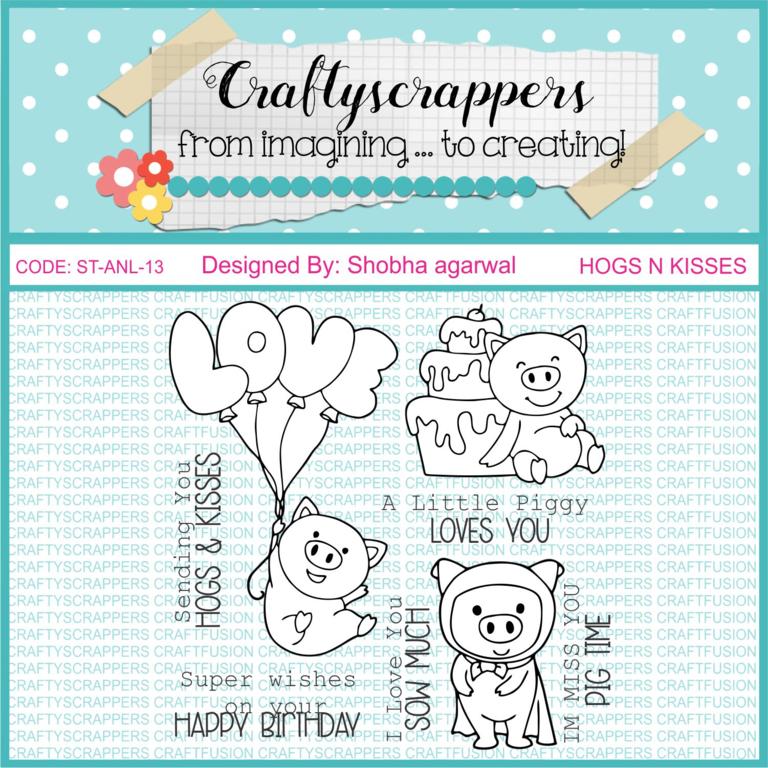
HOGS N KISSES
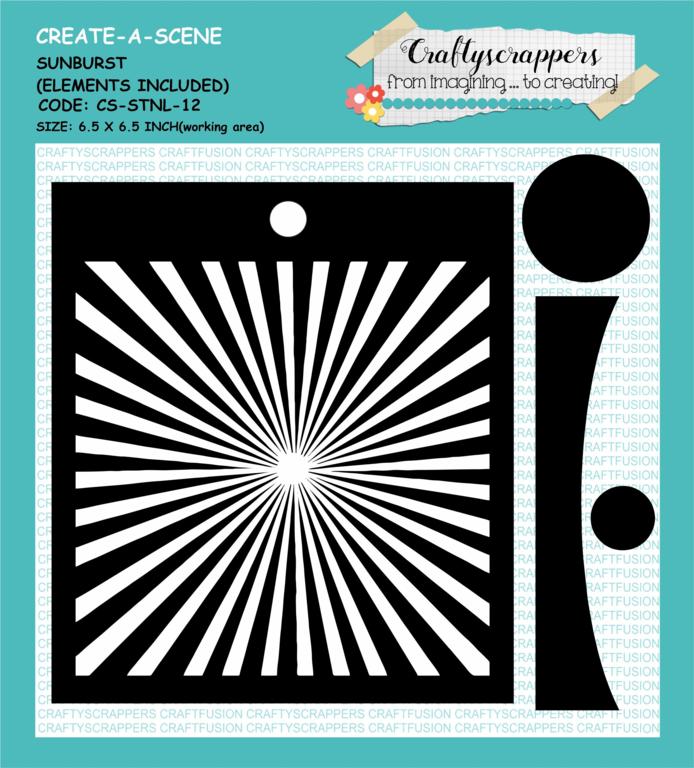
CREATE-A-SCENE(SUNBURST)
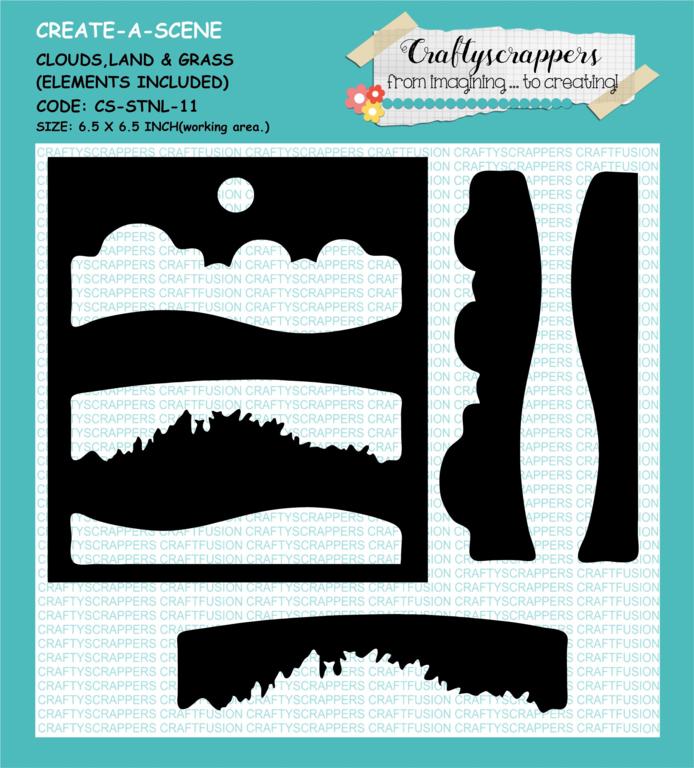
CREATE-A-SCENE(CLOUDS,LAND,GRASS)
I loved them all.
And as always, keep checking the blog as we are coming up with lots of fun inspirations and tutorials for you all!!!
Thank you so much for dropping by!

Lovely cards and tutorial Anila:)!
thankyou so much 🙂
Super cute cards dear anila 🙂 you did a fantastic job! I just love them.
Hugs
Preeti
thankyou so much 🙂