These designs are so perfect, that you can use them in cardmaking or mixed media creations or even scrapbooks and tags.
They have a super product line that includes shimmer pastes.. and these pastes are the first to be launched in india 🙂 (I AM IN LOVE WITH THEM!!! )
Then they have a beautiful collection of stencilswhich are of high quality and comes with a size that are perfect to use in any size surface.
all of their products ranges around Rs100 to Rs150, keeping in mind, crafters need and affordability. And their store always have product launch sales/ discounts and other offers that helps crafters to grab some awesome deals at the best prices!!! 🙂
I recommend every crafter to try out their products and i am sure you will fall in love with them 🙂
![ST-FLW-20[hello sunshine].jpg](https://craftyscrappers.files.wordpress.com/2018/10/st-flw-20hello-sunshine1.jpg?w=902)
The bouquet has peonies, daisies, asters and lilies, which are just so beautiful.
![st-bgr-07[scripted-butterfly].jpg](https://craftyscrappers.files.wordpress.com/2018/10/st-bgr-07scripted-butterfly.jpg)

if you have missed the previous post check it out here:
CHALLENGE#26: Celebrate DUSSHERA & DIWALI
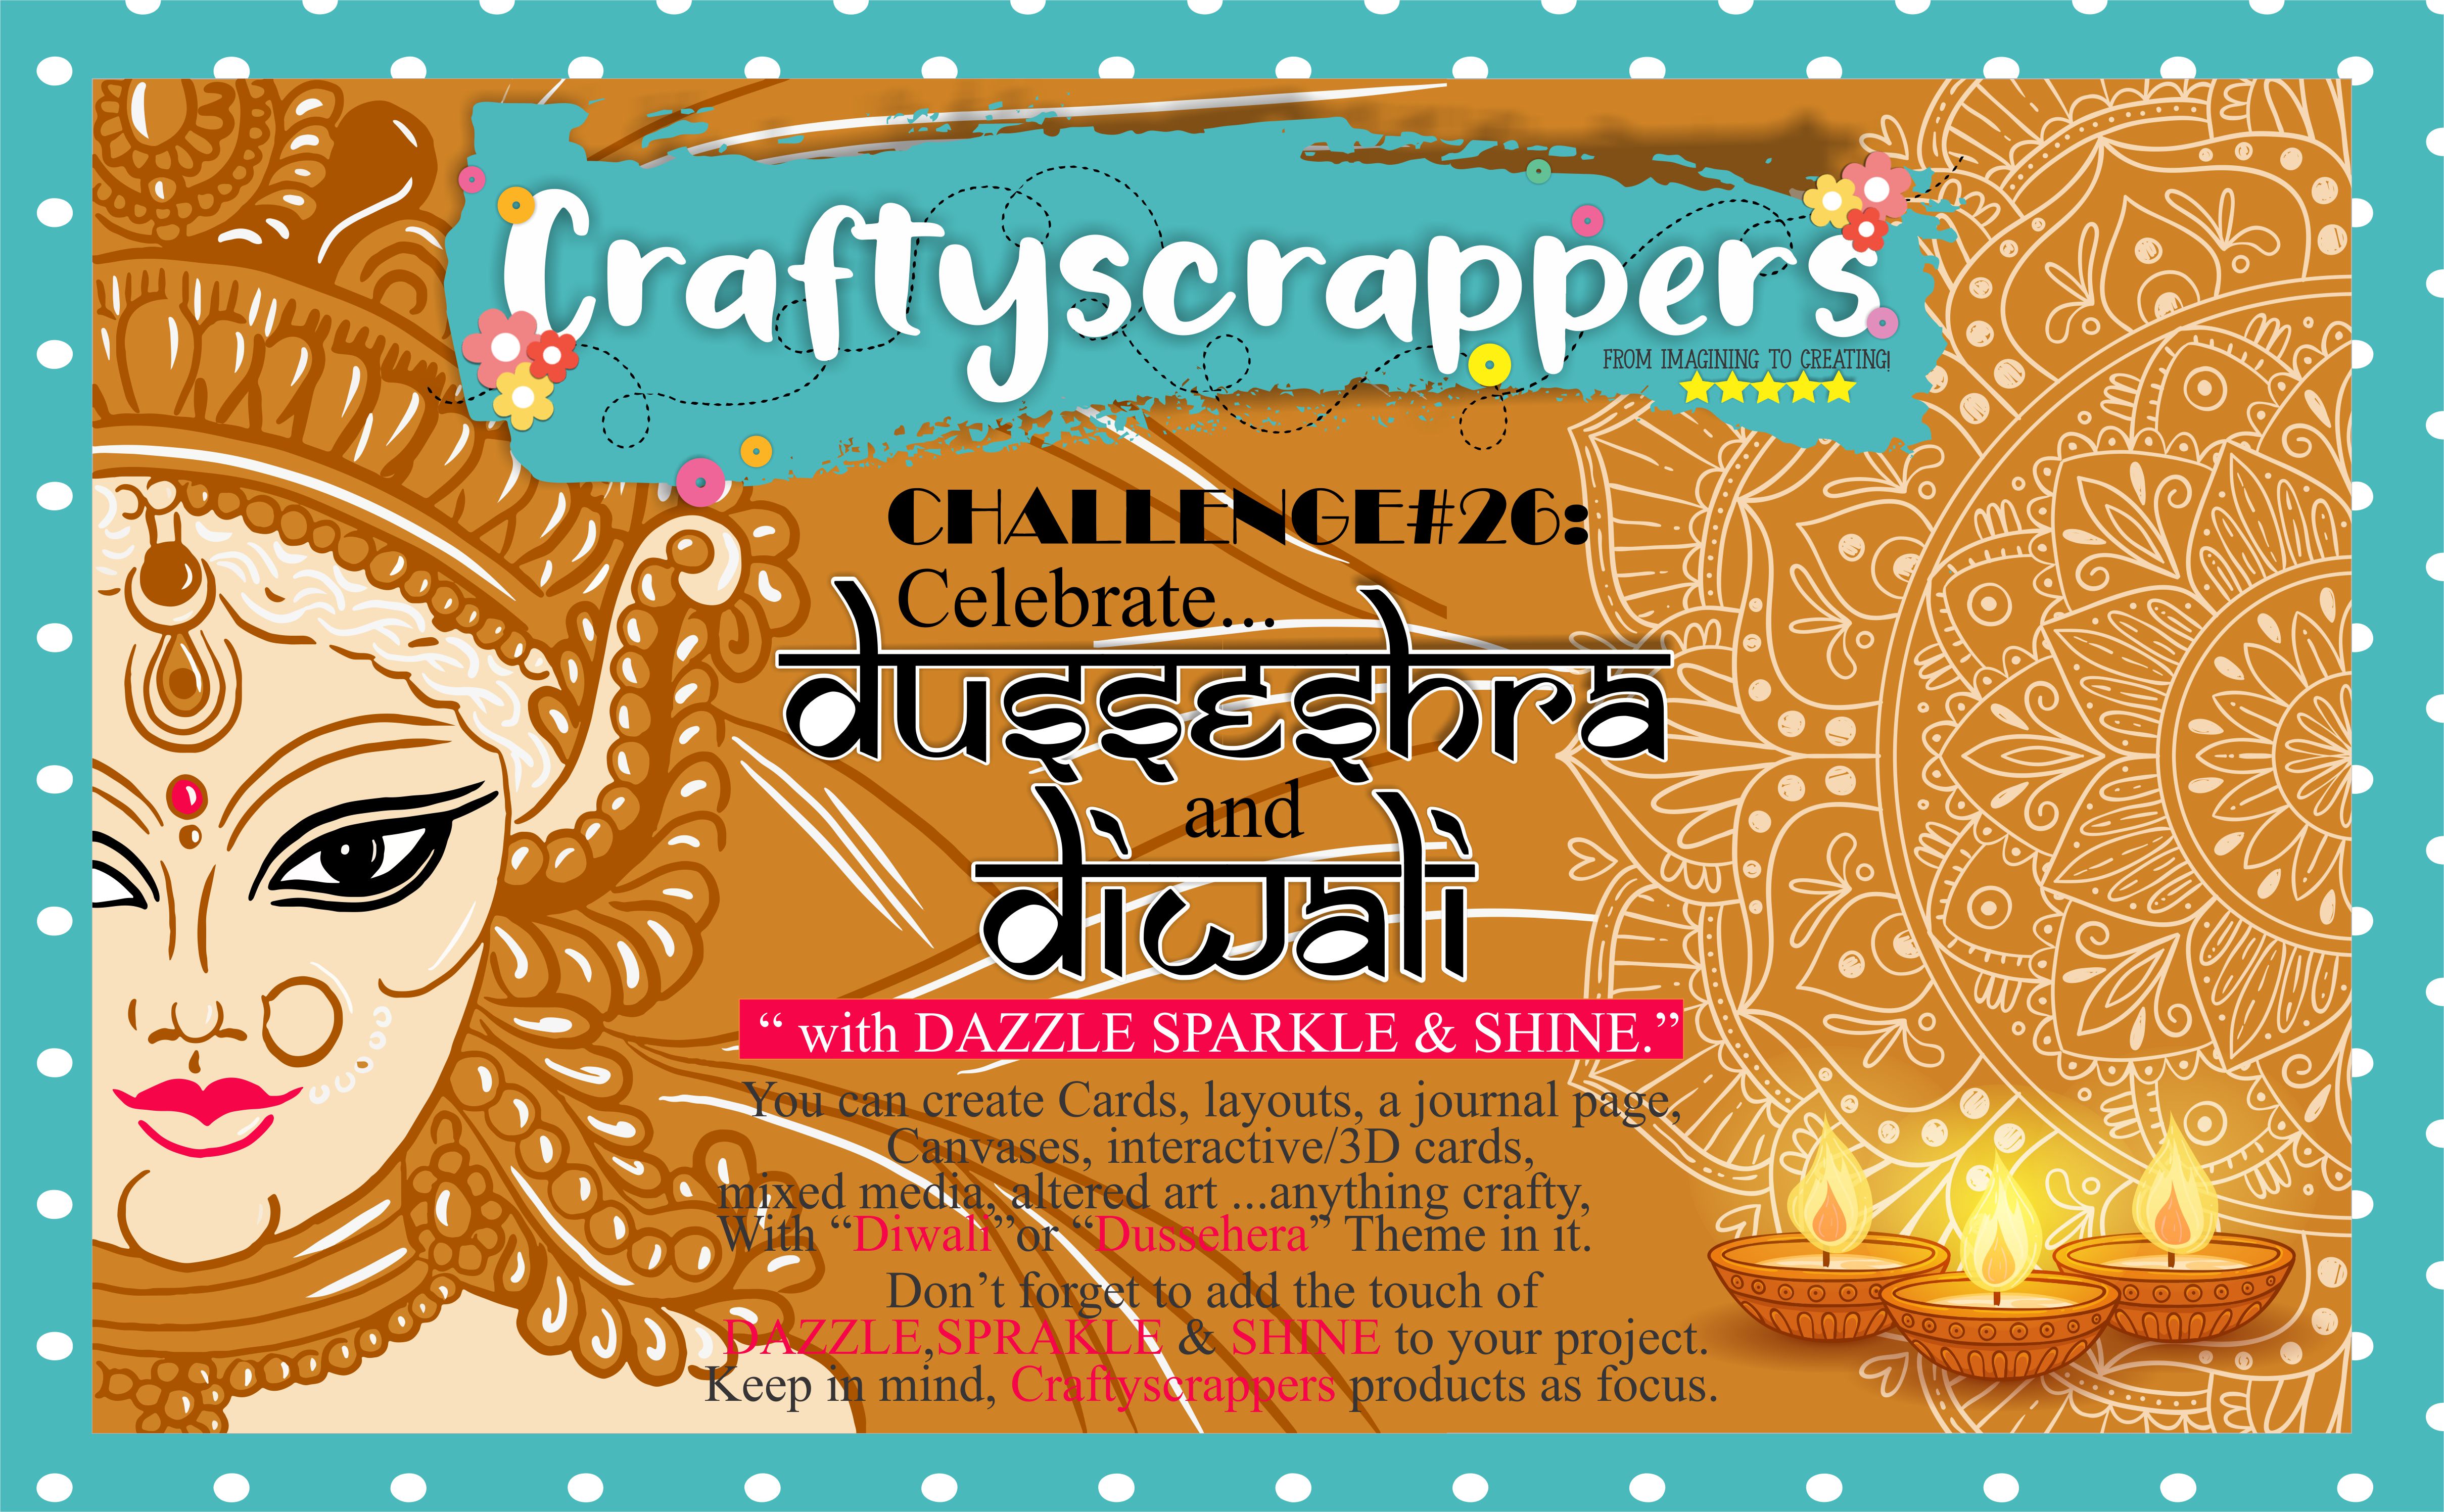
You can create Cards, layouts, a journal page, Canvases, interactive/3D cards, mixed media, altered art …anything crafty,
With “Diwali”or “Dussehera” Theme in it.
Don’t forget to add the touch of DAZZLE,SPRAKLE & SHINE to your project.
Keep in mind, Craftyscrappers products as focus.
Last date of submission is 30 NOVEMBER 2018

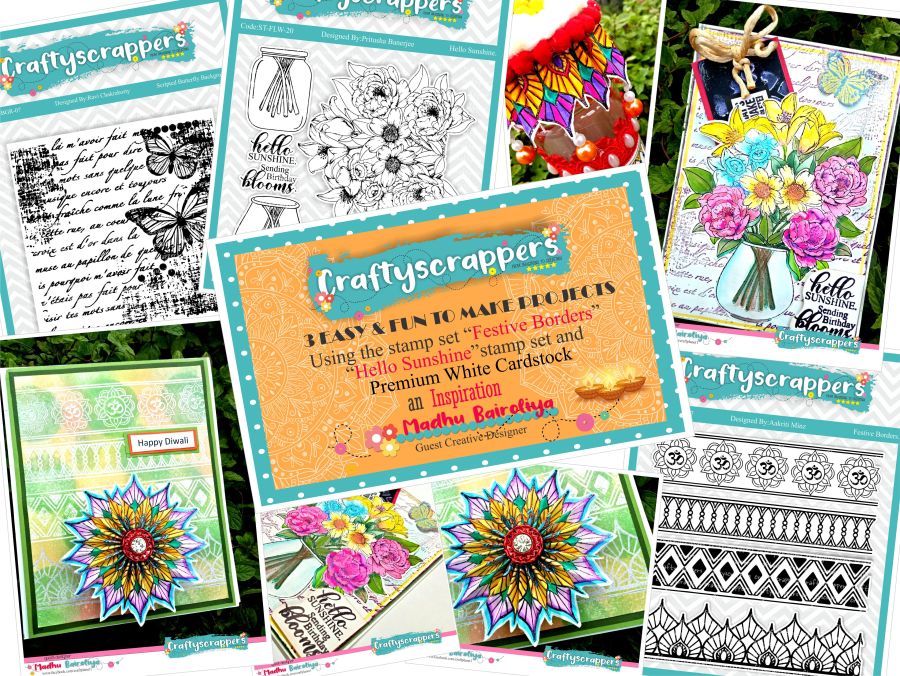
So Lets go through all my projects one by one now…
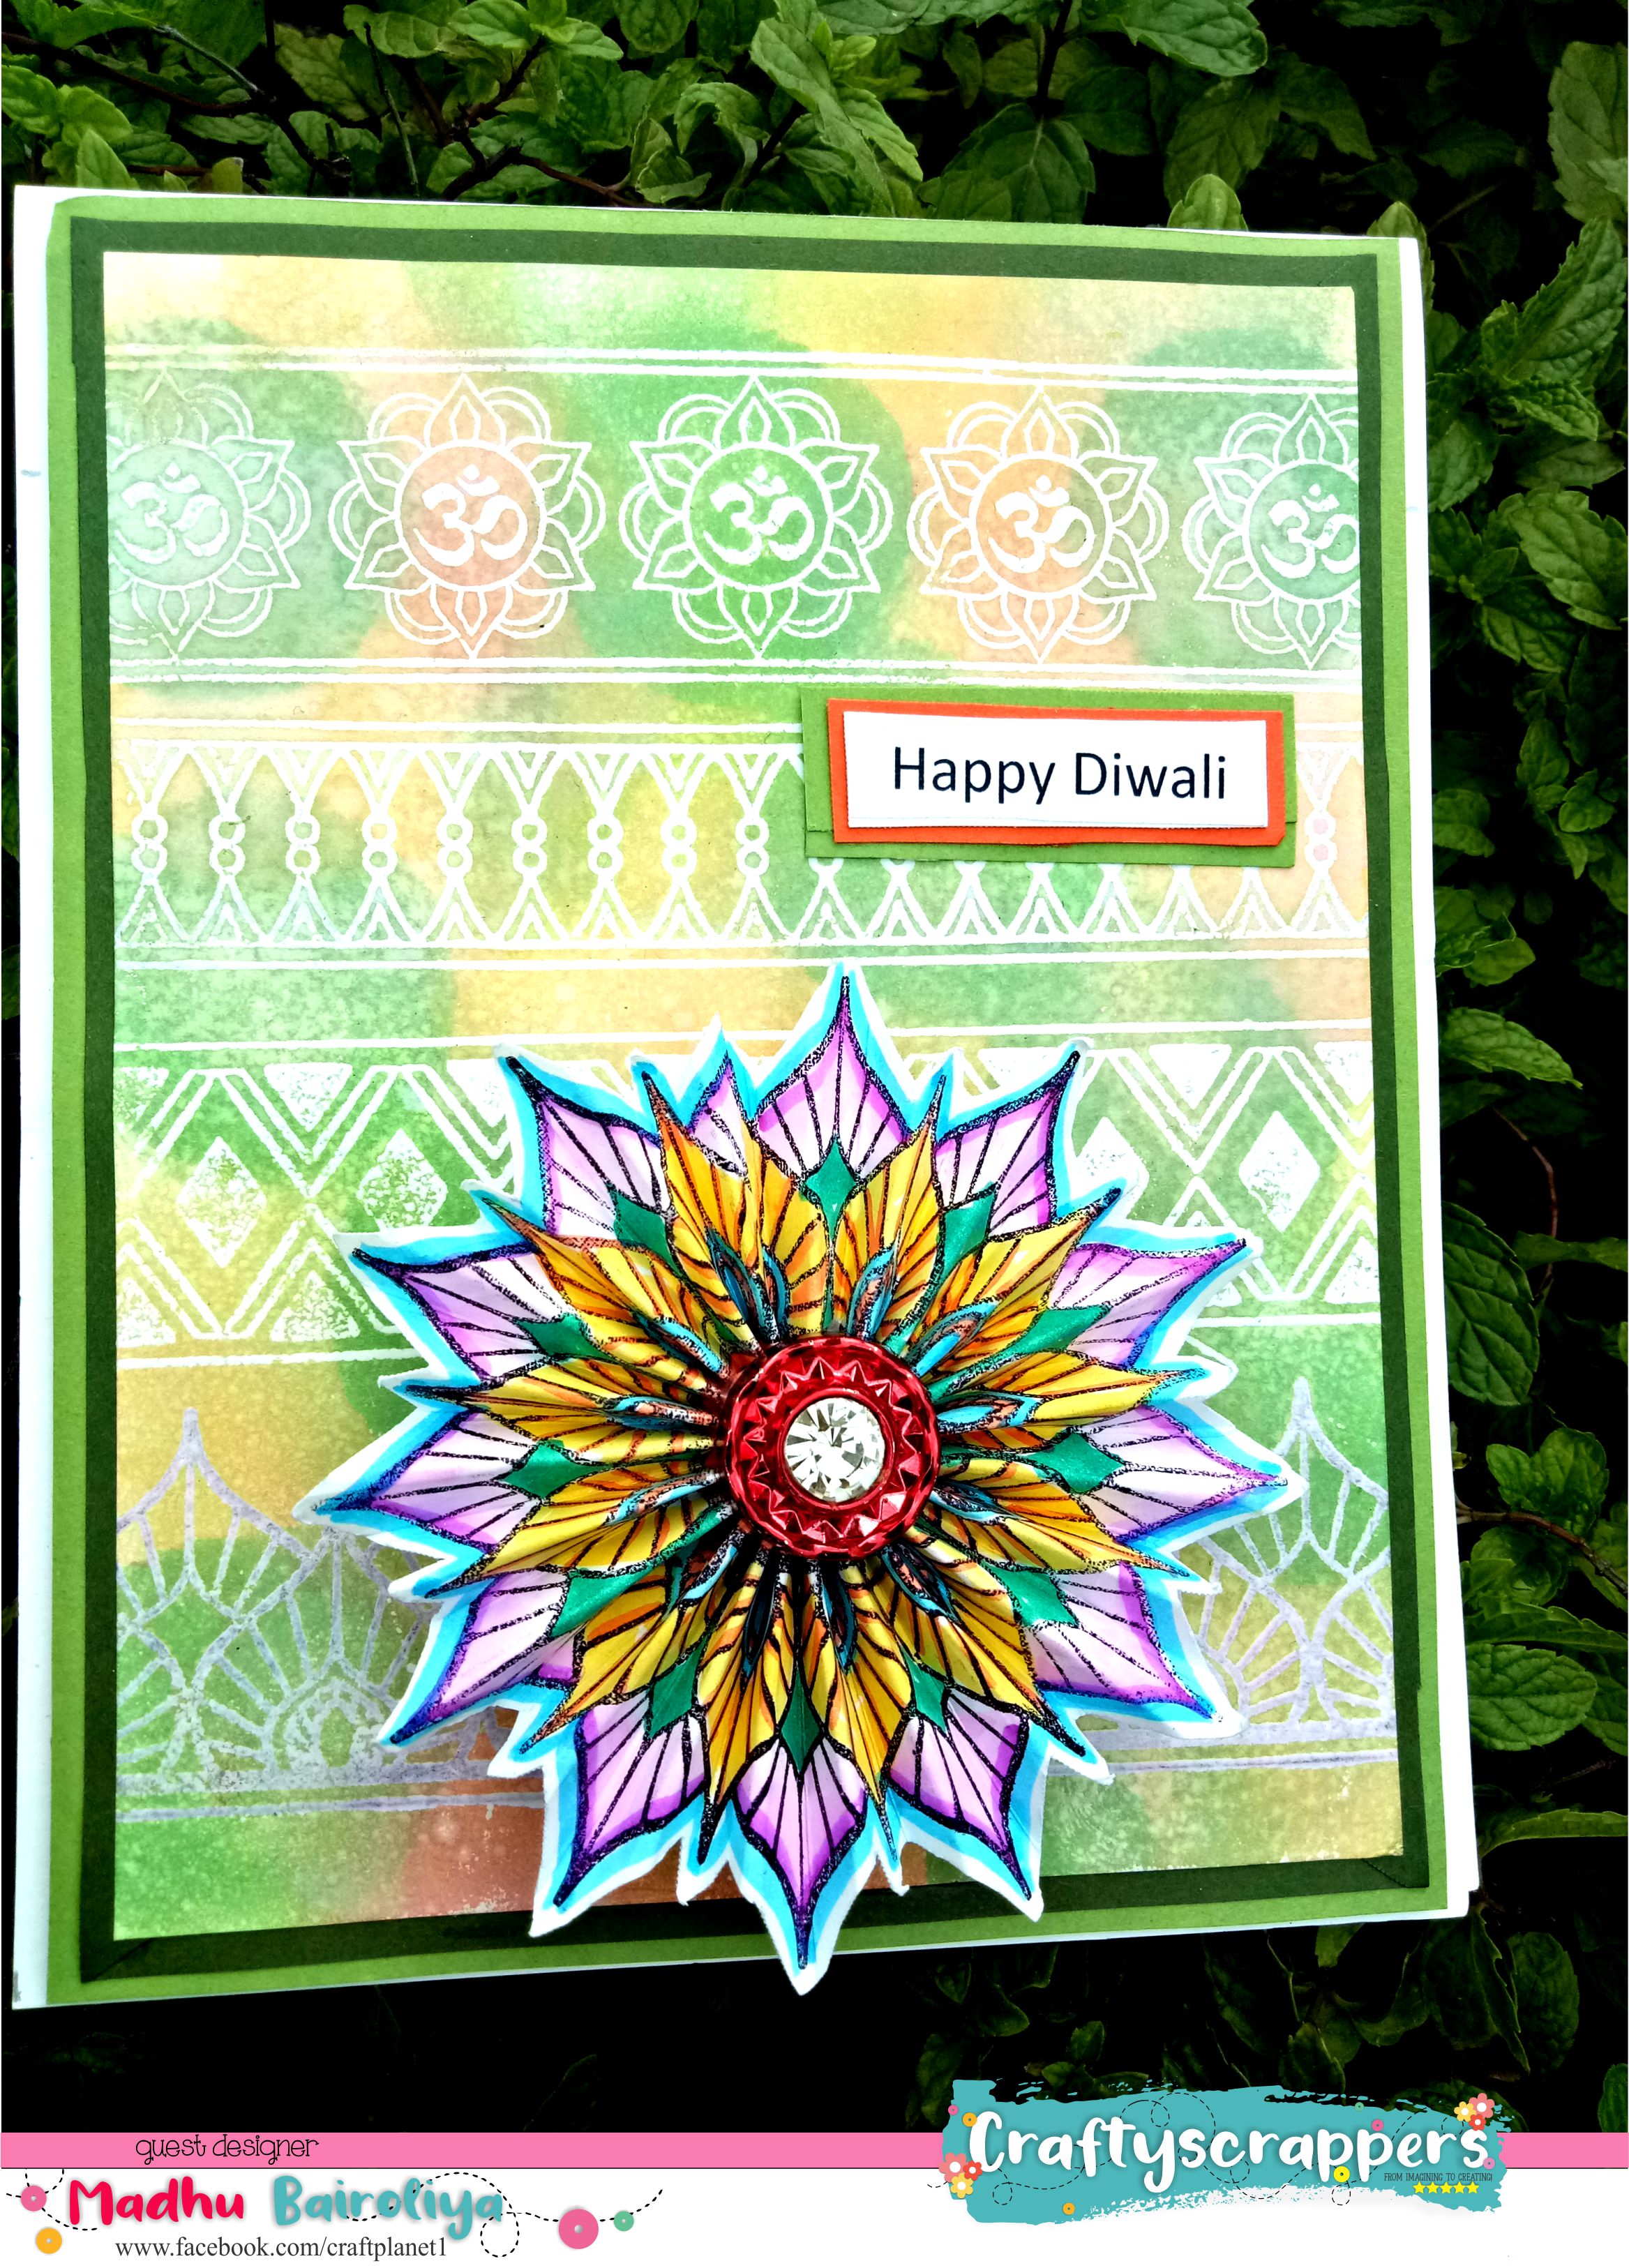
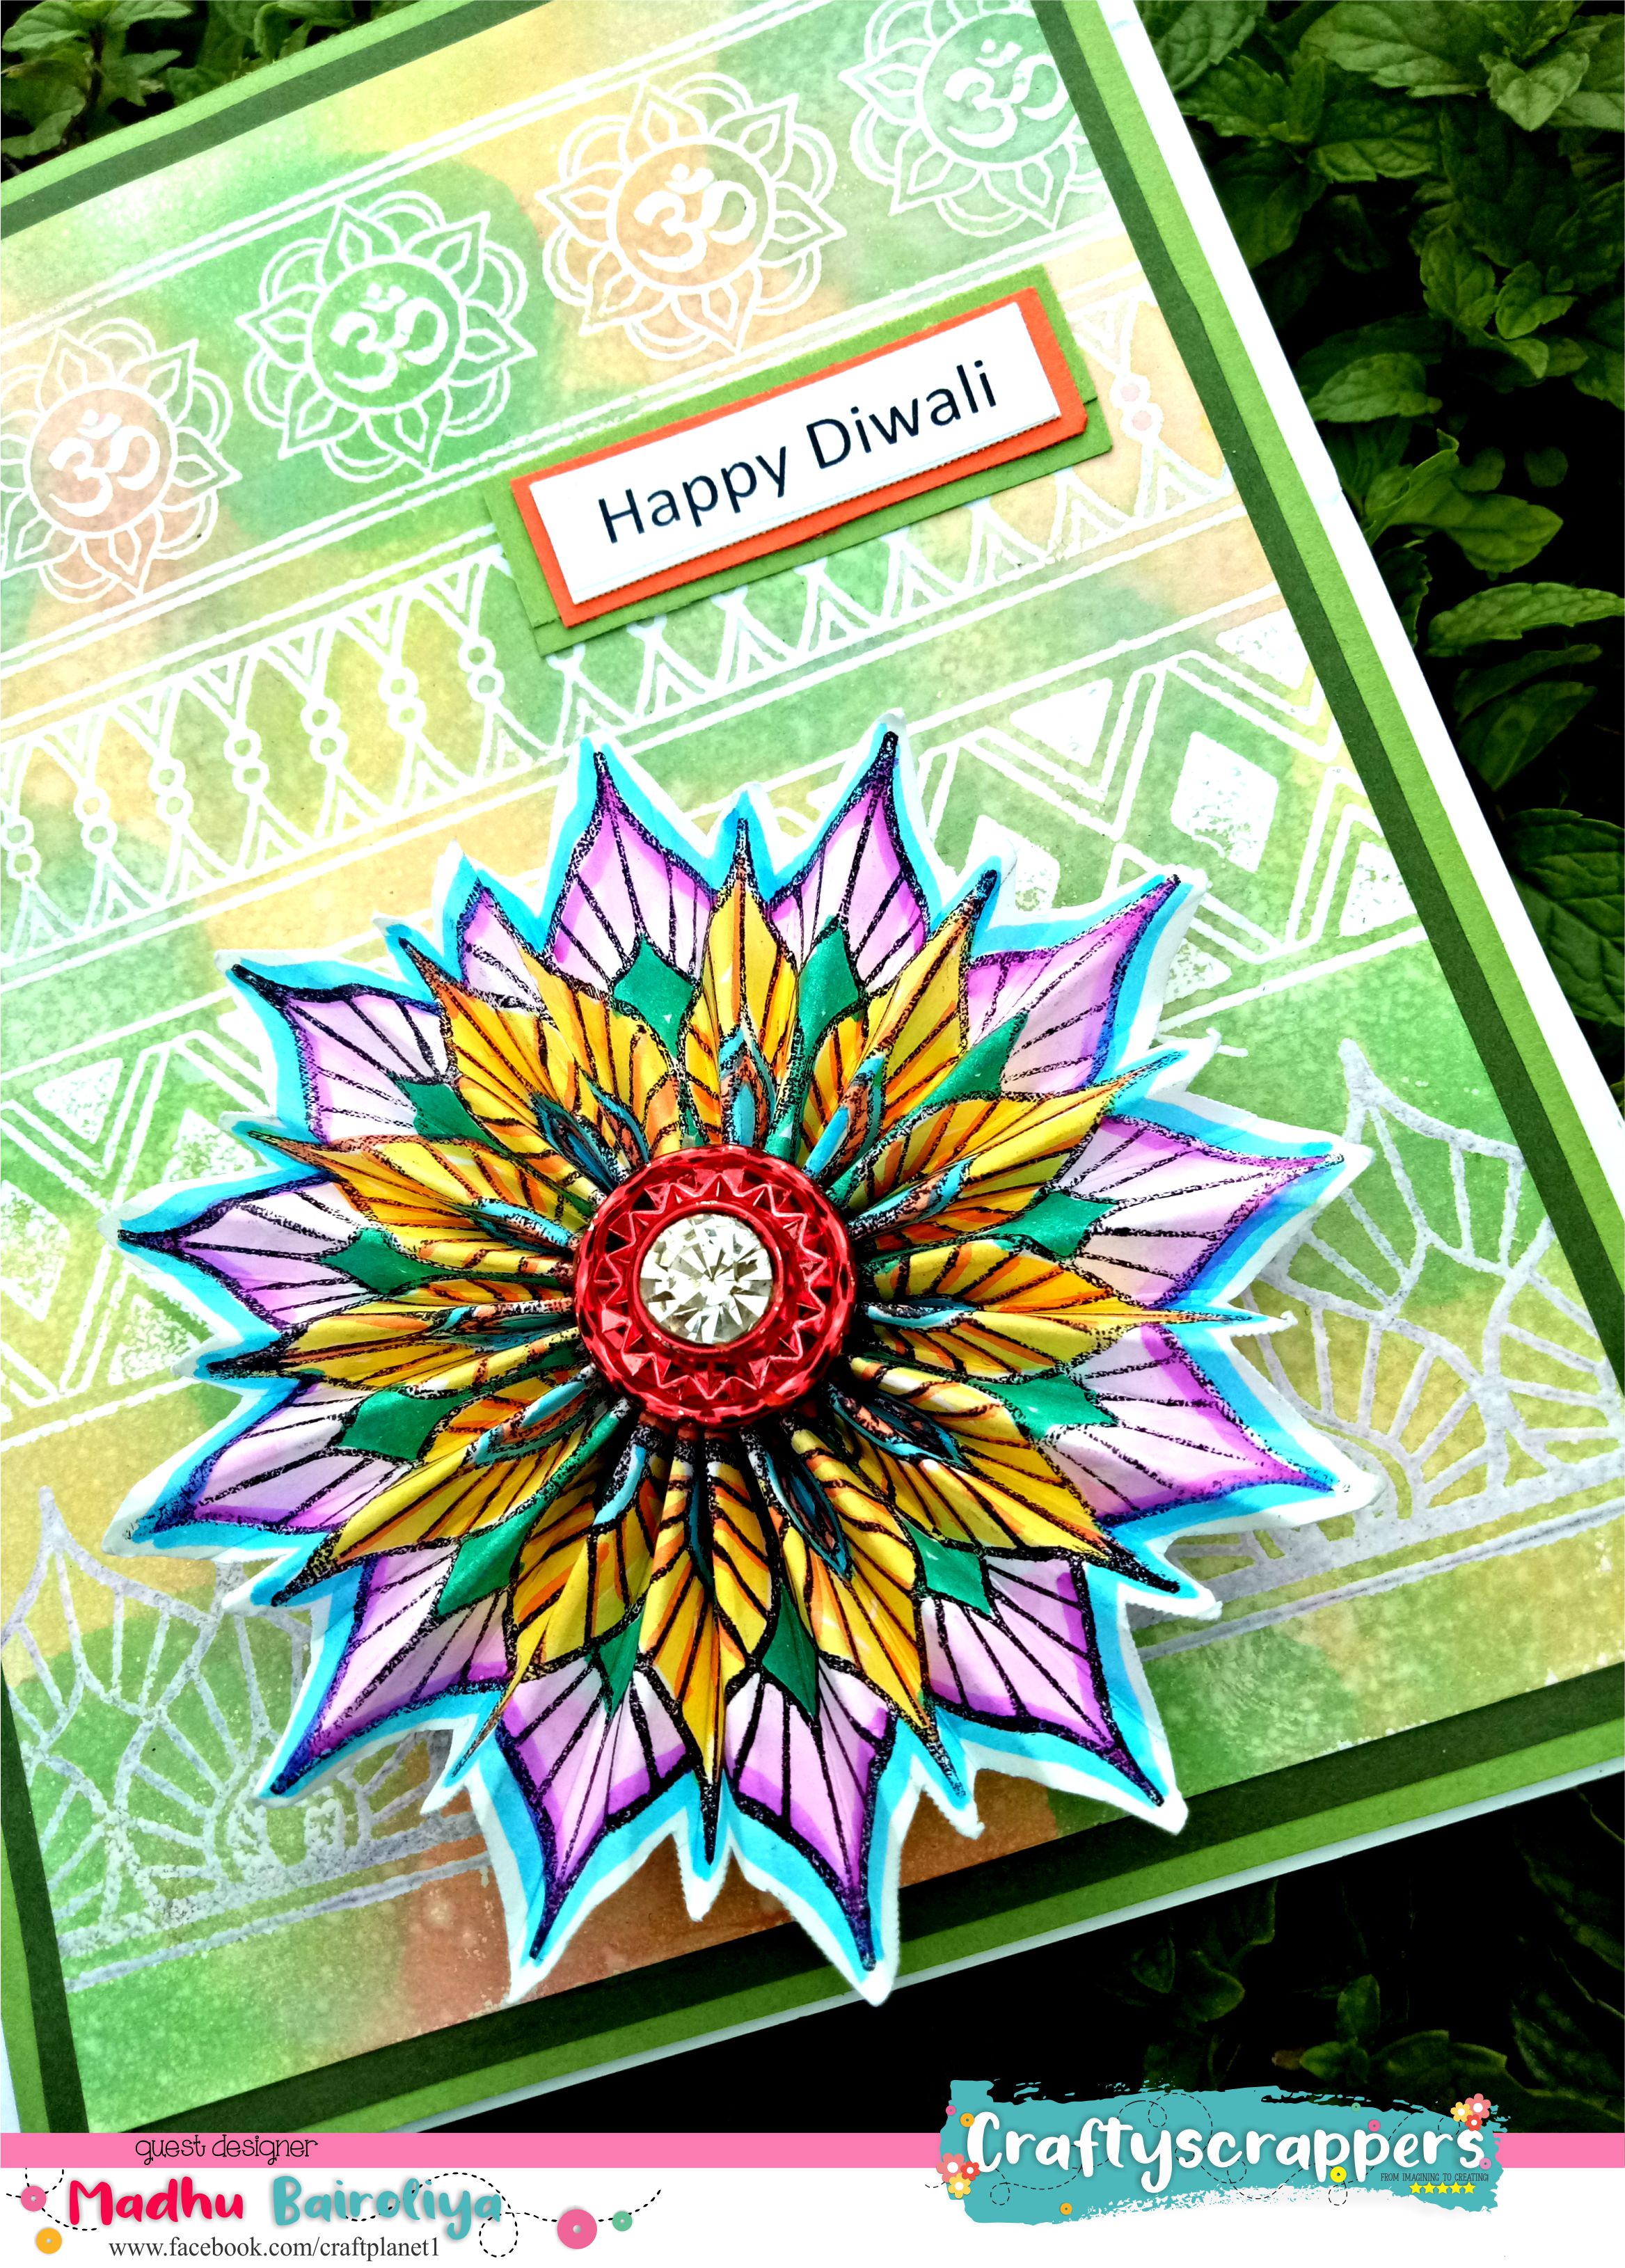
PROJECT#1: ROSETTE DIWALI CARD
A BRIEF TUTORIAL:
- I took 4.25 x 5.5 white card stock from craftyscrappers premium cardstock-white
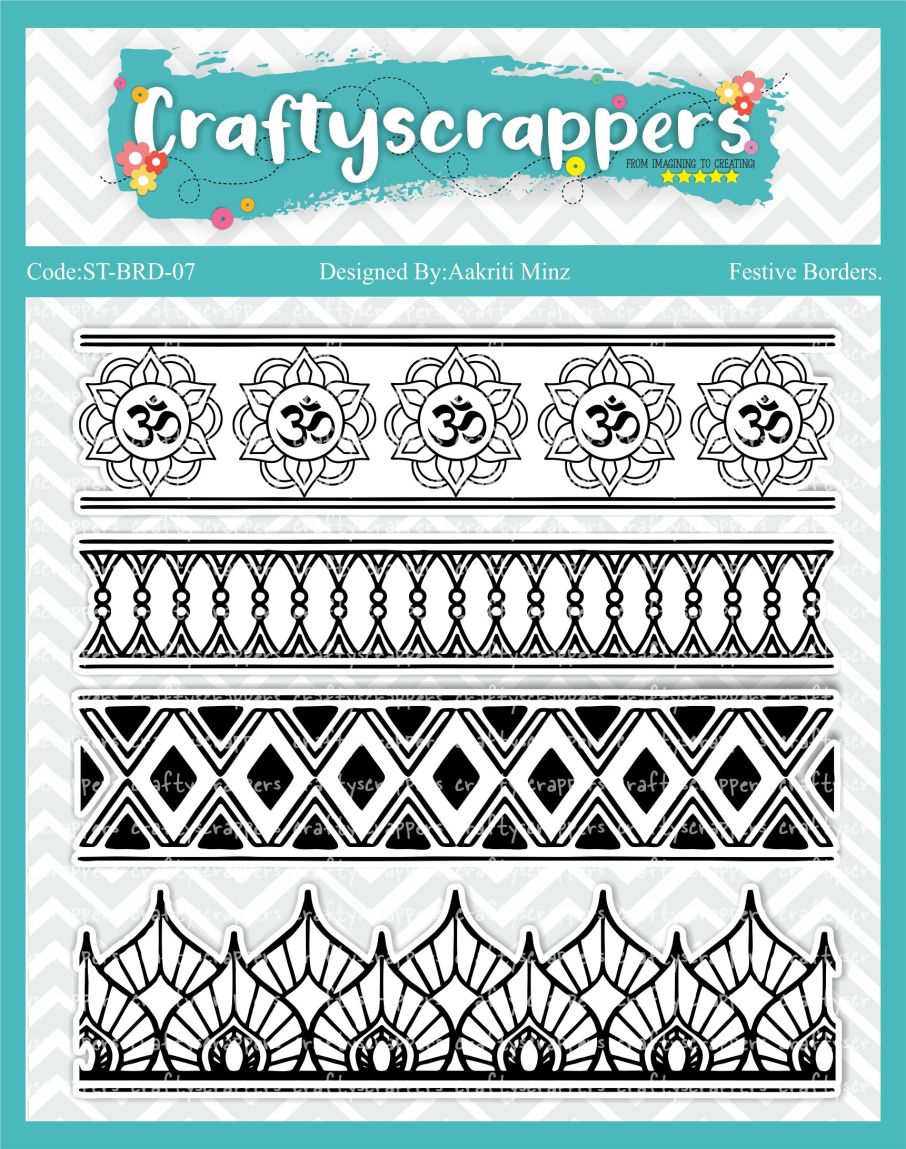
- Next I used stamp set festive border. Apply transparent versa mark ink on whole stamp set.(don’t remove it from acetate sheet) and stamped on white cardstock(4.25×5.5), used ranger clear or white embossing powder and used heat gun over it.
- Then i used festiveborder stamp set (beautiful stamp set)
For getting crisp image I used folded bedsheet or (foam can be also used.) - Then used clear embossing powder from ranger (can be used white too)
- Now color the whole sheet with distress ink (as per choice) with blending tool like shown in pictures.
- Spray some water from misty bottle and dab extra water with tissue and let it dry.
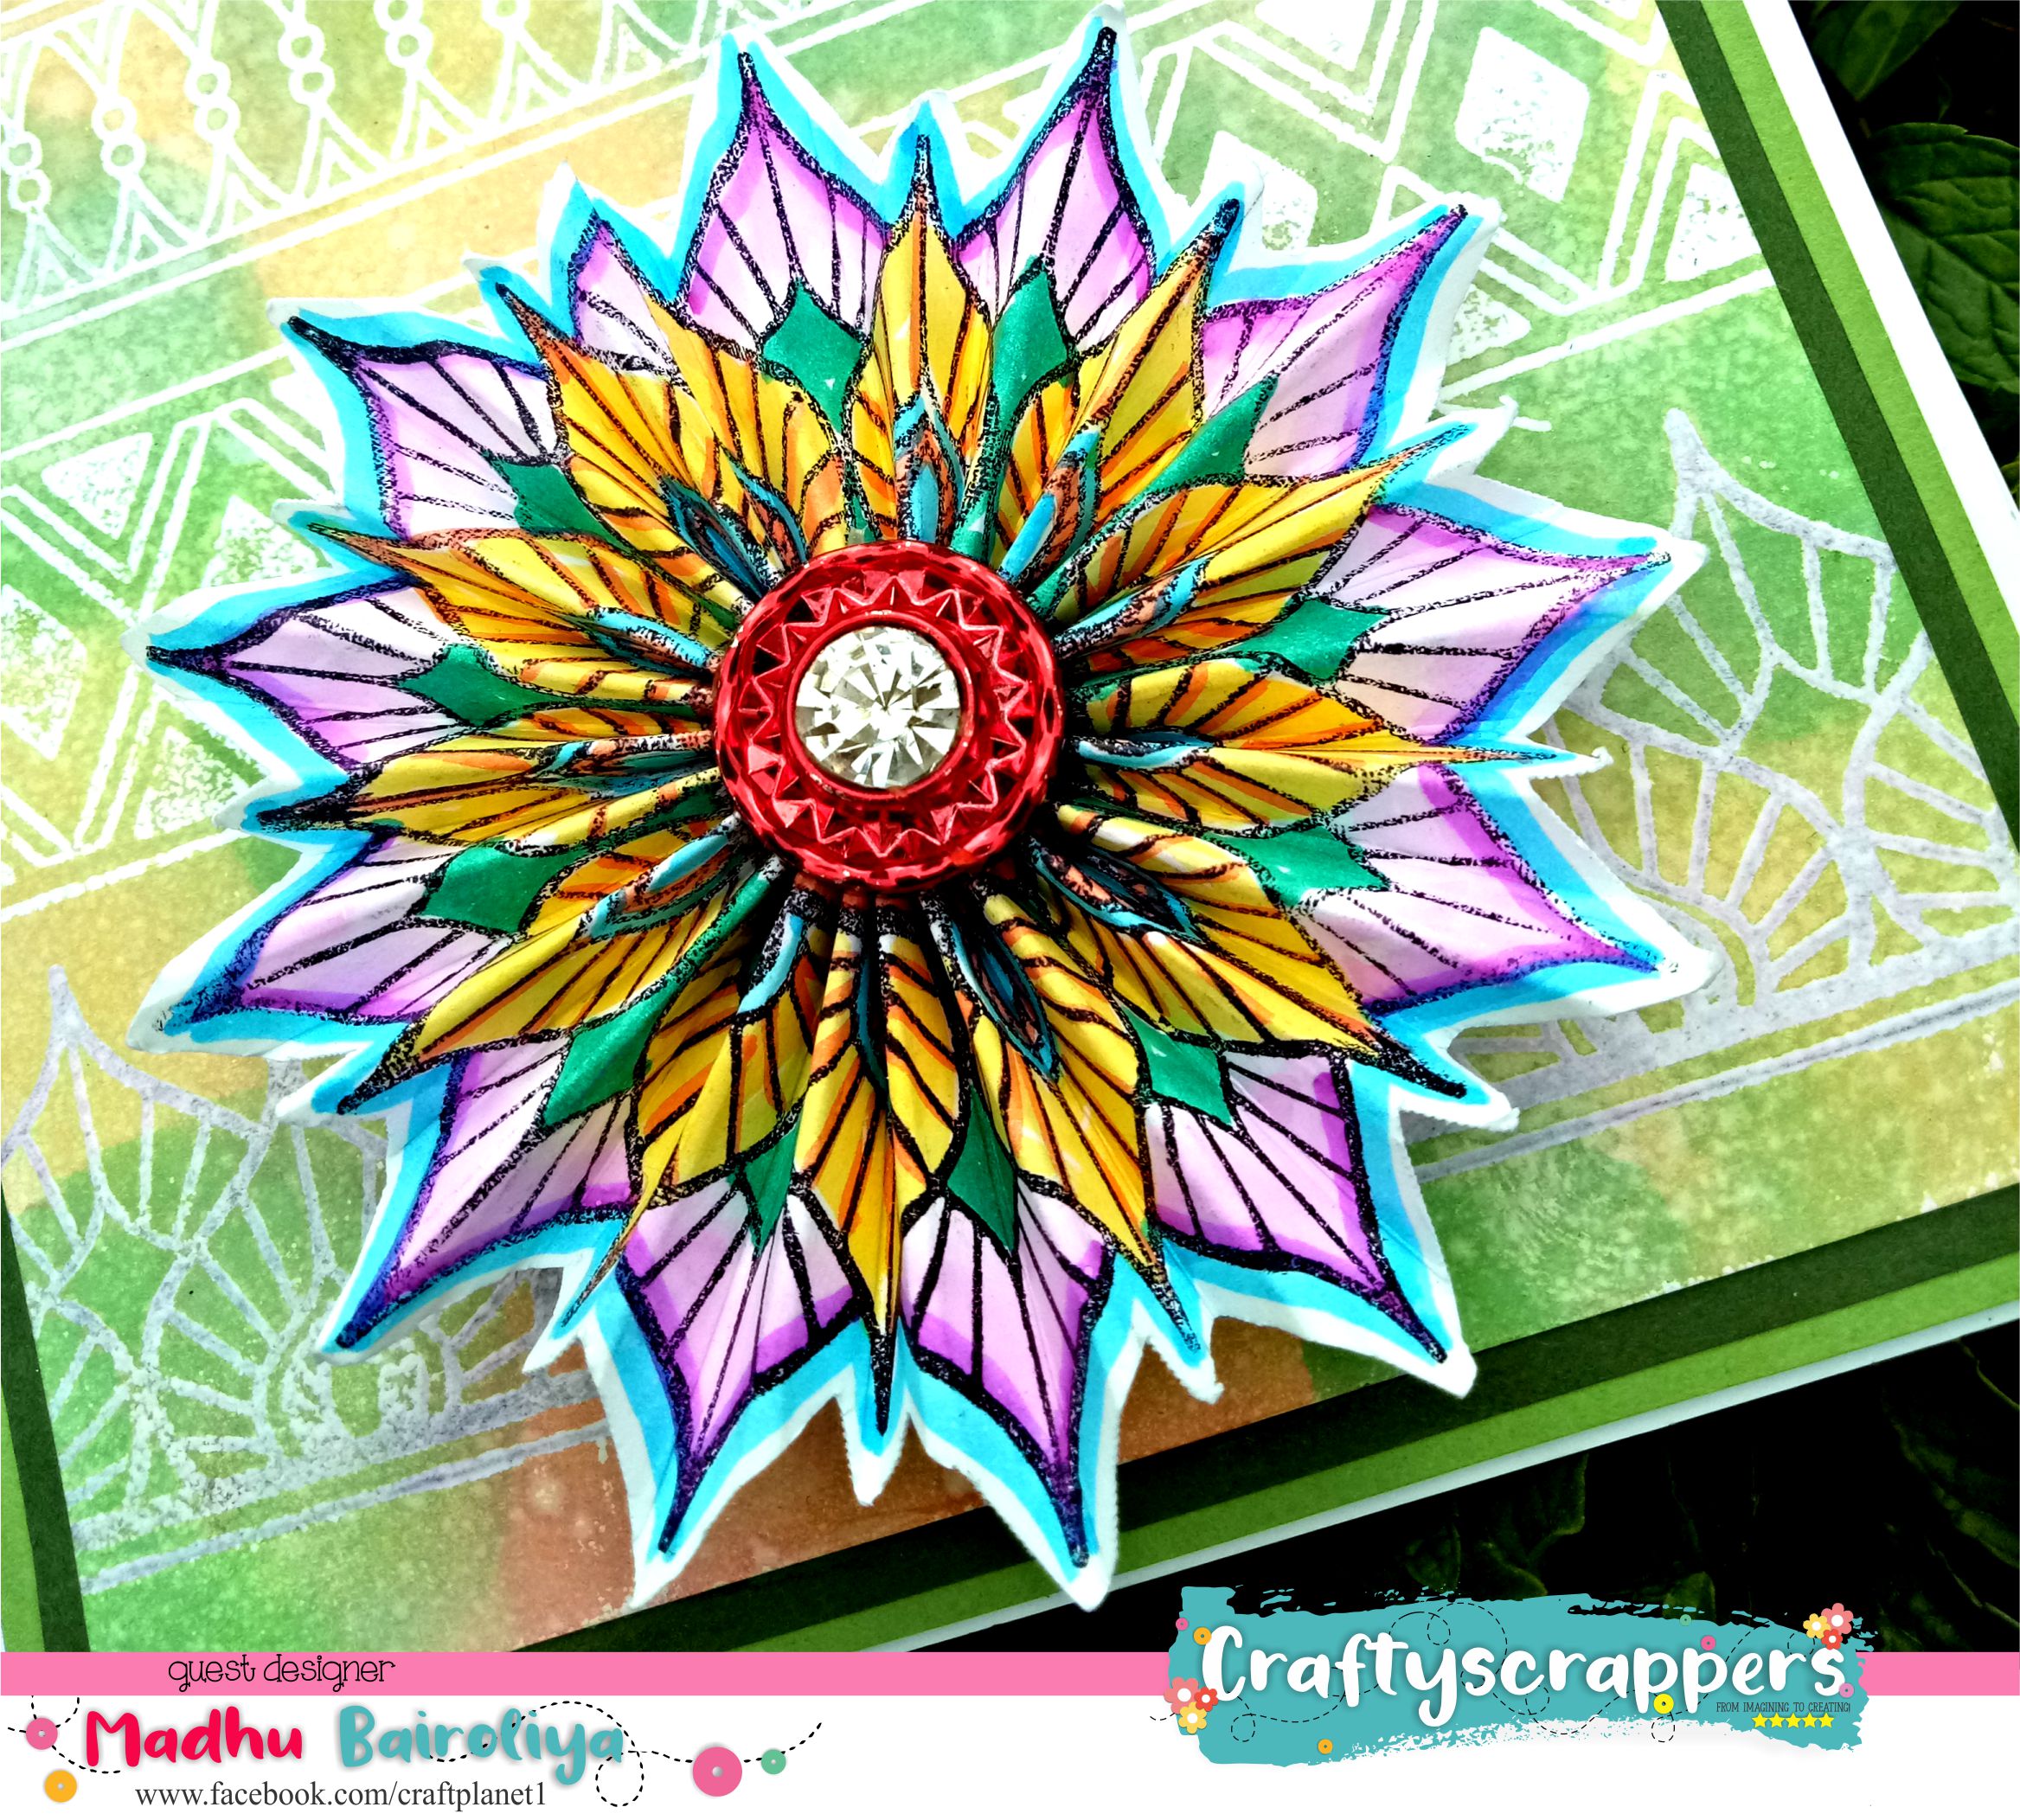
- Now make rosettes flower again using one border from festiveborder stamp set. I have used archival black ink and stamped on 1.75 x 11” premium white card stock. Colored using zingmarker water brush pen. (Can be used any water color pen or pencil color) fussy cut them.
- I took a scoring board and started scoring my colored border at every one-line interval.fold in zigzag pattern or fan fold pattern and glued both end.
- Adhere ½ circle on the back of this rosettes.
- Now from the front side insert one brad for rotating flower and hide brad with decorating button in center of flower.
- Adhere heat embossed colored sheet on two tone of papers (which are little bigger than top one to give some dimension effect and adhere it with foam tape on 5×6” white card stock. Add sentiment on the ready card.Now the card is ready……Enjoy ROTATING ROSETTES FLOWER CARD
Here are some close-ups:
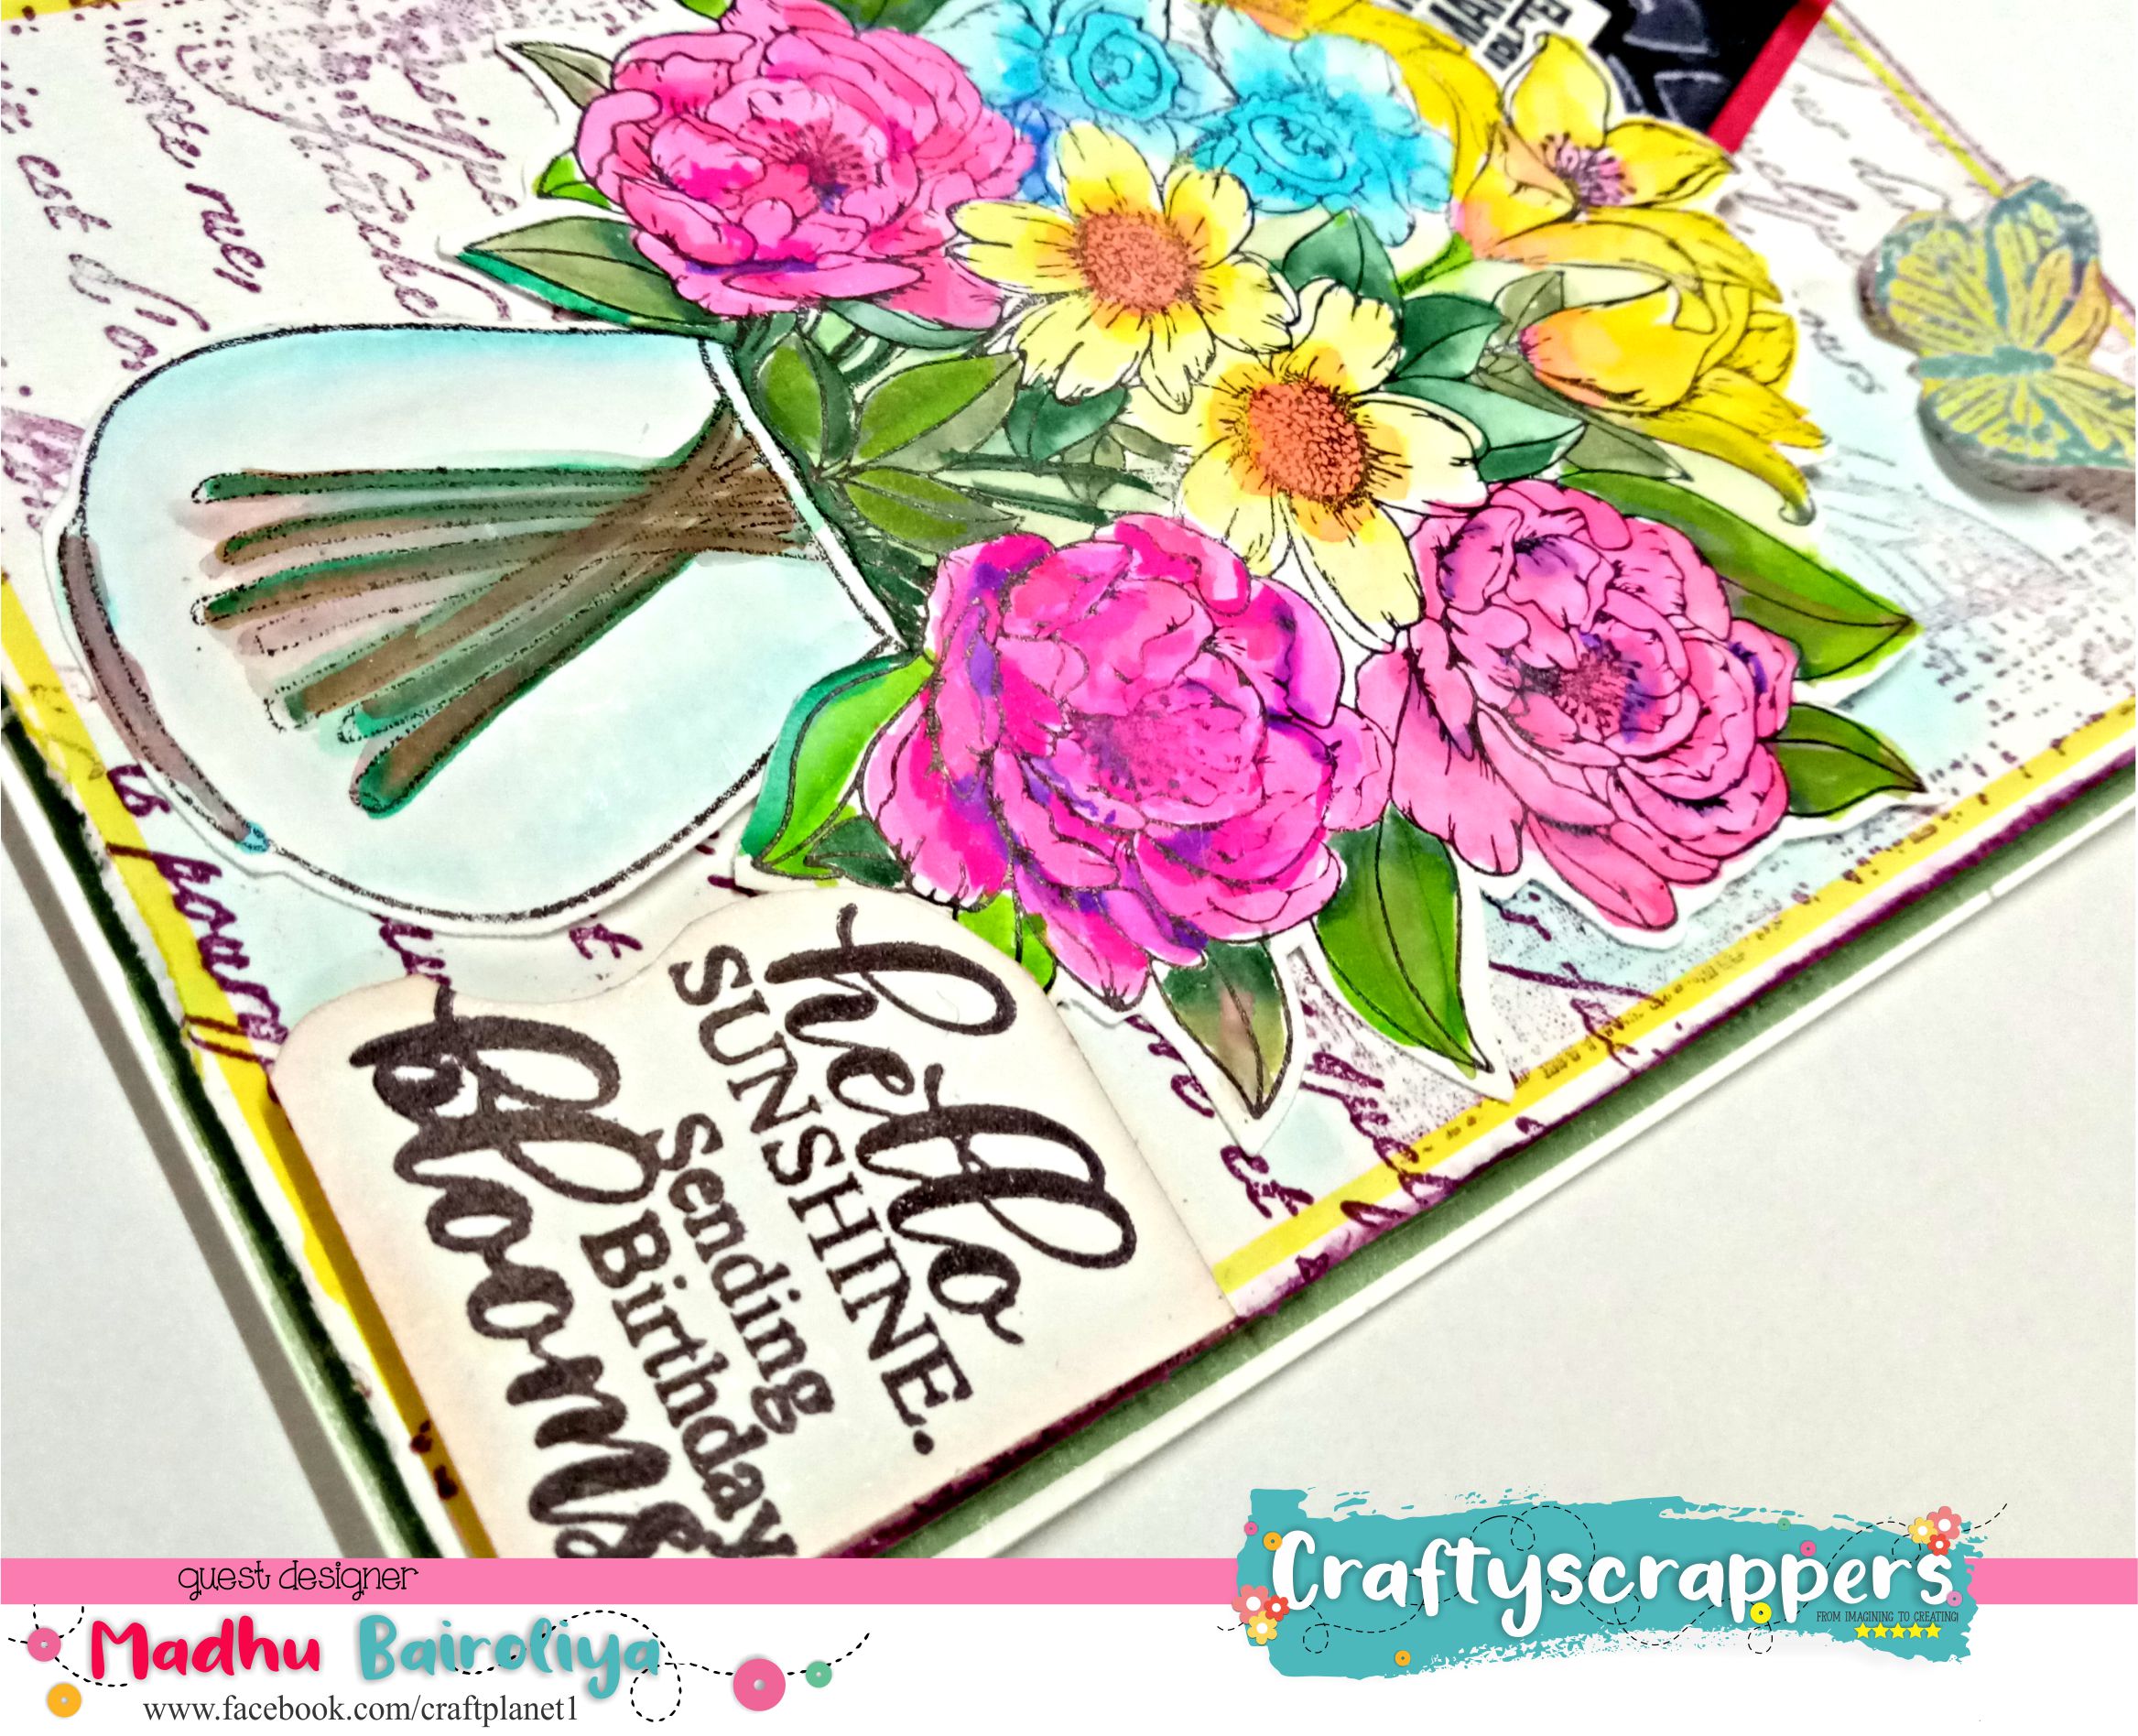
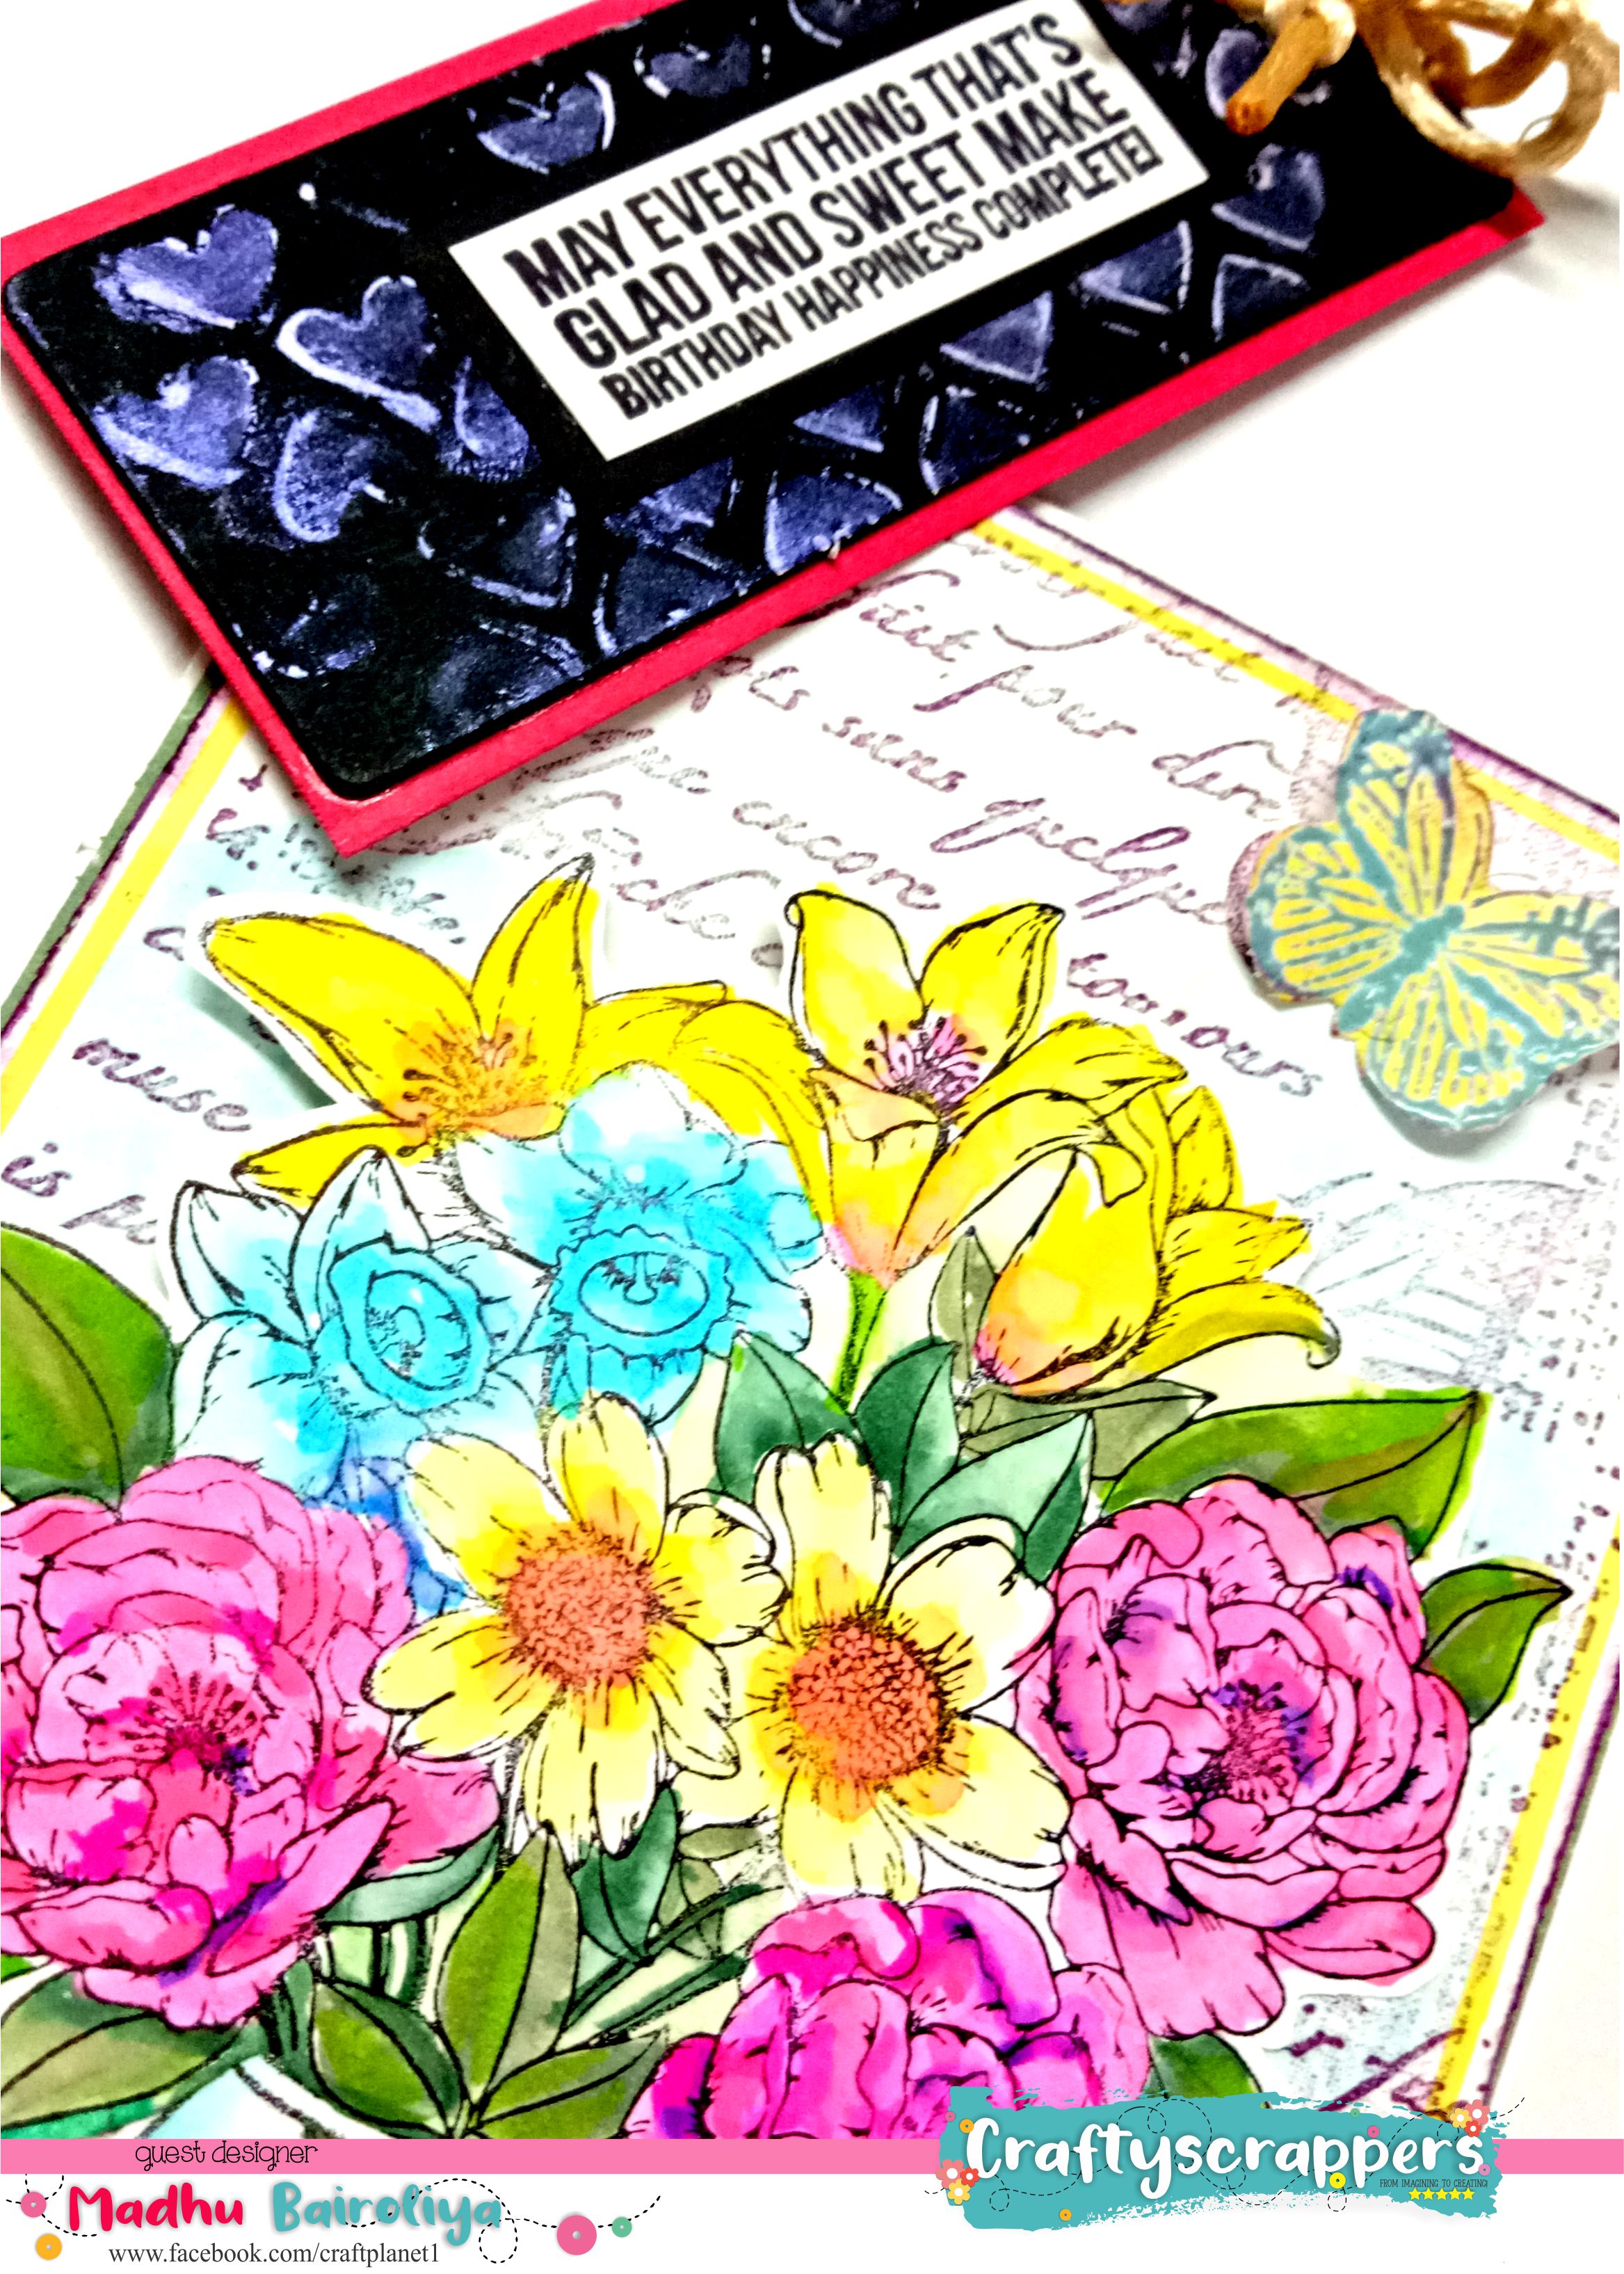
PROJECT#2: SCRIPTED BUTTERFLY BIRTHDAY CARD

A BRIEF TUTORIAL:
- I stamped the flower image on @craftyscrappers premium white card stock with plum archival ink on twice using Scripted butterfly background stamp set.
- Distress the stamped base sheet with plum archival ink
- Stamped with versa mark only butterfly from same background stamp and heat embossed with blue embossing powder from range and color with yellow water brush pen, fussy cut.
- Stamp floral design and vase from hello sunshine stamp set on white card stock using black archival ink and colored all the images with Koi water color brush pens.
- This time I used Koi water color pens and I simply love the modern look these colors give. Colored vase too with blue koi brush pen
- I embossed back of the floral colored sheet and vase for 3d effect.
- Adhere floral design with vase from foam tape and leave some space to insert the tag.
- For tag used red and black card stock and applied magic prima wax using heart stencil of craftyscrappers.
- Stamped sentiment and adhere with foam tape.
Here are some close-ups:
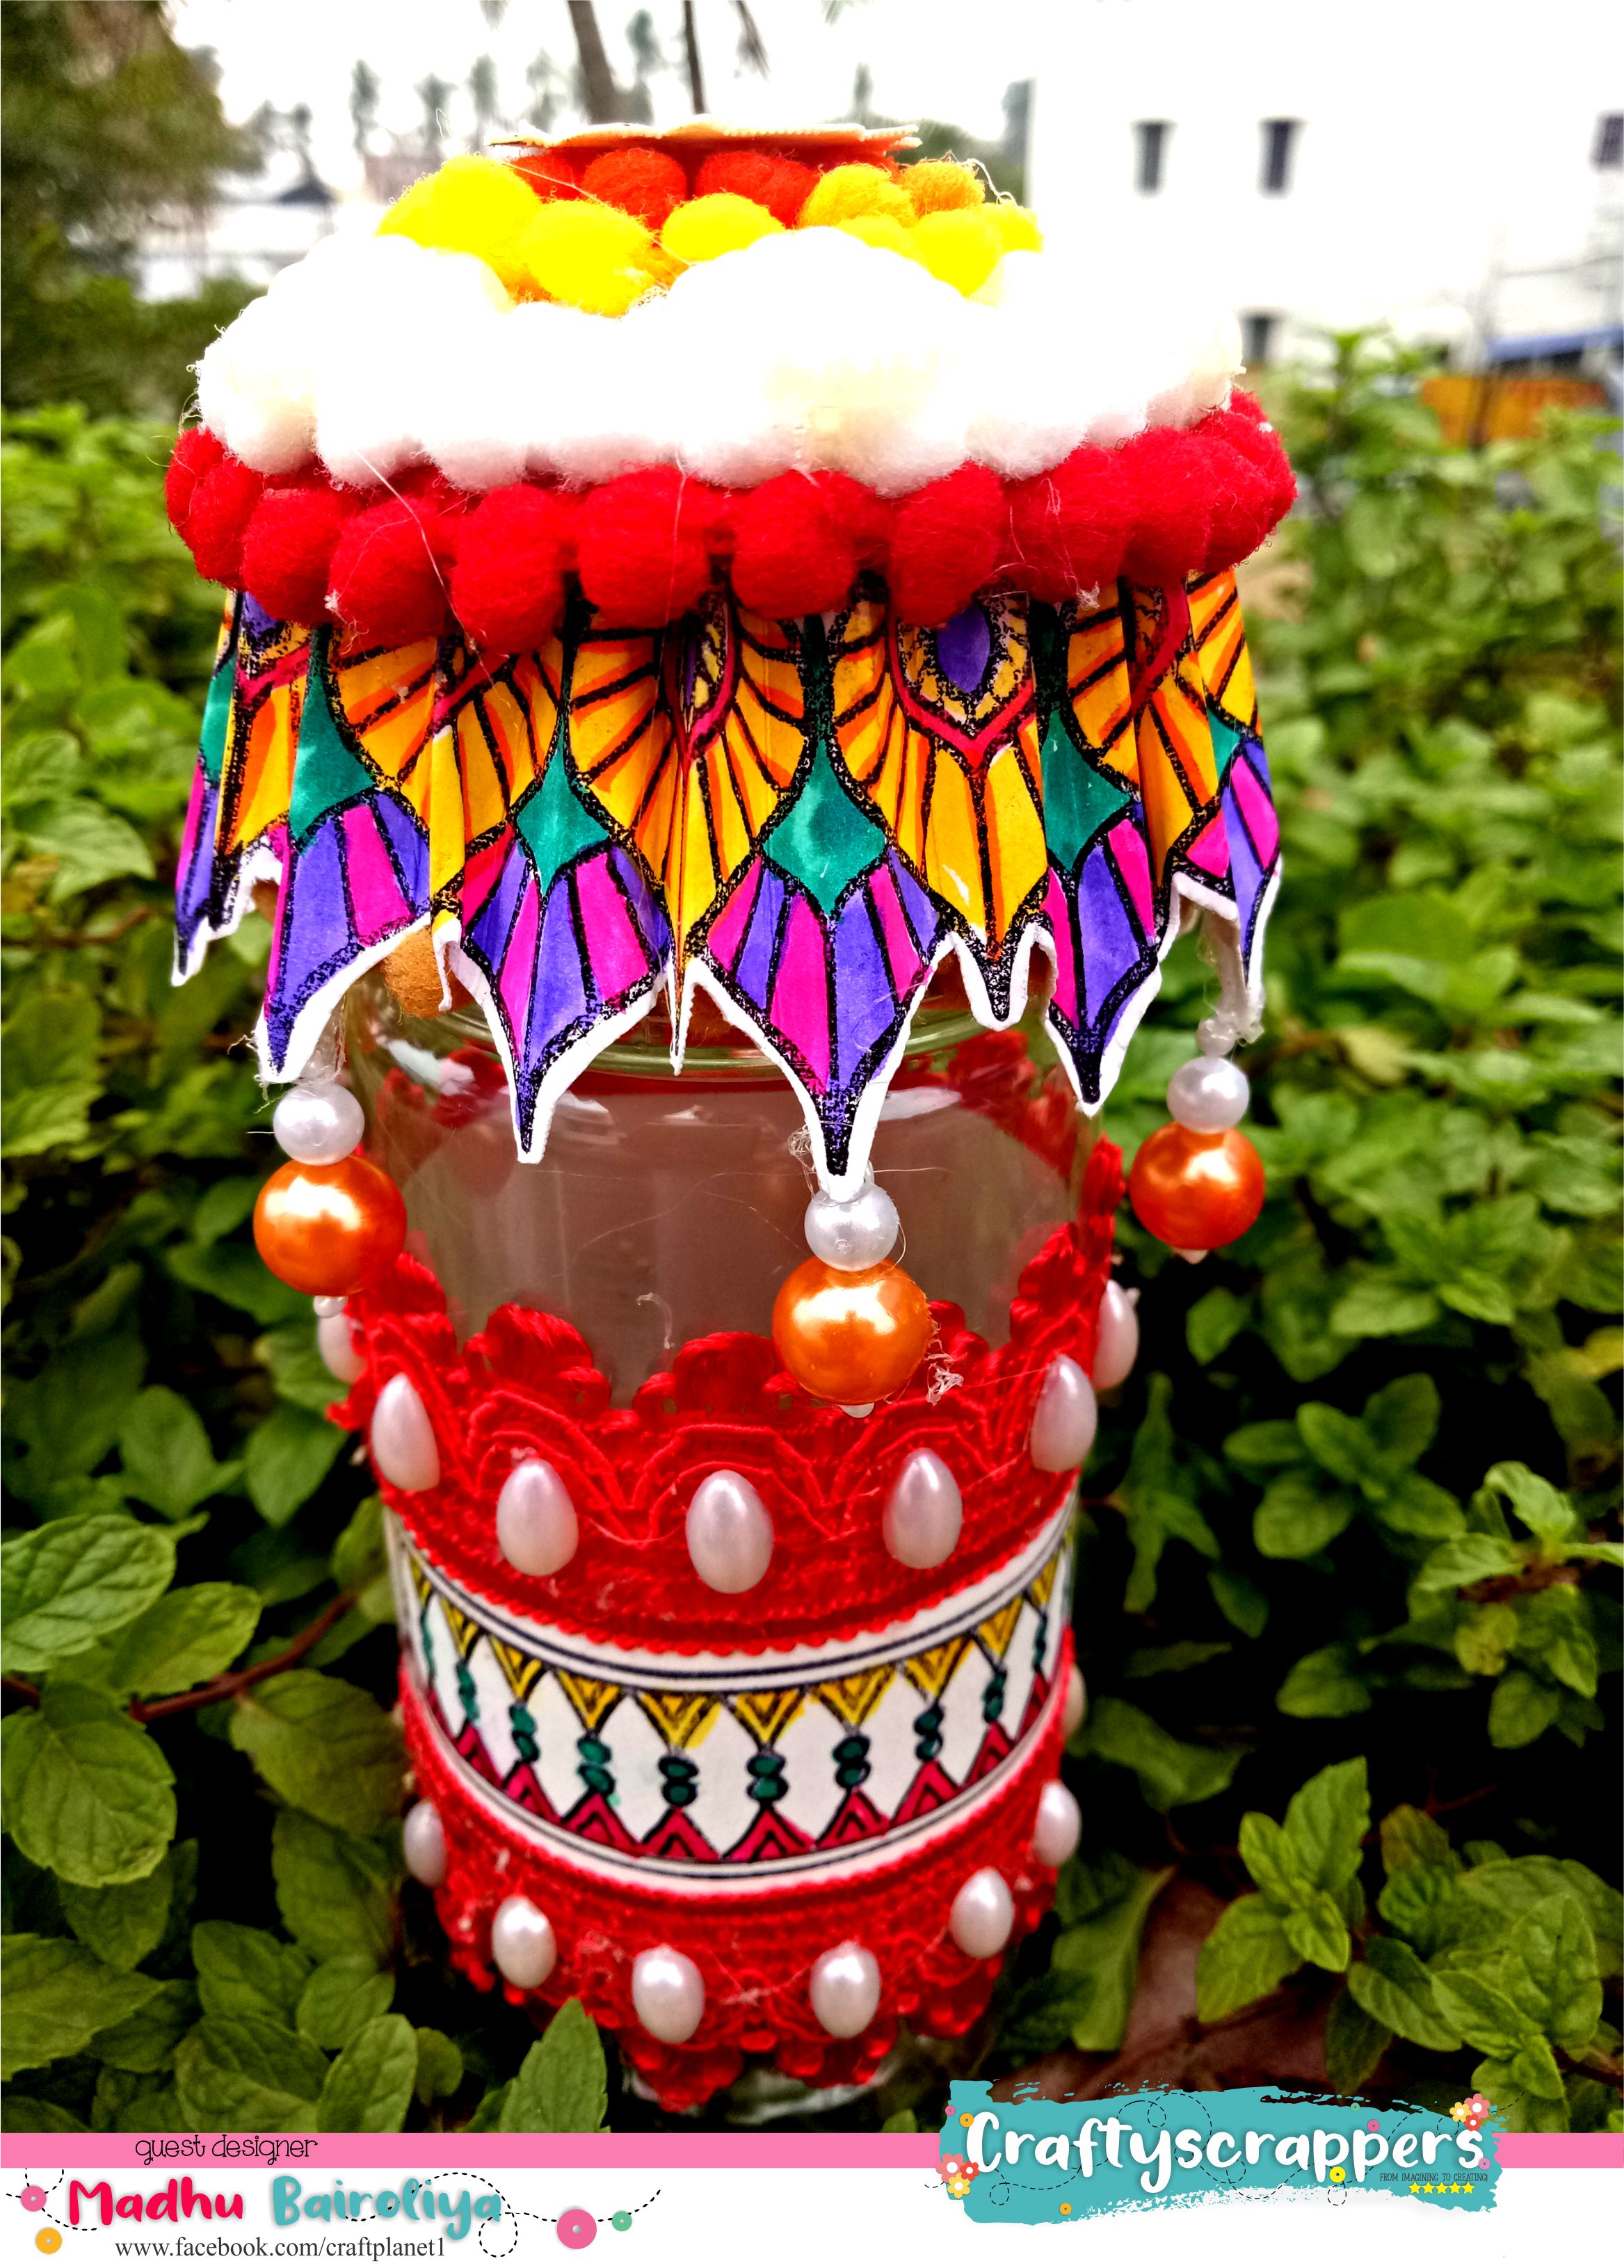
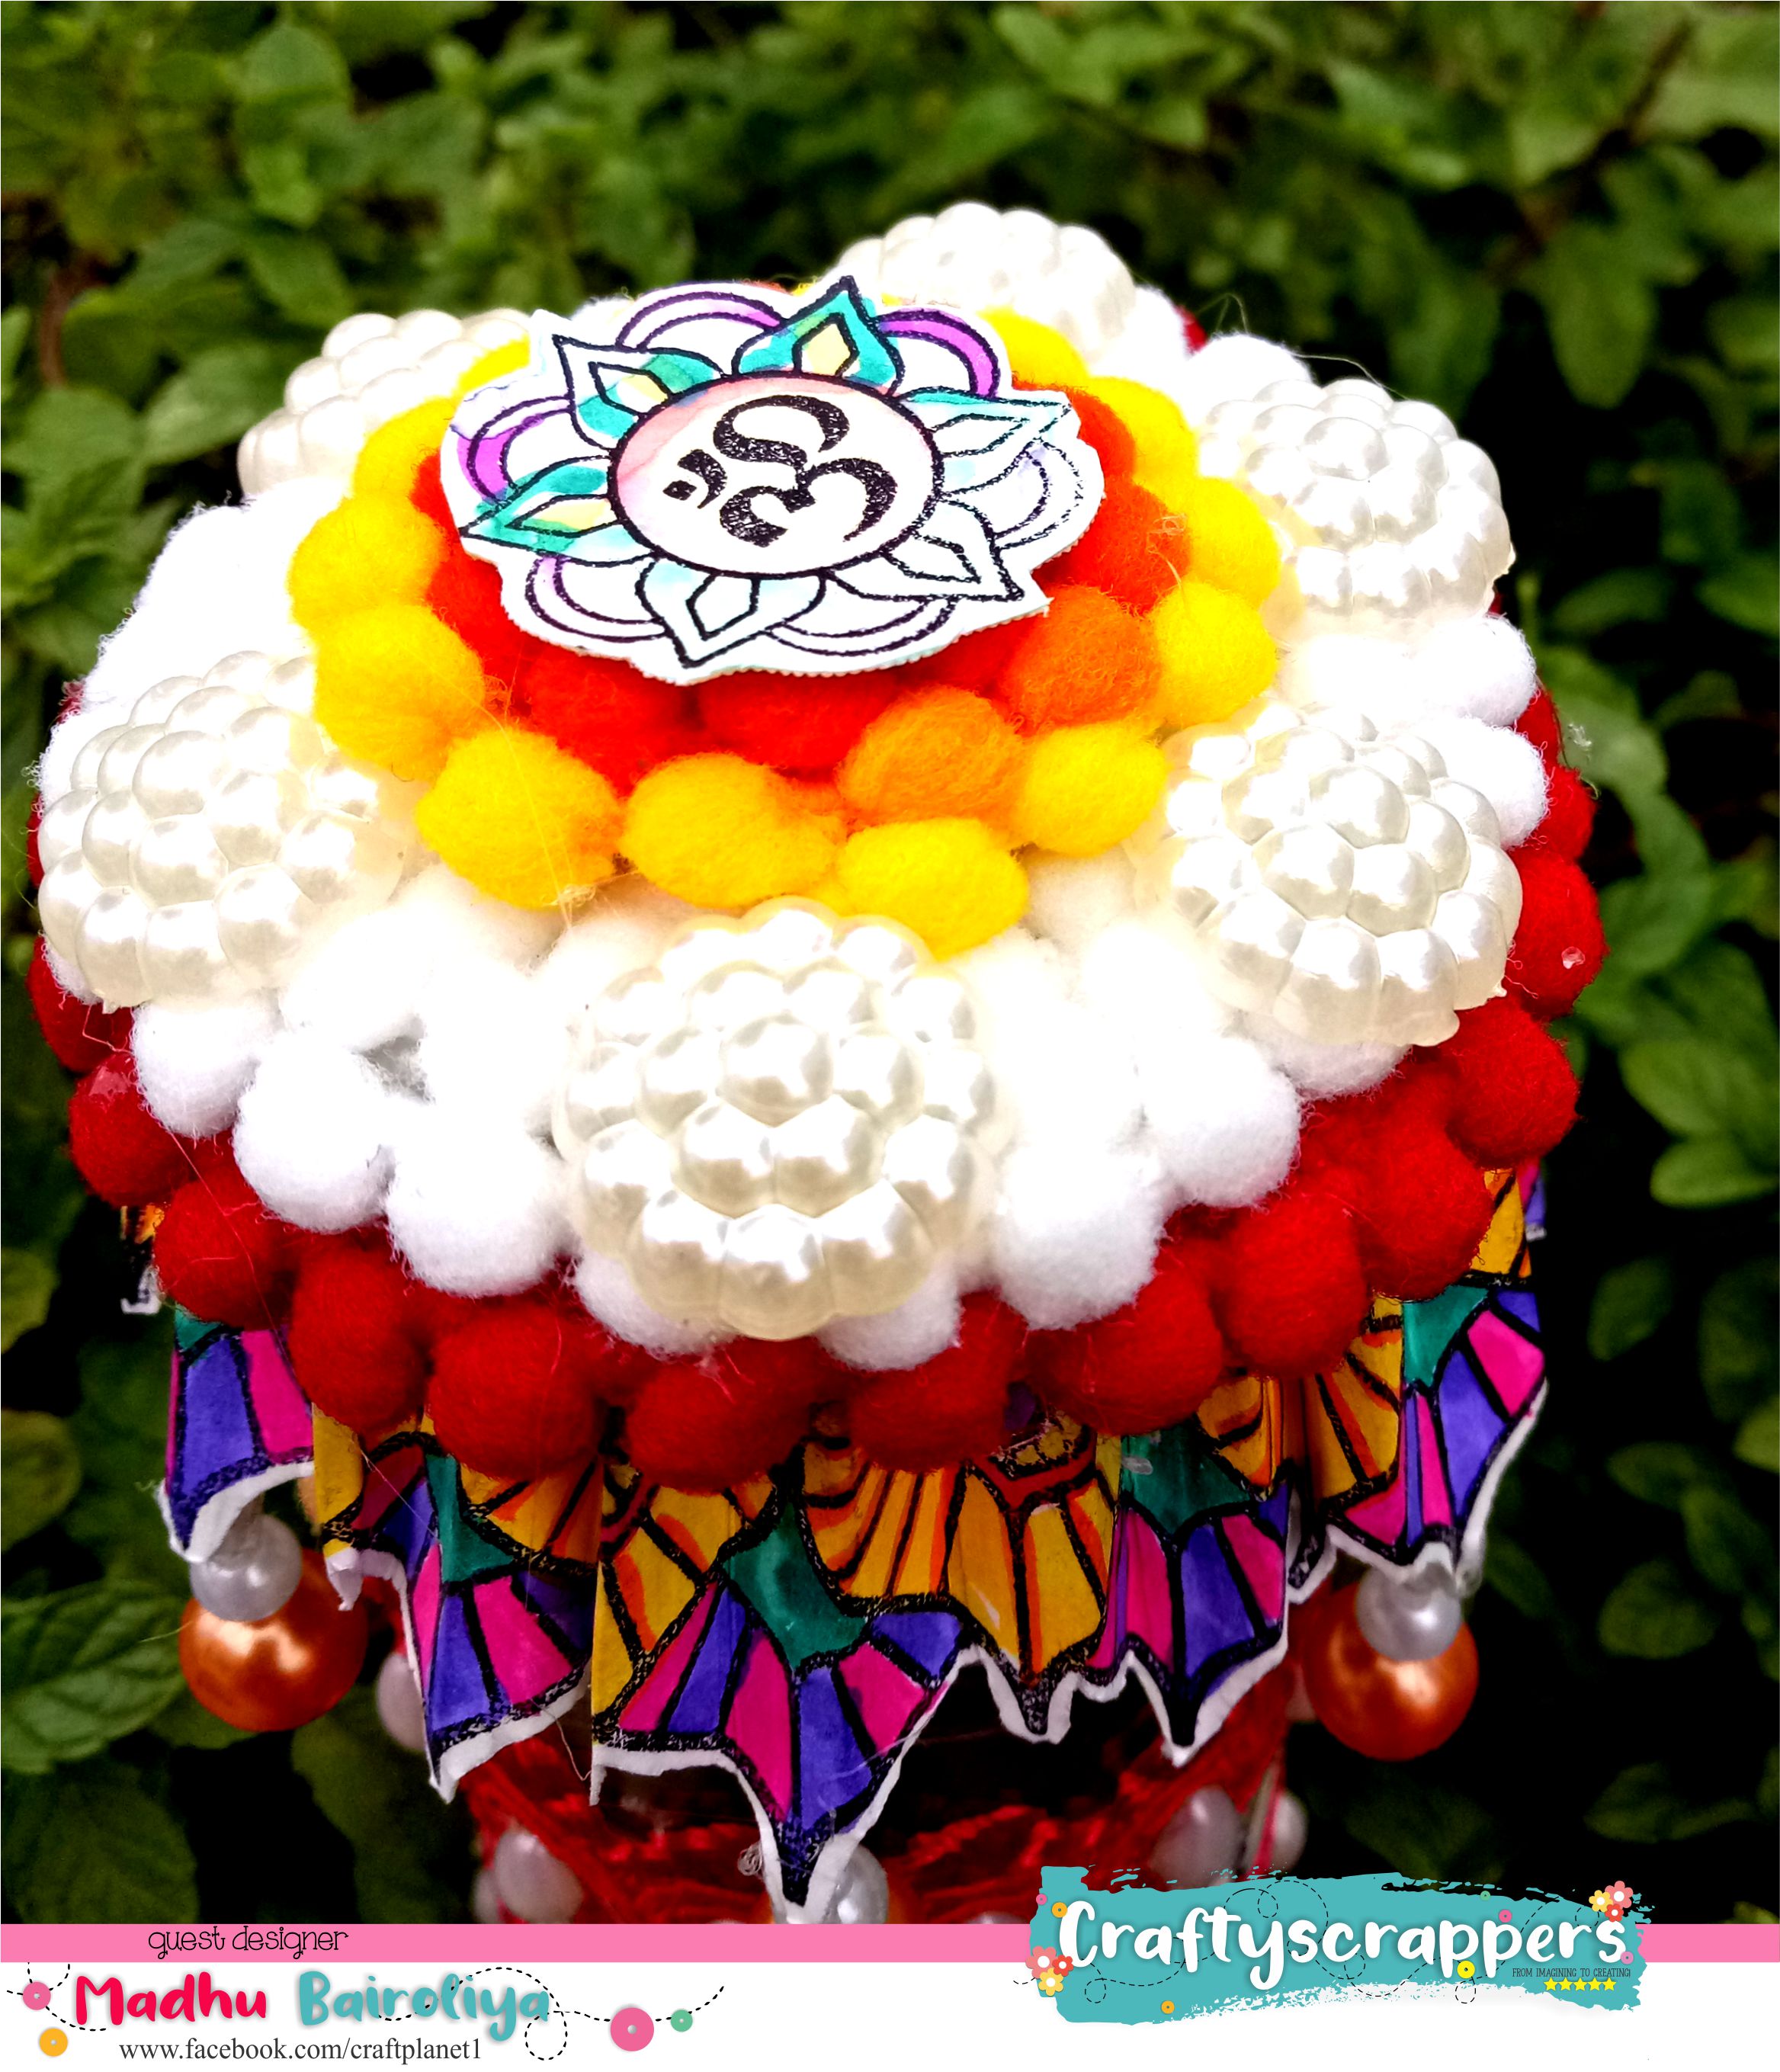
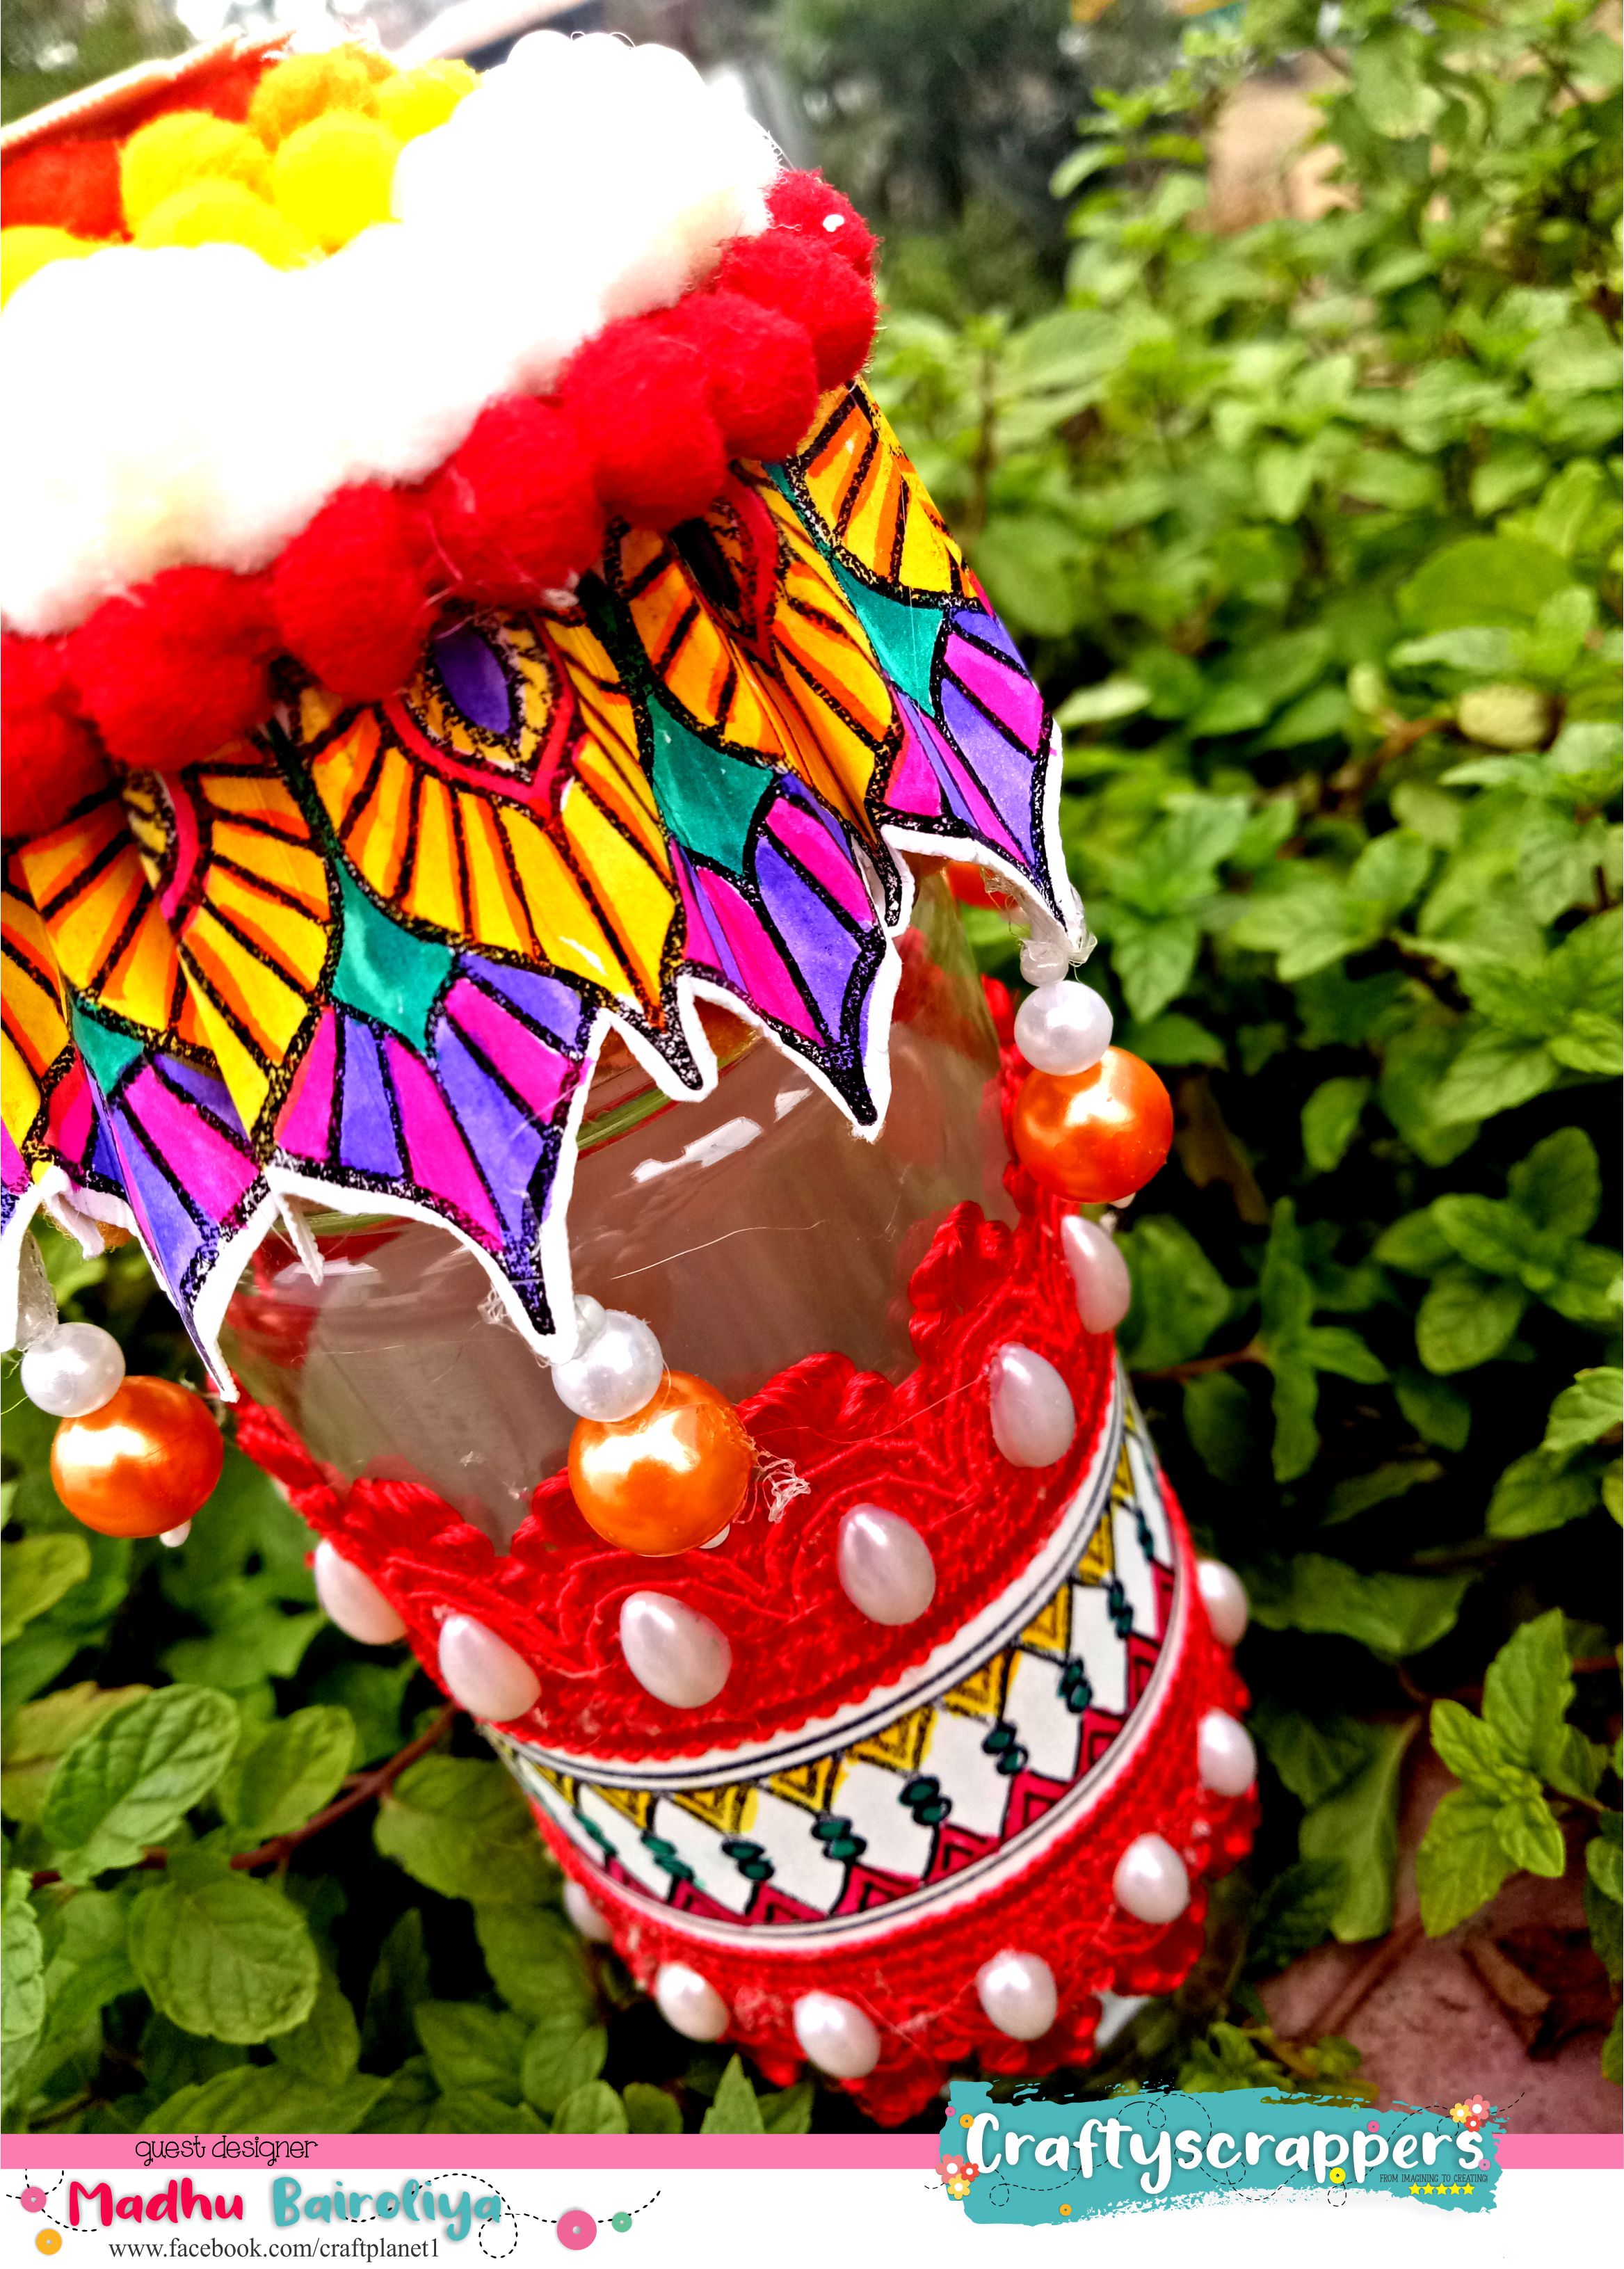
PROJECT#3: Altered plastic jar in festival dry fruit jar
A BRIEF TUTORIAL:
- Stamp and colored all the border with watercolor brush pens.
- Fussy cut stamped image.
- Score at evert one interval.
- Glue both ends together.
- cut 4 pcs of circles bigger to small.
- Adhere all together with hot glue
- cover center of jar with red card stock.
- Glue lace top and bottom of red paper and in middle colored stamped border.
- Now add the pearl in the center of the rosettes.
- wrap a pompom lace in circle.
- Then glue pompom lace on the jar lid and also hot glue the chipboard or carton circle in rosettes.
- Next Glue the previously assembled rosette on the lid with the help of hot glue.
- Then Glue a white pompom in circle on top of the jar cap and decorate with red and yellow pompom too.
- Lastly Embellished with pearls and you are done!
Here are some close-ups:
So That’s all from my end today.
I hope you like this bright Fun and easy to make projects.
Do check out craftyscrappers shop: www.craftyscrappers.in
to buy your craft supplies at the best prices!!!
Do leave some love and feedback below and I will be back soon for more inspirations!
Don’t forget to join in our craft challenges,(details at the beginning of the post!)
You can participate via mr.linky (at the end of the challenge post)or via facebook,Instagram and even via email.
(While sharing your creation post over the social media, ie
Facebook/twitter/instagram
please use #Craftyscrappers challenge26 to qualify for submission,
failing to do so, the entry would be disqualified.)
Thanks for stopping by.
Happy Crafting!