
Hello Everyone,
It’s Priyanka here at Craftyscrappers blog and today
I am going to share a picture tutorial on Tower Box!
I hope you will get inspired and participate in our CURRENT CHALLENGE for this month of October which is still ongoing…
If you missed our previous post,check it out here…
CHALLENGE#16:”Sparkle It Up”
You can create cards, layouts, journal pages, altered art, MDF items, anything crafty and add glamour to your projects in any form, be it foil, glitter, shimmer or anything to sparkle it,to participate…
Last date of submission is 31st Oct 2017.

to win amazing prices!!!

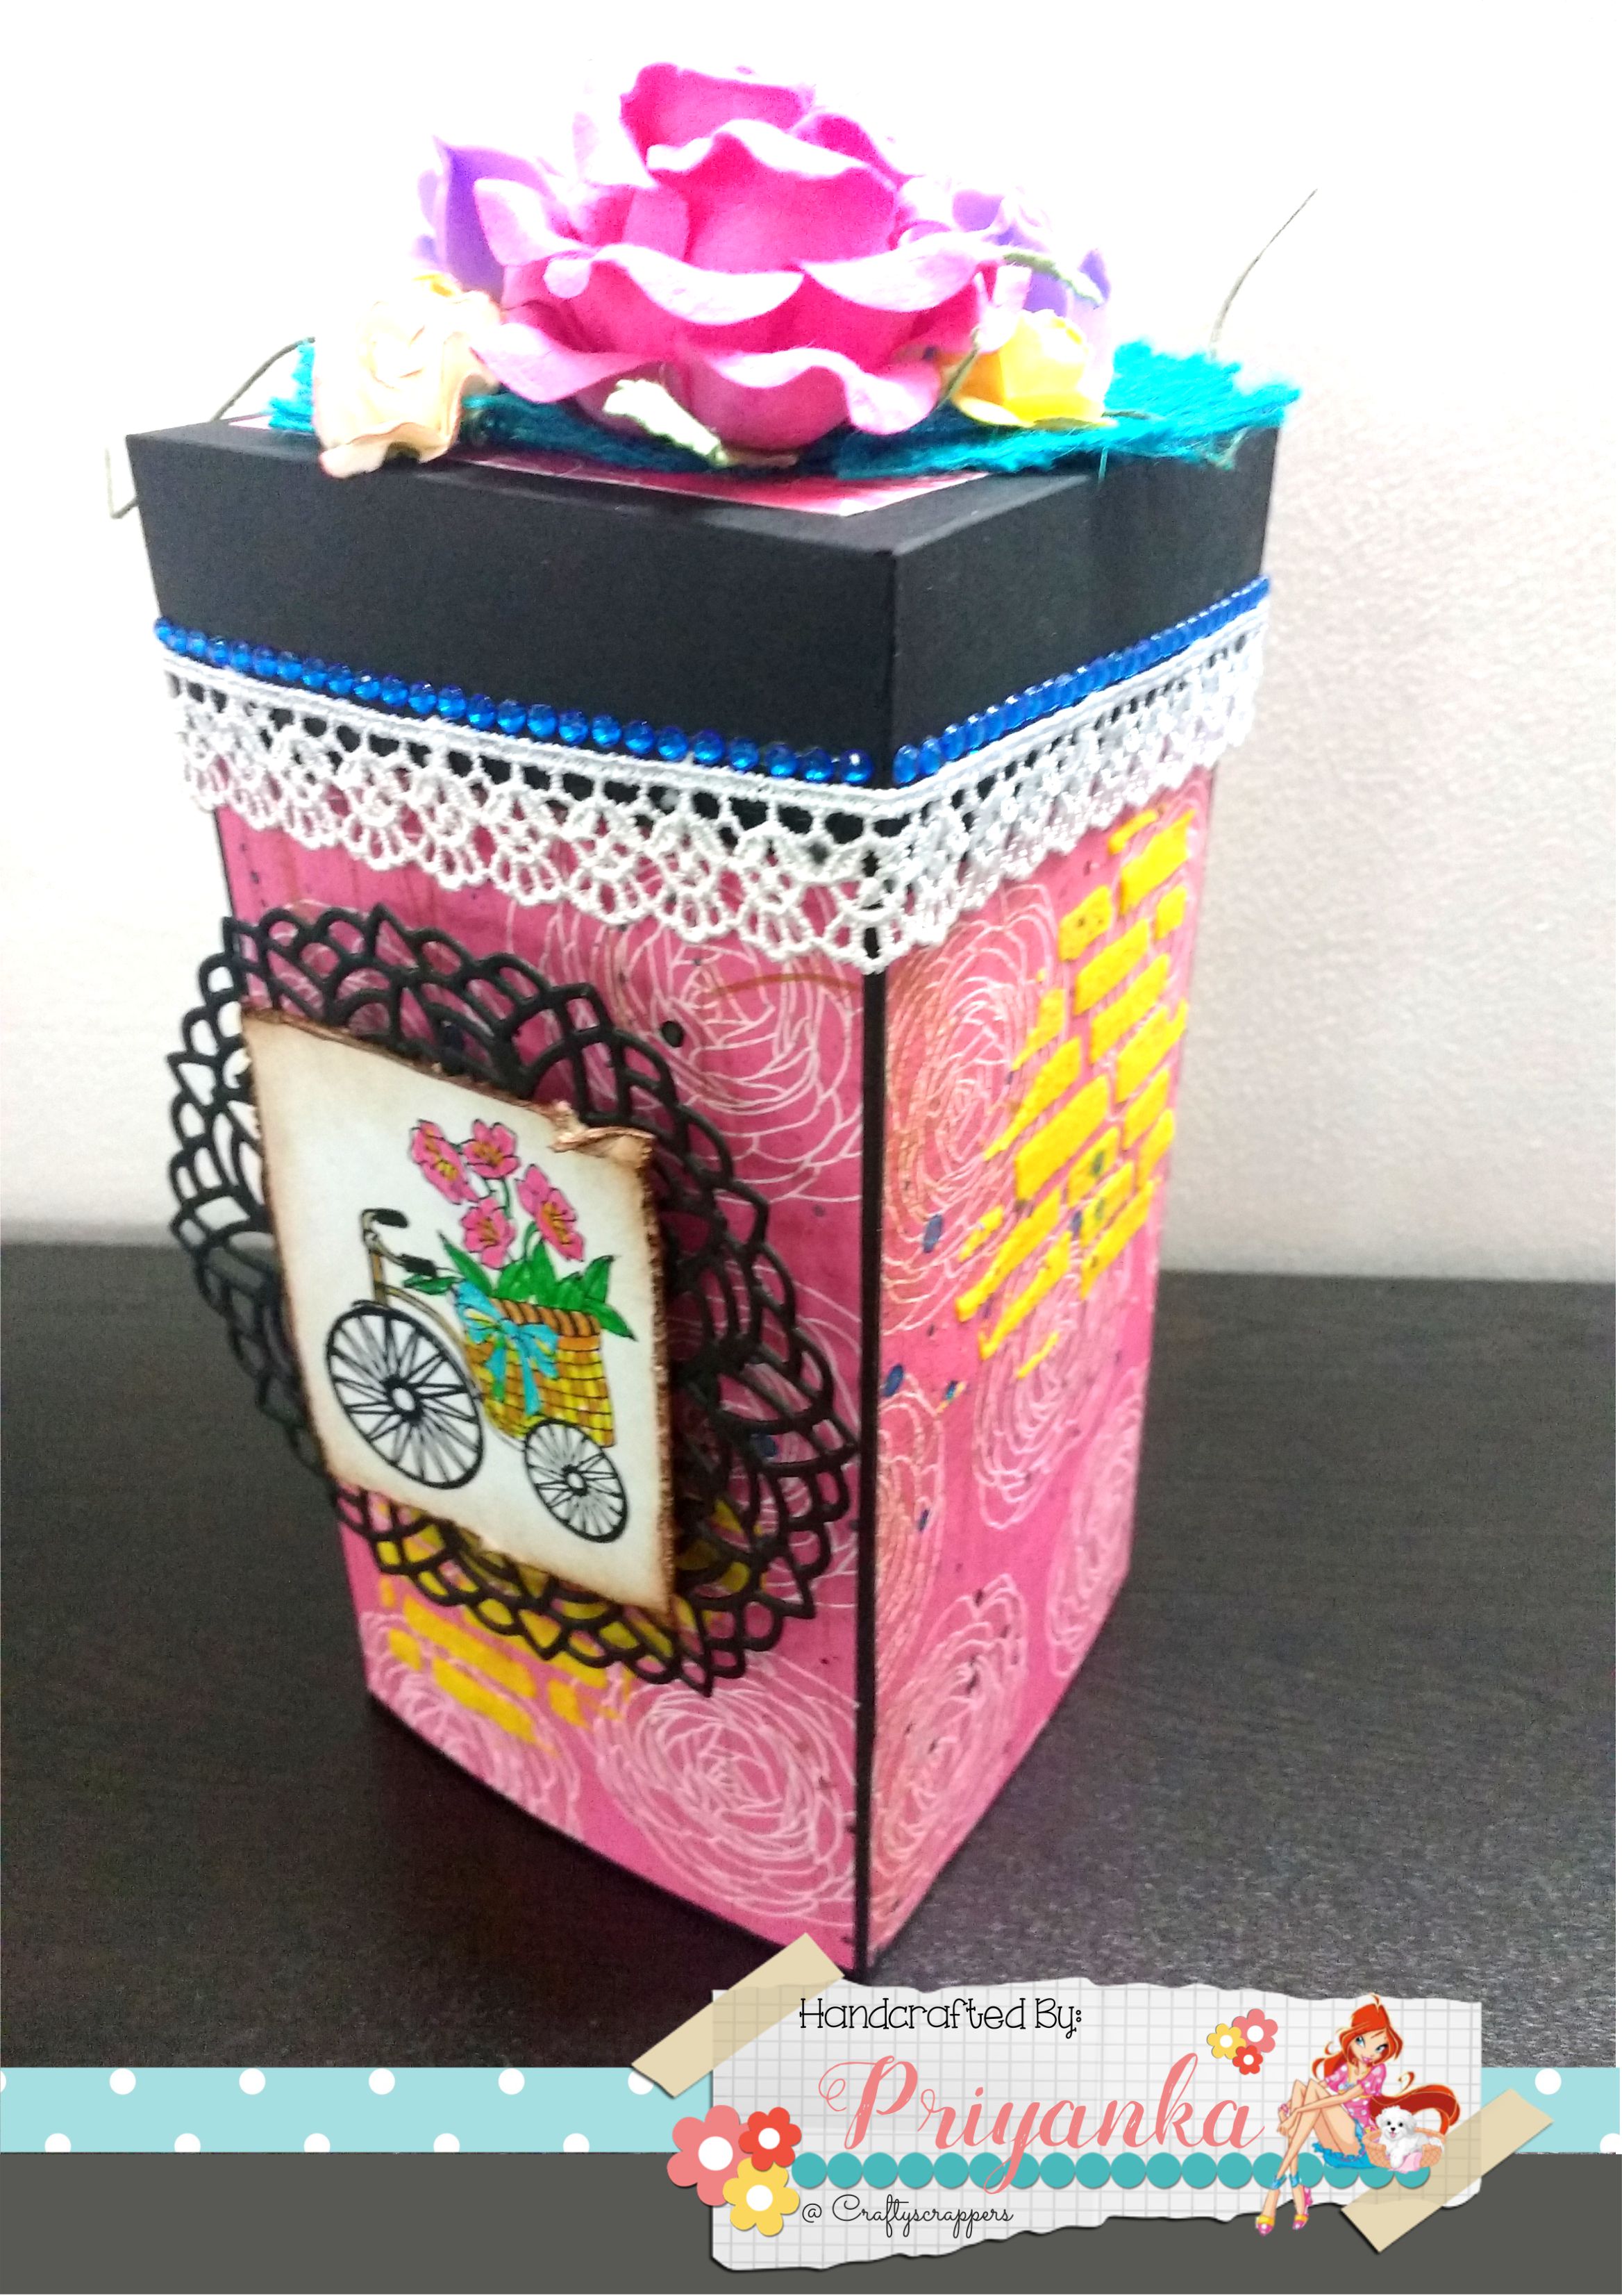
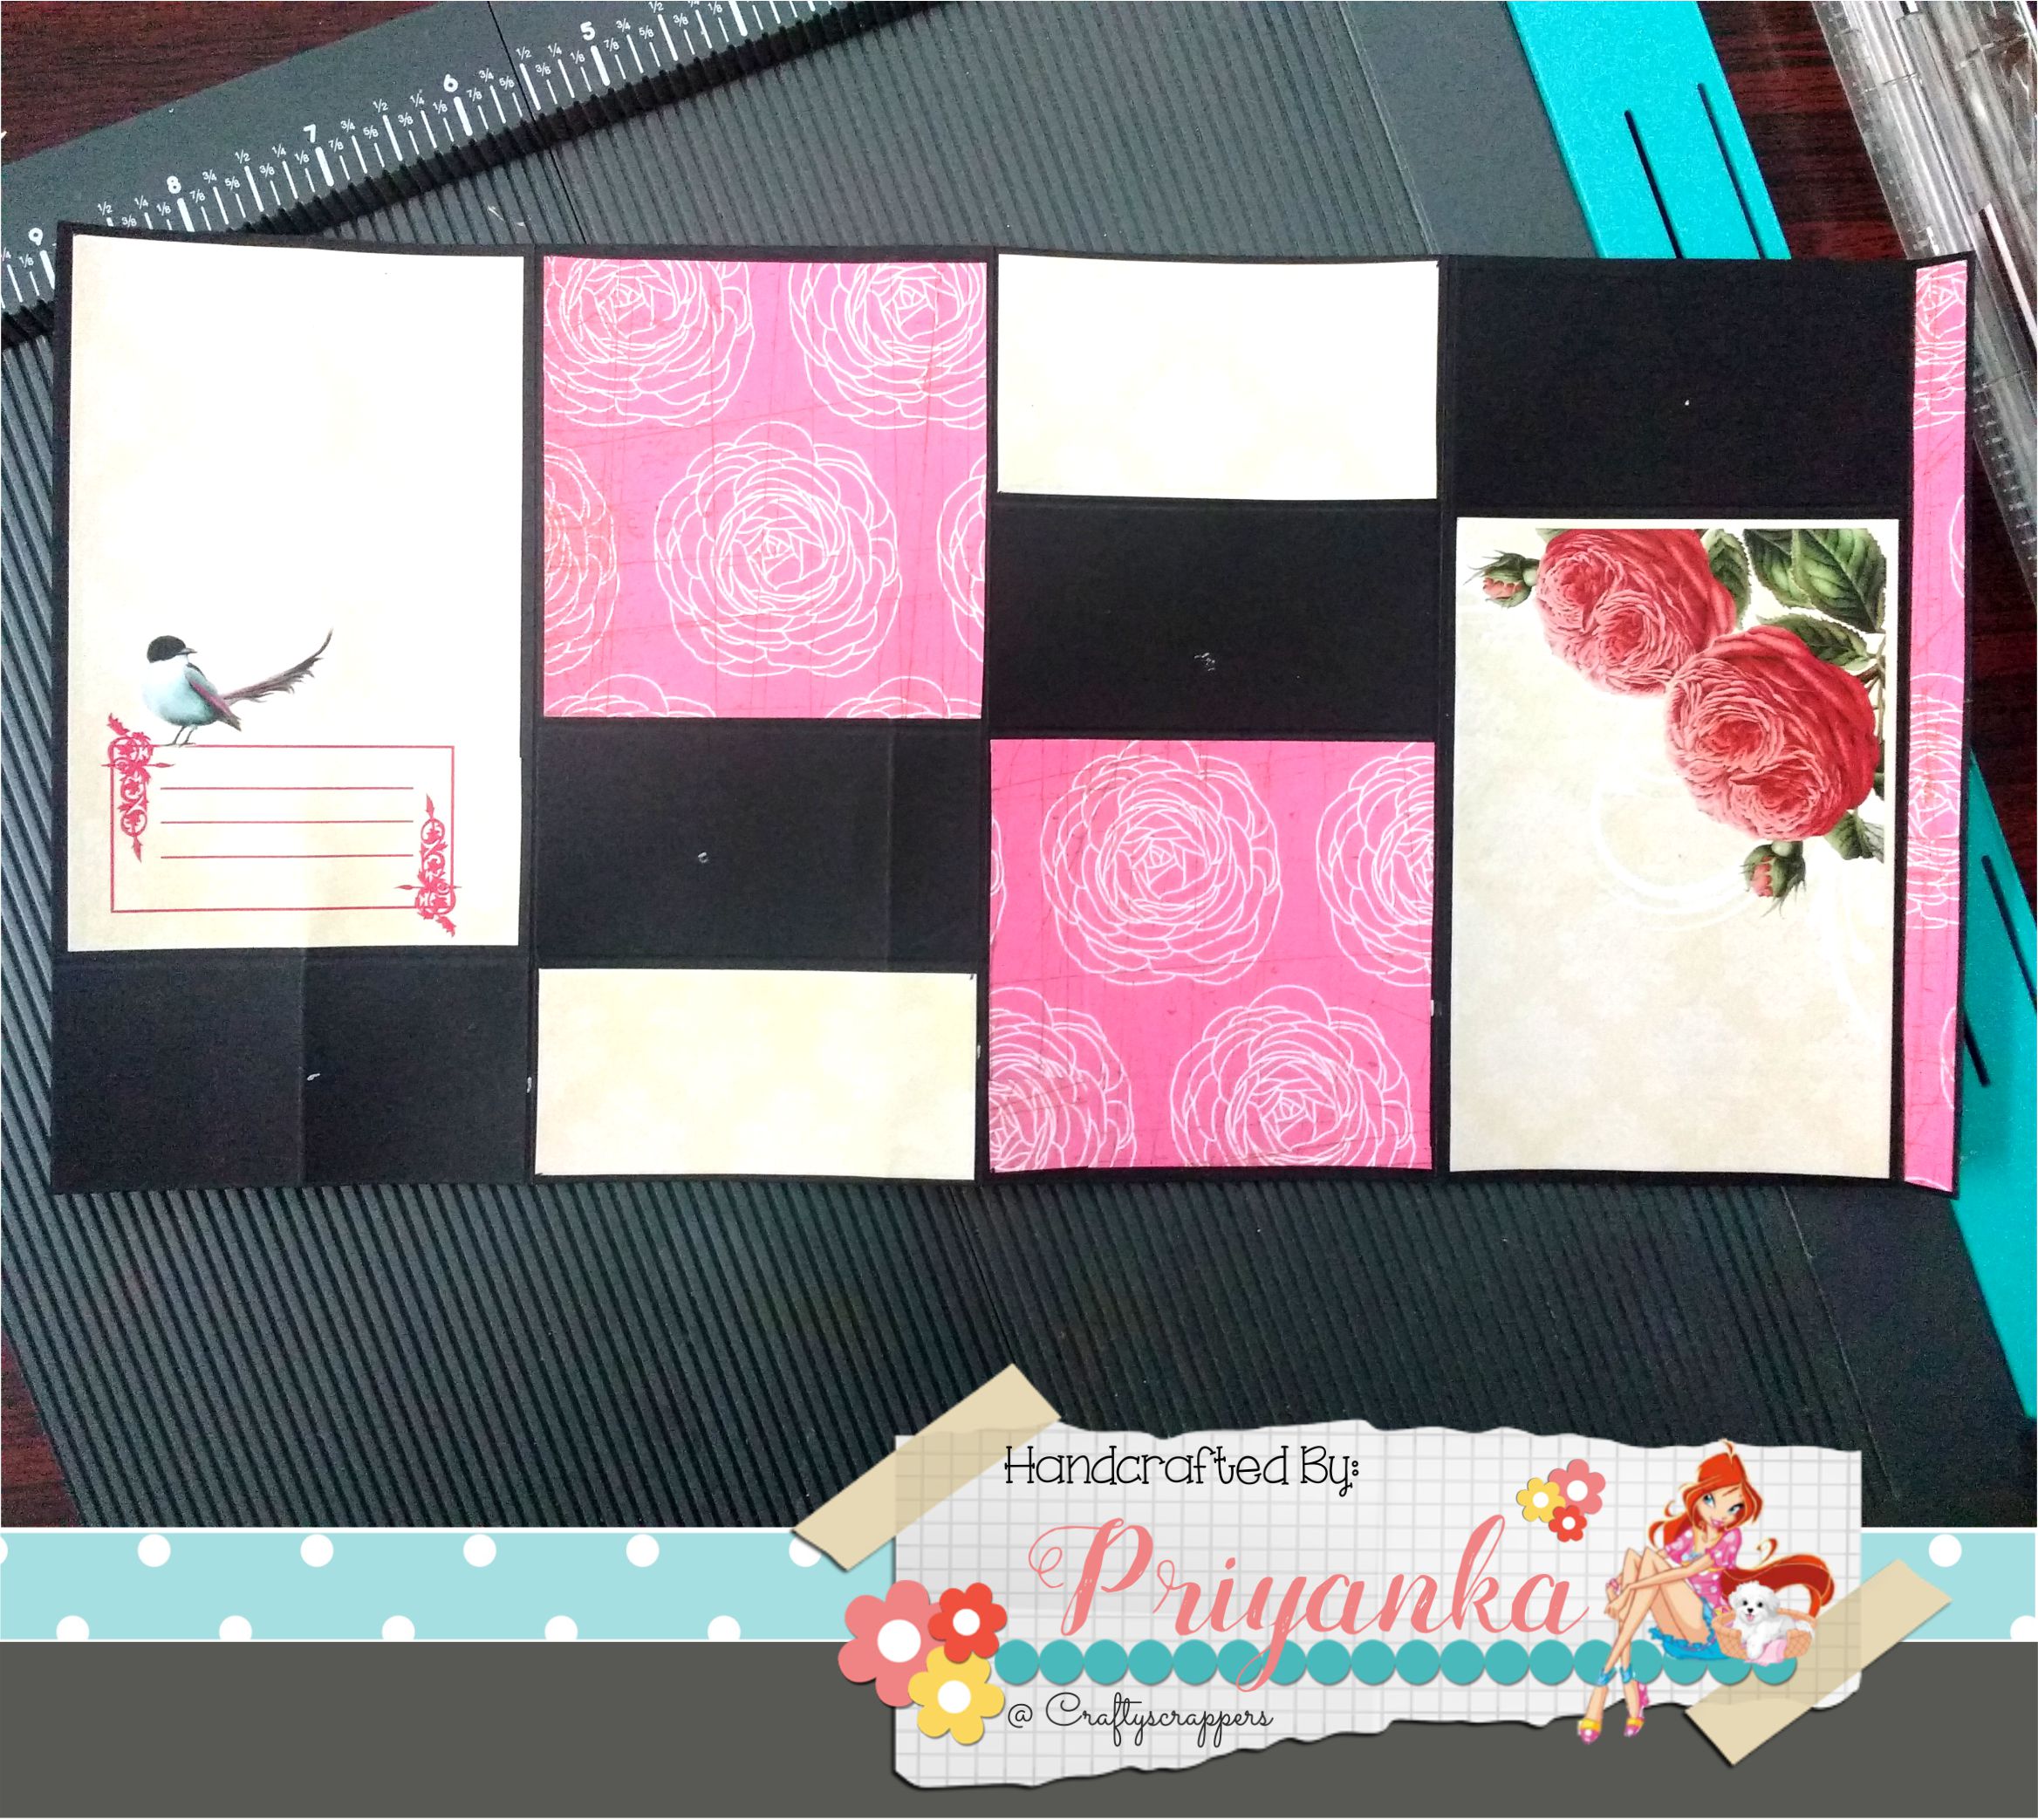
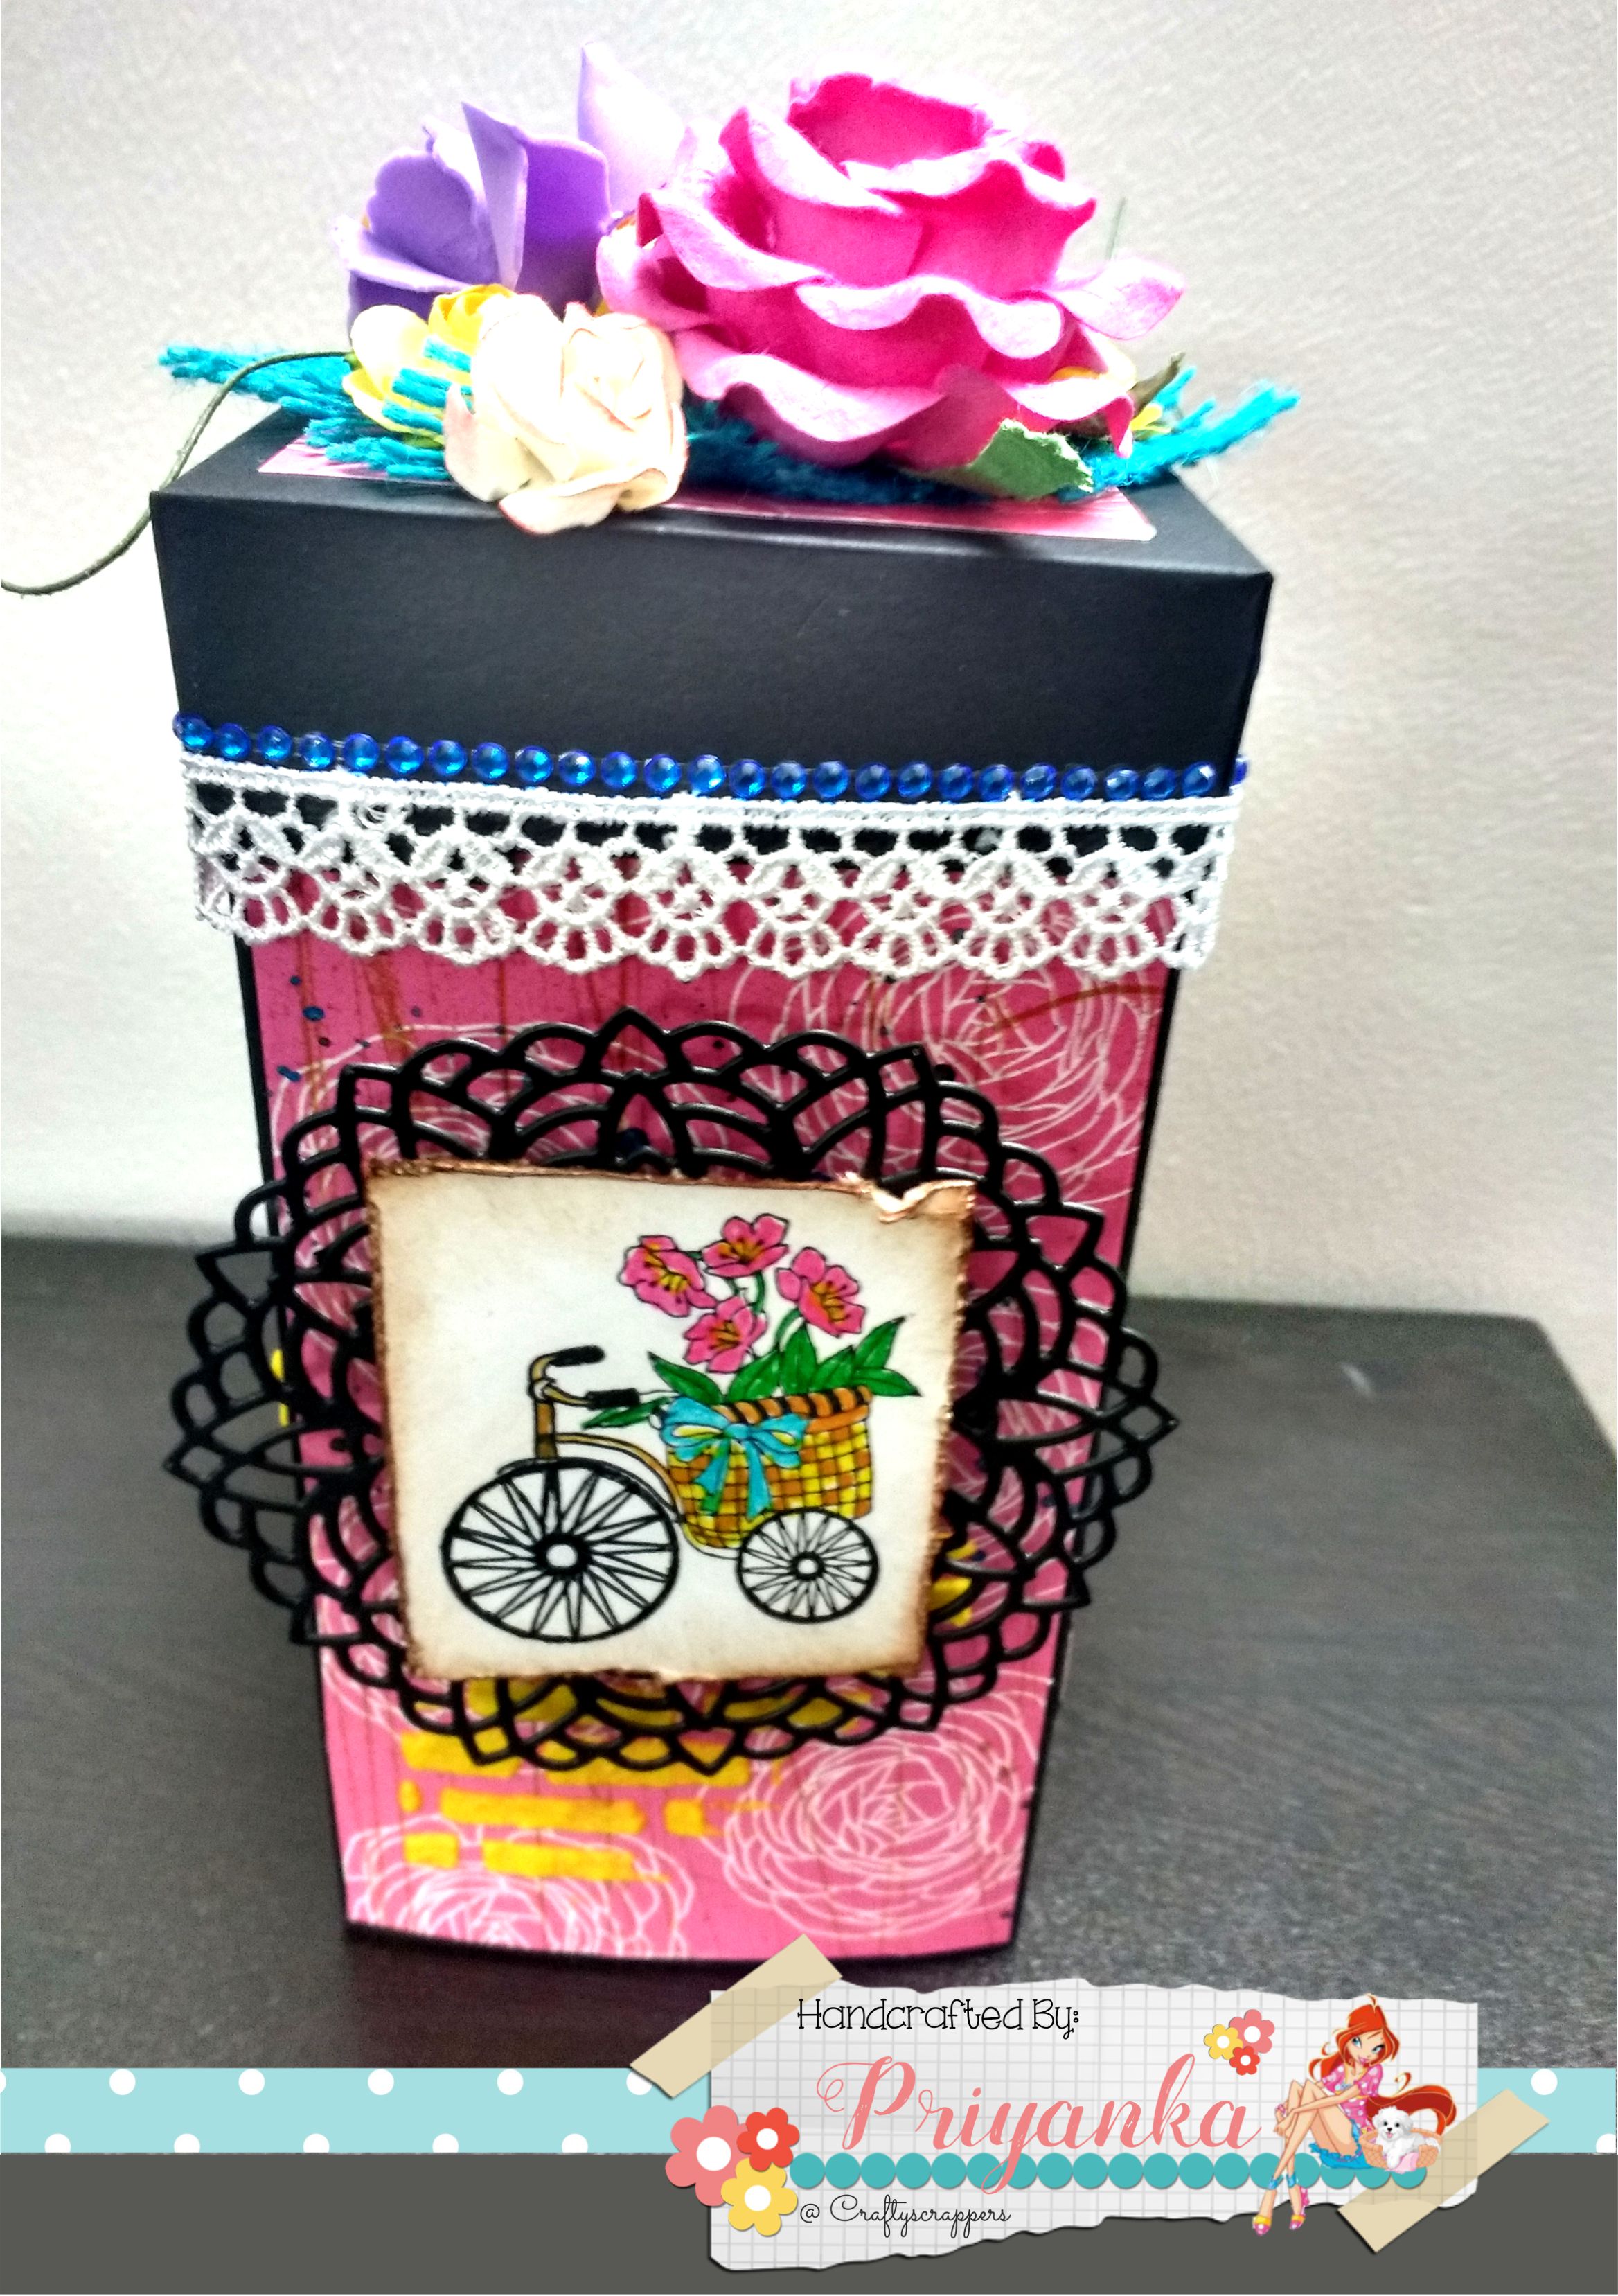
Here’s a look at the completed Tower Box:

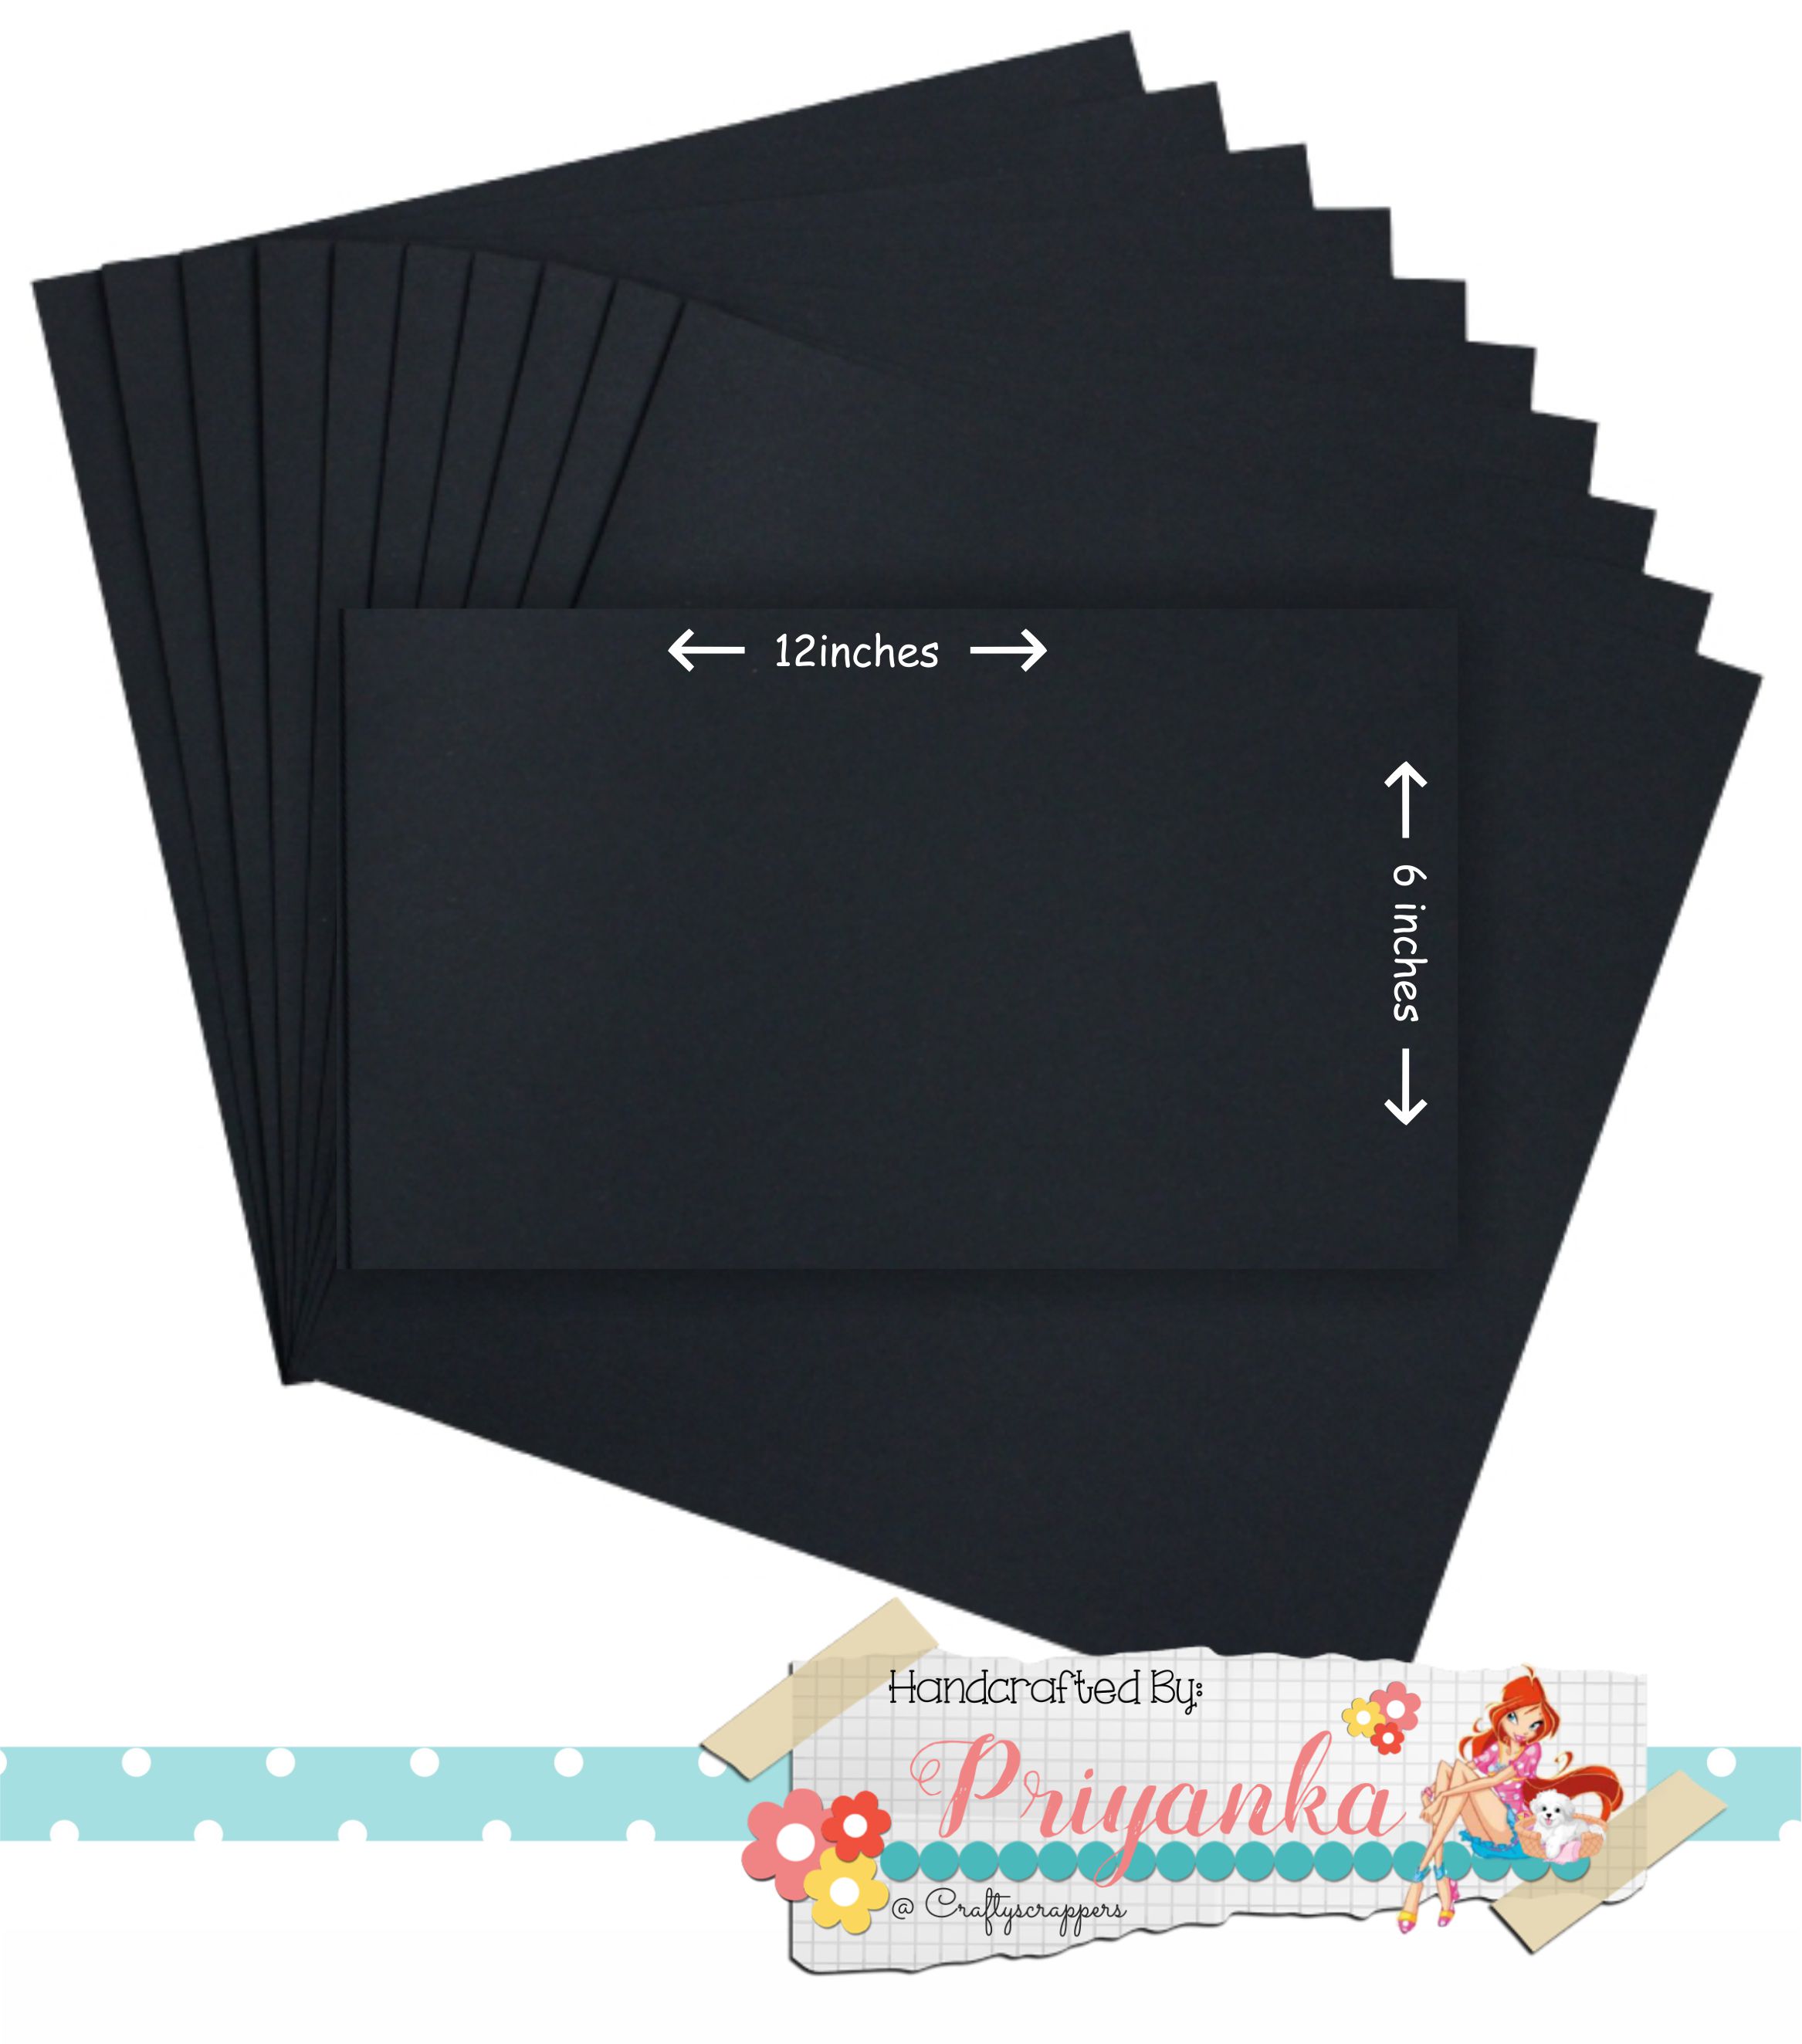
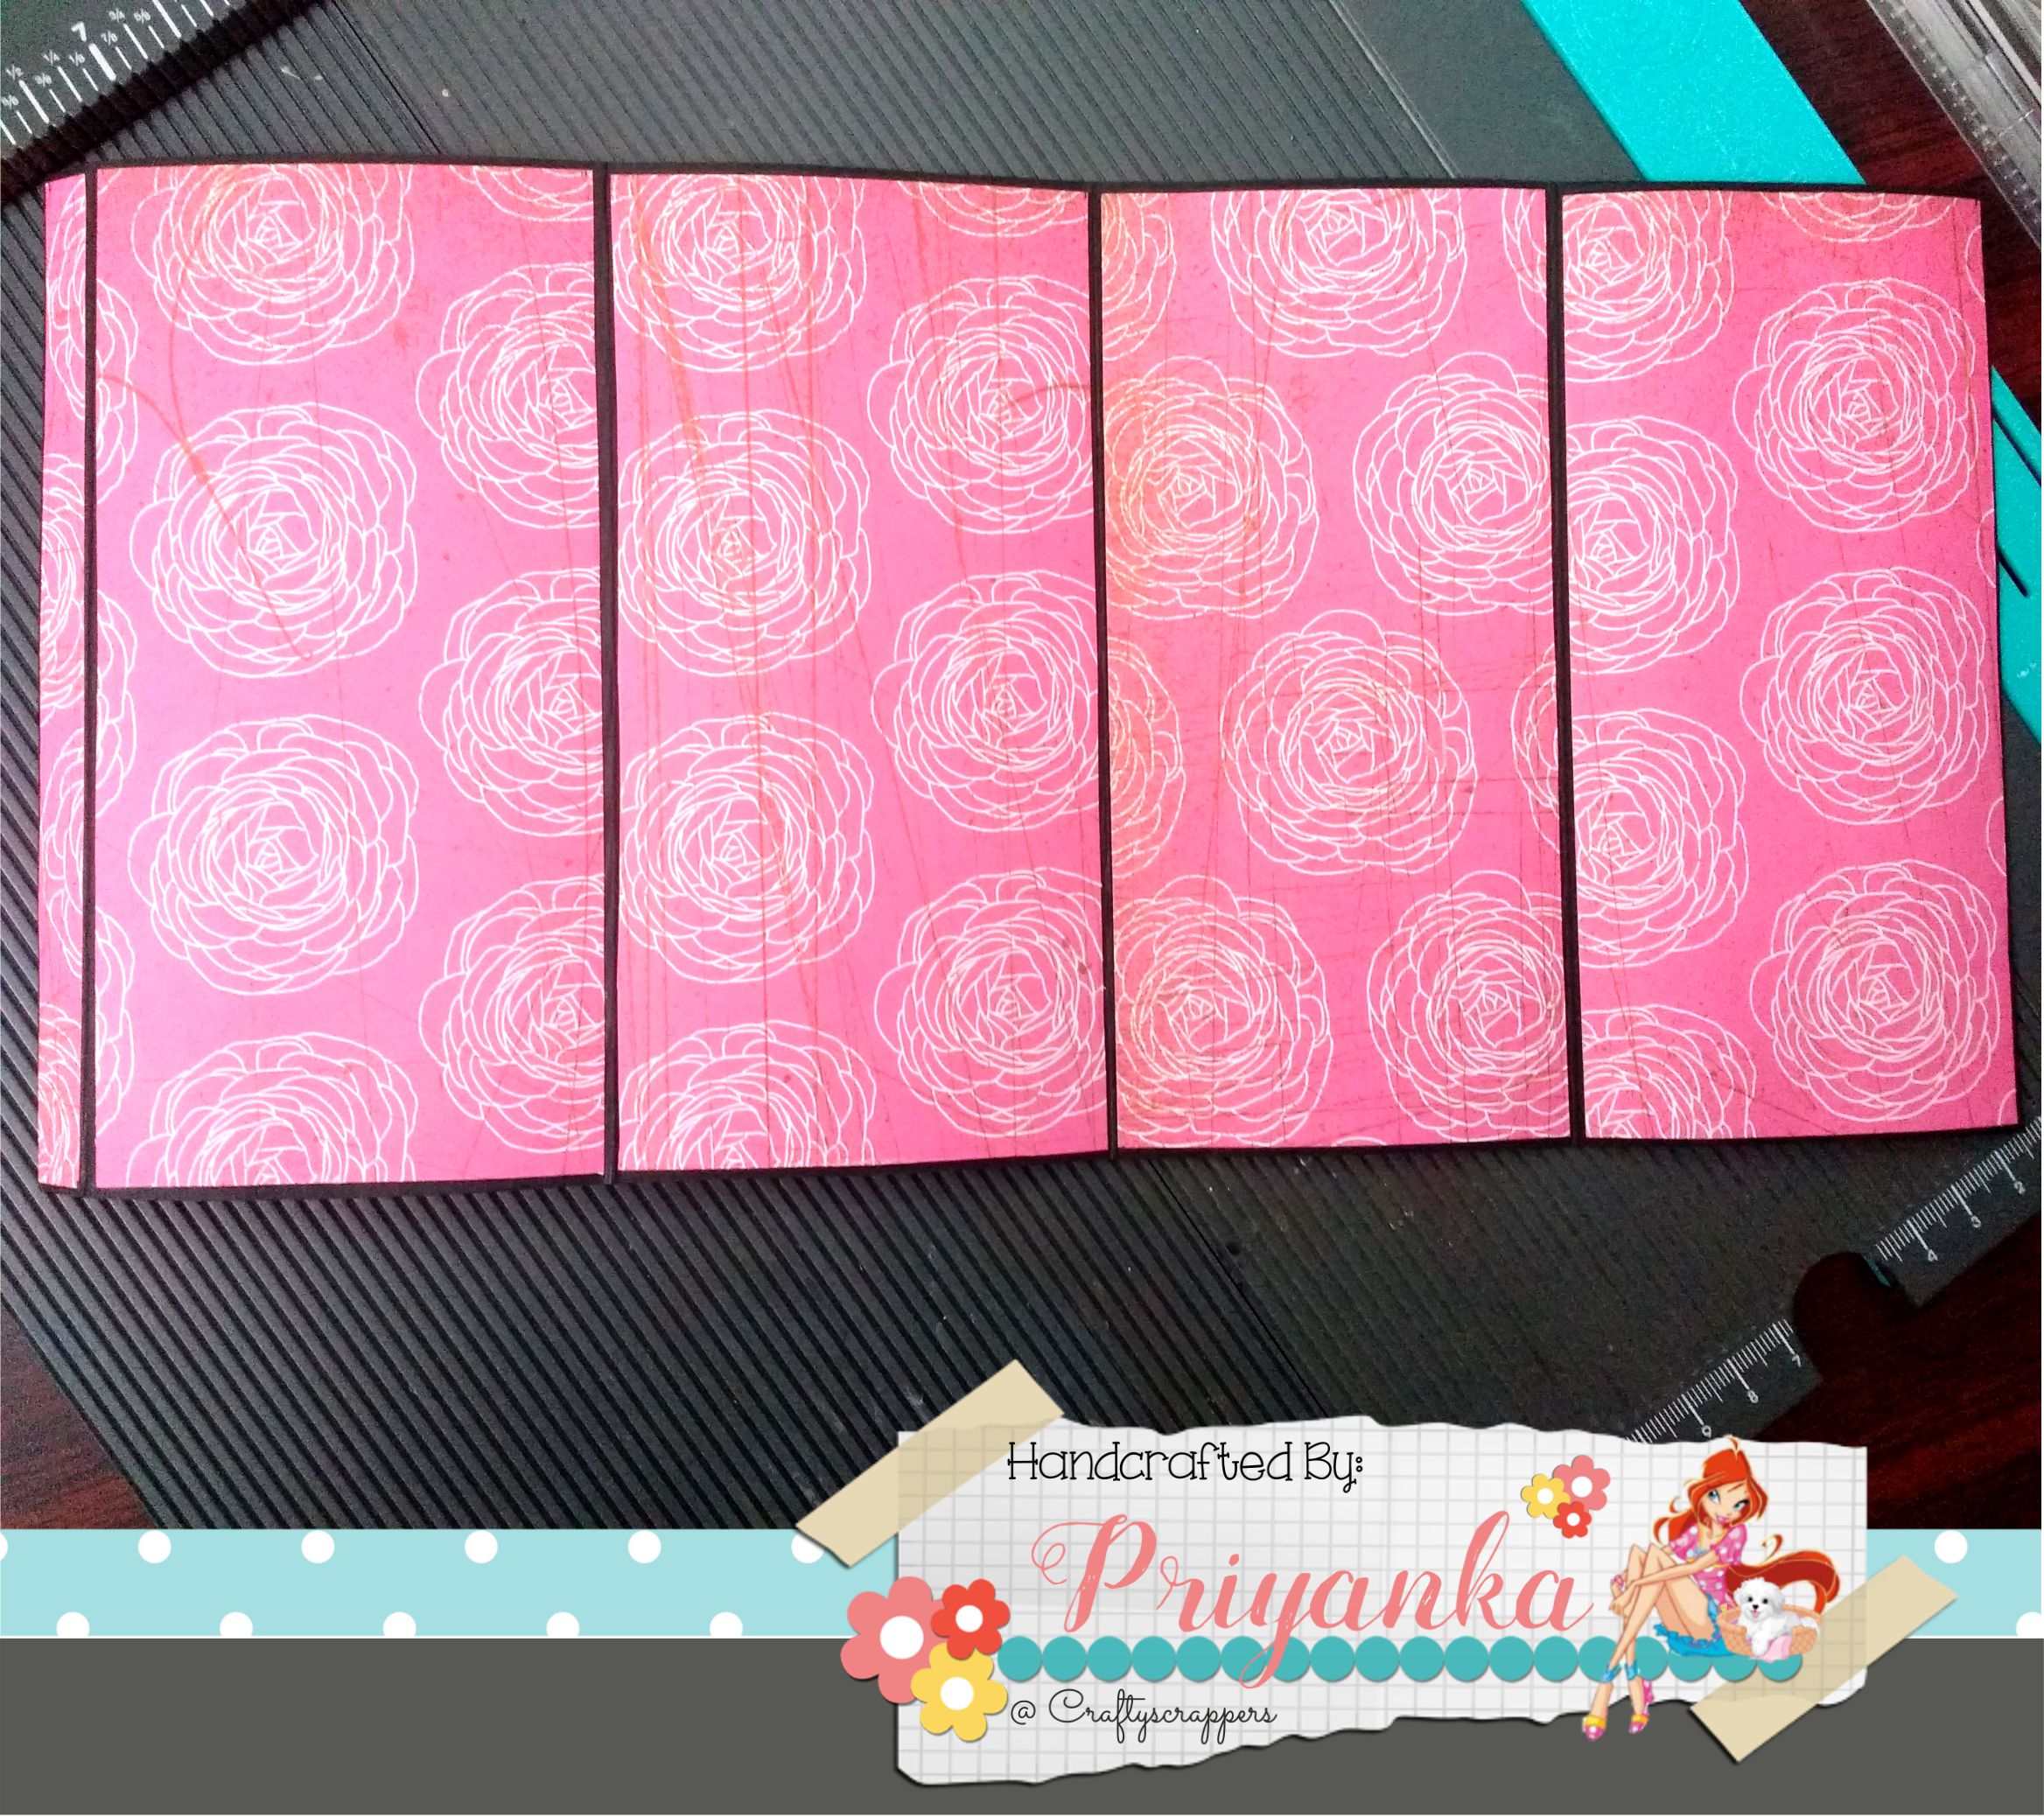
Here 0.5 inches (in 12.5) is for securing box so that it could close well, so for further measurements keep this 0.5 aside & all measurements will be done with 12 inches only.

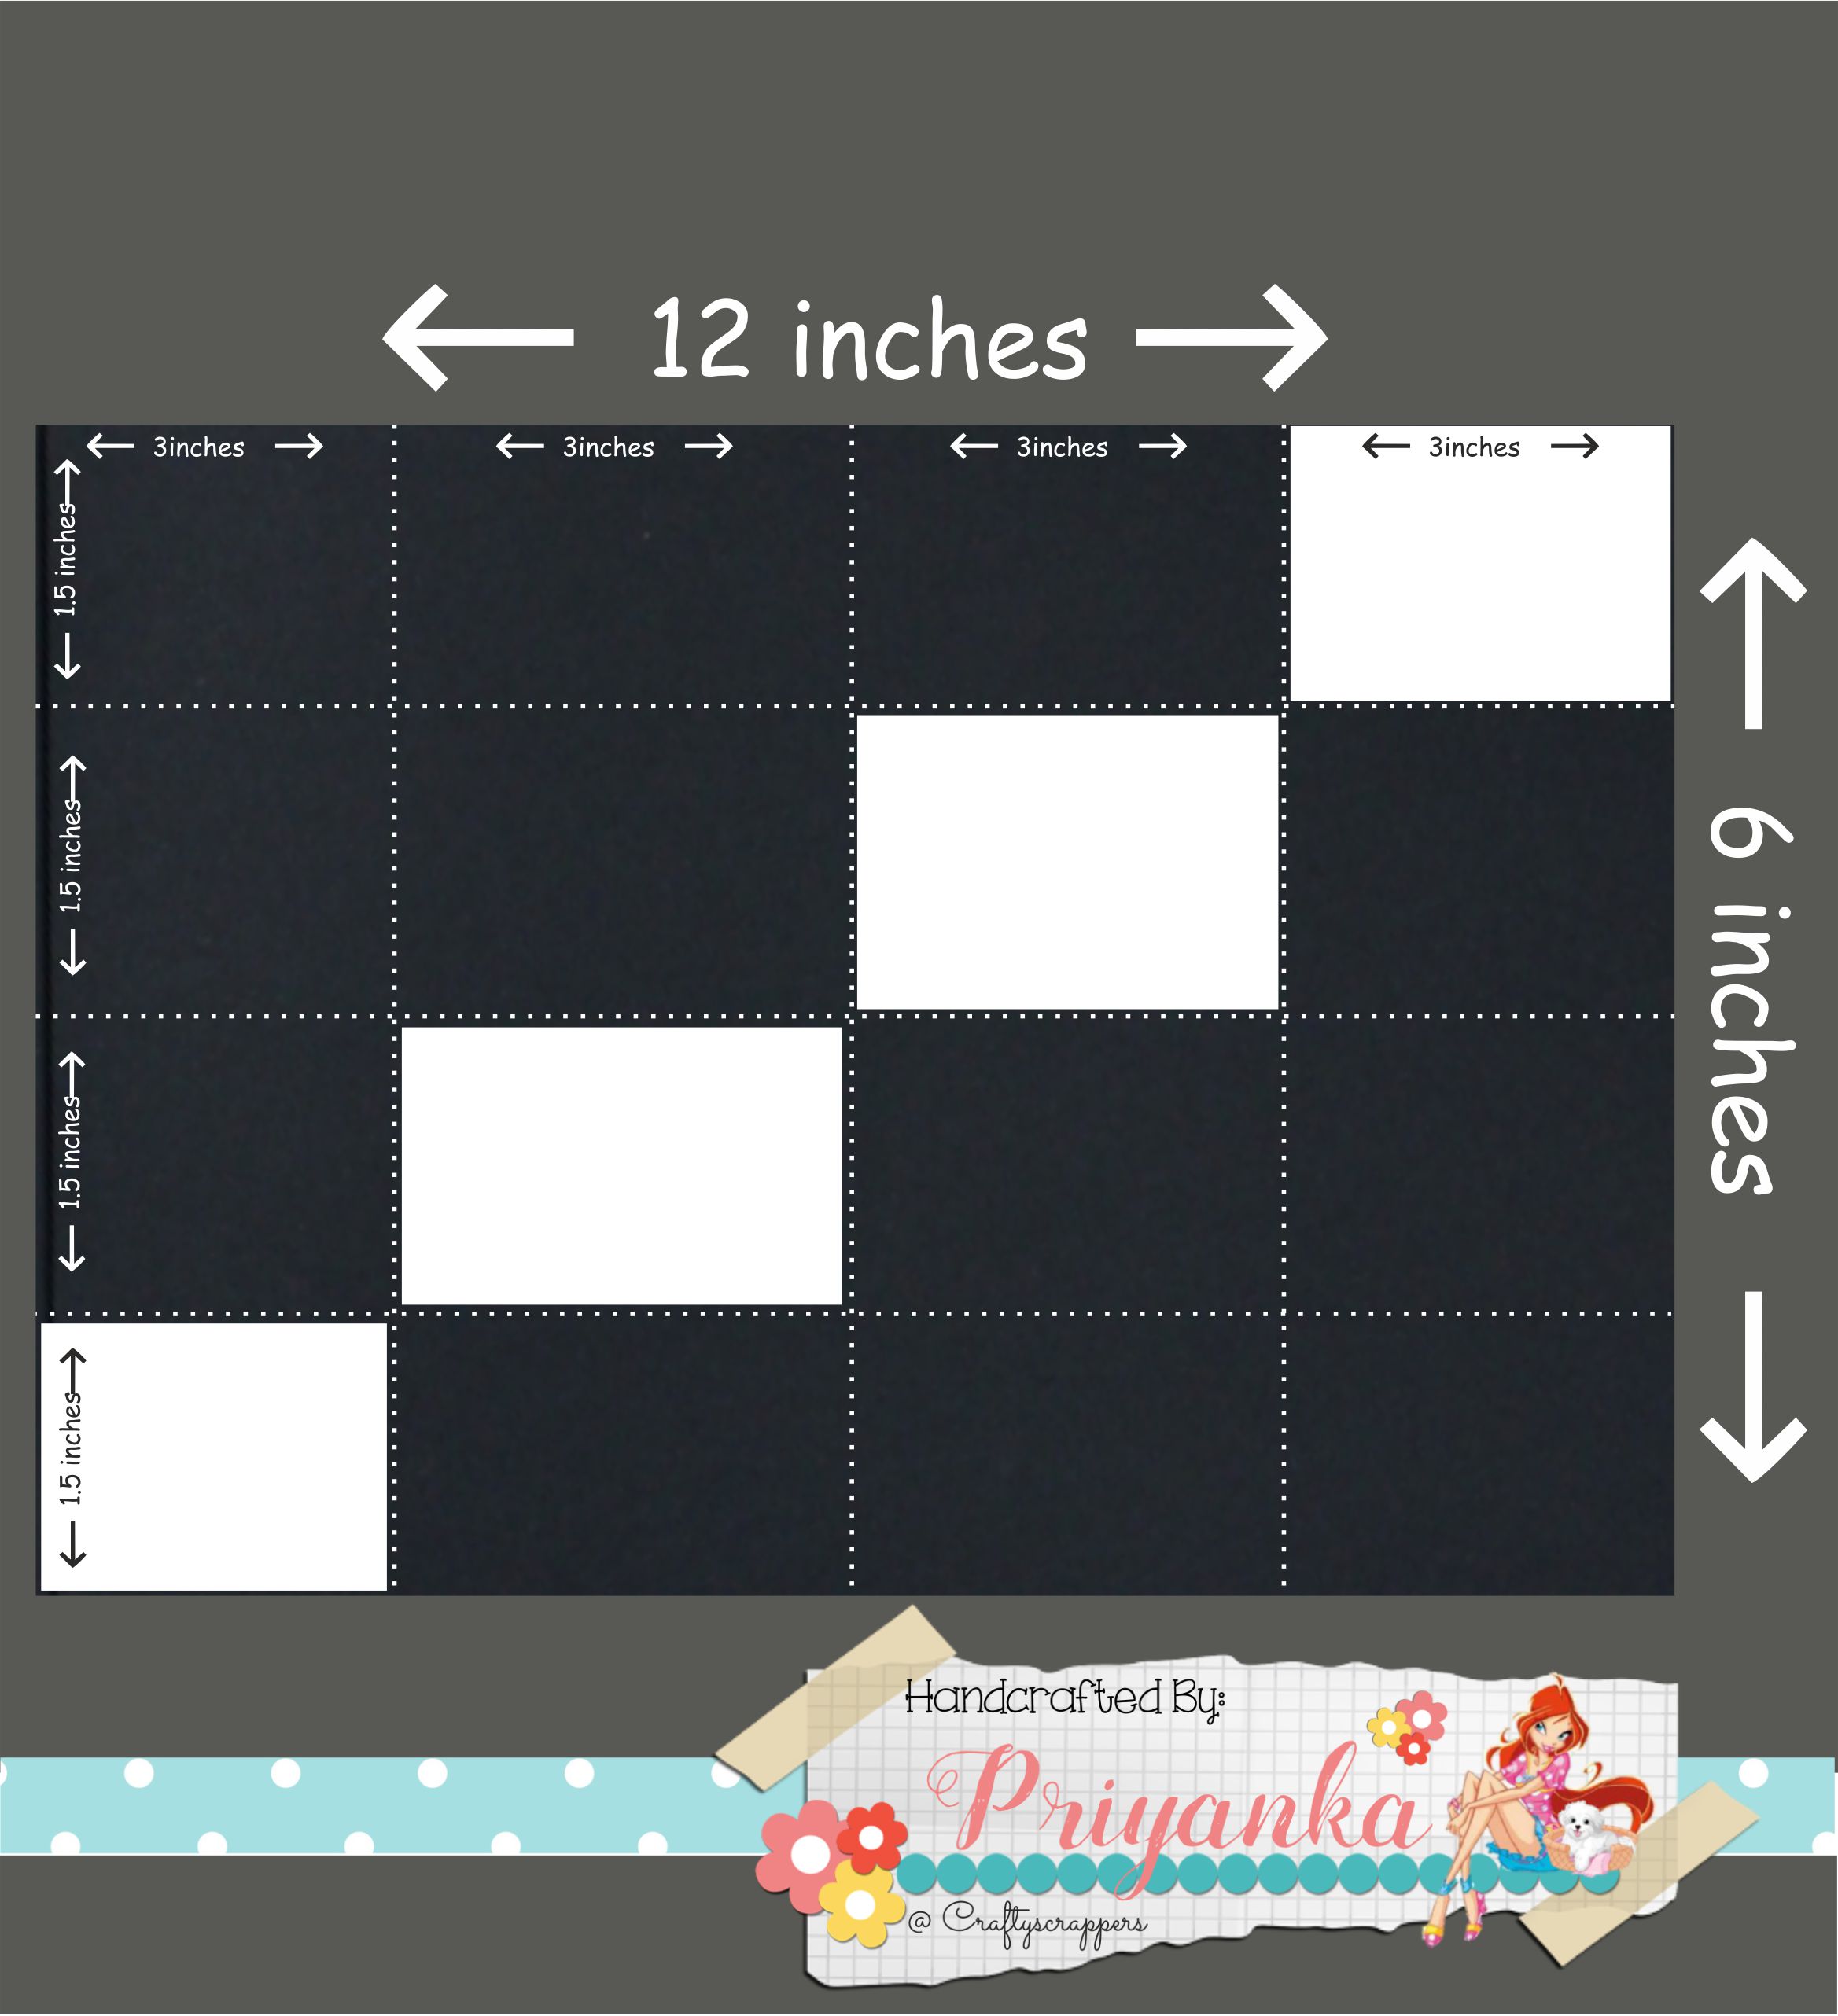
White boxes running diagonally is the space to glue smaller paper boxes. In rest of the space glue pattern paper of your choice.


Took one and scored it horizontally & vertically as per the measurements shown below
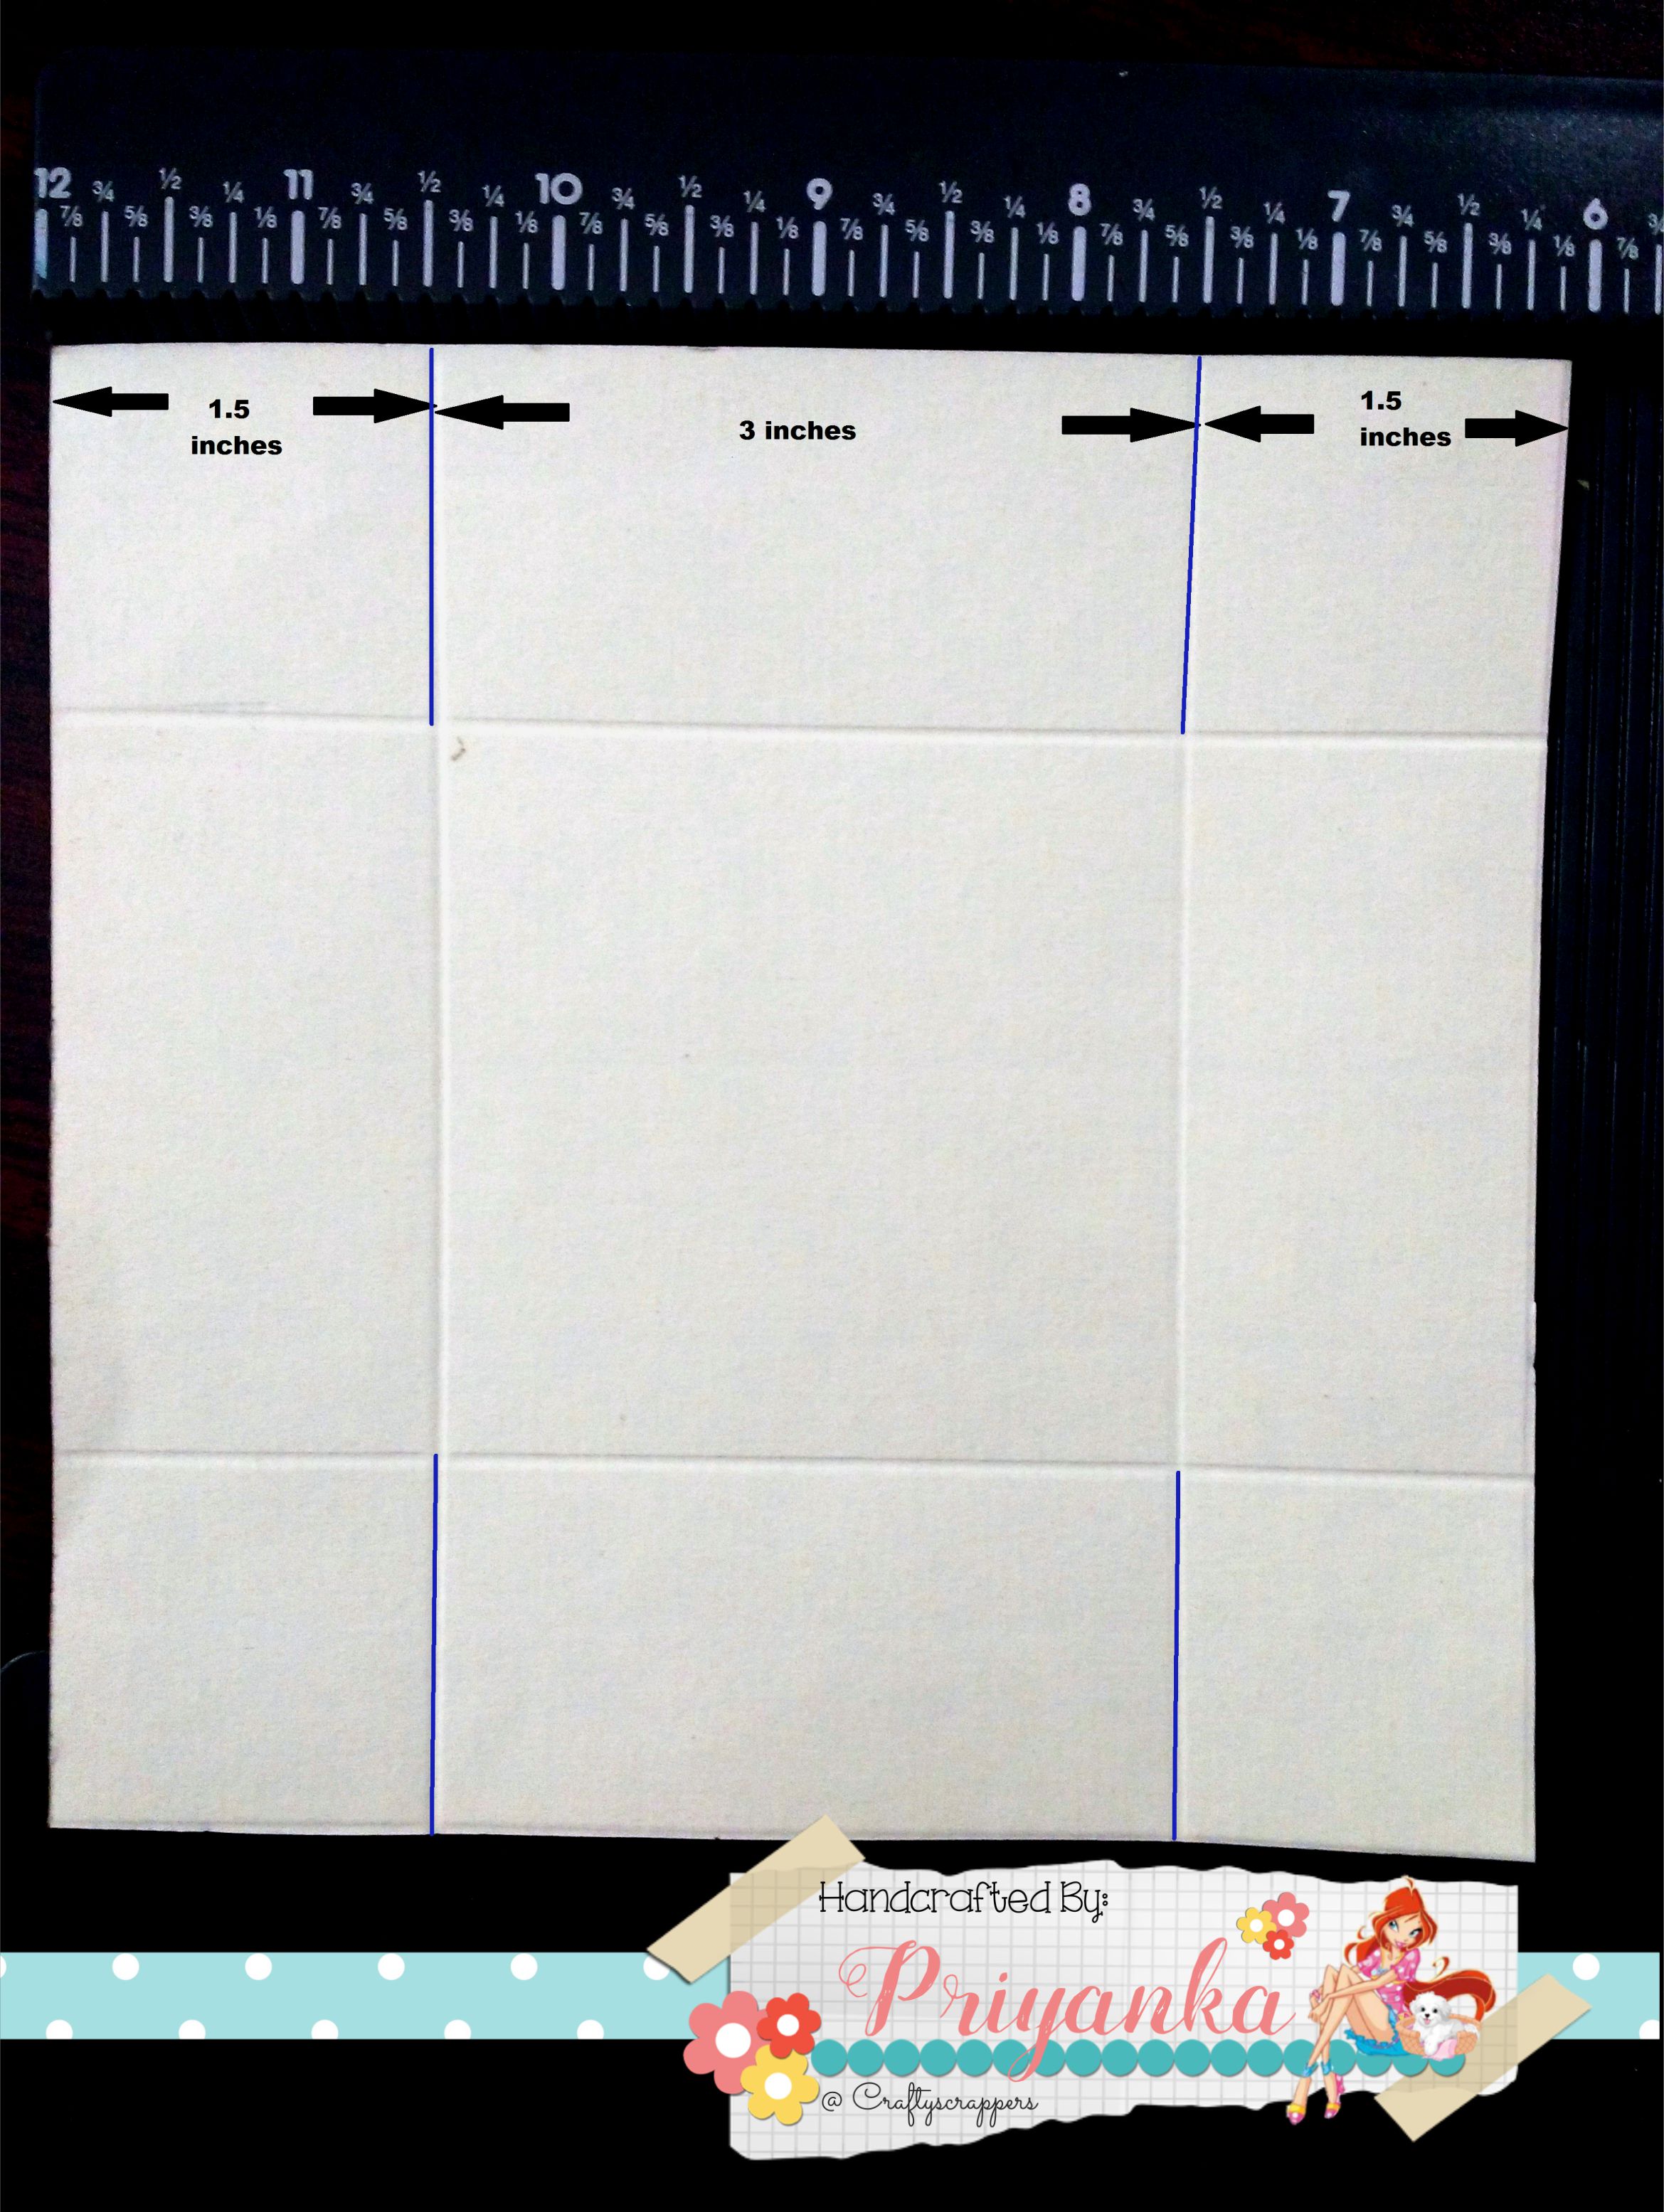

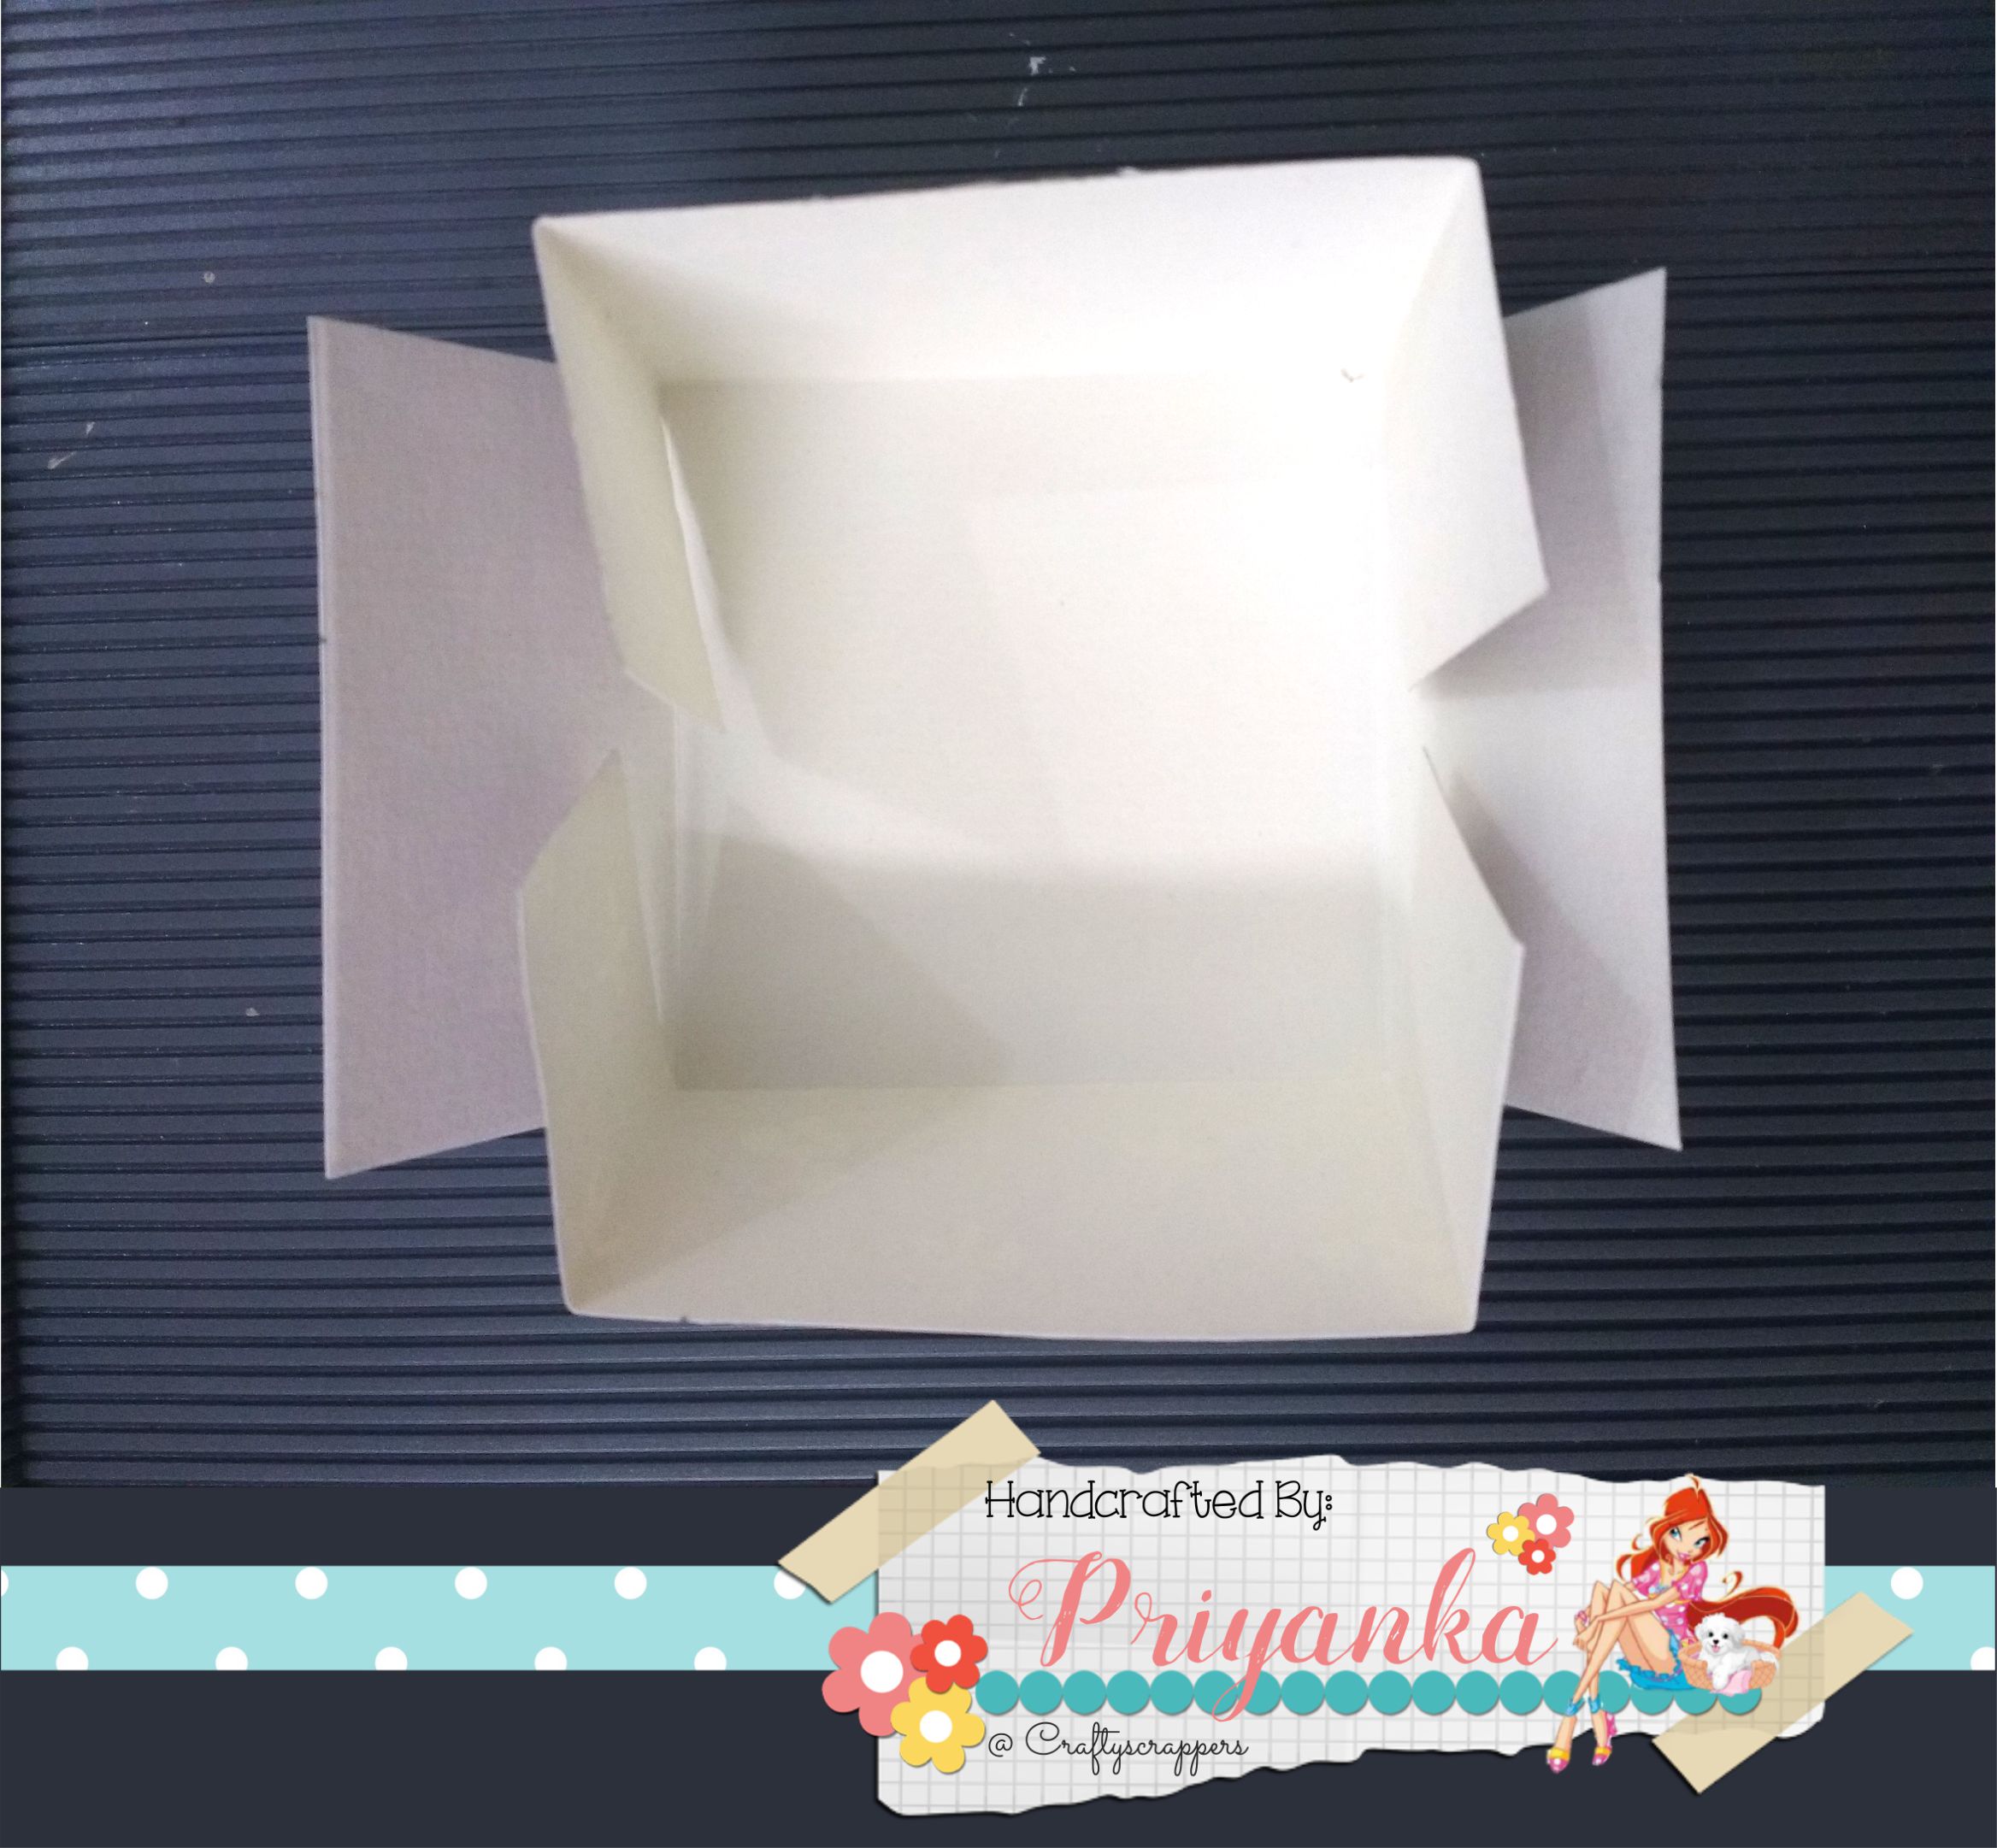
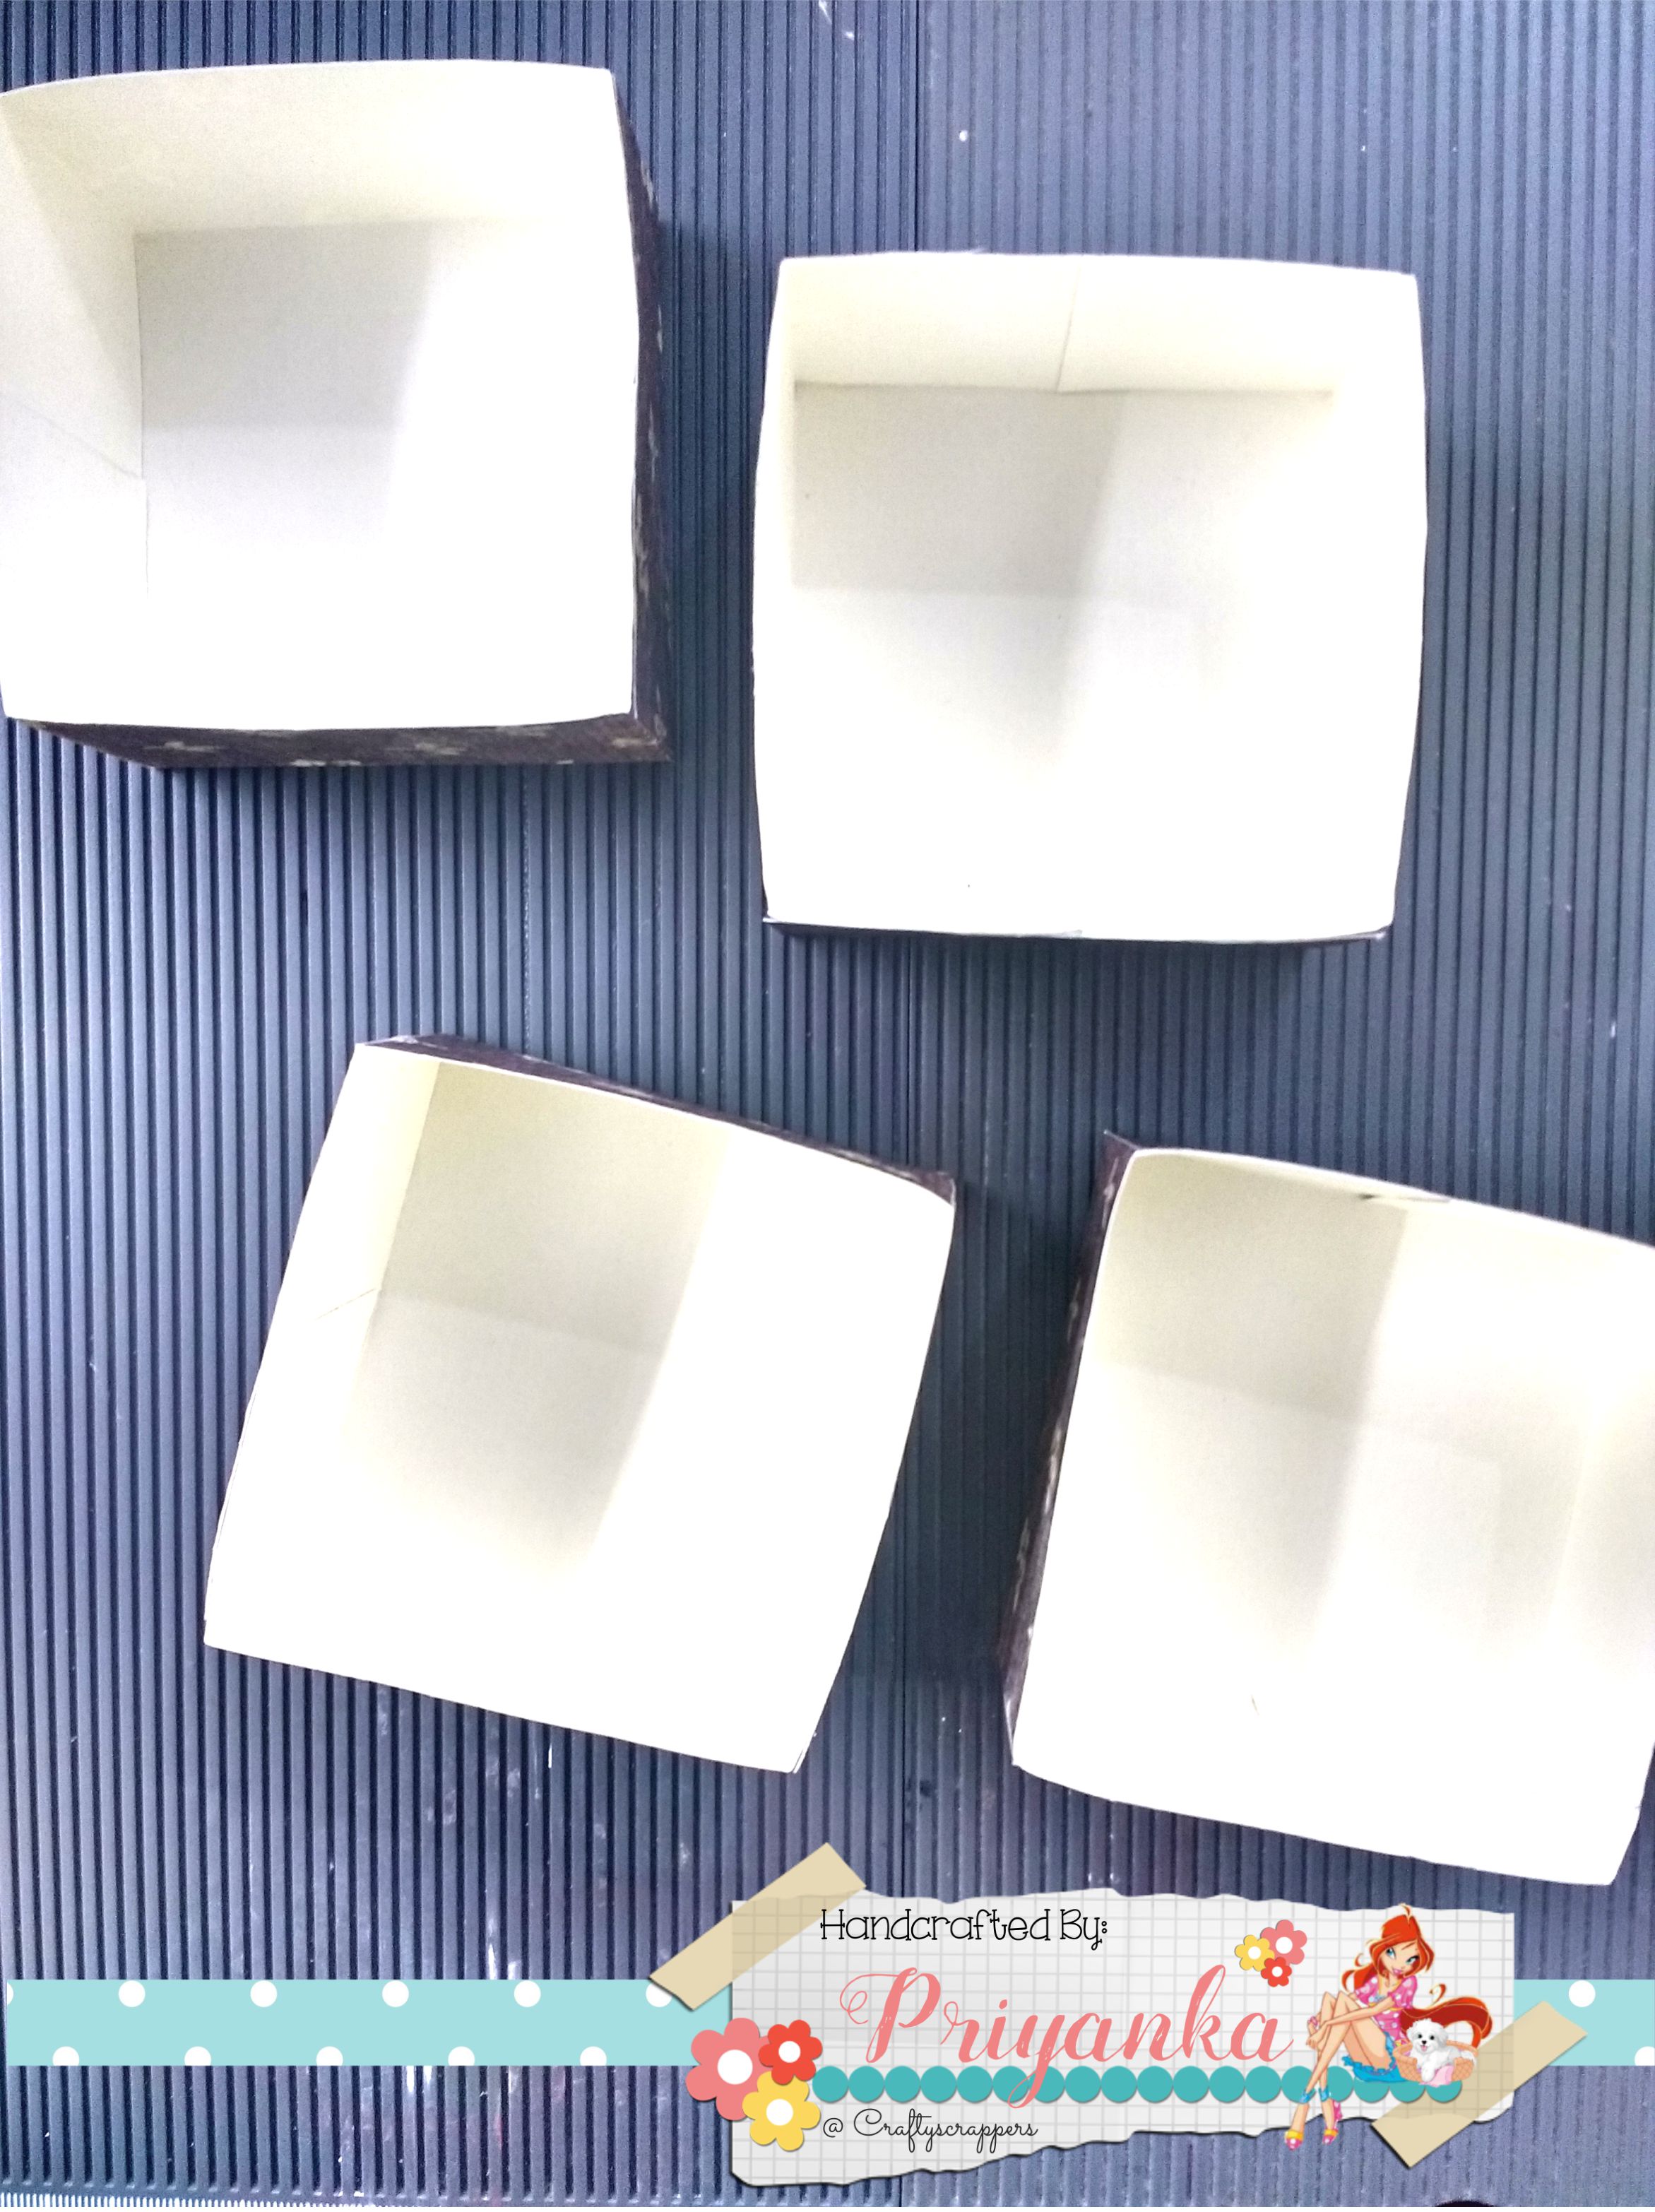
Repeat the same for remaining three boxes.

Also prepare the lid using same process but with 6.1 by 6.1 inces, mid section of 3.1 inches & sides of 1.5 inches each.

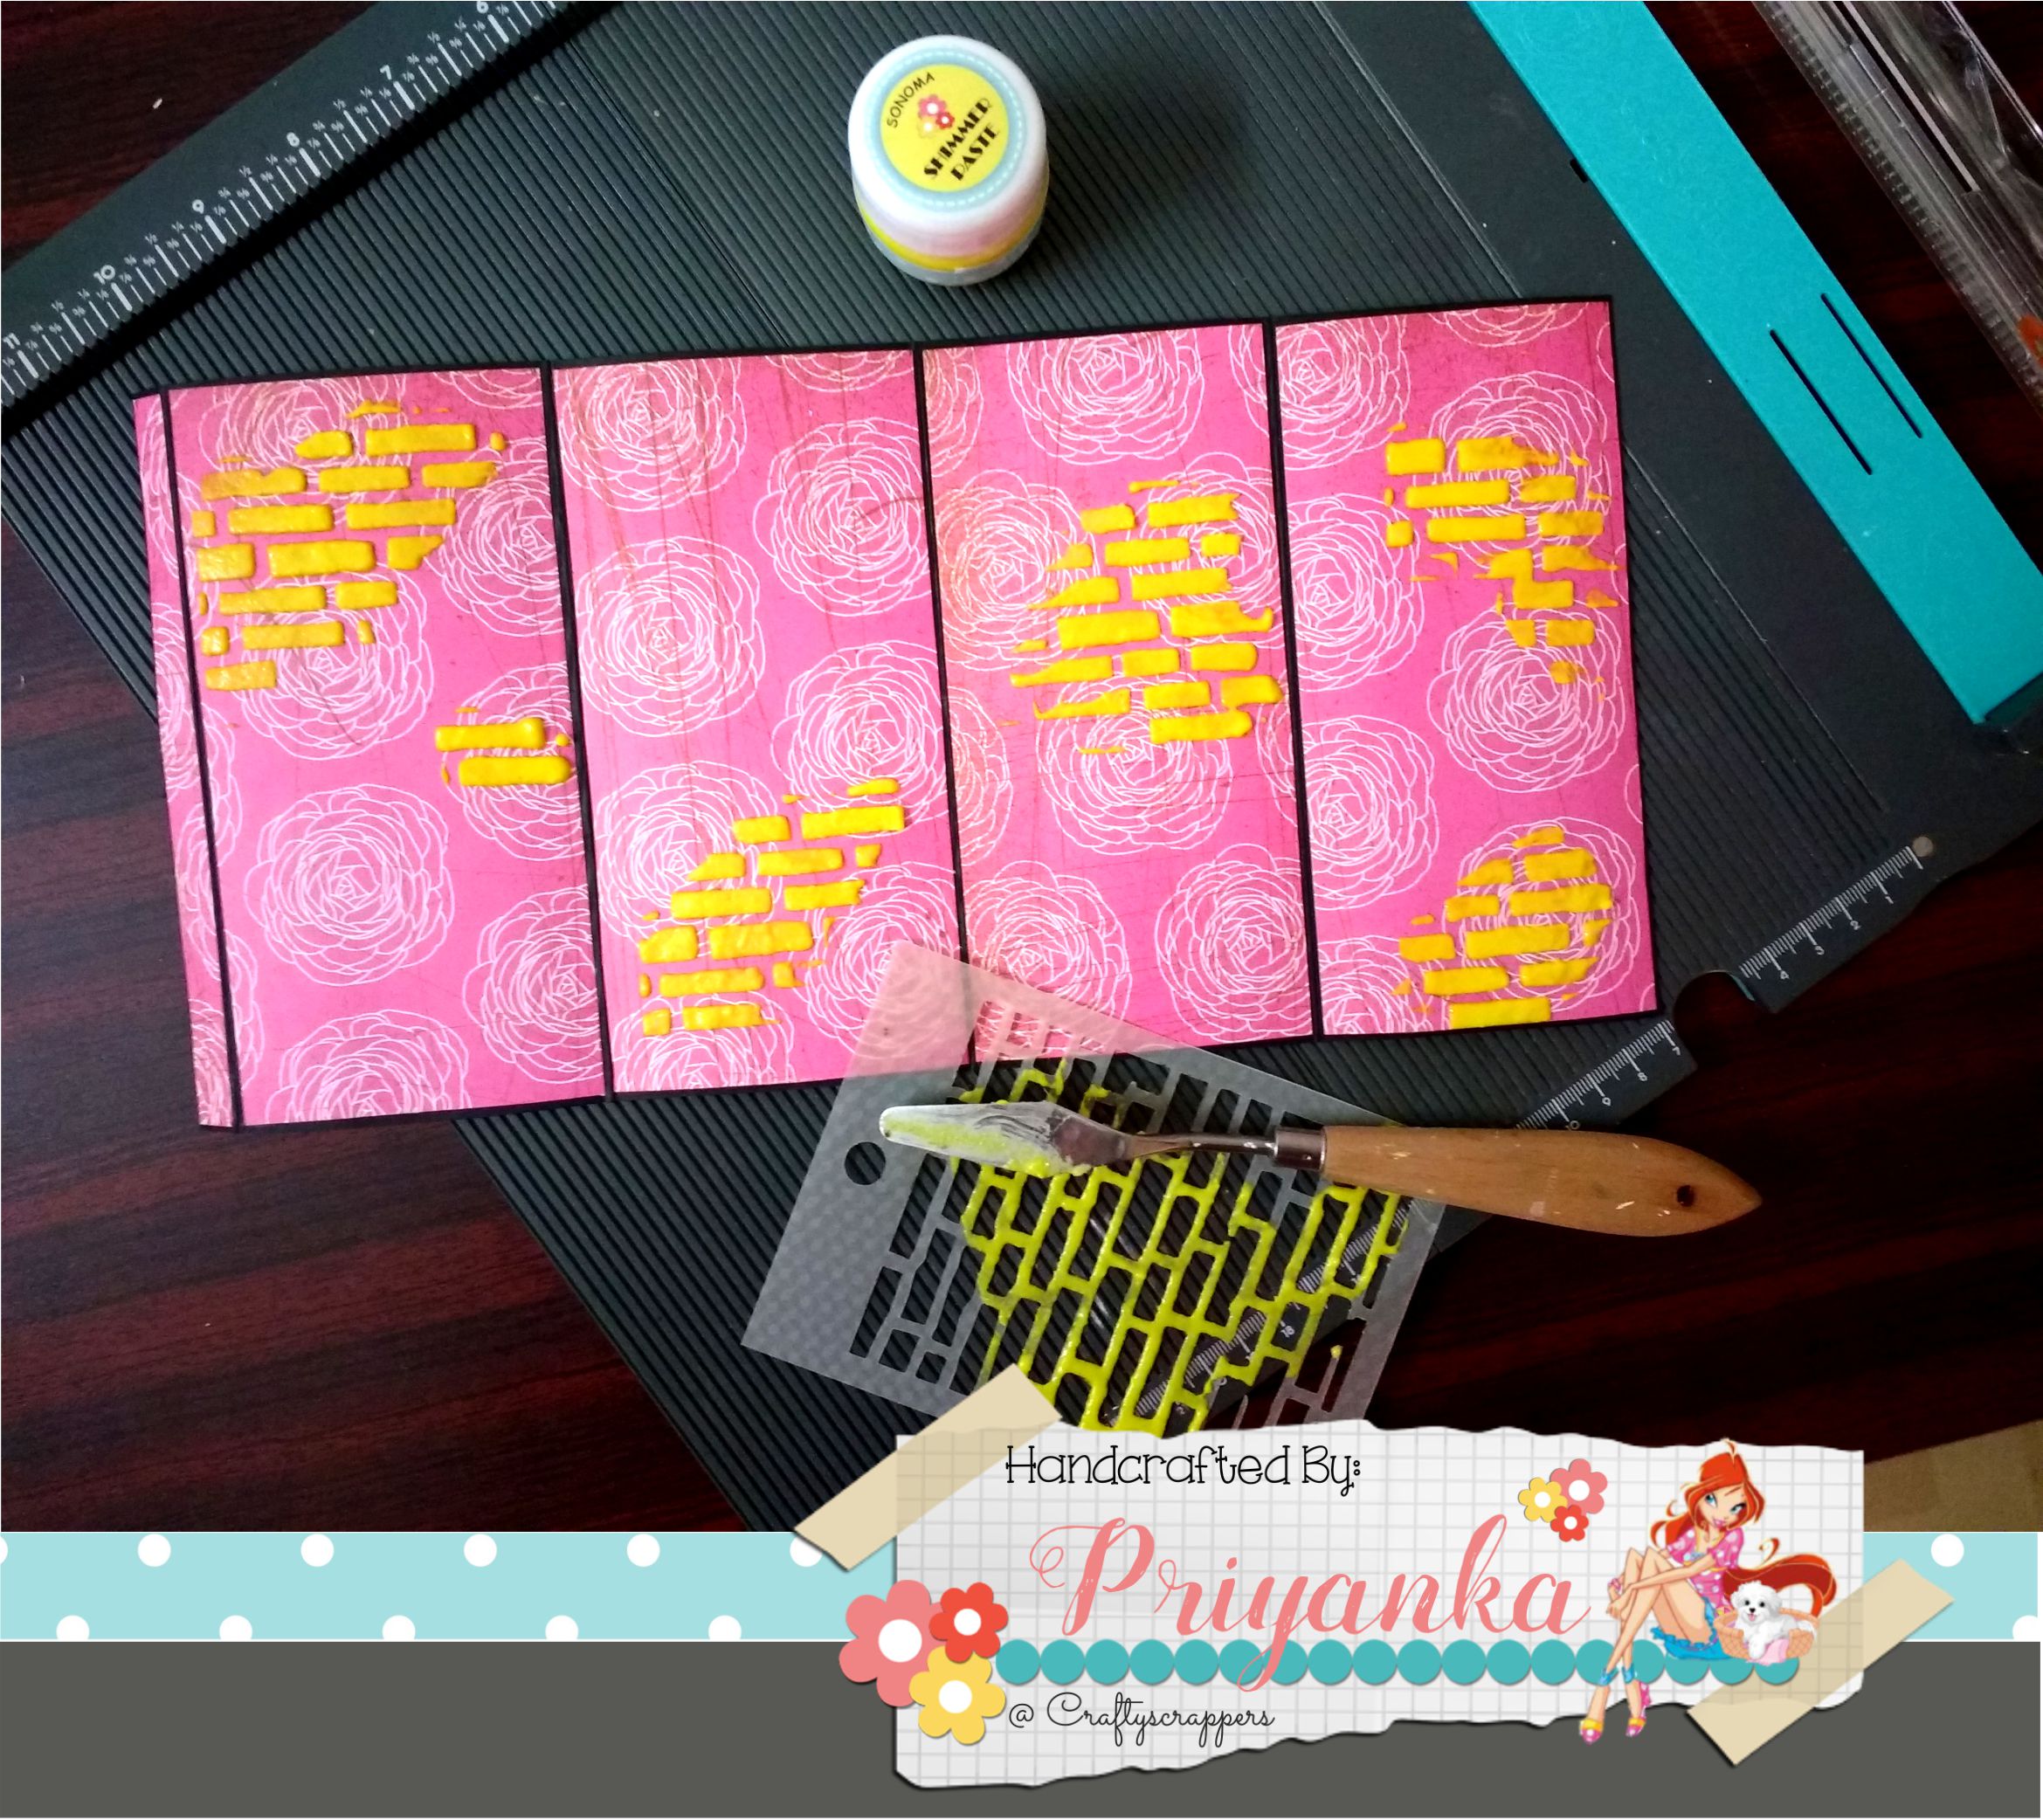
I glued the pattern paper pieces to it.

Added the sparkling SHIMMER PASTE-SONOMA using
the BRICK STENCIL from Craftyscrappers.
It was so easy to use this small stencil, Craftyscrappers have an option to customize stencil size of your choice, isn’t that great to get as per your requirement.
Here’s how it looks, once shimmer paste applied:
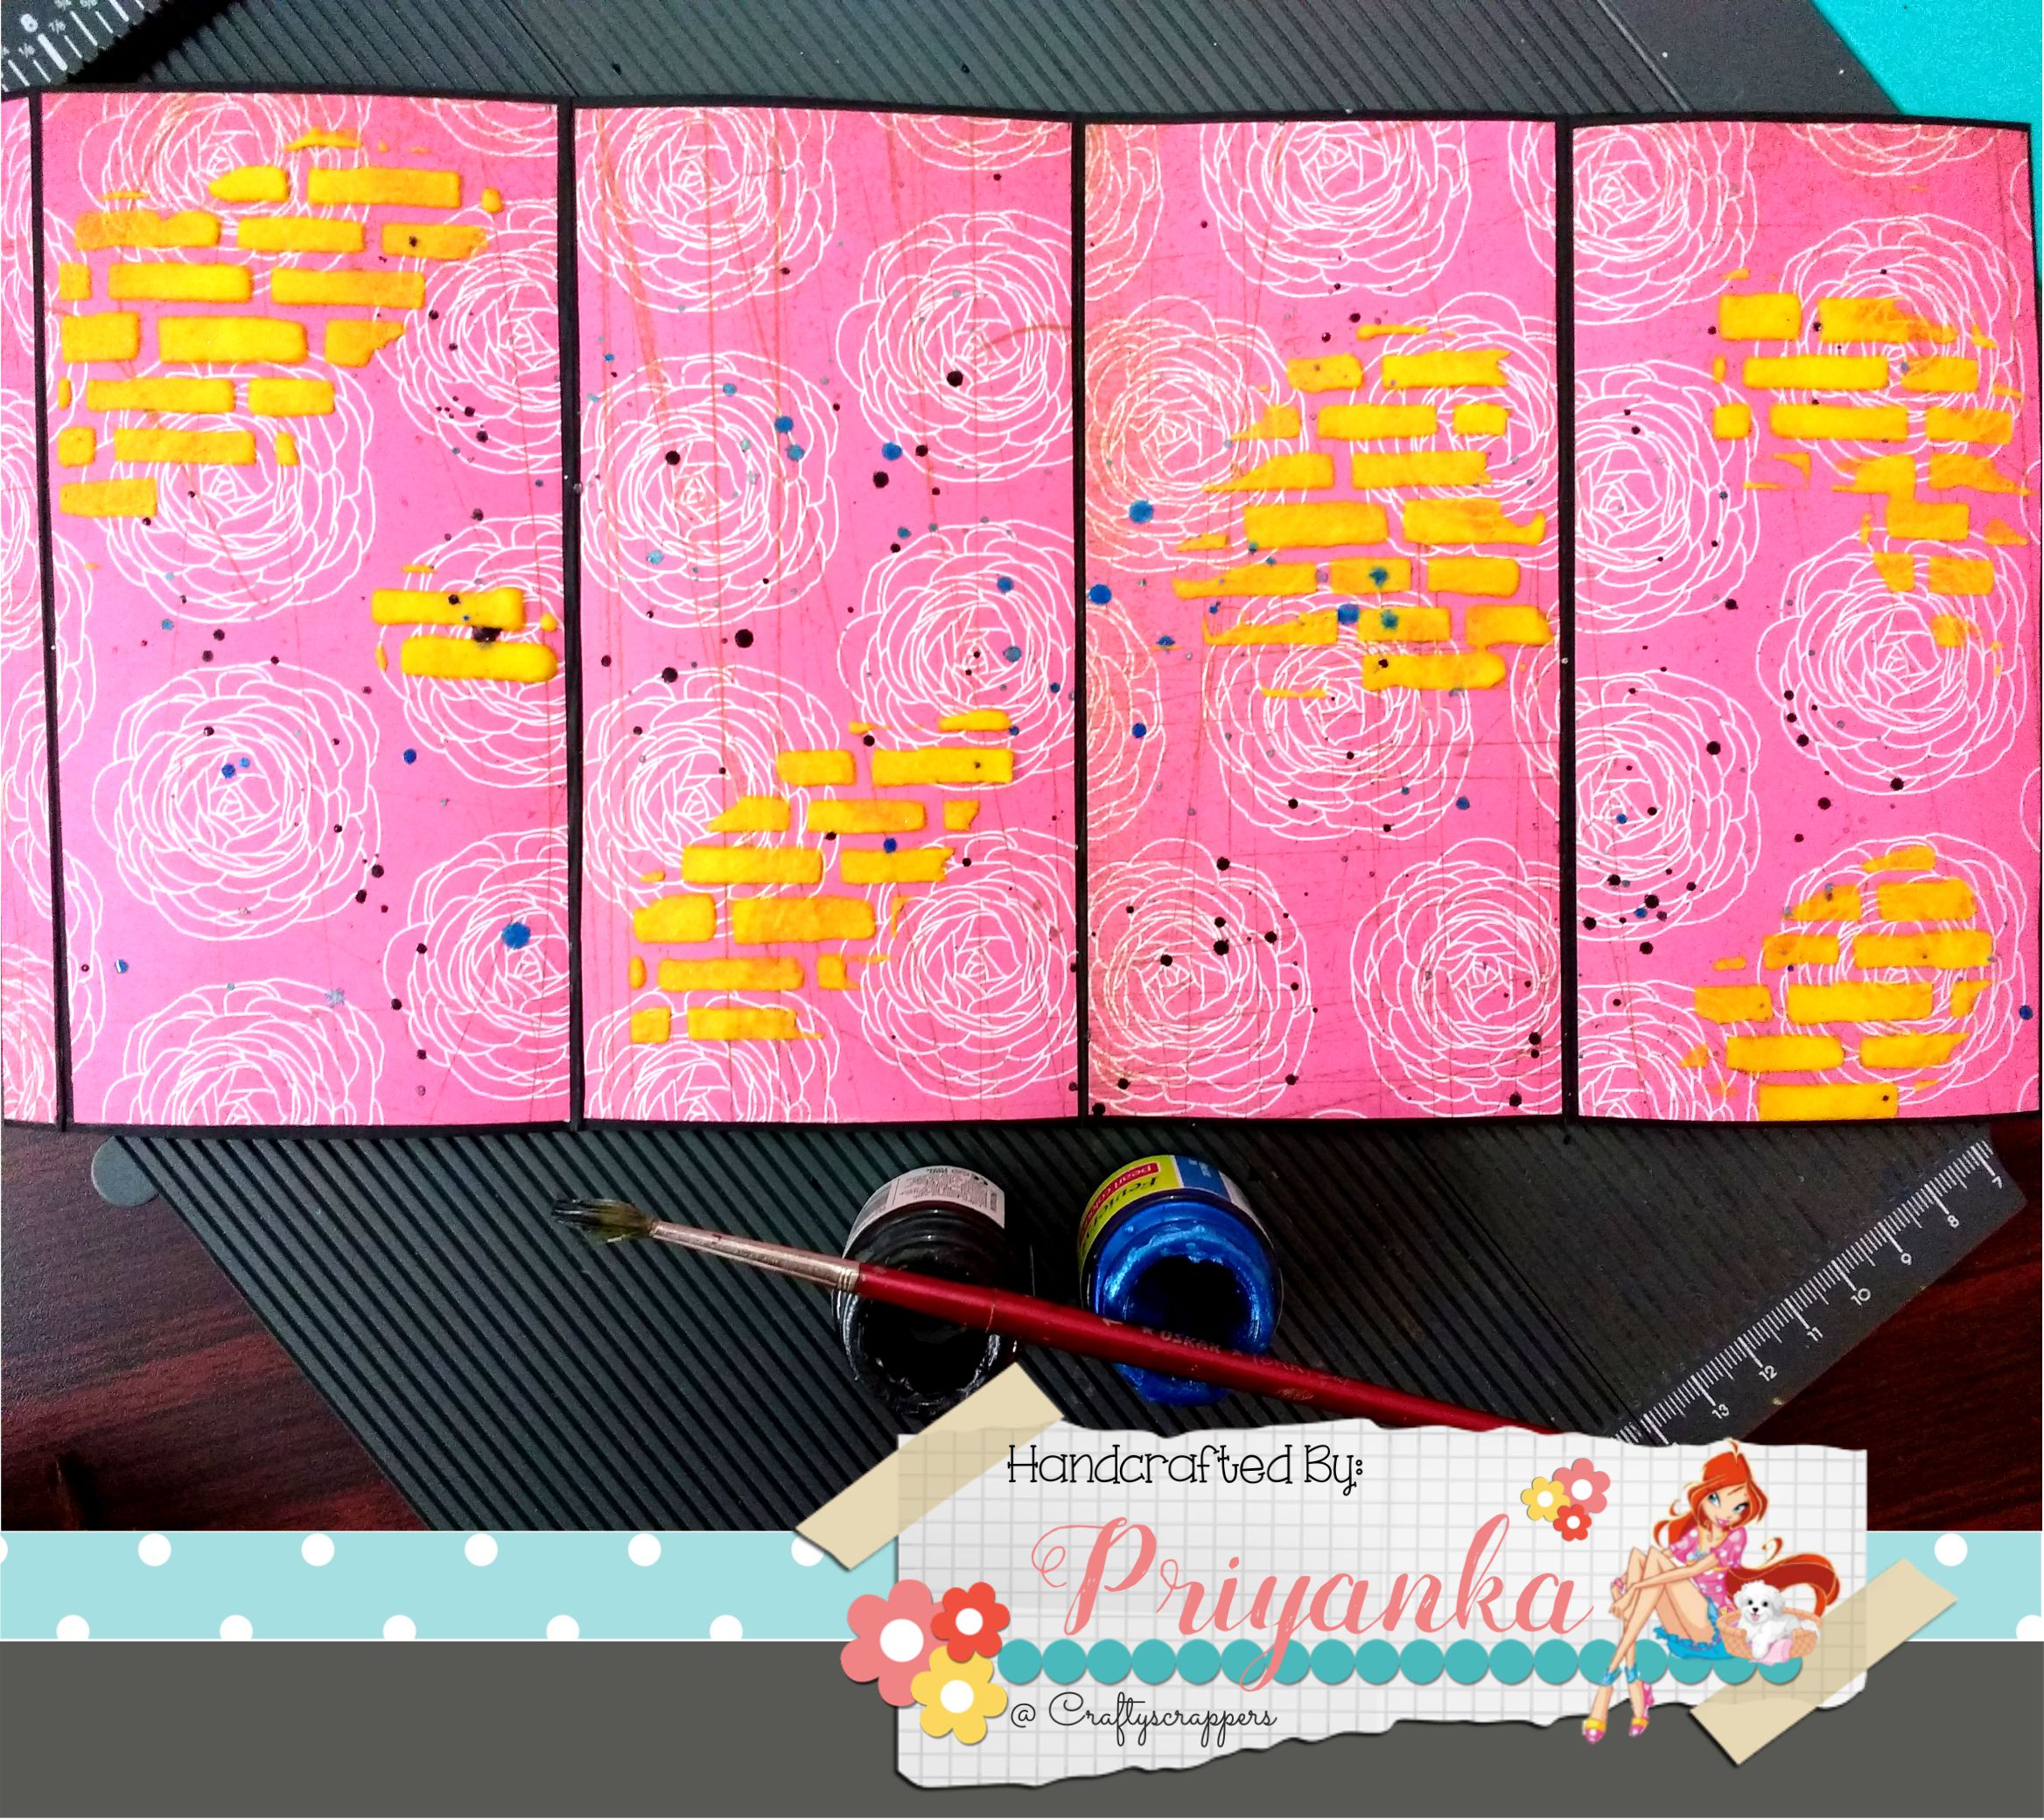
Look at this lovely shade in yellow…totally sparkly!!!

Added some color splatters in blue & black…

Now glued the smaller boxes inside to the main sheet..
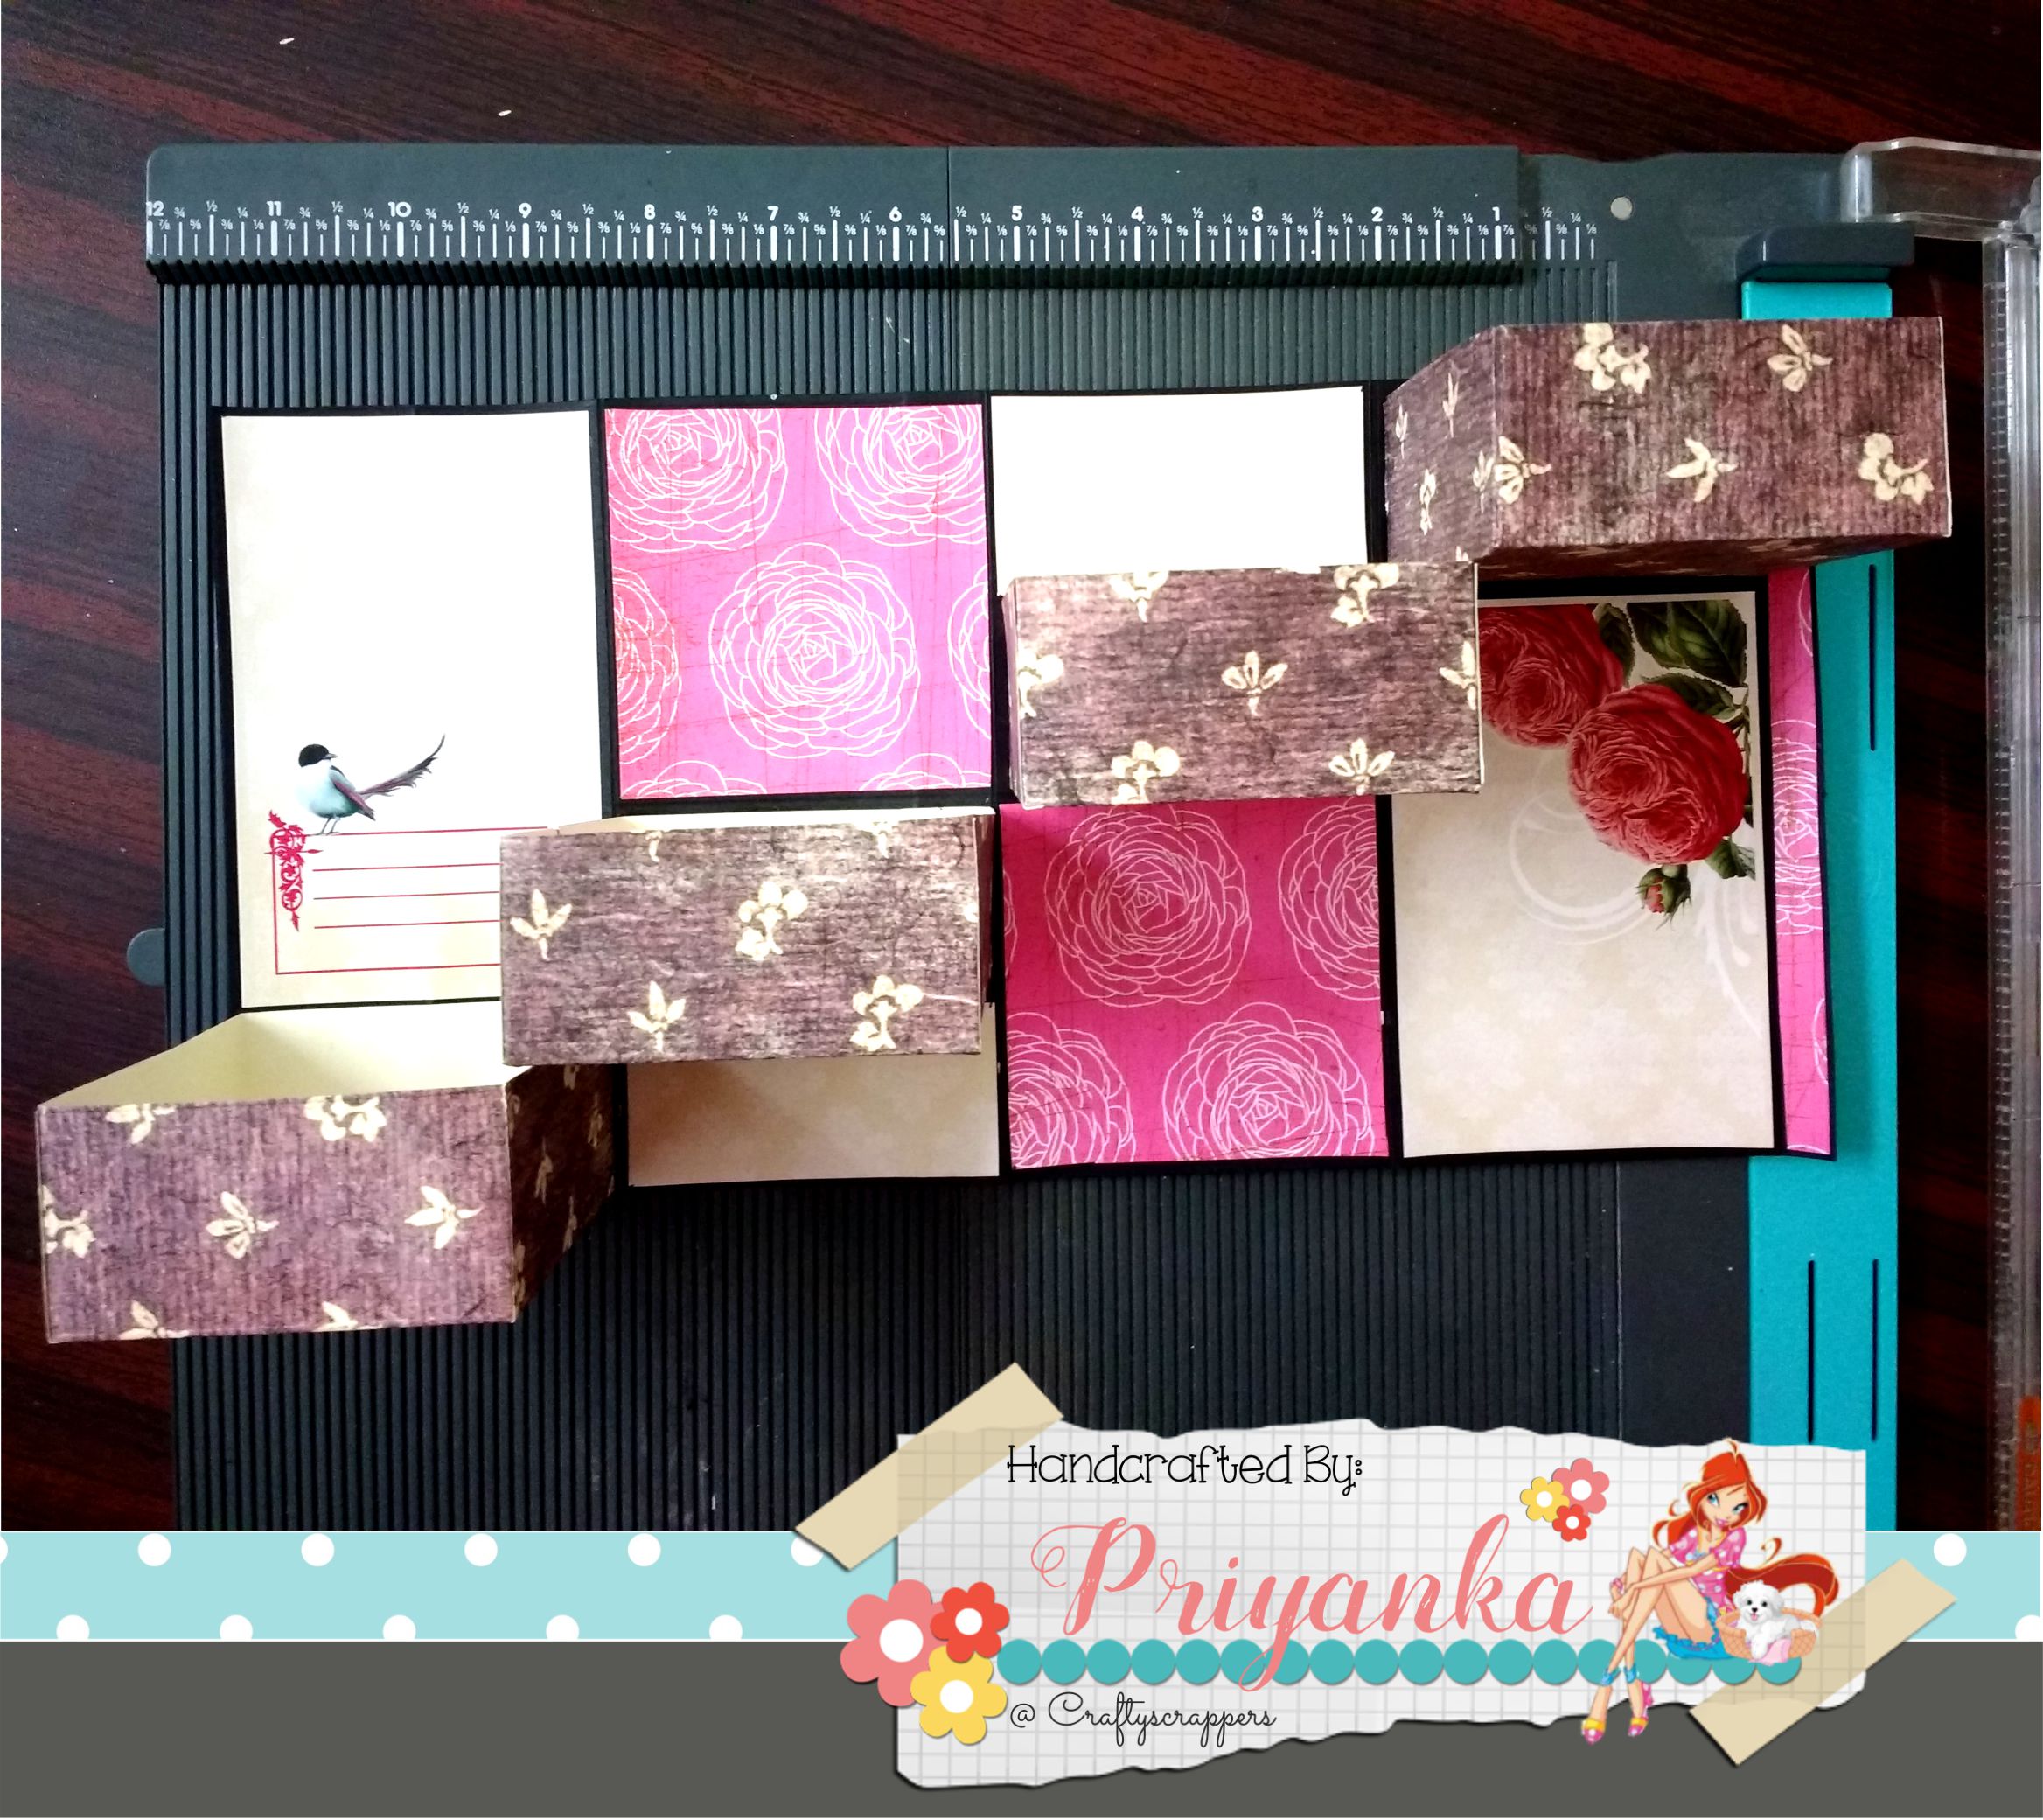
Embellish the box as per your choice,
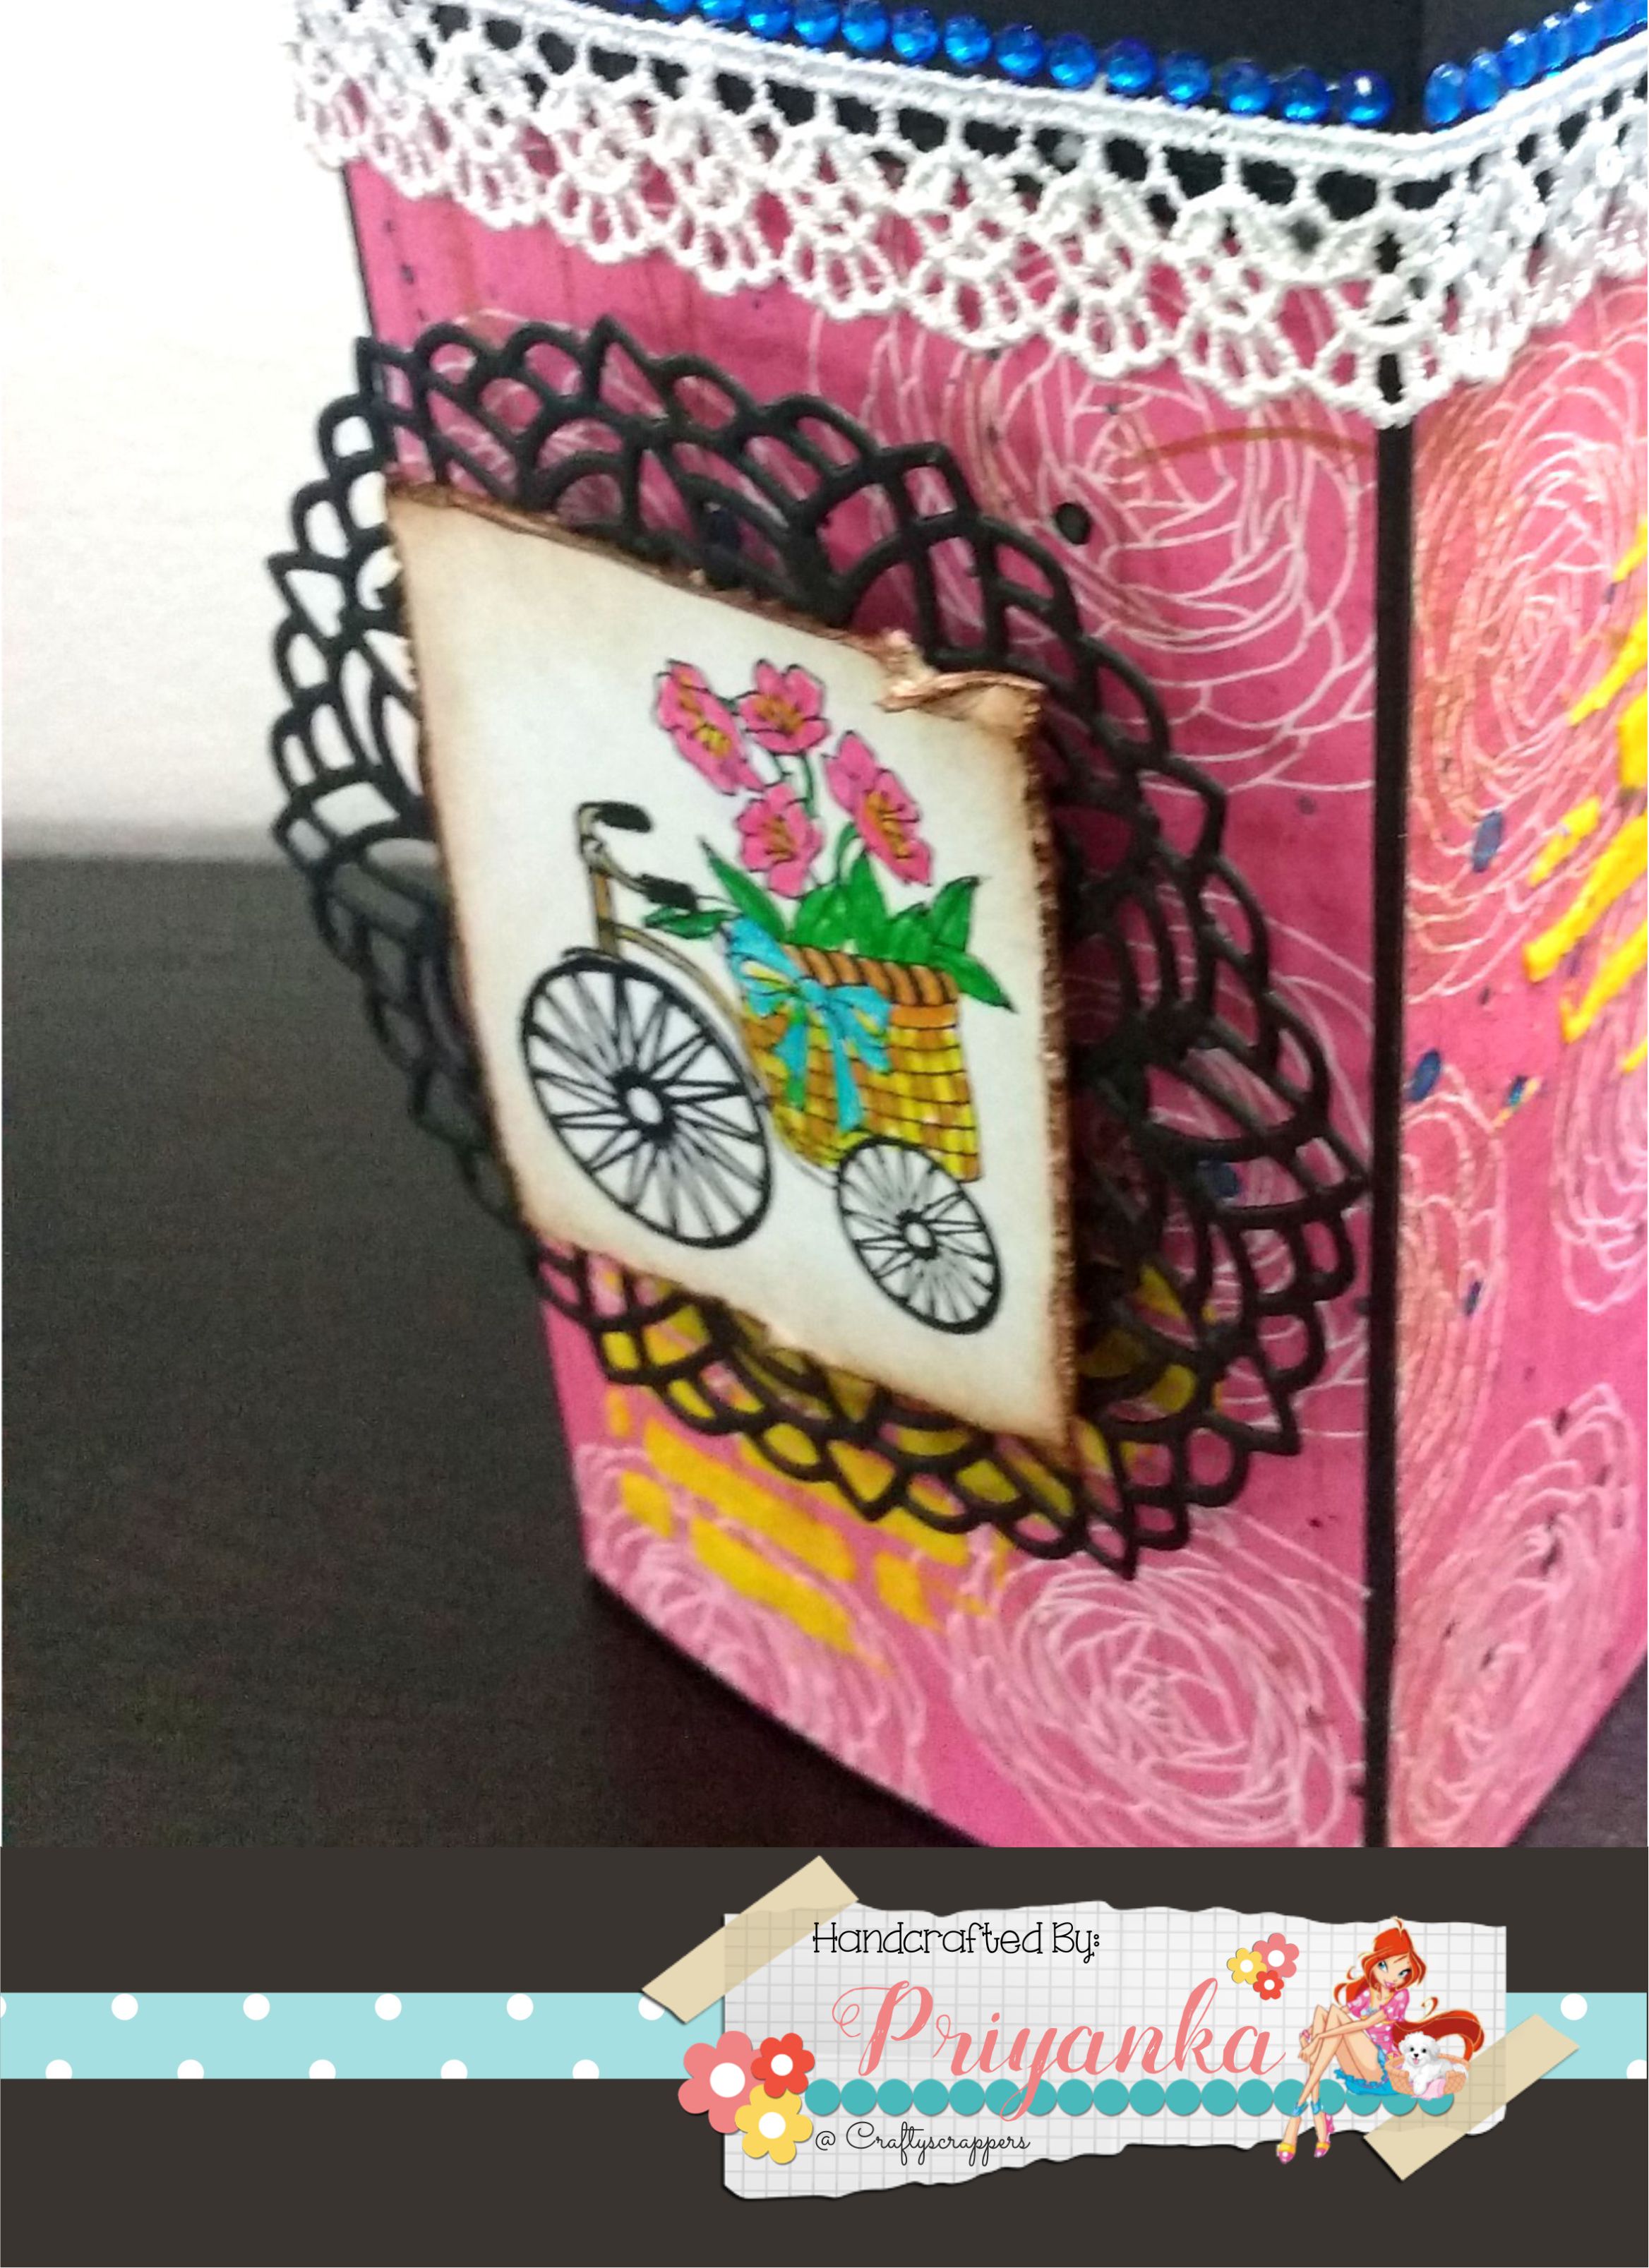
I added this cute stamped image, to the paper dolly die cut.
This cute mini stamp set “BOUQUET OF HAPPINESS” is also from Craftyscrappers
and is designed by me 🙂
Here are some of the close-ups:
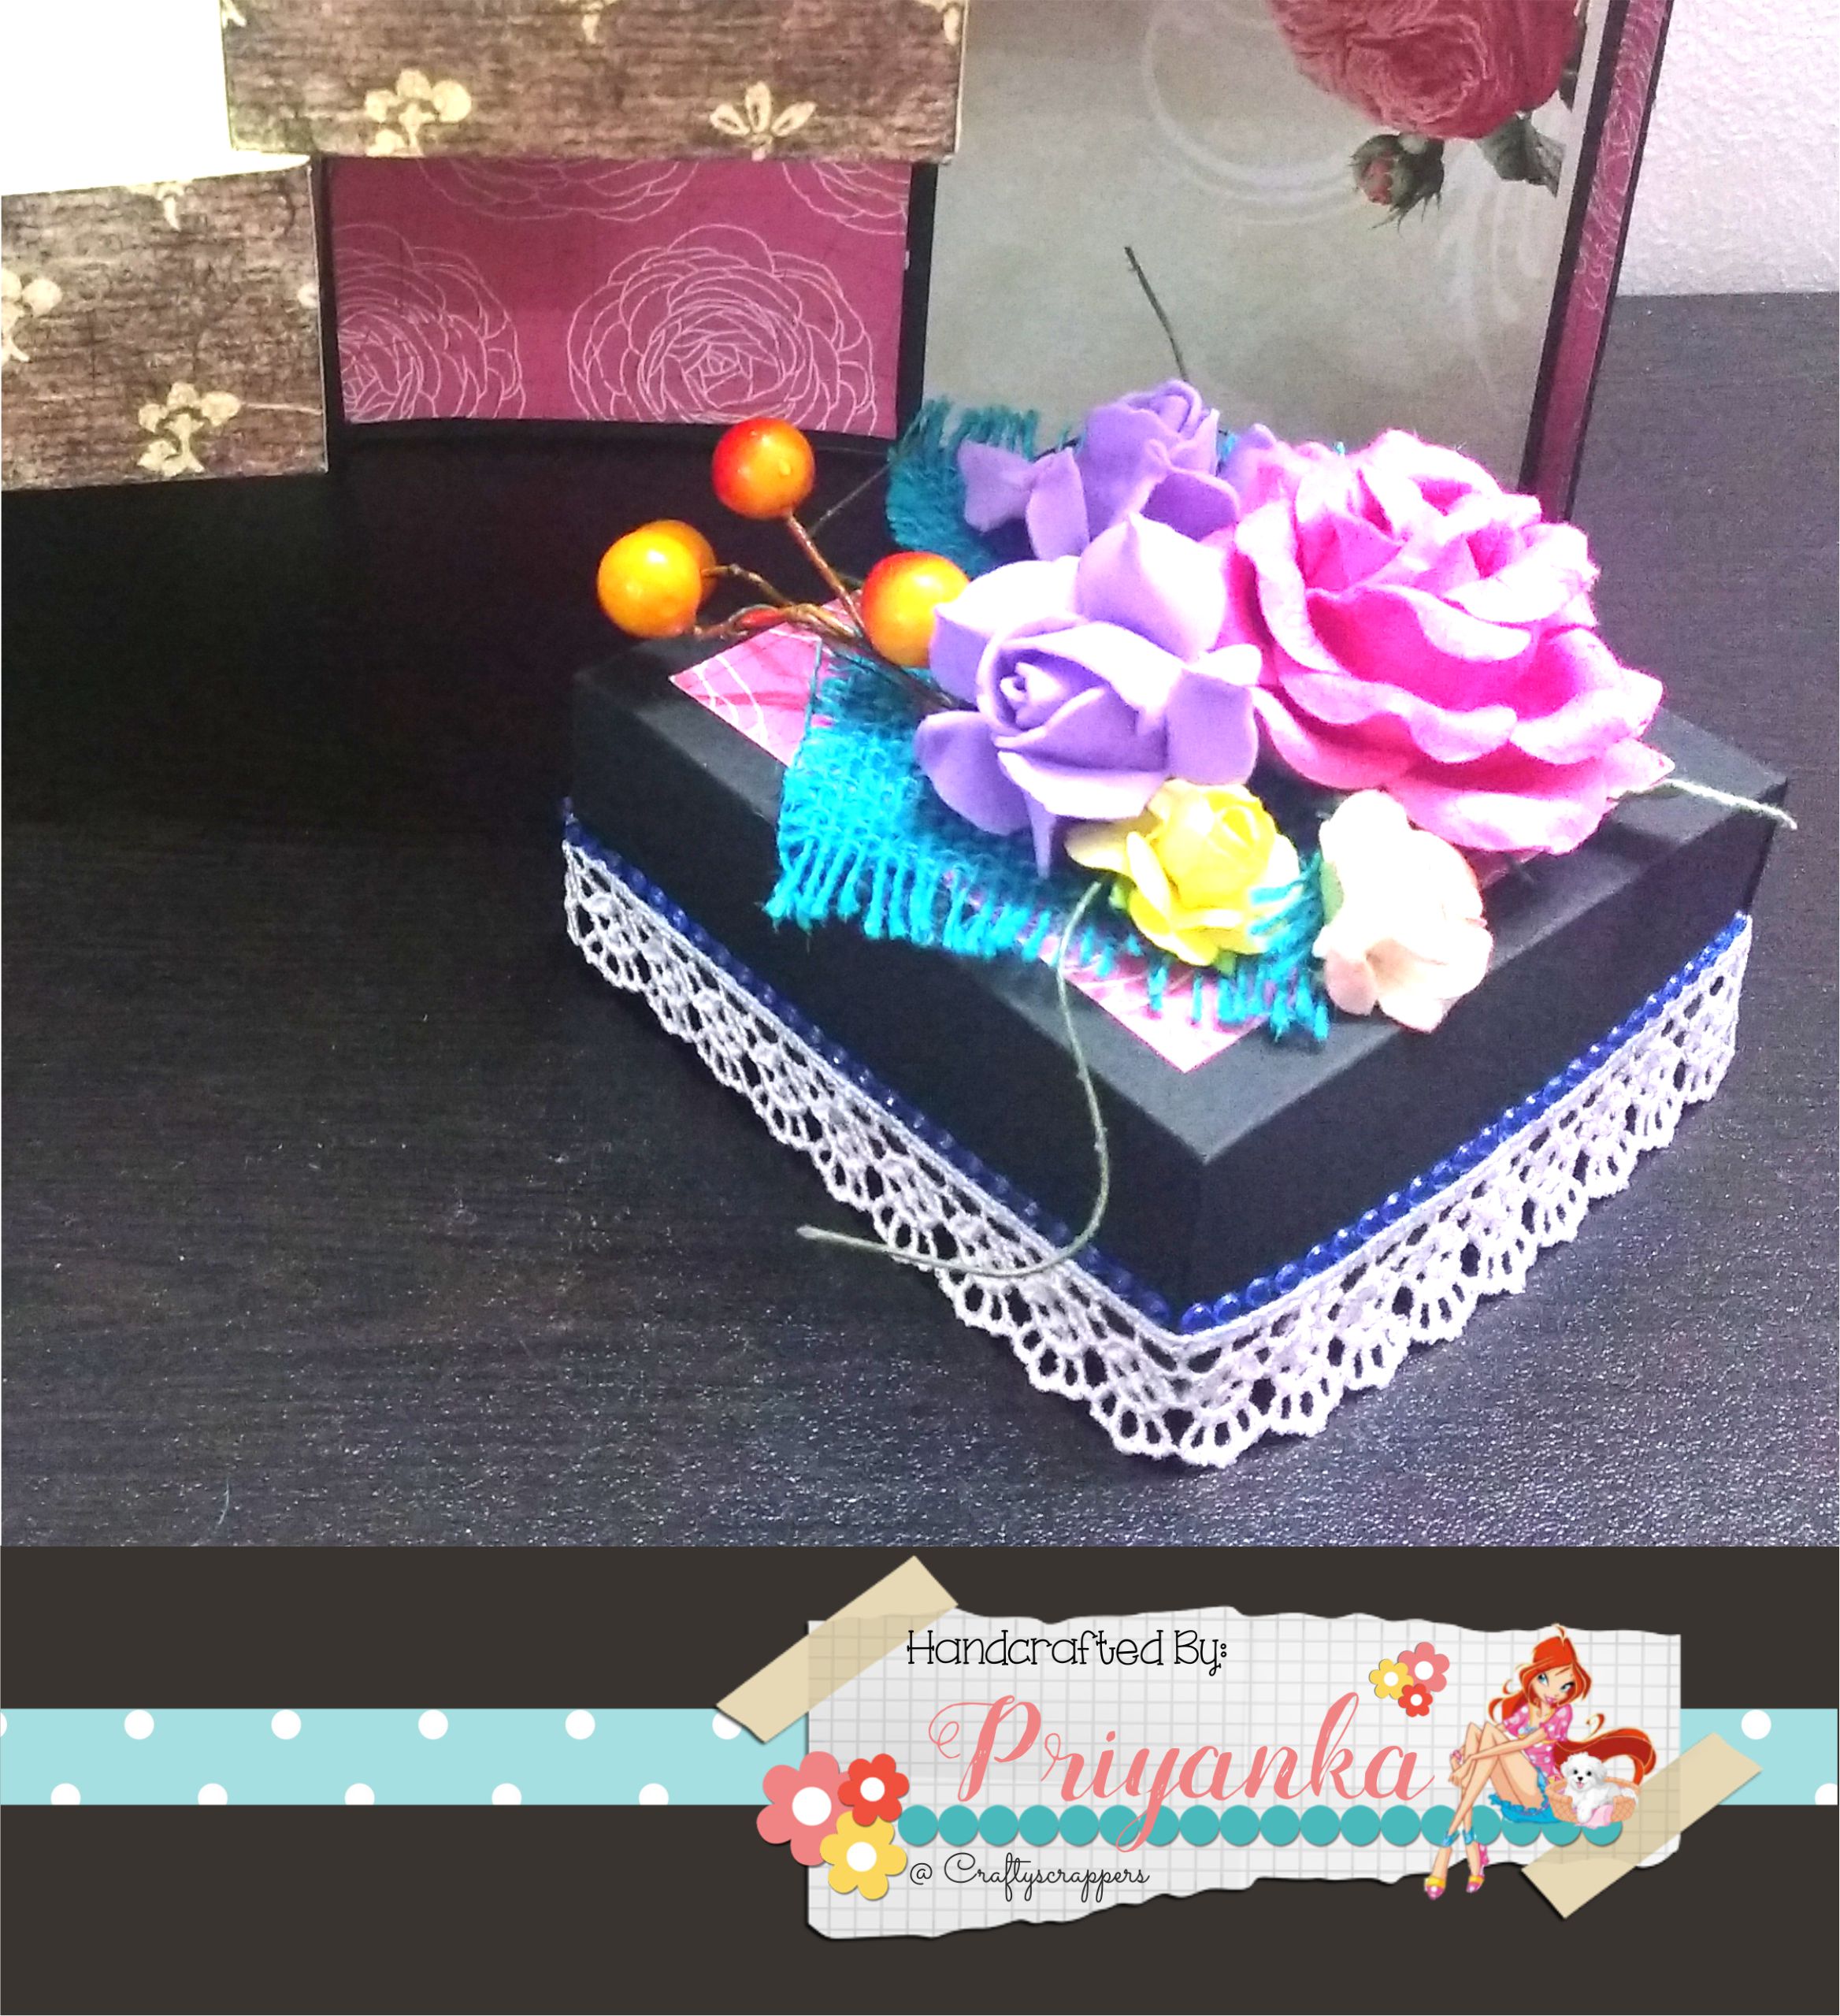
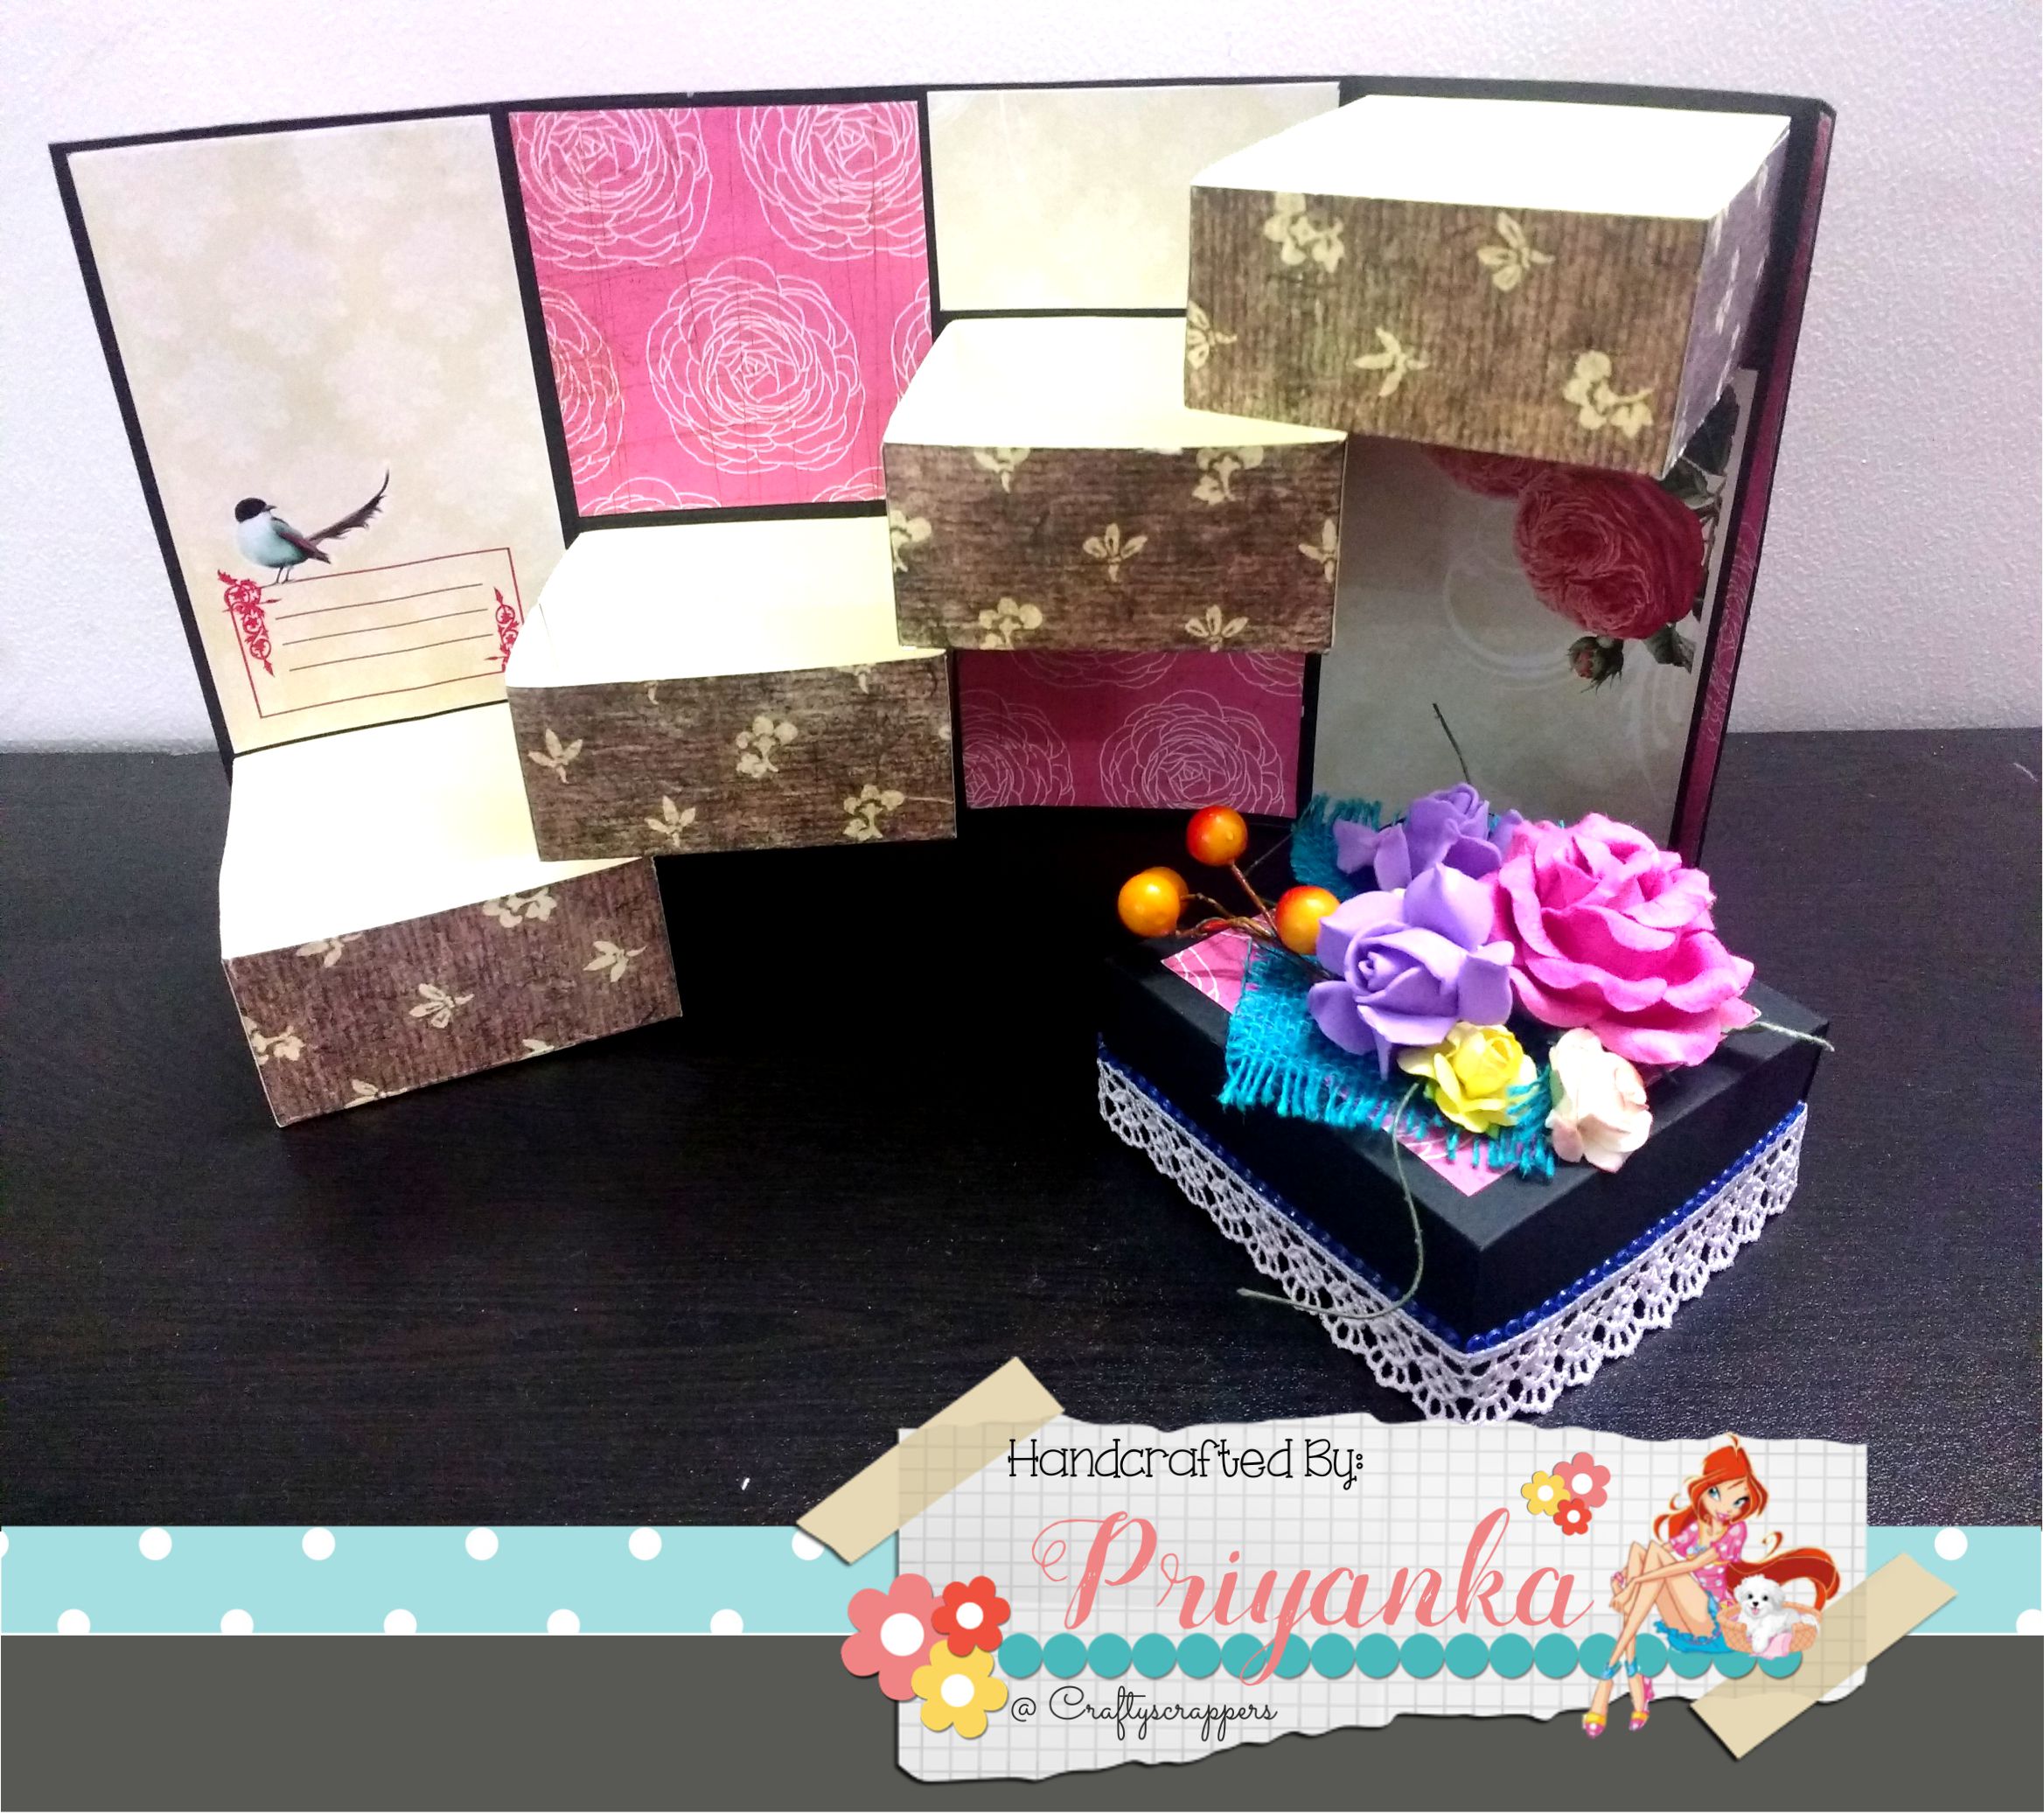
I have added lots of flowers, laces, pollen’s and rhinestones to the lid.
