Hello crafty people!
I hope you all are doing well.
This is Meenakshi, Creative Designer at craftyscrappers and I’m back with an inspiration card today!
But before I begin with it I want to let you all know about our monthly craft challenge.
check out the challenge here
CHALLENGE #28 ALL YOU NEED IS – LOVE
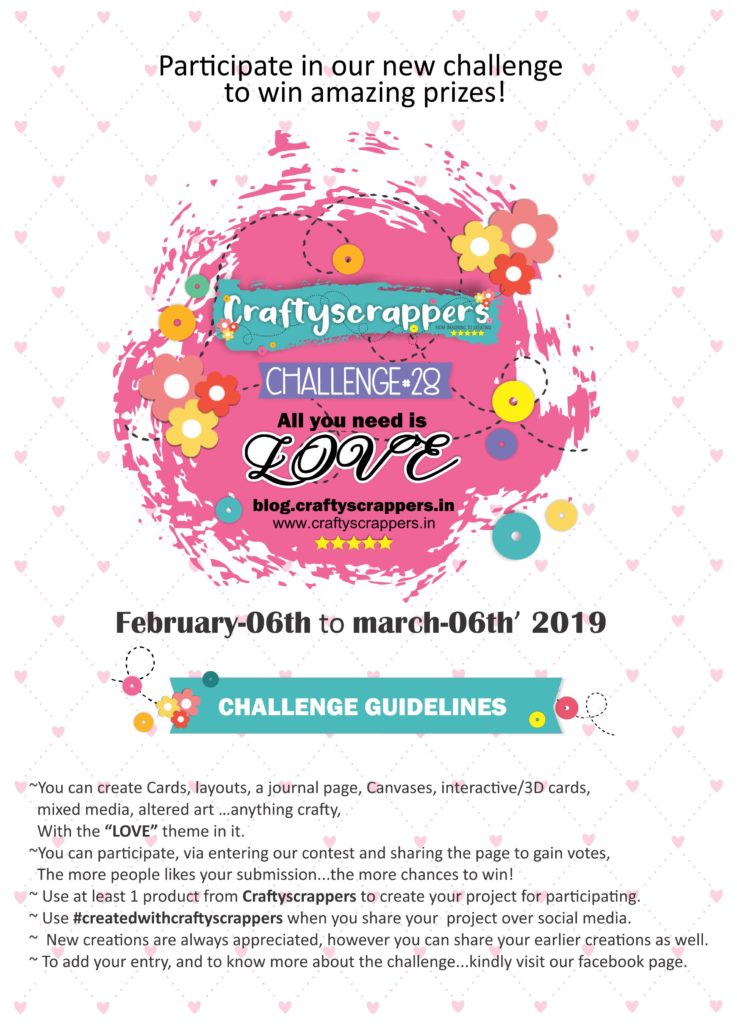
And For the same,
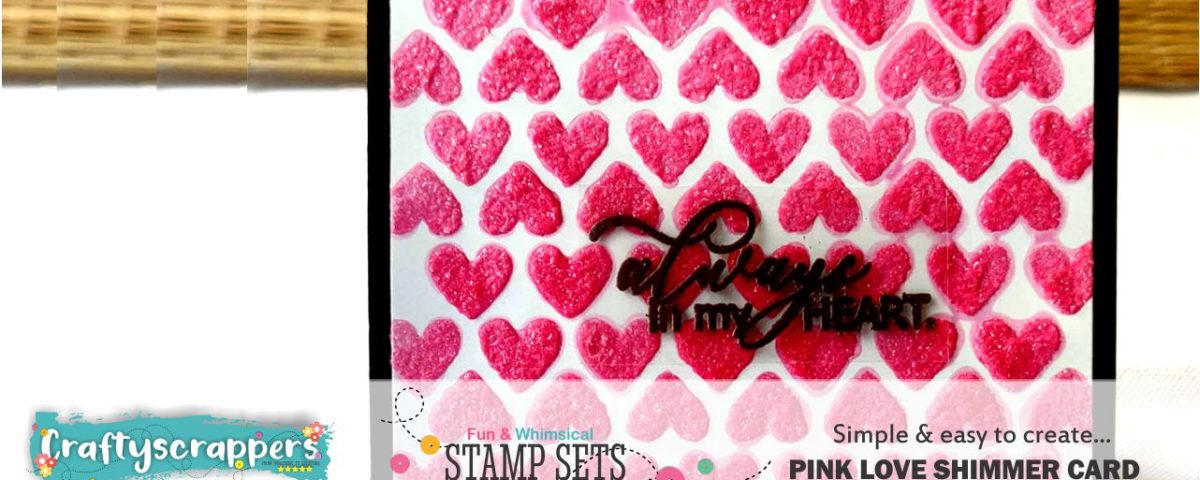
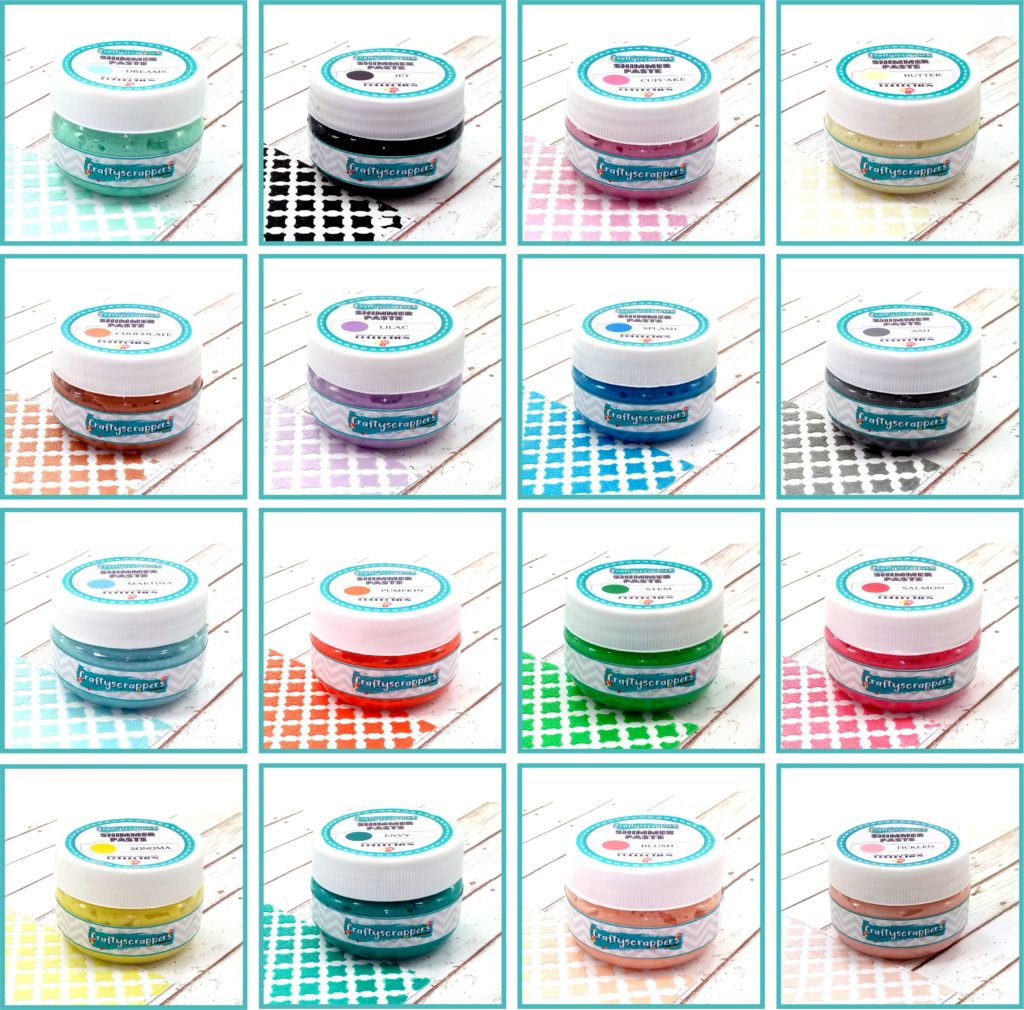
I’m here with an inspiration post! Stepping out of the regular pattern paper backgrounds or distressed color backgrounds, I’ll be using the very versatile ‘Shimmer Pastes‘ and ‘Clear Card Element‘ from Craftyscrappers!!
Isn’t it exciting??? Please check out the pastes released by Craftyscrappers guys, you’ll fall in love working with them! Also, here I’ll show you all how amazing this Clear Card Element is even for Heat Embossing!!
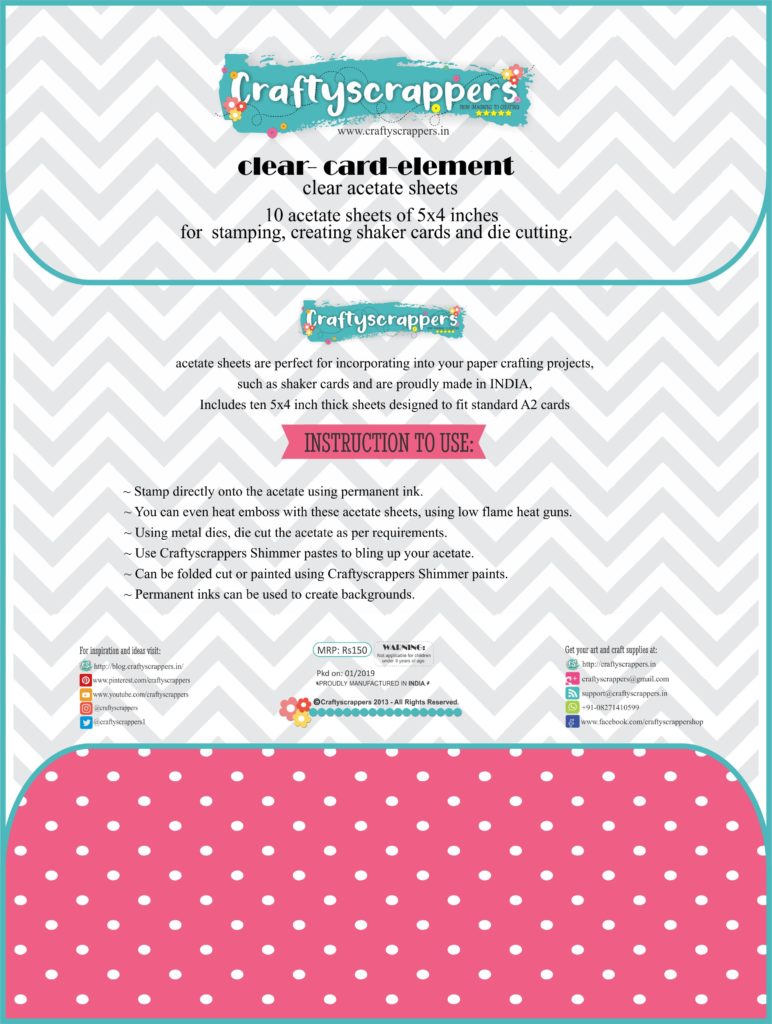
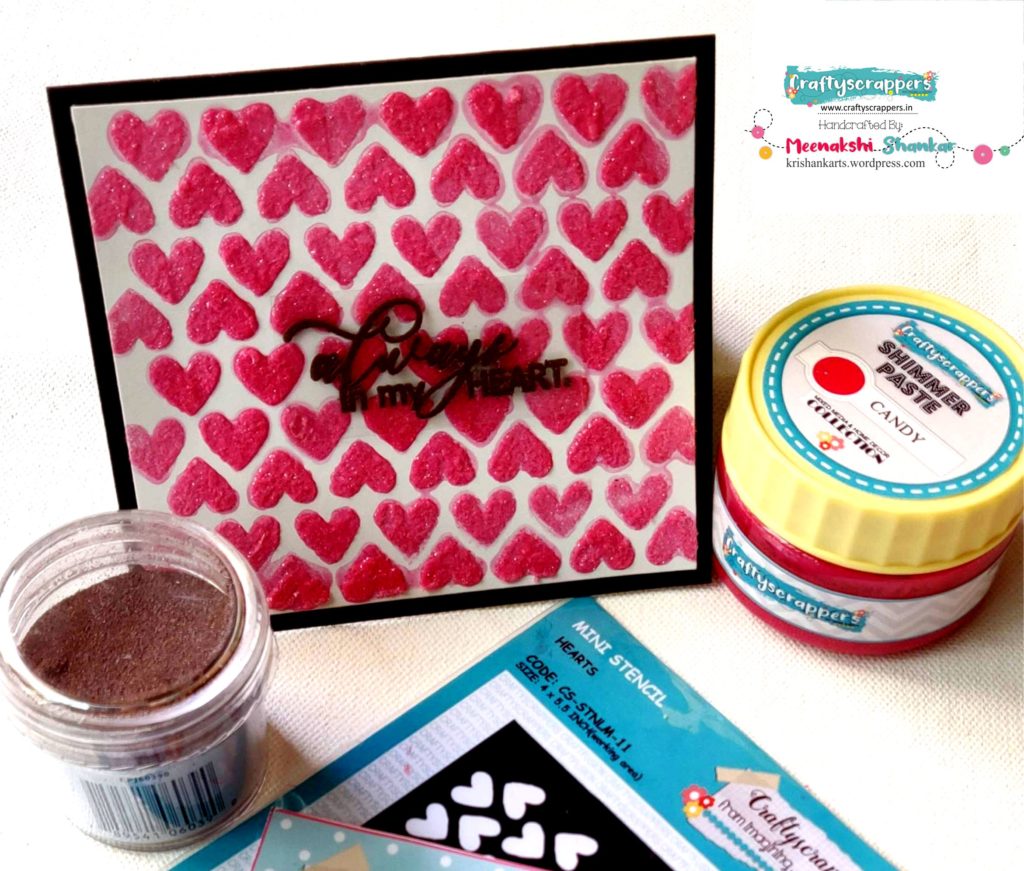
now getting back to the project To create the same I have used craftyscrappers stamps ALWAYS IN MY HEART
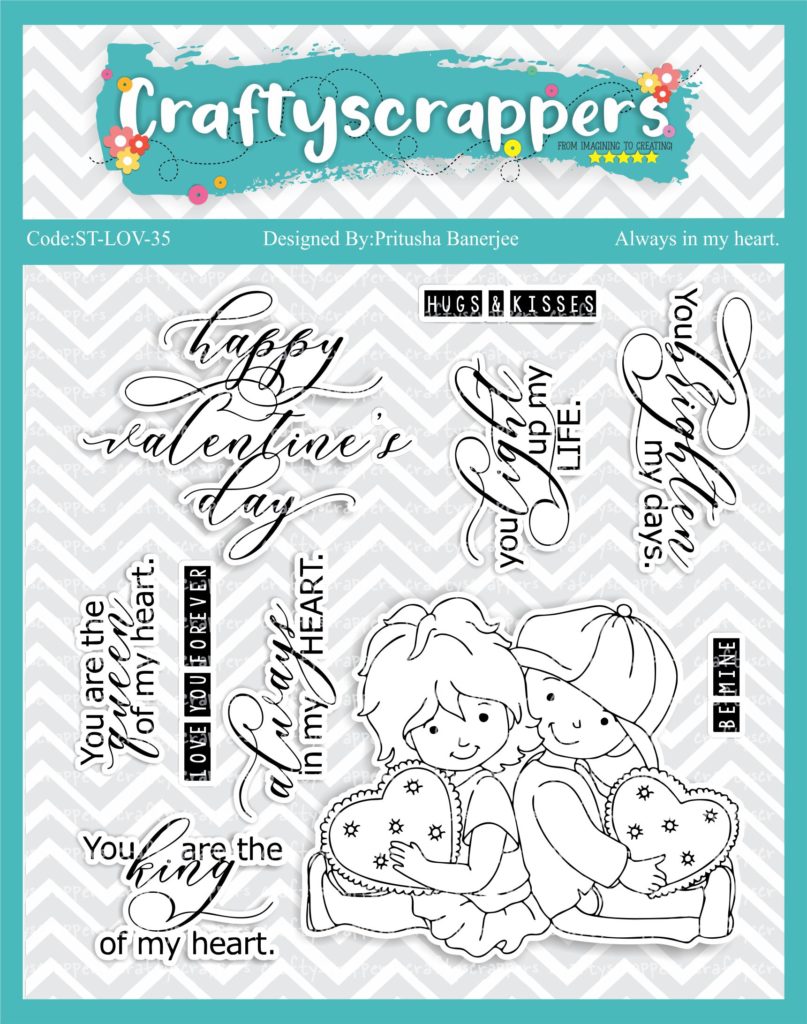
Craftyscrappers Clear Card Element
And the amazing Shimmer Pastes
Let’s get on to making this very simple Shimmer paste background card
A BRIEF TUTORIAL
- Take a white cardstock, place the stencil ‘Mini Stencils – Hearts’ from Craftyscrappers and adhere it with a masking tape to ensure that it doesn’t move and for letting you work smoothly.
- With a palette knife, take the shimmer paste and slowly apply over the stencil in one direction. Let the movement be slow and smooth to ensure a neat finish. Once satisfied with the application, let it air dry. The heat gun may be used to heat set the paste, its an individual choice. The base is ready after the paste has dried.
- Now take a small piece of Clear Card Element (acetate sheets) from Craftyscrappers according to size of the sentiment. Rub the piece of sheet with anti-static powder for proper heat embossing! Even if you don’t have this powder you may use a piece of cloth to clear the surface.
- Here, I’ve used Versafine Onyx Black ink for stamping. The sentiment is from the new release by Craftyscrappers ‘Always in my Heart’. Using the acrylic block I’ve stamped the sentiment on the piece of sheet. For heat embossing, I’ve used the Embossing Powder from Ranger in Rose Gold shade. Using a heat gun, heat set the sentiment and it is ready for the card!
- Using small drops of a strong adhesive on four corners, I’ve adhered the piece of sheet to the worked panel. The whole panel has been adhered to a wine colored cardstock using a strong liquid adhesive.
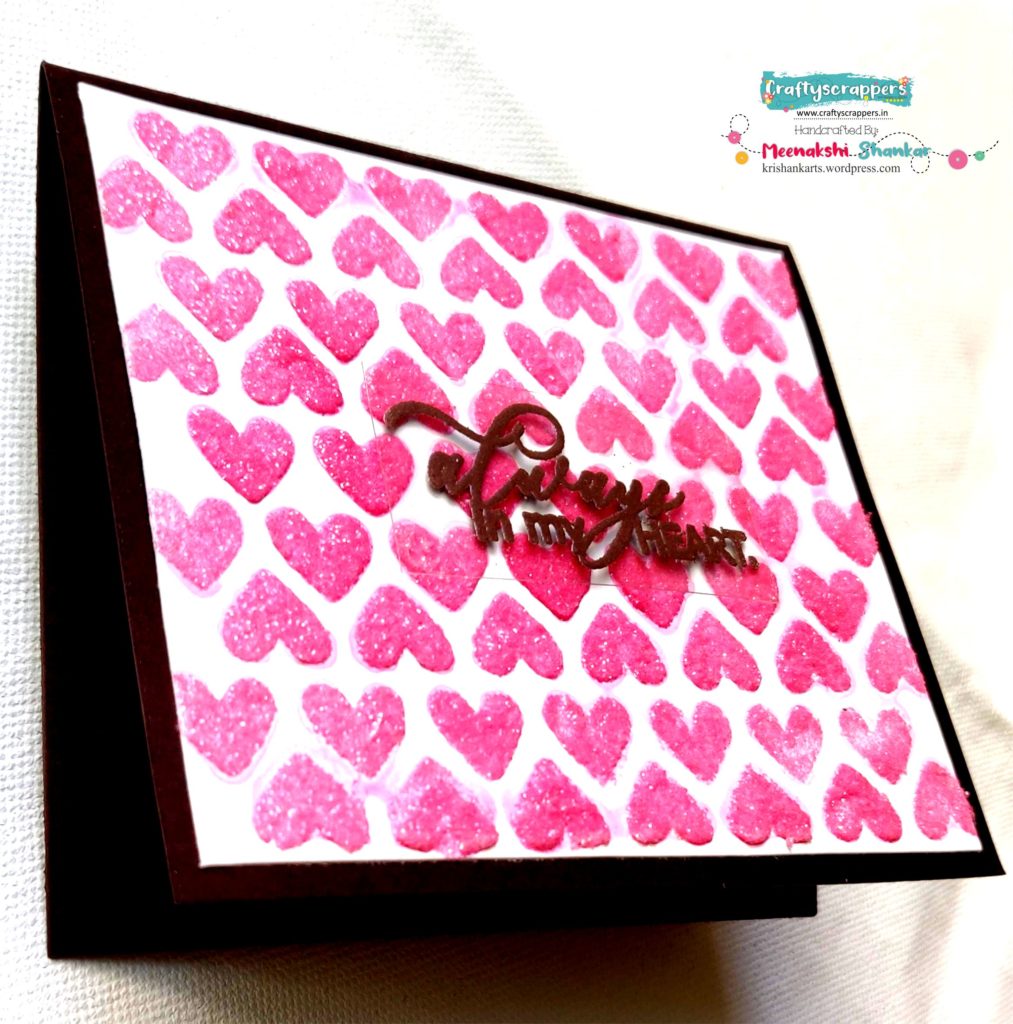
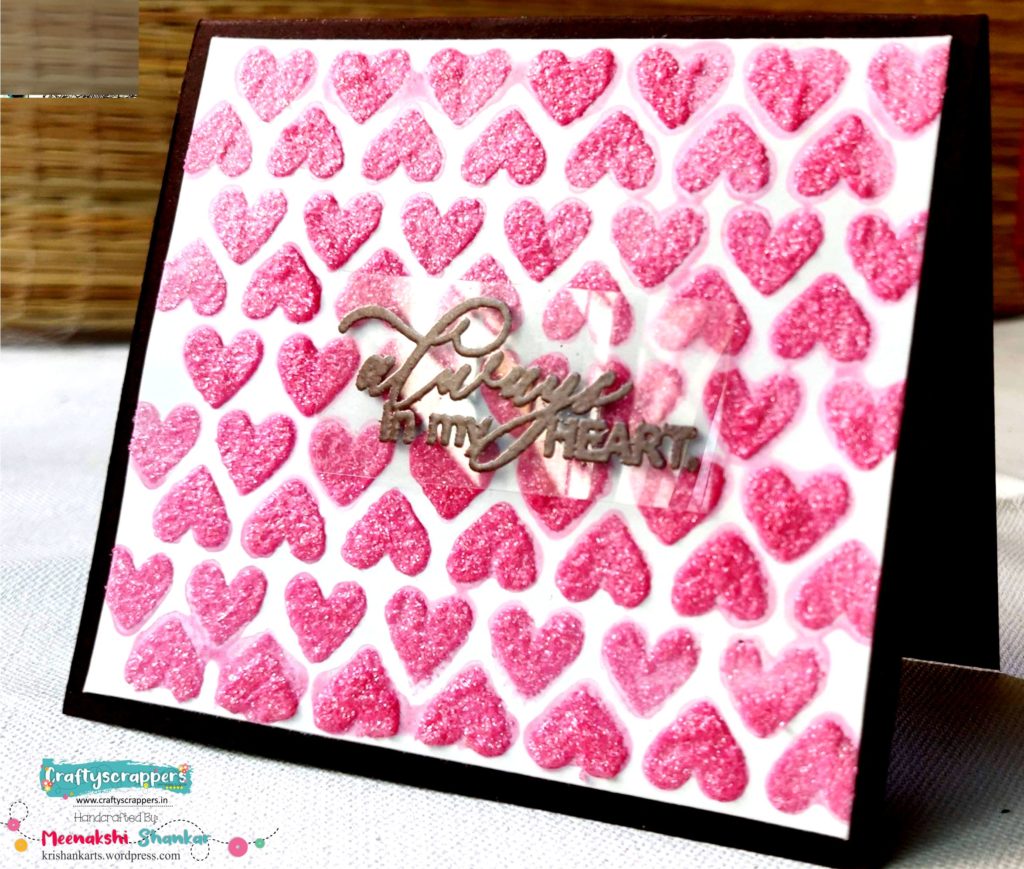
- And here we go, the card is ready!!!!
SOME CLOSE-UPS

This is all from my side.
I hope you liked this project.
Do let me know how you like this project in the comments below.Until then Happy Crafting 🙂Don’t forget to join in our craft challenges
(details at the beginning of the post)
You can participate via Facebook, Instagram and even via email.
(While sharing your creation post over the social media, ie
Facebook/twitter/Instagram
please use #Craftyscrapperschallenge28 to qualify for submission,
failing to do so, the entry would be disqualified.)Thanks for stopping by.
Have a crafty day ahead !
Thanks for stopping by.
Have a crafty day ahead !


