Hello Friends,
This is Priyanka over the blog today,
and I am going to share a tutorial on a fun layered card
with the twist of using acetate & shimmer pastes along!
with the twist of using acetate & shimmer pastes along!
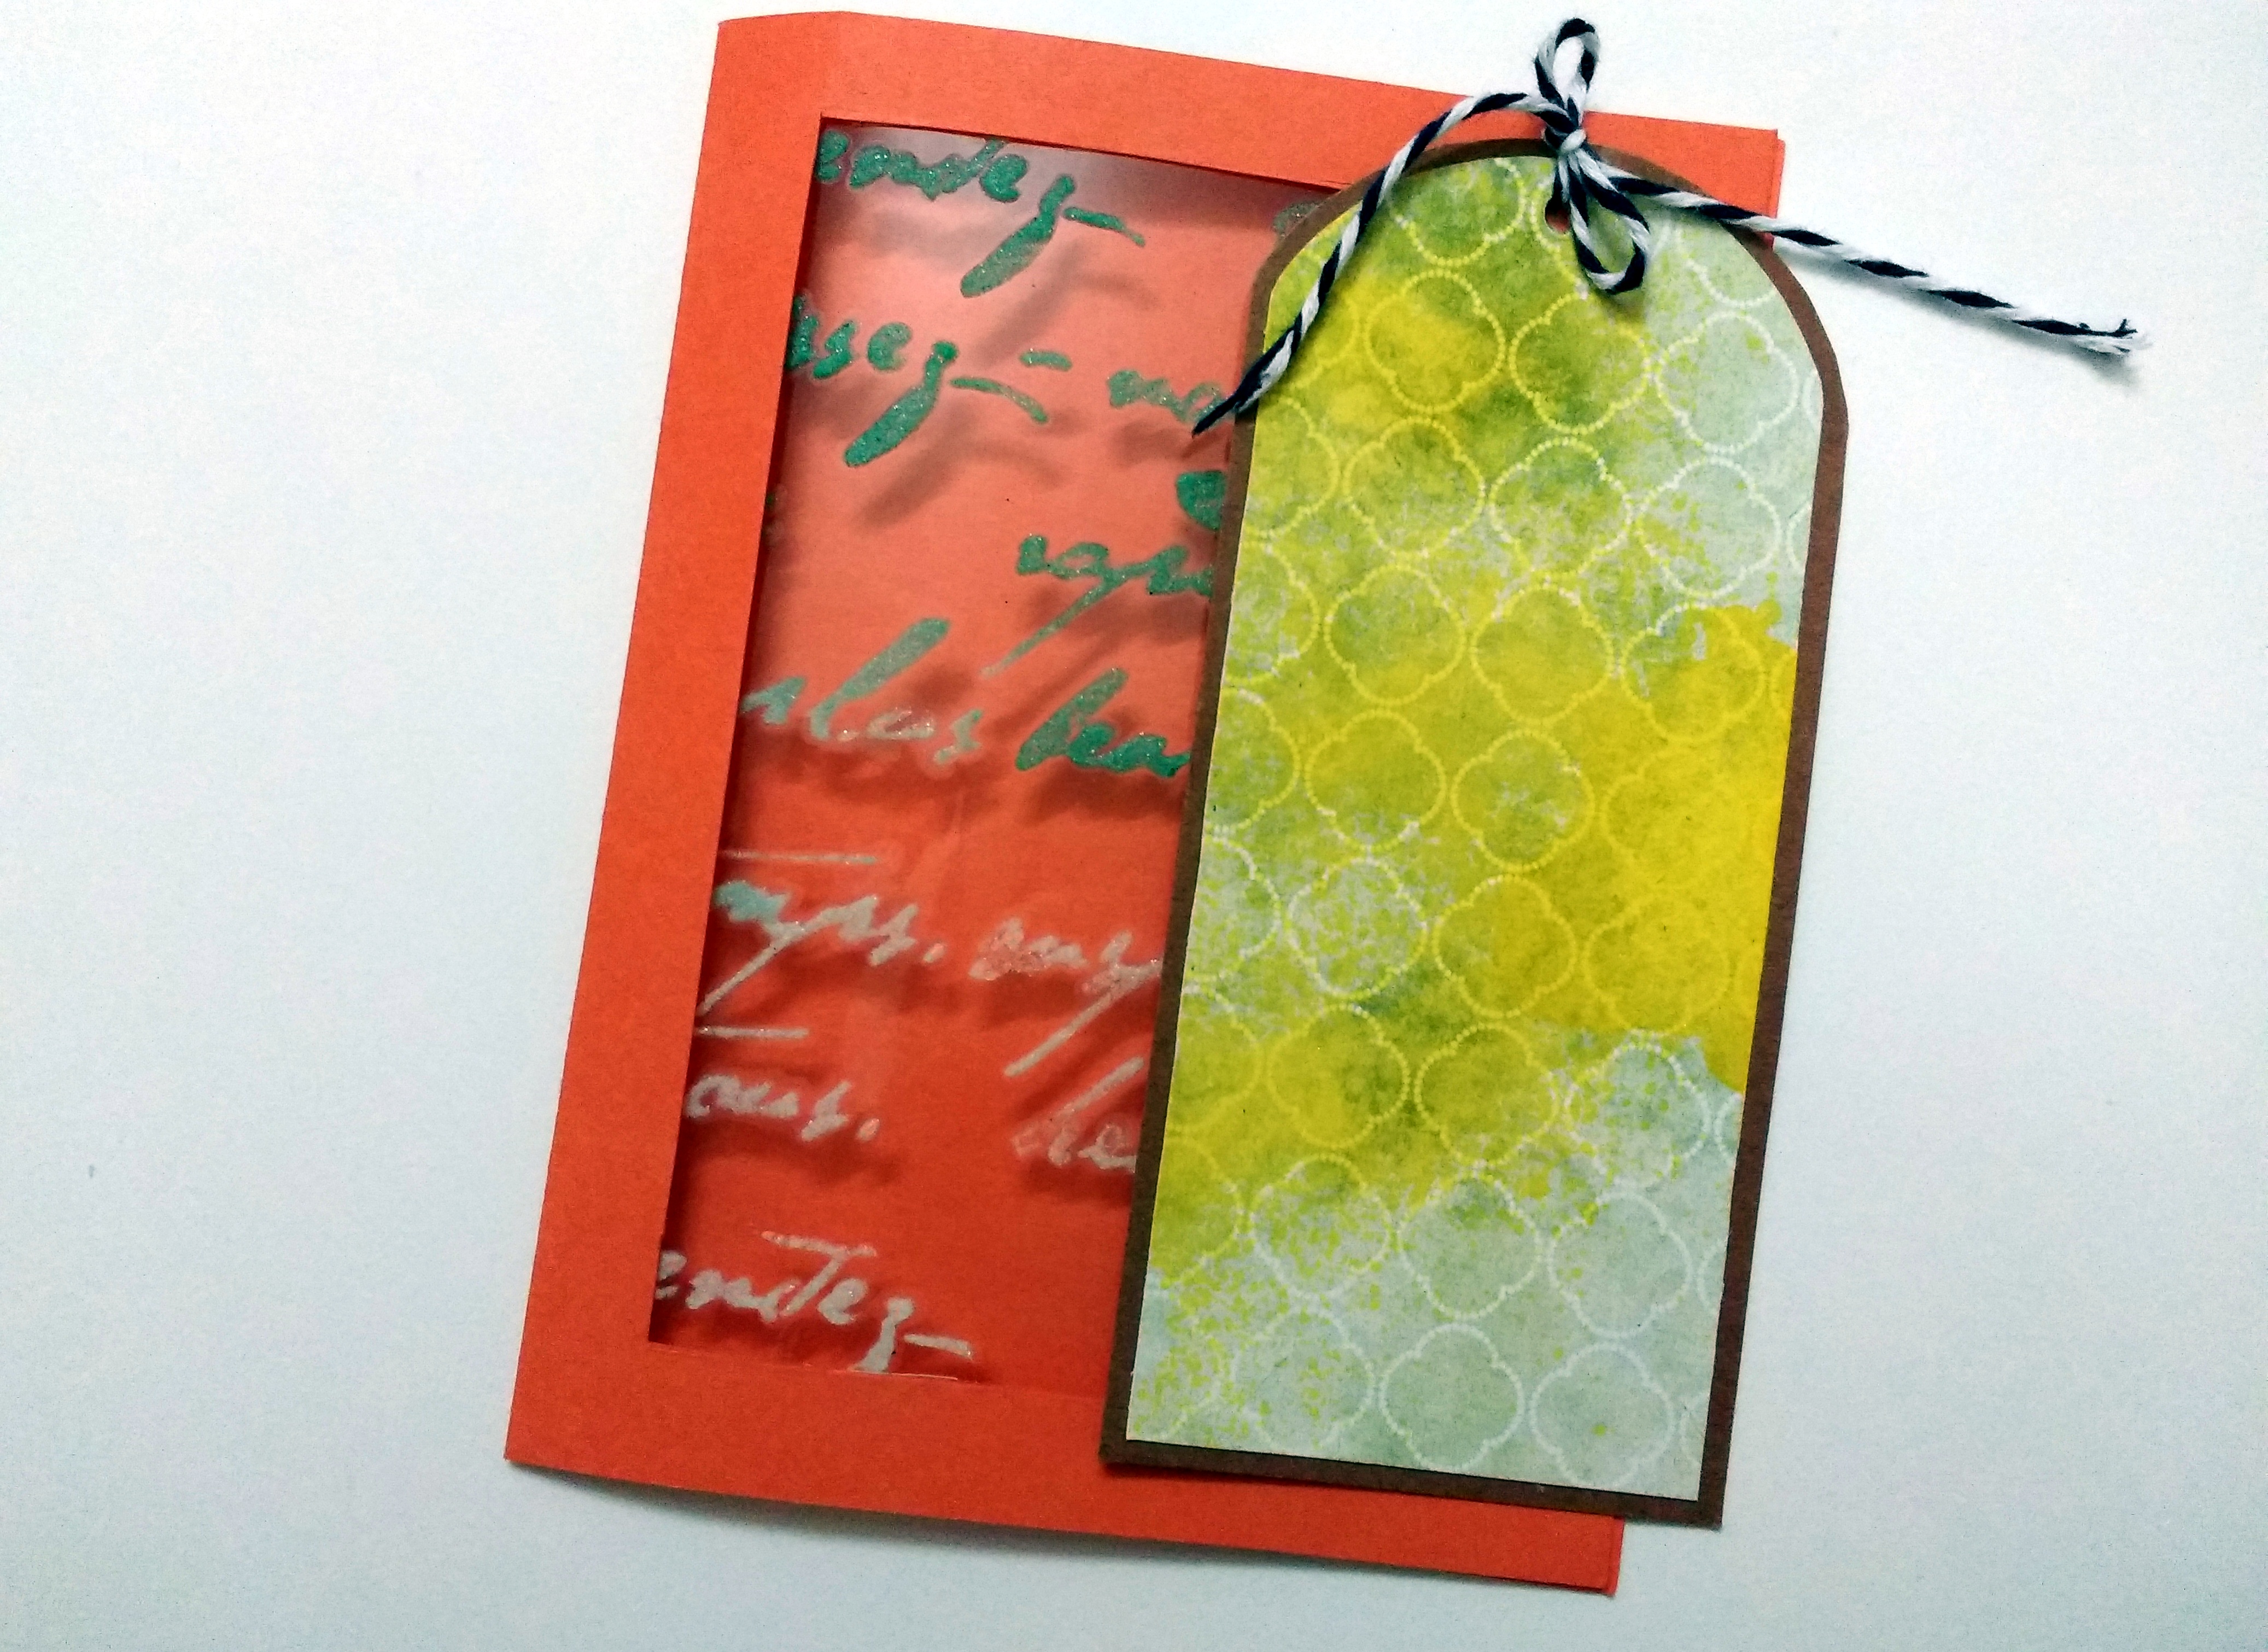
Here’s a look at the completed layered card:

The best part is it is really easy to make and yet unique in its design,
So so let’s start with the process of making it….
(* picture heavy post!)

Take a piece of acetate and select the shades of shimmer pastes to be used,
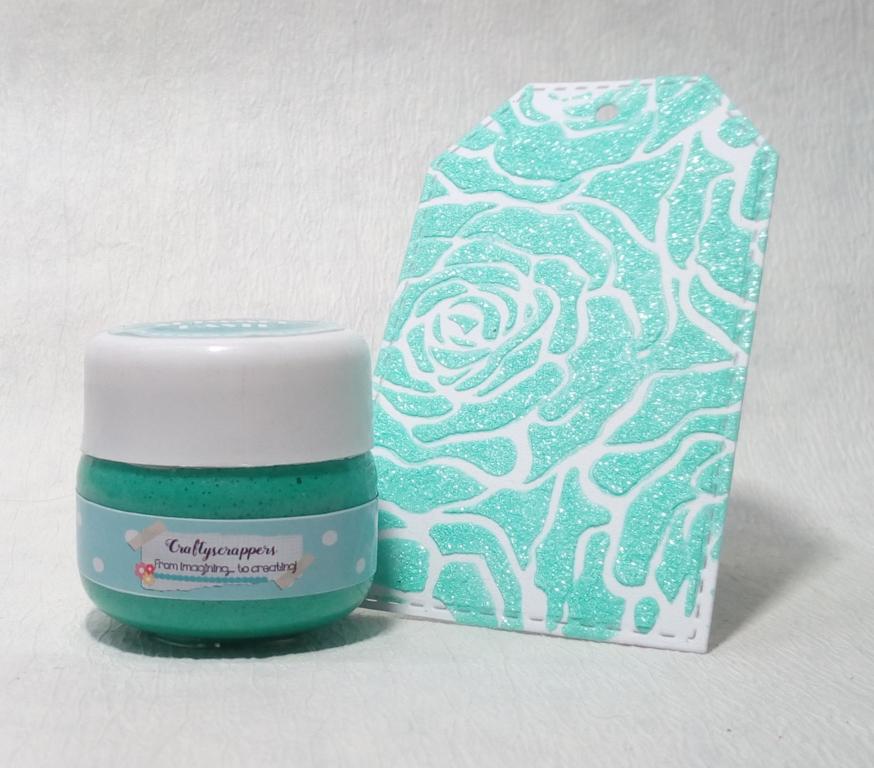
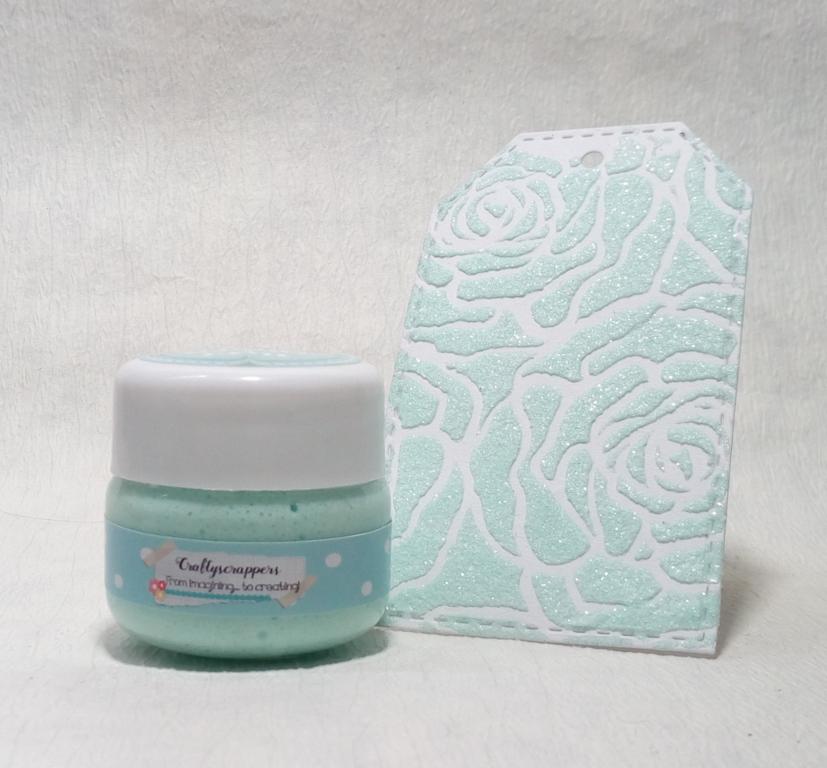
here I picked two shades “Dreams” & “Envy” from Craftyscrappers to get two different shades.
here I picked two shades “Dreams” & “Envy” from Craftyscrappers to get two different shades.

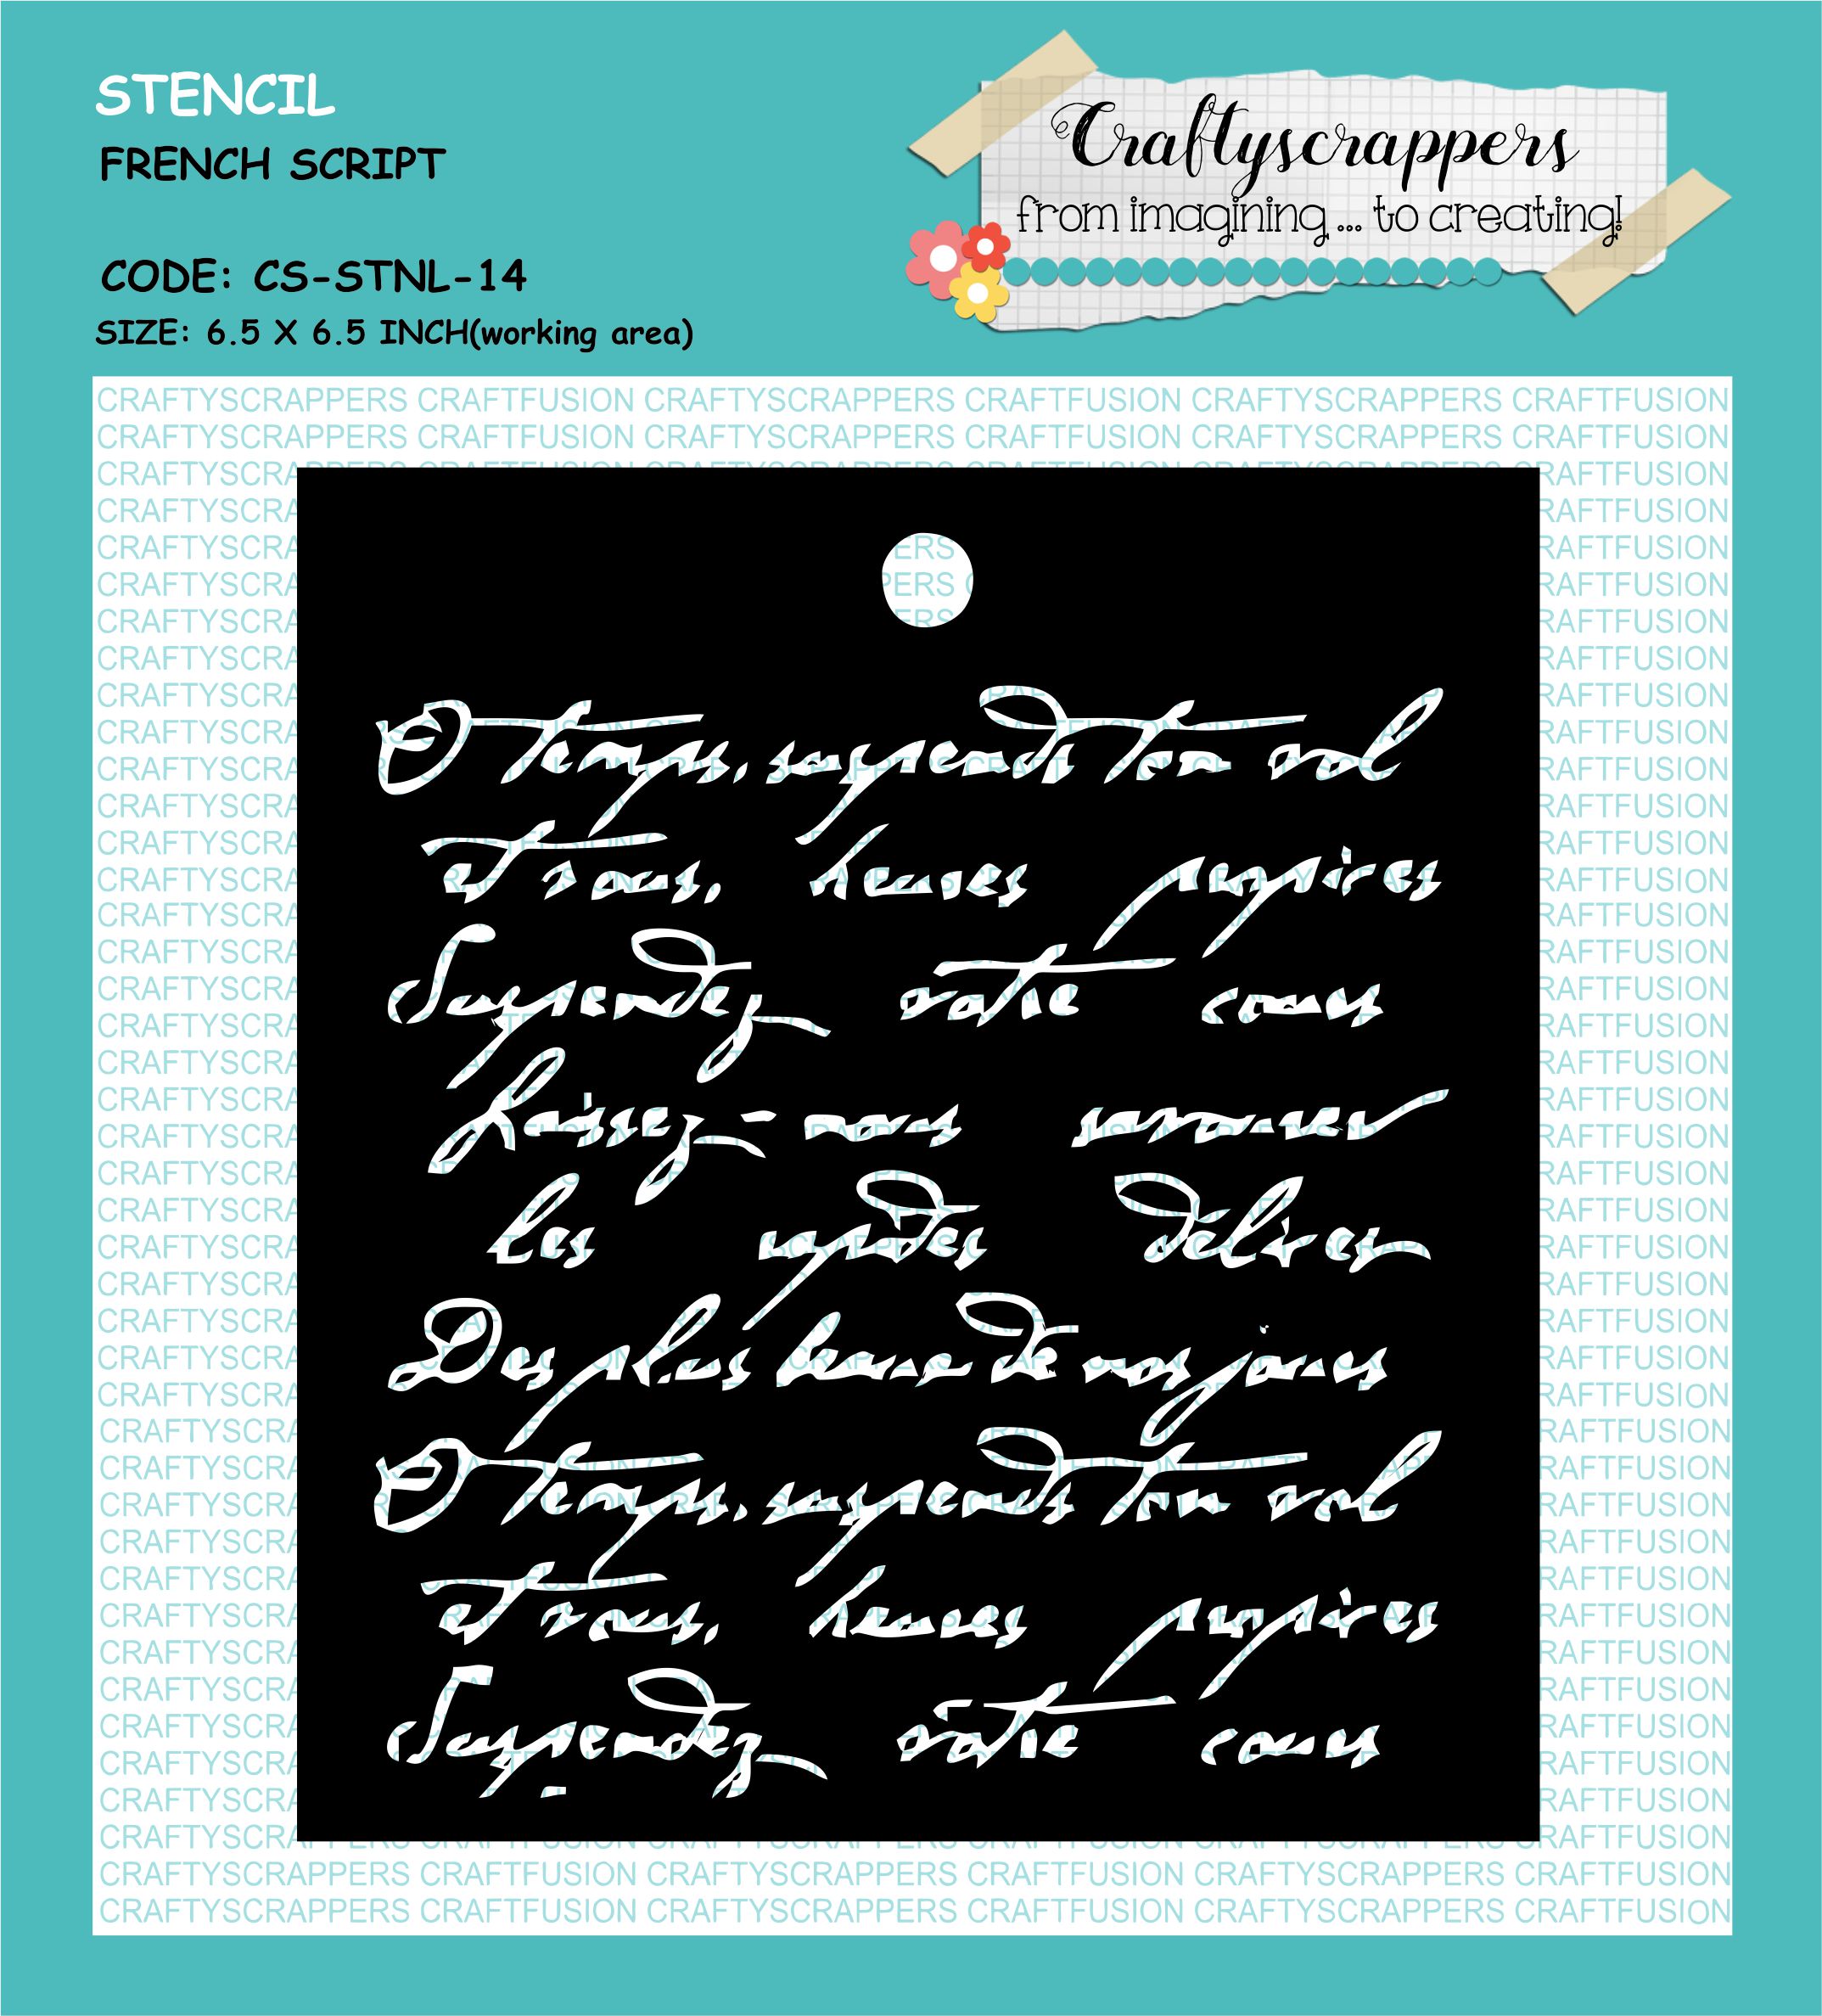
Then using the “French Script stencil” , took sufficient amount of shimmer paste and applied the shimmer pastes to the acetate sheet.
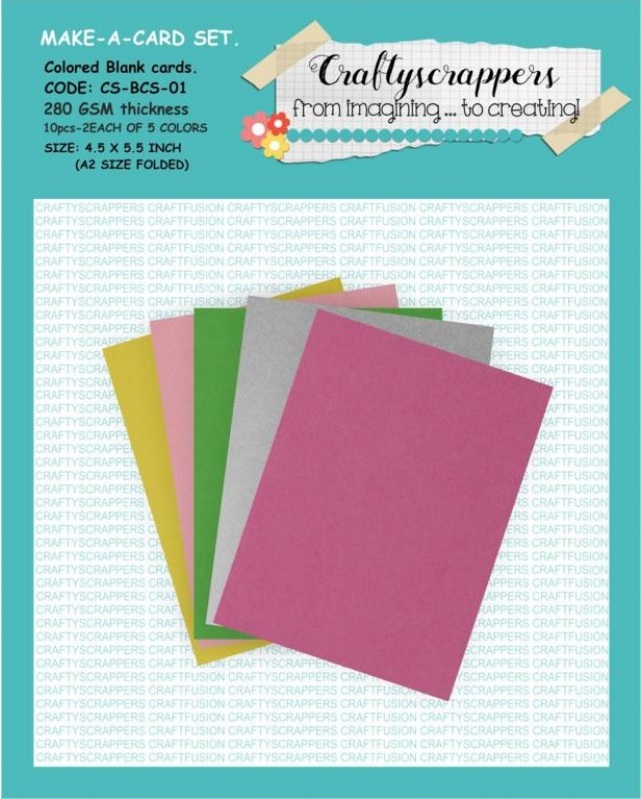
Next I picked an orange card from the cards set again from the store,
these have bright shades to choose from and are thick enough to handle layers and other mediums.
these have bright shades to choose from and are thick enough to handle layers and other mediums.

Isn’t it looking pretty? I loved the outcome on acetate.

I decided to make a window on the card to fit the acetate sheet, so cut out a rectangular piece out of the card.

Added the acetate to the cut out using both sided tape from the back side.

Next sprayed Shimmer Spray –“Sweet Sunshine” on a piece of pattern paper.
I must say these sprays are so perfect, they spread beautifully and just little is needed to spray; they give nice intense color.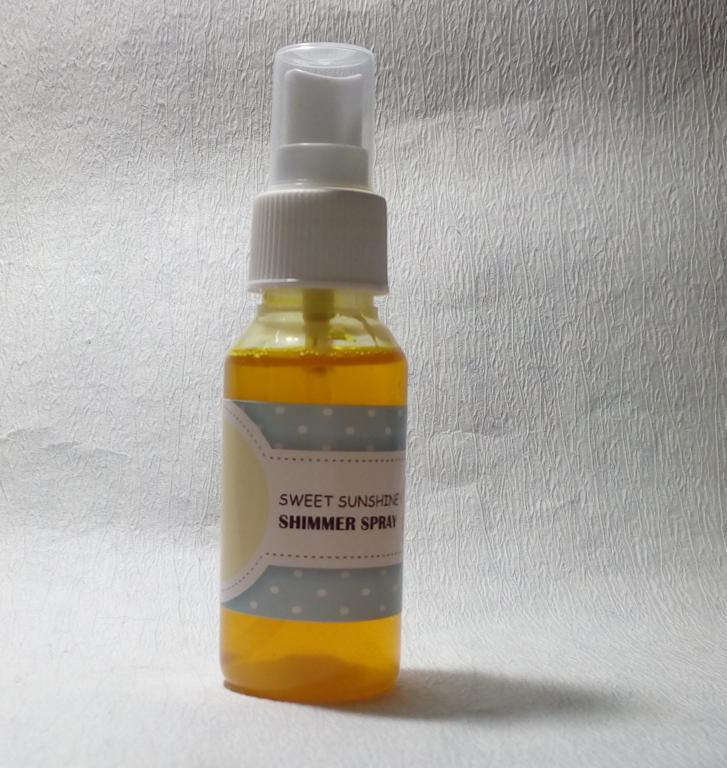
I must say these sprays are so perfect, they spread beautifully and just little is needed to spray; they give nice intense color.

Shimmer Spray –“Sweet Sunshine”


Mounted this to a brown cardstock and tied a twine to it.
Added this tag to my card.
Added this tag to my card.

Stamped a cute Hog image using the stamp set “Hogs and Kisses” and
colored it using faber castell connector pens.
colored it using faber castell connector pens.
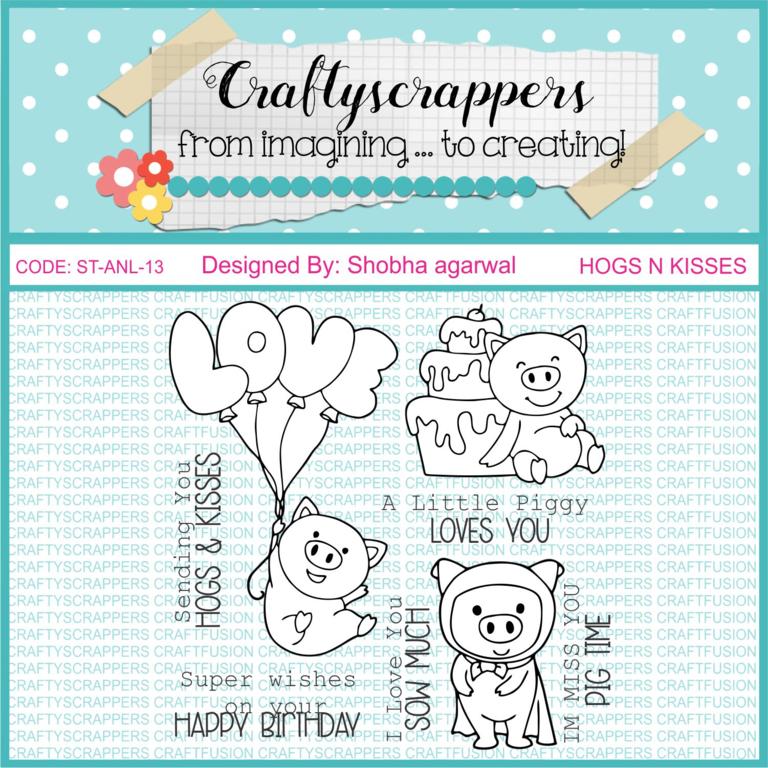
HOGS N KISSES
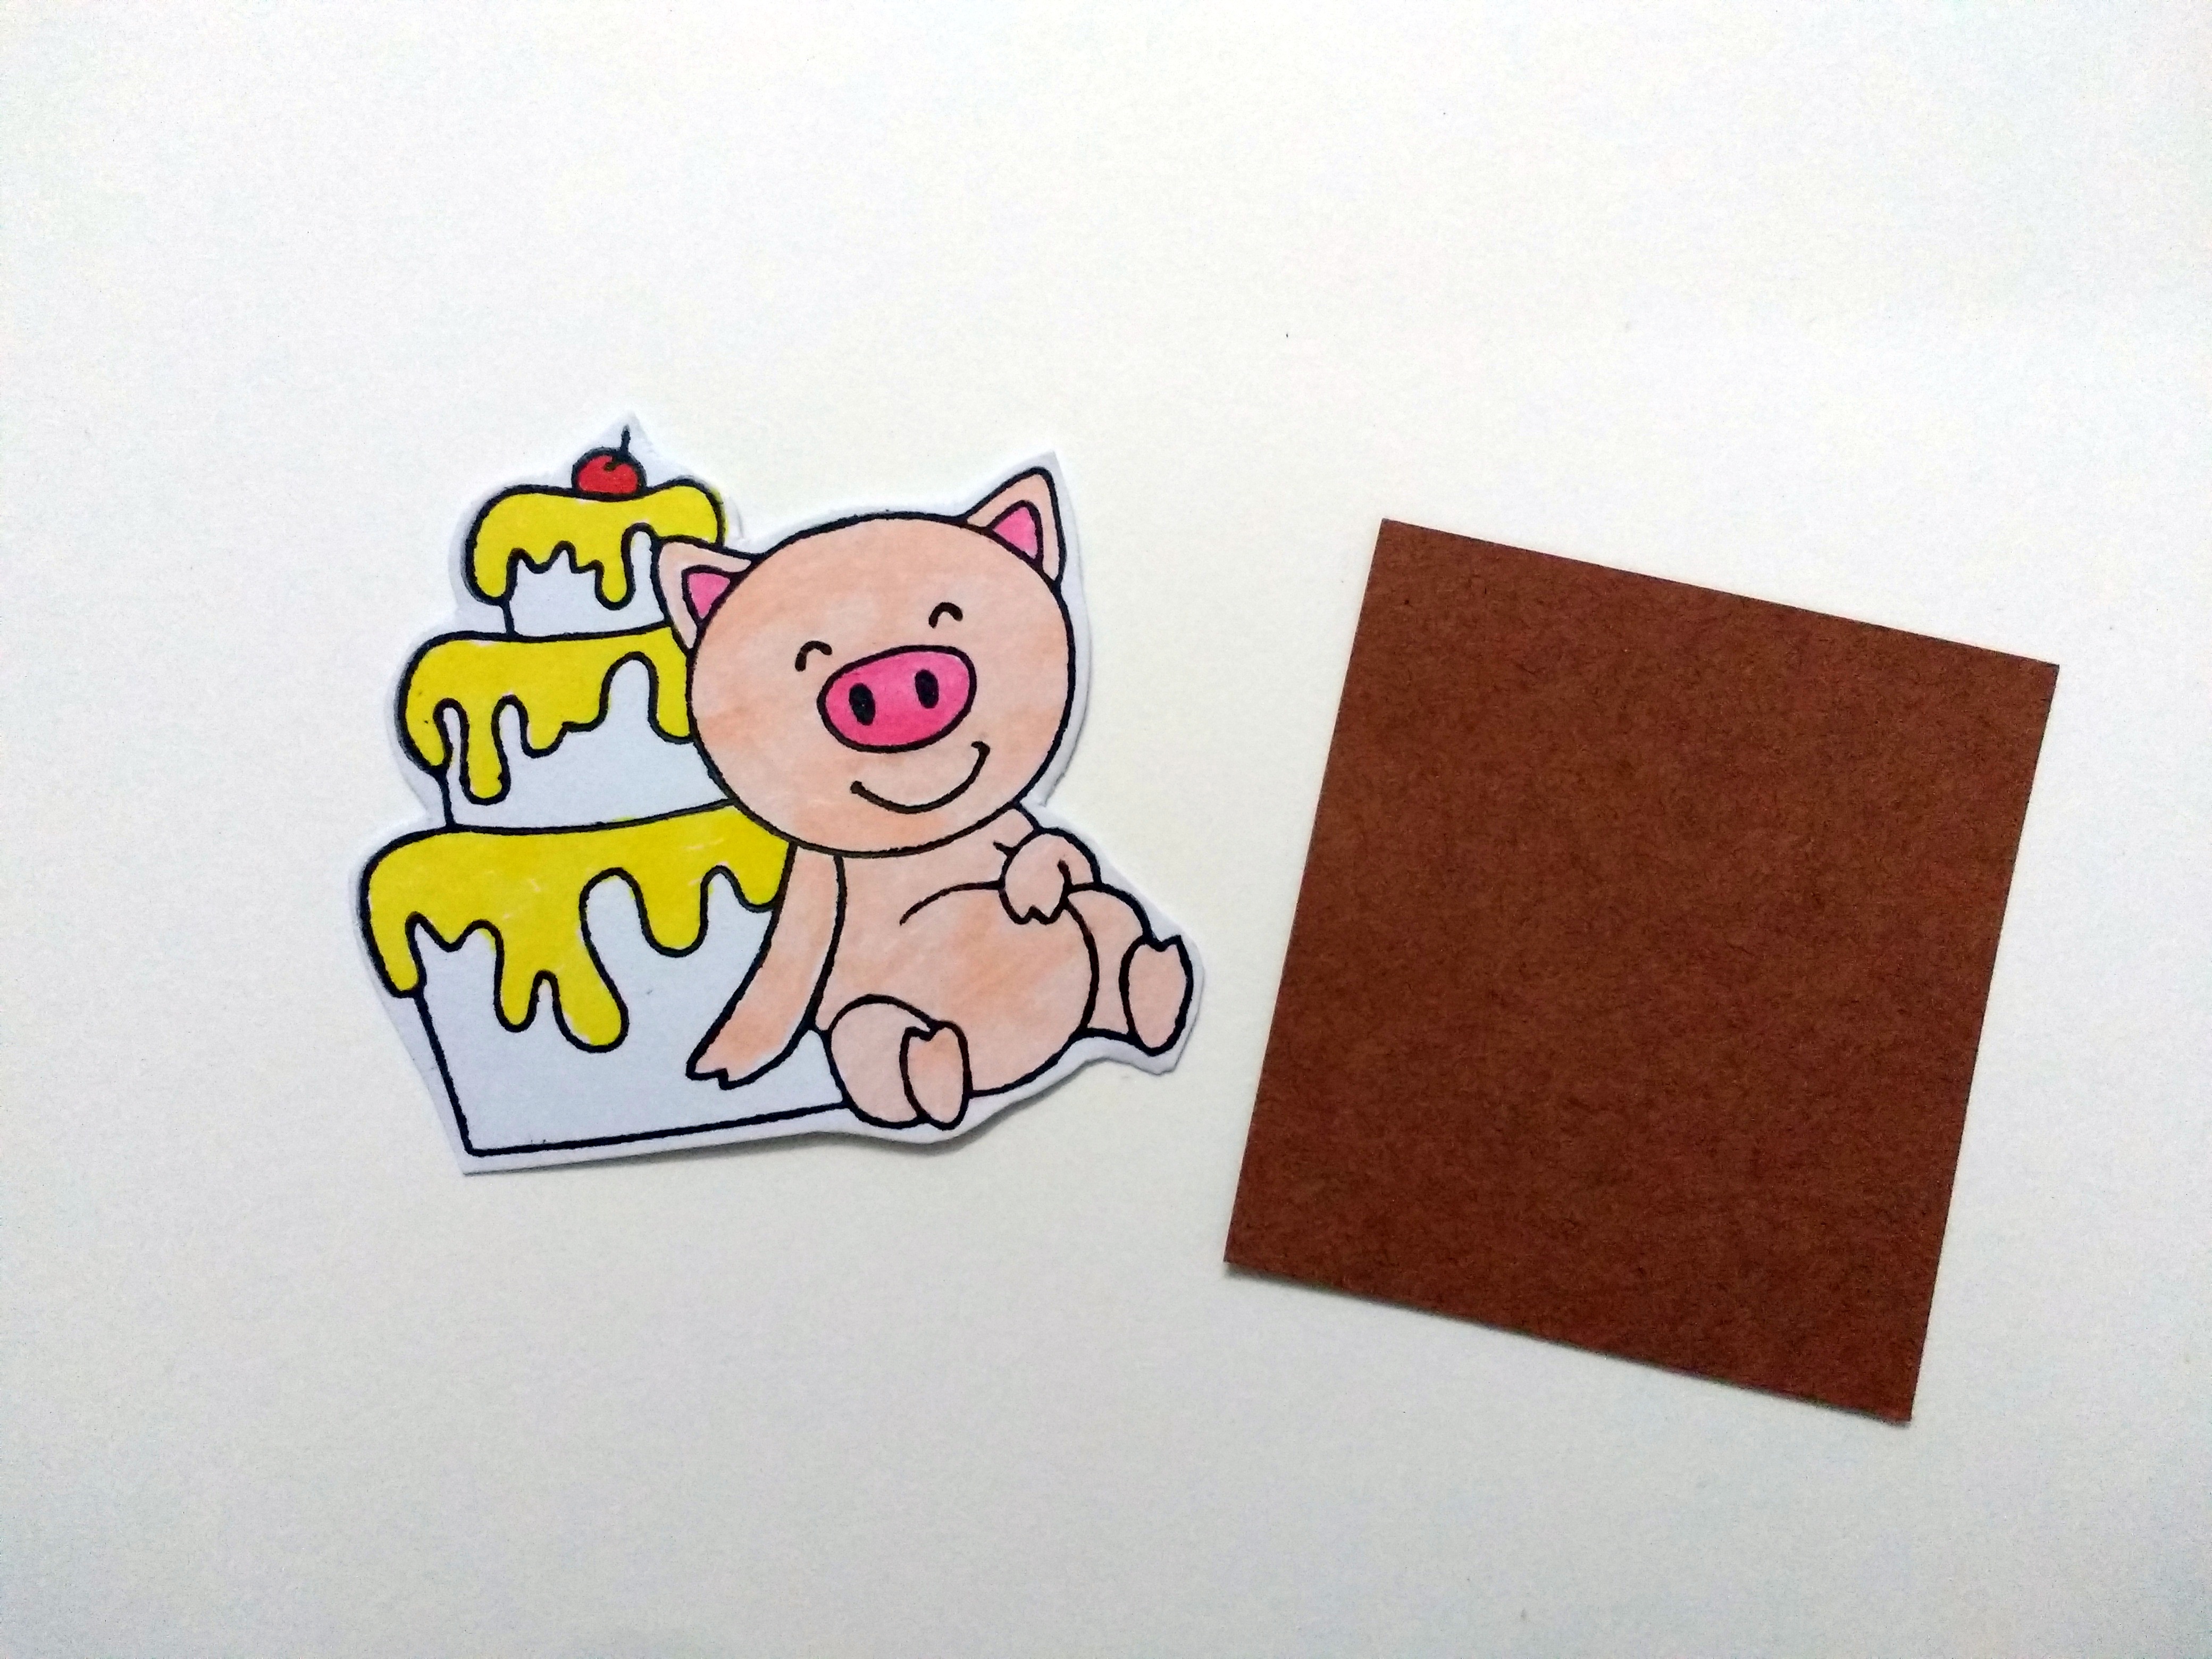
Added this image to a piece of brown card-stock using double sided foam tape.

Stamped the sentiment from the same stamp set and added this to the card.

Lastly added few rhinestones and drew black stitched lines around the window, using black gel pen.
Some more close-ups:

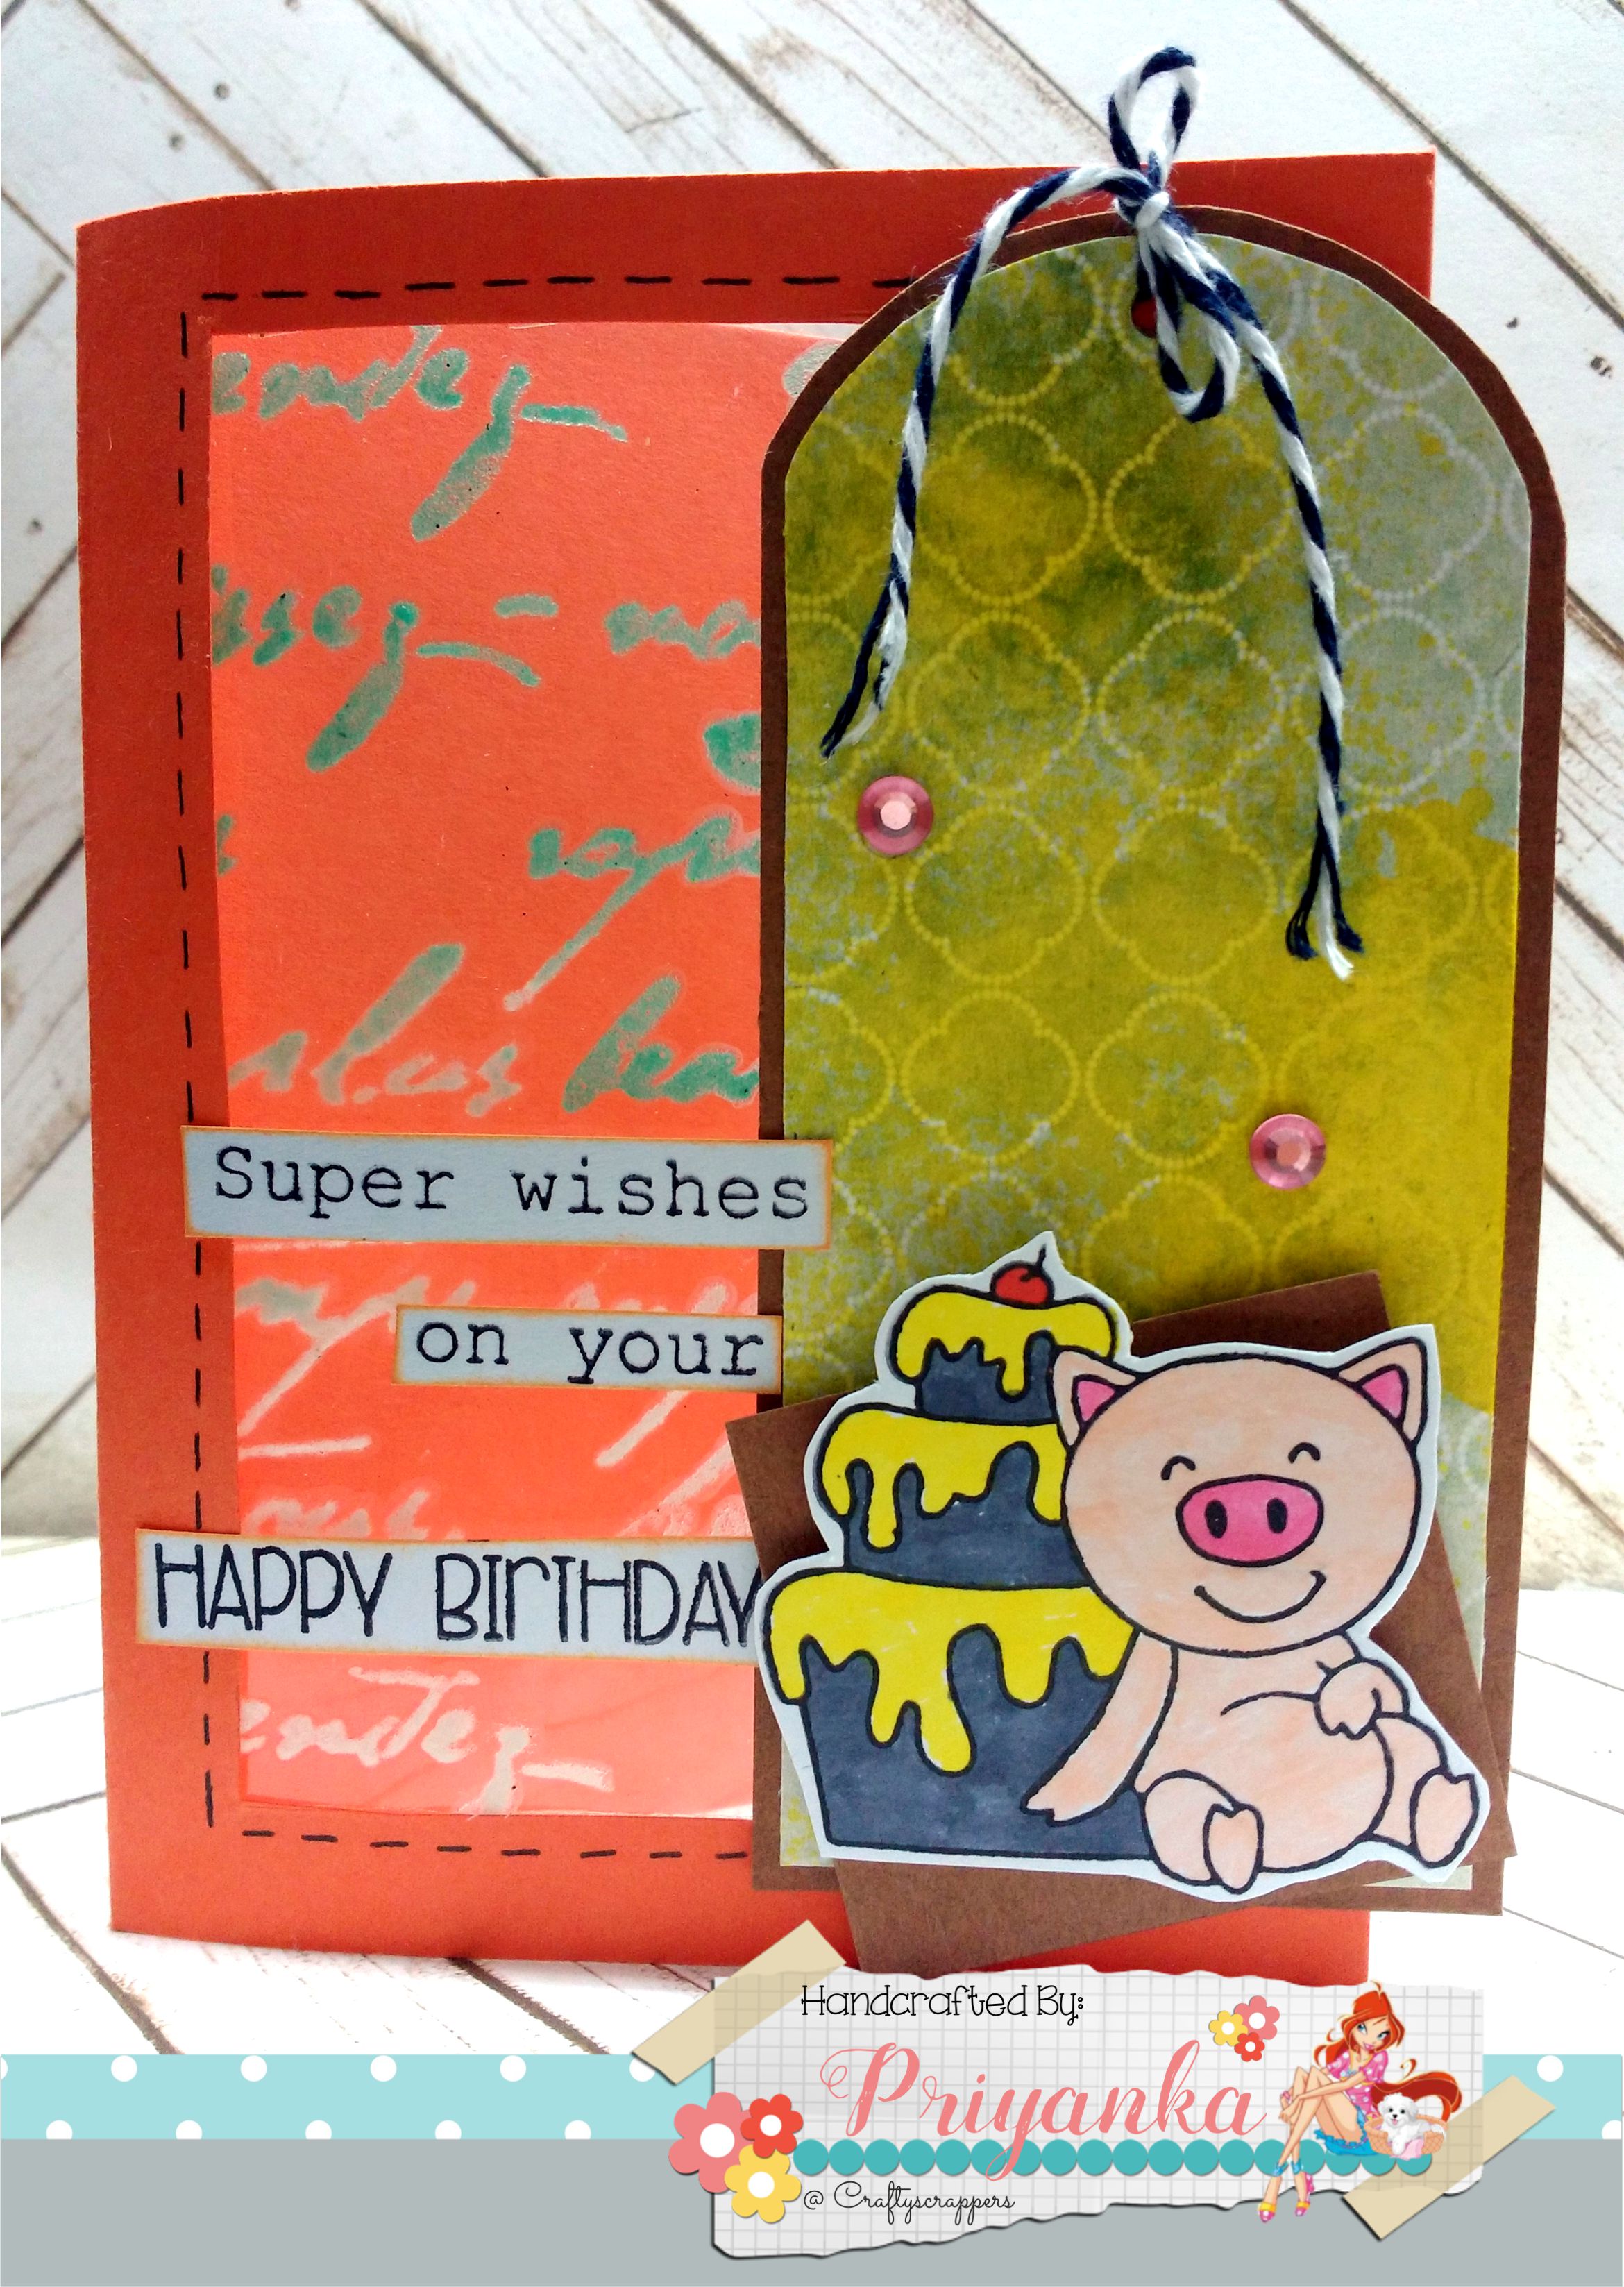
I hope you liked it and enjoyed the making process!
Do share with me by leaving your views in the comment box below.

That’s all for today, stay tuned for more interesting projects.
Enjoy! Happy Crafting!


